One of the most effective and versatile Deathloop weapons is the Heritage Gun. This special shotgun can switch between two modes. One fires a large slug, which is powerful and has good range. The other fires a devastating spray of shot, but is only effective up close. But how do you unlock it?
To get the Heritage Gun in Deathloop, you have to be clever, agile, and one step ahead of your enemies. We will show you how in this guide.
The TL;DR is that the Heritage Gun is found in the evening Karl’s Bay. However, you’ll need to complete several puzzles first, and I’ve laid their solutions out below.
Head to the Fathoms of Lament building, near the center of the region. Inside, you’ll see a large gun in a tube and a map of Karl’s Bay. Look closely at the map, and you will see lights in a triangular shape marking places around the area. Each of those lights indicates a “present”, a ticking cardboard box with a light on the top.
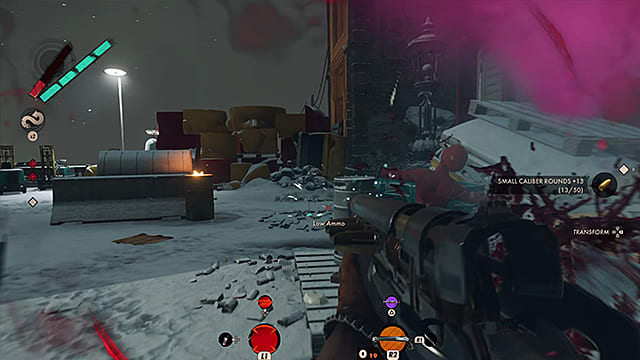
Your mission is to seek out every one of these boxes and open them. But beware; while some will give you a trinket, others will explode, so give them some space when they open. Lights on the map will turn solid once a present has been opened.
There are more present drop locations than there are actual presents, so each run may have a slightly different layout. They aren’t very difficult to find, just head toward each mapped location, and listen for the ticking sound.
Two of the locations are special, and will not change. The first is in Hangar 2, where you had the option to fight Harriet at an earlier time of day. The lower level of the hangar is filled with gas, but you’ll be above that for all of this.
How to Solve the Hangar Puzzle
Head to the upper catwalk above the gas chamber, and look for a lever with a blinking light. Pulling that lever will start a countdown, and it’s up to you to pull each lever before time runs out.
Pulling one lever activates just one of the other six, so be prepared to run, jump, and possibly Shift to reach them all.
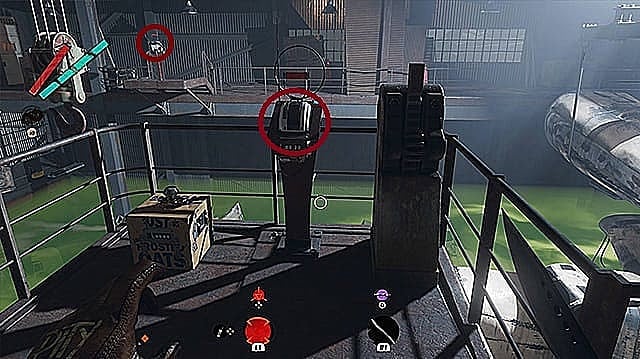
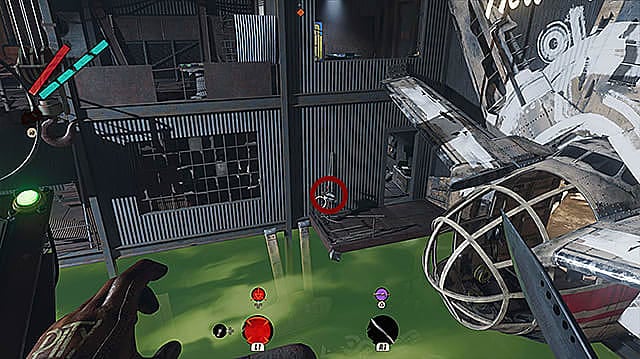
The first lever is easy enough, right by the sky bridge connecting the two hangars. The second is on the opposite side of the room, overlooking the pit of gas. Both are in the picture below.
The third is straight ahead from the second, on the other side, but down a level and to the right.
The next is on the far wall, at the rear of the hangar, near a yellow emblem painted on the wall.

Number four is on the same upper catwalk as the second lever, but in a dark corner near the rear of the room.
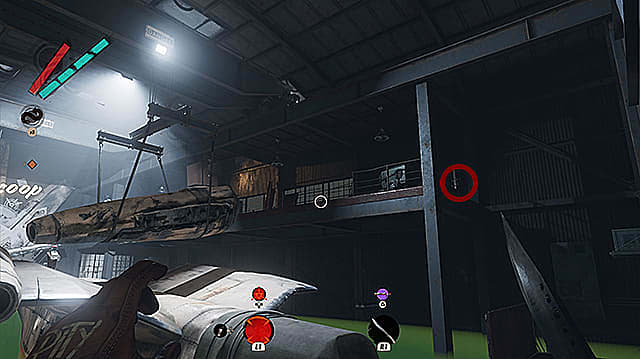
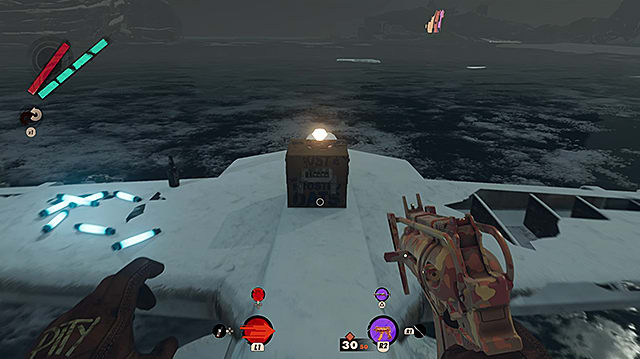
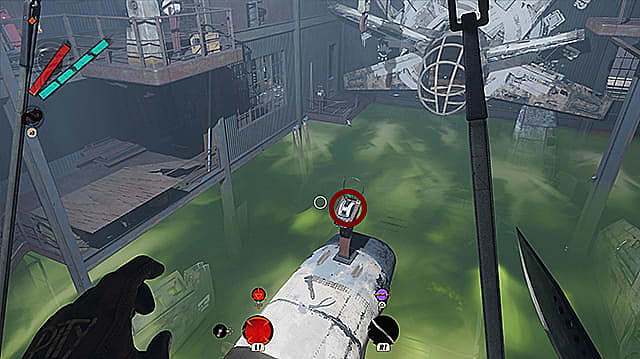
The final lever is on the airplane suspended over the gas pit.
Once you pull the last lever, return to the first one, and open the present. If at any point you run out of time, pull the first lever again to give it another go.
How to Solve the Dawn of Reason Puzzle
The Dawn of Reason puzzle is an area where you can lock yourself out of this quest for the rest of the loop, undoing any progress you made so far.
Here, you need to pull another lever that opens the shutter blocking the entrance to the Dawn of Reason nightclub. Once you pull the lever, you have two minutes to find the four-digit code to unlock a door and retrieve the final present.
You only get one try though. If you fail to open the door on time, there are no second chances.
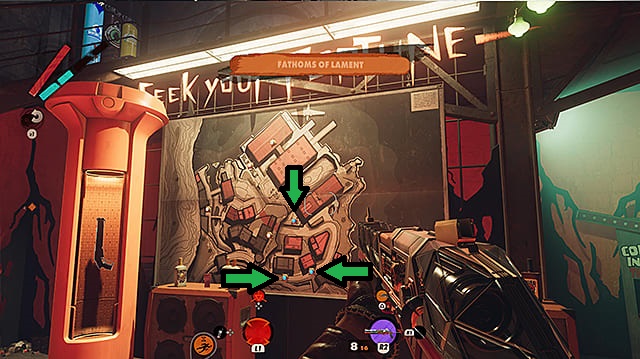
The code is shown in a series of white murals, some of which are disconnected, and need you to stand in the correct spot to line up two pieces. The murals represent the code lock on the door and are arranged like a clock with only seven hours. Inside of each mural are four tally marks.
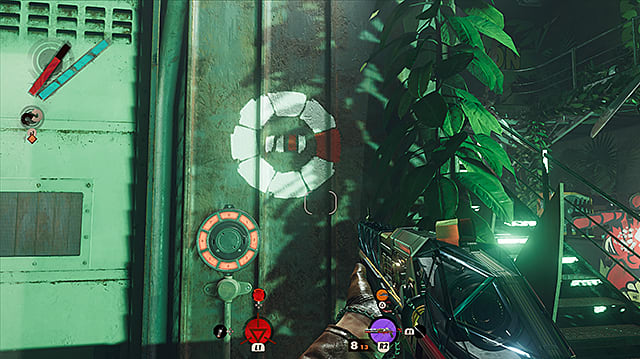
There is an outer marker and one inner orange tally for each. The colored outer maker will correspond to a number, and the tally will indicate where in the order the number falls.
The screenshot above, for example, indicates that the third number is two: the third outer marker is red and the third inner tally is red. It is up to you to find all four numbers since like safe or door codes, these are unique to your game.
Much like the presents, there are more potential places for the murals than there are actually murals. Look on all the walls of both stores, and check both sides of doorways and windows. Once you crack all four numbers you can open the door, and open the present.
Rather than scrambling to complete this task in two minutes, go around the side of the nightclub (circle counterclockwise), and you’ll come to a closed door.
Atop this closed door is a large window. Go through that, and you are free to explore the nightclub at your leisure. Take all the time you need to find the code, then go outside to pull the lever and start the puzzle.
Solving the Final Puzzle for the Heritage Gun
Now head back to Fathoms of Lament. You’ll see the door unlocked, but the dastardly Charlie Montague has one last puzzle to overcome.
Your task is once again to pull all the levers in the designated order before time runs out. To make things more challenging, there are laser traps that will cause you to instantly fail, and a field nullifier disabling your slabs.
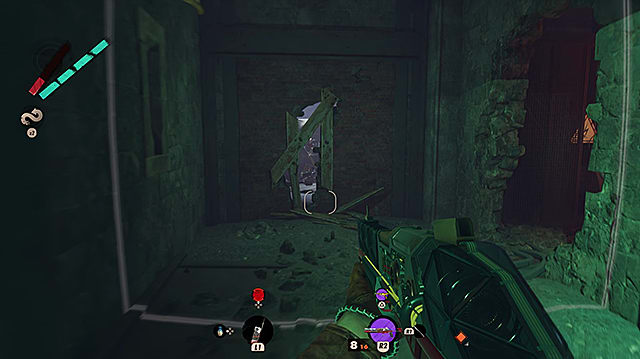
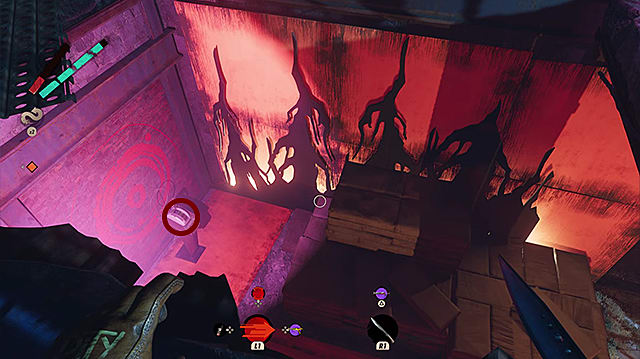
First, I suggest you find the opening pictured below. When you come down the stairs to the room with this puzzle, keep left and follow the wall. You’ll come to a hole, covered in breakable boards. Kick these and hack the nullifier, restoring your powers. This can make the puzzle much easier.
Next, pull the lever in this room, starting the puzzle. It’s ok if you mess up, you can retry this as needed.
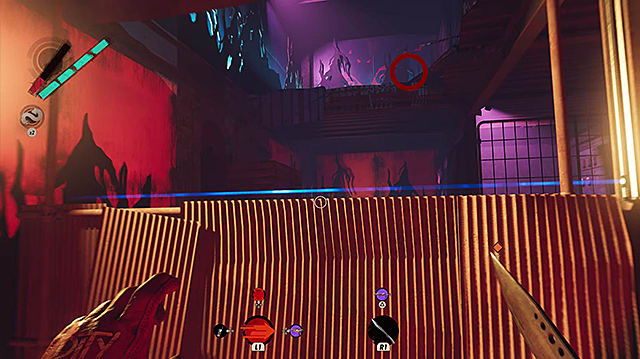
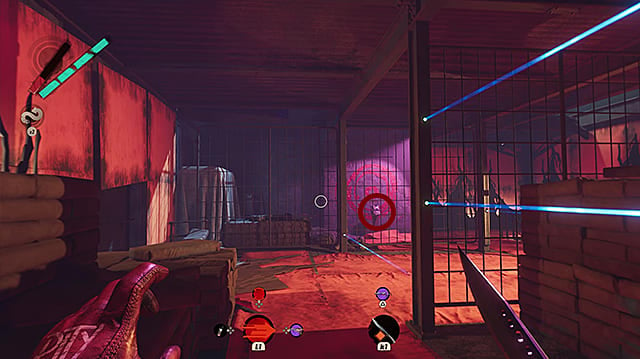
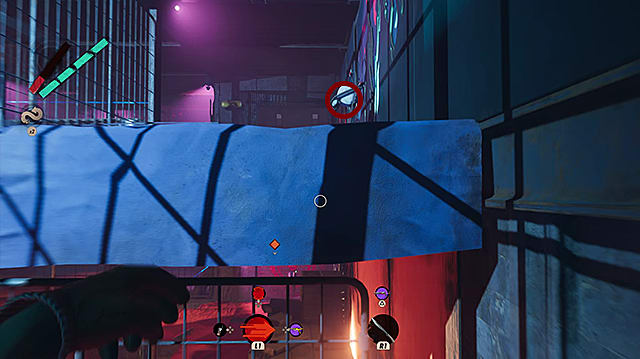
Go to the main room, turn around, and jump to climb into the opening. Watch out for the laser, and head to the upper area straight ahead.
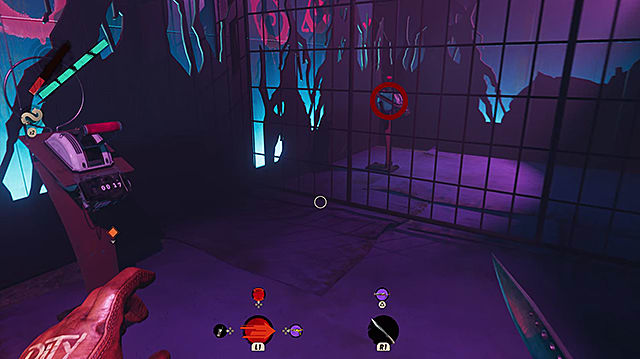
The third lever is right next to you, but you are separated from it by a fence. Go to the opposite end of the room, turn 180 degrees, and run back through the hallway with the lasers.
The fourth lever is back in the direction you came from the second lever.
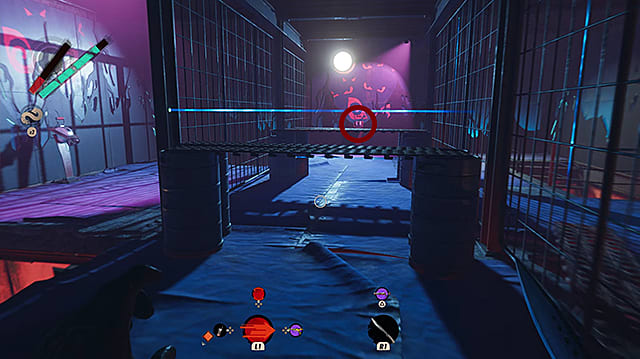
Turn back toward the lasers. The next lever is in the pit to the right.
The next lever is on the lower level as well, on the rear wall.
The final lever is on the upper area, between the previous two levers.
Finally, the Heritage Gun is yours! Head back to your hideout, and infuse your sweet new weapon. For more, make sure you check out the rest of our Deathloop guides for tips on how to get other rare weapons and how to get the Deathday Suit trophy and achievement!


Published: Sep 17, 2021 07:41 pm