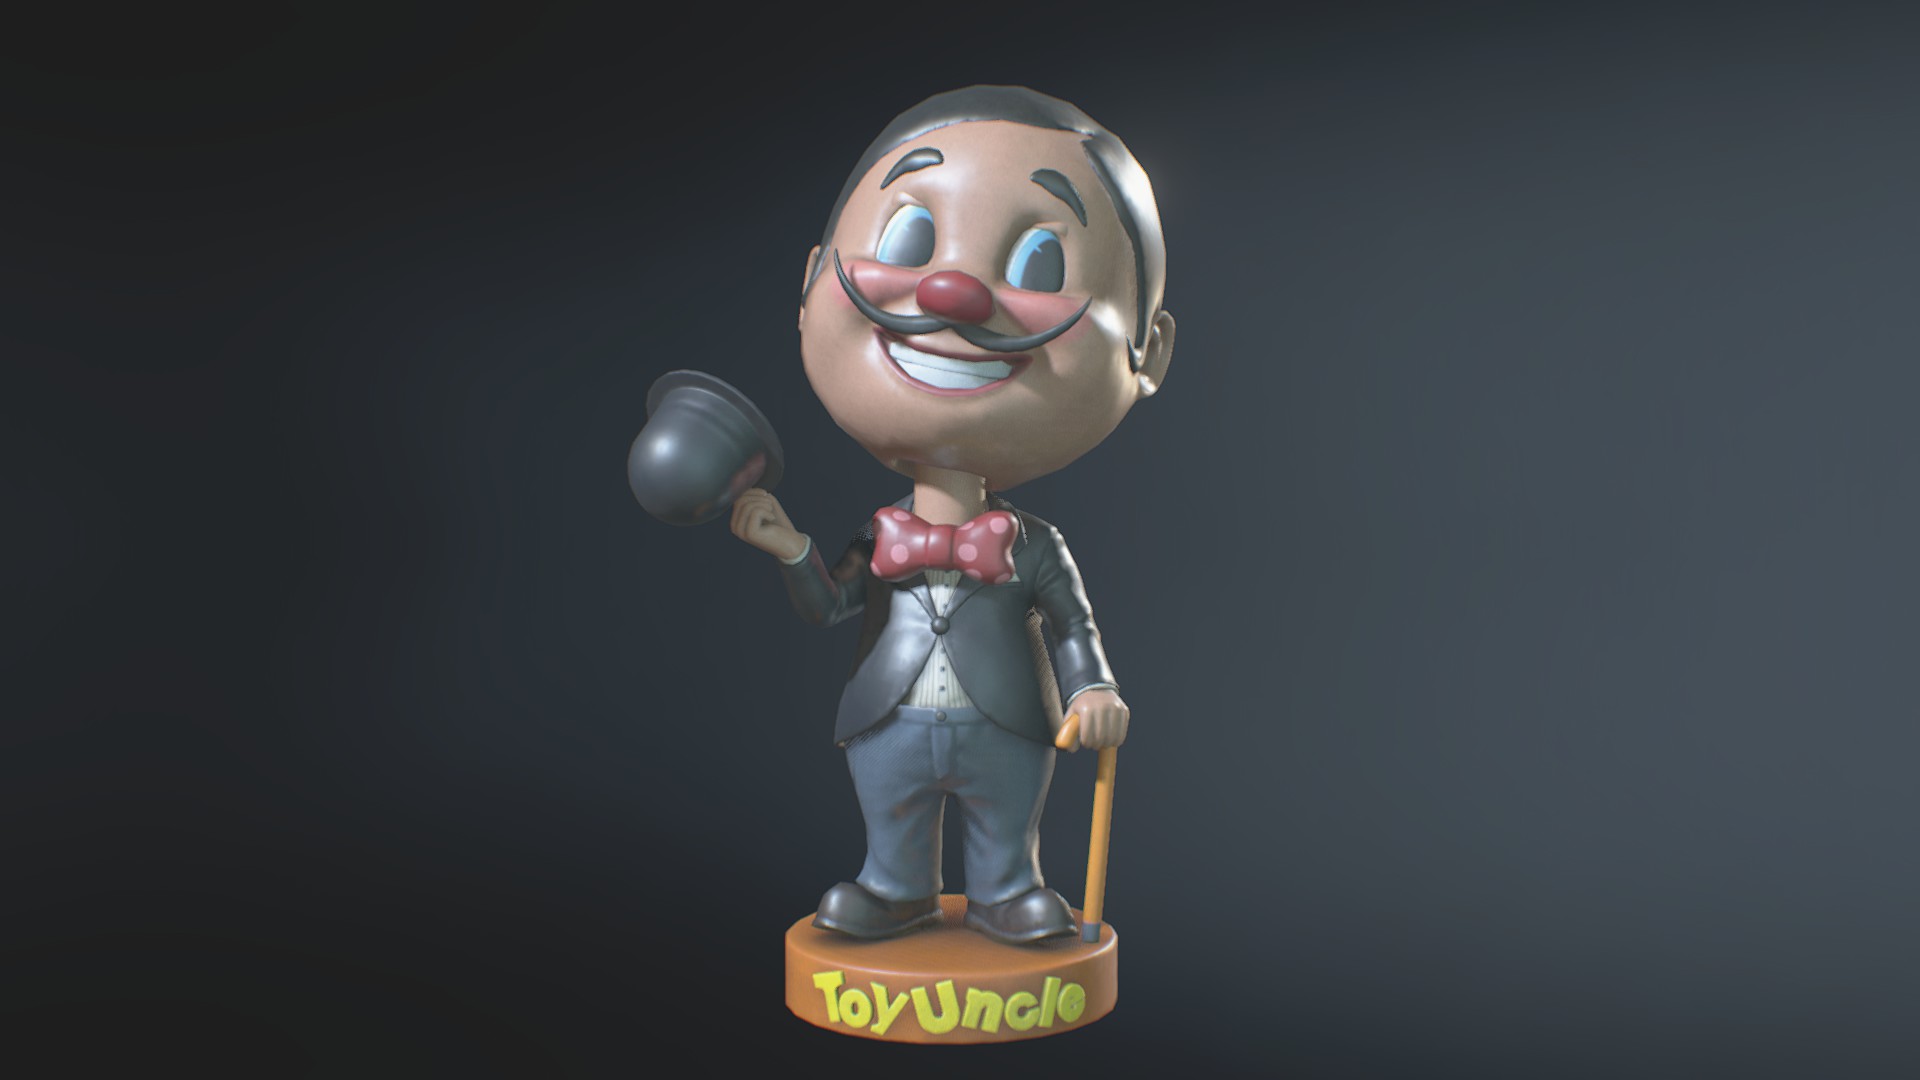
There are 20 Resident Evil 3 Charlie dolls hidden throughout the game. To collect them, you must destroy them with a single hit from any weapon. Your knife will do the trick if you can reach the statue, but some are distant enough that you’ll have to use a bullet on the statues.
Charlie statues often make a clacking noise at irregular intervals, which is often your first clue that there’s one in the area.
As with the Mr. Raccoon statues in 2019’s Resident Evil 2, any time you destroy a Charlie doll, it’s saved on the spot to your current profile. It’s gone for good throughout all subsequent runs through the game unless you wipe your save data entirely.
Destroying one Charlie statue unlocks the record Hello, Charlie! which is worth 200 points to spend in the in-game Shop. When you find and break all 20 dolls, you unlock the record and trophy/achievement Goodbye, Charlie! and earn another 1,000 points for the Shop.
Naturally, this guide involves mild spoilers for events and locations throughout the remake of Resident Evil 3.
Resident Evil 3 Charlie Doll Locations
Charlie Doll #1
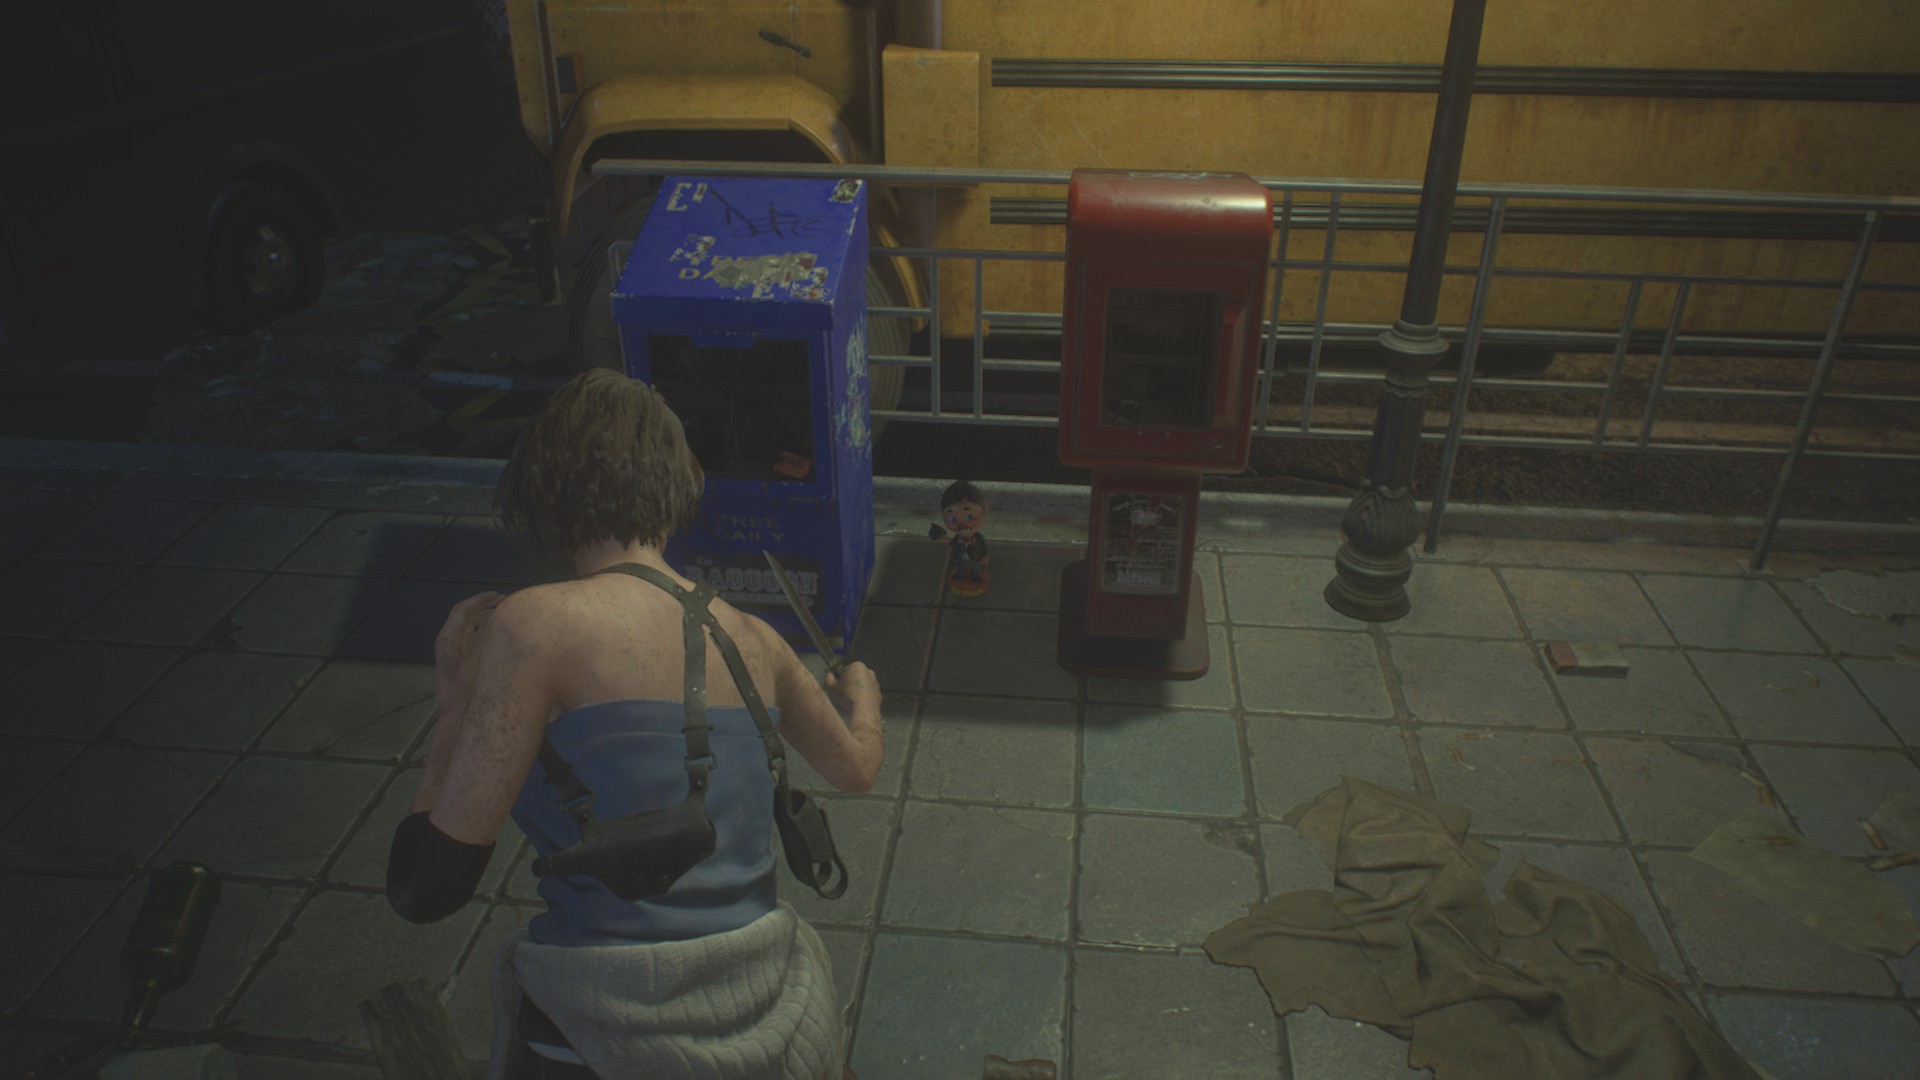
As soon as you gain control of Jill in the subway station, right after your first meeting with Carlos, turn around and go back up the stairs to street level. The first available Charlie statue is on the ground between two newspaper boxes.
This doll can only be found and destroyed now. Once you meet Mikhail, the door leading back up to the street shuts and locks for good.
Charlie Doll #2
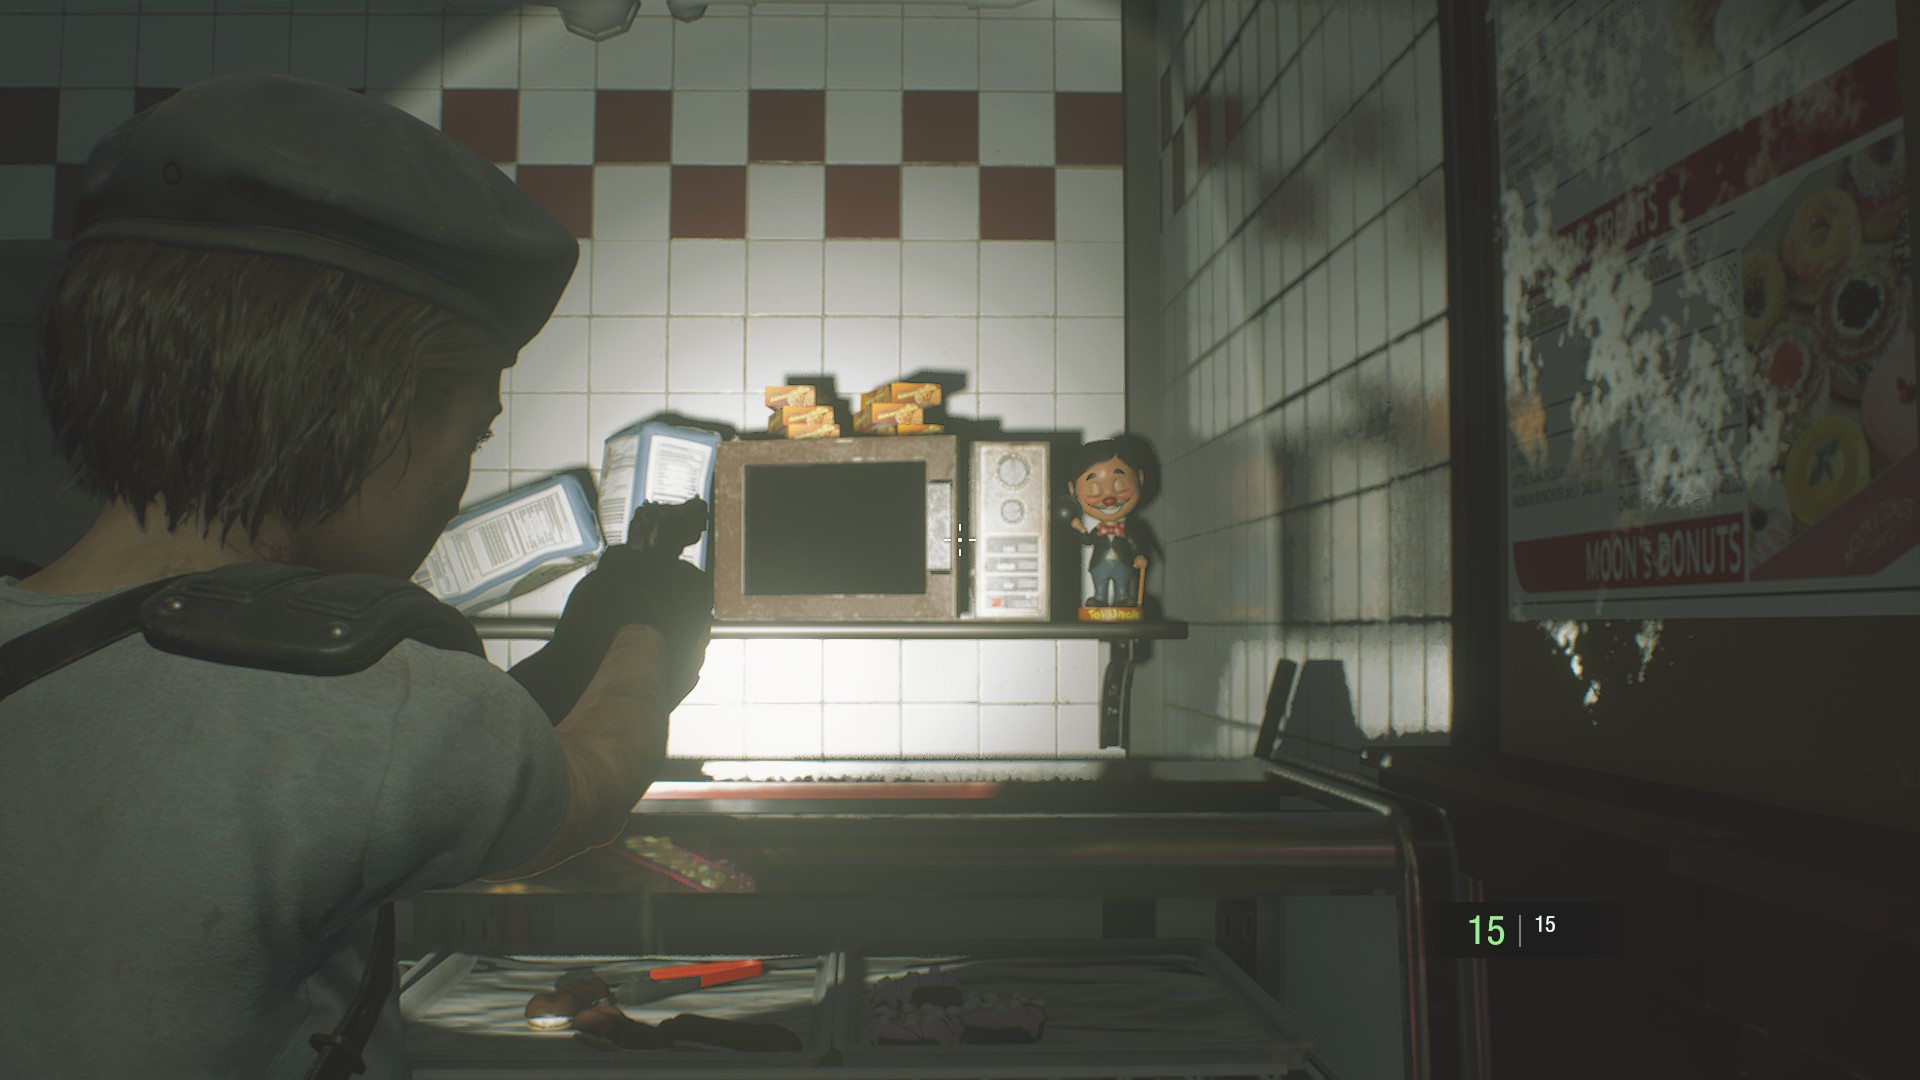
Check behind the counter at Moon’s Donuts, on the corner where the shelf meets the wall.
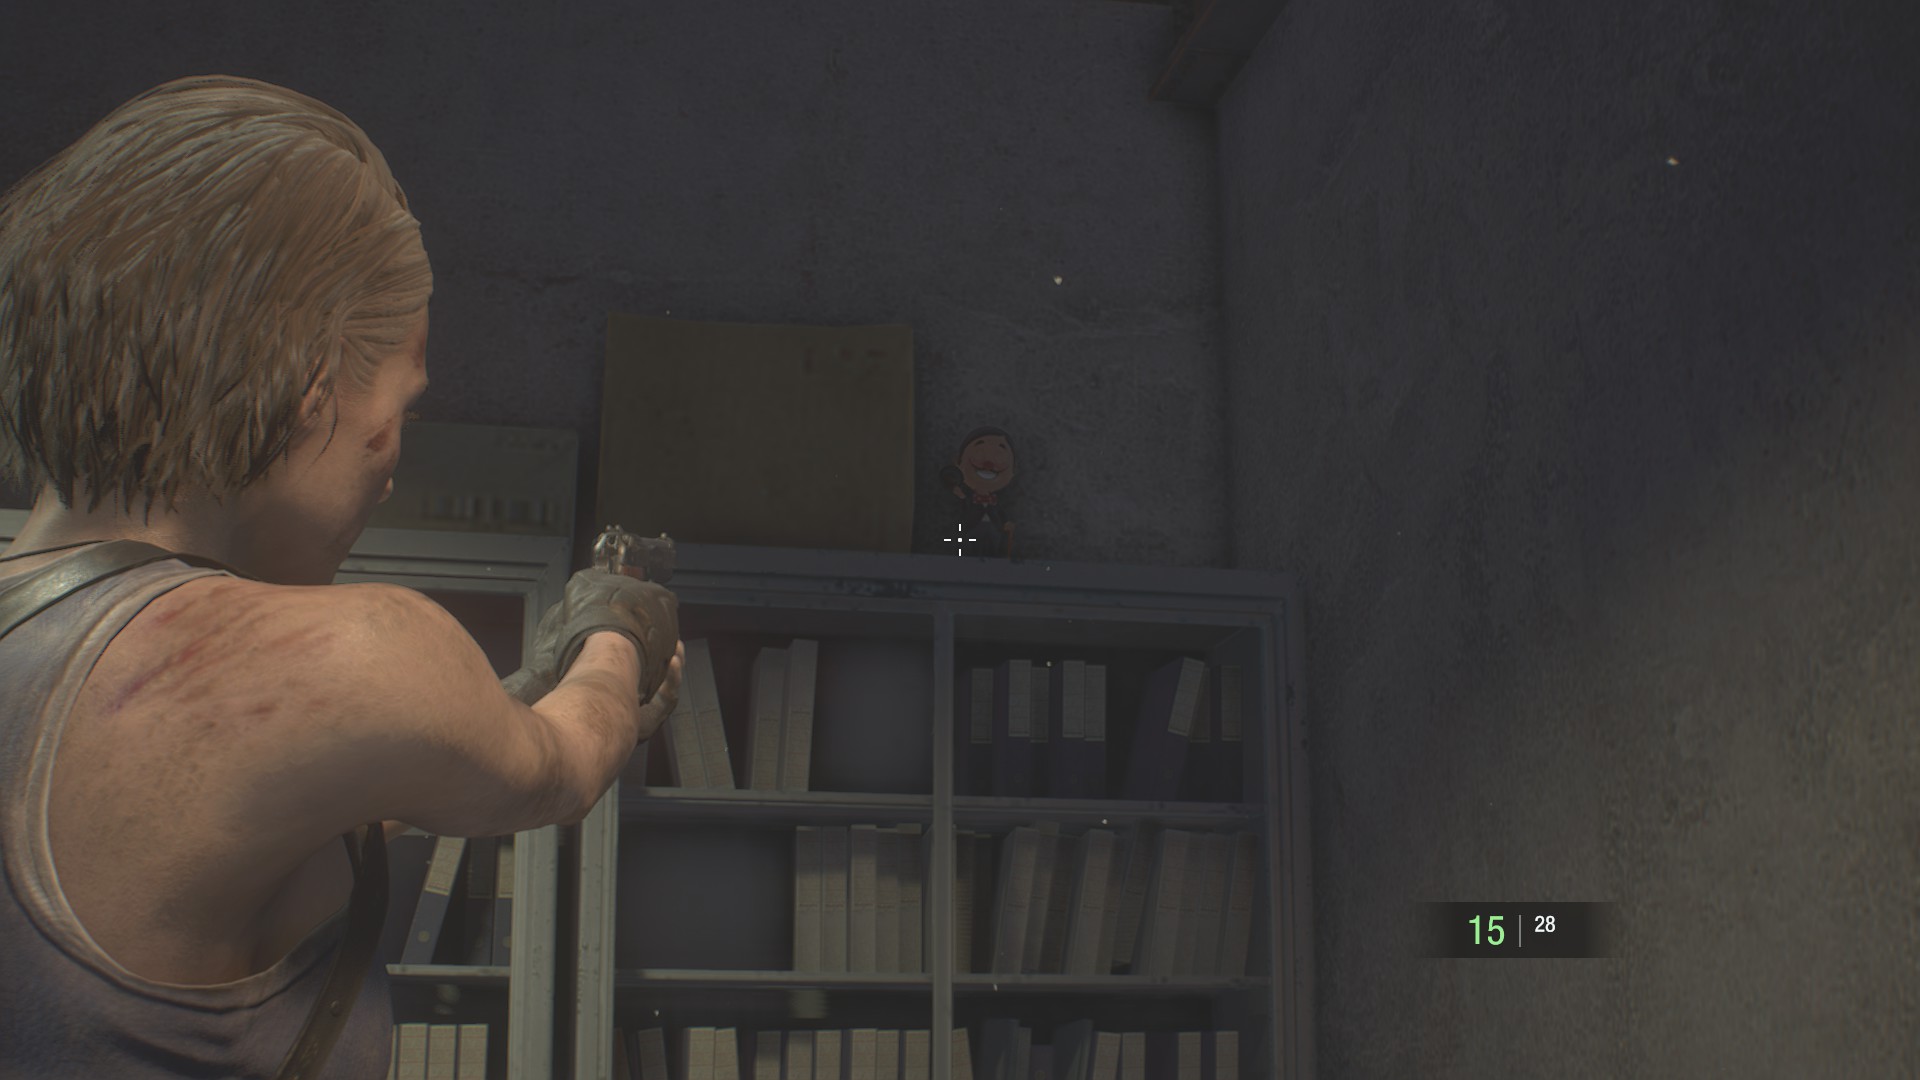
Charlie Doll #3

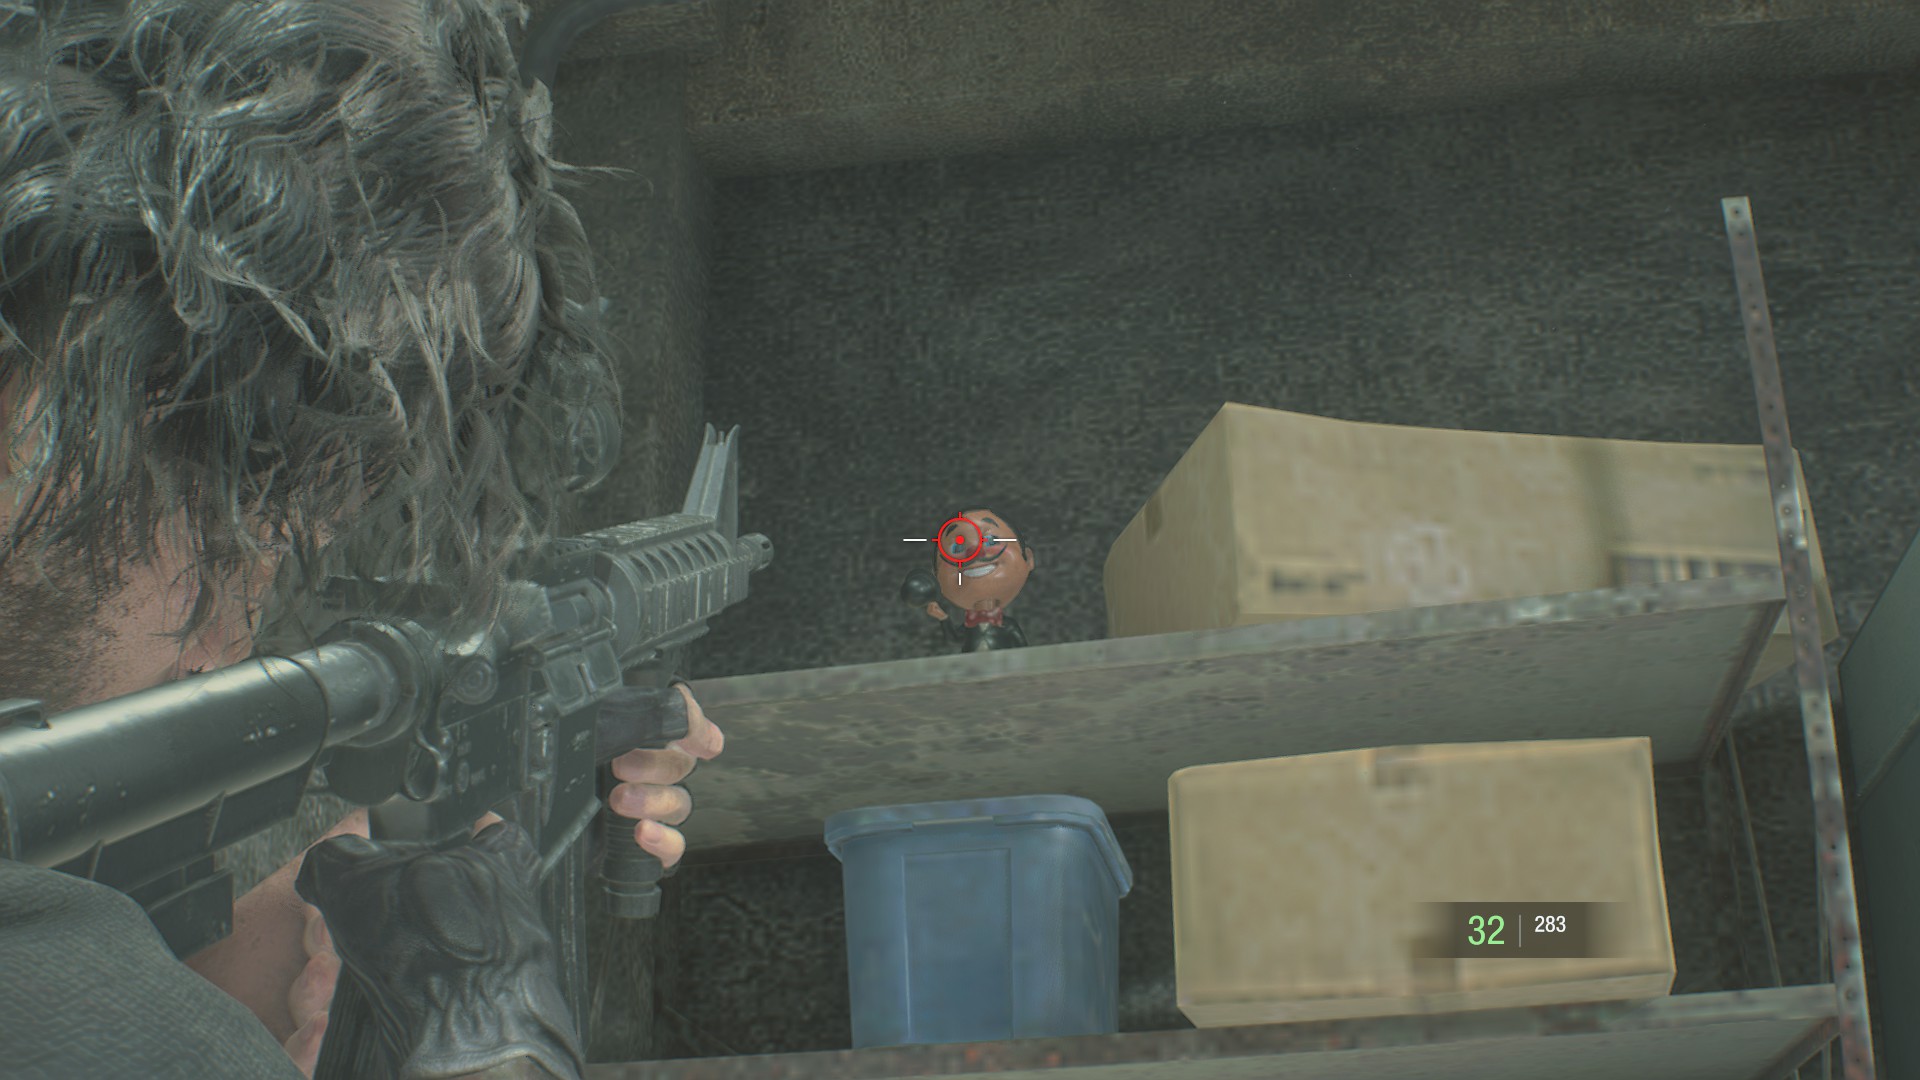
Visit the storage room above the drugstore, where you can find the game’s first safe (which contains the dot sight mod for the starting handgun). A Charlie statue can be found among the boxes on the nearby shelves.
Charlie Doll #4
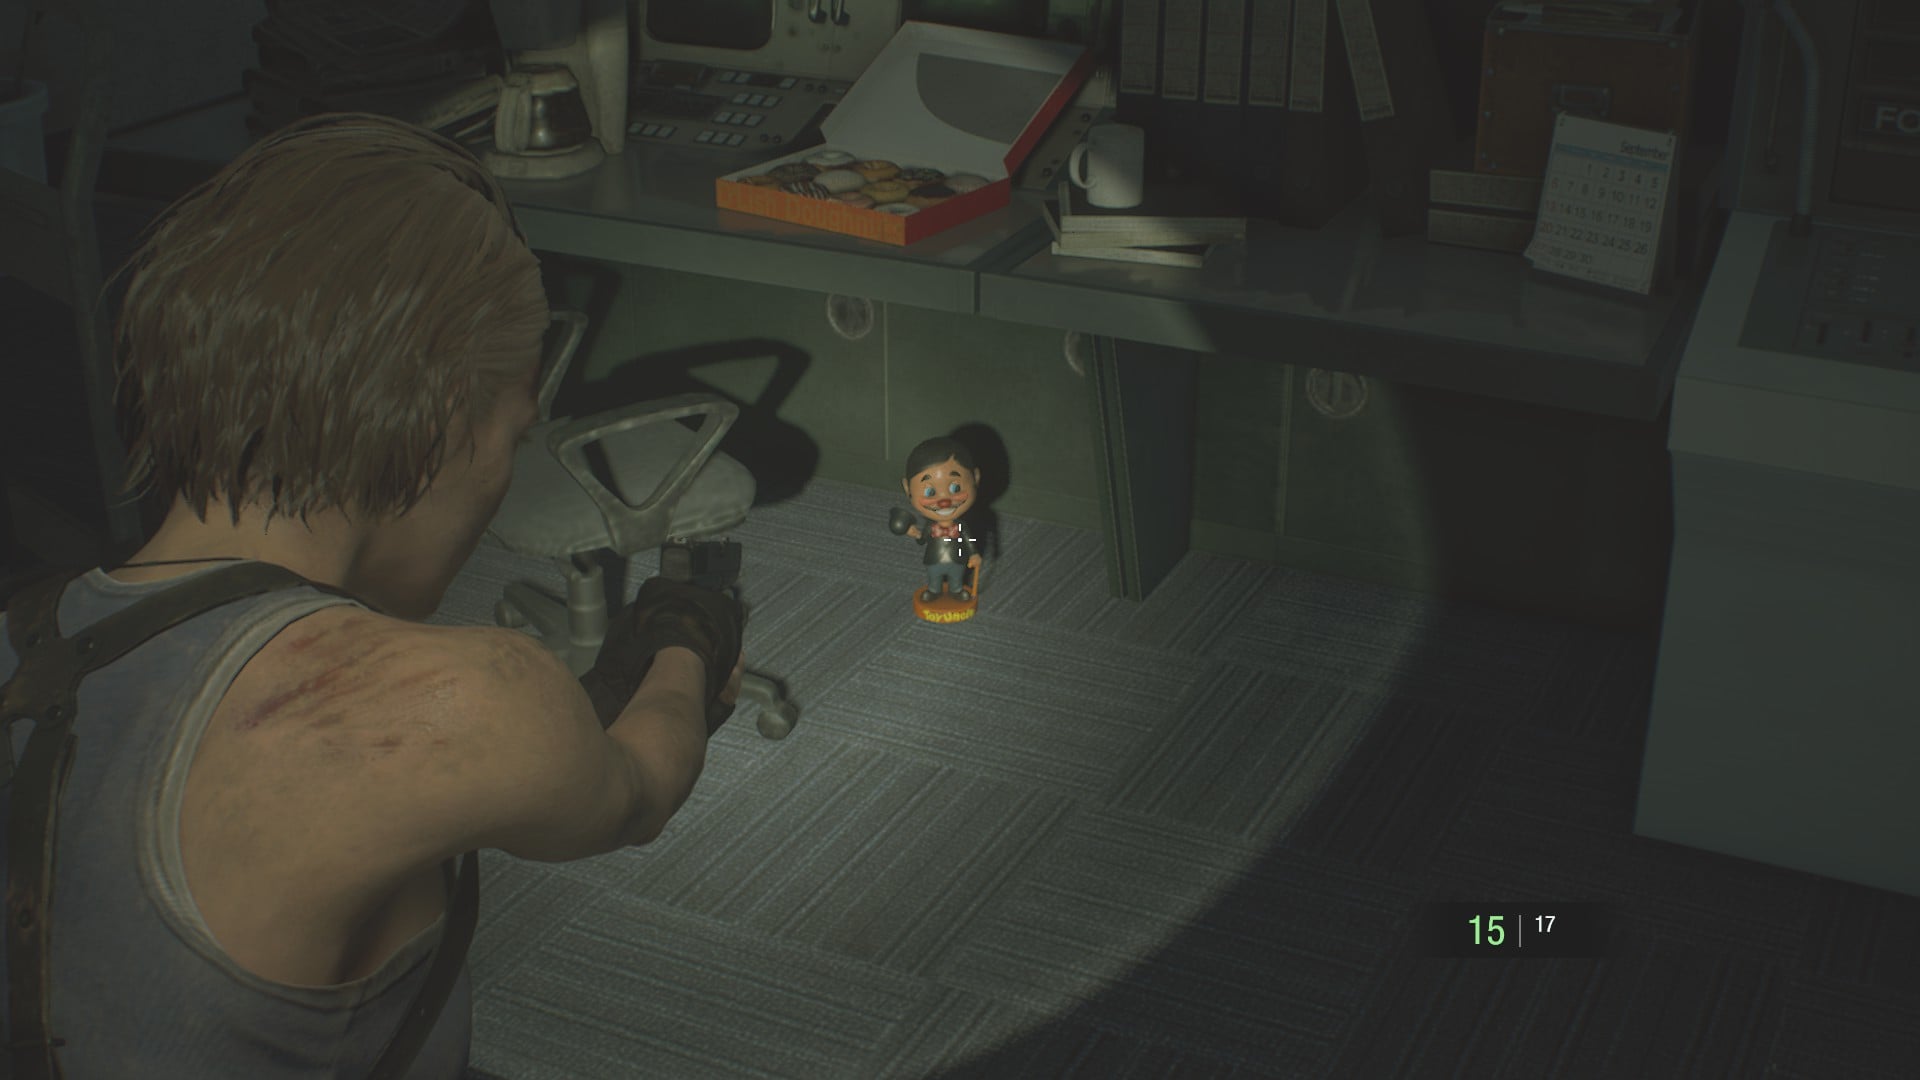
Look on the floor under the counter in the subway control office for this statue.
Charlie Doll #5
When you reach the control room for the electrical substation, check the tops of the cabinets. Charlie is leering at you from a darkened corner.
Charlie Doll #6

Once you’ve obtained the lockpick in the electrical substation, use it to break into the Toy Uncle shop. Charlie is hanging out in the middle of the Mega Man action figure display, which makes him unaccountably easy to miss at a glance, especially if Nemesis is on your tail.
Charlie Doll #7
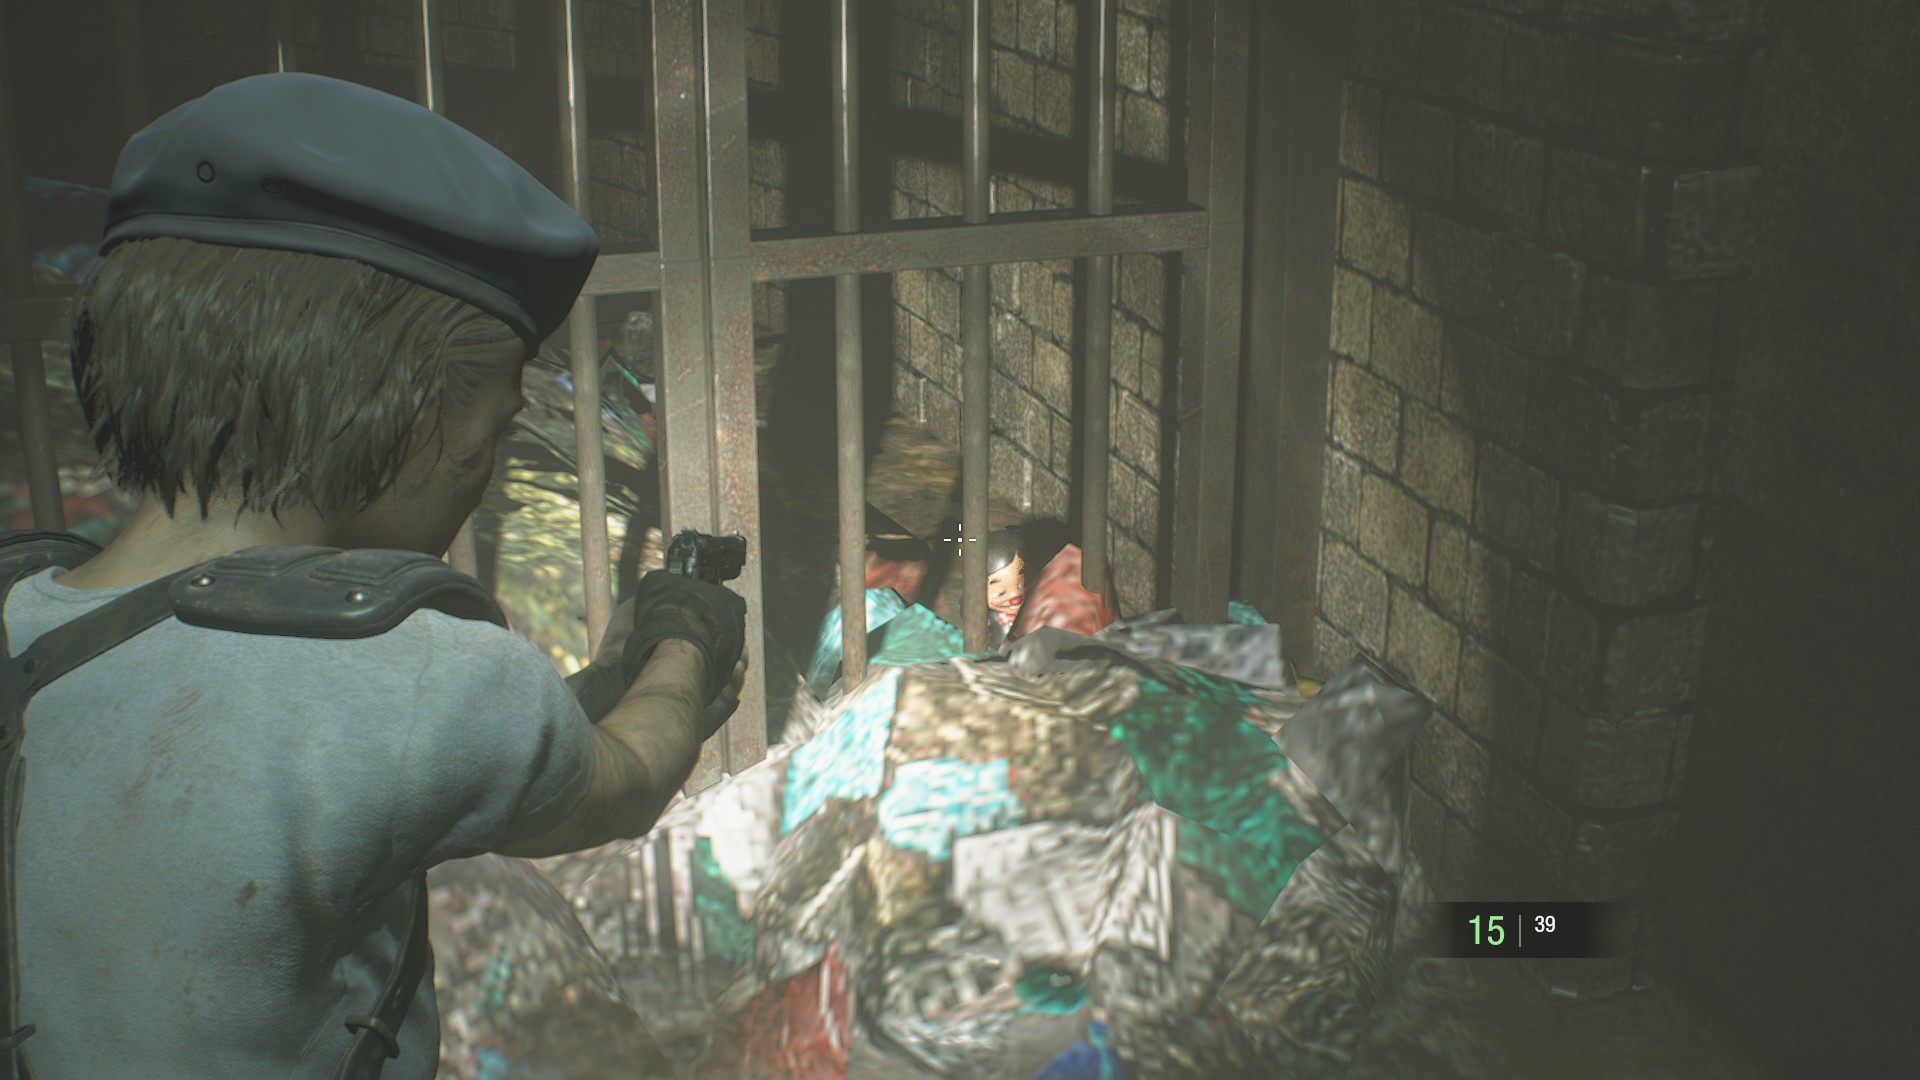
As you approach the lab in the sewers, look through the grate at the end of the tunnel. You can barely hear Charlie if you get close enough, but he’s hard to spot even at point-blank range.
Charlie Doll #8
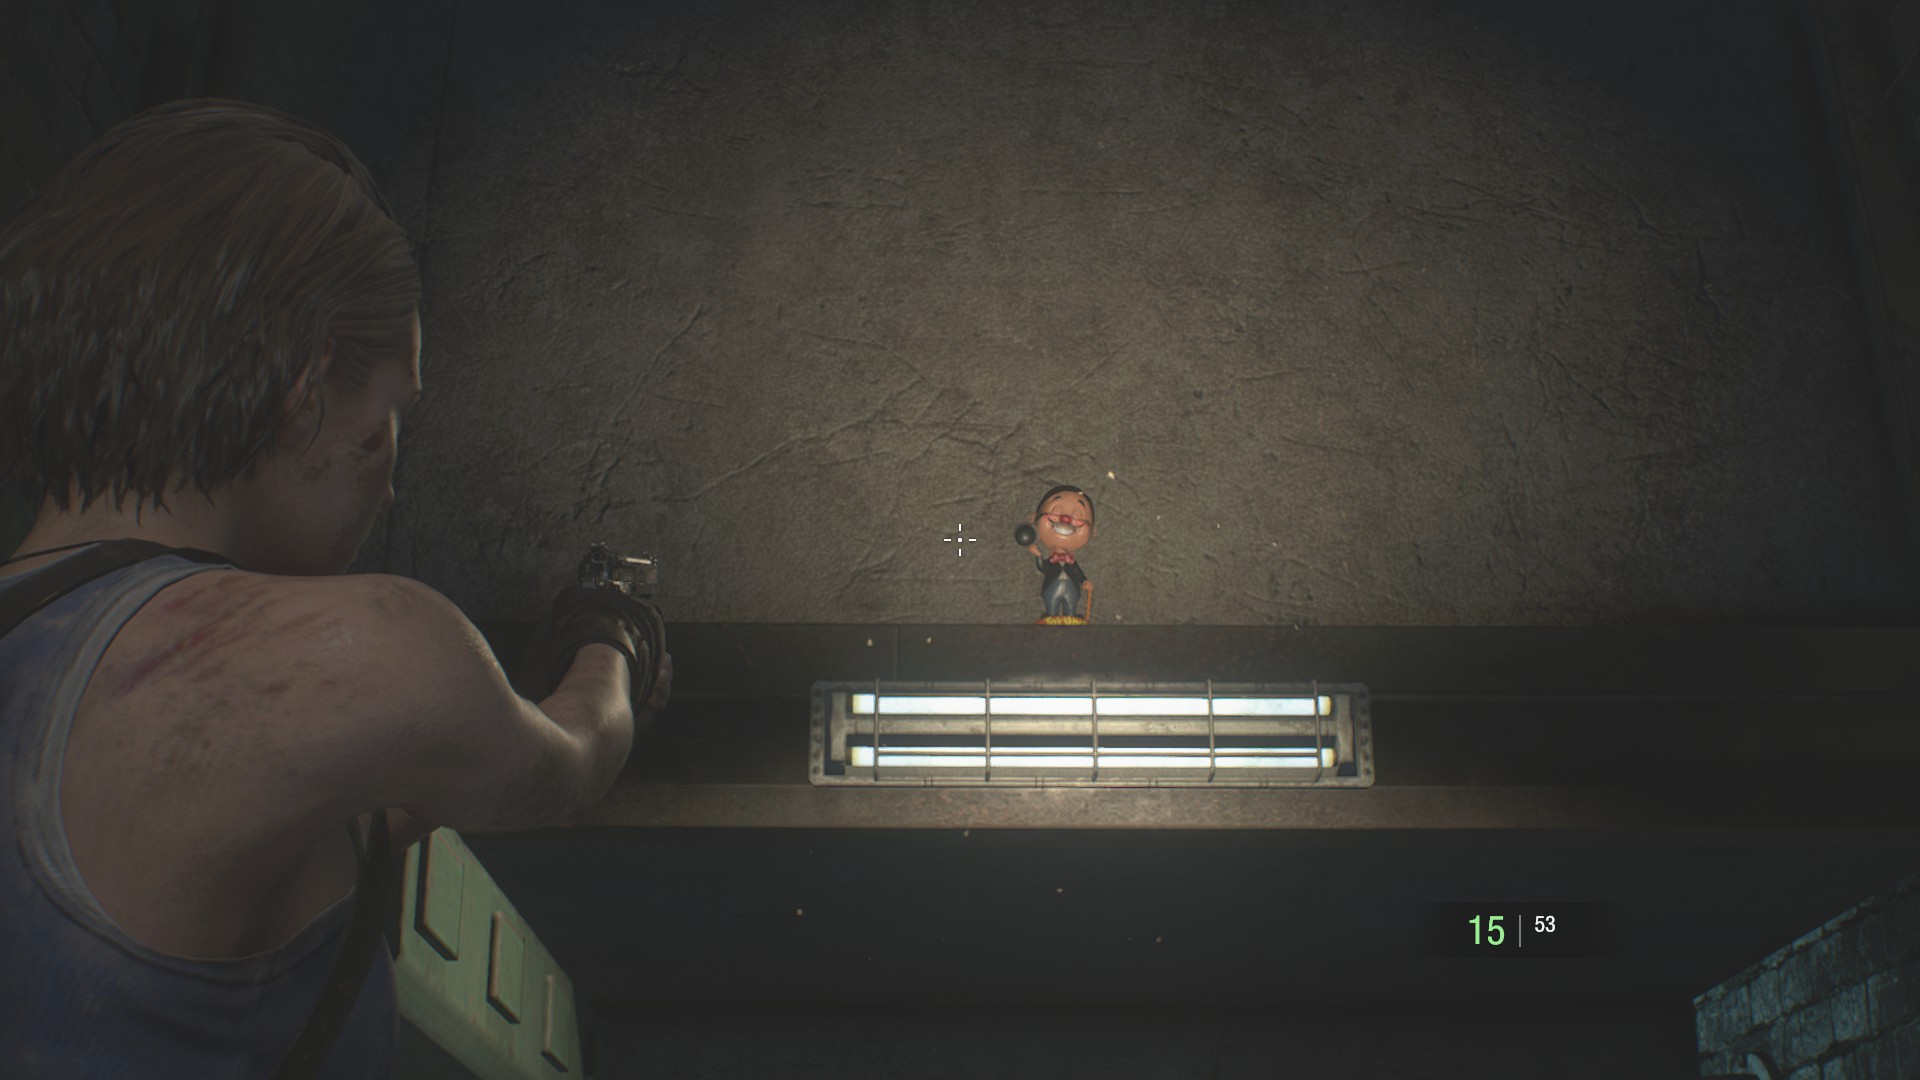
When you open the last battery-locked door in the sewers, you should hear a Charlie statue clacking from above as you step through. Get on the stairs and do a 180 to see Charlie on top of the doorway.
Charlie Doll #9

This one’s a freebie. Charlie’s right in front of you when you enter the small house behind Kendo’s gun shop.
Charlie Doll #10
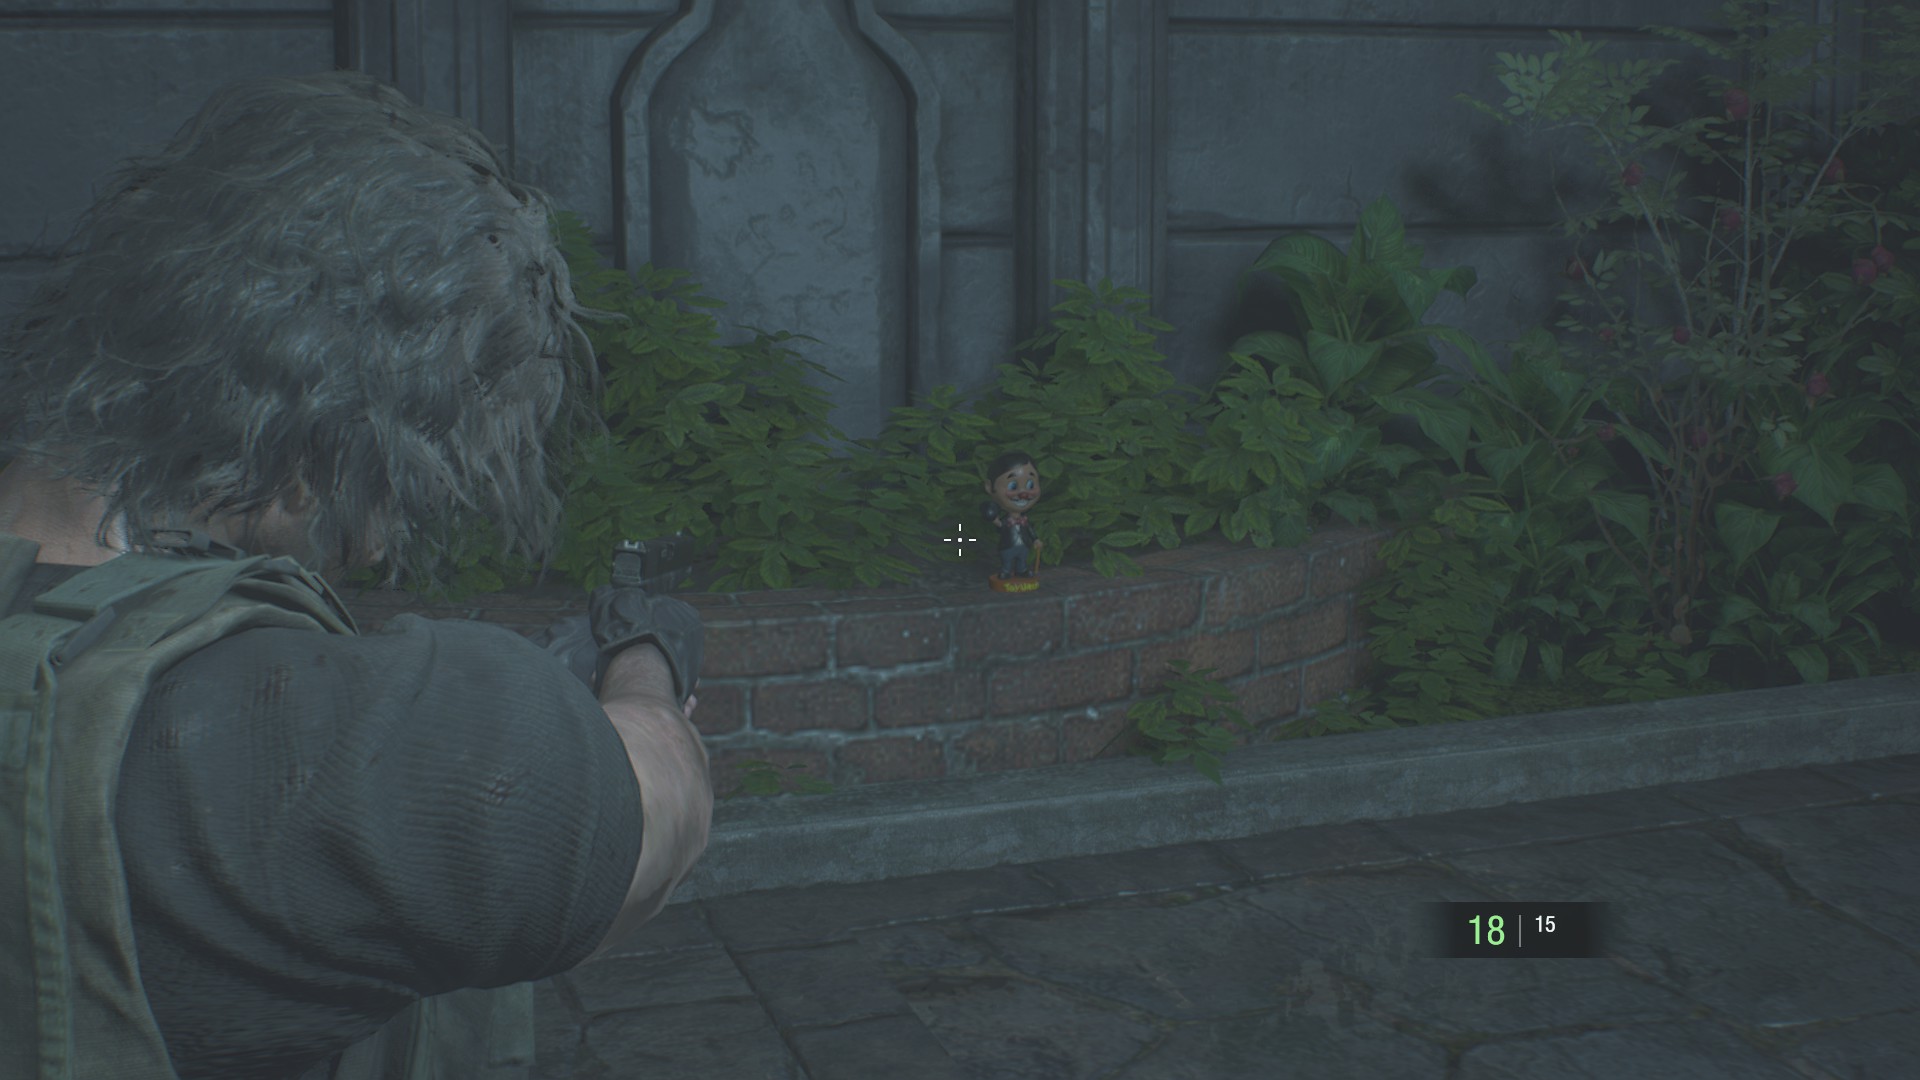
Before you enter the RPD’s main hall as Carlos, go back the way you came and descend the stairs. If you follow the passageway east, past the old night watchman’s room from RE2‘s 2nd Run, you’ll find a semi-hidden area that contains a red herb, some rifle ammo, and this Charlie statue, standing on a planter.
Charlie Doll #11
As you’re facing the weapons locker at the north end of the secure storage room in the RPD, look up and to the left to find Charlie hanging out on a high shelf.
Charlie Doll #12
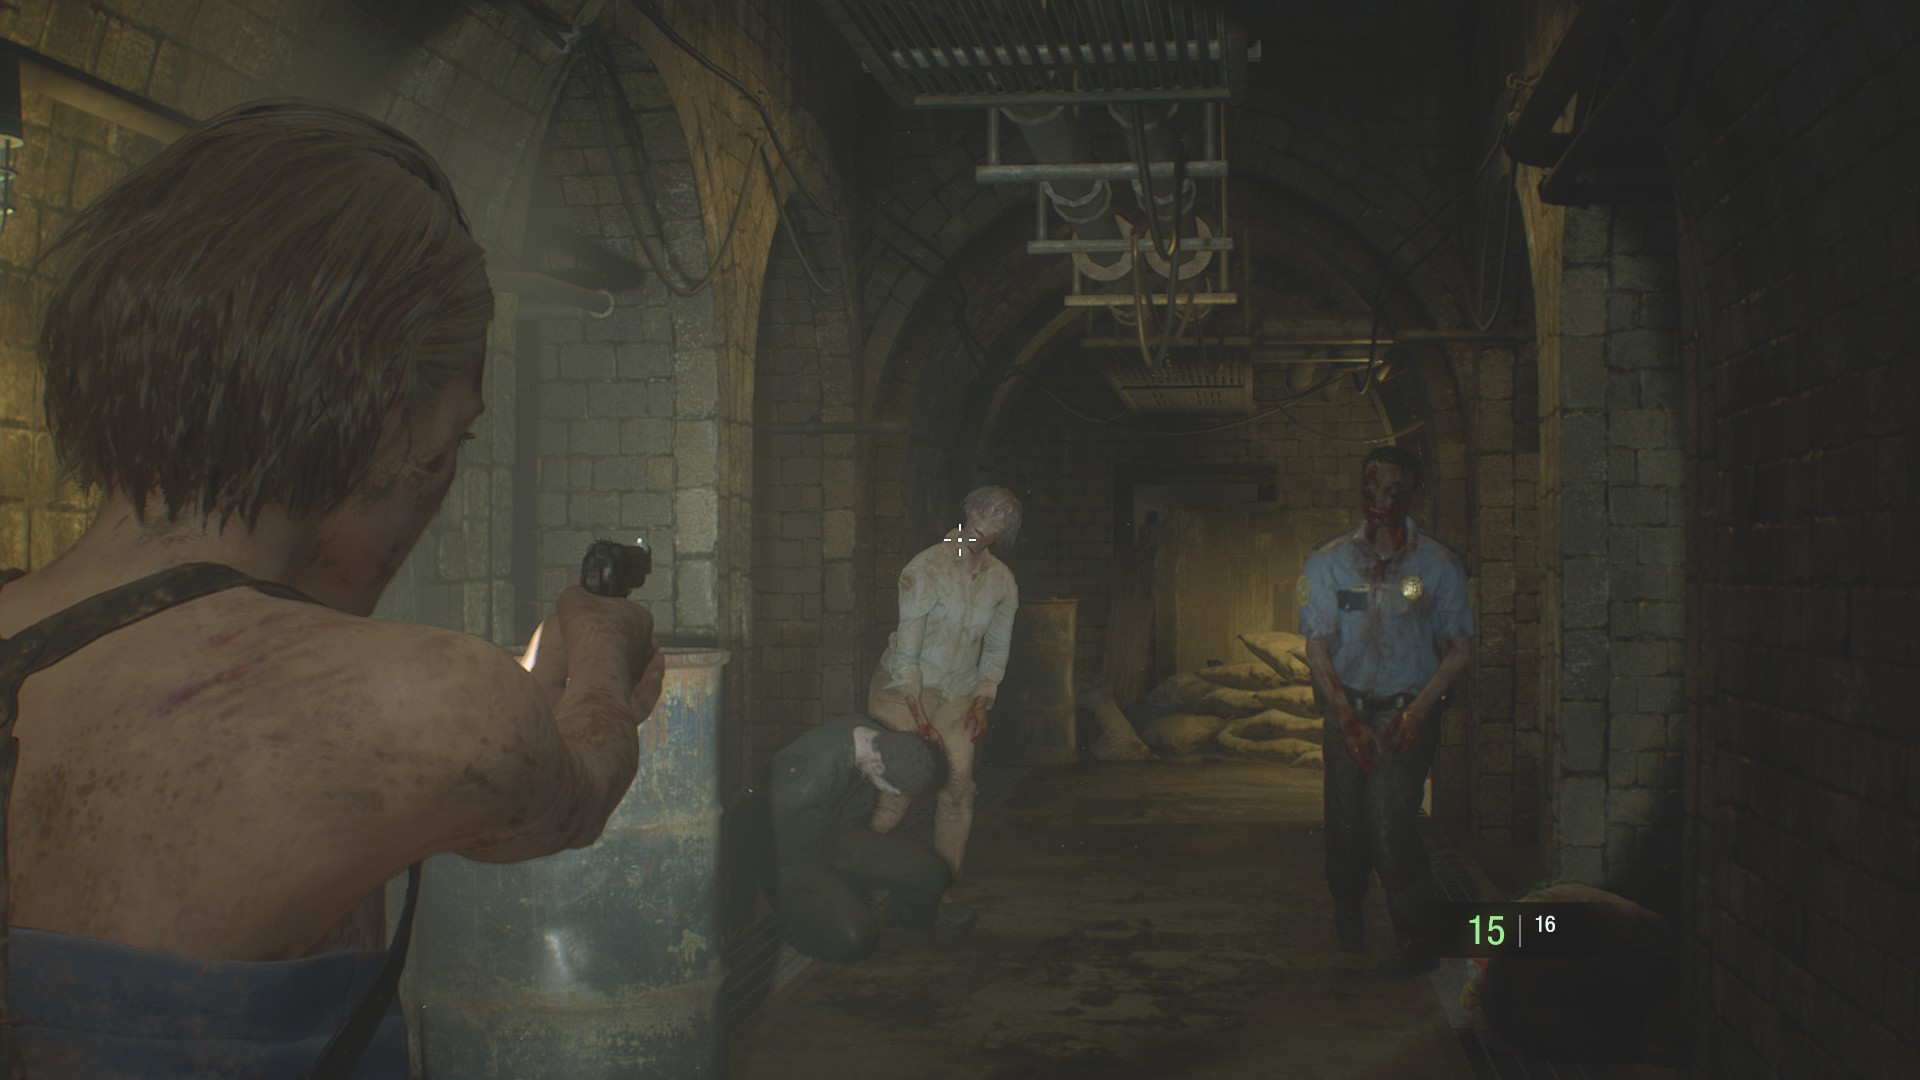
When you return to playing as Jill after Carlos’ run through the RPD, you’re handed a bunch of mine rounds for the first time in a safe room. Subsequently, you enter a hallway that’s infested with zombies. If you do the natural thing and test out your new explosives on the zombies, the Charlie hidden in one of the side rooms is likely going to end up as collateral damage.
Charlie Doll #13
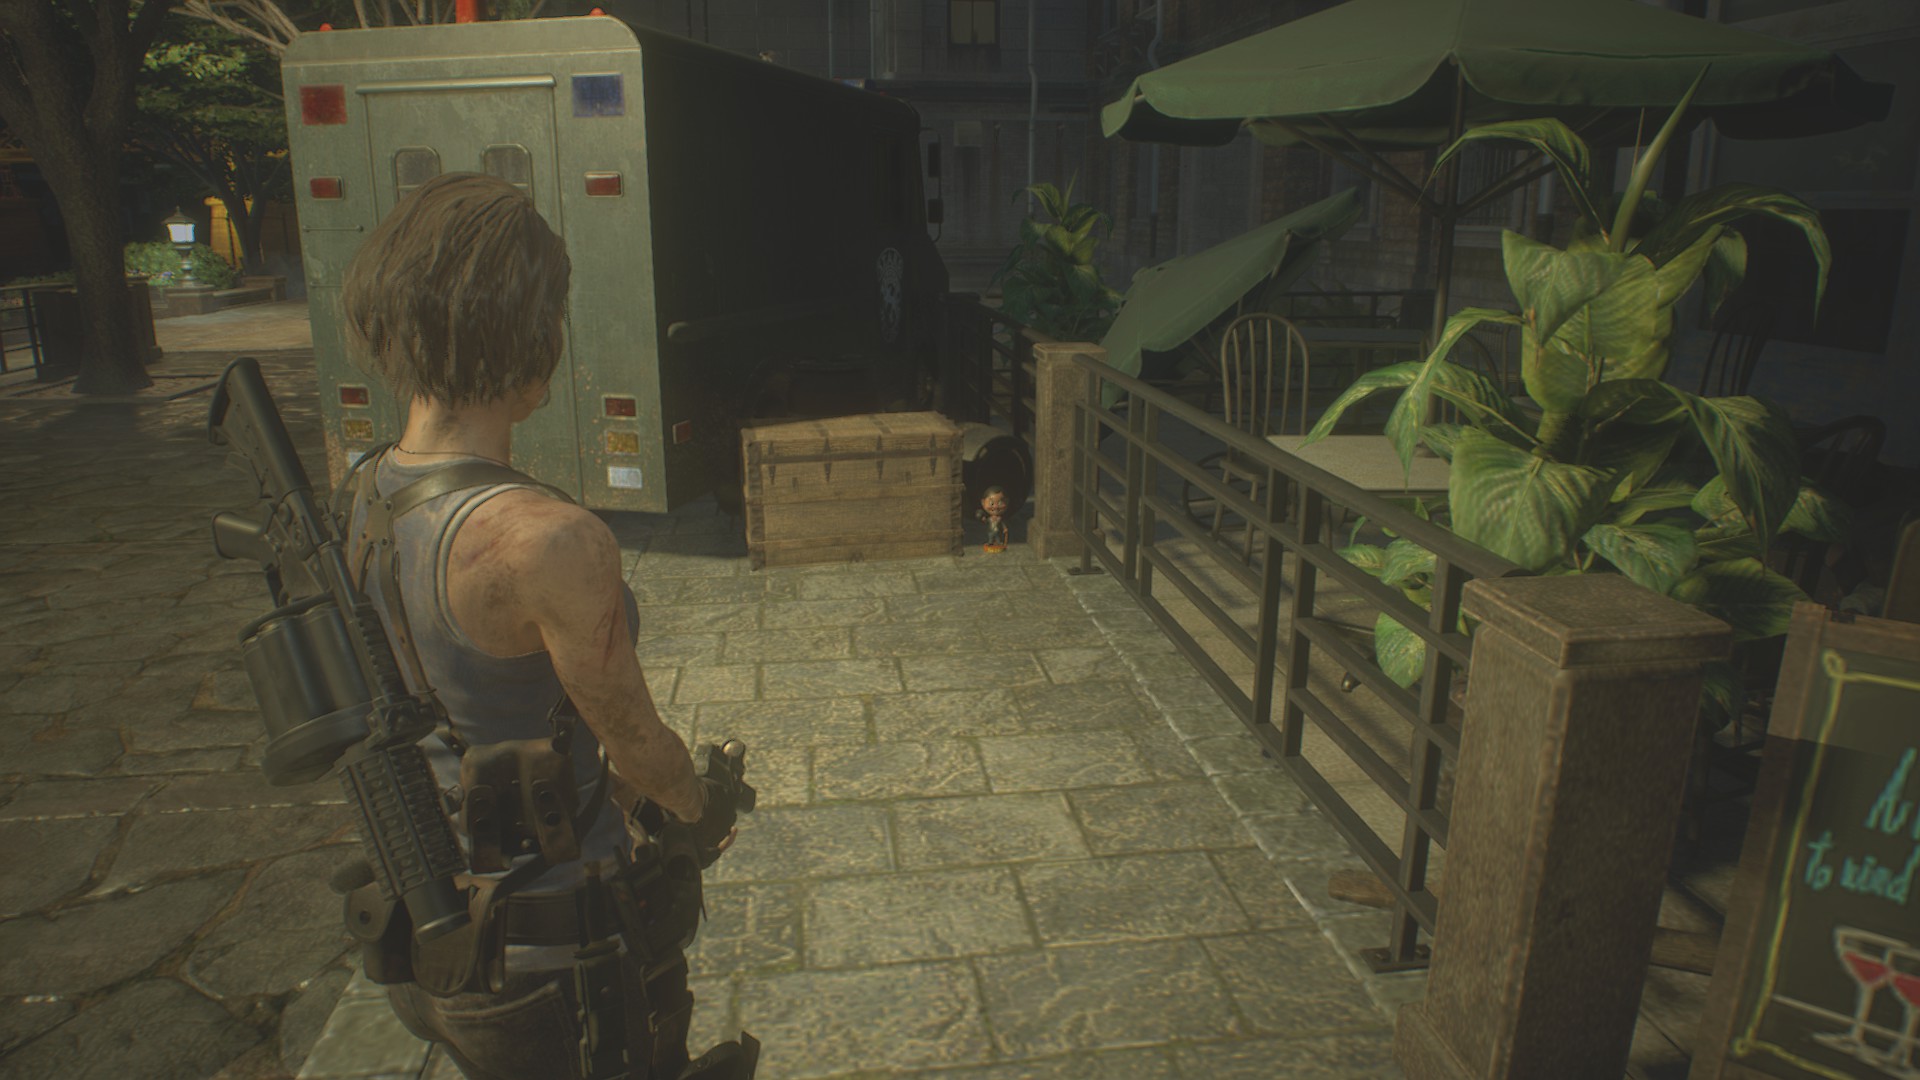
Once you reach the Clock Tower Plaza as Jill, search the area. This Charlie statue is hanging out on the ground next to the parked delivery van.
Charlie Doll #14
You’ll find this on a gurney in the hallway in front of the lab reception area in the hospital. It’s not really hidden.
Charlie Doll #15

As you come through the west door onto the hospital’s roof, look to your right, on the ground between the ventilation unit and the wall.
Charlie Doll #16

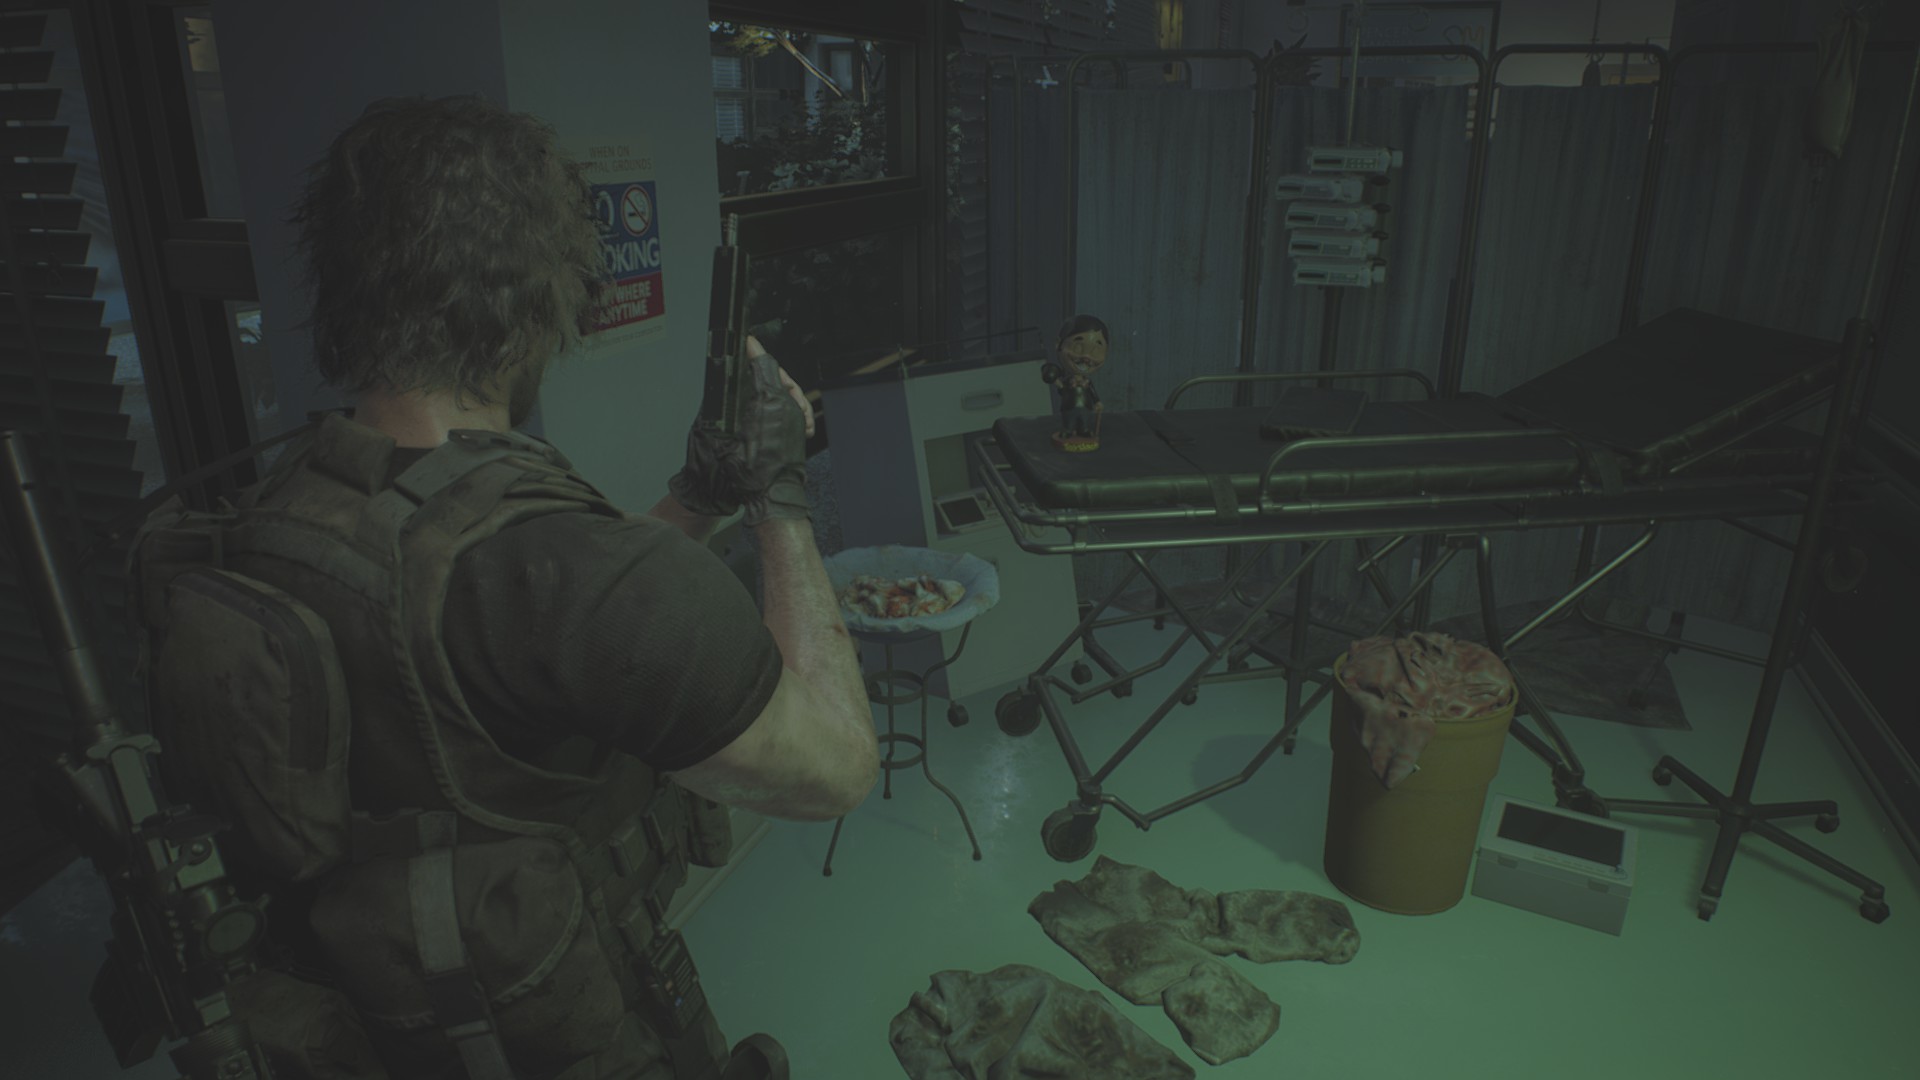
You’ll hear this one well before you spot it. It’s inside an otherwise-empty wastebasket in the hospital’s sickroom.
Charlie Doll #17
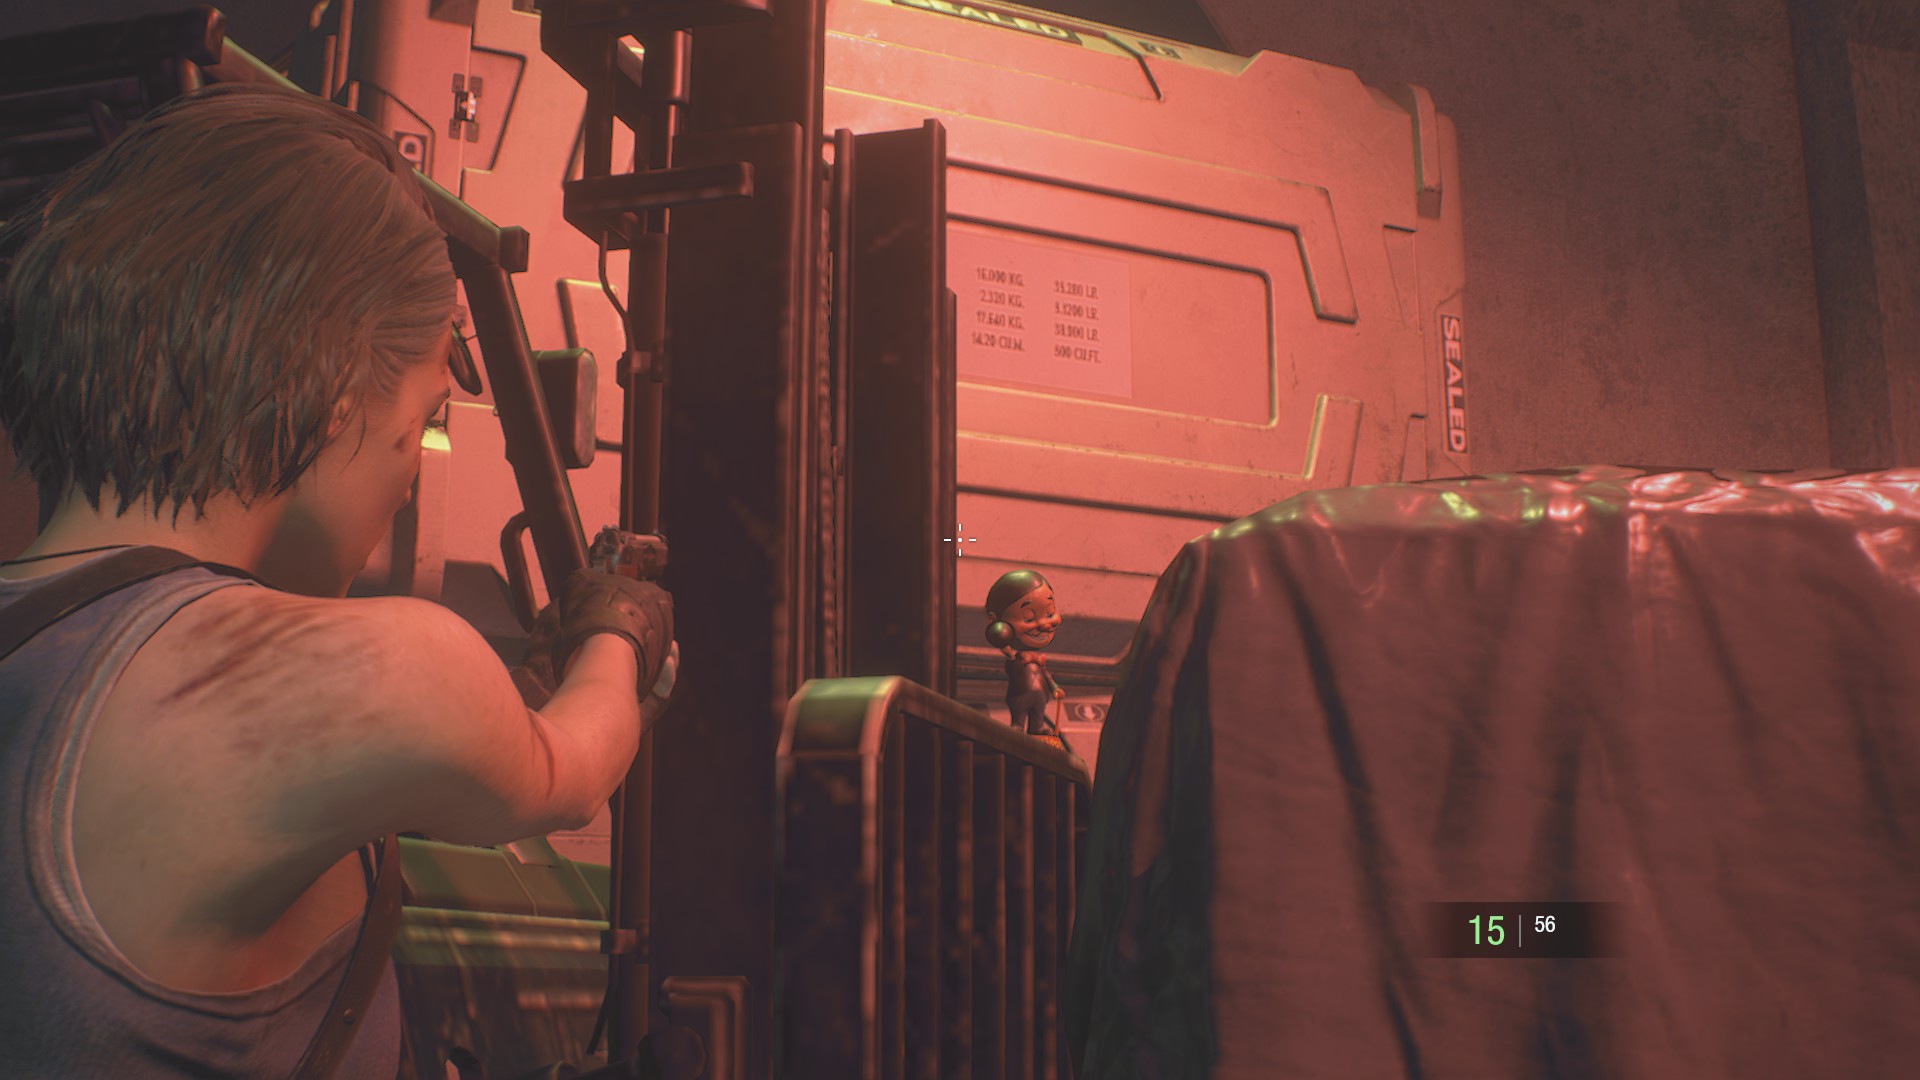
As Jill, use the lockpick to open the “forbidden door” on the east side of the reception area of the hospital. Proceed to the freight elevator, but before you get on board, check the nearby forklift to find Charlie atop it.
Charlie Doll #18
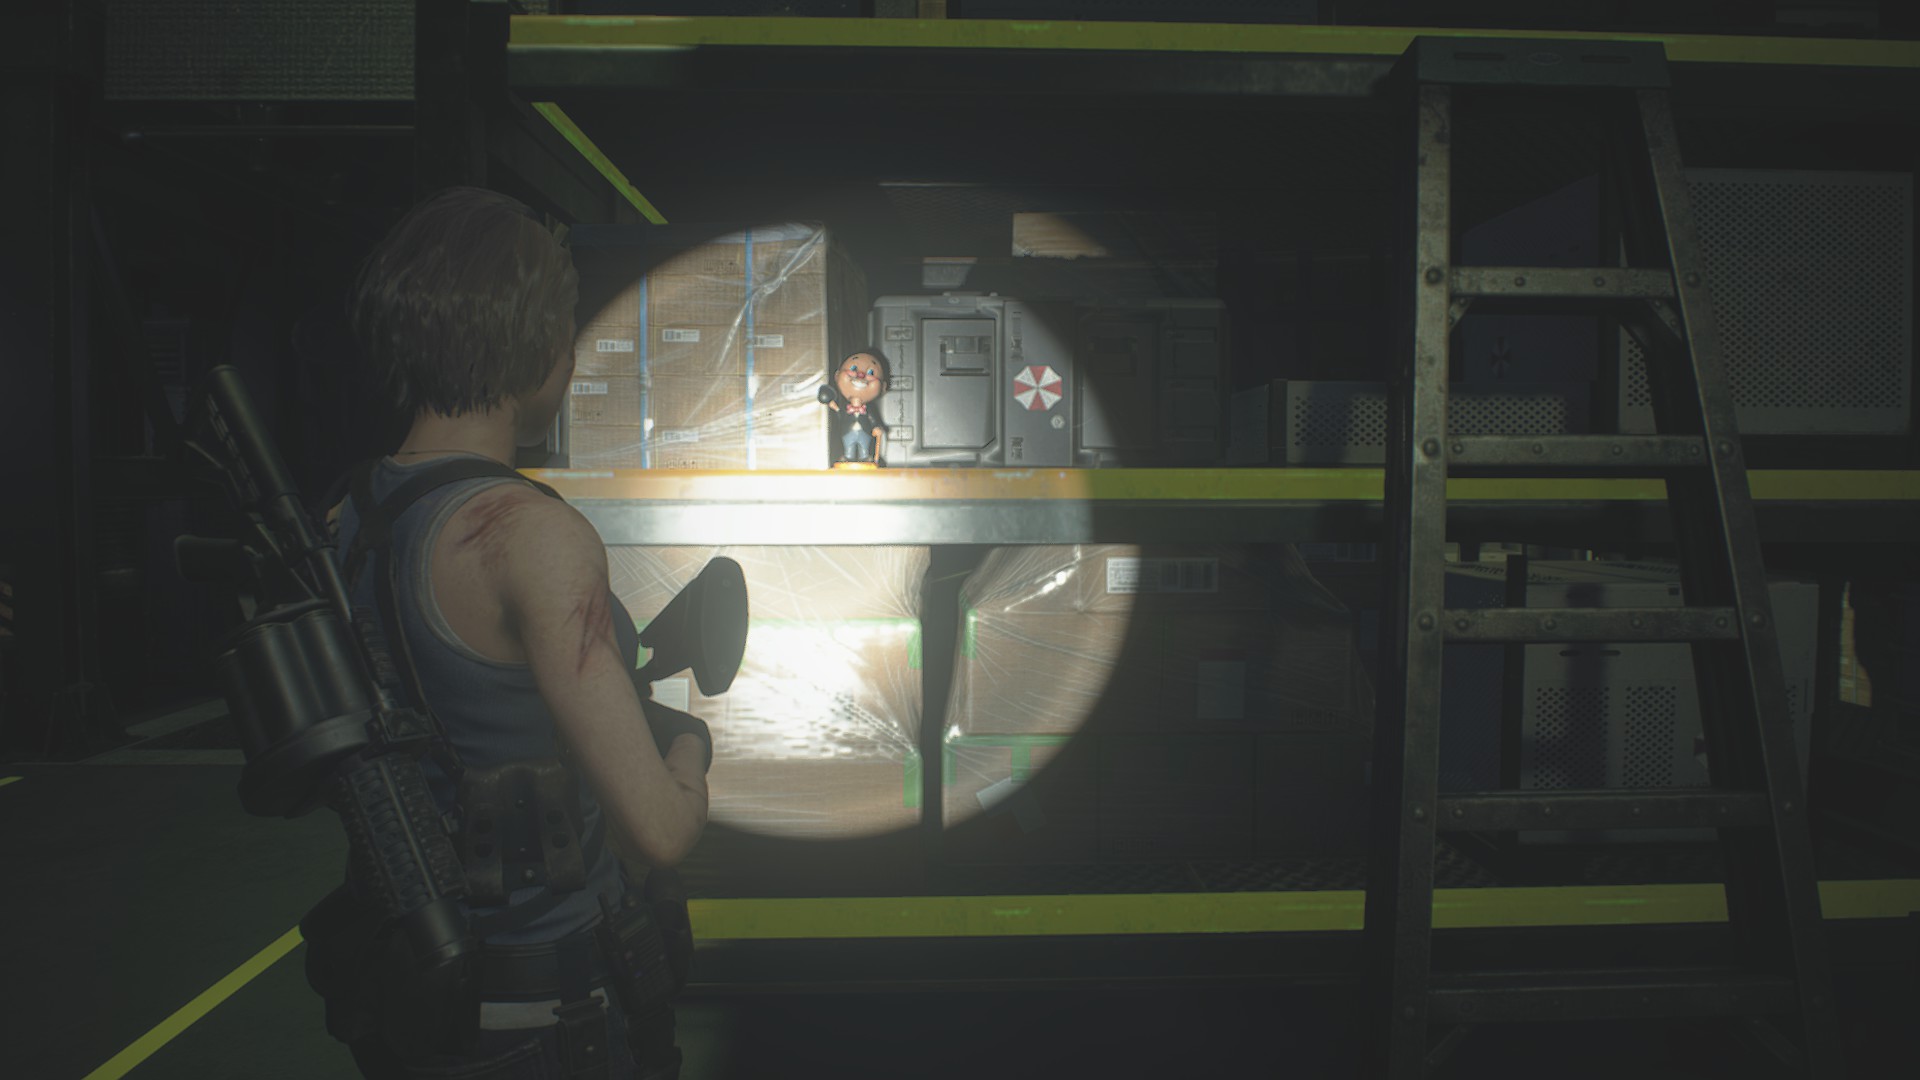
While you’re hunting for fuses in the warehouse, there’s a point where you need to squeeze through a small gap between shelves. Once you reach the other side, you should spot Charlie standing at eye level on the right-hand shelf.
Charlie Doll #19
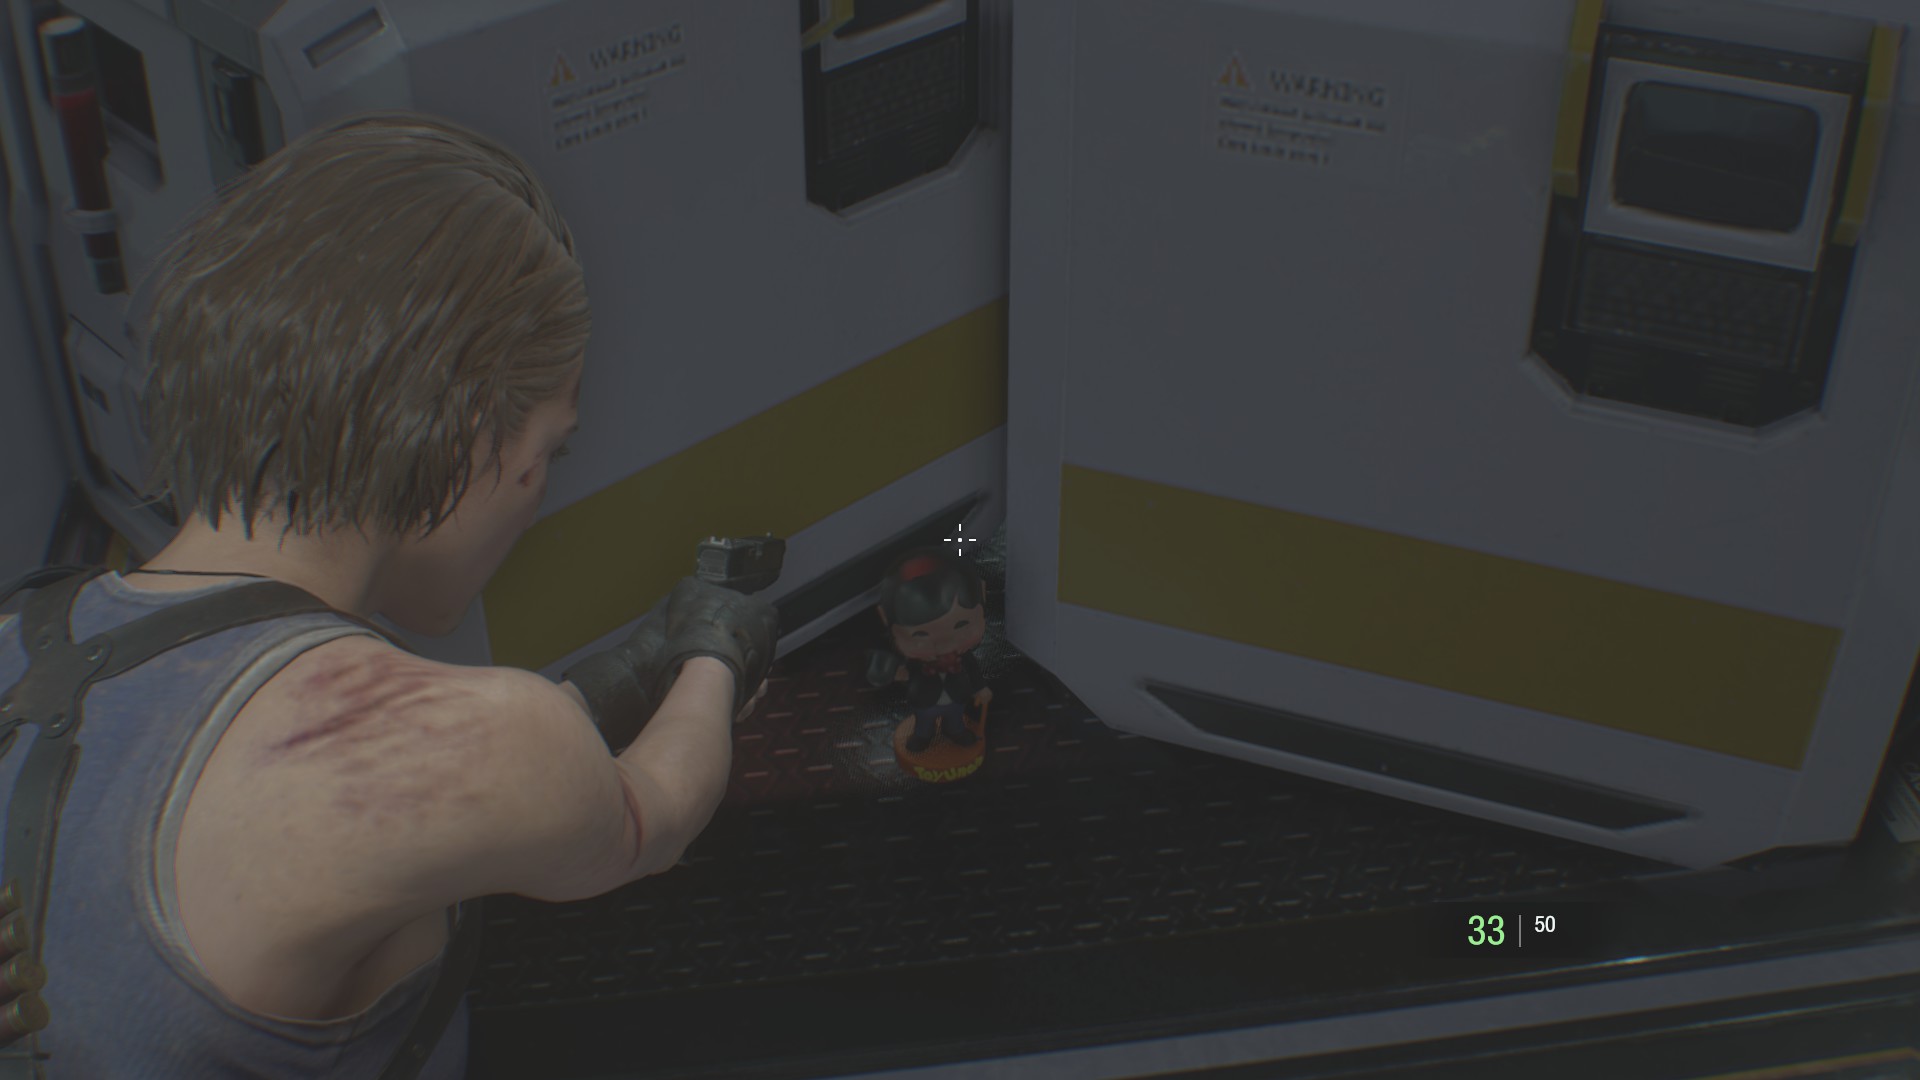
You can hear this Charlie statue before you can reach it. It’s on the other side of the blocked corridor near Lab A in the NEST 2. You’ll need the override key to access Lab A. While you’re there, poke your head into the small stretch of hallway on the other side of the barricade and destroy Charlie.
Charlie Doll #20

There’s a small, seemingly-pointless balcony just north of the vaccine synthesizer in the NEST 2, and the only thing on it is the final Charlie statue, hiding in the most shadowy corner thereof.
—
Those are all of the Resident Evil 3 Charlie doll locations. Once you grab all of the statues, you’ll be one step closer to grabbing all of the trophies and achievements in the game.


Published: Apr 10, 2020 01:39 am