You’ve taken up Stasis in Destiny 2: Beyond Light, and now it’s time to upgrade it, which you’ll officially start at the second step of the Born in Darkness quest.
It all begins with a new mission from the Exo Stranger: Aspect of Control. This quest tasks you with finding and shattering five Entropic Shards scattered across Europa. There are nine of them in total, only eight of which are currently available.
There is a catch, though. You need the Salvation’s Grip exotic, a Stasis elemental grenade launcher, to properly destroy them. Check out our guide to Salvation’s Grip to get your hands on the weapon.
This guide will show you where all eight shards are and how to get there.
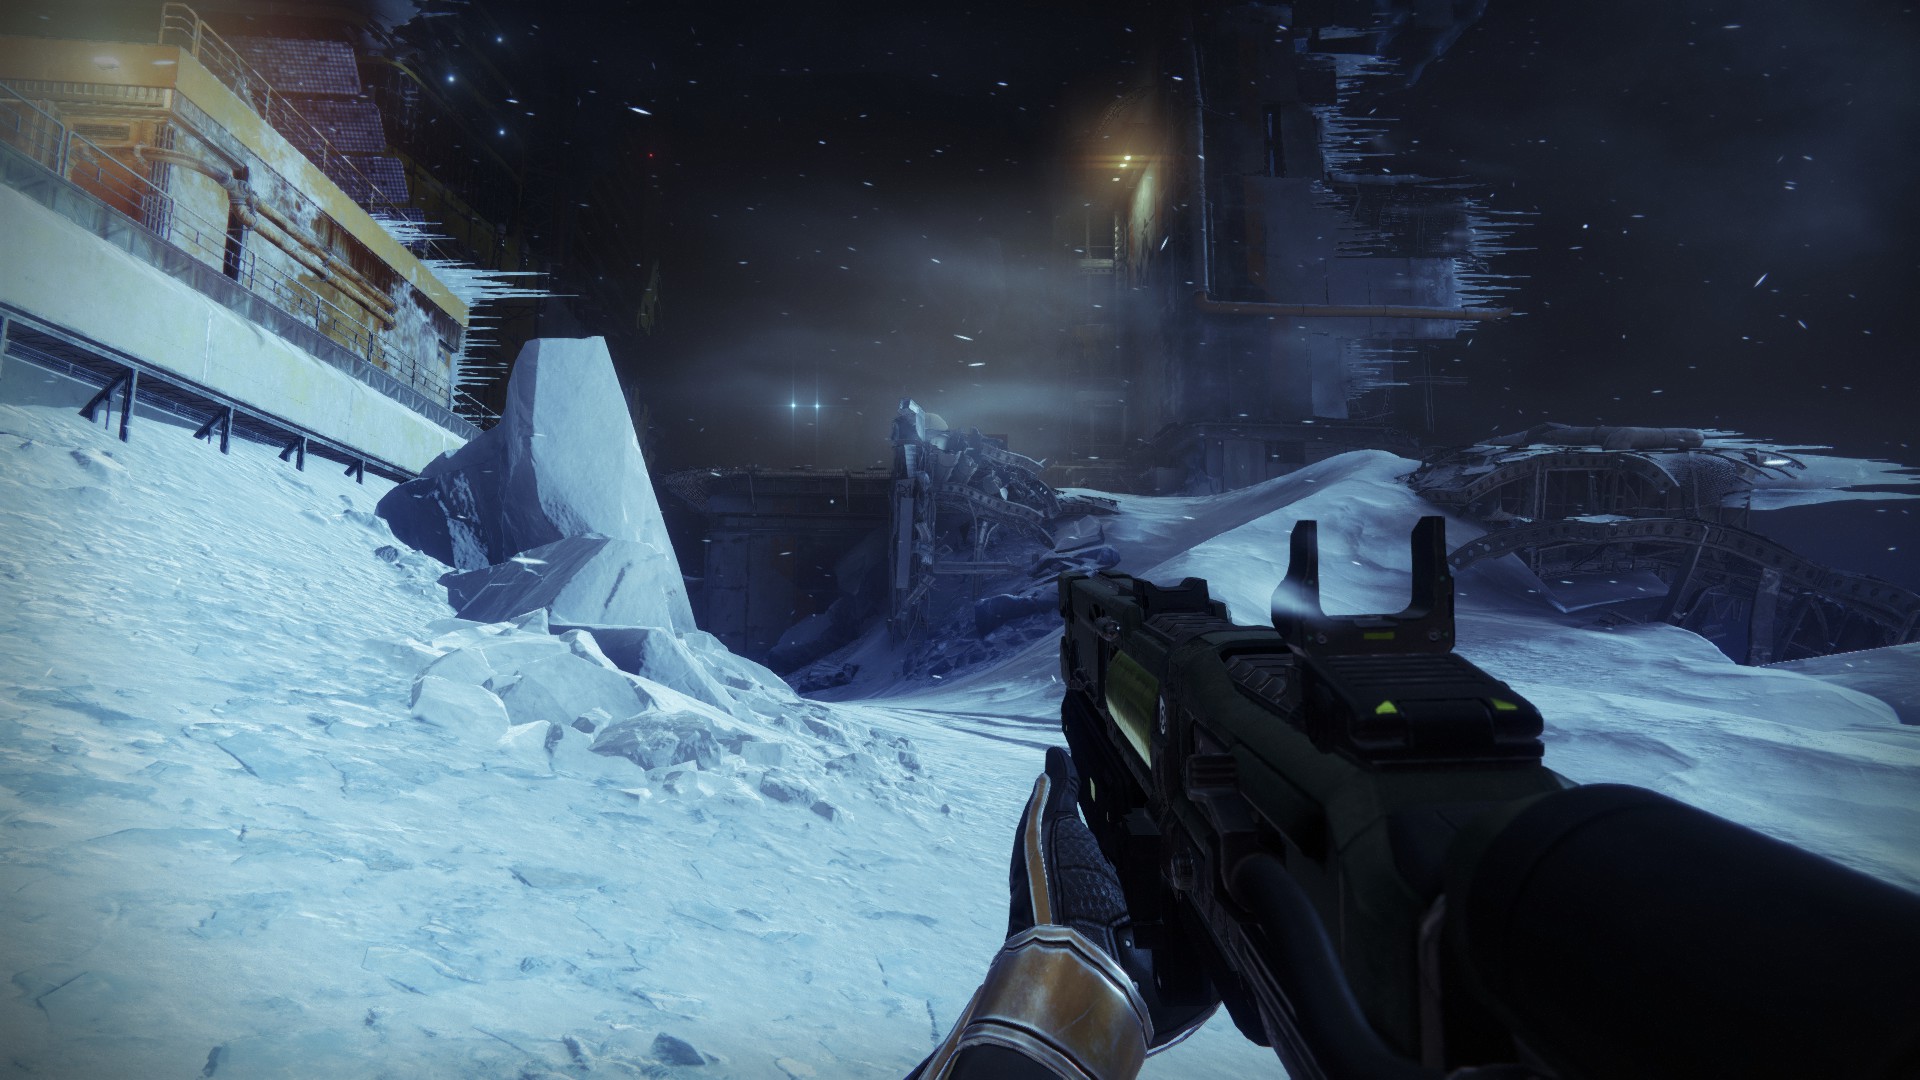
Shard 1: The Asterion Abyss
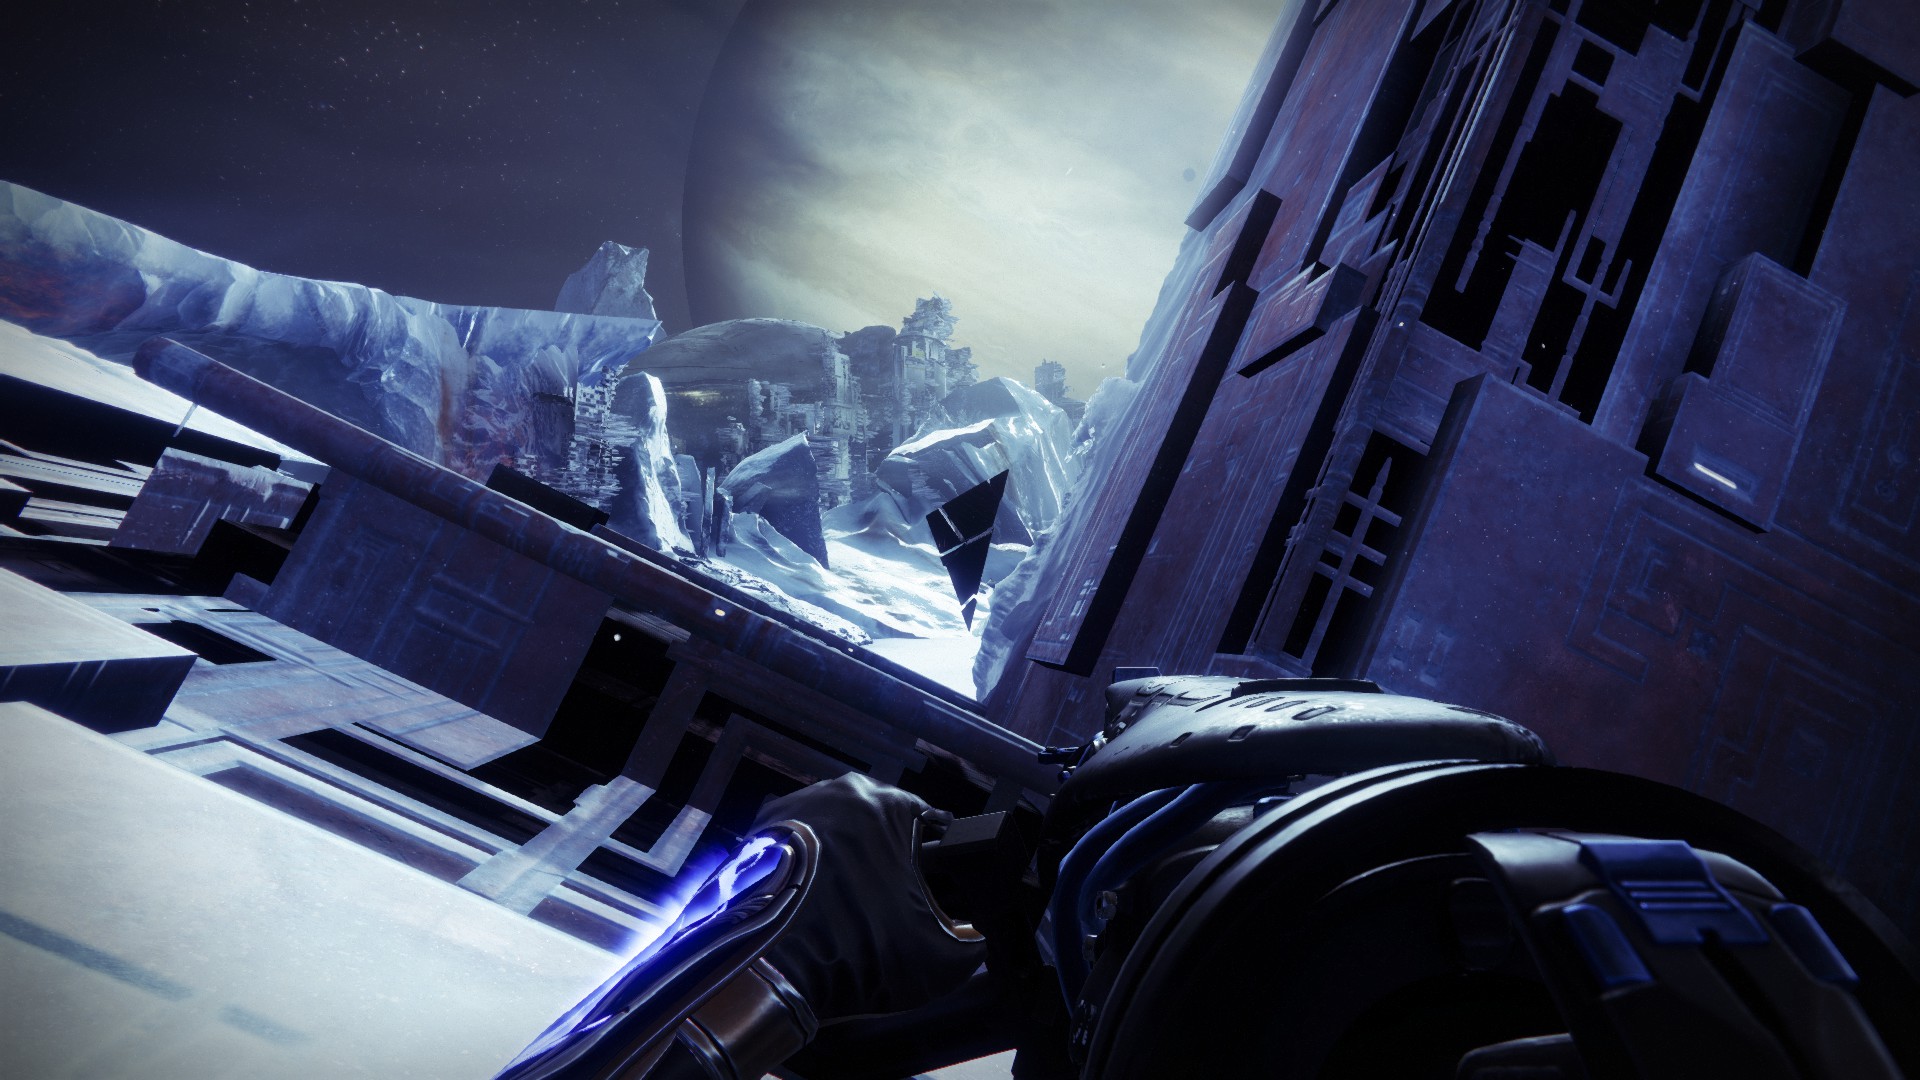
The first shard is one of the easier shards to find and destroy. All you need to do is head to the Asterion Abyss and make your way to the large structure in the middle of the area. Head to the northern part of the ruin so you can see a ramp going upwards.
Follow the ramp up, jump across the small gap, and turn to the right at the top. The shard sits up against a wall nearby.
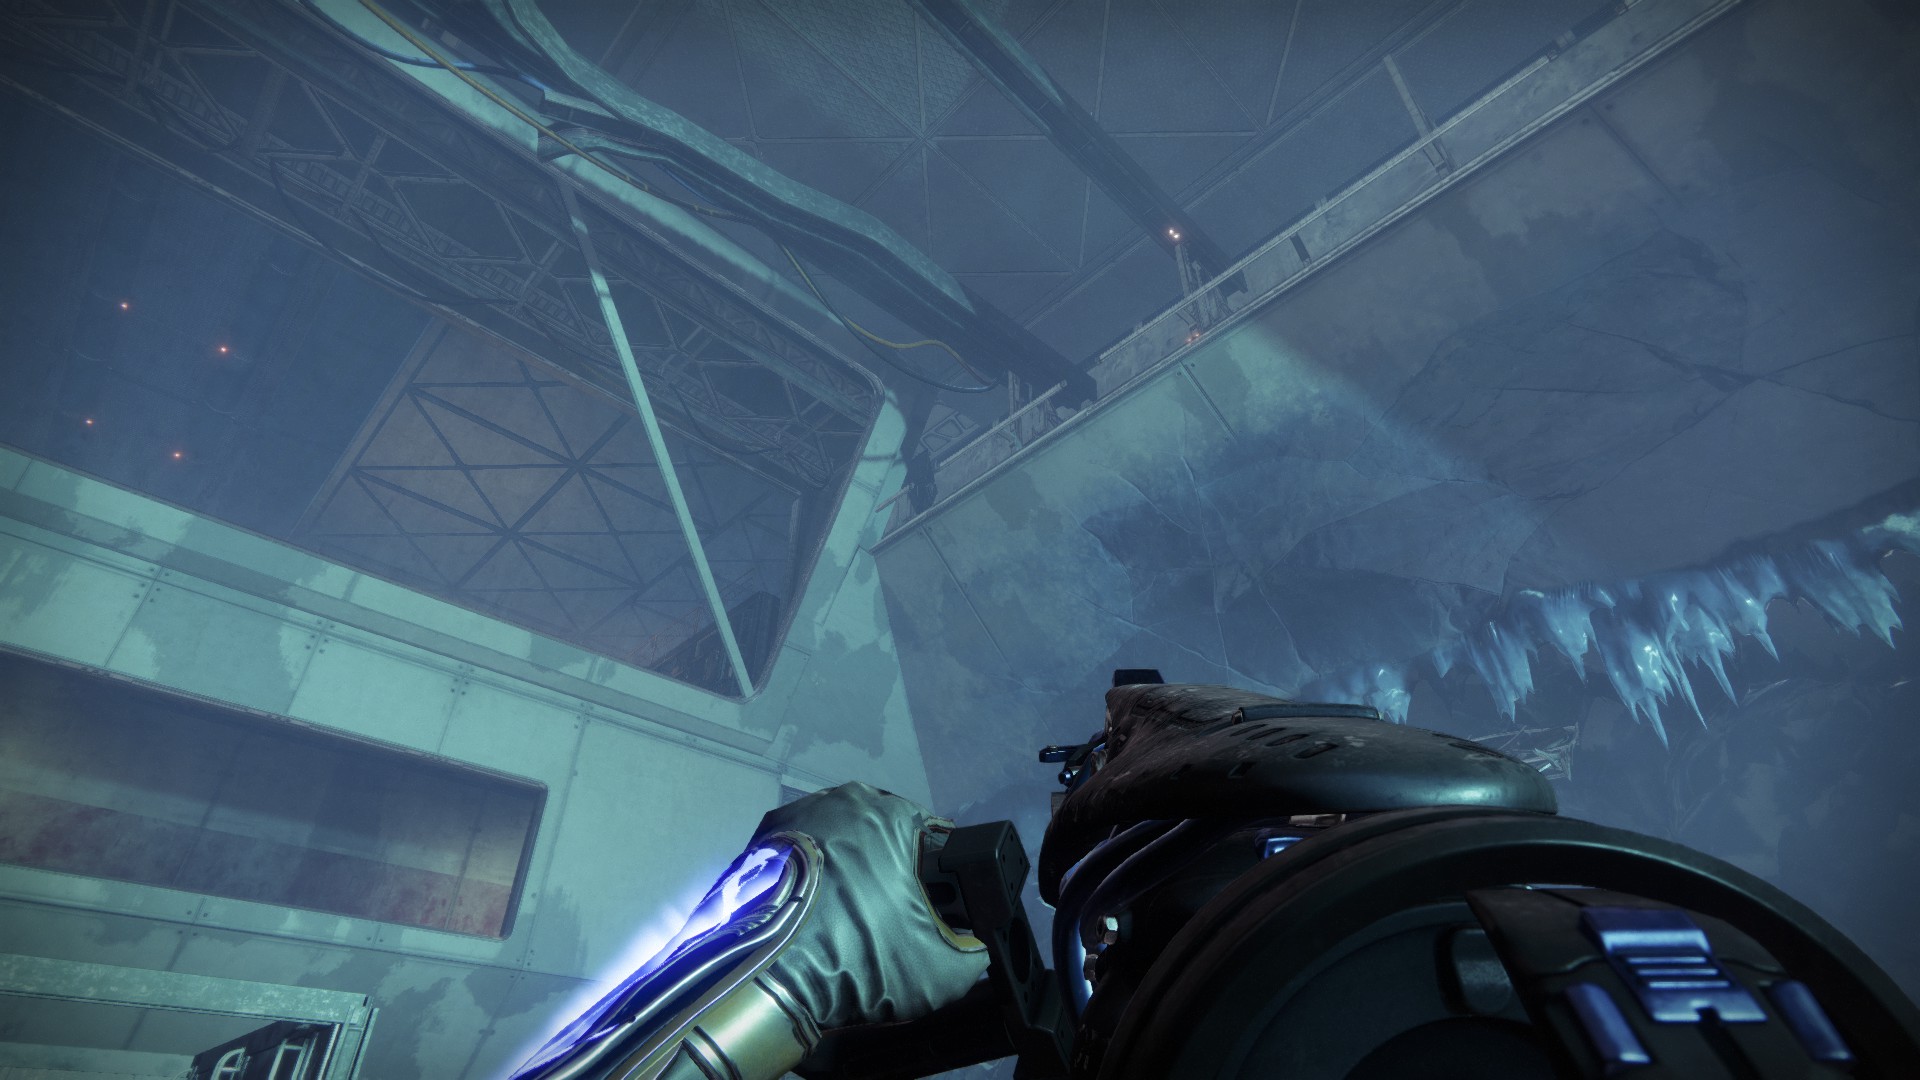
Shard 2: Concealed Void Lost Sector
You can find the Asteroid Abyss Lost Sector, Concealed Void, in the ice caves at the lowest point of the area. Look for the red cave leading into the ice and into the Sector.

You’ll need to make your way to the boss room, and while you don’t have to kill the boss to break the shard, doing so and opening the chest is worthwhile for the Herealways Pieces.
Whether you kill the boss or not, the shard is above the final room. Look for the cube in the center surrounded by gold light. Then look up into the sky past it and you’ll see the shard.
Shard 3: Eventide Ruins
You’ll find another shard in the Eventide Ruins. Head to the southeastern portion of the ruins until you find a set of broken girders. They’re directly north of the path leading from the Asterion Abyss. The shard hides in the girders, waiting to be shattered.
Shard 4: Bunker E15 Lost Sector
Here’s a tricky one. In the Eventide Ruins, head to Bunker E15, that area’s Lost Sector. You’ll have to jump over the stack of orange and cream-white boxes to enter the mini-dungeon proper.
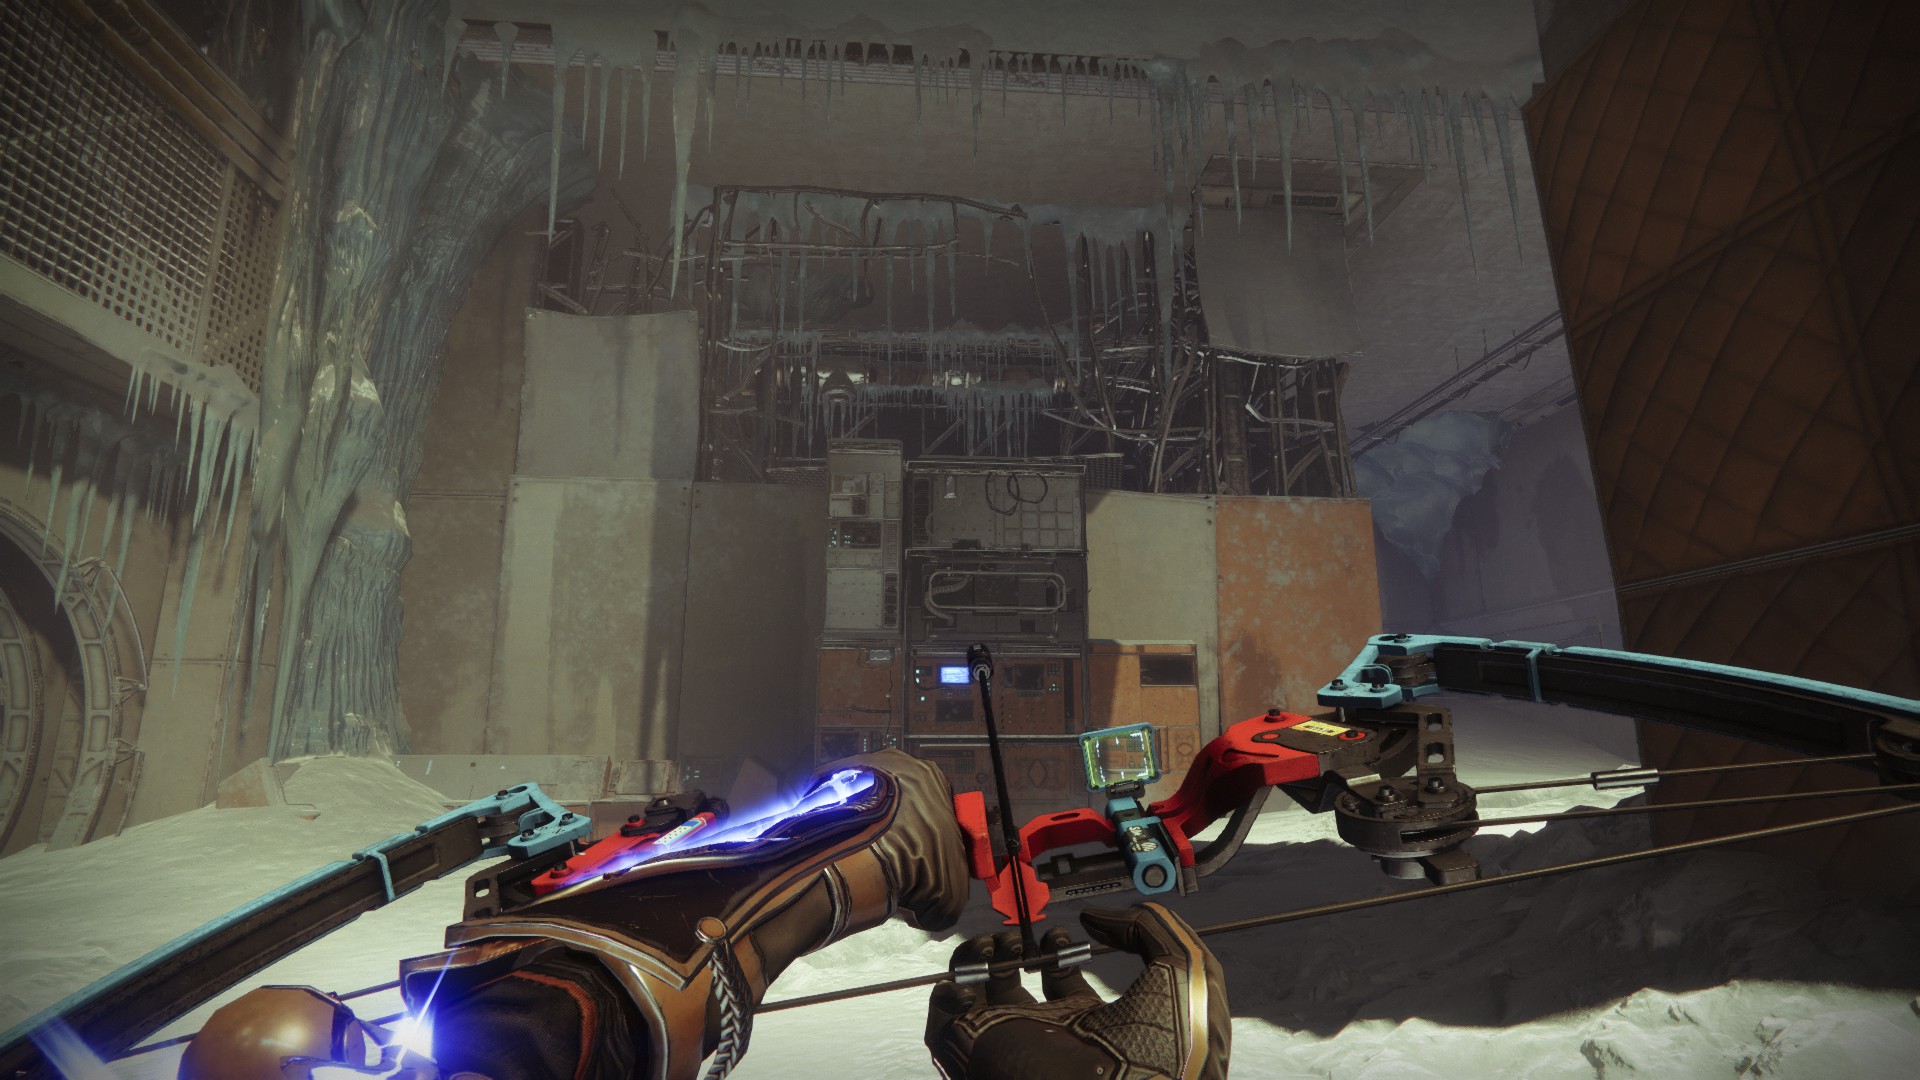
Once inside, proceed as normal until you come to a room with Vex Hobgoblins sniping from above. You’ll have passed a single set of imprisoned BrayTech Security Frames on your way there.
The shard is nestled at the very right side of the window at the room’s back, or opposite where the Hobgolins are. Look up and behind you from the incoming Vex and into the rafters. You should see the shard if you look closely.
Shard 5: Riis-Reborn Approach
You’ll be hoofing it quite a ways to make it to the next shard, all the way to the Riis-Reborn Approach. Go to the northernmost portion of the Eventide Ruins and ride the energy elevator up.
From there, make your way through the Fallen city as you did going to face Eramis in the campaign. You’ll cross to bridges, climb lots of stairs, and eventually make your way to a second energy-elevator.
Said elevator will deposit you at a set of industrial stairs. Don’t go up immediately. Instead, walk around the back and you’ll see the Entropic Shard resting on its side beneath the first landing.
Don’t leave Riis-Reborn Approach just yet. You’ll need to head even further up for the next shard.
Shard 6: Kell’s Rising
From the Riis-Reborn Approach shard, head up the staircase and go through the teleporter in the room. This will take you toward Kell’s Rising. Continue heading upwards until you come to an intersection with an orange doorway. You’ll be coming back to this area for another shard.
Go through the orange-lit doorway, and you’ll make your way into the shipyard you went through during the campaign. Head all the way to the other end from where you came end until you see hanging platforms to your right. Go up and continue traveling up until you reach an open courtyard bathed in orange light.
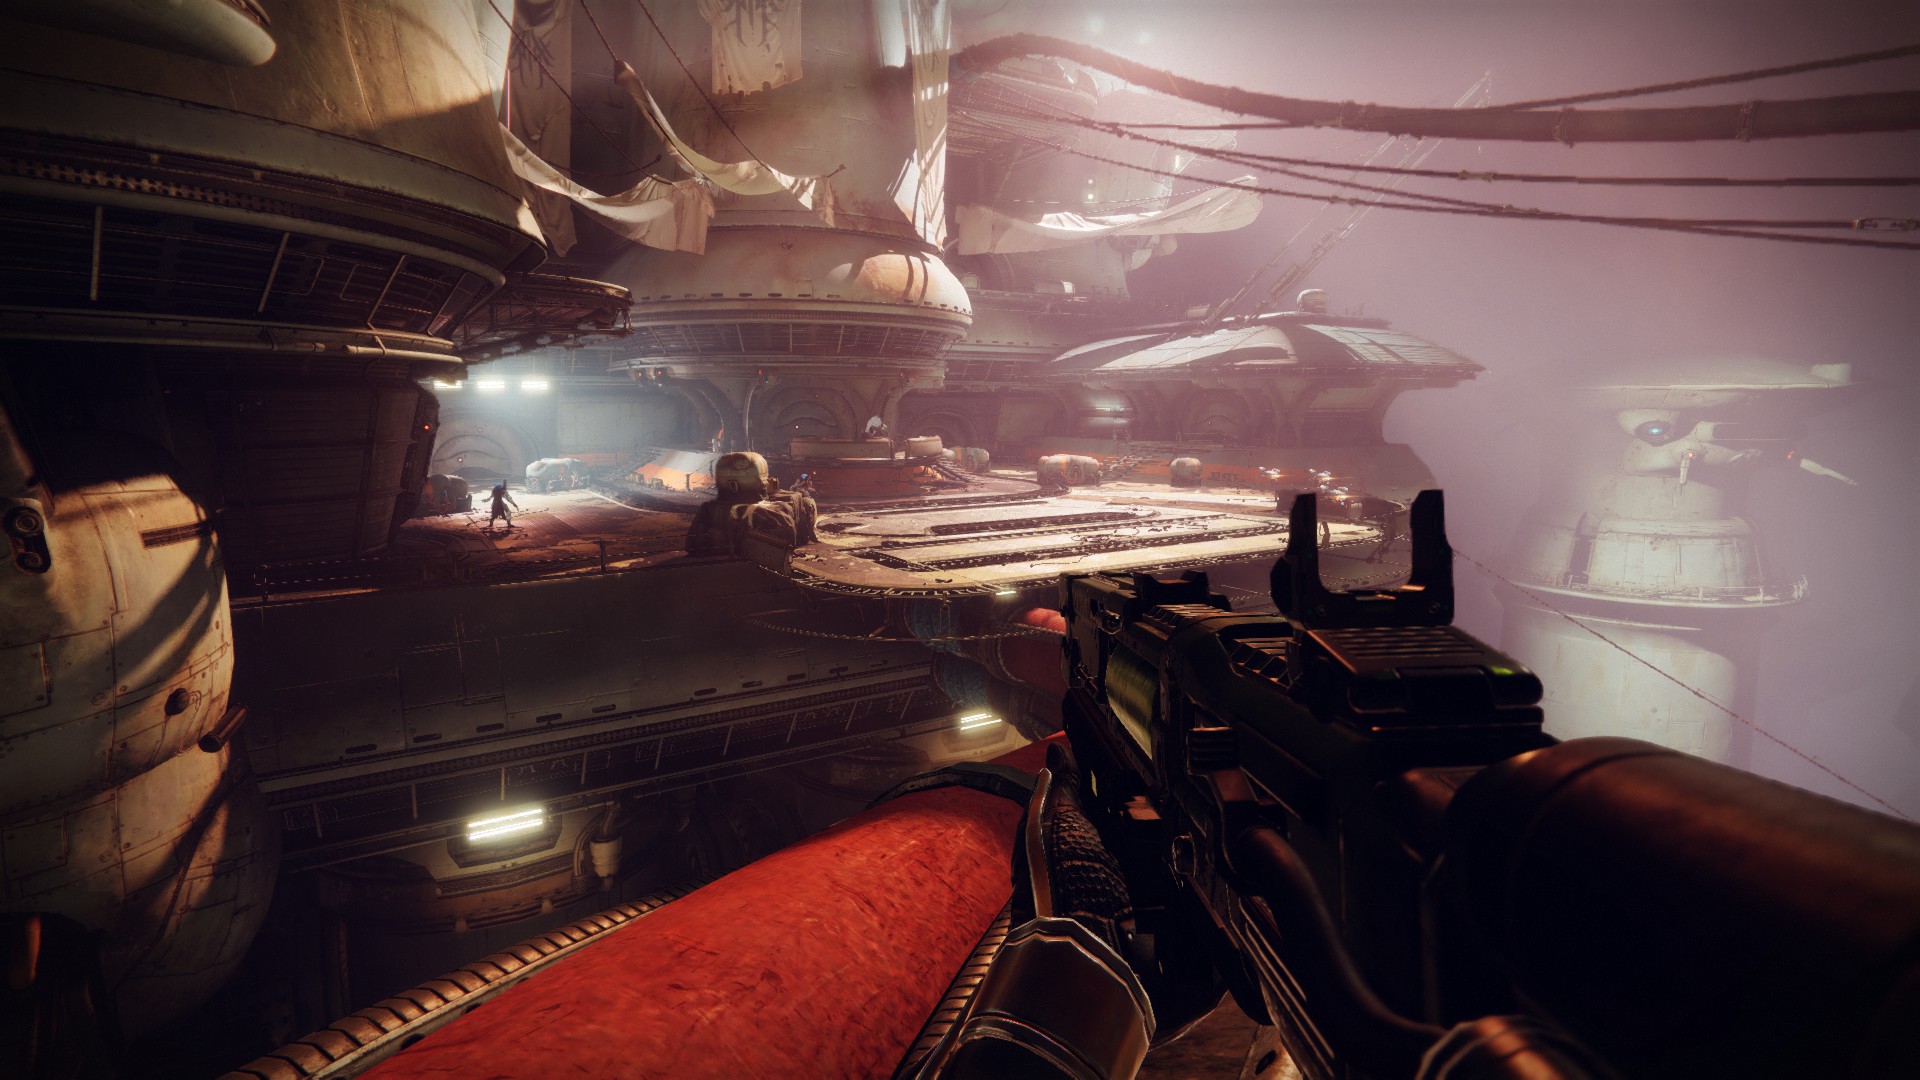
The courtyard has three sections: left, center, and right. Go to the right side and hop atop the building. There’s a short staircase and the Entropic Shard sits in the shadows beneath it. The shard is fairly hard to see, so you’ll need to get close.
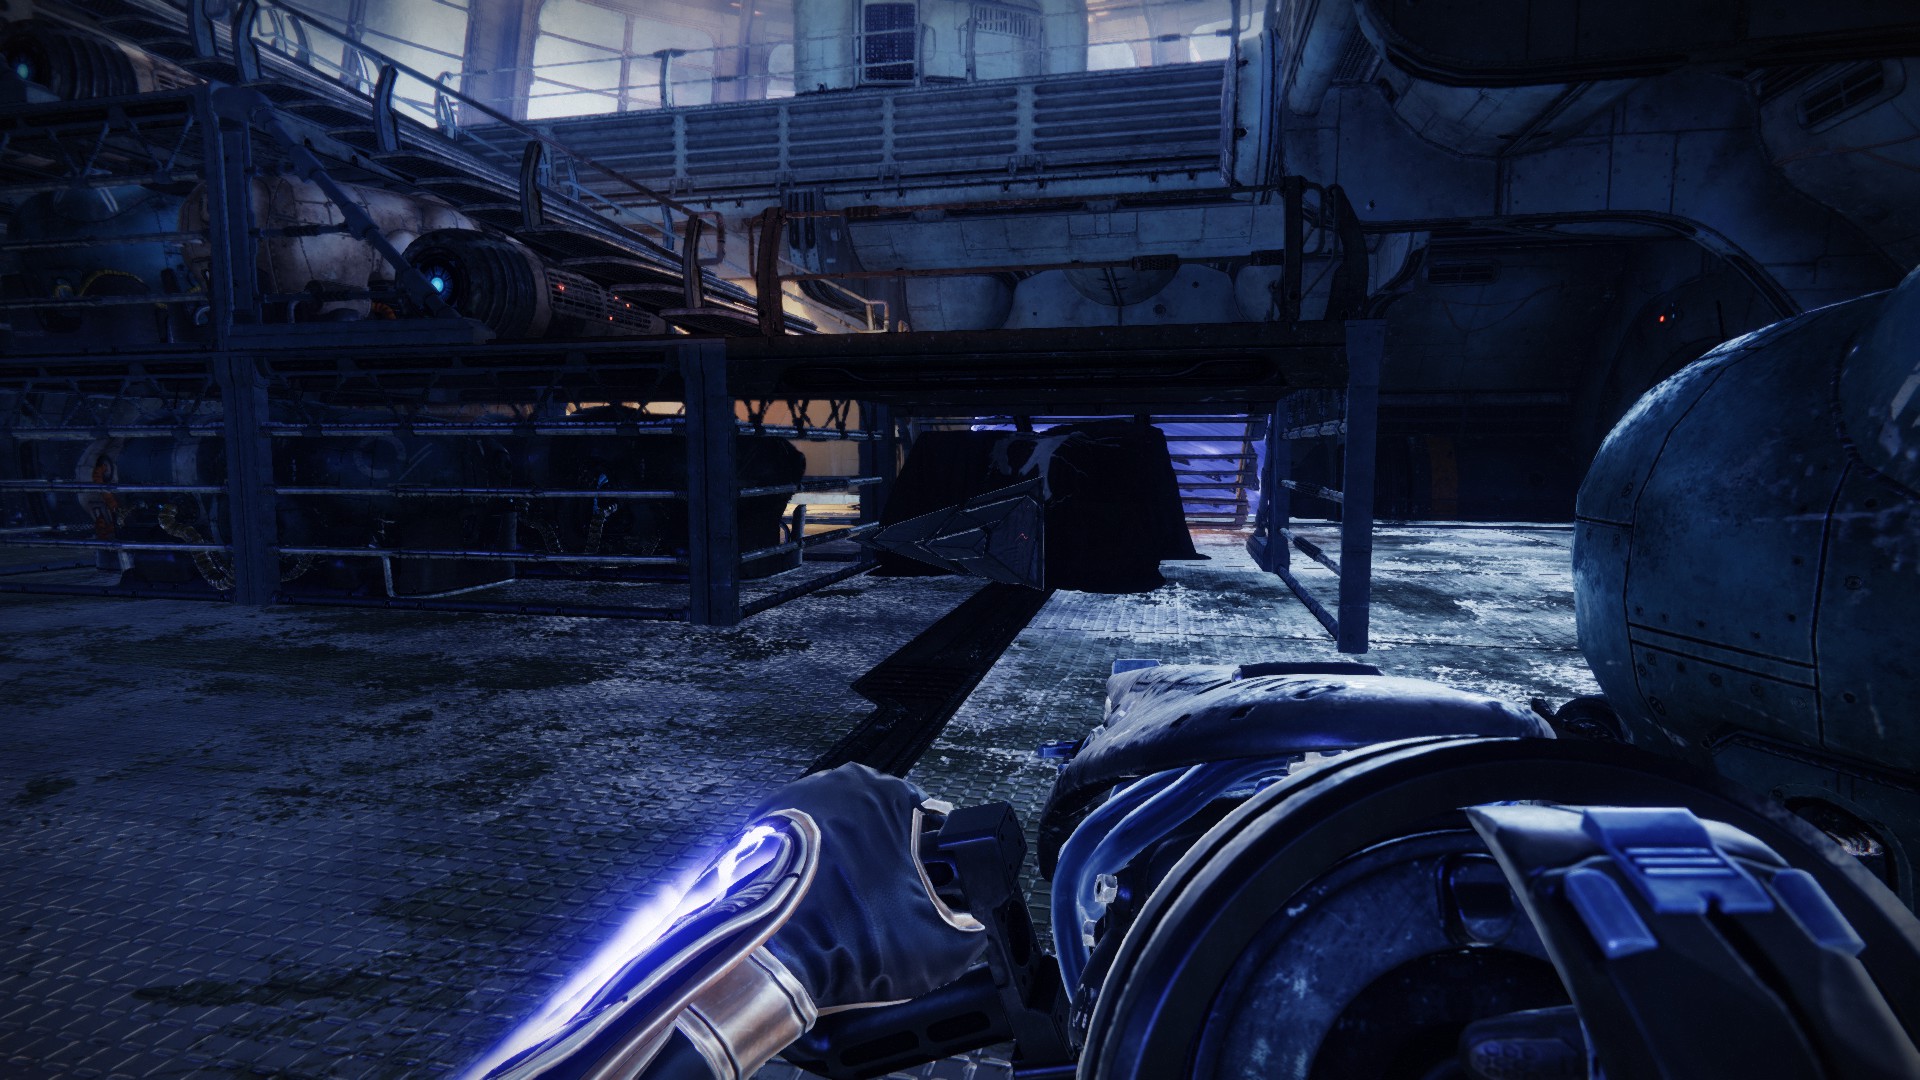
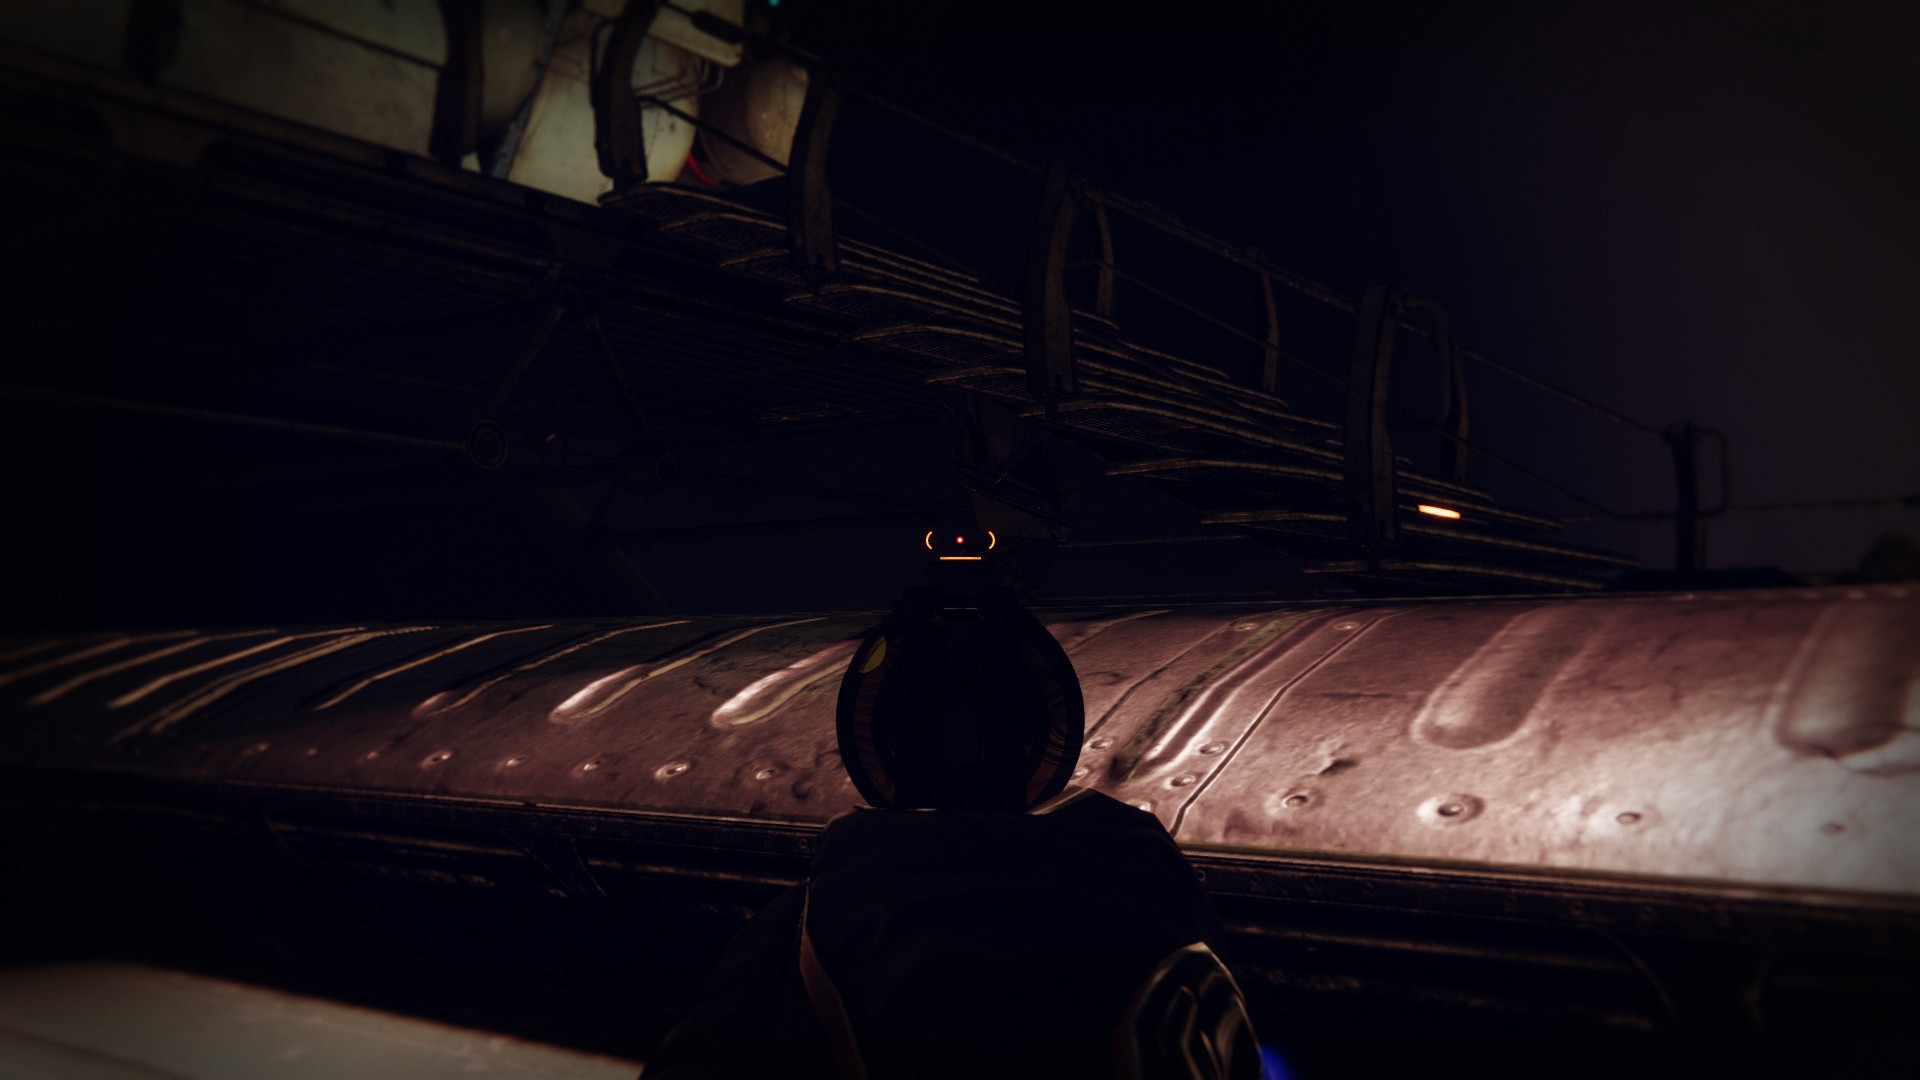
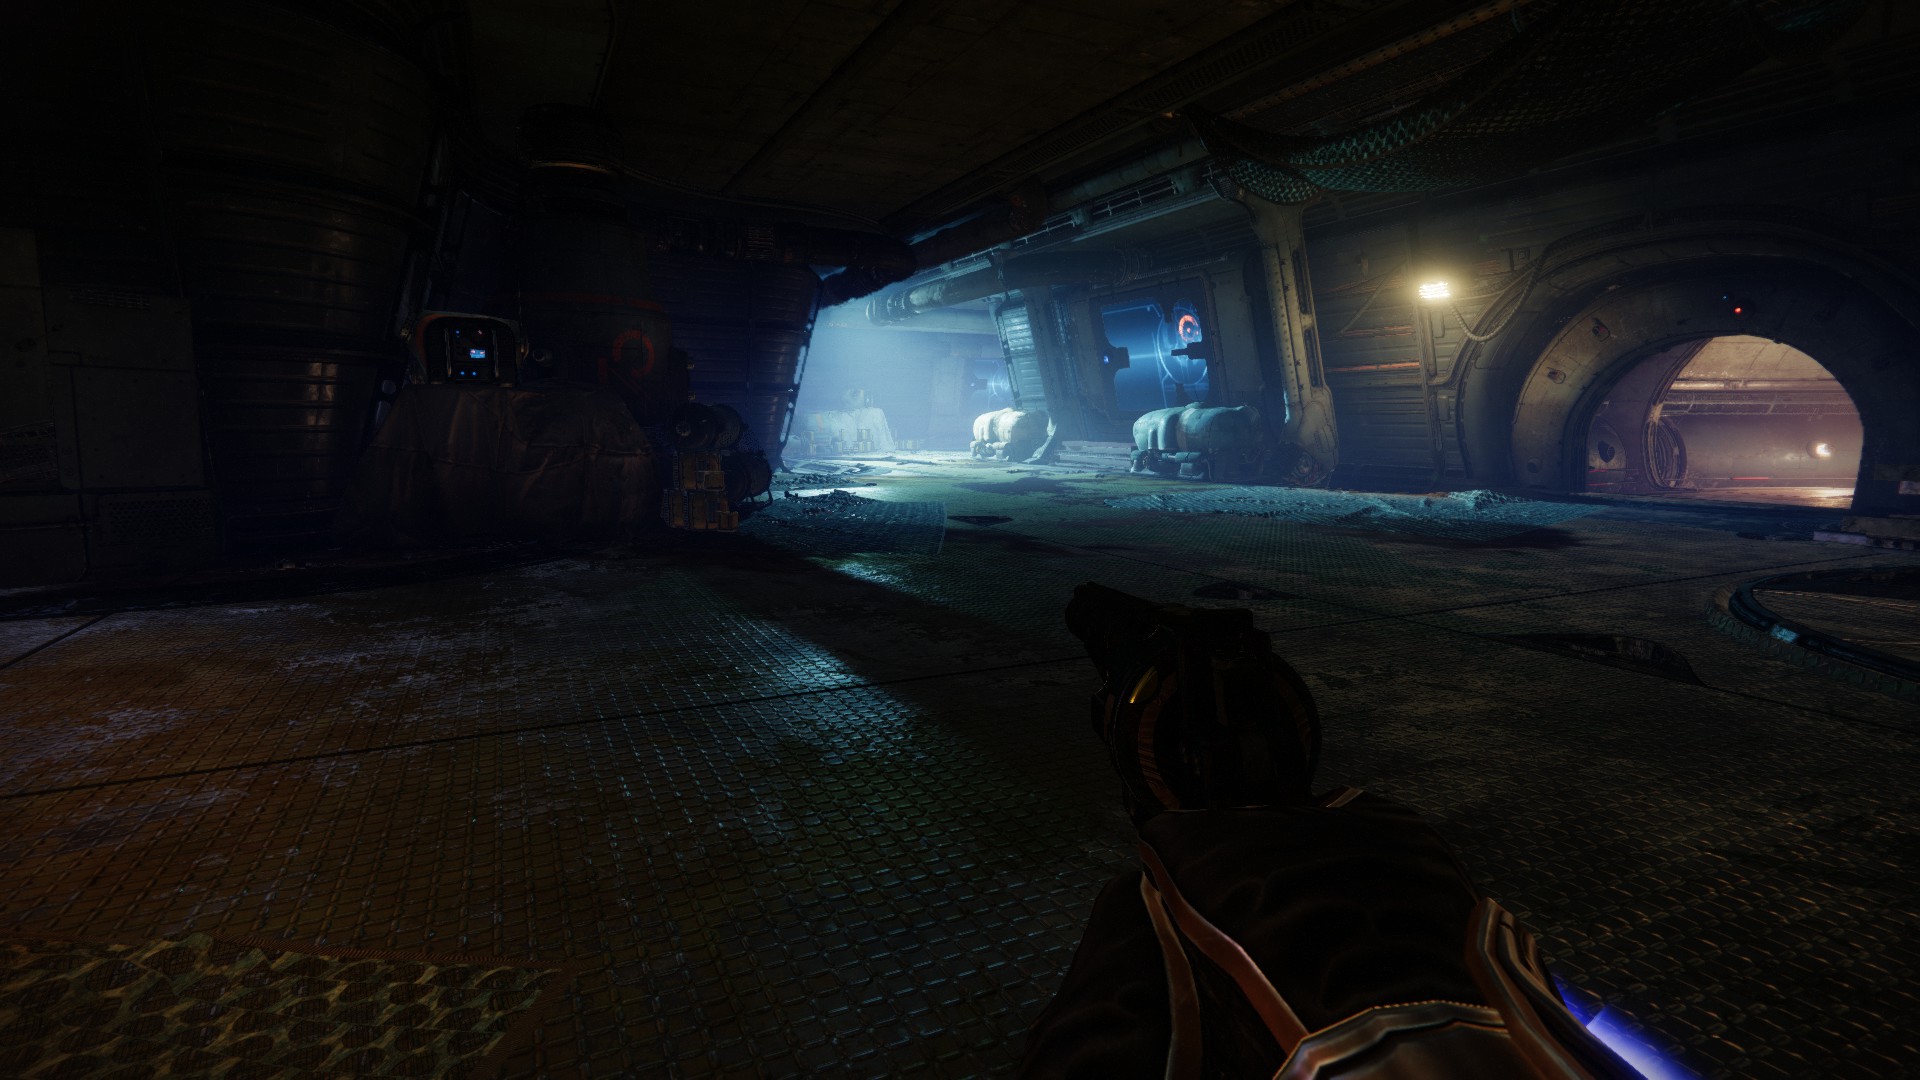
Shard 7: Technocrat’s Iron
Head back to the intersection you saw before going to Kell’s Rising and this time, take the left-leading hallway. Once again, your only path is forward. Jump across the platform and the pipes, walk across the large rail bridge into a second set of shipyards, and then move to the very end of the tracks.
There’s an opening beneath some netting that eventually leads to the large room where you fought the giant Brig boss during the campaign. The Entropic Shard hangs in the air near some Fallen bombs.
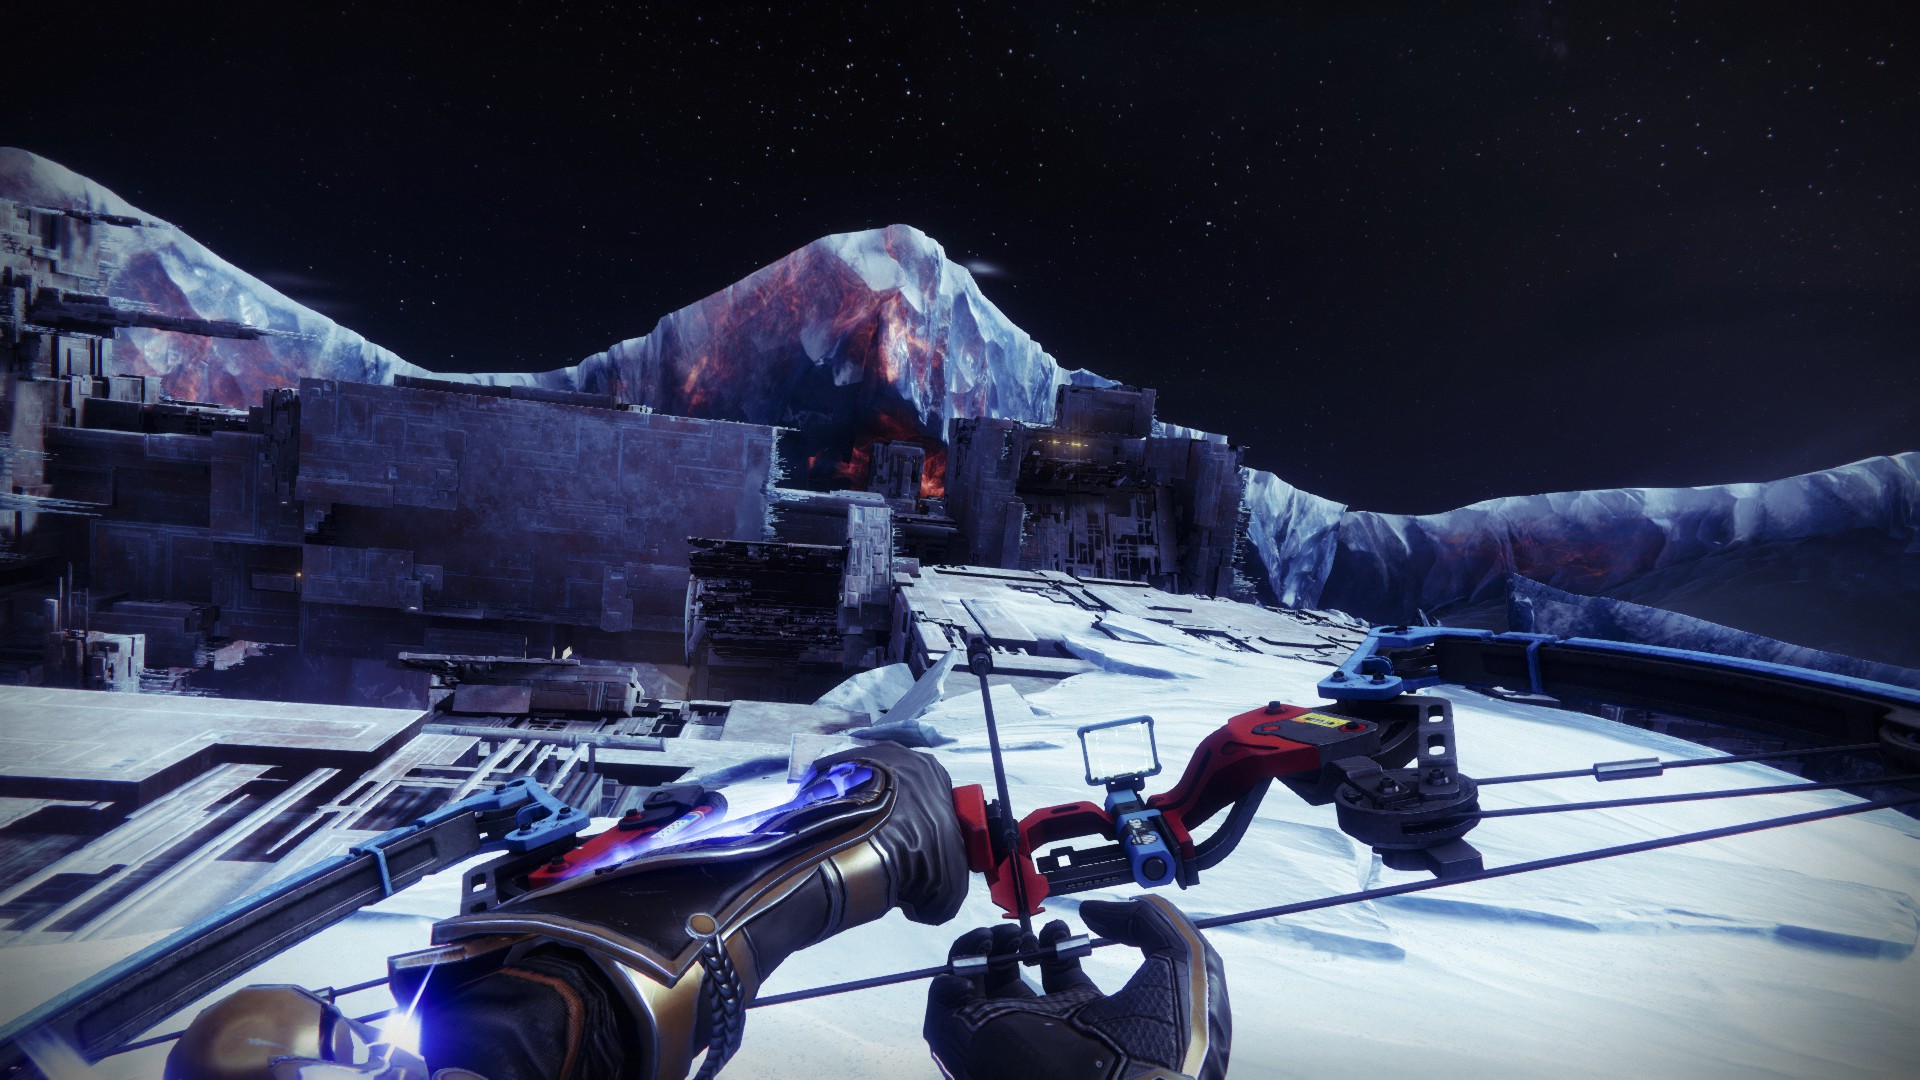
Shard 8: Cadmus Ridge
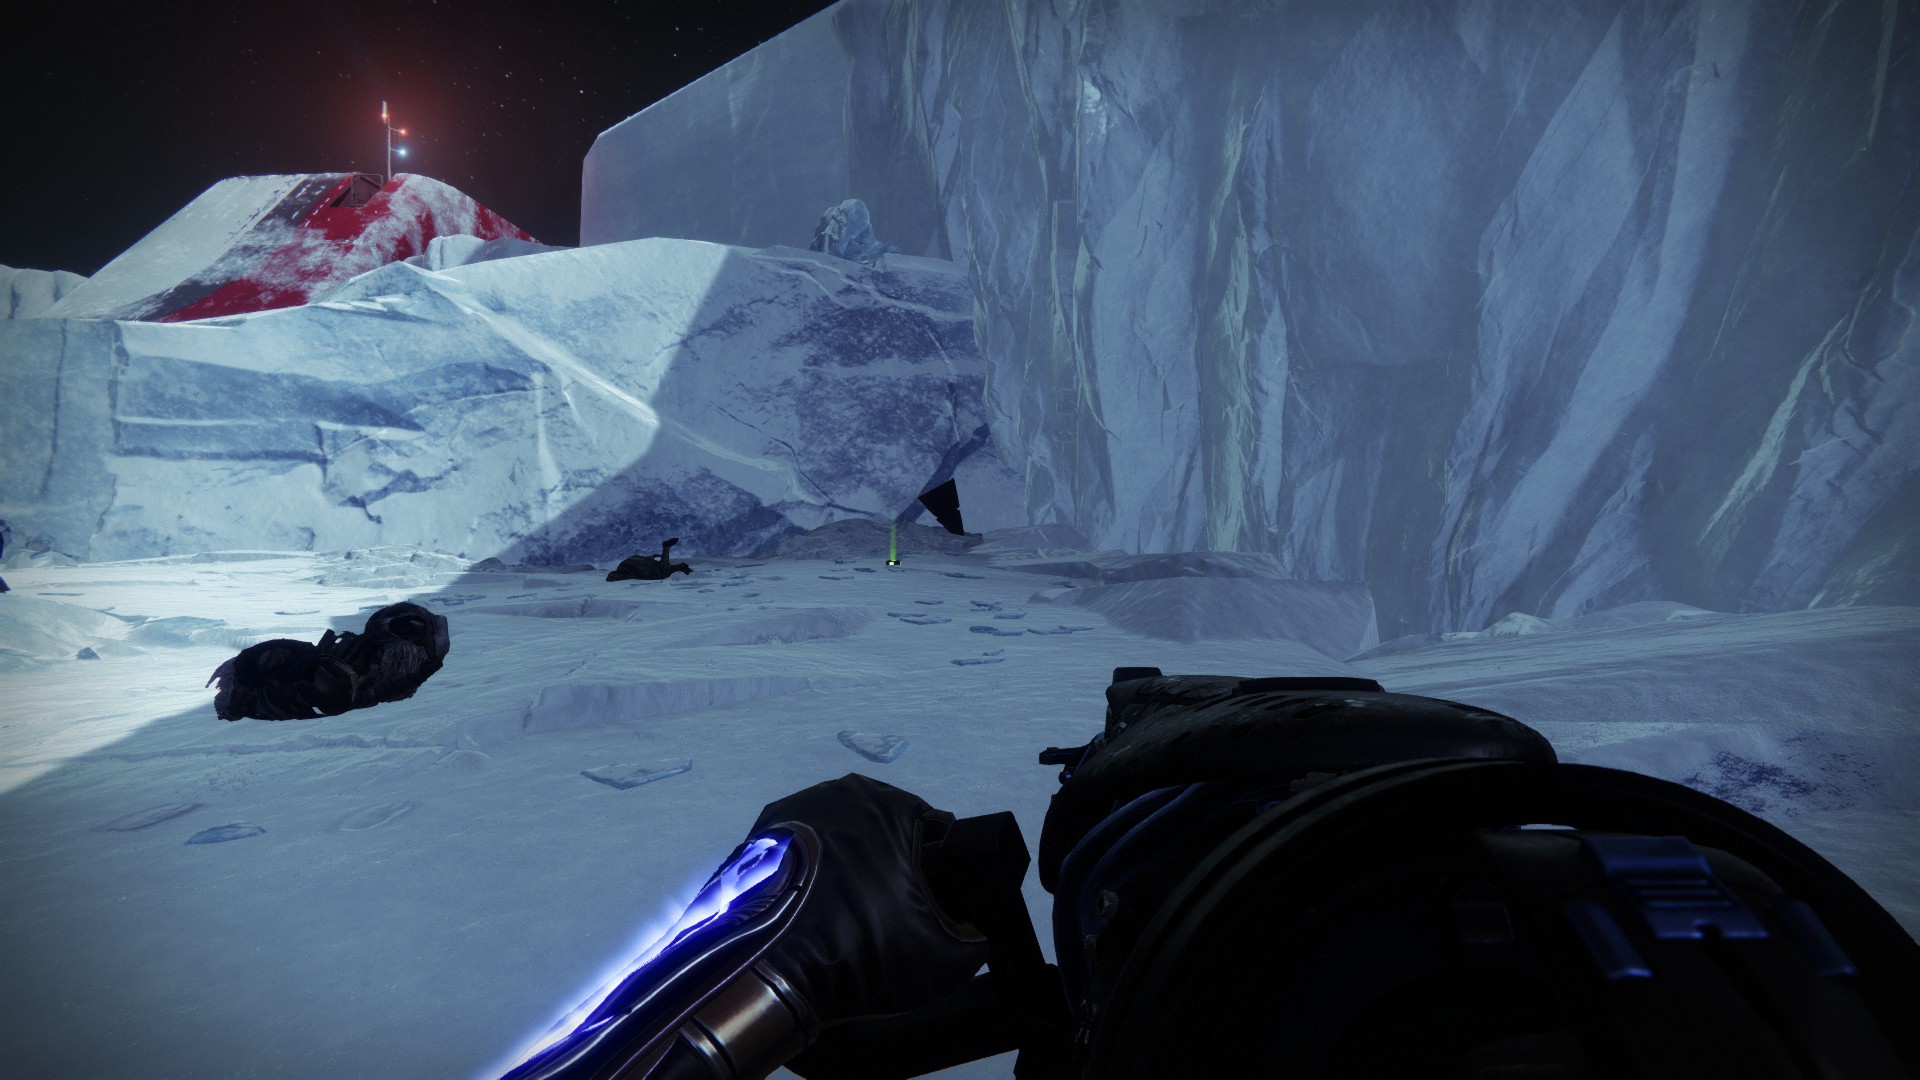
An easy Entropic Shard to find, head to Cadmus Ridge, the leftmost area of Europe from Variks’s camp. Keep to the path until you see a large red medical building in front of you rising against the ice.
Behind you will be a clearing where a public event spawns. The shard sits cozily in the corner just off the path up against an ice shelf.
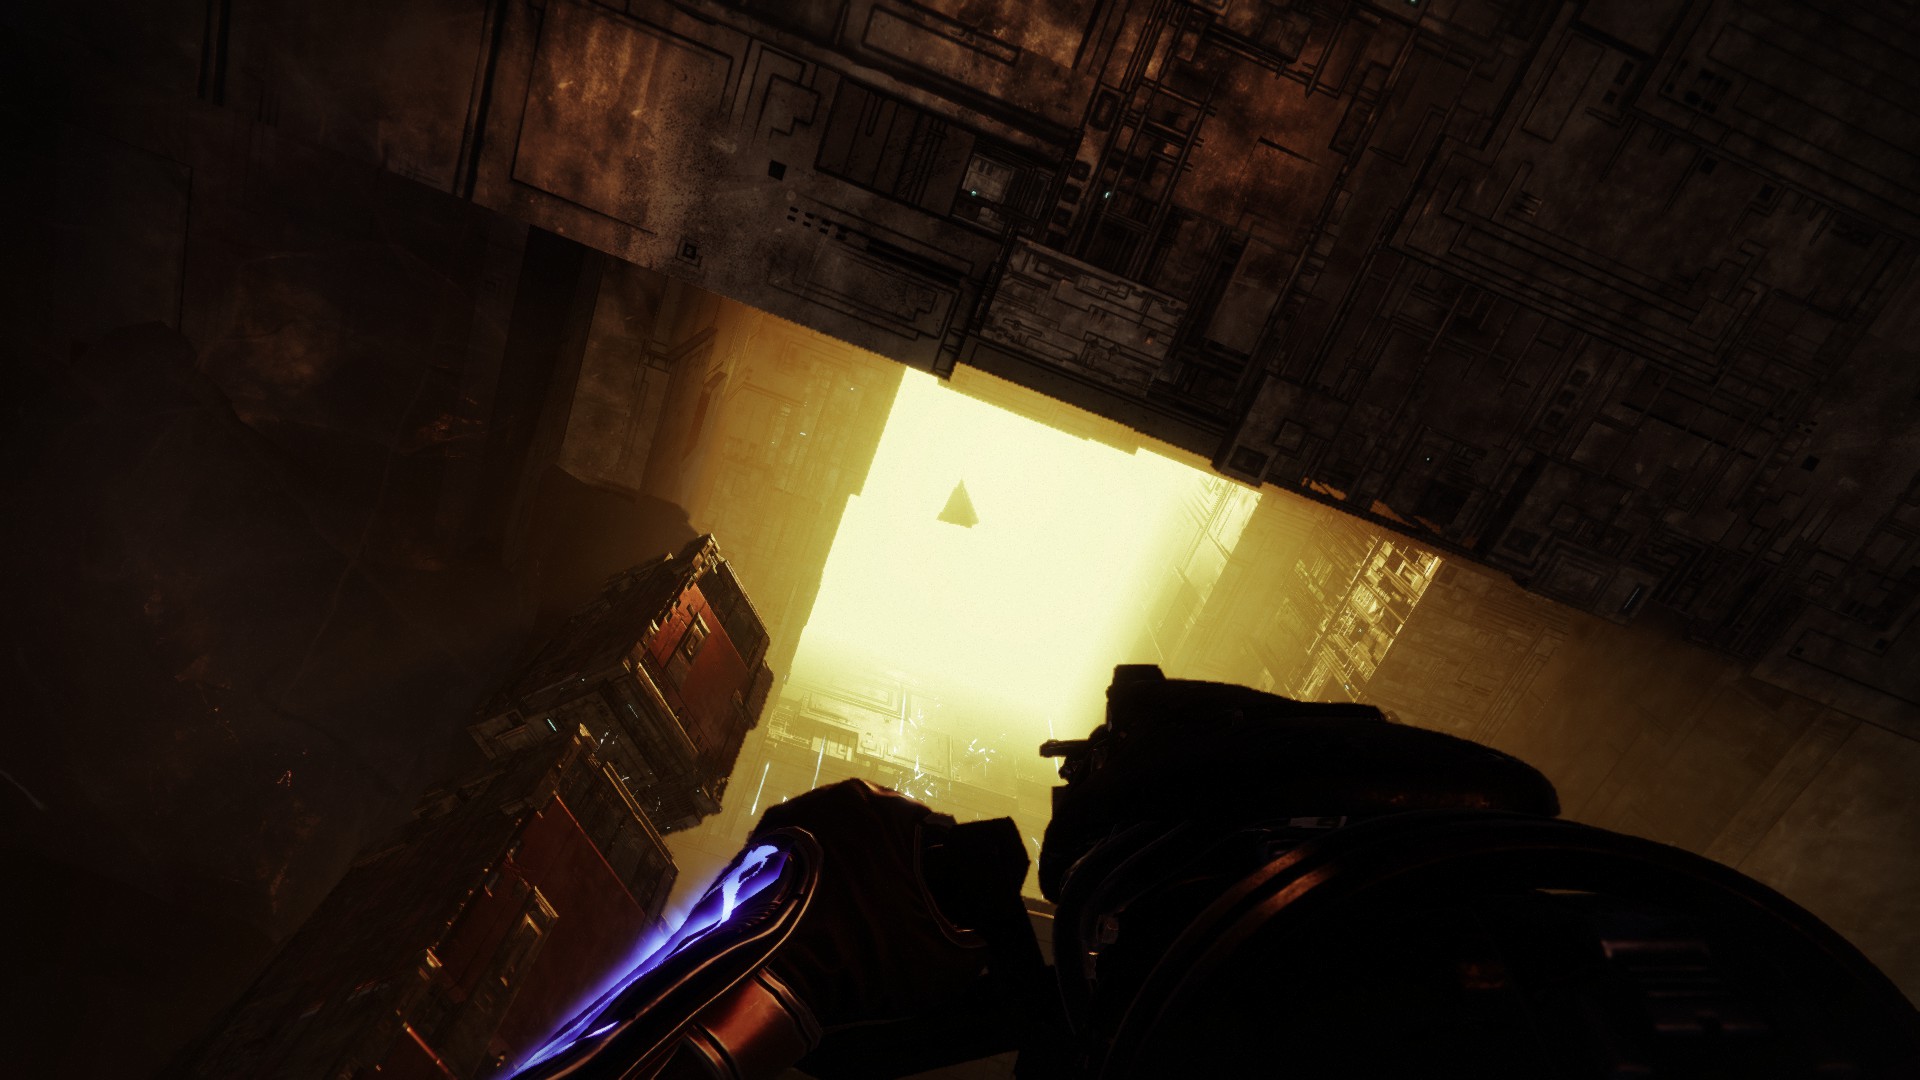
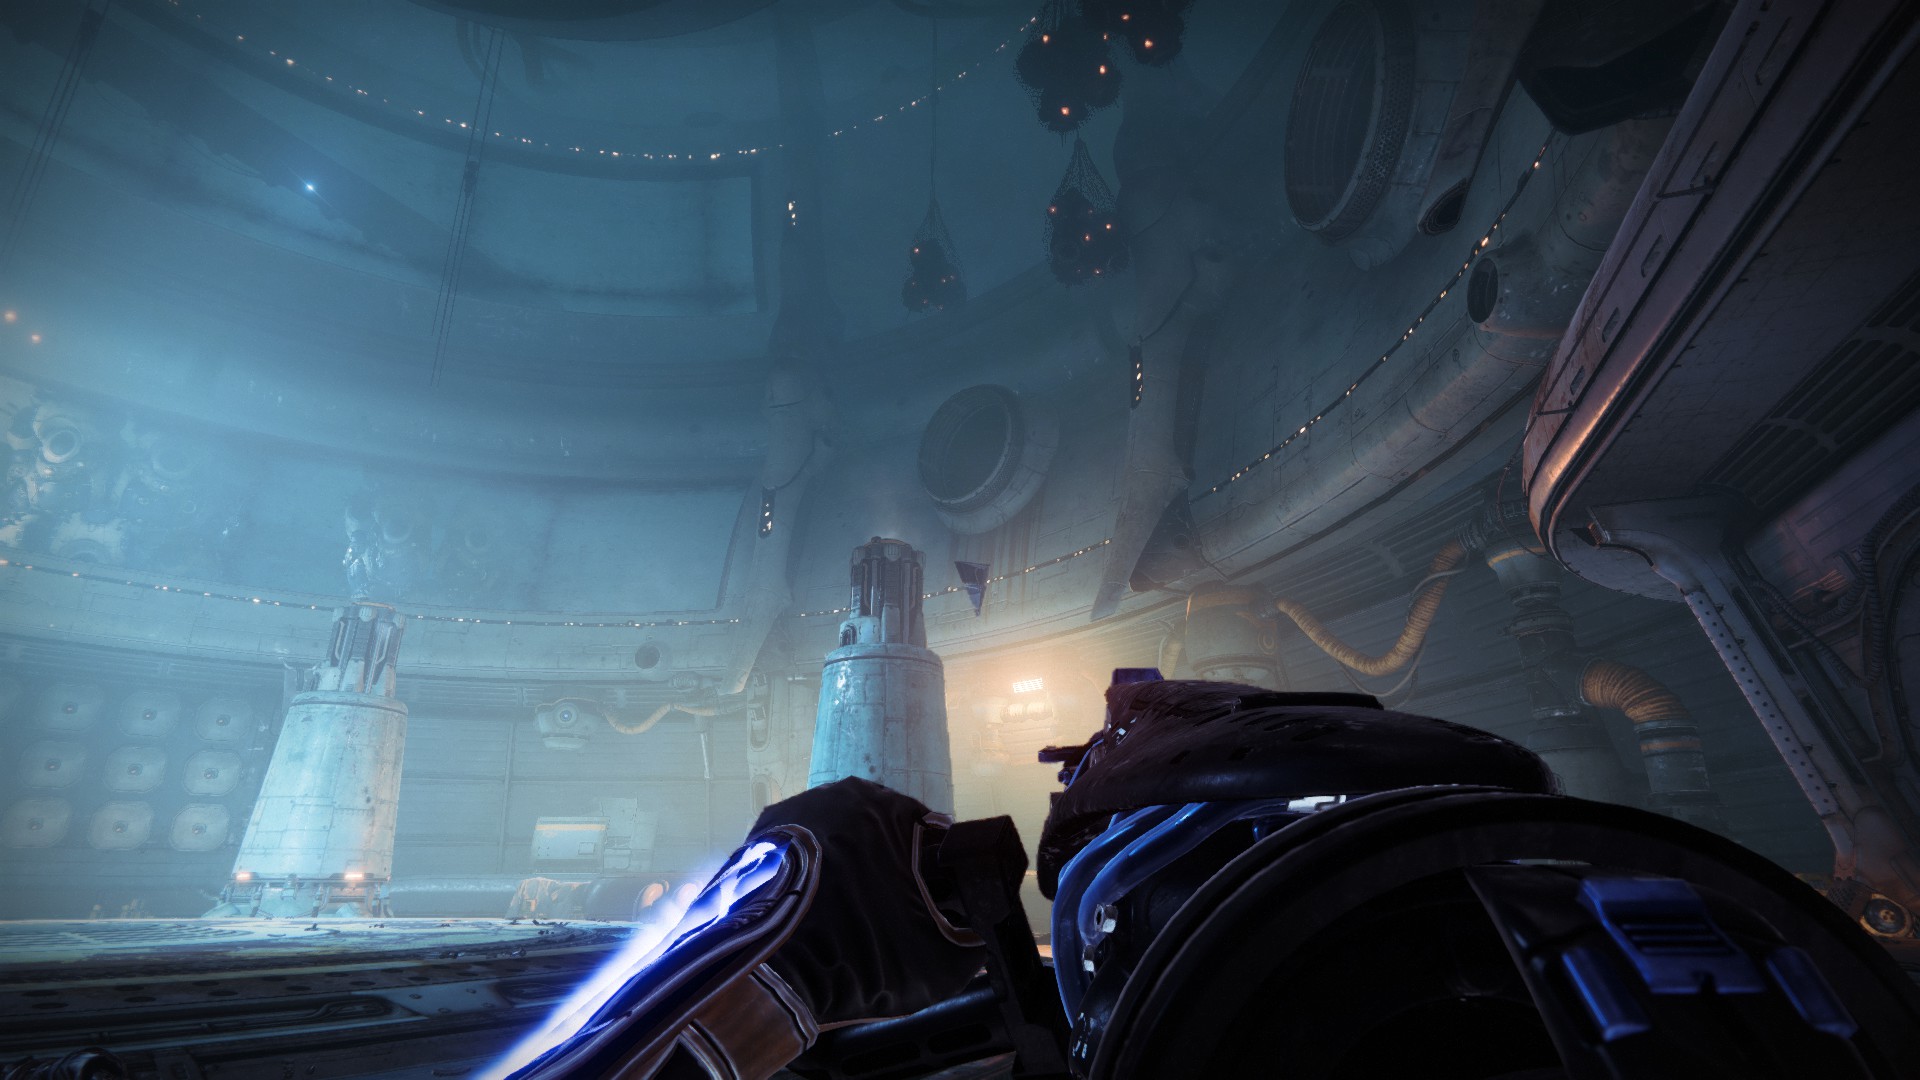
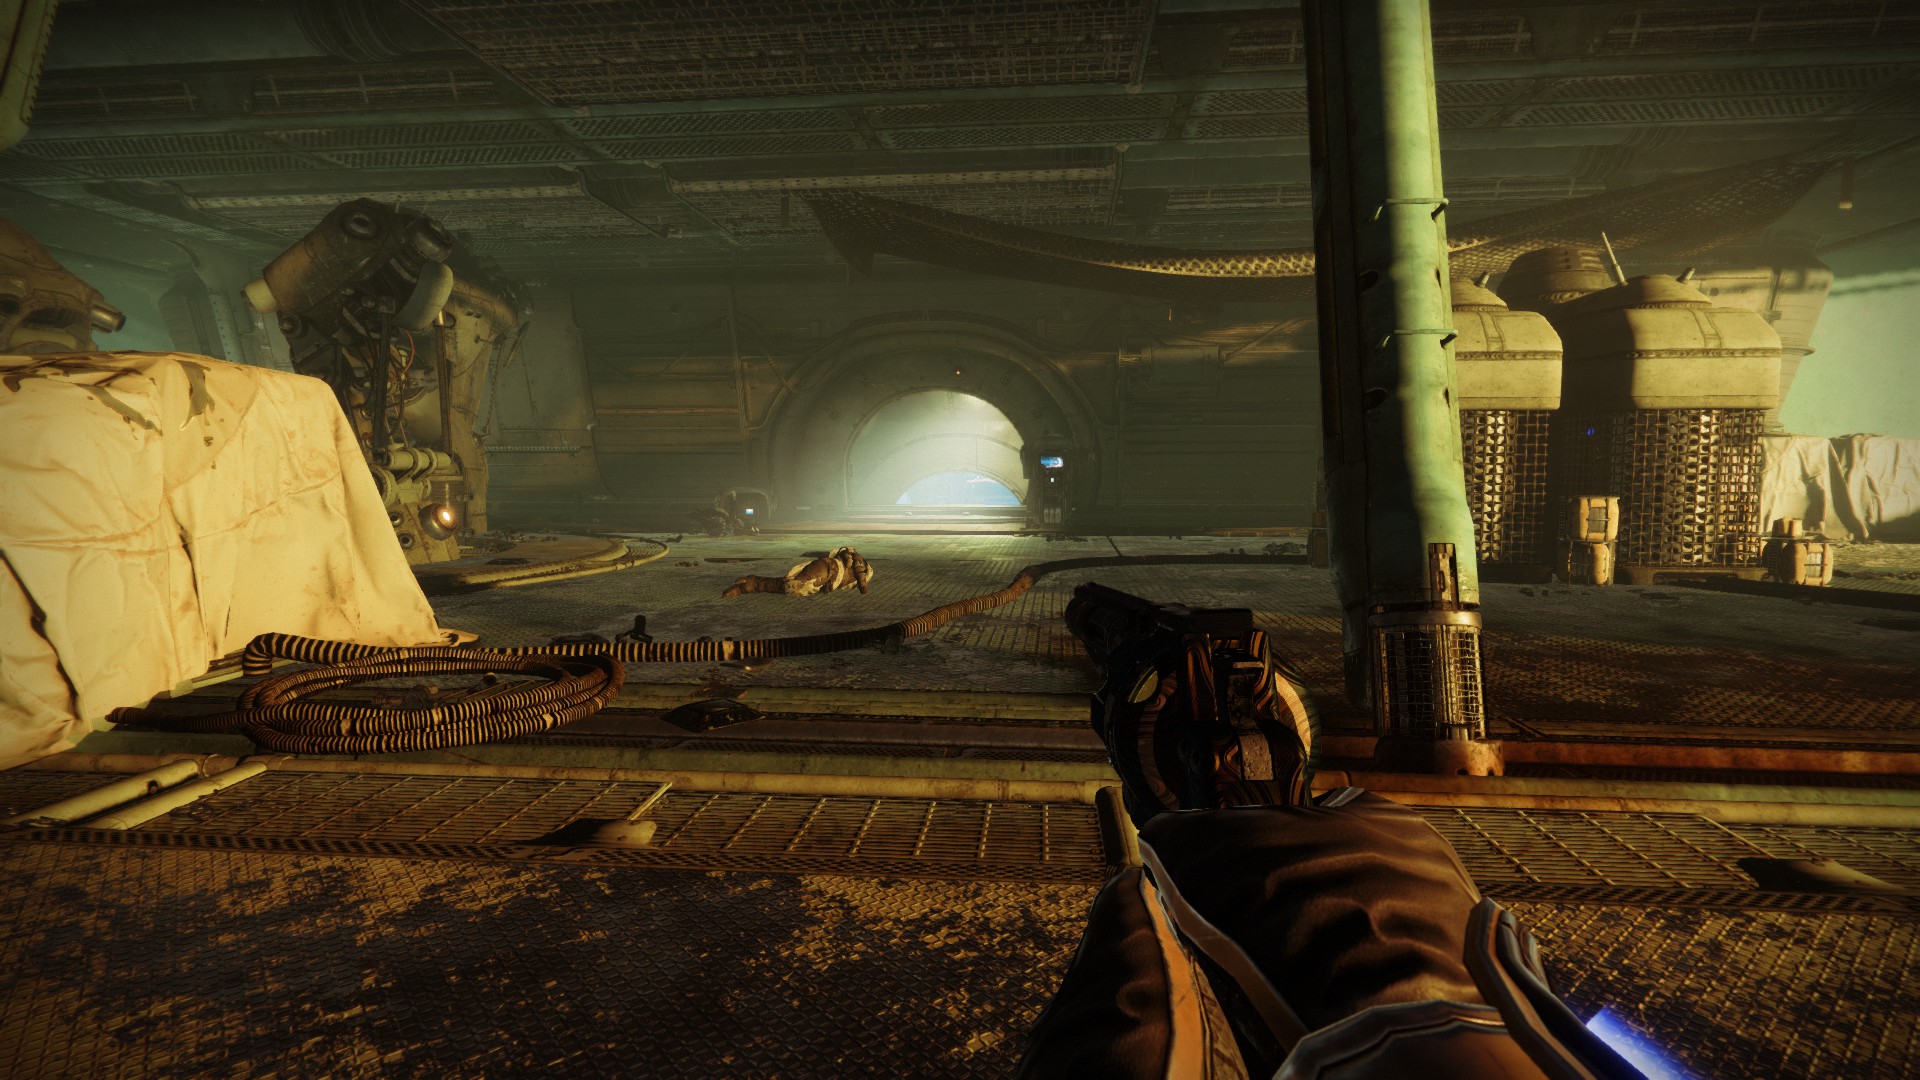
Final Shard: Creation
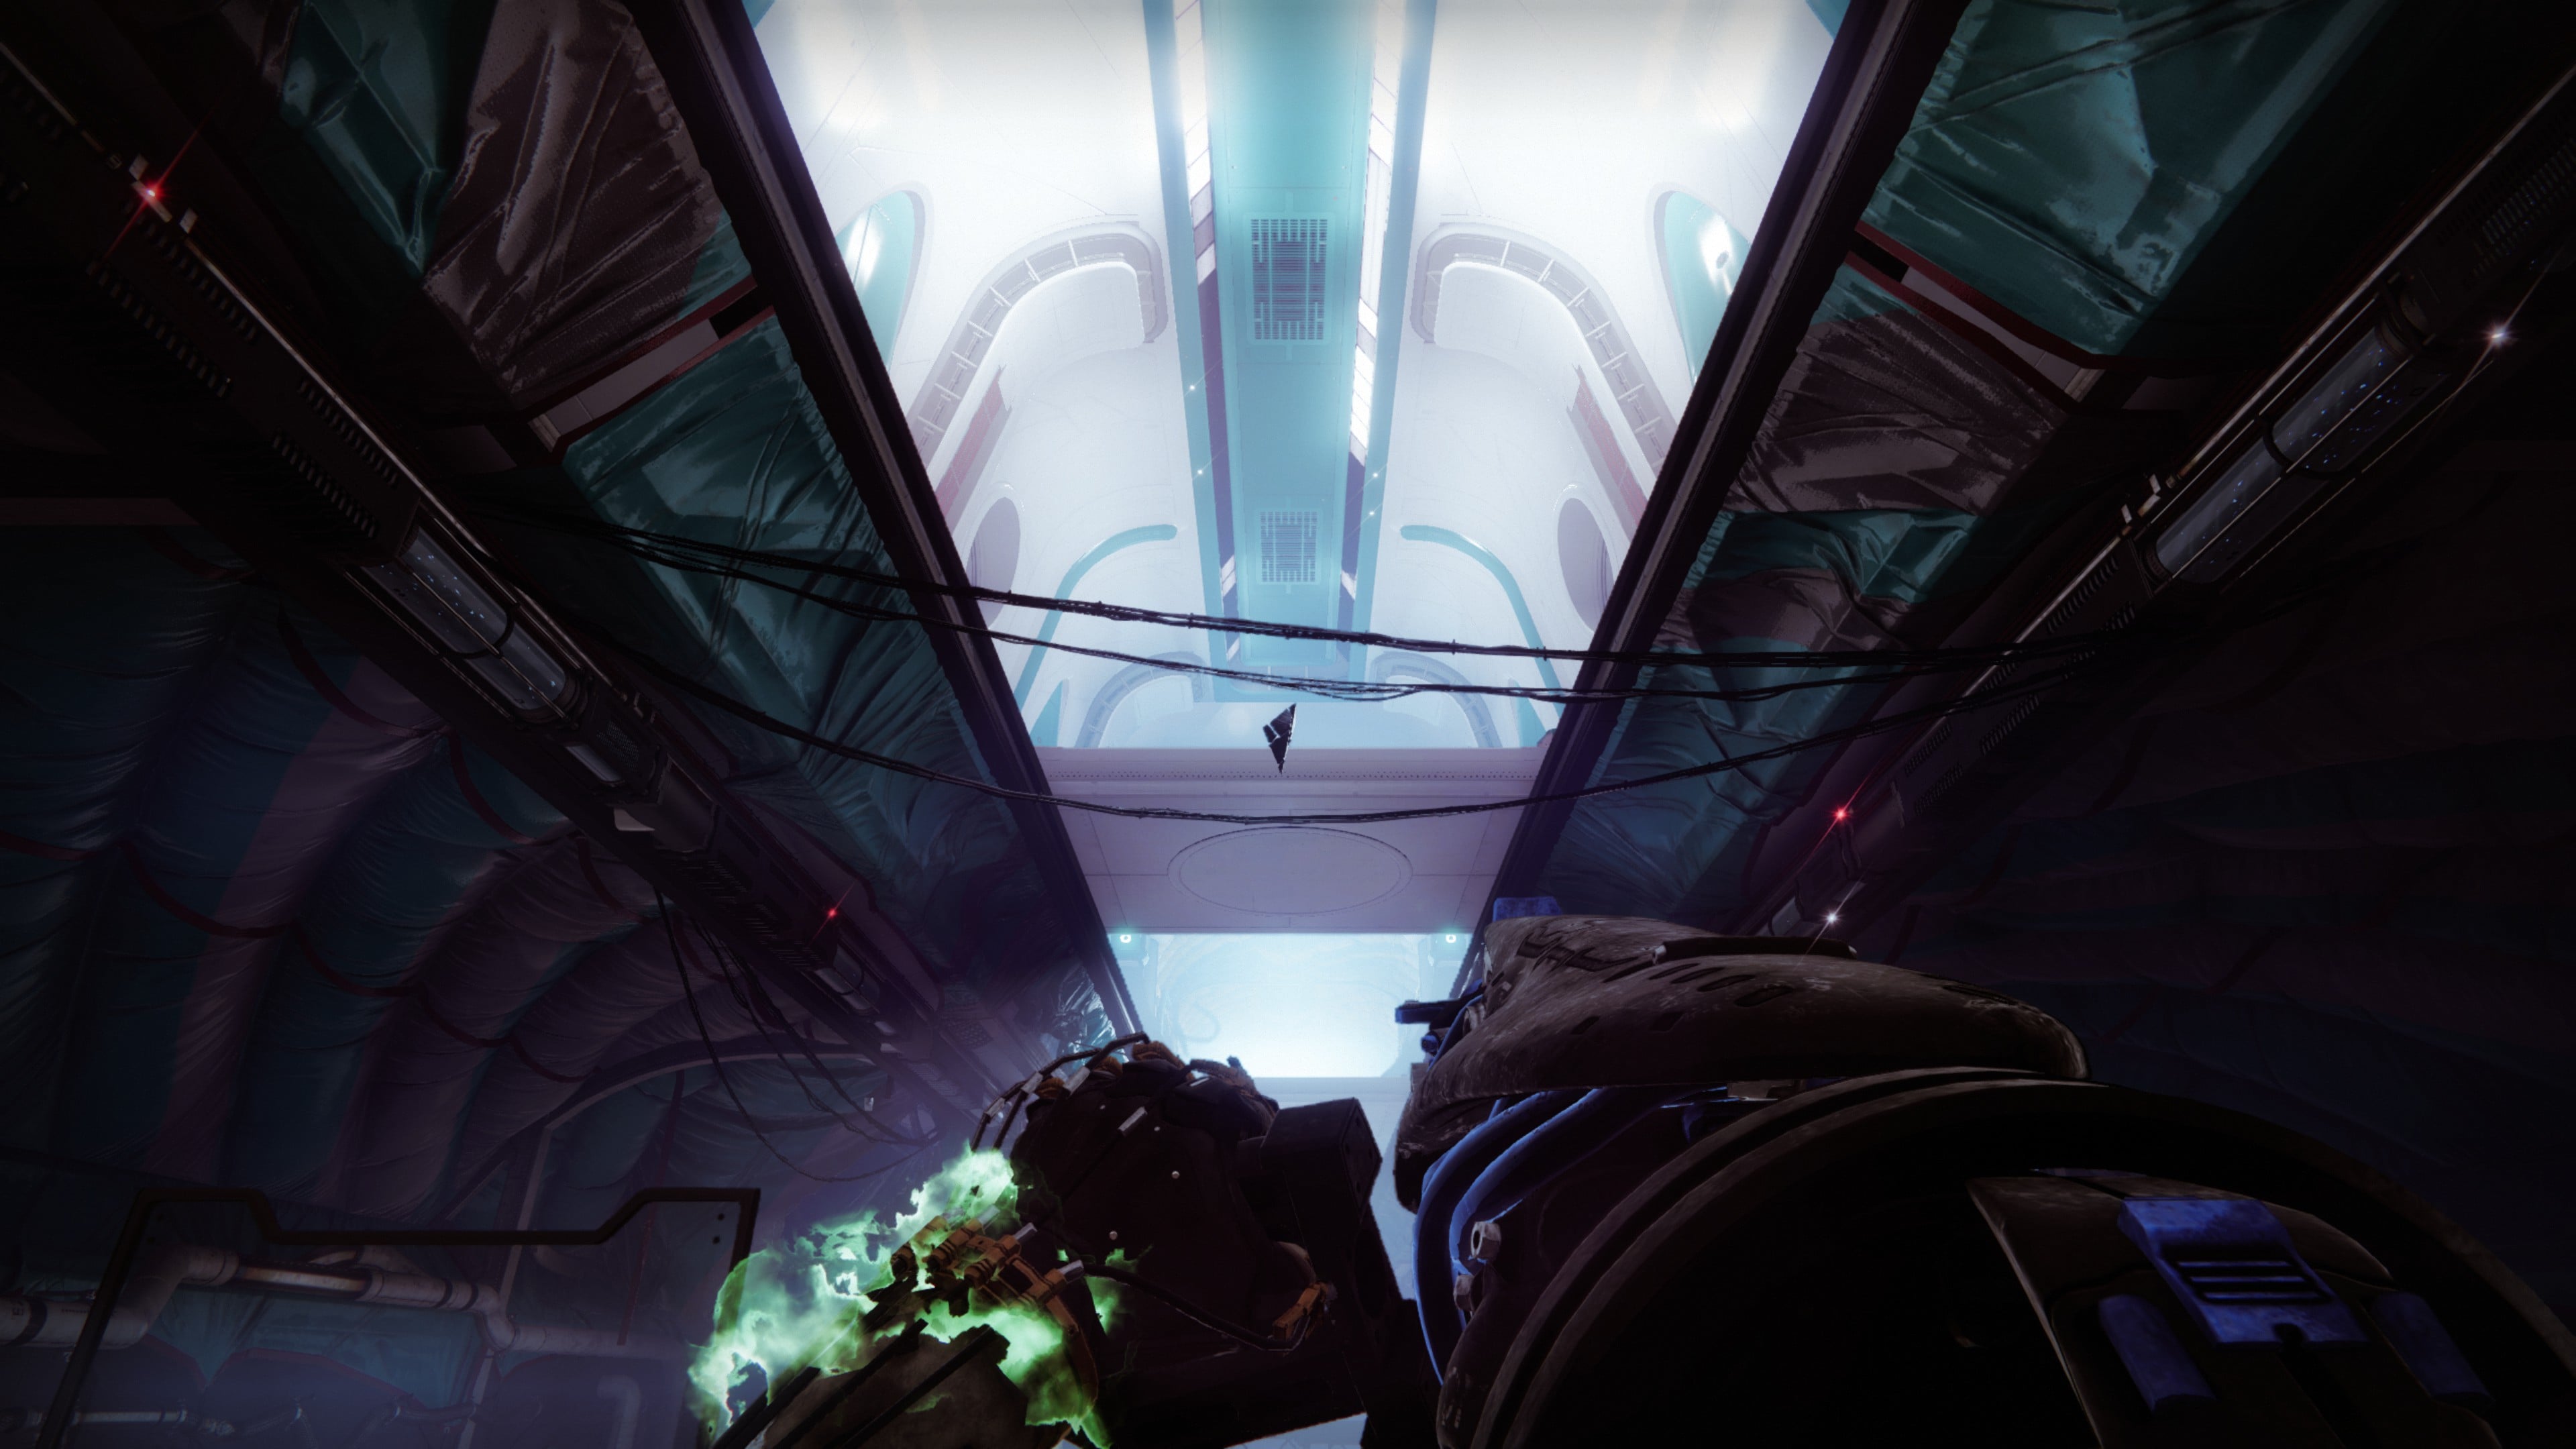
With the fall of the Deep Stone Crypt, the final Entropic Shard is available for all. It lives in Creation deep in the Bray Exoscience facility. Go to Bray Exoscience as you would normally until you reach the large white room where a Fallen Captain and some Dregs lurk about. Instead of going through the door at the back of the room, go up and to the right into a set of offices. This will eventually lead you to Creation. Proceed until you reach the enormous tunnel with multiple levels.
The Entropic Shard hangs in the air above the bottom level, so drop down until you stand above the bottomless pit, and the shard should be easy to see.
And that’s every Entropic Shard on Europa in Destiny 2: Beyond Light. Well, save one currently out of bounds. Beyond Light coverage continues shortly, so stay tuned, and if you found this guide helpful, consider giving it a share!


Published: Nov 12, 2020 09:04 pm