It wouldn’t be an epic battle in South Park: Snow Day without powers. Thankfully, several you can choose from will allow you to grow more OP and keep the hordes of enemies at bay. Here are the best powers to use in South Park: Snow Day!
All Powers in South Park: Snow Day, Ranked
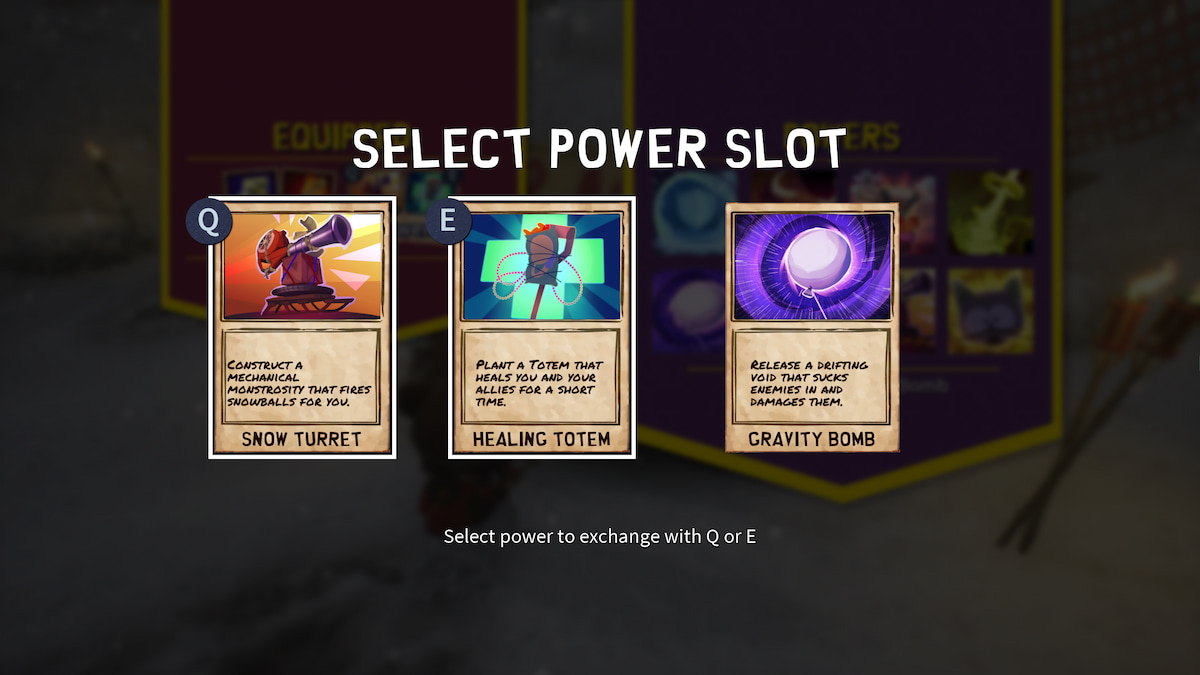
You can choose from eight different powers in South Park: Snow Day, each a different technique to assist you in battle, but you can only have two equipped at once. You’ll unlock these abilities as you progress through the chapters for the first time. After you’ve finished all the base chapters, you’ll have your pick at any of the powers to equip.
With only two spots to fill and eight powers to choose from, you’ll have to decide which one is better to have. Here’s a list of all the powers, what they can do, and how they rank from best to worst, based on my own experience!
8. Bubble Shield
The Bubble Shield can be a great defensive power, especially in areas with many projectiles flying toward you from every side. However, it falls a bit behind, damage-wise, compared to the other powers.
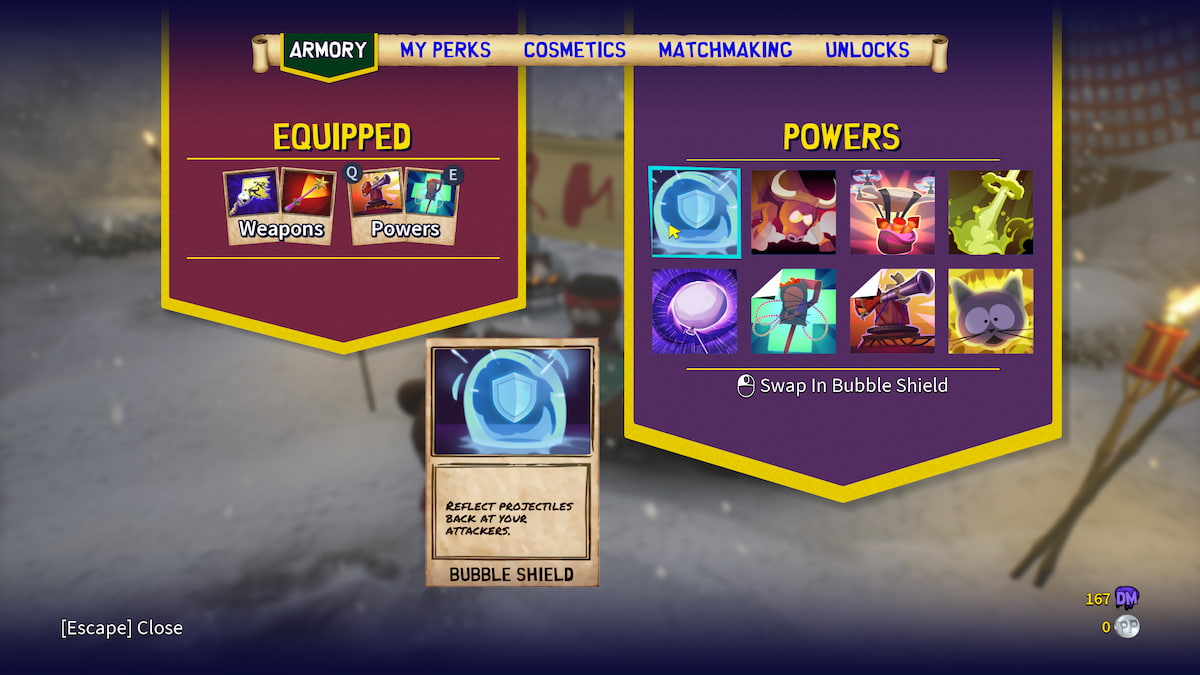
When used, the Bubble Shield forms a bubble around you, deflecting any projectiles that collide with it. It’s useful for defending against archers, but attackers up close will still be able to hit you through it. Plus, the bubble only lasts for a few seconds, meaning you’ll have to time it perfectly for the best results.
The Bubble Shield can grow more powerful with upgrade cards, allowing you to hurt enemies that step inside of it, increase the number of projectiles that bounce back at your opponent, or even expand the radius of the shield. When it comes down to it, though, it just doesn’t do the damage the others can, which is why it’s at the bottom of the list for me.
7. Bullrush
Sometimes, a little rage mode is necessary in battle when you find yourself surrounded. Bullrush is a power for crowd control, allowing you to rush out of a corner. However, it sacrifices its power and damage to enable you to escape.

Bullrush allows you to charge forward through enemies and carry them with you. However, you won’t damage enemies on impact, so this is only good for creating some space between you and your enemies. If you want it to be truly impactful, you’ll need to pair it with another ability.
The upgrades for this card help make it a bit more practical, stunning enemies that you pull with you, increasing the number of enemies you can carry, etc. Still, it was a power I quickly forgot about compared to the others that provided high-damage attacks and better usefulness.
6. Drone Bomb
I was very hopeful for the Drone Bomb power when I first unlocked it, but after using it, I didn’t find it as helpful as I expected. While it does create an explosion, it doesn’t have the AoE or crowd control that you need against the amount of enemies you face.

The Drone Bomb, when triggered, sends out a drone carrying explosives that flies toward the closest enemy and explodes after a short delay. An explosion packs quite a punch, but this is only on one enemy at a time, and the delay of the blast makes it a nuisance to wait for, especially if you’re already in a tight spot.
I found that the ability only became very helpful when given upgrade cards, allowing you to shorten the delay, increase its power, or create a floor of effect that damages enemies inside it. Otherwise, it didn’t have the speed or finesse to keep the hordes back.
5. Fart Escape
Fart Escape had a similar use to the Bullrush for me, but I found it just a bit more effective at its job. Being the first power you unlock, it’s very handy to have equipped for most of the beginning levels. Not only does it provide an escape, but it stuns enemies in your wake.
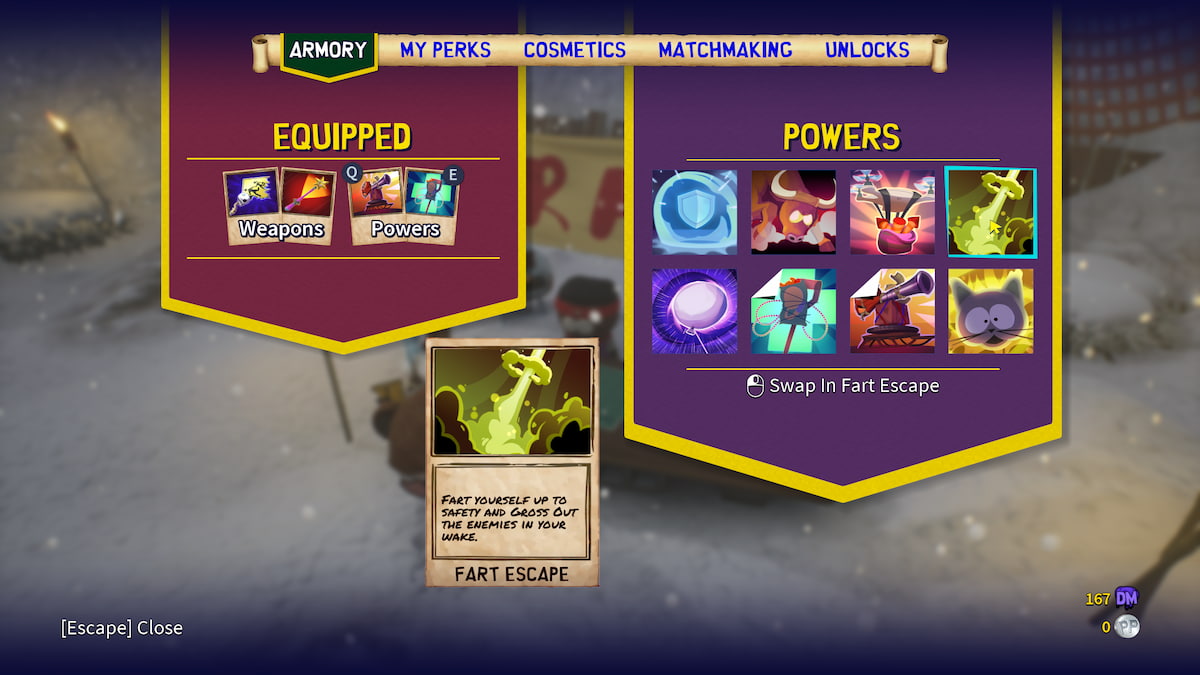
The Fart Escape ability shoots you up into the air and away from the enemies surrounding you and sickens all enemies left behind you, making them stunned for a moment while they puke. This makes the ability especially useful, not only for defensive reasons but also for giving you the perfect opportunity to wipe out enemies before they get the chance to retaliate.
All-in-all, Fart Escape is definitely one of the best defensive skills and pairs nicely with others. That being said, even with the upgrades to shoot you further upward or leave enemies sick longer, it still doesn’t amount to a few others that really come in with the damage.
4. Gravity Bomb
Gravity Bomb is up there as one of the best powers because it not only sucks enemies into one spot but damages all enemies inside it. This means crowd control and AoE damage.
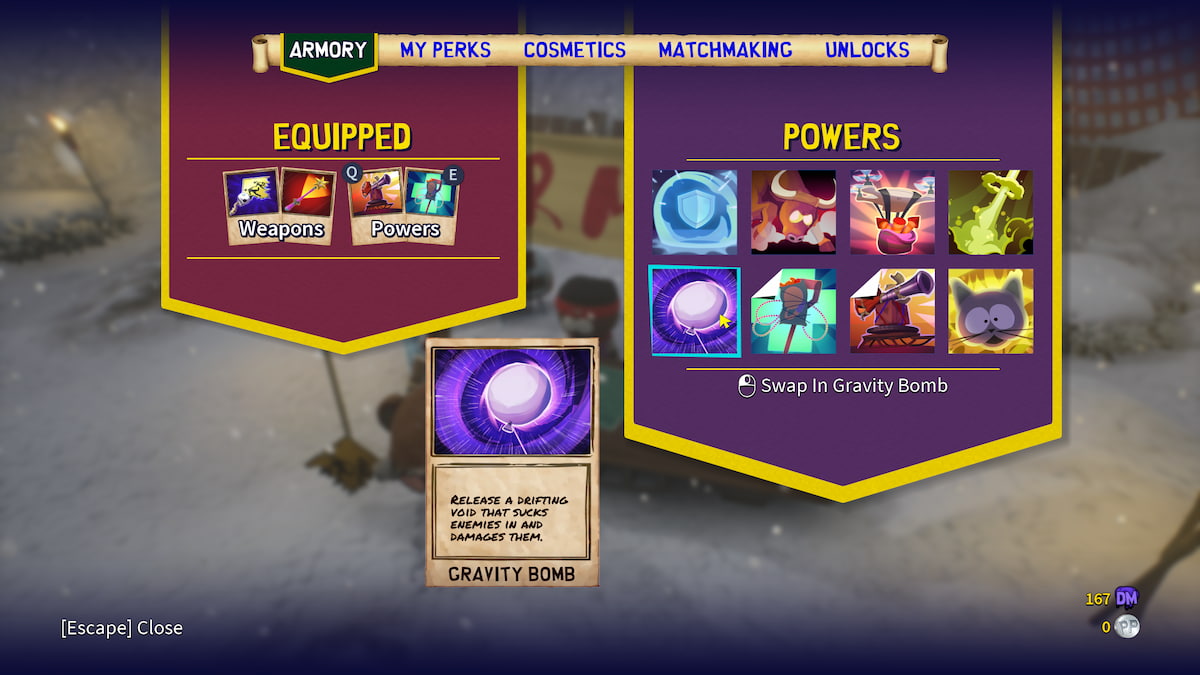
When activated, the gravity bomb drops a balloon that changes into a void, pulling any enemies nearby into it and damaging them while they’re inside. I particularly liked this ability because it groups enemies together. Although it doesn’t do insane damage, you can use your Wand, one of the best weapons, to light them up while they’re stuck together or get several good swings on them all at once.
With upgrades, the Gravity Bomb can become a completely different asset. Instead of damaging enemies, you can turn it into a healing vortex that stays behind you and restores your health while active, which is another reason why it’s higher up on the list.
3. Healing Totem
Even though the Healing Totem isn’t a damaging power, it still sits at the top of the list because it’s the best healing power you can get, and I found it necessary to have it in one of my slots throughout all the chapters.

Not only does the Healing Totem heal you while you’re standing next to it, but it heals all your allies simultaneously. The best part is that you can set it down and receive health while you continue to fight. It has a short delay time between uses, but as long as you’re filling your ‘Pissed Off’ meter, you’ll usually be able to place it as many times as you need.
With upgrades, the Healing Totem becomes even more of a godsend and must-have power in your slots. You can upgrade it to revive players within its radius, damage enemies that step inside the radius while healing, and extend the healing capabilities even more. If you don’t want to have to track down food healing constantly, you’ll want to utilize this power at all times.
2. Cheesing
Cheesing is a unique ability and one of the very last that you will get. However, it also happens to be one of the very best, with multiple benefits like stopping enemies from attacking you and gaining extra allies for a short time.

The Cheesing ability allows you to ‘drug’ nearby enemies, making them fight as your ally for a short time. This removes them as a threat and not only uses them as extra damage but makes them vulnerable to attacks while they are under your spell.
Even without the extra upgrades, although upgrades make it even better, this ability can completely change up any battle. You can even the odds by gaining more allies by your side (even more effective when playing with friends) or stop enemies from attacking you so you can take them out without them even realizing it, which is why it sits in the top three for me.
1. Snow Turret
Snow Turret is not only the very best power but one of my favorites to utilize for a few different reasons. This turret can shoot far or close, providing support with ranged enemies or nearby enemies, and does so with speed.
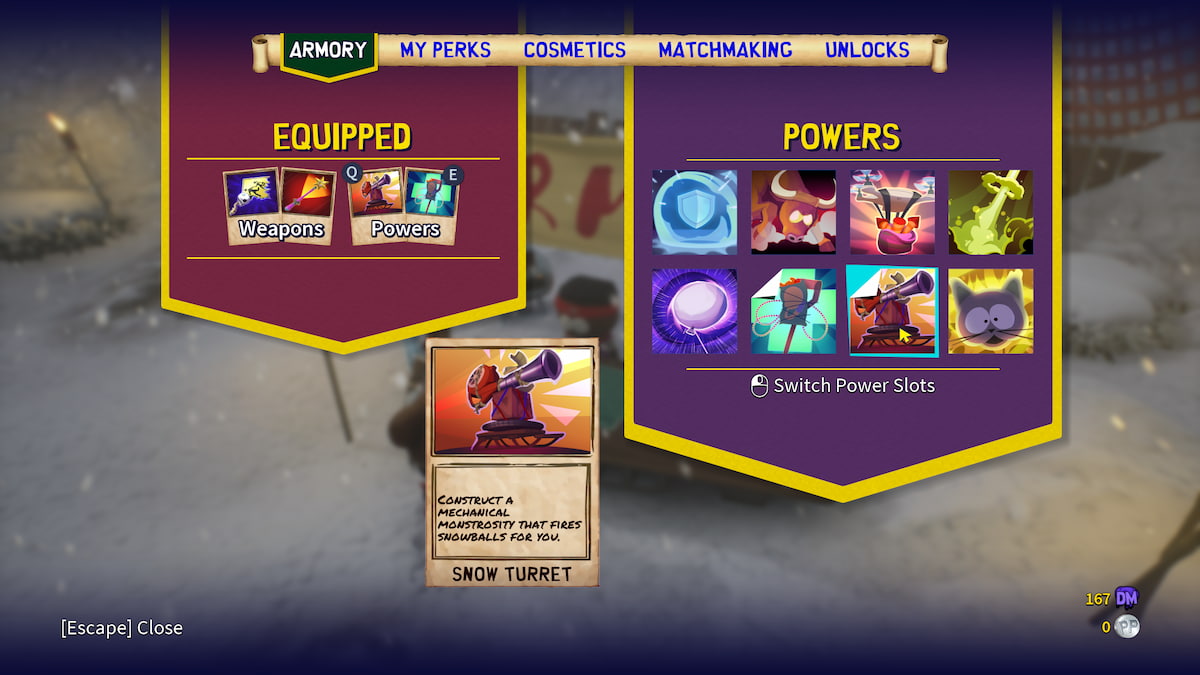
The Snow Turret is a power that creates a turret on the ground near you. When placed, the turret will start self-firing snowballs at the enemies nearby, whether ranged or up close. Plus, it fires in rapid procession. This is great for focusing archers in the distance while you’re busy fighting someone else. Enemies will also be distracted trying to destroy the turret, allowing you to stab them in the back.
The upgrades are really what make this power the best for me. You can equip the Defense Perimeter upgrade to this card, which places mines all along the turret’s base. Not only will the turret shoot at enemies, but as they walk in close to try and destroy it, they will be met with an explosive reaction.
Best Power Combinations in South Park: Snow Day
Even though some powers may fall short, you can pair them together to create an effective combo. Since you always have two power slots, you can mix and match to make a combo that works the best for you, whether you’re looking for the most damage or a balance of healing.
Snow Turret + Bubble Shield
The Bubble Shield may be at the bottom of our tier list, but you can elevate its abilities by pairing it with the top of the list—Snow Turret. Together, you can rebound incoming projectiles simultaneously as you dish them out.
Gravity Bomb + Drone Bomb
Why have one bomb when you can have two? Mixing a Gravity Bomb with a Drone Bomb will not only double the explosions but also make the Drone Bomb more effective by grouping all the enemies into one spot, making them an easier target.
Bullrush + Cheesing
Bullrush may not be super-effective, but you can take full advantage of that handy crowd control by combining it with Cheesing. As you’re charging through and pulling enemies with you, activate the Cheesing ability to take control of them all at once. You are bound to hit more enemies with it this way, leaving more enemies vulnerable at one time.
Fart Escape + Healing Totem
If you’re already happy with the weapons you’re using and don’t need extra damage on top of them, you can use your power slots for the best defensive moves that will give you the support you need to make it through the chapter. Fart Escape mixed with Healing Totem is the very best defense you can get. Fart Escape will allow you to escape enemies and stun them while you place a totem and heal up.
Snow Turret + Healing Totem
If you’re looking for a more balanced combo of damage and healing, my personal favorite mix is Snow Turret and Healing Totem. You can place the Turret and the Totem in the same spot to allow the turret to fight for you while you take a second to heal up. This is even more effective if you have the special Defensive Perimeter upgrade for the Turret, restricting enemies from coming close with its mines.
Check out GameSkinny’s South Park Snow Day hub for more helpful guides like this, such as How to Emote or How to Get Platinum Points!


Published: Mar 26, 2024 03:15 am