Bravely Default 2’s rare monsters offer some of the toughest combat challenges in the game outside the job level 15 challenges. They’re entirely optional and take some preparation to ensure victory, but challenging Bravely Default 2’s rare monsters is well worth your time.
If you seek out rare monsters as you move through the story, you probably won’t be able to handle the fights the first time around. These are incredibly difficult bosses that can deal 1k+ damage in a single blow if you’re not prepared, so there’s no harm waiting until you’re better equipped and at a higher level.
Aside from the challenge, Bravely Default 2’s rare monsters have a chance of dropping rare equipment, including weapons and armor. It’s only a small chance, but fortunately, you can farm rare monsters as many times as you want.
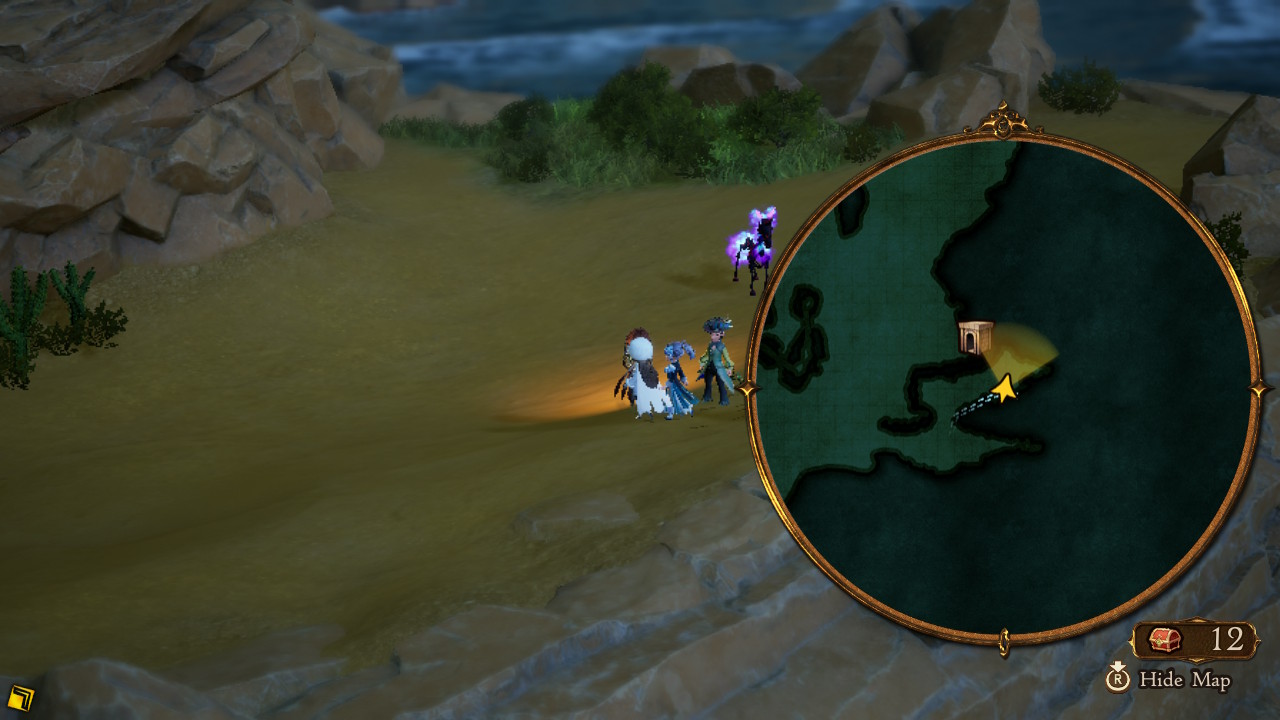
Bravely Default 2 Coral Emperor Location and Drops
- Location — Island south of Halcyonia
- Rare drop — Ice Brand (sword)
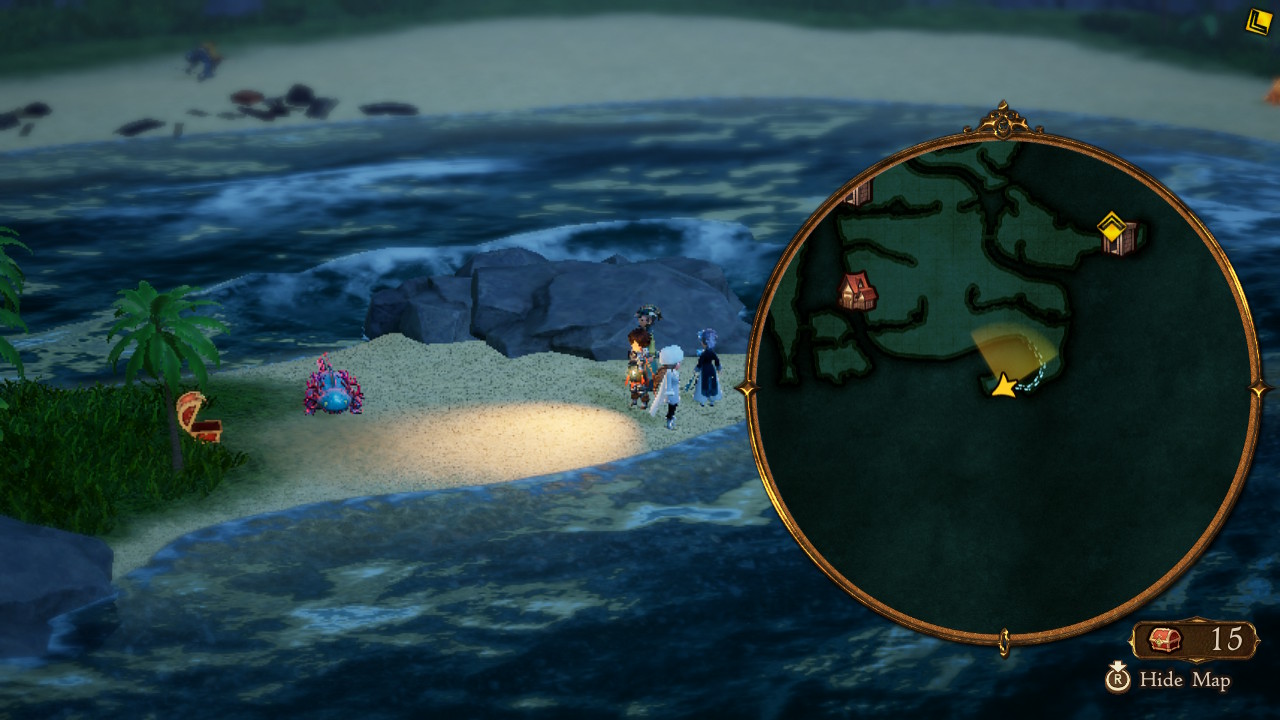
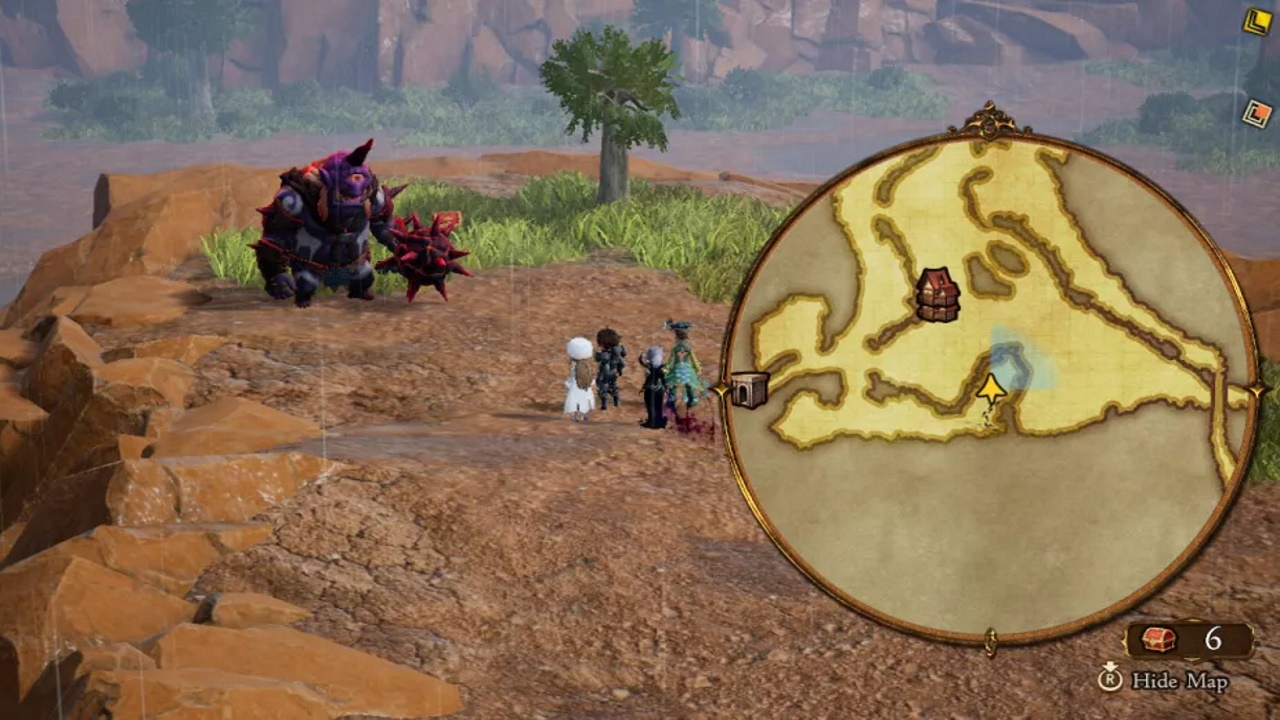
Coral Emperor is probably the first rare monster you’ll encounter since it’s so close to the beach where your first quests take place. It absorbs magic attacks of all kinds, so use lightning-based physical attacks or lightning-imbued weapons if you want to exploit that weakness.
Otherwise, just whittle its health down with your strongest physical characters, and bolster your magic defenses with a Bard.
- Weaknesses — Lightning, daggers, swords
- Absorbs — All magic
- Half damage — Earth
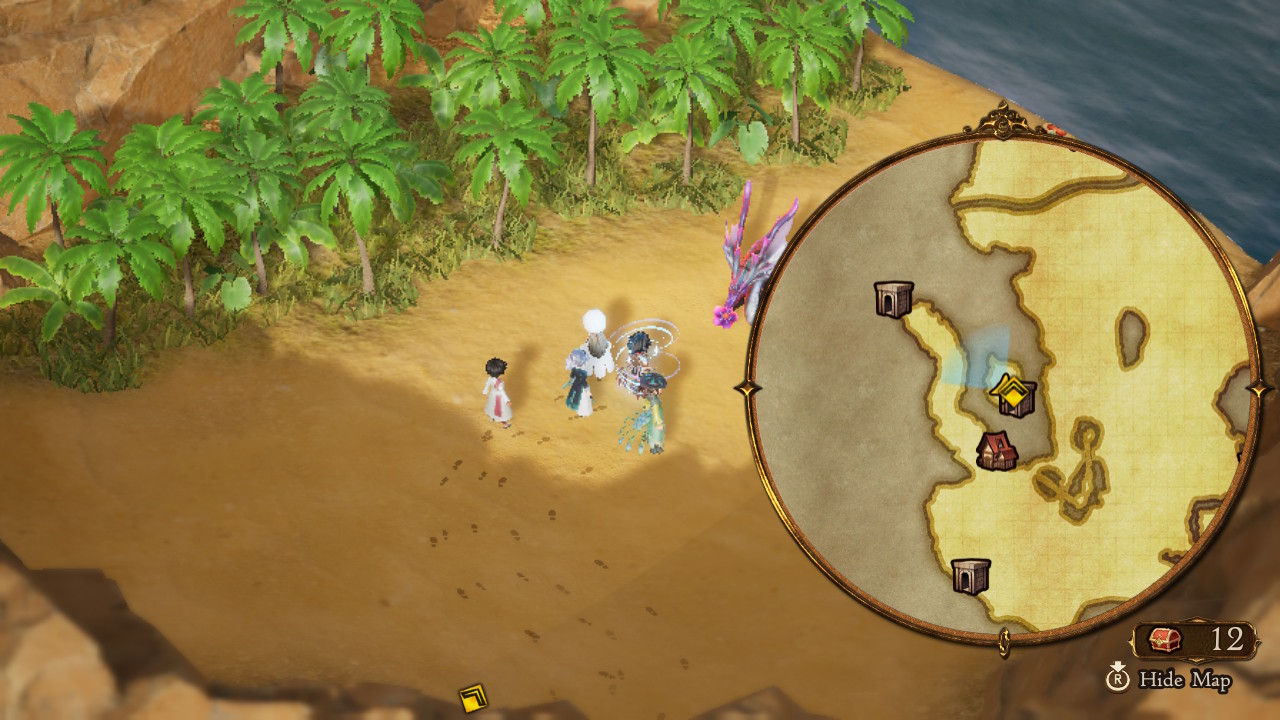
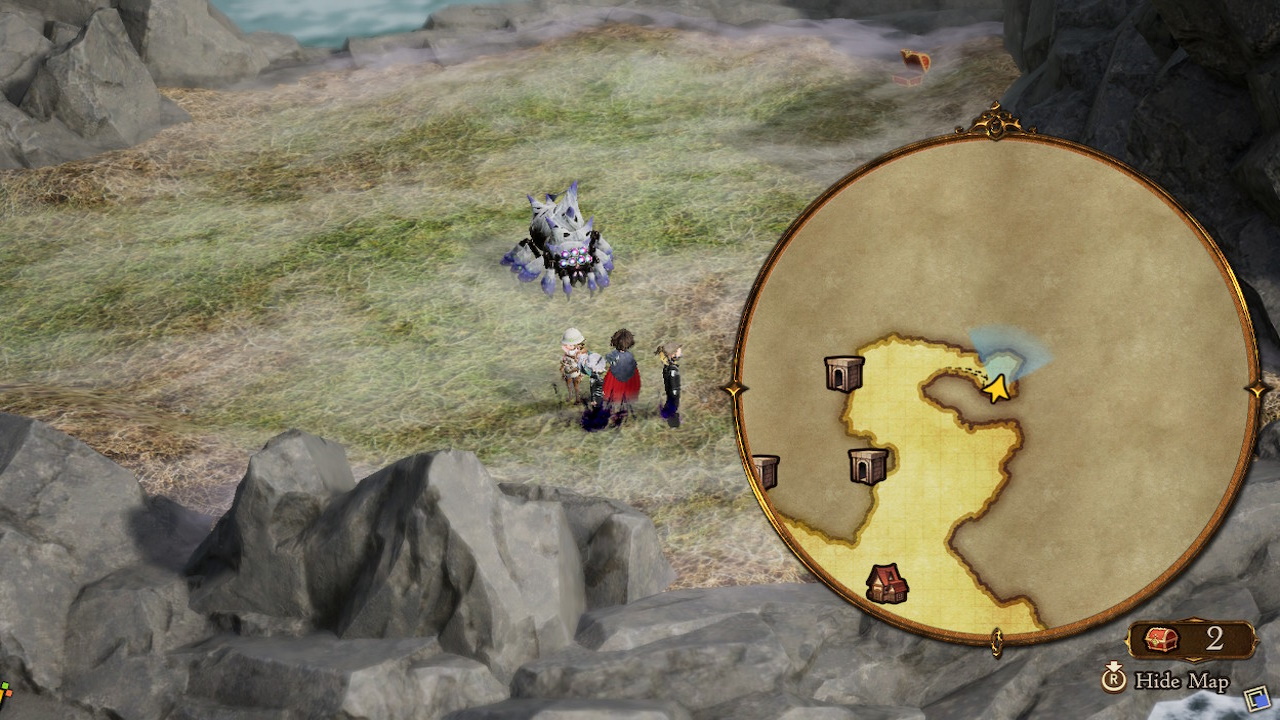
Bravely Default 2 Leannan Sith Location and Drops
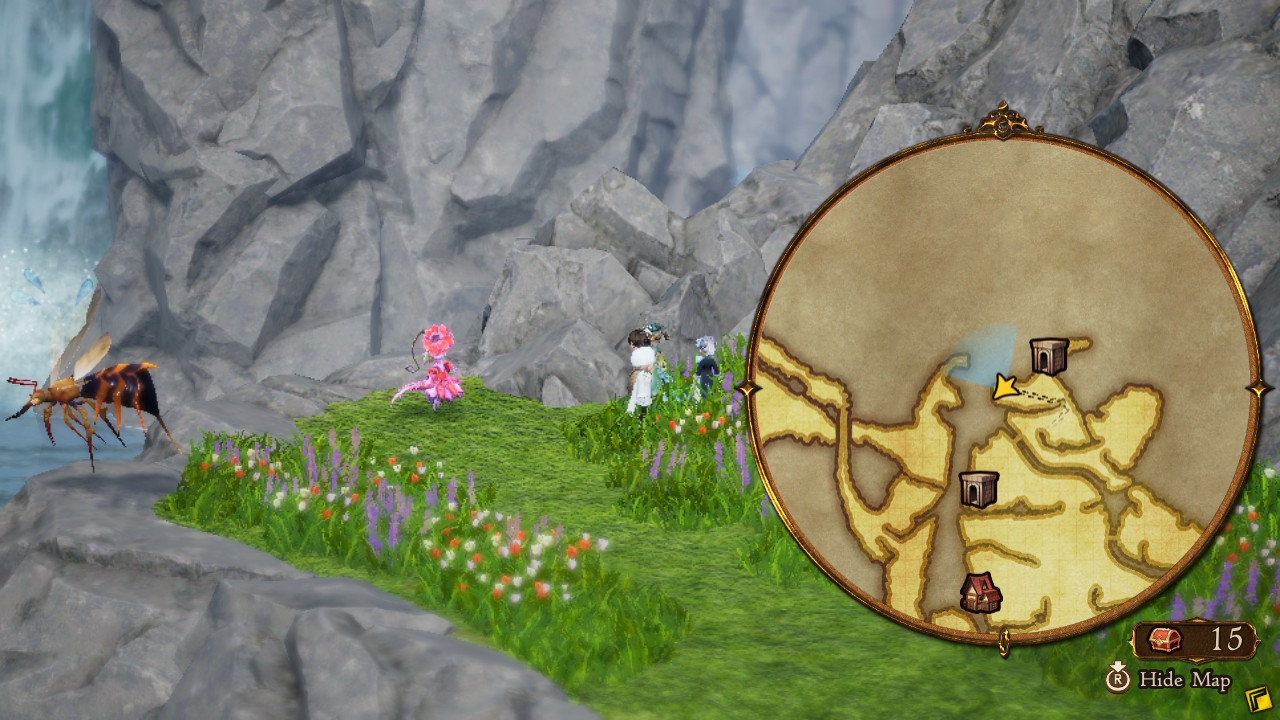
- Location — Northern Halcyonia, west of the flower field
- Rare Drop — Main-Gauche (dagger)
Leannan Sith is a slight exception to the rare monster rule, as it’s weak enough to tackle even before you leave Halcyonia behind. Leannan Sith’s weaknesses are easy to exploit, and its only noteworthy feature is inflicting charm.
- Weaknesses — Lightning, Daggers, Bows
- Resistances — Dark
- Half damage — Earth
- Absorbs — Wind
Bravely Default 2 Treant Location and Drops
- Location — Northeast Halcyonia
- Rare drop — Rhongomiant (spear)
Treant blends in a bit more with its surroundings, so just keep an eye out for the off-shade green. It’s got plenty of common weaknesses and no resistances to worry about. The biggest challenge is just staying alive, but regular defense and magic defense buffs should make this a fairly simple fight.
- Weaknesses — Dark, lightning, axes
- Resistances — None
- Half damage — none
- Absorbs — Earth, water, light
Bravely Default 2 Nightmare Location and Drops
- Location — South of Savalon
- Rare drop — Dark Robes (armor)
Nightmare was a big deal in the demo but should pose no problem now. Healing magic deals damage to it, since Nightmare is an undead monster, so just avoid Fire and Dark, and you’ll be finished in no time.
- Weaknesses — Light, water, lightning, bows, swords
- Resistances — None
- Half damage — Fire
- Absorbs — Dark
Bravely Default 2 Mushussu Location and Drops
- Location — Island outside Savalon tunnels
- Rare Drop — Defender (sword)
The map isn’t much help showing Mushussu’s location. Head into Savalon’s tunnels, and at the first save point, keep going north. You’ll exit the tunnels on Mushussu’s little island. Note you don’t have to trigger the Mushussu side quest to start the battle, but be prepared for multiple water-based foes to join the fight.
- Weaknesses — Earth, water, spears, swords
- Resistances — None
- Half damage — Wind, fire
- Absorbs — None
Bravely Default 2 Skullcap Location and Drops
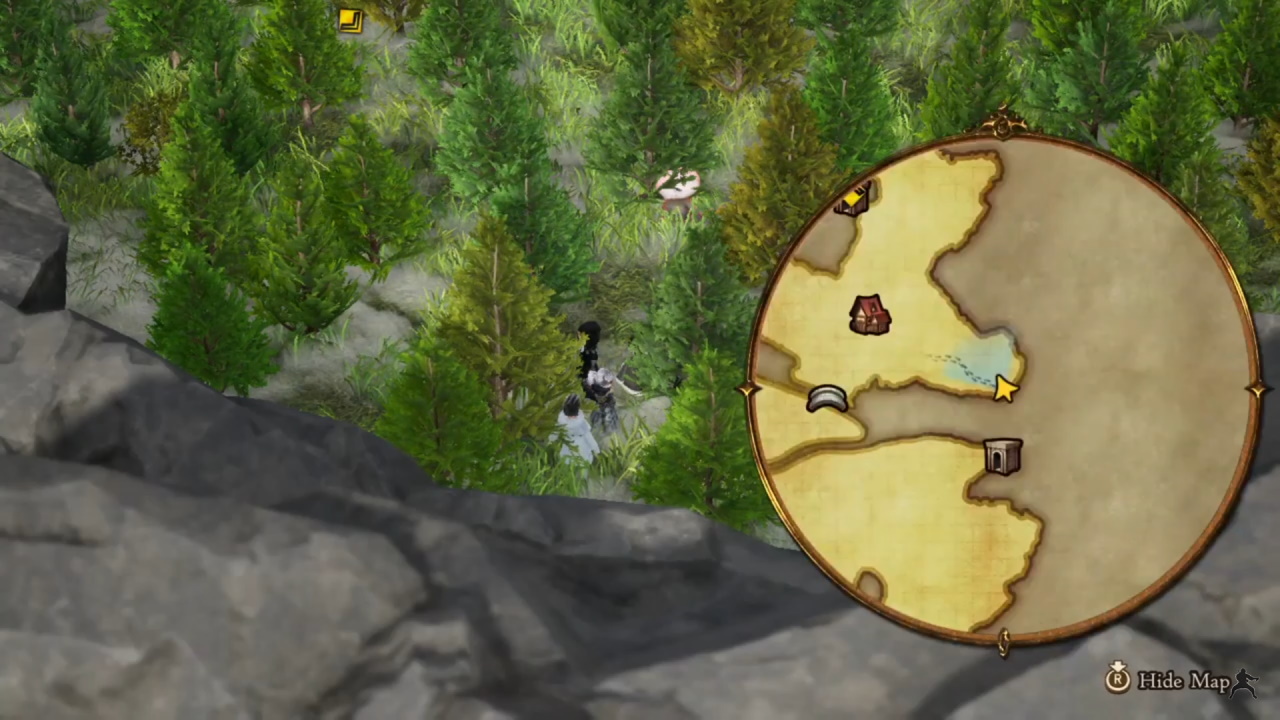
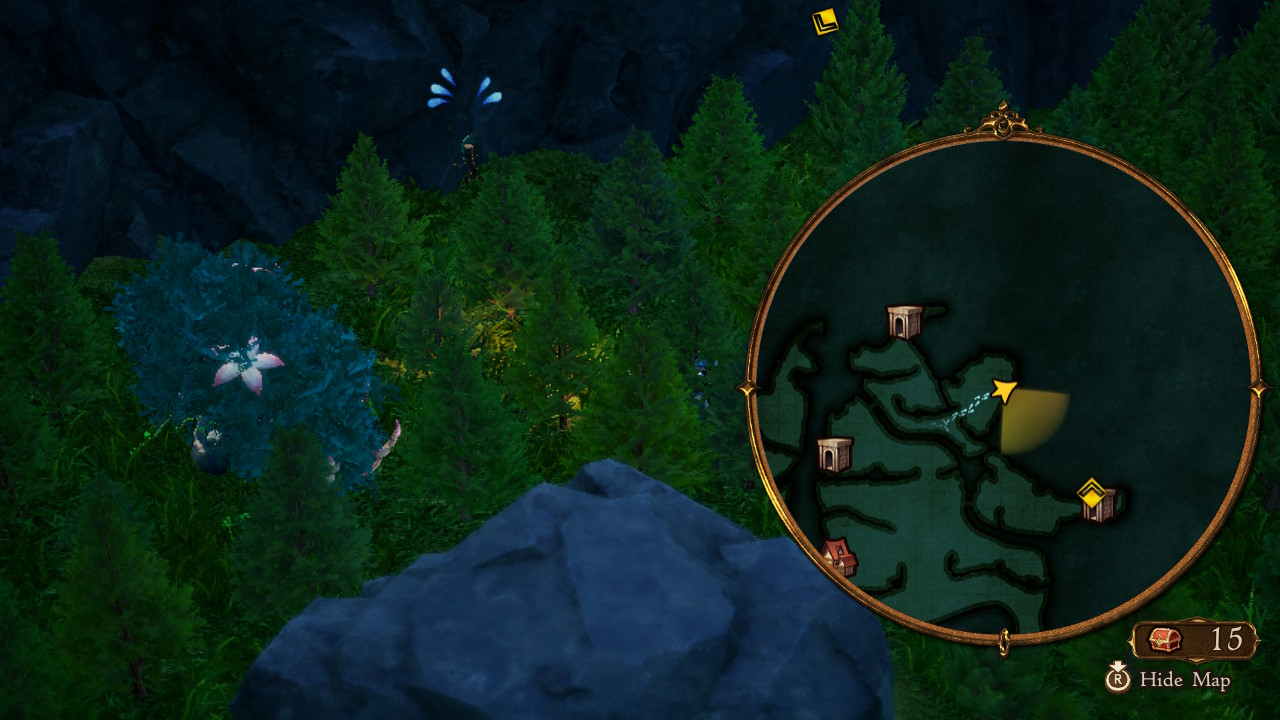
- Location — East of Wiswald
- Rare drop — Spiked Helm (helmet, unsurprisingly)
This Bravely Default 2 rare monster lurks in the woods east of Wiswald. It’s hard to spot, so just mind how you go if you’re exploring the woods unprepared for battle. Once you do engage Skullcap, it’s a standard plant-based fight. Hammer it with fire spells and abilities, and keep your buffs up because Skullcap will summon reinforcements.
- Weaknesses — Fire, daggers, axes
- Resistances — Lightning
- Half damage — None
- Absorbs — Light, water, earth
Bravely Default 2 Orc King Location and Drops
- Location — West of Wiswald
- Rare drop — Genji Helm (helmet again)
There’s not much to say about the Orc King. It’s another orc, and it wears a crown.
- Weaknesses — Fire, spears, bows
- Resistances — None
- Half damage — Earth, water, staff, daggers
- Absorbs — None
Bravely Default 2 Baal Location and Drops
- Location — North of Wiswald
- Rare drop — Carnwenhan (dagger)
Baal might steal your weapons if you attack it directly, so don’t do that. Strong Monks who aren’t wielding weapons are a good idea, as are powerful magic users. Just make sure you’re ready for a long fight because Baal has an obnoxious amount of HP.
- Weaknesses — Water, light, swords
- Resistances — Dark
- Half damage — Earth
- Absorbs — None
Bravely Default 2 Baba Yaga Location and Drops
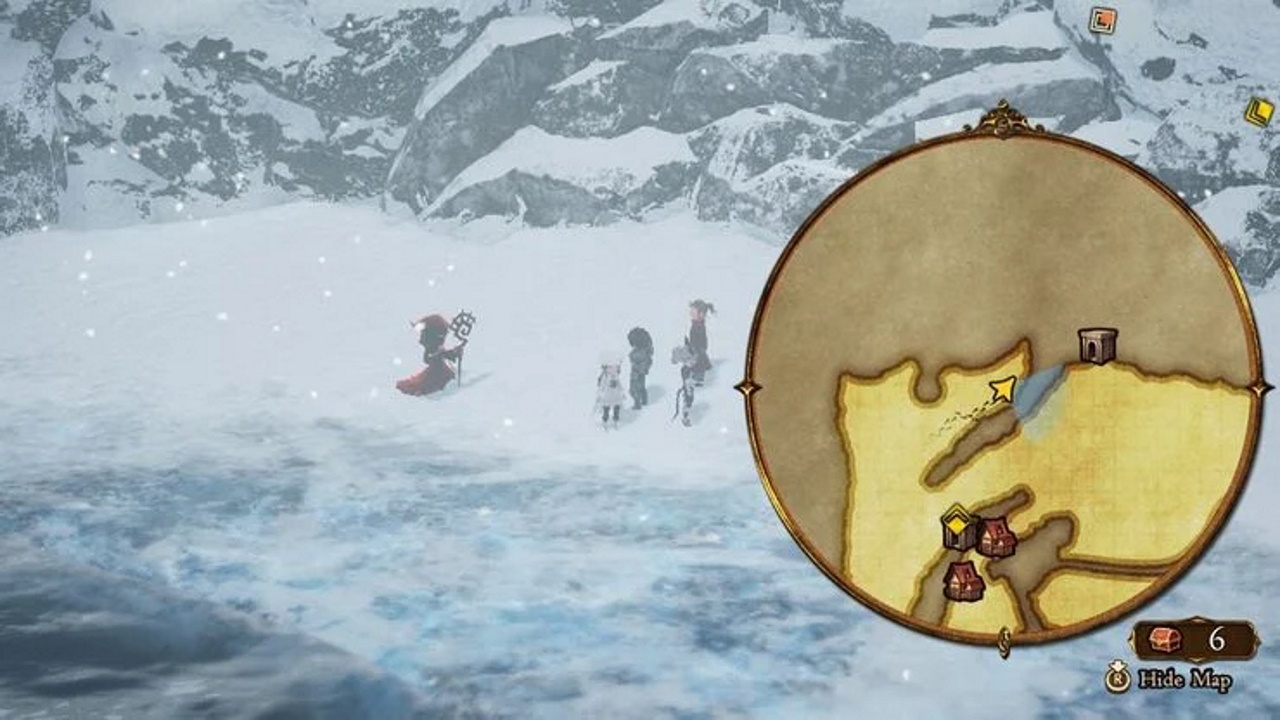
- Location — Northwest of Rimedhal
- Rare drop — Sage’s Staff (two guesses what this is)
Baba Yaga is essentially Leannan Sith 2.0. Charm is its only big surprise, and a ranger or two could make quick work of Baba Yaga. It’s one of Bravely Default 2‘s rare monsters, but only just.
- Weaknesses — Wind, daggers, bows
- Resistances — None
- Half damage — Earth, dark, staffs
- Absorbs — Lightning
Bravely Default 2 Jormungandr Location and Drops
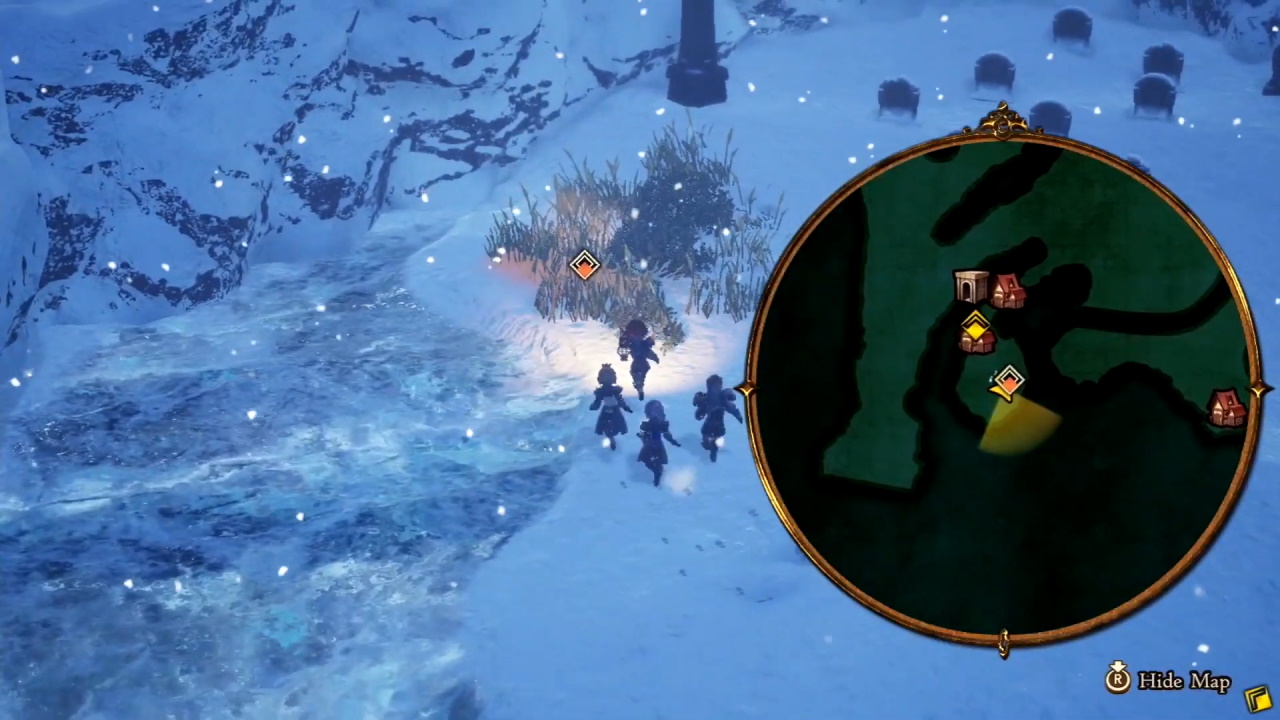
- Location — Rimedhal Cemetery
- Rare drop — Monstrous Medley (monster lure)
Jormungandr hides in the Rimedhal Cemetery sand pit, which is pretty hard to miss. Attack the sand to start the fight. The Jormungandr fight is notable mainly because the worm has just one weakness. Hit it hard, and you’ll win the day.
- Weakness — Axes
- Resistances — Water, Dark
- Half damage — None
- Absorbs — Earth
Bravely Default 2 Astaroth Location and Drops
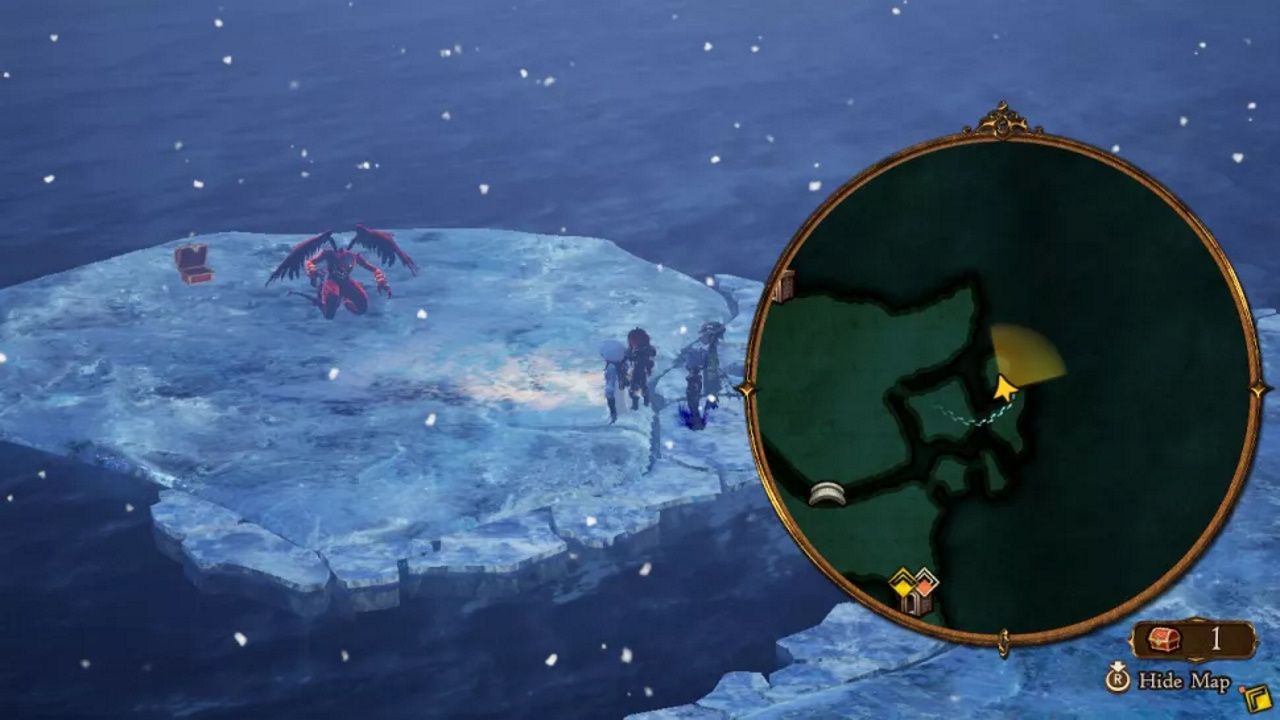
- Location — Easternmost part of Rimedhal
- Rare drop — Tristan’s Bow (It’s a bow)
Astaroth is where things start getting even more difficult. Like most bosses at this point in the game, it can counter most of your actions, and it deals some mighty blows to your party. Fortunately, it’s got plenty of weaknesses to exploit. Just have the buffs handy.
- Weaknesses — Lightning, light, spears, daggers
- Resistances — Water
- Half damage — Wind
- Absorbs — Dark
Bravely Default 2 Cyclops Location and Drops
- Location — South of Holograd
- Rare drop — Sensei’s Belt (accessory)
Don’t expect the fights to get any easier from here on. Cyclops doesn’t have any special gimmicks, but it is much more powerful than the rare monsters up to this point. As always, have a competent healer and buff giver handy, and hone in on Cyclops’ weaknesses.
- Weaknesses — Lightning, light, axes
- Resistances — None
- Half damage — Fire, earth, dark
- Absorbs — None
Bravely Default 2 Susanoo Location and Drops
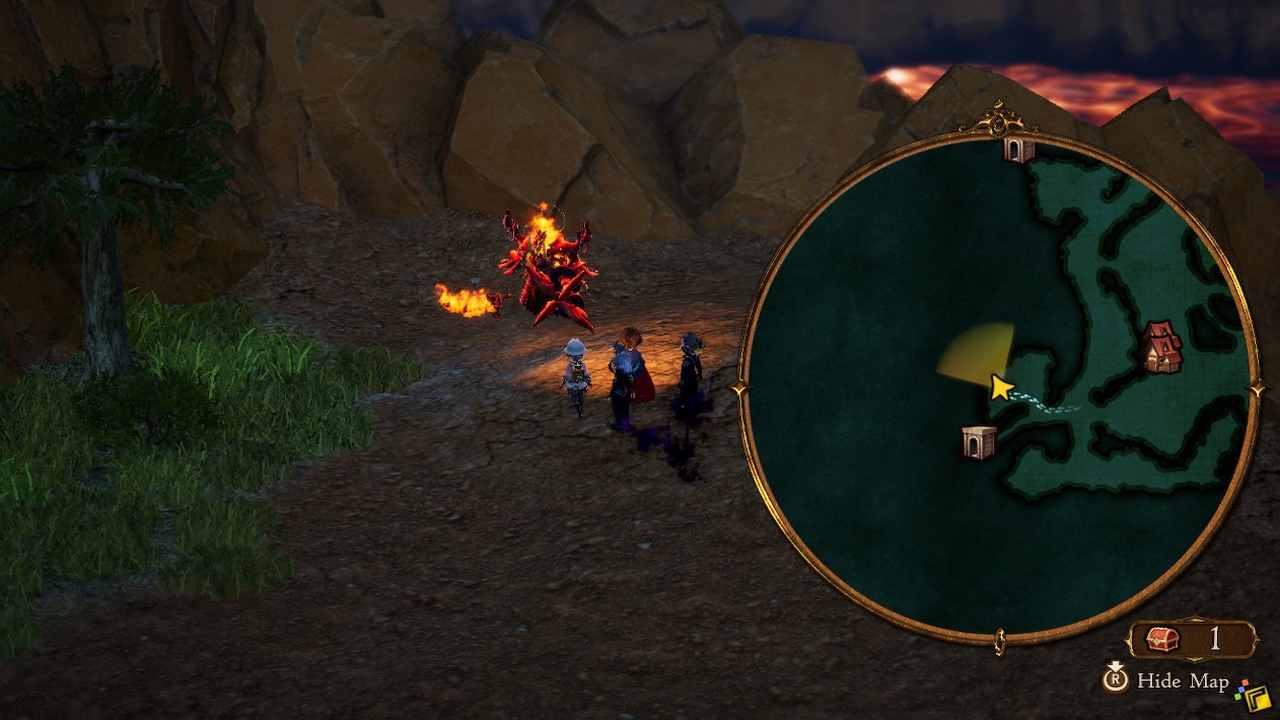
- Location — West of Holograd. It’s on fire, and that’s kind of hard to miss.
- Rare drop — Mal Meadworth (sword)
In true Bravely fashion, Susanoo is a massive pain to deal with. Its weaknesses are few and uncommon, and it can deal massive damage. Dig your heels in, and boost your fire defenses. Consider taking out the next boss first, since it drops a fantastic new staff.
- Weaknesses — Light, staffs
- Resistances — Dark
- Half damage — Water, wind, swords
- Absorbs — None
Bravely Default 2 Zeus Location and Drops
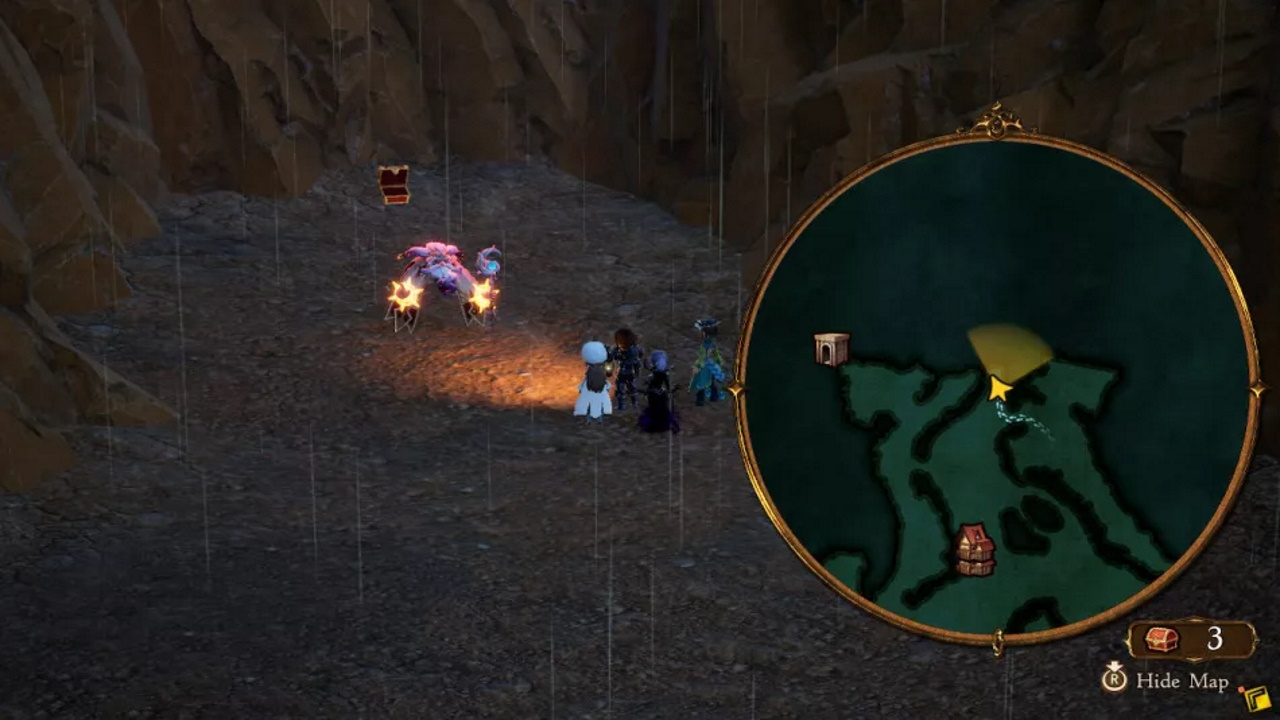
- Location — North of Holograd
- Rare drop — Asclepius (staff)
Zeus is like Susanoo, only made of lightning and with easier weaknesses. Boost your lightning defenses and go all out with your strongest swords and spears alongside the usual buff-and-heal strategy.
- Weaknesses — Dark, swords, spears
- Resistances — None
- Half damage — None
- Absorbs — Lightning, light
That’s everything you need to know about Bravely Default 2‘s rare monsters, but check out our other Bravely Default 2 guides for more tips.


Published: Mar 12, 2021 04:36 pm