The final boss of the Warlord’s Ruin Dungeon in Destiny 2 asks far more than the previous two boss fights combined. It’s chaotic and deadly, adds traversal as a core mechanic, and is one of my favorite fights in the entire game. Here’s how to beat Hefnd’s Vengeance.
Tips and Tricks For Defeating Hefnd’s Vengeance in Destiny 2 Warlords Ruin
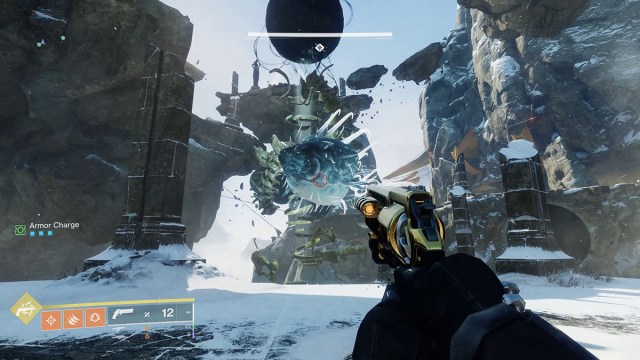
The Hefnd’s Vengeance, Blighted Chimera fight in the Warlord’s Ruin Dungeon builds on the previous two boss fights in several important ways. It takes the lessons you learned fighting Rathil and adds some additional mobs and mechanics to deal with. It then pulls from the Locus of Wailing Grief with DPS phases locked behind spawning bosses and activating totems. Then, it adds a new death mechanic and asks you to do damage as you ascend multiple platforms, repeating mechanics and dealing damage along the way.
All that says nothing of the environmental hazards and hordes of enemies you need to fend off. The boss constantly puts out heavy damage. I would be lying if I said that even with a full team, this fight is a significant test of your personal skill and those of your teammates. One mistake can quickly spiral.
Hefnd’s Vengeance Damage Primer: What You Need to Know and Cheese Strat
For actually doing damage to the boss, the same rules apply. If you have a Gjallarhorn and two quality Legendary Rocket Launchers, that will be, by far, your best DPS option. As with the other two bosses in the Dungeon, there’s no time limit. However, Hefnd’s Vengeance, Blighted Chimera, does have a final stand when you reach about 5% of its health. When you reach that threshold, you’ll be teleported to the highest level of the arena for a direct confrontation with the floating Taken ball.
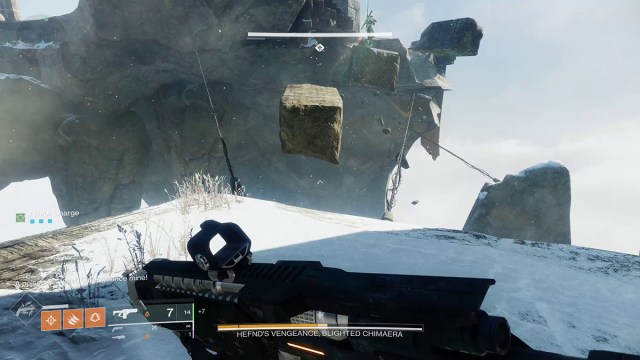
There’s a trick to making the final stand easier if you don’t want to deal with Hefnd’s Vengeance constantly pelting you with Void orbs. Like the rest of the fight, there’s no time limit on final stand, so you can easily retreat to long distance and plink away at its health. Using this cheesier strat is especially helpful if two of your teammates go down or you want a safer solo kill. Weapons like the Wish-Ender Bow are fantastic options for long-range DPS.
How to DPS Hefnd’s Vengeance, Blighted Chimera

The mechanics for doing damage to Hefnd’s Vengeance, Blighted Chimera are roughly the same as the first two bosses in Warlords Ruin. To start, the Imminent Wish buff is back, and DPS starts when its countdown reaches zero.
The Chimera will summon six Blighted Eyes around itself which, when destroyed, summon two mini-Rathils. Defeat the mini-bosses after they’ve summoned a Taken totem, and they drop a second. Activate as many totems as you can for the longest possible DPS phase. You’ll then do damage based on how many totems were activated as dictated by the Naeem’s Wish Empowerment buff.
When the boss goes immune again, you’ll jump to the next platform, repeating the process until you reach the highest point. If you don’t reach final stand across four DPS platforms, the process repeats until you do.
Hefnd’s Vengeance DPS Mob and Gimmick Details
There are, of course, a few wrinkles. First and foremost, there are a lot more enemies to deal with. The rank and file include both Taken Thrall and Taken Psions, with pairs of Taken Wizards there for more sustained damage. There are also new gimmicks to the fight.
- First are the Blights that spawn that cover parts of the arena in Taken goo that deals damage over time. Destroy the Taken orb above them to dissipate the blight.
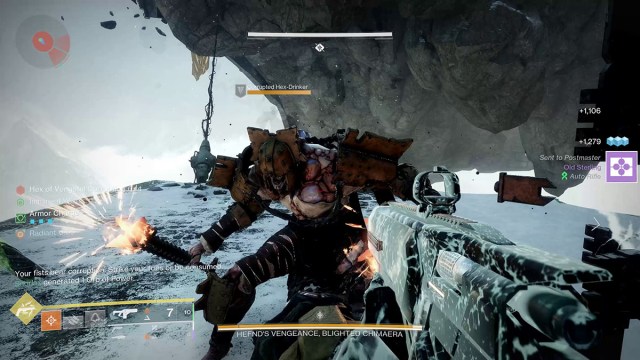
- Second is the encounter’s death mechanic. Interacting with the totems now grants the Hex of Vengeful Corruption debuff. Having the Hex starts a fifteen-second countdown, killing you when it reaches zero. As soon as you gain the debuff, glowing Scorn Wraiths will also spawn. These ones are named Corrupted Hex-Drinkers.
How to Survive Hex of Vengeful Corruption
To survive Hex of Vengeful Corruption, you need to melee one Hex-Drinker and transfer the debuff to them. They’ll go from glowing lightly to being covered in black Taken energy.
- If you’re running with a squad of three, there will be one Hex-Drinker per Guardian who interacts with the totems. But each Drinker can only hold one player’s debuff.
- If you have the Hex of Vengeful Corruption and the only Hex-Drinkers nearby have already accepted another player’s debuff, you’ll need to find the last one that hasn’t.
Ending the Fight and Final Stand
Once the totems have been activated and the DPS phase is over, Hefnd’s Vengeance will go immune again. The Taken energy blocking the platforms at the right edge of the first platform will dissipate. You’ll repeat DPS activation four more times. Then, after the fourth phase, continue ascending platforms until the message “My hide is thick, O vengeance mine” appears on the bottom left of your screen. This message signals the end of DPS is coming, and you’ll be teleported back down to the initial platform.
Final stand, which you reach at about 5% of the boss’s health, has no additional mechanics. No debuffs, no additional enemies beyond constantly spawning Blighted Eyes, and no wipe mechanics. You have as long as you need to take Hefnd’s Vengeance, Blighted Chimera down and claim victory over the Warlord’s Ruin Dungeon.
That’s how to beat Hefnd’s Vengeance in Destiny 2‘s Warlords Ruin dungeon. For more tips and tricks, check out our guides on the Duality and Grasp of Avarice activities and much more in our D2 guides hub.




Published: Dec 11, 2023 11:37 am