No Rest for the Wicked is a side quest in Flintlock: Siege of Dawn found in the Wanderer’s Rest region. Unlocking this treasure hunt quest shouldn’t be difficult, but finding all its secrets might pose a challenge. If you’d rather skip this scavenger hunt, our No Rest for the Wicked quest guide is for you.
How to Start the No Rest for the Wicked Side Quest in Flintlock

To start the No Rest for the Wicked side quest, simply reach the quest mark on your map. You’ll need to fight an enemy, one of the bandits that roam in this area, and save the nearby NPC. This character will soon be revealed to be a former bandit who is trying to leave his life of crime for good.
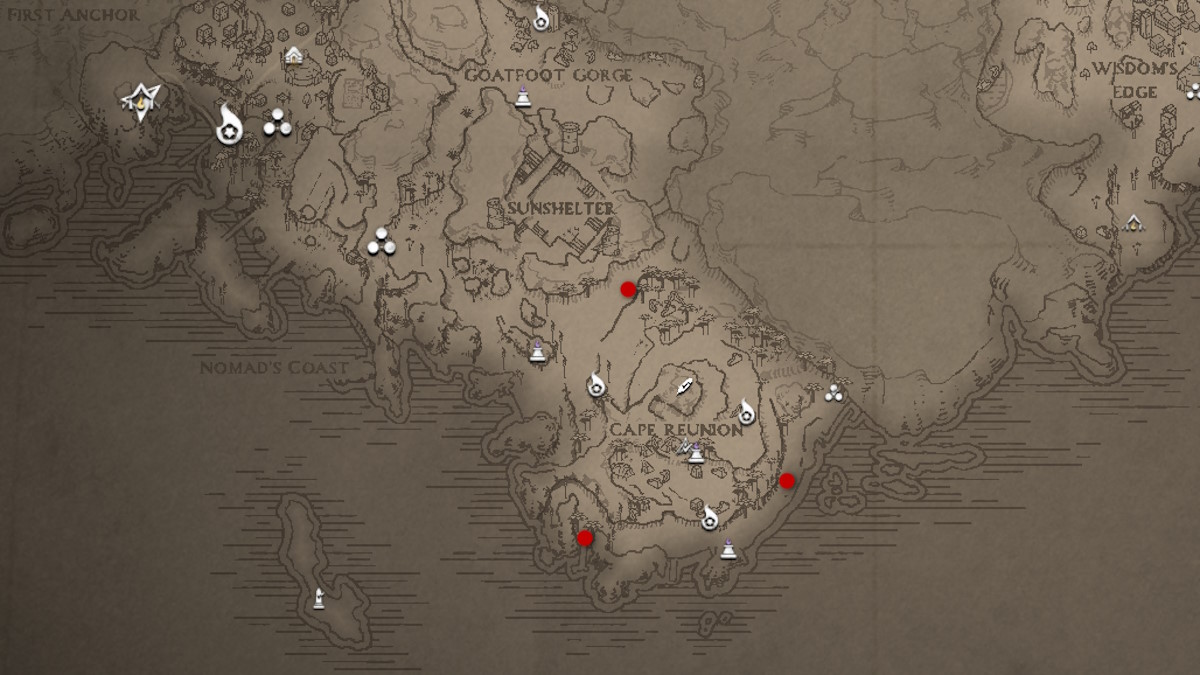
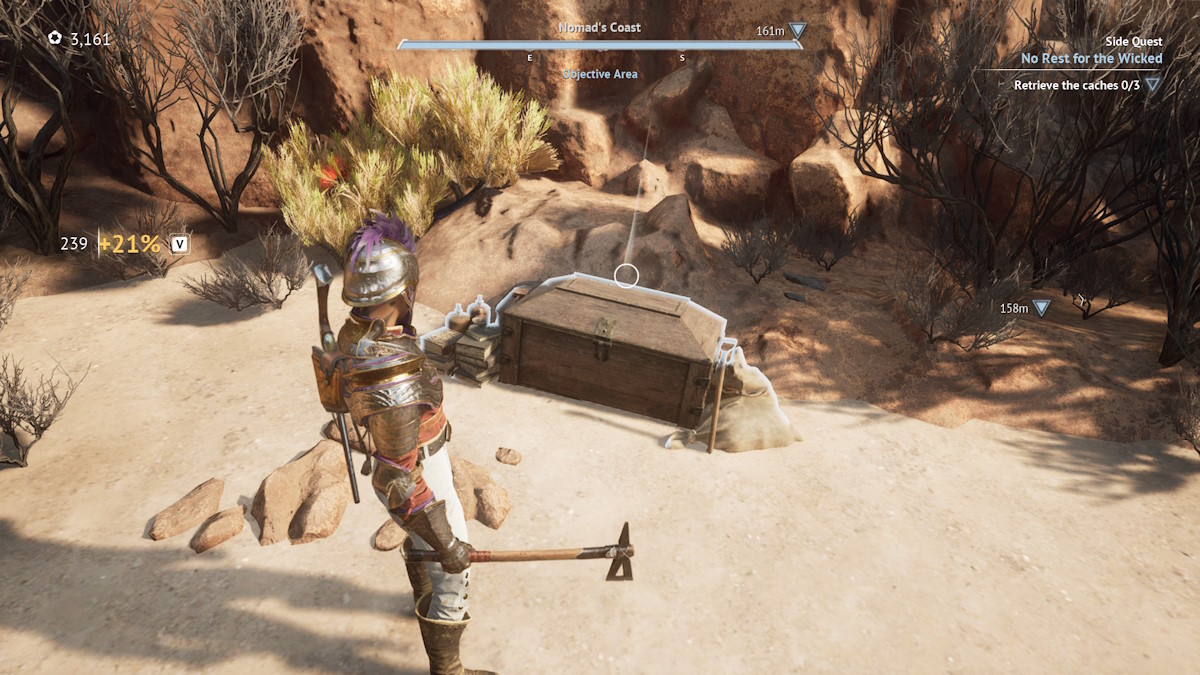
He’ll ask you to find three hidden caches of stolen goods he hid in the area. Those chests wouldn’t be difficult to find, if it wasn’t for the fact that you don’t know exactly where they are hidden. You’ll have to find them yourself by exploring the large area indicated by the mission objective. Alternatively, read the next chapter of this guide to reveal the precise location of each chest.
How to Find the Hidden Chests in No Rest for the Wicked

If you don’t want to spend time hunting down those caches in every corner of the desert, you can use the screenshot above to find all three hidden chests. The red dots indicate the location of your objectives. Even if you don’t have to worry about finding the chests, you still have to fight the bandits who have got there before you.
Once you have collected the last cache, your mission status will update, prompting you to return to the NPC that gave you this quest.
How to Complete No Rest for the Wicked
When you come back to the former bandit, you’ll find that he has already been killed by a former gang member. The assailant is still here, and will immediately attack you. The fight, while more difficult than what came before, shouldn’t be too difficult. When you have defeated this last enemy, you’ll receive your prize. Unable to return the stolen goods to their former owners, Nor decides to keep them for herself in the form of a large sum of Reputation.
That’s all for our No Rest for the Wicked side quest guide. For more content about the game, visit our Flintlock content hub.


Published: Jul 17, 2024 09:00 pm