
There are 25 Secret News Clippings to find across the five jobs available in Illfonic’s newest asymmetrical multiplayer title, Ghostbusters: Spirits Unleashed. These hidden collectibles expand on the game’s lore outside the overarching narrative, providing fun details for fans of the series and details on each ghostbusting location.
Finding one of them in any level (it doesn’t matter which one) will give you the Collector trophy and achievement. Uncovering all 20 will give you the Master Collector trophy and achievement. The rub is that all of their locations are completely randomized. Well, mostly. Just as with the paranormal activity scaring the hell out of civilians across all five jobs, there are specific locations that appear to be more active than others, providing increased chances of finding Secret Clippings.
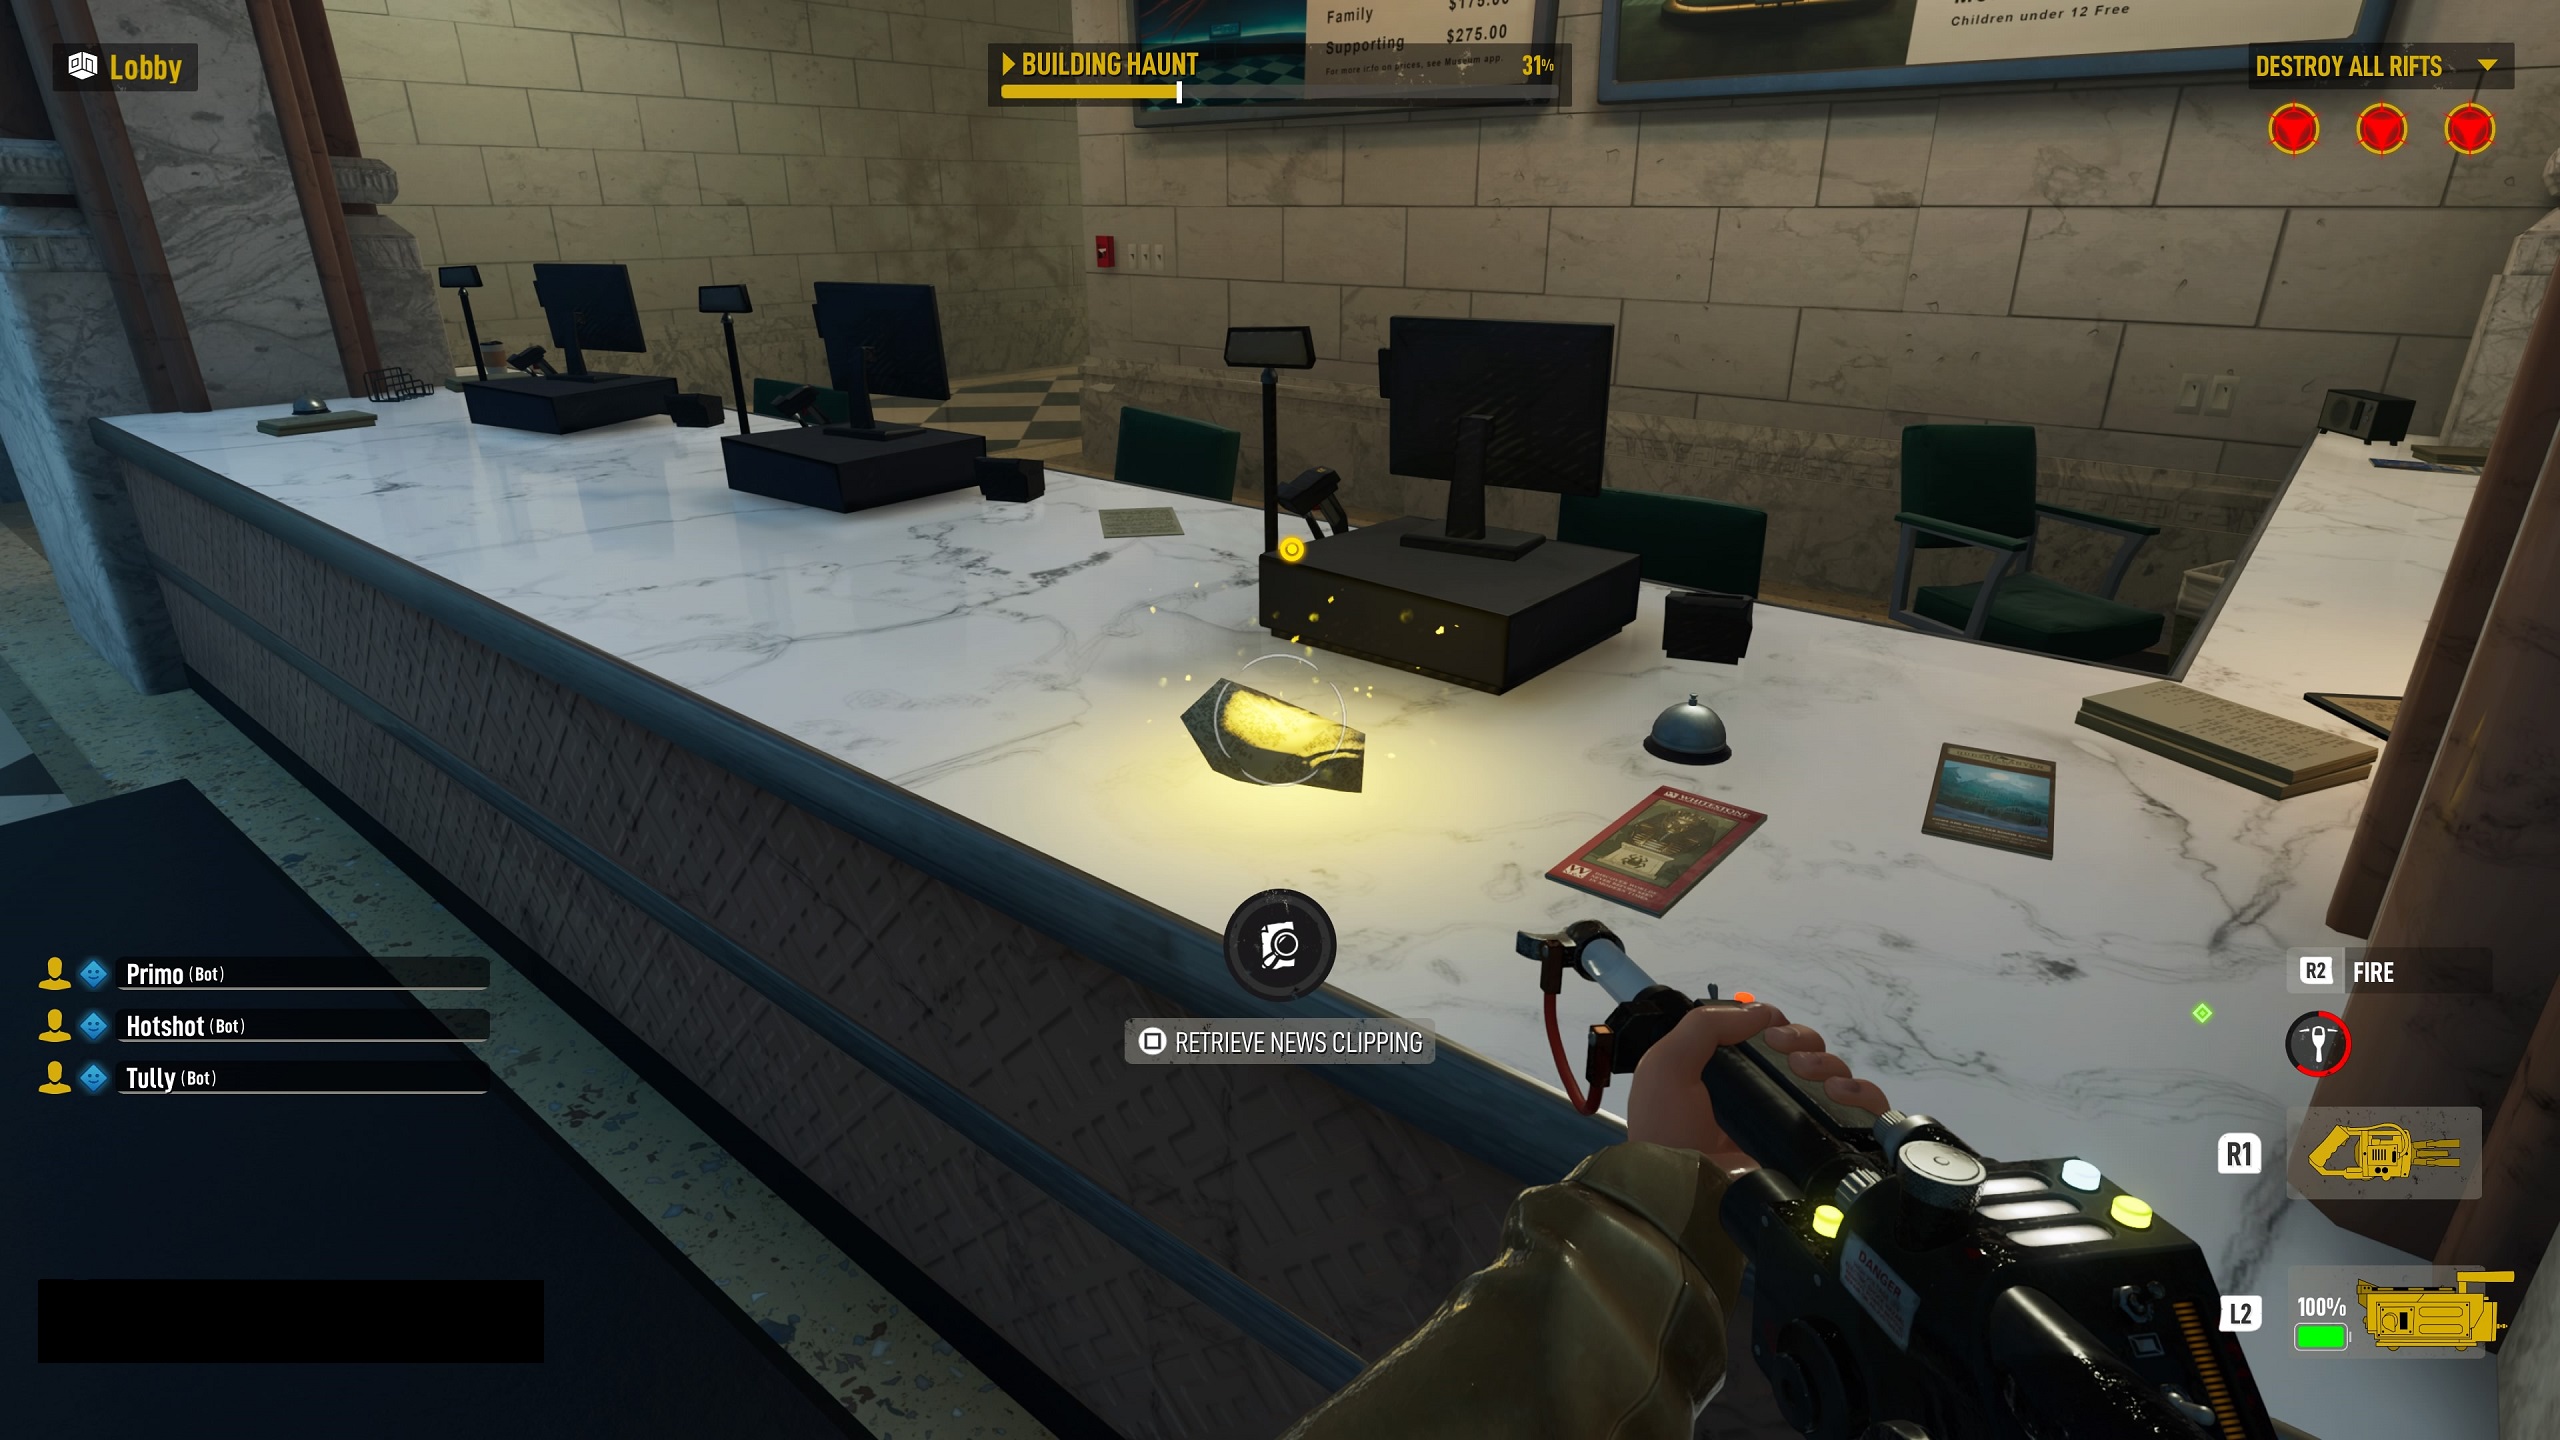
Look for a gold glow and/or a gold circle when looking for Clippings; the glow can be hard to see in well-lit areas, though the circle only appears when you’re very close to the collectible. Keep an eye open during the loading screens for each job; Clippings can appear in them, making your search easier.
Further, there is only one Secret Clipping per job, meaning you’ll need to play a job at least 5 times to get all of a stage’s collectibles. Additionally:
- You must play as the Ghostbusters to find Secret Clippings.
- You must complete the job for Secret Clippings to be marked as collected; it does not matter if the Ghostbusters trap the Ghost or the Ghost completes the Haunt.
If you’re solely after the trophies and achievements tied to Secret Clippings (or just want to know more about the game’s lore), it’s best to search for these in single-player mode with bots. Since you’ll need to focus on searching a level’s every nook and cranny, you won’t have as much time devoured to seeking out Rifts, blasting minions, or tethering and trapping ghosts.
Lastly, you can view all collected Clippings by visiting the corkboard on the right side of Ray’s shop. A paper and magnifying glass icon appear in Ray’s Shop when a new collectible is available for viewing.
While this guide won’t be able to pinpoint collectible locations for you, it will attempt to highlight areas where they’re most probable to appear. We played 50+ matches (at least 10 for each level) across PS5 and PC to try and get a better idea of where to look. Here are some potential locations, though this is not an exhaustive list of where they can appear.
Whitestone Museum
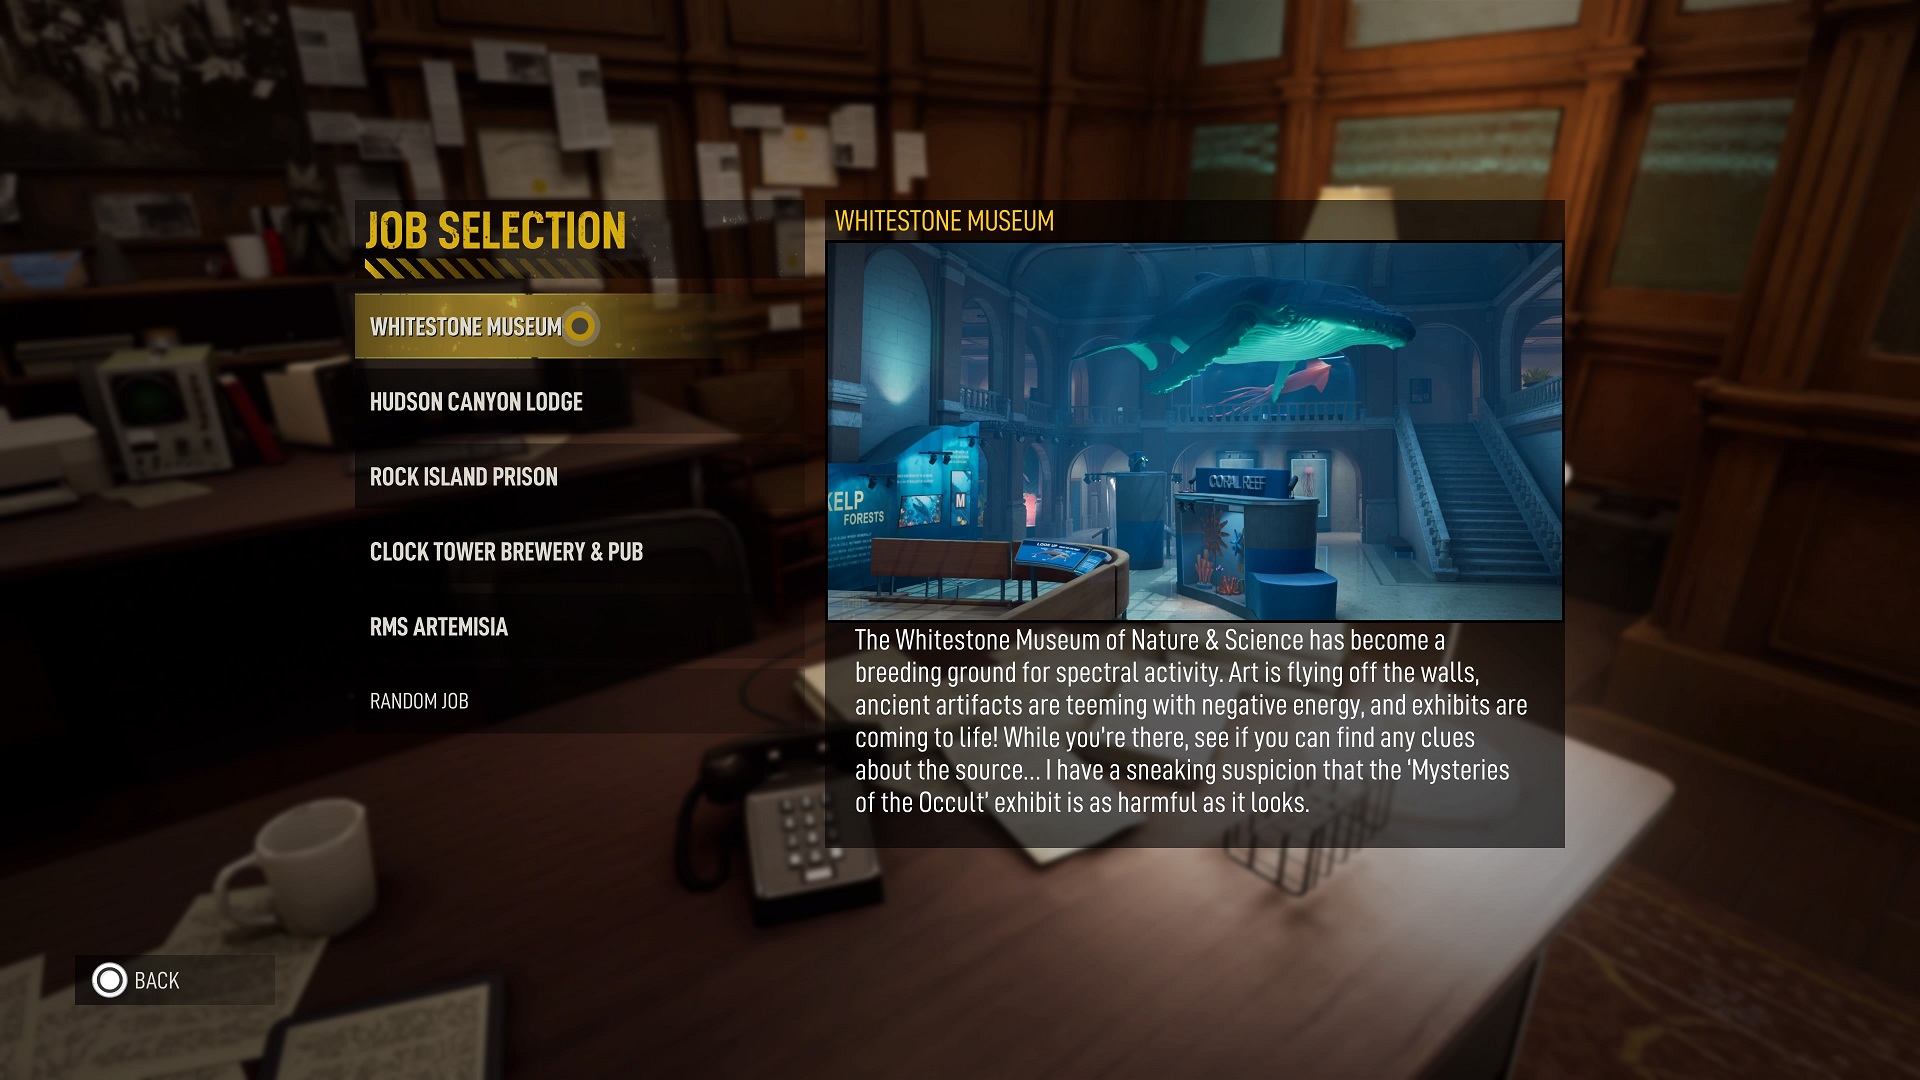
The Museum job is perhaps the most random when it comes to where the Secret Clippings spawn, followed closely by the Hudson Canyon Lodge. The large majority of collectible spawns for this level happen somewhere in the Egyptian Exhibit and the Occult Exhibit, so check there first. Also, check the Ocean Exhibit (first and second floors), as well as the Dinosaur Exhibit.
Clippings spawned for us less frequently in the Lobby and in the Cafe, and they never spawned in the security room behind the reception desk, the small theater between the Ocean and Dinosaur Exhibits, or the dining area portion of the Cafe.
- On the welcome desk in the lobby.
- On the right side of the pyramid model in the Egyptian Exhibit.
- On the leather bench behind the Brontosaurus in the Dinosaur Exhibit.
- To the right of the ramp leading up to the large demon statue in the Occult Exhibit from the Egyptian Exhibit.
- On the crates hallway down the left side of the Occult Exhibit room if coming from the Egyptian Exhibit; on the opposite side of the Occult area from the entrance from it to the Ocean Exhibit.
- On the floor by the second-floor bathrooms in the Ocean Exhibit; closest to the Occult Exhibit or across from the shark display on the second floor.
- On the floor in the Cafe building in the Cafe area, behind the counter.
- On the floor in front of the Osteichthyes display under the whale in the Ocean area.
- On the bench with the red cushion just inside the Egyptian Exhibit on the left side coming from the Lobby.
- On the floor at the top of the stone stairs leading to the second floor across from the reception desk in the lobby.
Hudson Canyon Lodge

The collectibles in the Hudson Canyon Lodge seem to be easier to find than those in the Museum, at least in our playthroughs. The difficulty of finding Clippings in this job comes down to the level’s sheer complexity and dense design. Rooms double-back on themselves, and there are assets everywhere.
For our money, check the Lobby first, then take the stairs up on the right side of the Lobby to reach the Guest Rooms area. Also, check the dining room with the boar’s head behind the second-floor restaurant and kitchen area. The Great Lounge is another good place to look.
Alternatively, we never found one in the small office off of the Lobby, the Utility Closet, in the second-floor Restaurant or adjoining kitchen, in the room behind the reception desk, the second-floor bar, the second-floor Reading Room, or the second-floor area of the Great Lounge with the pool table.
- On the right side of the lobby when you start the job, on the table with a bronze horse statue next to elevators. This appeared twice.
- On the floor in the left stairwell leading up from the Lobby.
- On the table in the dining room upstairs behind the kitchen; the room has a boar’s head on the left wall.
- On the floor behind the door in the same room with the boar’s head.
- Near the Great Lounge. Start the job, and take the hallway on the left side leading toward the Great Lounge. Look on the floor to the left of the red bench at the end of the hallway, just when you turn right into the Lounge.
- In the far back left corner of the Great Lounge, on the ground by the bench and window near the Storage closet door.
- On a small bench at the end of a bed in one of the guest rooms upstairs. Start the job and go up the stairs on the right side (near the elevators) to reach the second floor. Stay right at the top and go into the third bedroom on the right, just past the taxidermy antelope head on the wall (across from a small hallway on the left with ice and vending machines).
- In the yellow cleaning cart in the guest room hallway directly across from the taxidermied antelope head.
- On the table beneath the antelope head.
- In the Club area. Start the job and take the left hallway, taking the first right. Go up the small set of stairs and turn right toward the main area of the Club (with the piano and taxidermied bear), but stop and look at the sofa to your left, by the red rug. The Clipping could be on an end table next to the sofa.
Rock Island Prison
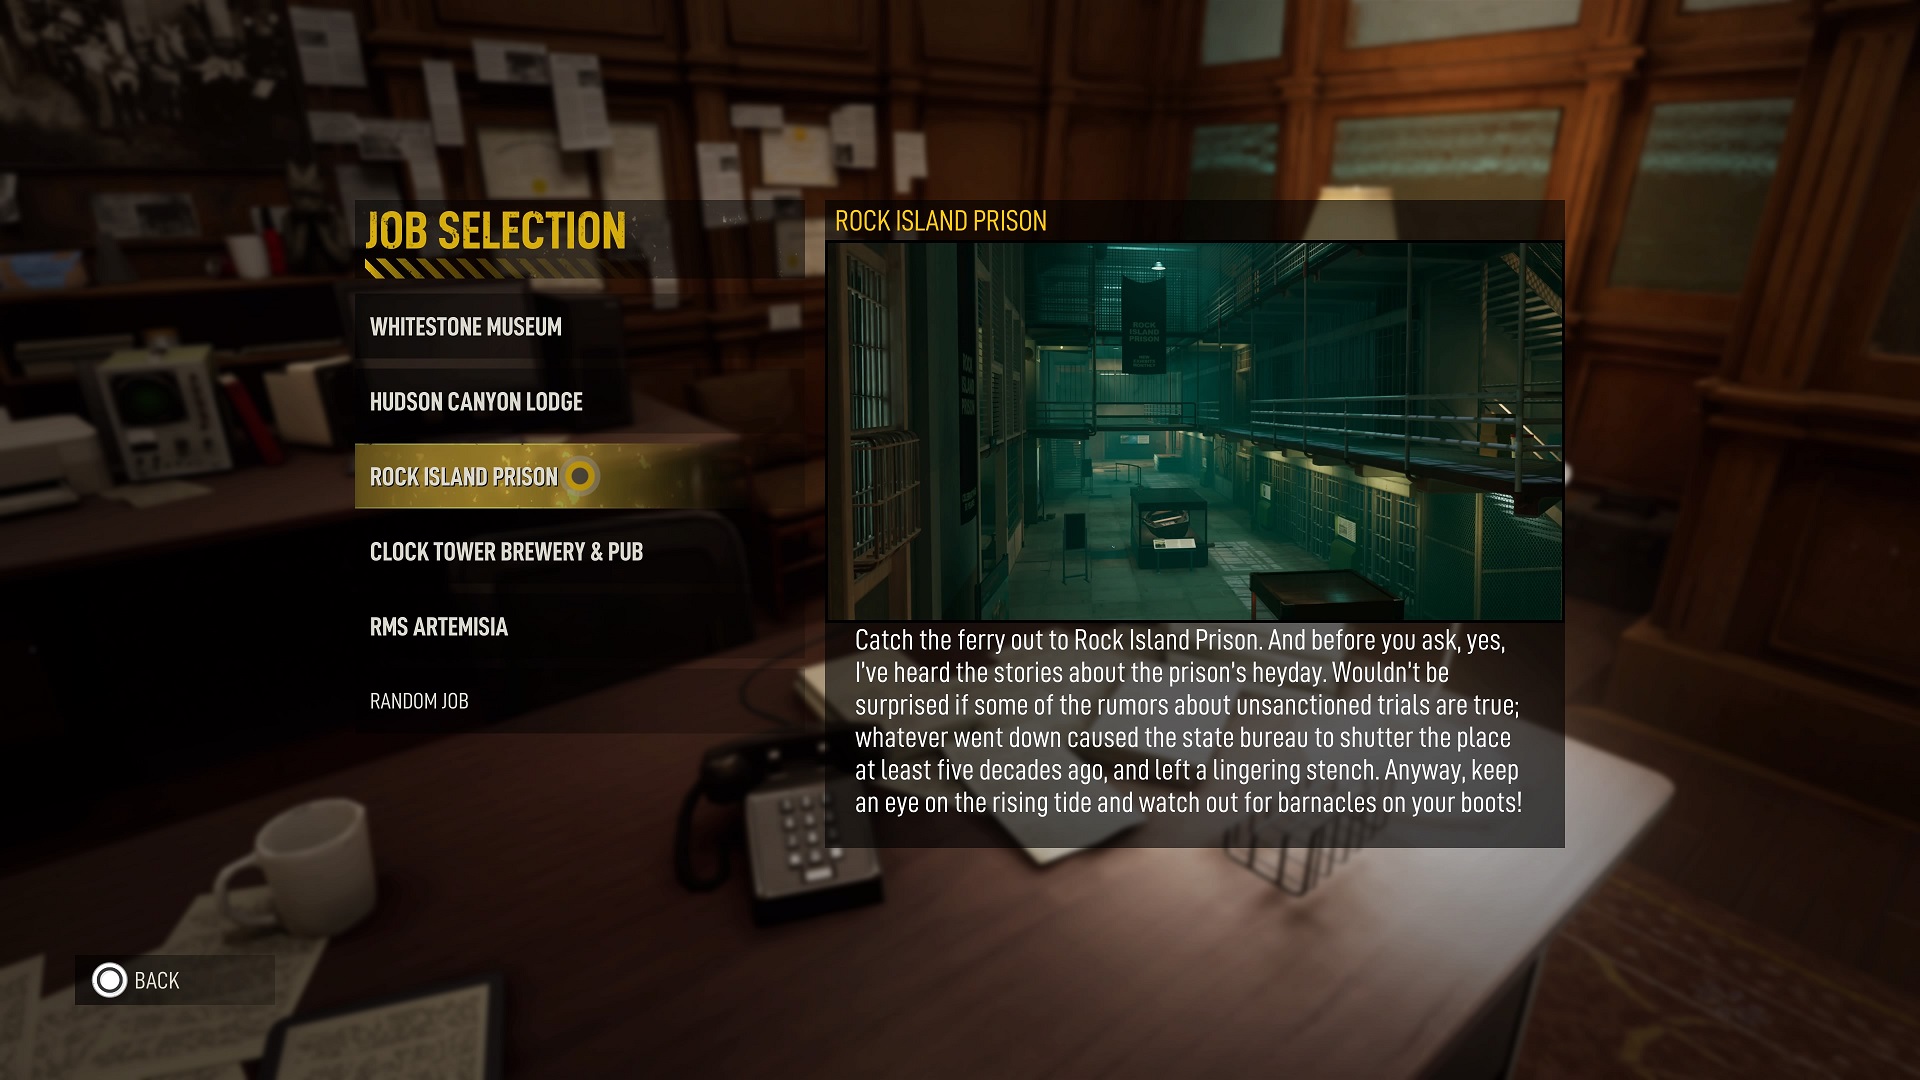
Rock Island Prison can seem intimidating at first, but it’s a fairly straightforward level that doesn’t present nearly the number of complexities as Hudson Canyon Lodge. One playthrough should be enough to familiarize yourself with the layout.
Focus on the Admin Control Room directly at the beginning of the level, the area just outside it, and the Library (we had at least seven appear here). A large majority of our Clippingns spawned in these areas across all of our playthroughs. Also, check the laundry area of the Showers in the basement and the catwalks around Cell Block C and Cell Block B.
We only had one collectible appear in the Isolation Block and never in the actual Showers area or passageways between cell blocks (first or second stories).
- At the top of the stairs on the backside of Cell Block C. Start the job, and go to the far back right corner of the Main Cellblock area (you’ll be on the backside of Cell Block C). Take the stairs up, and look for a mannequin in pieces on the floor with the collectible near it. This one appeared twice during our playthroughs.
- In the Shower Room in the basement; found in the wall cubicle with the folded towels on the right side of the laundry area in the back.
- Cell Block B catwalk. Start the job, and go left toward the Library. Take the stairs up at Cell Block B to your right), and follow the catwalk all the way to the end, to where it turns right around the backside of Cell Block B. A collectible could be on the ground on the catwalk at the turn.
- On the floor on the left side of the Library, against the bookshelves.
- Near the start of the job inside the Admin Control Room, just outside the Admin Control Room in the “Visitation” hallway, by the Rock Island History information sign just before the main gate into the Main Cell Block, or just inside the gate to the Main Cell Block.
- On either table with the dummies in the Library.
- On the catwalk above the Isolation Ward. Go up the stairs in the Isolation Ward, and turn right to see if it’s there by the flood light on the ground.
- On top of the Rock Island miniature model case just inside the Main Cell Block.
- On the Cell Block B catwalk at the bridge that connects the cell block with the Library and Isolation Block.
- On the scaffolding near the middle bridge connecting Cell Block B to Cell Block C; by the flood light and red and white bucket on the scaffolding.
Clock Tower Brewery & Pub
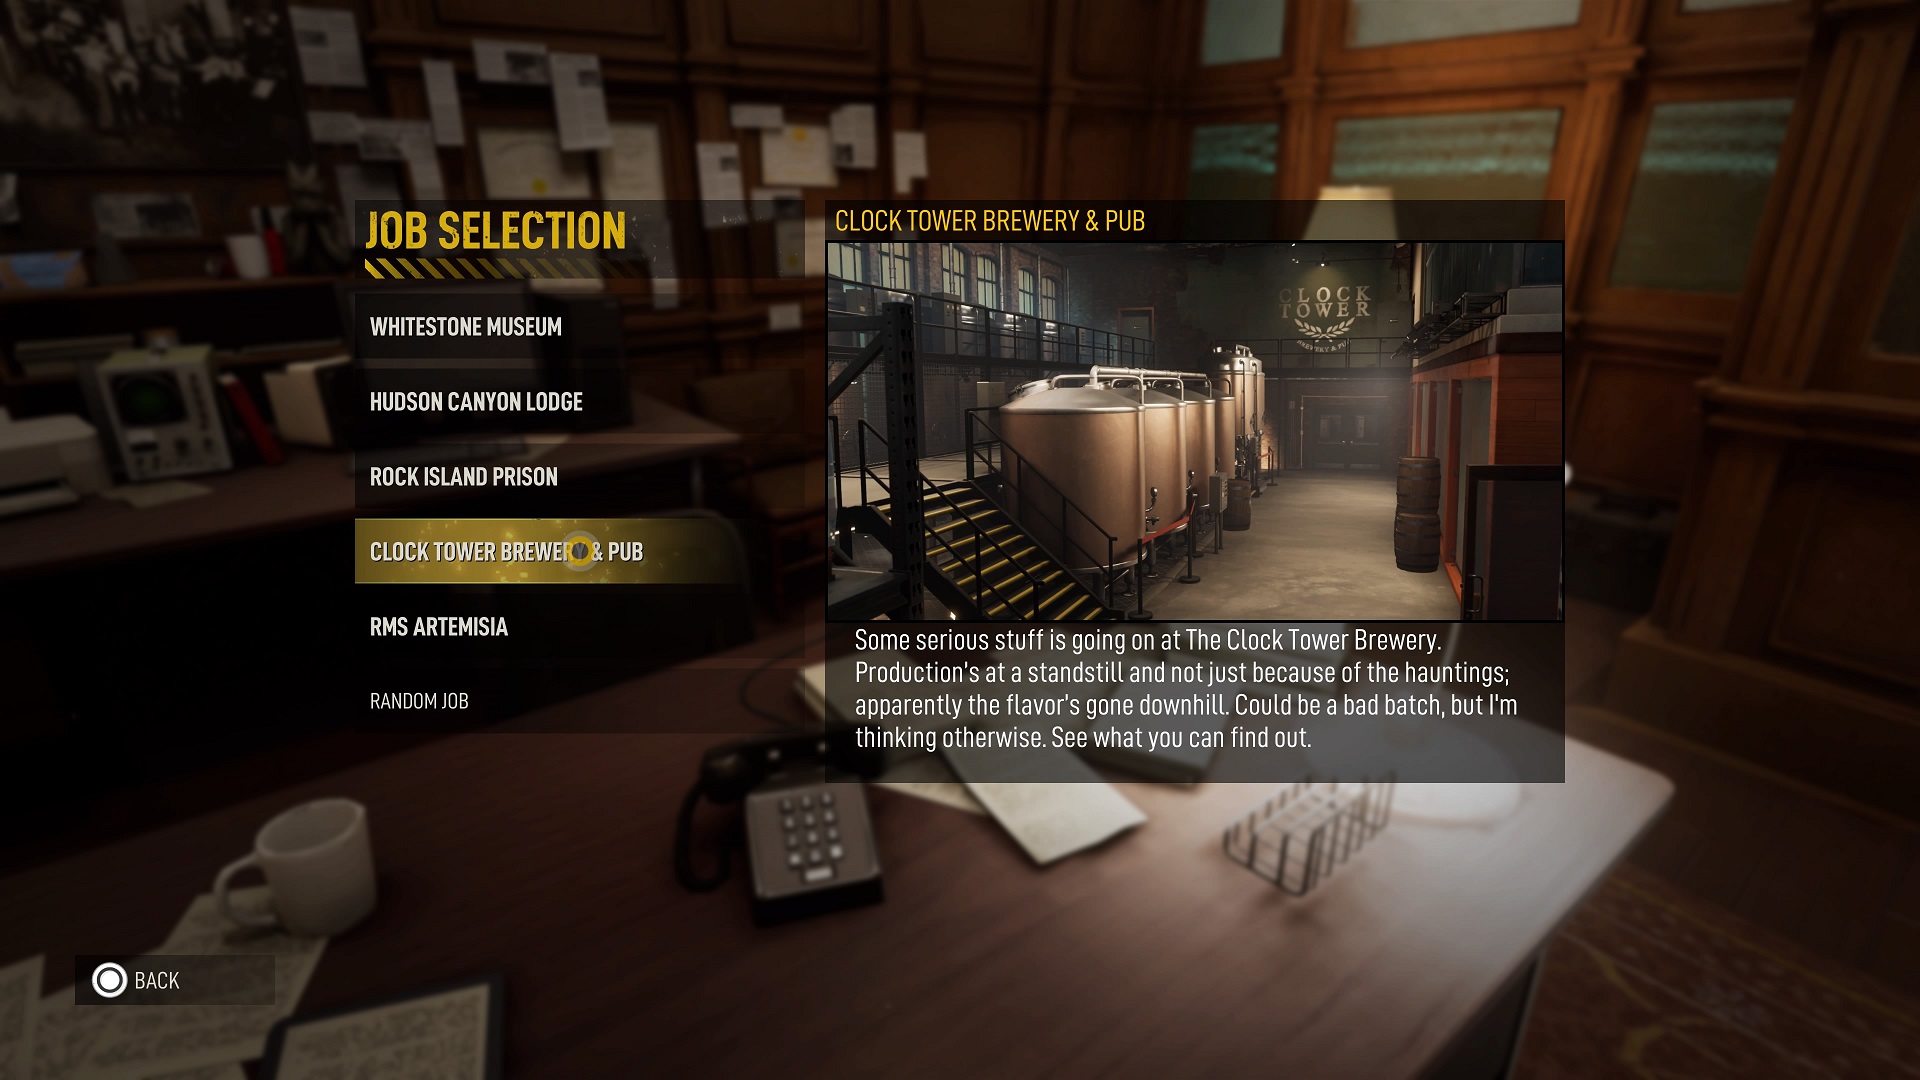
This job may seem on Par with the Lodge in terms of complexity and density, but it was one of the easiest levels for finding Clippings in our playthroughs. Essentially, focus on the Shipping area, combing that area before any others. At least eight to nine collectibles spawned somewhere in this area across 15 playthroughs.
Other places to check include the Old Bar, the New Bar, and the dining area of the Restaurant. We only had one collectible appear anywhere upstairs, and we had none appear in the main Lobby, the reception area of the Restaurant, or the Restaurant’s kitchen.
- On the ground near the two roll-up dock doors by the Clock Tower Brewery + Pub mural in the shipping area.
- In front of the beer boxes next to the plant and Clock Tower wooden barrel in the Center Bar just as you enter from the Lobby; start the job, and go straight ahead into the Center Bar.
- On the ground floor behind the first row of distillery tanks in the Shipping area (underneath the catwalk), possibly on the ground near the wall opposite the two roll-up shipping doors and the forklift. This appeared twice in our playthroughs.
- By the three wooden barrels in front of the first row of distillery tanks in the Shipping area, against the glass separating the Shipping area from the Center Bar.
- On the shelves behind the bar in the Old Bar area, to the left of the two computers.
- On one of the round tables in the back of the Restaurant area, nearest the entrance to the kitchen at the Le Bouefu mural.
- On the floor next to a metal keg in the storage building in the Shipping area between the roll-up shipping doors.
- On the ground next to a pallet in front of the storage building in the Shipping area, just in front of the ramp next to the forklift.
- On the floor in the corner of the storage building in the shipping area, the entrance closest to the distillery tanks.
- On a pallet of wrapped beer boxes in the Shipping area near the entrance to the Center Bar and diagonal to the entrance to the Old Bar.
RMS Artemisia
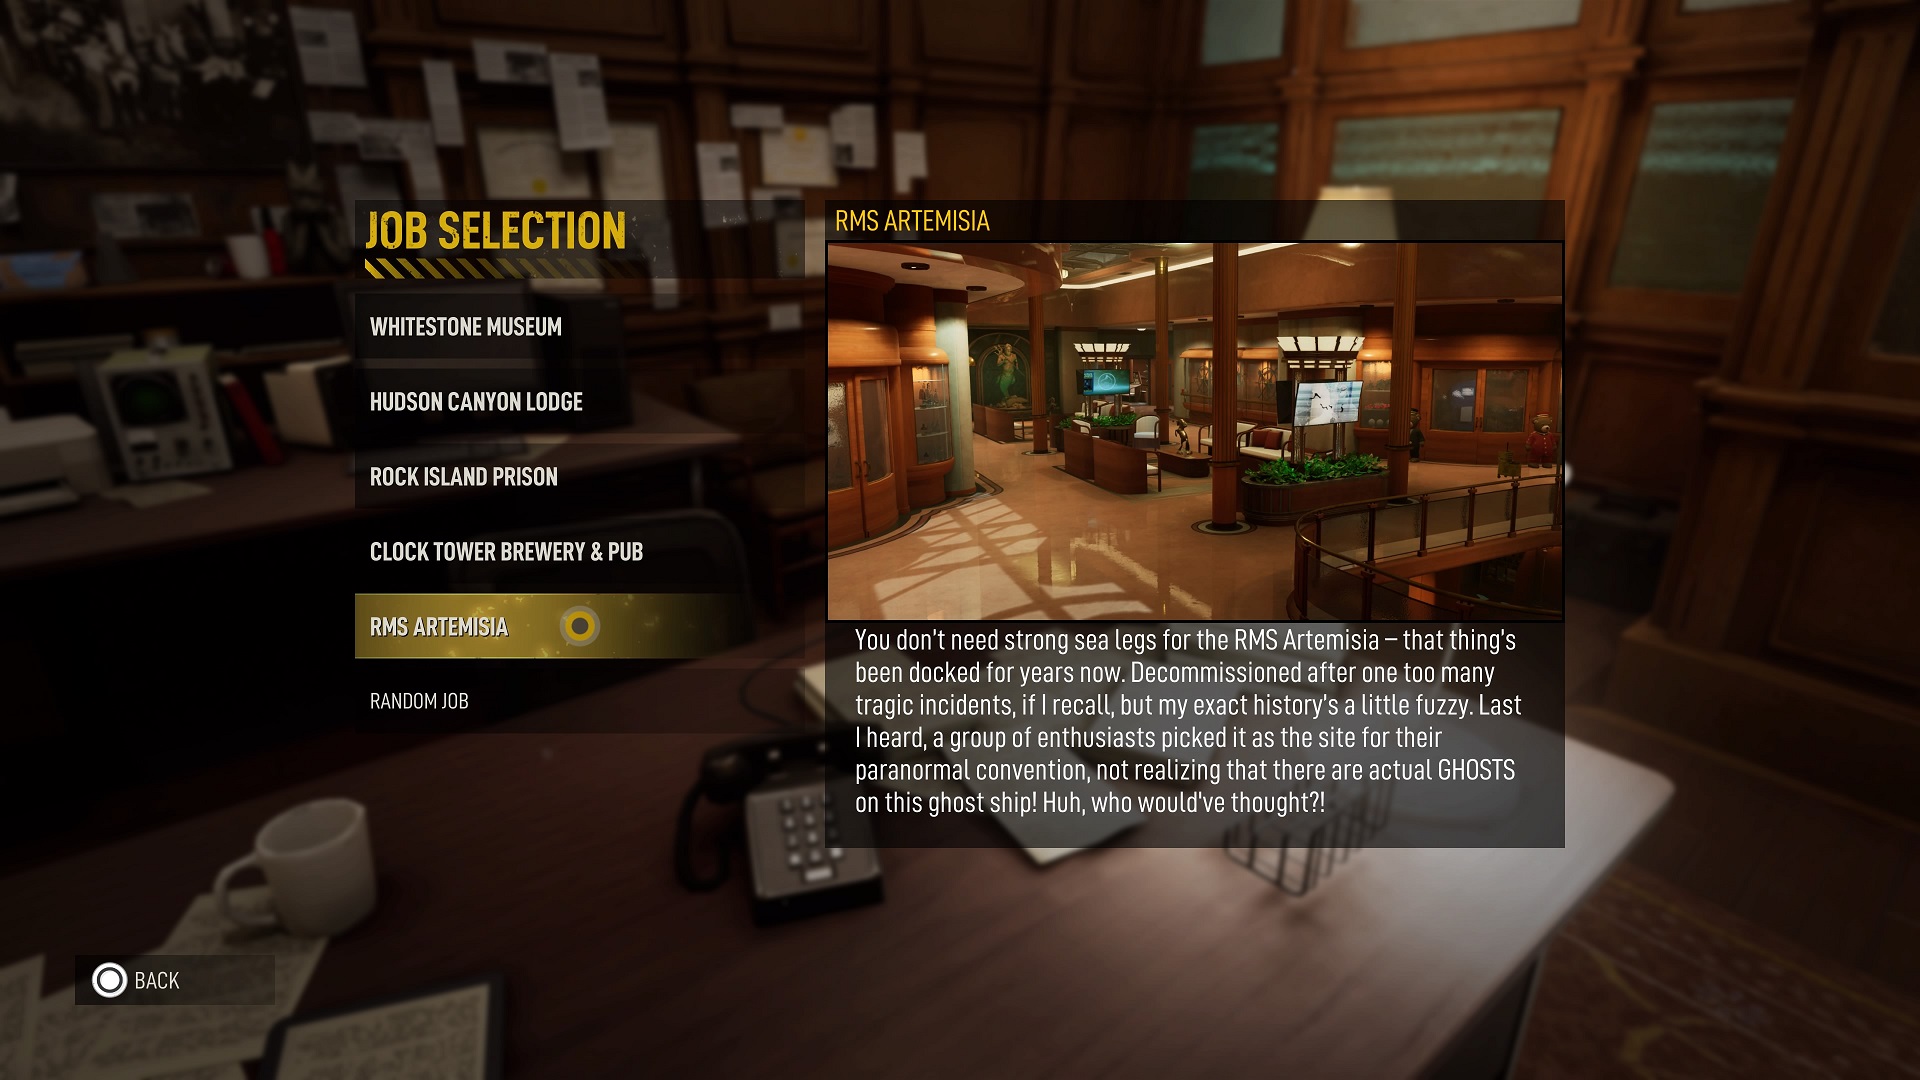
This one can be a bit of a doozy, but it’s not as complex as it first seems. Most of the Clippings here seem to spawn in the Theater or in and around the second-floor Observation area.
We found one a piece in the first-floor Bar, the second-floor restaurant, the second-floor Theater area, and the second-floor Deck area. We never found any in the Lobby, the Recreation Hall, or the second-floor Main Hall area.
- On the ground by the ship wheels and throttles outside of the second-floor coffee shop between the Main Hall and Observation areas.
- On a white couch in the area between the Main Hall and Observation areas (near the ship wheels and throttles).
- On the bar by the water cooler at the coffee shop in the Observation area on the second floor.
- On the floor by the sofas on the right side of the hall leading to the Theater from the Lobby on the first floor. Start the job, and take the first right after the stairs.
- On a small round table by a trash can and two sofas on the right side of the Theater on the first floor.
- On one of the rectangular dining tables in the middle of the Theater on the first floor.
- On a table against the wall in the Bar area, across from the bar itself.
- On a wooden bench in the second-floor Main Hall, near the entrance to the Deck, close to the main stairs leading up from the lobby.
- On the floor on the Deck by the Theater’s second-floor restaurant entrance, next to an old gold and white scale.
- On a table on the left just inside the entrance of the Restaurant area on the second floor.
Hopefully, this guide helped you find all of the Secret Clippings in Ghostbusters: Spirits Unleashed. Keep your eyes peeled as you play. Though these collectibles could spawn just about anywhere, just like the Ectoplasts, Ghoulies, and Poltergeist you’re hunting in each job, it’s worth checking the above areas before combing every part of the map.


Published: Oct 14, 2022 11:15 am