Marvel’s Avengers loot system is one of its key elements. You’re tasked with taking on quests to gather gear and materials for upgrades to enhance your heroes. Typically, you’ll find loot by simply completing missions or defeating enemies. But an even better way to gather powerful gear is by finding SHIELD Caches, which are hidden in certain levels.
But how do you find SHIELD Caches? And which levels contain them? In this guide, we’ll show you how and where to find SHIELD Caches in Marvel’s Avengers.
Missions With SHIELD Caches

SHIELD Caches are hidden chests within specific levels of Marvel’s Avengers. They’re different than the standard chests you encounter, which are marked on the map.
SHIELD Caches include far better material than regular chests since they’re harder to come by and are cleverly hidden in secret vaults.
Currently, we only know of a handful of missions that contain SHIELD Caches, which is listed below. All of them are located in the Pacific Northwest region within Avengers Initiative.
The missions are:
- Stark Realities
- Vault
- Bad Blood
- In Honor’s Name
The strange thing is that these missions aren’t always available. Since Marvel’s Avengers is a live service game, levels are rotated continuously. So, if you jump in and don’t see these missions, don’t worry. Just check back another day to see if they’re available. It’s also possible that more missions that contain SHIELD Caches will be added at a later time through patches, updates, DLCs, or other expansions.
For the purposes of this guide, we’ll be referring to the Stark Realities mission to show you how SHIELD Caches work.
How to Find SHIELD Caches
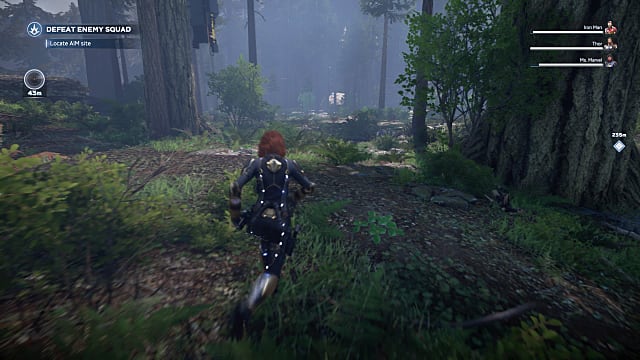
Start the Stark Realities mission and head diagonally to the left (towards your 9 o’clock from the starting point).
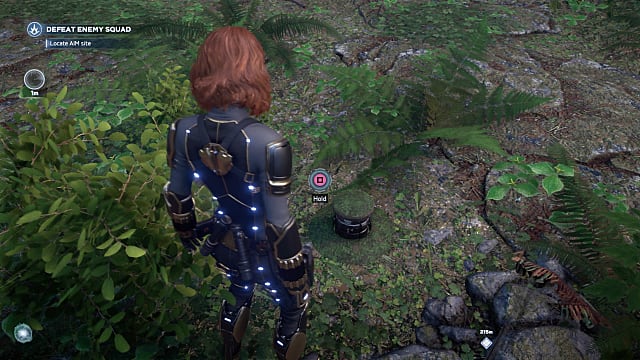
You’ll eventually come to a batch of enemies next to a small canyon. Jump down into the canyon and follow it to the very end. Then jump up, and go to the right. You’ll get a notice from Jarvis and a radar notification in the top left of the screen.
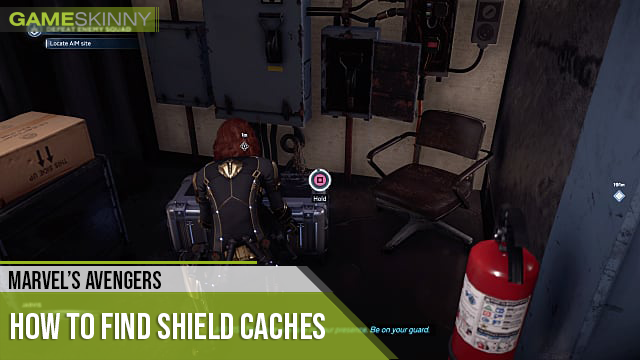
Follow the numbers, which will go down as you get closer to the objective. Once reach the objective, you’ll find a button you can interact with. Press it to open a secret vault.
After you’ve interacted with the button, an underground area will be revealed. This underground area is where you’ll find the SHIELD Cache for the Stark Realities mission. Head down the stairs to enter the vault.

In addition to the SHIELD Caches, you’ll usually find other resources in these underground vaults, as well, so make sure you explore them thoroughly. The vaults are small, so you should be able to grab all the resources without missing any.
Our SHIELD Cache contained a Norn Stone of Conquest, a Norn Stone of the Fanatic, a Blue ISO-8, a URU, a Reactive Explosion Vest, and a Vault resource.
If you’re wondering how to find other SHIELD Caches, the process is the same for the other levels listed above. Play until the radar appears in the top left, and you get a notice from Jarvis. Follow the numbers to find the button.
Keep in mind that you can only reap the benefits of a SHIELD Cache once.
Hopefully, this will clear up any confusion you might have had about the SHIELD Caches and vaults in Marvel’s Avengers. For more on Marvel’s Avengers, including our guide on Synthoids and tips for defeating Dreadbots, visit its main hub page here.


Published: Sep 16, 2020 02:25 pm