After the absolute slog fest of unending collectibles in the previous section of the game, Act 3 of Quantum Break is a little less cluttered, but still features a ton of narrative objects and Chronons.
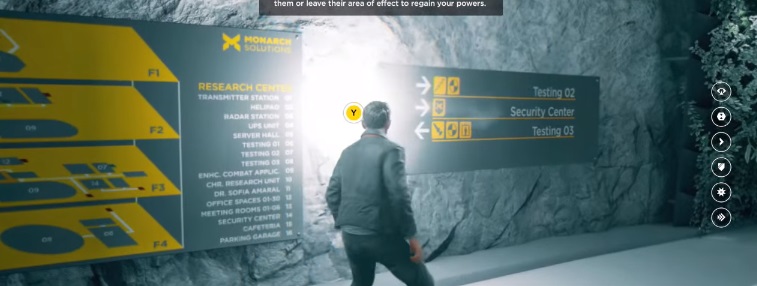
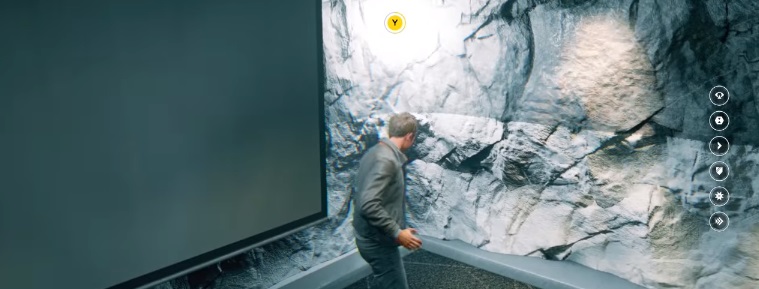
Be sure to use each Chronon source you find to upgrade your time powers, and keep in mind you have to activate time sight with “Y” to view the Chronons – simply knowing where they are isn’t enough.
Haven’t finished the previous areas of the game yet? Check out the rest of our Quantum Break coverage first:
Quantum Break Act 3 – 1 (Research Facility) Collectibles
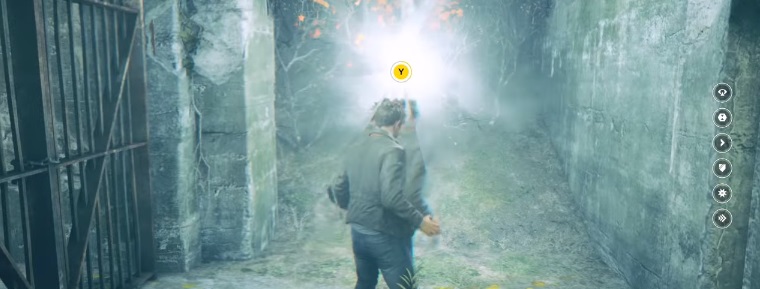
Chronon Source 1
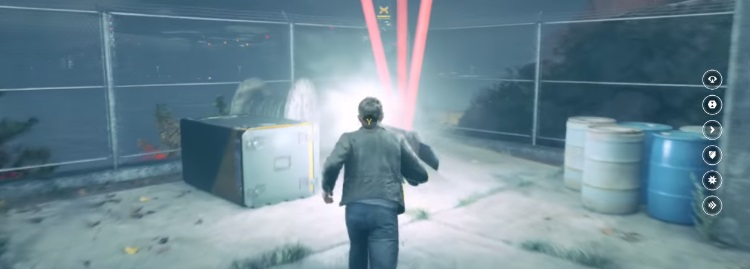
Off to the right of the area where the turret is firing (disabling the turret first makes this simpler), go up the stone steps to find the first Chronon source in Act 3.
 Chronon 1
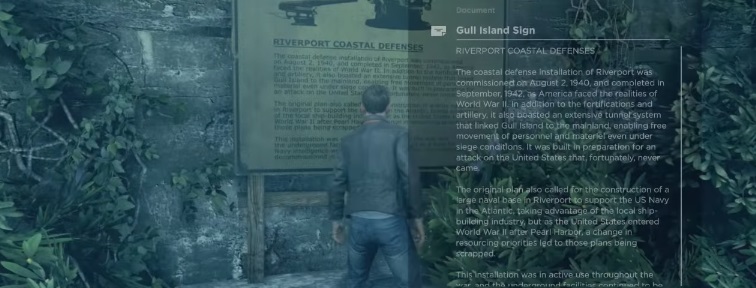
Narrative Object 1: Gull Island Sign (Document)
In the circular area with the stone dials, head over to the far wall and examine the sign to get the first narrative collectible.
 Narrative 1
Chronon Source 2
Run up the wood planks to the area where you can interact with the cannon, then turn around and jump up on the stone walkway with the short black fence. Turn to the right and follow the walkway until you see the Chronon source.
 Chronon 2
Chronon Source 3
Go back to the cannon and walk across it to the stone walkway on the other side. Walk down the steps to the left and you should see this one floating next to a tree and a fenced area.
 Chronon 3
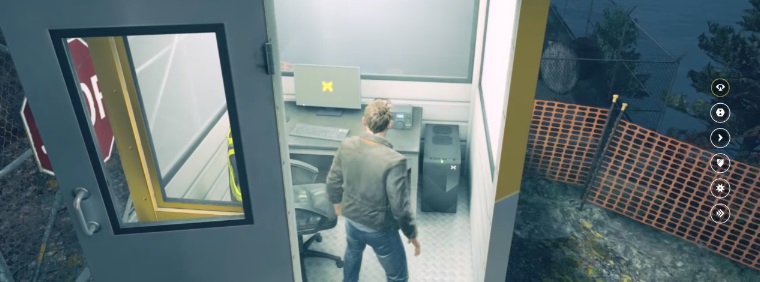
Narrative Object 2: Theresa Sedmak Riverport Radio Show (Audio File)
When you run up the hill and see a white and yellow guard shack to your right, go inside the shack and turn on the radio to hear this audio file.
 Narrative 2
Chronon Source 4
Run from the guard shack over to the helipad and you should see this Chronon source hanging off the side near some lights.
 Chronon 4
Chronon Source 5
Head back towards the building, but rather than going in the yellow door, go through the small gate door and run down the stairs with the yellow railing. This one is near some barrels and a giant spool of wire.
 Chronon 5
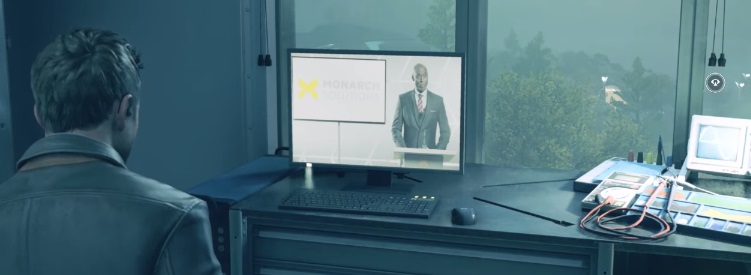
Narrative Object 3: Changing Video File
Inside the building, look for a monitor on top of a metal desk and simply watch the video being played, which unlocks this collectible. What you see on the video will change depending on what options you took in the previous Junction segments.
 Narrative 3
Ripple 1
Off to the right of the video monitor is a laptop in between a desk and an open shelf. Interact with the laptop to initiate this ripple.
 Ripple 1
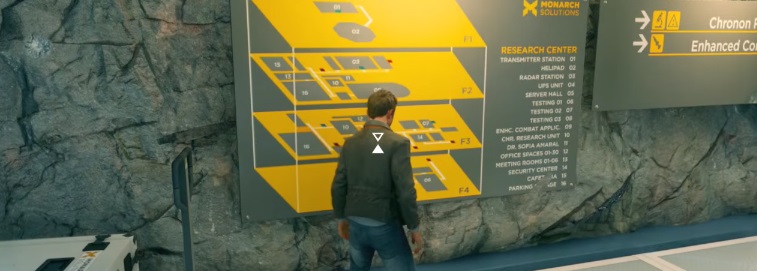
Narrative Object 4: Research And Develop Facility (Image)
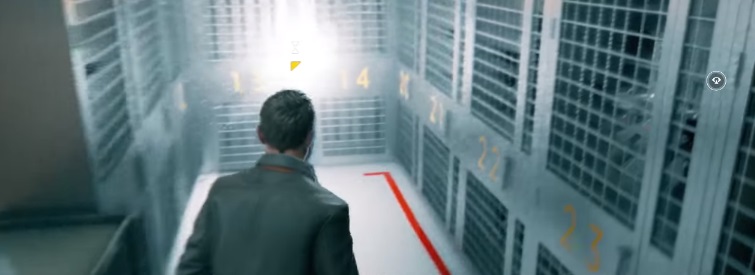
After coming down the elevator and seeing all the soldiers, examine the large yellow sign on the wall.
 Narrative 4
Chronon Source 6
Near the open glass door area where there’s a turn wheel on a pipe on the wall, turn to the left and grab this Chronon floating in front of the map.
 Chronon 6
Narrative Object 5: Shifter Presentation (Document)
After shutting off the machine, head inside the room you passed by to grab the previous Chronon and examine the white board in the corner to get this collectible.
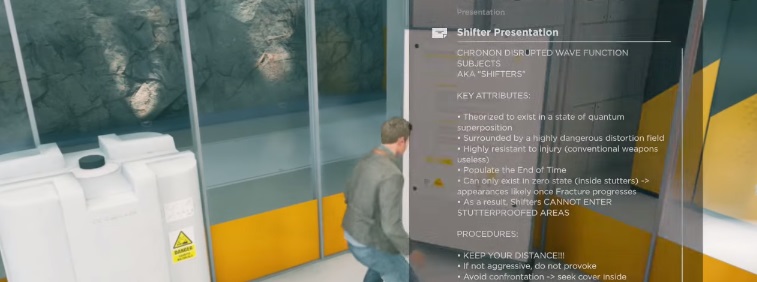 Narrative 5
Narrative Object 6: The Lifeboat Protocol (Email)
In the same room as the last collectible, look for a laptop near red and yellow cables to read this email.
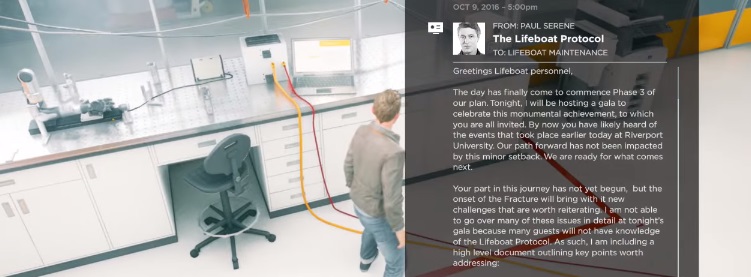 Narrative 6
Narrative Object 7: Monarchy Technology Guideline (Document)
In the room with the yellow stripe across the floor and the enemies in yellow suits, examine the huge wall sign.
 Narrative 7
Chronon 7
Go through the doors directly to the left of the wall sign collectible and run down the hallway. This Chronon is sitting at the end near some doors.
 Chronon 7
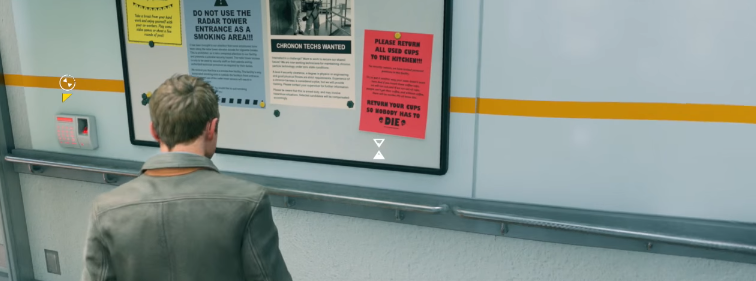
Narrative Object 8: Gull Island Monarch Noticeboard (Image)
On the second floor of the area with the yellow stripes running across the floors, look for a whiteboard in the corner next to glass doors. Examine the pink flyer.
 Narrative 8
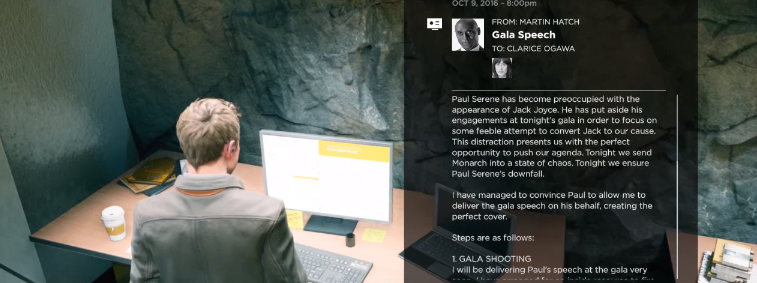
Narrative Object 9: Gala Speech (Email)
Turn around and go down the hallway from the noticeboard and immediately turn right into the first room. The collectible is acquired by examining the computer screen.
 Narrative 9
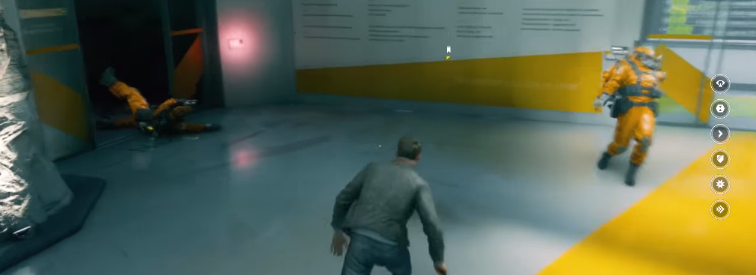
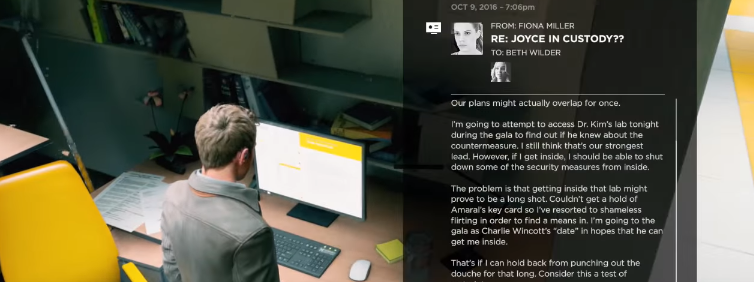
Narrative Object 10: RE Joyce In Custody? (Email)
Go back out the door you just entered and head right down the hallway. Go into the next room where an employee is stuck mid-air while dropping his files. Access the computer to get this collectible.
 Narrative 10
Narrative Object 11: Instructions For Tonight (Email)
Go back into the hallway and turn right again and head into the next room on the right. There’s again an email collectible at the computer screen.
 Narrative 11
Narrative Object 12: FWD Dream Journal 1 (Email)
This hallway is just full of collectibles! Leave the previous room and run into the room at the end corner of the hallway to grab yet another email at a computer screen.
 Narrative 12
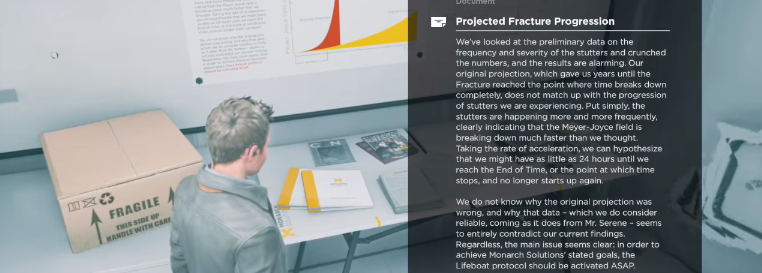
Narrative Object 13: Projected Fracture Progression (Document)
In the same room as the previous email collectible, check the table in the corner to grab this document.
 Narrative 13
Narrative Object 14: Chronon Disrupted Wave Function Subjects (Email)
Again in the same room, across from the previous table is a shiny metal counter. Look at the laptop sitting on the counter for this email.
 Narrative 14
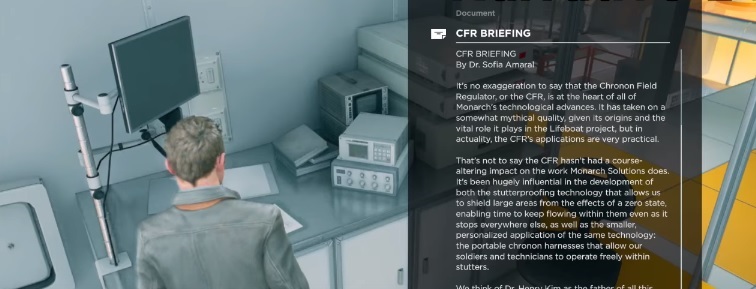
Intel 1: CFR Briefing (Document)
It’s the room that just keeps on giving! To the right of the previous email collectible is a briefing sheet sitting on another counter.
 Intel 1
Narrative Object 15: The Purpose Of The Gala (Email)
You can now finally leave this room and head back out into the hallway, take a right and go into the very first room you come across again. This email is found on a computer up against the wall.
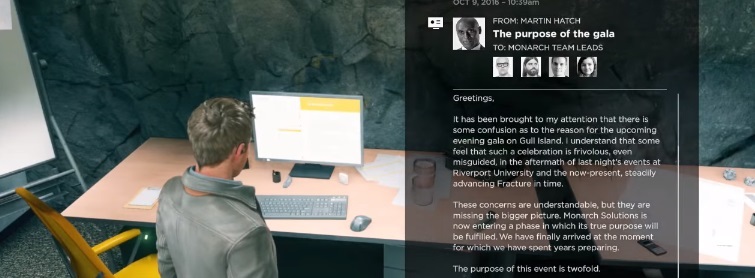 Narrative 15
Narrative Object 16: The Time Machine (Email)
Later, when you have the option to go up or down side stairs, head down to the lower level and go into the first room on the right with an open door. Read the email at the corner desk.
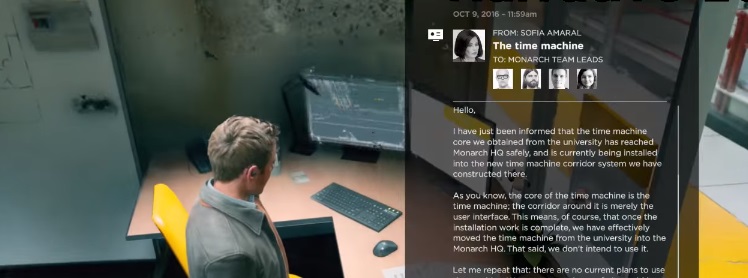 Narrative 16
Narrative Object 17: RE What’s Up Girl (Email)
Head into the very next room from the previous email to grab this final narrative for the area on the computer against the wall and near a plant.
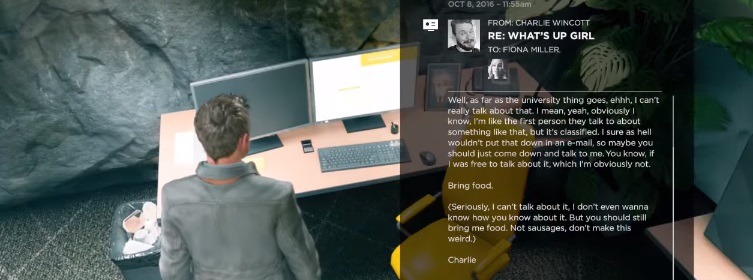 Narrative 17
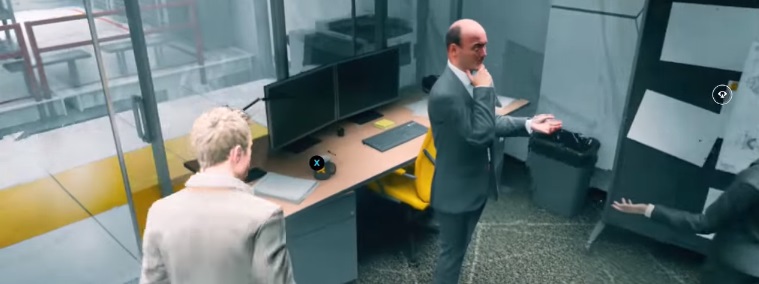
Intel 2: Brenner’s Mug
Directly across from the previous email, examine the mug on the table next to the guy in the suit.
 Intel 2
Chronon 8
When you pass through the glass room filled with yellow light, look for an area with lockers and two frozen security guards in combat gear. The Chronon is behind the first row of lockers.
 Chronon 8
Quantum Break Act 3 – 2 (Monarch Gala) Collectibles
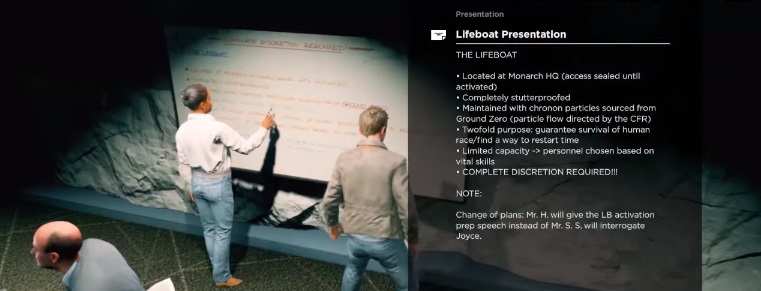
Narrative Object 1: Lifeboat Presentation (Document)
Near the beginning of this area you will see a set of stairs heading up. Go inside the room just to the left of the stairs and examine the whiteboard.
 Narrative 1
Narrative Object 2: Adventurous Religious Singles Dating Website (Document)
Go into the office opposite the room you were just in and look over the shoulder of the guy at the table reading his laptop.
 Narrative 2
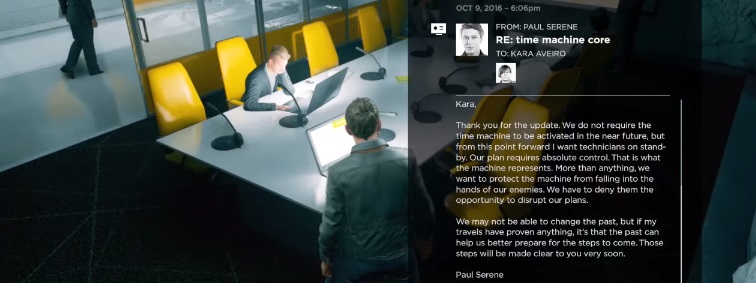
Narrative Object 3: RE Time Machine Core (Email)
Look at the laptop on the other side of the same table where you got the last collectible to read this email.
 Narrative 3
Chronon 1
Head upstairs to the top floor and go the opposite direction of the arrows on the “Entrance Lobby / Parking Garage” sign. Go inside the empty conference room to find this Chronon in the corner by the projector screen.
 Chronon 1
Chronon 2
Go back the way you came and head the other direction (following the sign arrows this time). Head through the glass doors and down the stairs to find the Chronon next to the elevator.
 Chronon 2
Ripple 1 / Narrative Object 4: Erotic Play (Audio File)
In the parking garage, head over by the support beam labeled “B2.” Look at the tablet sitting on the crate to both activate a ripple and get the collectible.
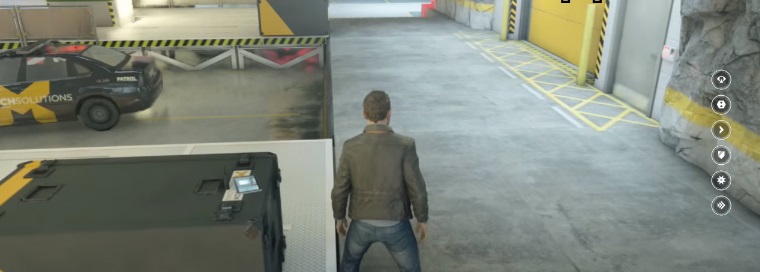 Ripple 1 / Narrative 4
Narrative Object 5: Theresa Sedmak Riverport Radio Show (Audio File)
Head into the room in the parking garage labeled “Maintenance” with a green stripe. Turn on the radio sitting on top of the red air compressor.
 Narrative 5
Chronon 3
When you walk into the next segment where the yellow door locks behind you, check the area to the side of the stone staircase to find this Chronon.
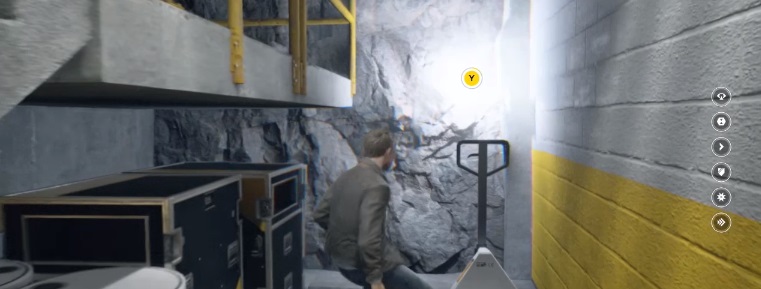 Chronon 3
Chronon 4
When you head out a door that leads to outside staircases, run up the stairs to find this Chronon floating in front of a “No Trespassing” sign on a fence.
 Chronon 4
Narrative Object 6: Changing Text Message
When you walk down the red carpet and see a white truck with open doors, examine the cell phone in the back seat to get this collectible (the text here will change depending on previous choices).
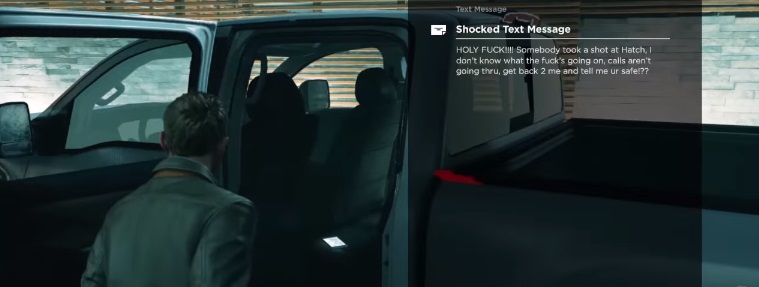 Narrative 6
Chronon 5
Go beyond the couple sitting on a chair towards the stage area. The Chronon source is floating above the podium where a speaker would stand.
 Chronon 5
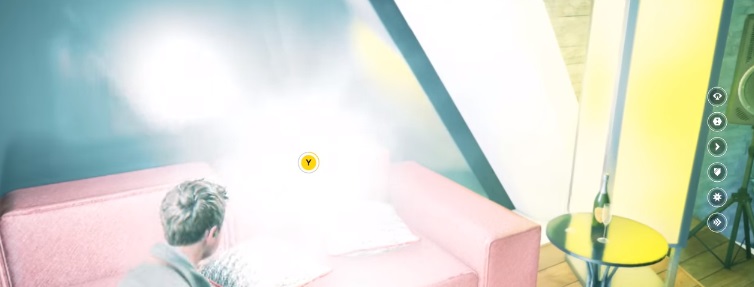
Intel 1
Look for a large table covered in food and find the couch sitting to the right. The intel is the tiny cocktail sword sitting on the white box next to the couch.
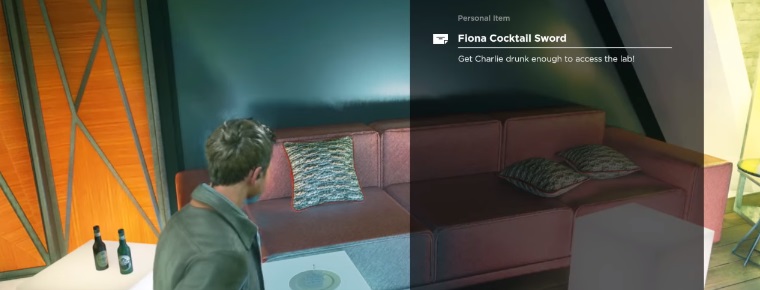 Intel 1
Chronon 6
This one is literally directly next to the intel, floating just above the red couch.
 Chronon 6
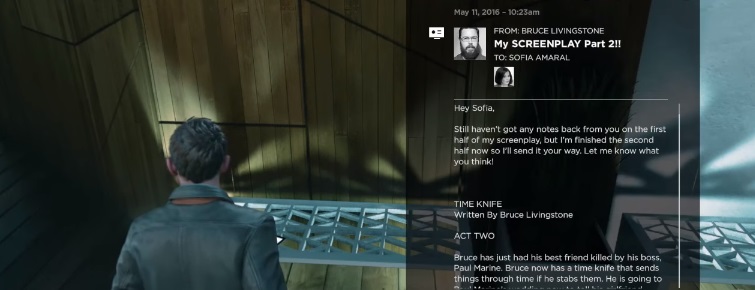
Narrative 7: My Screenplay Part 2 (Email)
Head up the stairs on the side of the building and look for a bench and a plant on the right. This collectible is sitting on the left side of the bench.
 Narrative 7
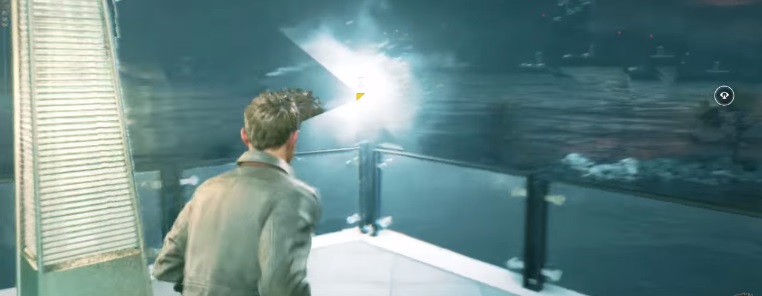
Chronon 7
On the top floor, when you see the drone, check the corner of the deck to see this Chronon Source.
 Chronon 7
Chronon 8
When you are escaping the mansion and run up the wood stairs, look for this Chronon floating above a plant and next to a white couch.
 Chronon 8
That’s all the collectibles for Act 3 of Quantum Break! Unlike the previous acts, there’s nothing to be found in the Junction segment, so jump into Act 4 and let’s get on finding some more narratives and Chronon upgrades.
Be sure to let us know if you found any different collectibles by choosing different options during the previous Junctions.


Published: Apr 6, 2016 02:43 pm