
It’s been a long haul searching for every last document, email, and radio show across all of Quantum Break’s mind-bending story, and we’re almost at the end!
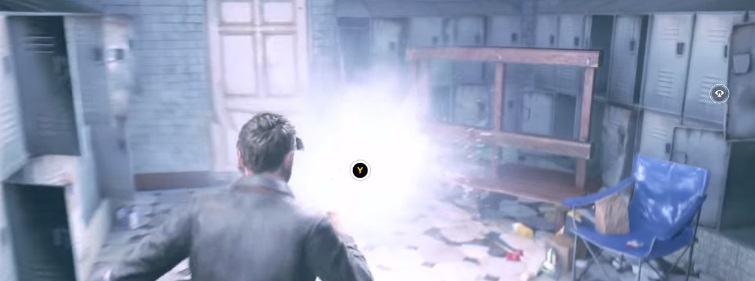
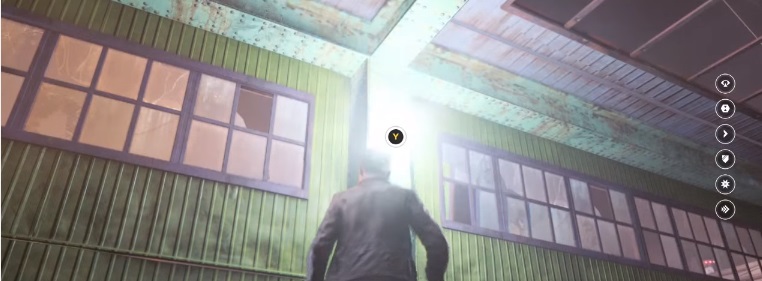
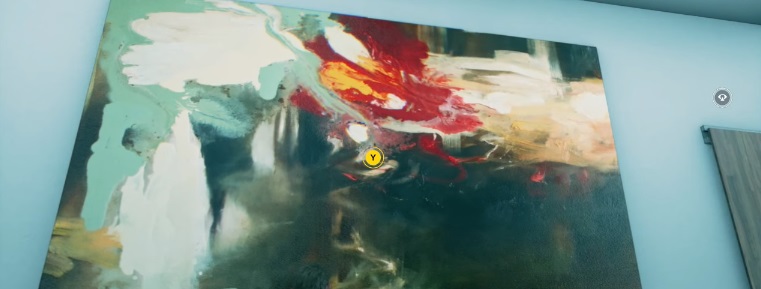
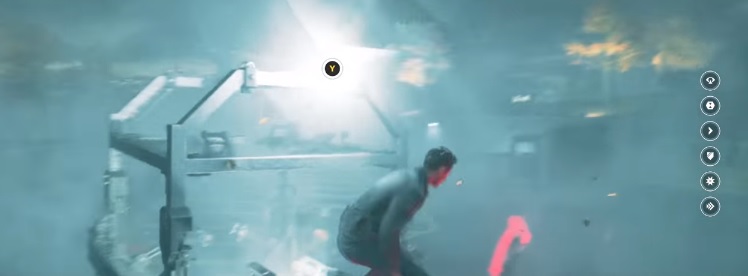
As before, remember to turn on your time sight by pressing “Y” when looking for Chronon sources, as they don’t appear normally on the screen.
Keep in mind that due to the branching story nature of Quantum Break, specific text and images in the collectibles may change depending on which choices you make.
If you missed anything in the previous segments of the game, don’t forget to check out:
Quantum Break Act 4 – 1 (Port Donnelly Bridge) Collectibles
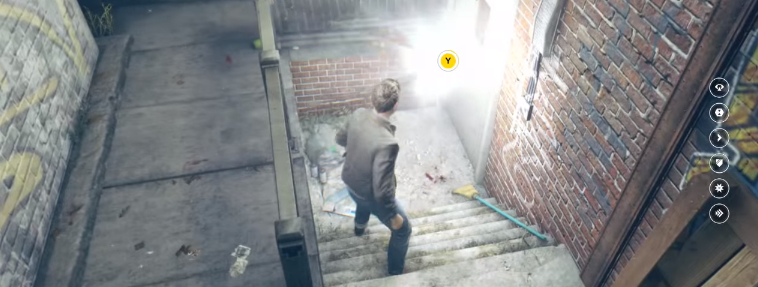
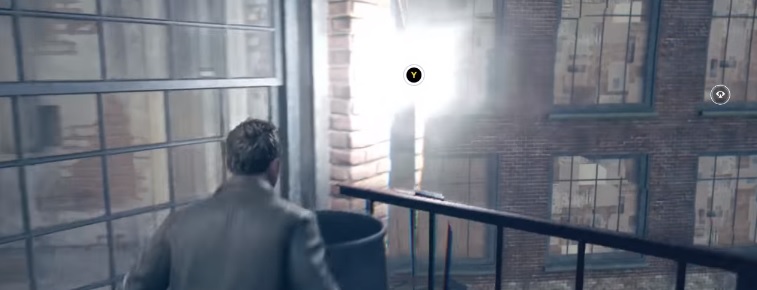
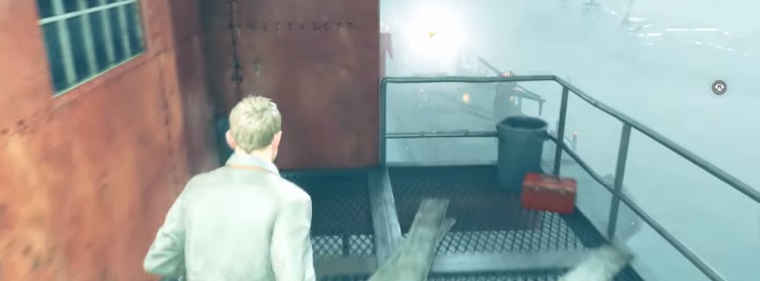
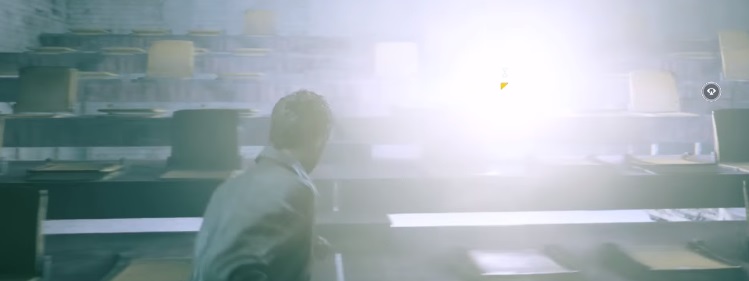
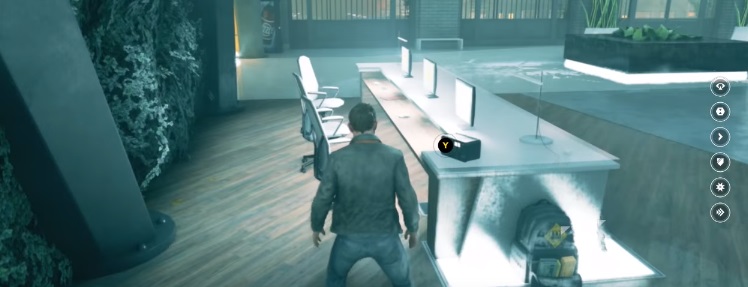
Chronon Source 1
After exiting the vehicle and entering the alleyway, this Chronon source upgrade is floating above some stairs leading down.
 Chronon 1
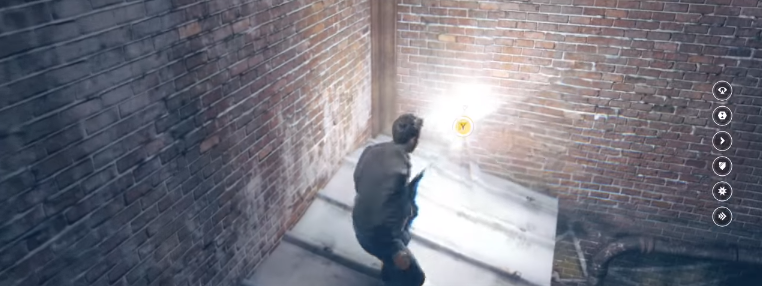
Chronon Source 2
Climb up the trash can and stack of wood palettes behind the previous Chronon source to access the roof area. Run down to the end to grab this second Chronon.
 Chronon 2
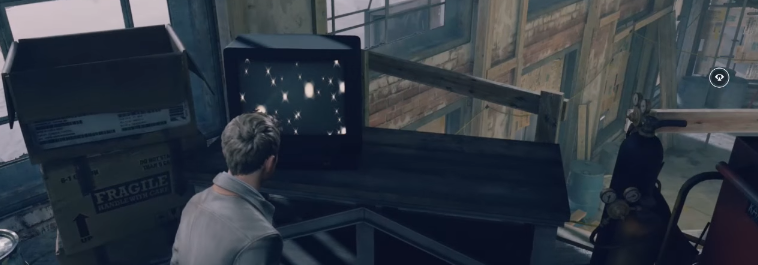
Narrative Object 1: Night Springs (Video File)
After crawling through the window into a room with a large red tool chest, examine the TV to grab this narrative object, which just happens to be yet another Alan Wake reference…
 Narrative 1
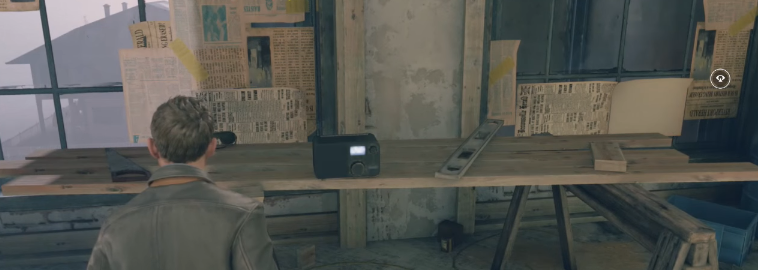
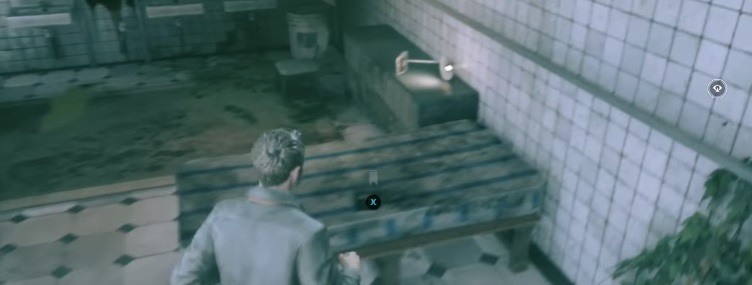
Narrative Object 2: Theresa Sedmak Riverport Radio Show (Audio File)
On the lower level of this same area is a makeshift wood table. Turn on the radio to get this collectible.
 Narrative 2
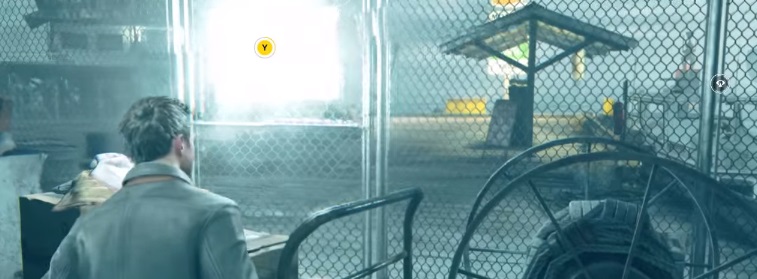
Chronon Source 3
When you head out the window to the outer area of the building and see a helicopter fly by, turn to the left and grab this source floating in the corner.
 Chronon 3
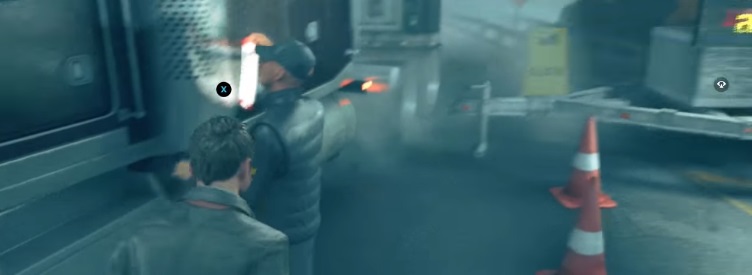
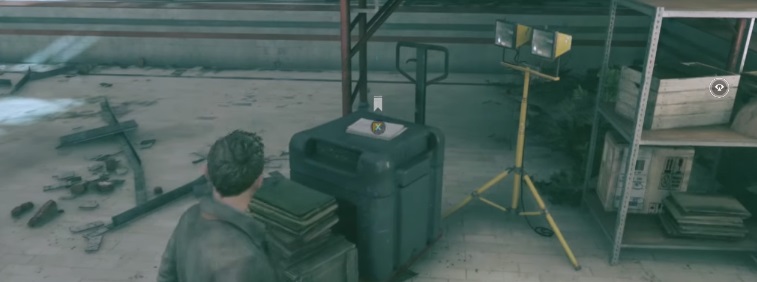
Chronon Source 4
After a big battle you will come upon a fenced off area. Just to the right before the fence’s gate is a Chronon floating by some random junk equipment.
 Chronon 4
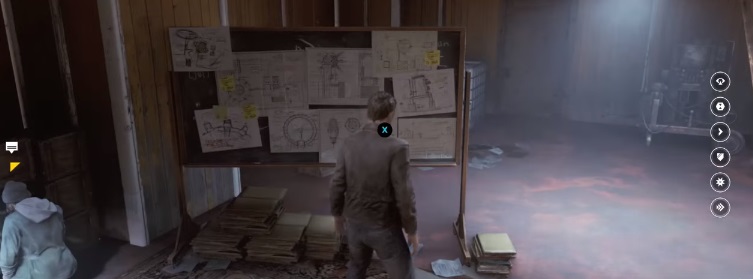
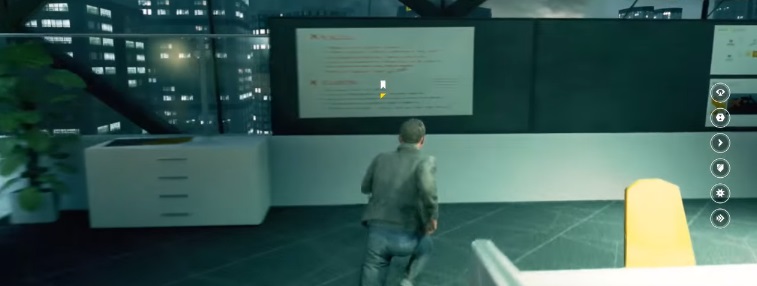
Narrative Object 3: Monarch Noticeboard (Document)
When you go up the stairs to the checkpoint with several guards, look at the wanted poster right in front of the first car.
 Narrative 3
Narrative Object 4: Jack Joyce Mugshot (Document)
Across from the noticeboard with the wanted poster, examine the mugshot being held by the guy standing next to the cargo truck.
 Narrative 4
Chronon Source 5
To the right of the cargo truck you will see a car and a pickup. This Chronon source is floating in between them.
 Chronon 5
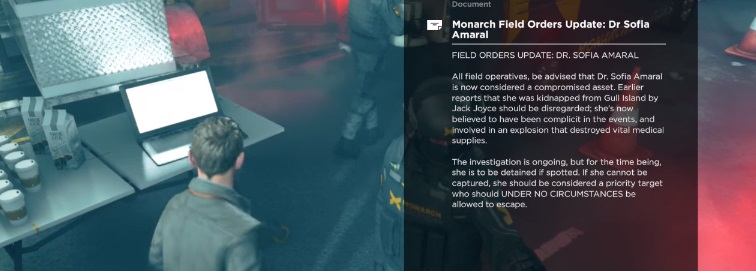
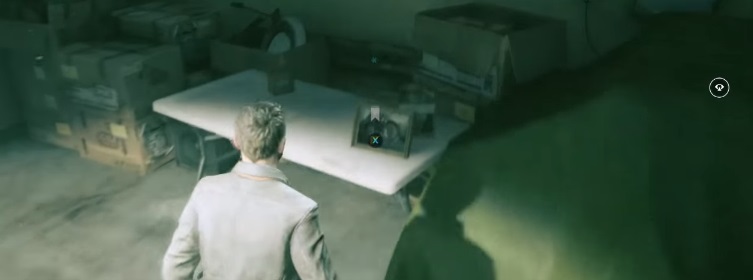
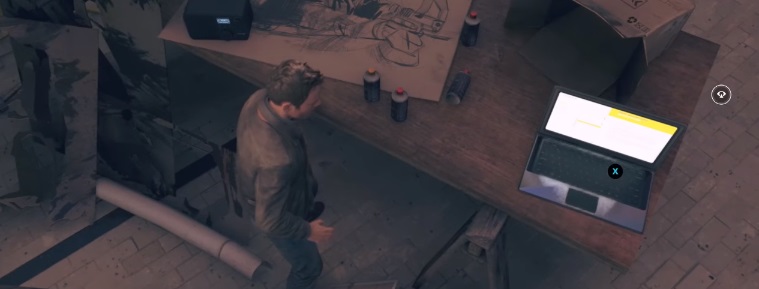
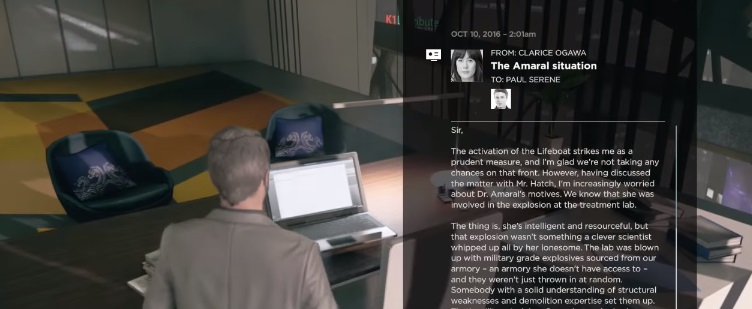
Narrative Object 5: Monarch Field Orders Update (Email)
Just slightly beyond the car and pickup truck is a table and a guard. Check out the laptop sitting on the table to grab this collectible.
 Narrative 5
Chronon Source 6
When you get up on the bridge on a small walkway with yellow ladders leading down on either side, head over into the corner to find this source floating just over the edge by a red tool chest.
 Chronon 6
Quantum Break Act 4 – 2 (Preparing The Time Machine) Collectibles
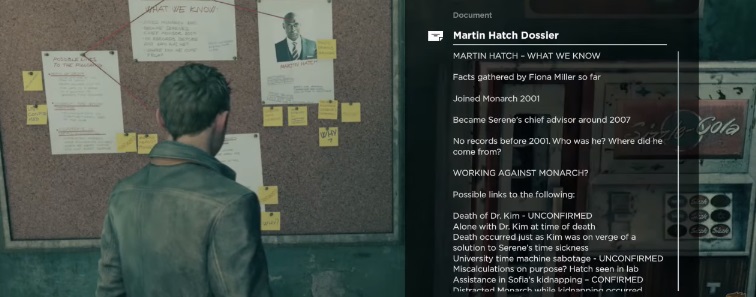
Narrative Object 1: Martin Hatch Dossier (Document)
Check the cork board on the wall directly next to the vending machine to grab this collectible.
 Narrative 1
Narrative Object 2: Beth’s 2010 Plan (Document)
On the other side of the room, examine this document sitting on a table.
 Narrative 2
Narrative Object 3: Theresa Sedmak Riverport Radio Show (Audio File)
Go through the wood doors to the right of the vending machine and turn on the radio sitting on the table in this room.
 Narrative 3
Ripple 1 / Narrative Object 4: Dream Journal 5 (Email)
In the swimming pool area, go by the fallen tree on the floor over to the area with the desk. Look at the laptop to get this collectible and initiate the ripple. Warning: this ripple won’t appear if you took the “Hardline” option instead of the “PR” option in the first Junction segment.
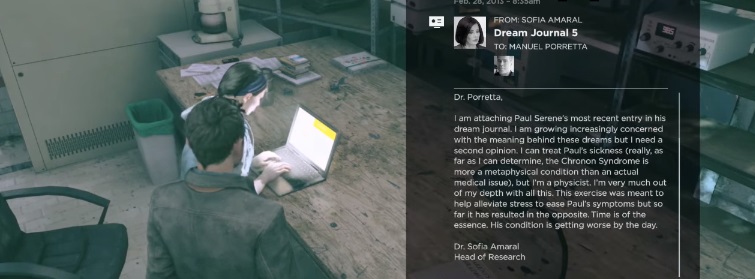 Ripple 1 / Narrative 4
Narrative Object 5: Transcript Of Monarch Communications (Document)
Just off to the right side of the previous collectible, take a look at the stack of papers sitting on top of a black crate.
 Narrative 5
Narrative Object 6: Lifeboat (Document)
Just a few feet to the right of the last collectible is an open document sitting on the wood and metal shelf.
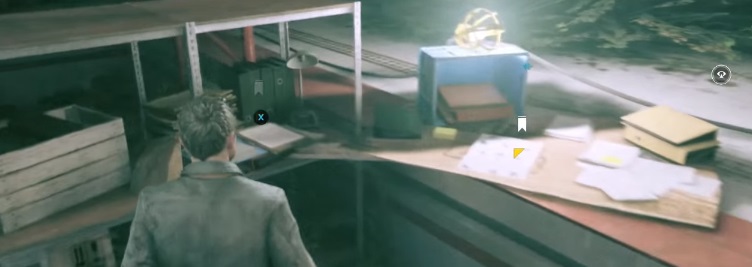 Narrative 6
Narrative Object 7: Monarch Employee Chart (Document)
Again directly next to the previous collectible, this one is on the counter just to the right of the shelves.
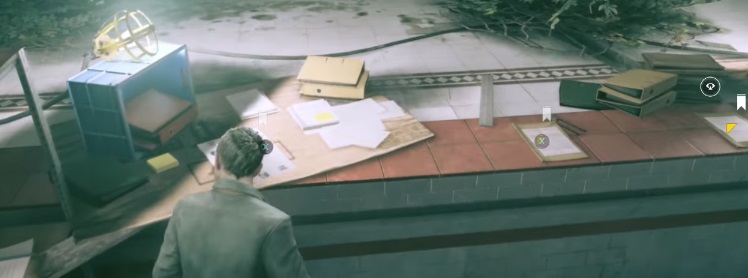 Narrative 7
Narrative Objects 8, 9, and 10: Monarch Documents
These next three are all in a row and clearly visible from one another further down the counter.
 Narrative 8, 9, and 10
Chronon Source 1
Run over to the bleachers / seating area to find this Chronon floating above one of the chairs.
 Chronon 1
Narrative Object 11: Jack And Will Photo (Image)
Go through the open wood door into a side room with a bunch of boxes and a stuffed giraffe. Look at the photo on the table to get this collectible.
 Narrative 11
Narrative Object 12: Beth’s Notebook (Document)
In the same room, look for a bench by some sinks and pick up the notebook.
 Narrative 12
Chronon Source 2
Go through the door right next to the notebook and then hang a right through another door. The Chronon source is floating inside the stall.
 Chronon 2
Chronon Source 3
In a later area where you have to leap across platforms up above the pool to turn on the machine, this one is directly in front after the first jump.
 Chronon 3
Quantum Break Act 4 – 3 (Swimming Pool 2010) Collectibles
Narrative Object 1 and 2: Radio Show (Audio) and The Countermeasure (Email)
Look for the brown table with the large painting and the bottles of paint. You can grab both of these narrative collectibles at the same spot by listening to the radio and then accessing the laptop.
 Narratives 1 and 2
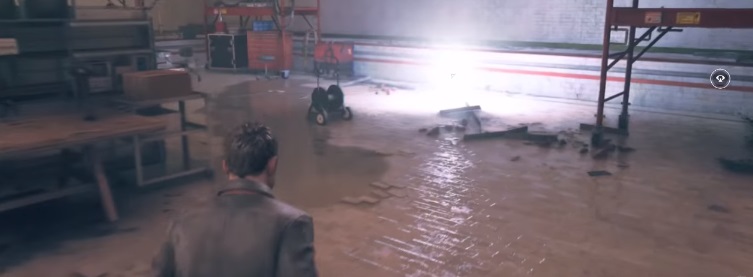
Chronon Source 1
Head into the large open room just beyond where you grabbed the previous two collectibles. The Chronon is near some red tool chests and equipment.
 Chronon 1
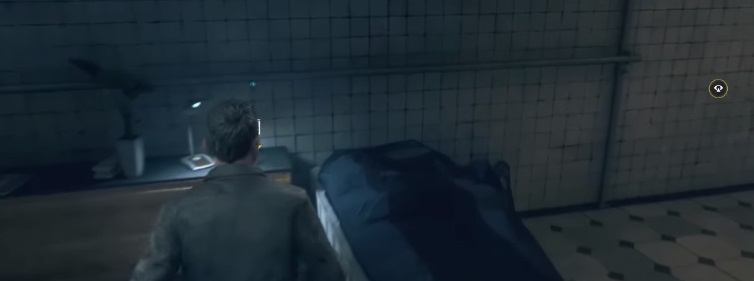
Narrative Object 3: Beth’s Journal (Document)
In the room with the bench and the sinks where you grabbed some collectibles in Act 4 – 2, check the counter next to the bench to grab a journal (this is directly next to where you found Beth’s notebook in Act 4 – 2).
 Narrative 3
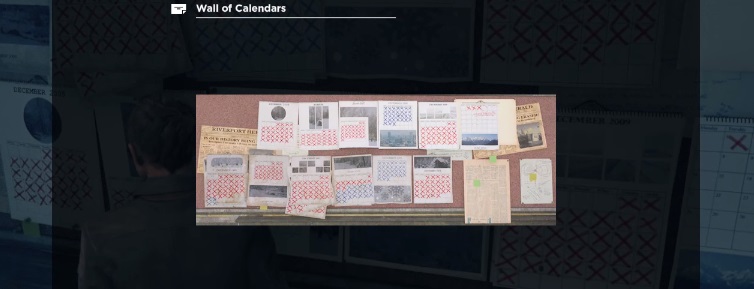
Narrative Object 4: Wall Of Calendars (Document)
In the very next room, simply walk up to the peg board covered in calendars to get this collectible.
 Narrative 4
Chronon Source 2
From the wall of calendars, turn around and go up the stairs to the left. The Chronon is on the landing in between the two floors.
 Chronon 2
Chronon Source 3
Head back downstairs, but instead of following Beth, take a left into a large open room to find this Chronon near the lockers.
 Chronon 3
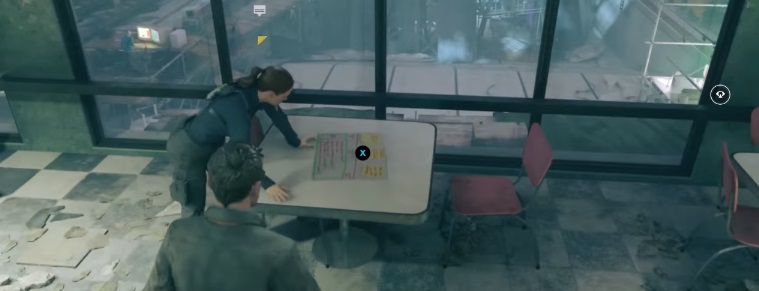
Narrative Object 5: Beth’s New 2010 Plan (Document)
When you head upstairs to the diner room the green felt boards, look at the cluttered mess on the large table to get this collectible.
 Narrative 5
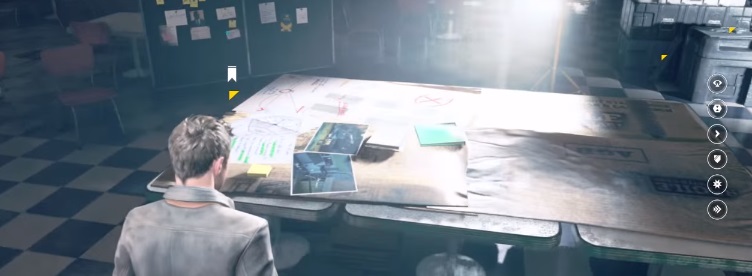
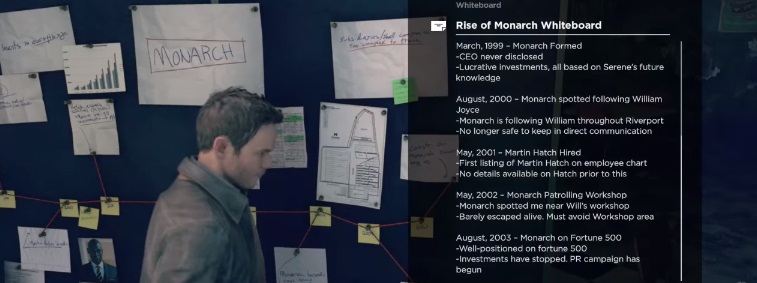
Narrative Object 6: Rise Of Monarch (Document)
Look at the papers connected by strings on the board right next to the table to nab this one.
 Narrative 6
Quantum Break Act 4 – 4 (Will Workshop 2010) Collectibles
Quantum Ripple 1
When you can see construction works off to the left below you while walking on a ledge above, go forward and turn left. Examine the breaker box to activate the ripple.
This is the final ripple – if you get the previous ones as well, the “Spreading Ripples” achievement will unlock when you watch the next TV episode after this Act is over.
 Ripple 1
Chronon Source 1
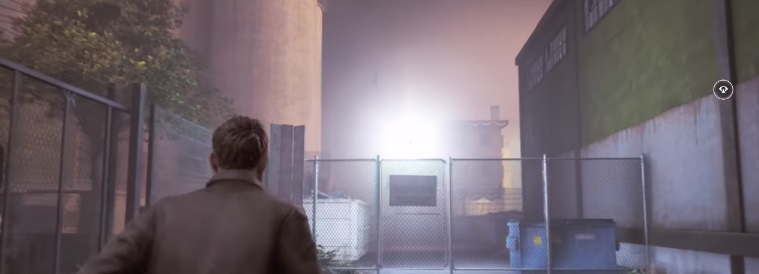
Before going into the actual workshop building, head back towards the side of the building to find this Chronon floating by the fence.
 Chronon 1
Narrative Object 1: Countermeasure Designs (Image)
Inside the workshop you will walk by a bike and up a short run of stairs. Look at the desk on the right to find the countermeasure design image.
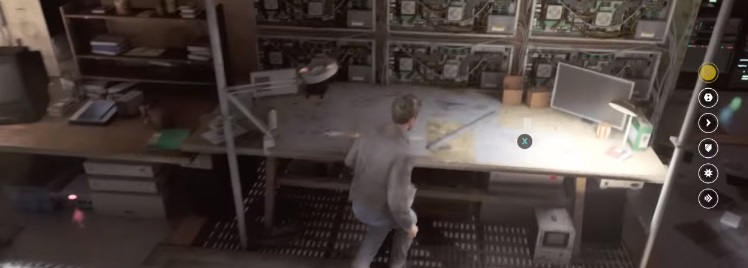 Narrative 1
Narrative Object 2: Will’s Journal (Email)
The next collectible is nearby and found by interacting with the triple monitor setup on the desk.
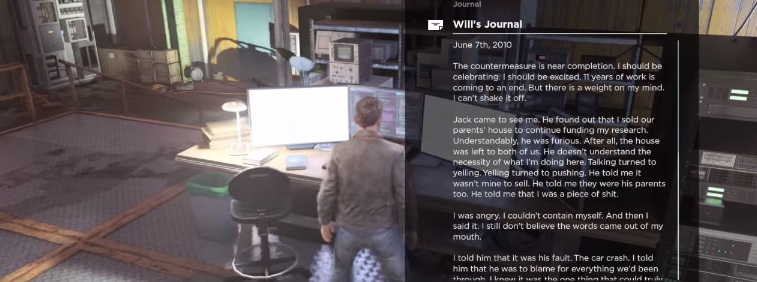 Narrative 2
Narrative Object 3: Radio Show (Audio File)
Directly to the left of the computer screens containing the previous email is a radio on top of a red tool chest.
 Narrative 3
Chronon Source 2
Go behind the area where you found the countermeasure design to find a small hallway. The Chronon is in front of the two large servers.
 Chronon 2
Narrative Object 4: Will’s Whiteboard
When you go inside the room with the flashing red light, turn around and look at the whiteboard on the wall.
 Narrative 4
Chronon Source 3
Go back out the door and leave the room with the flashing light, then climb up the boxes directly to the right of the door. The Chronon is up on the ledge by the broken windows.
 Chronon 3
Narrative Object 5: Time Machine Designs
At the very end of the Act when you open up a new door, examine the papers on the chalk board.
 Narrative 5
Quantum Break Act 4 Junction Collectibles
Narrative Object 1: Changing Email
Go up the stairs, but instead of turning go forward into another room and check your email on the laptop. The contents will change based on previous choices.
 Narrative 1
Quantum Break Act 5 – 1 (Monarch HQ) Collectibles
Narrative Object 1: Theresa Sedmak Riverport Radio Show (Audio File)
When the train crashes into the building, check the table off to the side to find this radio collectible.
 Narrative 1
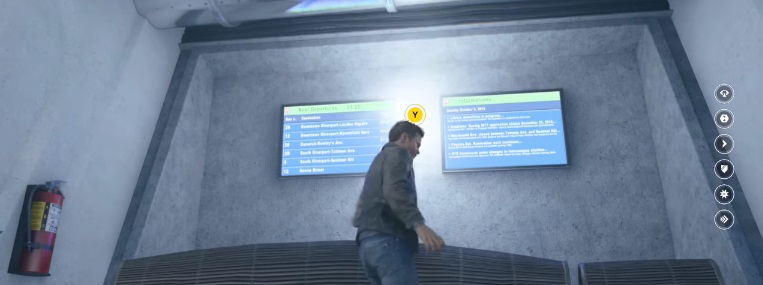
Narrative Object 2: Monarch HQ Map (Image)
Examine the map standing next to the escalator to grab this collectible.
 Narrative 2
Chronon Source 1
Run over to the left to the bathroom area with the wet floor sign and grab this Chronon source.
 Chronon 1
Intel 1: Monarch Radio Note
After fighting the guards who come out of the elevator, check the desk area next to the tall potted plant to get this intel.
 Intel 1
Narrative Object 3: Let’s Bail While We Can! (Email)
On the other side of the desk, check the computer to get this email.
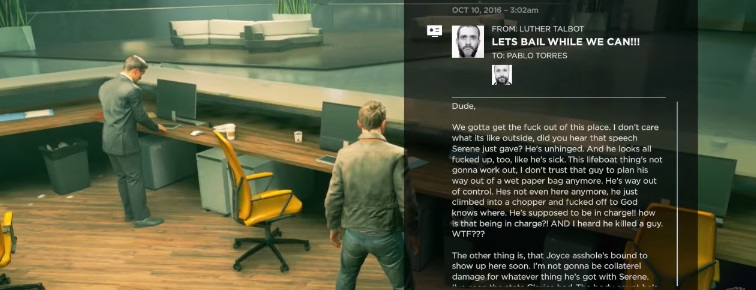 Narrative 3
Narrative Object 4: Shifter Alert (Email)
On the far end of the same desk is the next collectible.
 Narrative 4
Narrative Object 5: Clean Up Completed (Email)
After going up the elevator, check the couch over to the left.
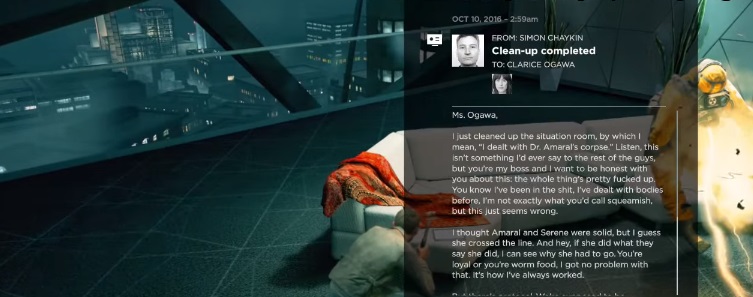 Narrative 5
Narrative Object 6: Monarch PR Protocol (Document)
Head to the back end of this room behind the last table with the yellow chairs and examine the writing on the wall.
 Narrative 6
Narrative Object 7: Holy Shit! (Email)
On the opposite end of the room, check for a laptop on the edge of a white desk to read this colorful email.
 Narrative 7
Chronon Source 2
In the hallway with the floating guys in yellow suits, head into the cubicle room on the left that has a black monitor on the wall to the left of the doorway. The Chronon is right there in front of the monitor.
 Chronon 2
Narrative Objects 8 and 9: Time Stabber (Video File), About My Screenplay (Email)
On the opposite end of this same room, watch the video on the computer monitor sitting next to a laptop. Next turn on the laptop to read the email.
 Narratives 8 and 9
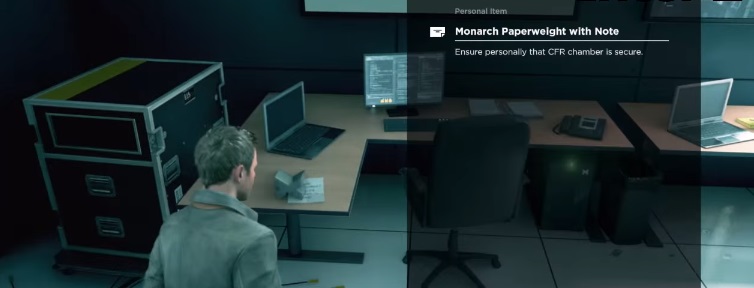
Intel 2: Monarch Paperweight
Walk through the glass doors immediately to your right and look at the note underneath the paperweight on the desk.
 Intel 2
Narrative Object 10: A Confession (Email)
Three desks to the right of the paperweight, read the email on the computer monitor.
 Narrative 10
Narrative Object 11: Untitled Note
Later when you go through the sliding glass doors with the yellow stripes, look at the note sitting on the oddly textured desk.
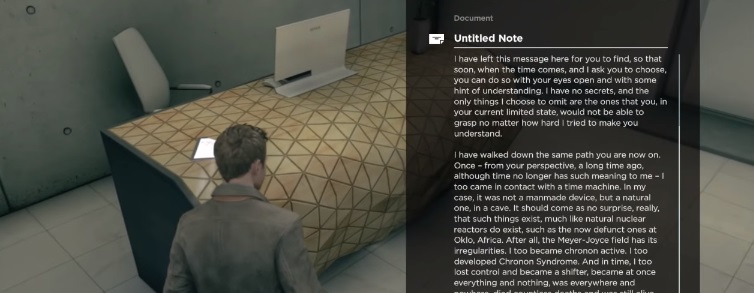 Narrative 11
Narrative Object 12: Fix This Mess (Email)
In the office following the next major event, check the computer at the desk for another email message.
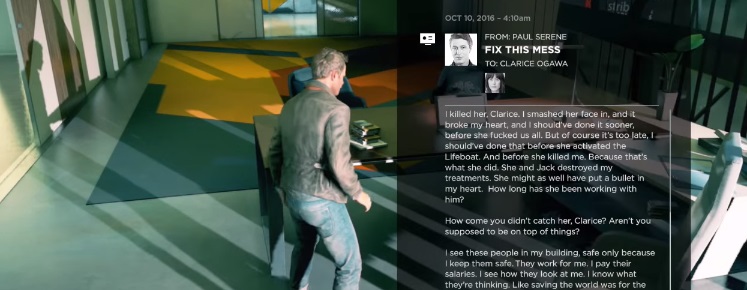 Narrative 12
Narrative Object 13: Time Machine Core (Email)
Go into the next room where you can see down on the ground floor. Check the white shelf on the right side of the room to find this email.
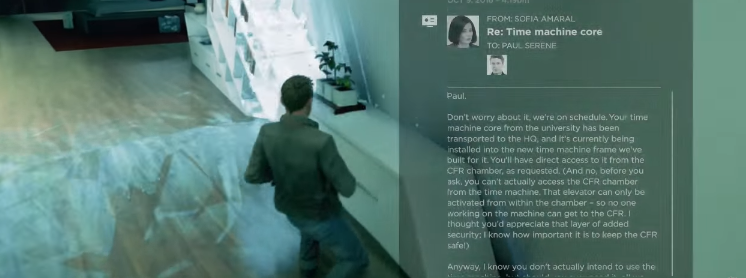 Narrative 13
Intel 3: Reflections On The End
Walk forward from the previous email until you see the tablet sitting on a black dresser.
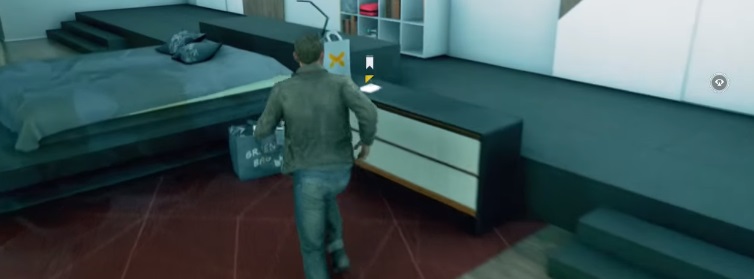 Intel 3
Chronon Source 3
Walk up the short steps right next to the tablet to find the Chronon in front of the large painting.
 Chronon 3
Narrative Object 14: Quantum Ripple Research Unit (Email)
Now you can finally head downstairs. Look at the laptop sitting next to all the timeline panels for this email.
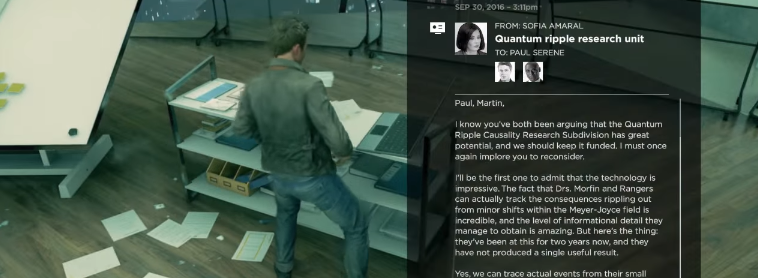 Narrative 14
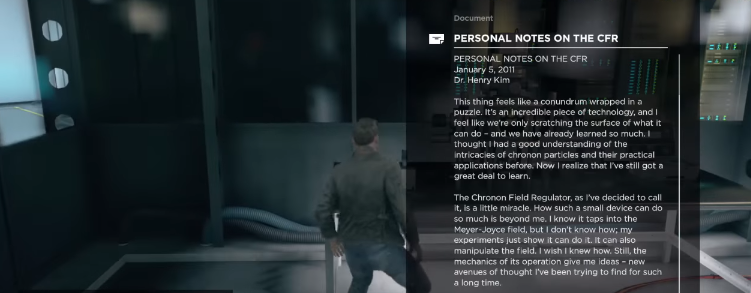
Narrative Object 15: Sofia’s Personal Notes (Document)
In the next area with glass doors and yellow stripes again, turn into the side room and check out the computer sitting on the corner of a black table.
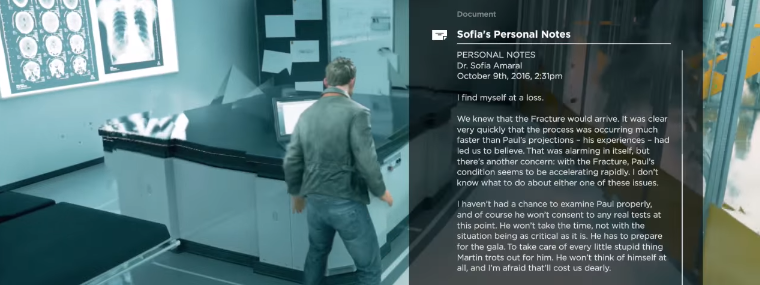 Narrative 15
Narrative Object 16: Read Me Right Now! CFR Procedures! (Email)
In the room with the rows of large, white tables, take a look at the laptop on the second table.
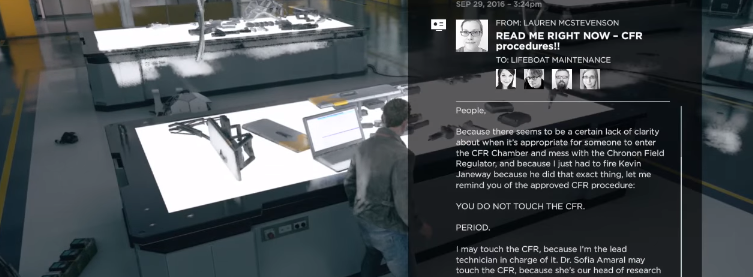 Narrative 16
Narrative Object 17: Chronon Particle Stockpile Update (Email)
This email is found on the table opposite the previous one you just checked on the other side of the room.
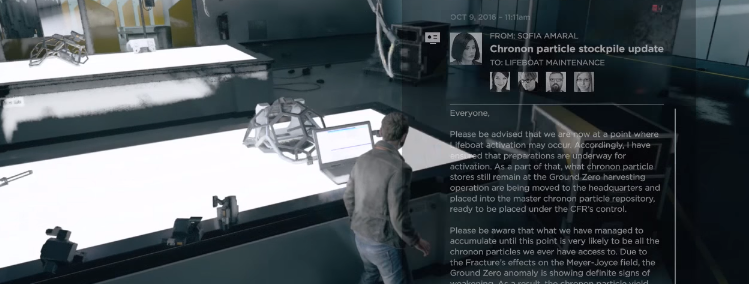 Narrative 17
Narrative Object 18
Go into the next room to the left (where the guy in the yellow suit has to open the door). This last narrative object of the area is directly to your left on the table.
 Narrative 18
Intel 4: Charlie’s Badge
Turn around and run towards the other side of the room to find the final intel object of the game sitting on the floor by another desk (this may be a different item depending on the Junction options you took).
If you’ve picked up all the previous intel, grabbing this one will unlock the “Knowledge Is Power” achievement.
 Intel 4
Quantum Break Act 5 – 2 (Return To The University) Collectibles
Chronon Source 1
In the time machine room with the glowing red lights, head up the ramp to find this Chronon floating by the blue door.
 Chronon 1
Chronon Source 2
Outside in the courtyard area, jump up onto the tiny yellow vehicle to get another Chronon floating up above.
 Chronon 2
Chronon Source 3
In the garage, look to your right to find another Chronon floating by some wall monitors.
 Chronon 3
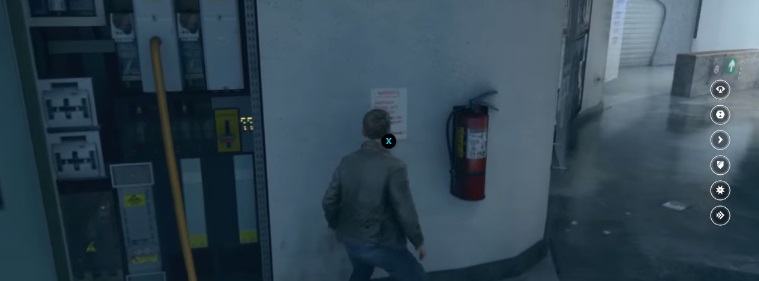
Narrative Object 1: Note Regarding Chronon Dampener (Document)
In the area with all the foliage and the marble floors, look for a note on the wall situated next to the fire extinguisher.
 Narrative 1
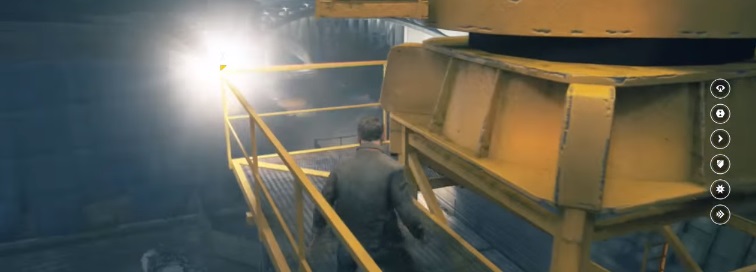
Chronon Source 4
When you are up on the yellow scaffolding, instead of climbing up the final ladder, run around to the other side to grab this Chronon.
 Chronon 4
Chronon Source 5
Inside the library, this Chronon is found right in front of a painting on the wall.
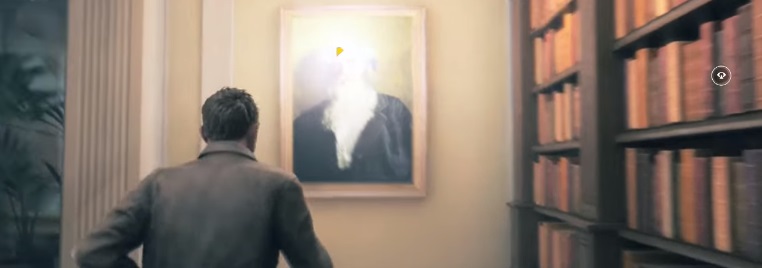 Chronon 5
Quantum Break Act 5 – 3 (Final Moments) Collectibles
Chronon Source 1
At the beginning of the area, this Chronon is behind you and floating by the white and yellow taxi.
 Chronon 1
Narrative Object 1: Bobby Radford Riverport Radio Show (Audio File)
Instead of opening the double wood doors, go up the stairs to the right and turn on the radio in the diner area.
 Narrative 1
Chronon Source 2
When you follow the thick cables on the floor, take a right and walk towards the standing lights. This Chronon is in the corner of the showers.
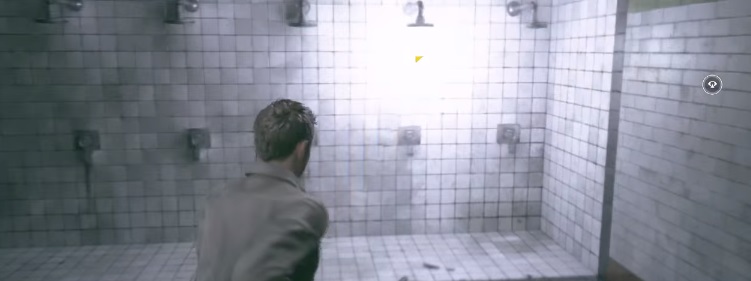 Chronon 2 – the last one!
This is the final Chronon source upgrade and the last collectible as well, woo-hoo! As soon as you spend the upgrade point you will unlock the “Maximum Effort” achievement and you can finally head into the last area of the game!


Published: Apr 7, 2016 04:47 pm