The Medieval Sulfur Field is one of the most jam-packed areas in SpongeBob SquarePants: The Cosmic Shake. Full of collectibles and gold coins that help you unlock more costumes for SpongeBob, this world will require a replay or two to see everything fully.
Where to Find All Medieval Sulfur Field Gold Coins in The Cosmic Shake
There are 11 gold coins to find in the Medieval Sulfur Field, tied for the most in the game. Here is where to find each one throughout the various areas that make up the 6th world in SpongeBob SquarePants: The Cosmic Shake.
Medieval Sulfur Field Gold Coin 1
During the Cloud Slide that kicks off the level, there will be a point where you get on a bubble surfboard. Use the bubble surfboard to get to the swing hooks that are located off to your right — trust us, you can make it. This will take you down an alternate path where you’ll find the first gold coin in this world.
Medieval Sulfur Field Gold Coin 2
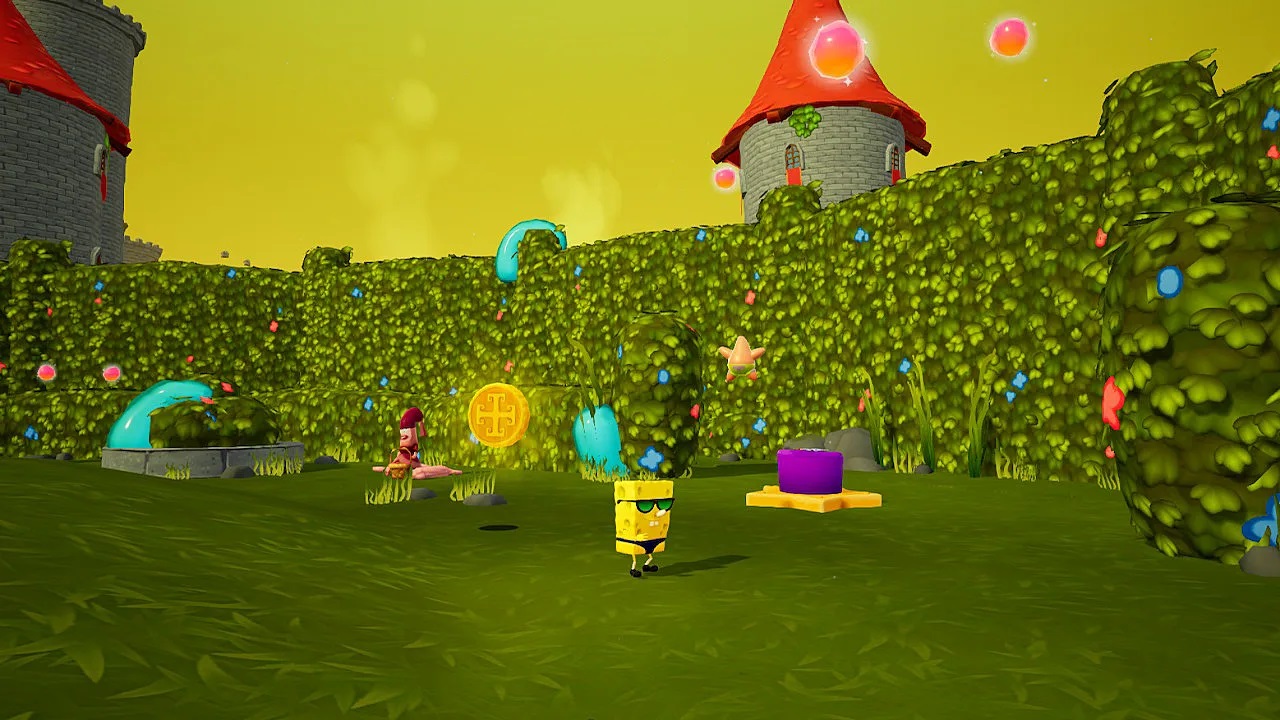
In the Garden Maze, there is a purple button that will spawn a reef blower and a large enemy, who can only be taken out by shooting its own enemies back at it with a reef blower. Do so for the coin.
Medieval Sulfur Field Gold Coin 3
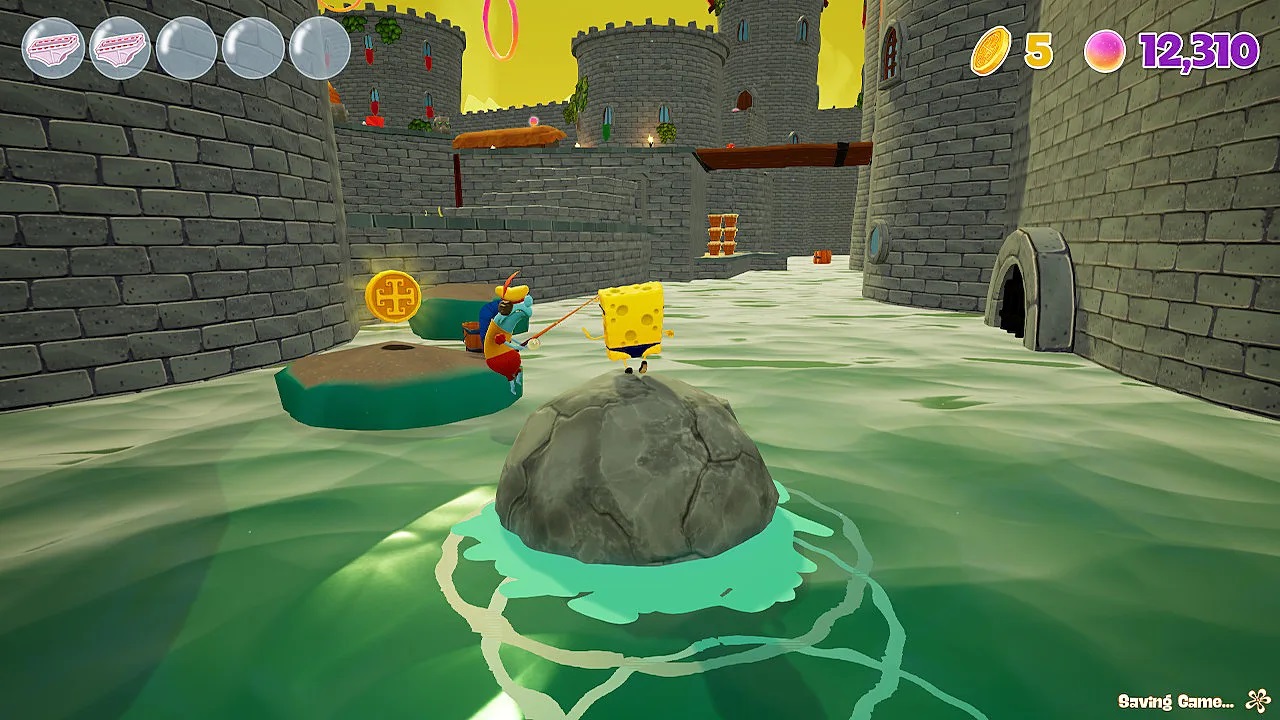
In the castle courtyard, go down to the moat, then down the stairs near the castle entrance. There is a boulder you can jump on near a barrel. Destroying the barrel will activate a timer, and you’ll need to destroy a bunch of barrels. You’ll hit a grate and then be forced to jump off. After that, roll through back to the fisherman near where you started for the gold coin.
Medieval Sulfur Field Gold Coin 4
In the castle courtyard, there is a purple button that will spawn kick balloons (called the Bard’s Audition). You need to hit them all without touching the ground in order to earn this gold coin.
Medieval Sulfur Field Gold Coin 5
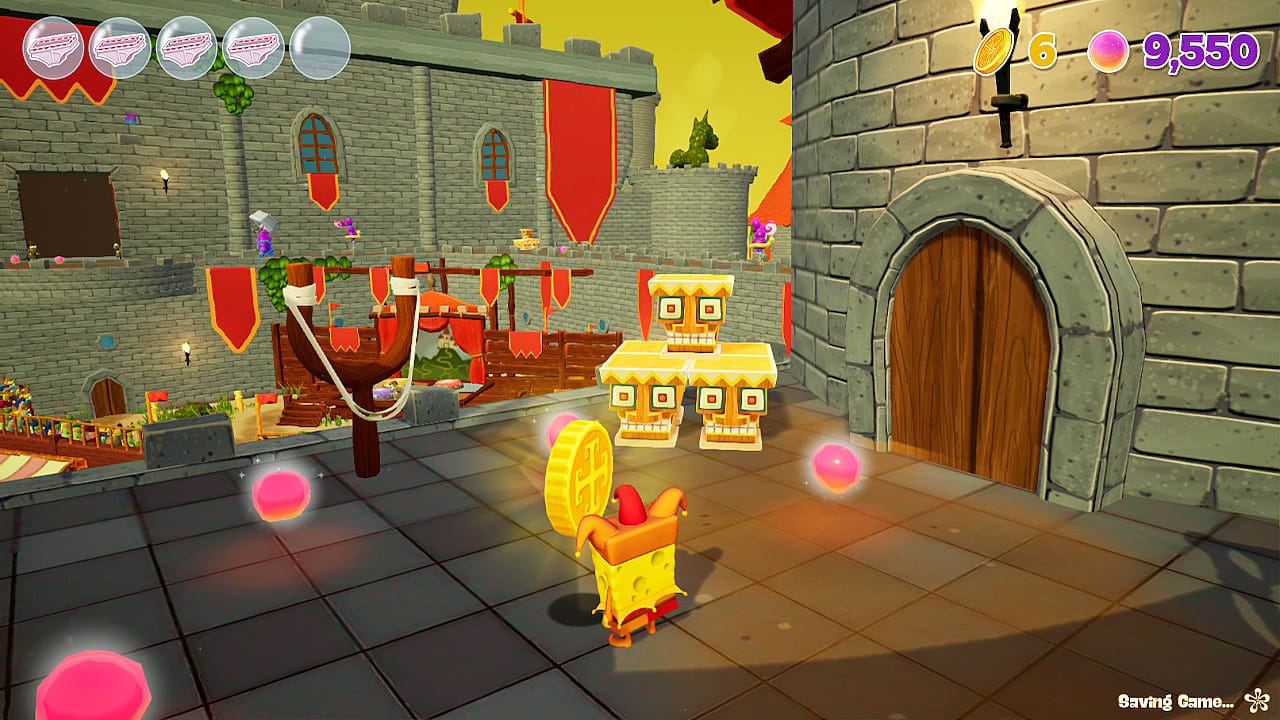
On the ramparts of the Castle, there is a purple switch that leads to a bubble surfboard challenge. Go through flaming hoops, and then kick the balloons until you reach the platform with the finish line. There will be a coin there and a slingshot to take you back to the main part of the level.
Medieval Sulfur Field Gold Coin 6
In the castle courtyard again, there is a seahorse race you must complete to open the gate. Once you reach a long ramp, you are in the right place. Follow the jelly path from that ramp to an ever higher ramp, where the gold coin awaits your capture.
Medieval Sulfur Field Gold Coin 7
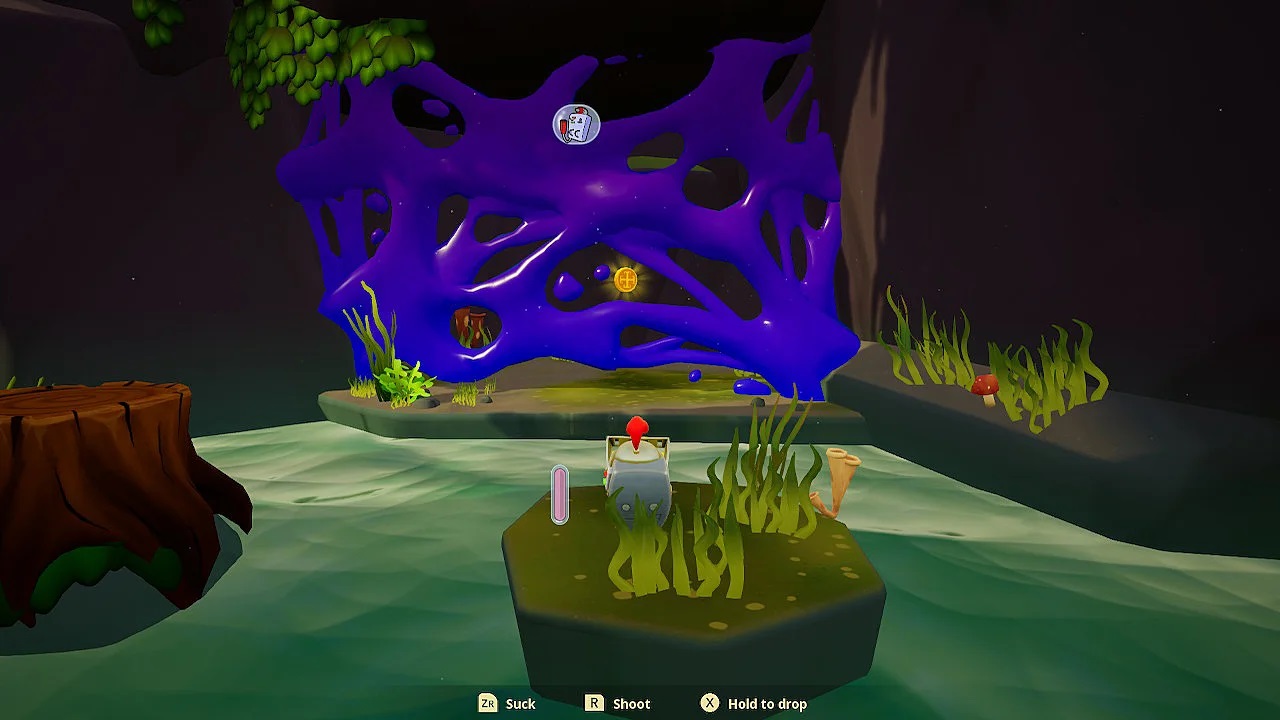
In the Twitchy’s Cottage area, there is a reef blower to find. Use it to suck in enemies and destroy the goop barriers in the area. Behind one of these barriers will be a button (with feet markings) that you must press. This will open up a venus fly trap path to the final area, where a goop wall blocks a golden coin. Use the reef blower to get in and grab your coin.
Medieval Sulfur Field Gold Coin 8
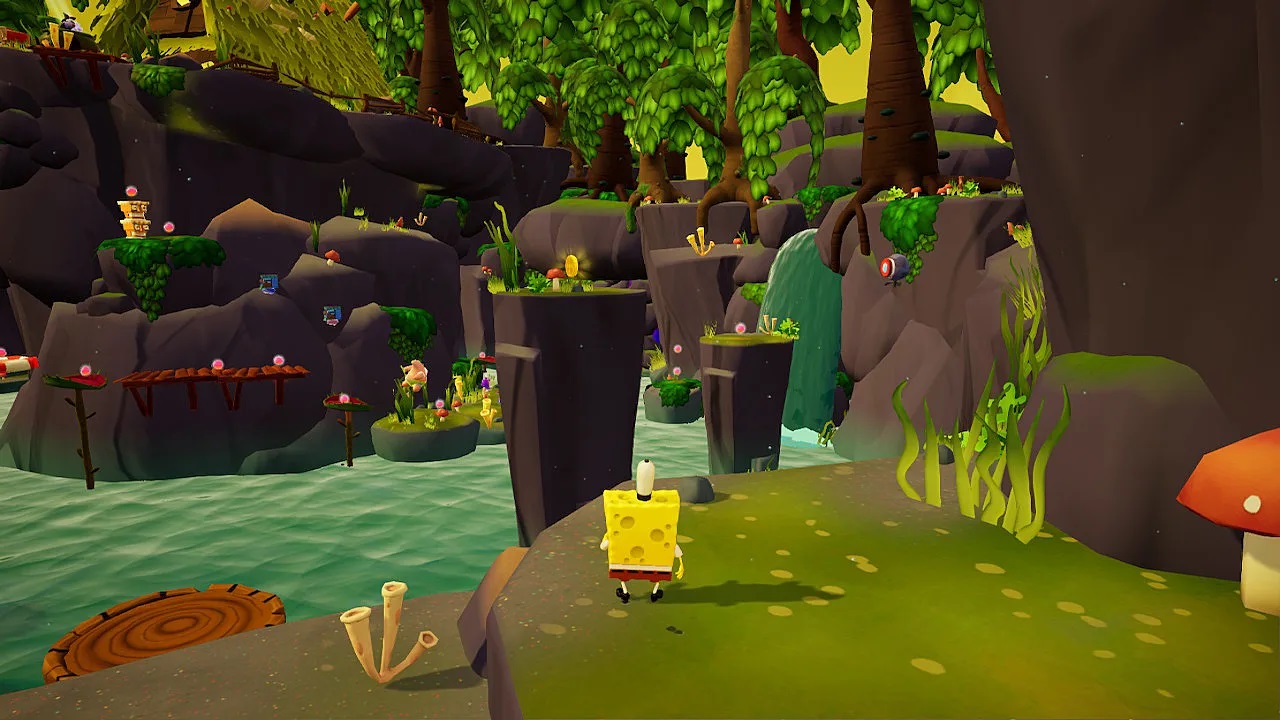
In this same area, you’ll see the gold coin from the start. The easiest way to get it is to make it all the way to Twitchy. Use the first swing hooks that take you back to the spawn. Jump to the second swing hook, but instead of going forward, orient yourself so that you are now swinging toward the gold coin. From there, you’ll be able to jump and land on the platform with the coin.
Medieval Sulfur Field Gold Coin 9
In the Meanderson section of Medieval Sulfur Fields, go to the left of the starting checkpoint to follow the path that leads behind the waterfall. You’ll need to destroy the blocks by activating the explosive block. You’ll then be able to zip behind the waterfall and grab your golden reward.
Medieval Sulfur Field Gold Coin 10
This collectible is also in the Garden Maze. Take the first right you can, and follow it to the reef blower. From there, stand on the feet block to spawn debris SpongeBob can suck in to destroy the goo walls littering the maze. Thankfully, you can’t use your other abilities when you have the reef blower equipped, so the path forward will be fairly apparent. Rinse and repeat this process four times to navigate through all the jelly walls in the maze. The coin is behind the last wall.
Medieval Sulfur Field Gold Coin 11
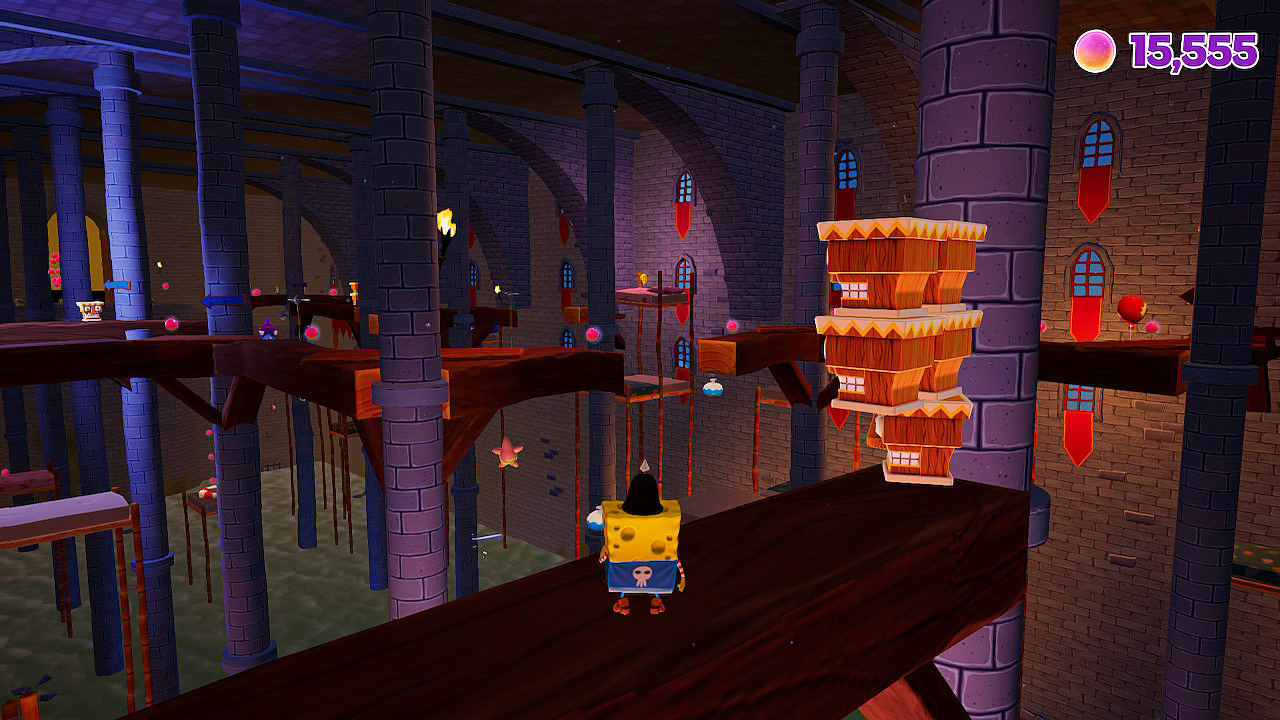
The last coin in Medieval Sulfur Fields is in the Dormitory Hall. As you make your way up, look for a bounce pad that will get you onto a section of the rafters that won’t seem to lead anywhere. From there, turn right and jump around the pillar ahead of you to land on a hidden section of the rafter. Cross the gaps between rafters to follow this path to the final gold coin of the world.
With that, you’ve found all of the gold coins in Medieval Sulfur Fields. For more collectible guides and walkthroughs for SpongeBob SquarePants: The Cosmic Shake, head over to our Cosmic Shake tips page.
Featured image by THQ Nordic.









Published: Jan 30, 2023 02:44 pm