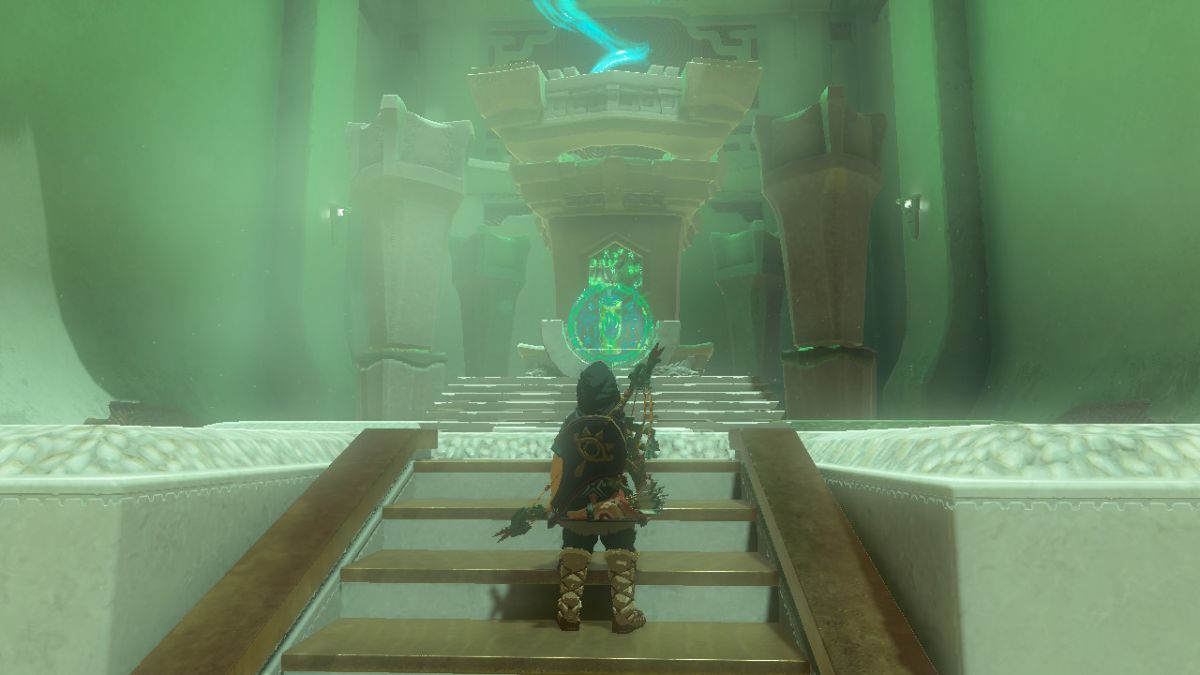
The Legend of Zelda: Tears of the Kingdom Missing Pathways puzzle will have you searching for a way out of the Sonapan Shrine. You’ll need need to utilize your Ascend ability throughout to complete it and get that precious Light of Blessing. Here’s our complete guide to help you solve the Sonapan Shrine Missing Pathways puzzle in Zelda: Tears of the Kingdom.
Sonapan Shrine Missing Pathways Puzzle Solution in Zelda: Tears of the Kingdom
Sonapan Shrine Location
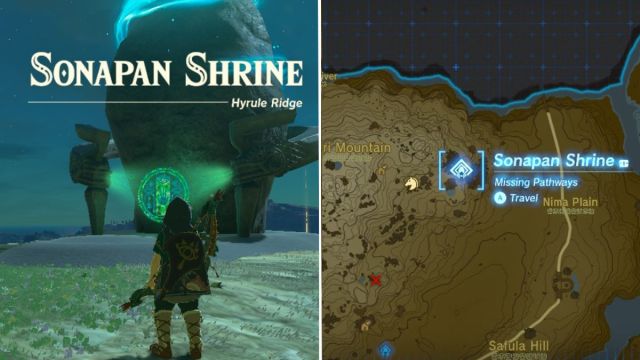
The Tears of the Kingdom Sonapan Shrine can be found directly east of Satori Mountain and west of Nima Plain. The map above has its location marked for your convenience, but if you can’t seem to find it, the exact coordinates are -1913, -0349, 0227.
TotK Sonapan Shrine Missing Pathways Puzzle Walkthrough
The Zelda: Tears of the Kingdom Missing Pathways puzzle in the Sonapan Shrine will utilize your Ascend ability over and over and over. But I found that the puzzle solutions aren’t always that straightforward. Here’s what you need to do:
- Approach the first ledge overhang, and use your Ascend ability to reach the upper platform.
- Ascend on the next smaller platform and enter the following room.
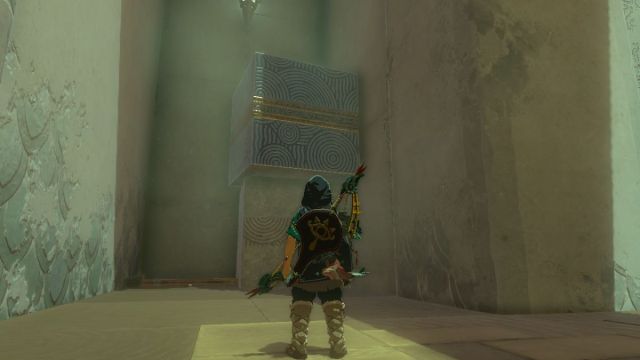
- Grab the metal cube on the right side of the room with your Ultrahand ability and move it to the left side of the room — you’ll need it to reach the treasure chest.
Related: TotK Courage to Fall Shrine Guide
How to Get the Missing Pathways Shrine Treasure Chest
- Grab the metal cube with your Ultrahand ability
- Move the metal cube on top of the stone cube so that a portion of it has an overhang.
- Ascend through the overhang and drop down to open the chest.
You’ll receive 5 standard Arrows from the TotK Missing Pathways puzzle treasure chest, and can now move on to the next part of the puzzle. The 5 Arrows might not seem that precious, but I personally want all the free Arrows I can get in Tears of the Kingdom.
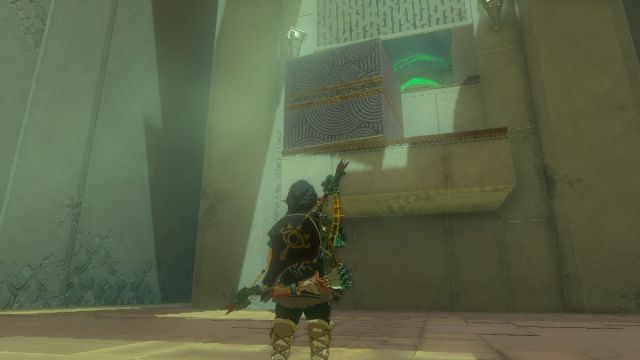
For this next puzzle room:
- Move the metal cube with your Ultrahand ability and place it on top of the stone platform jutting out from the center of the wall.
- Ascend through both the stone platform and the metal cube to reach the final puzzle room.
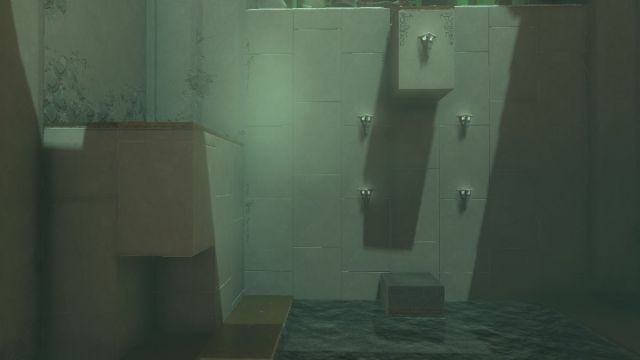
You’ll notice the final room has water, and well, this is when I learned that you can’t use your Ascend ability while swimming. Here’s how to make it through this confusing area:
- Move the metal cube on the left with your Ultrahand ability so that it’s underneath the stone platform at the center of the wall, as shown in my screenshot above.
- Ascend where you removed the metal cube from.
- Jump and glide down to the metal cube you placed in the water.
- Ascend to the stone platform above you.
- You’ve now made it to the end and can receive your Light of Blessing!
Well, that’s it for our guide on how to solve the Tears of the Kingdom Missing Pathways puzzle in the Sonapan Shrine. Be sure to check out our other walkthroughs over at our Zelda: TotK guides hub.



Published: May 18, 2023 01:55 pm