Creativerse is a sandbox survival game developed and published by Playful Corporation. Its gameplay is similar to Minecraft in that players will need to mine, craft, build, and hunt in order to survive its large worlds.
One of the primary materials that players need to really get started in Creativerse is Iron. It is required to craft a higher tier Power Cell to mine deeper, along with more powerful weapons and stronger armor. In this guide, we cover where to find Iron Ore, what you need to mine it and how you turn it into Iron to craft those all important items.
What You Need Before Looking for Iron Ore
Before you even set out to find Iron Ore, you are going to need a few things beforehand so it’s possible to obtain it. The first thing you’ll want to acquire is the Obsidian Power Cell. Without one of these, you won’t be able to mine the rock in the Stalagtite layer.
To make an Obsidian Power Cell, you need the following materials:
- 4 Obsidian Bars
- 2 Stone Slabs
- 8 Blocks of Magnetite
- 10 Blocks of Bedrock
- 4 Mushrooms (Any colour)
Once you have an Obsidian Power Cell, you will be able to mine your way in and around the Stalactite layer. You will need a few more provisions first before you embark on your expedition. Here is a list of what other items you will need:
- Obsidian Sword
- Obsidian Armor Set
- Plenty of Torches
- Plenty of Extractors (Preferably Advanced Extractors)
- Healing Potions
Once you have all these items along with your Obsidian Power Cell, you will be ready to begin your mission to find Iron Ore.
Where to Find the Iron Ore
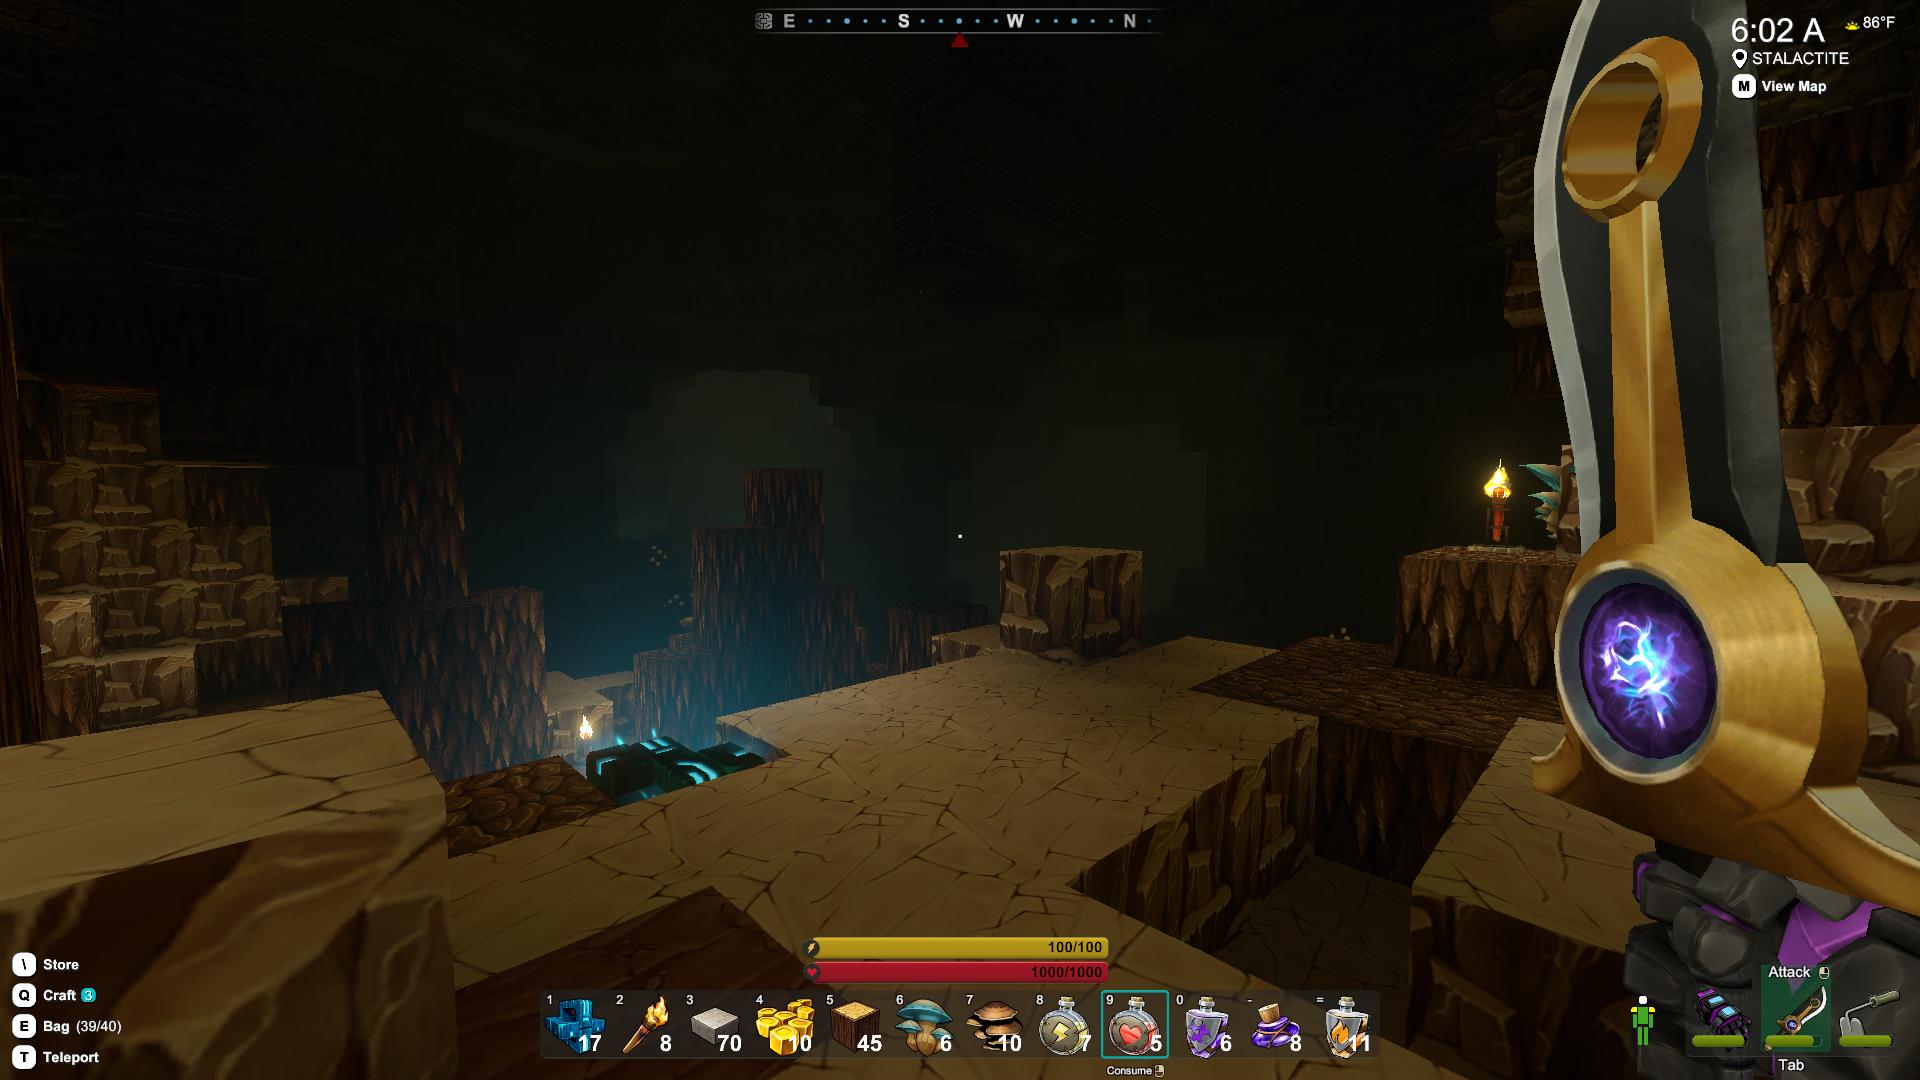
Iron Ore is found in the Stalactite layer, which lays below the Fossil layer of rock. The Fossil layer is directly below the world’s surface, meaning you don’t have to mine too far down before you find the Stalactite area of the underground.
Once you are at the Stalactite area, you have two choices. The first is to start digging a cave system and simply extract any ore that you find with your extractors. Extracting ore takes time — 5 minutes for an ordinary one and 2 minutes 30 seconds for an advanced. (The higher the extractor, the more ore you get out of each node). This is certainly the easiest method, but it can take a bit time before you find any.
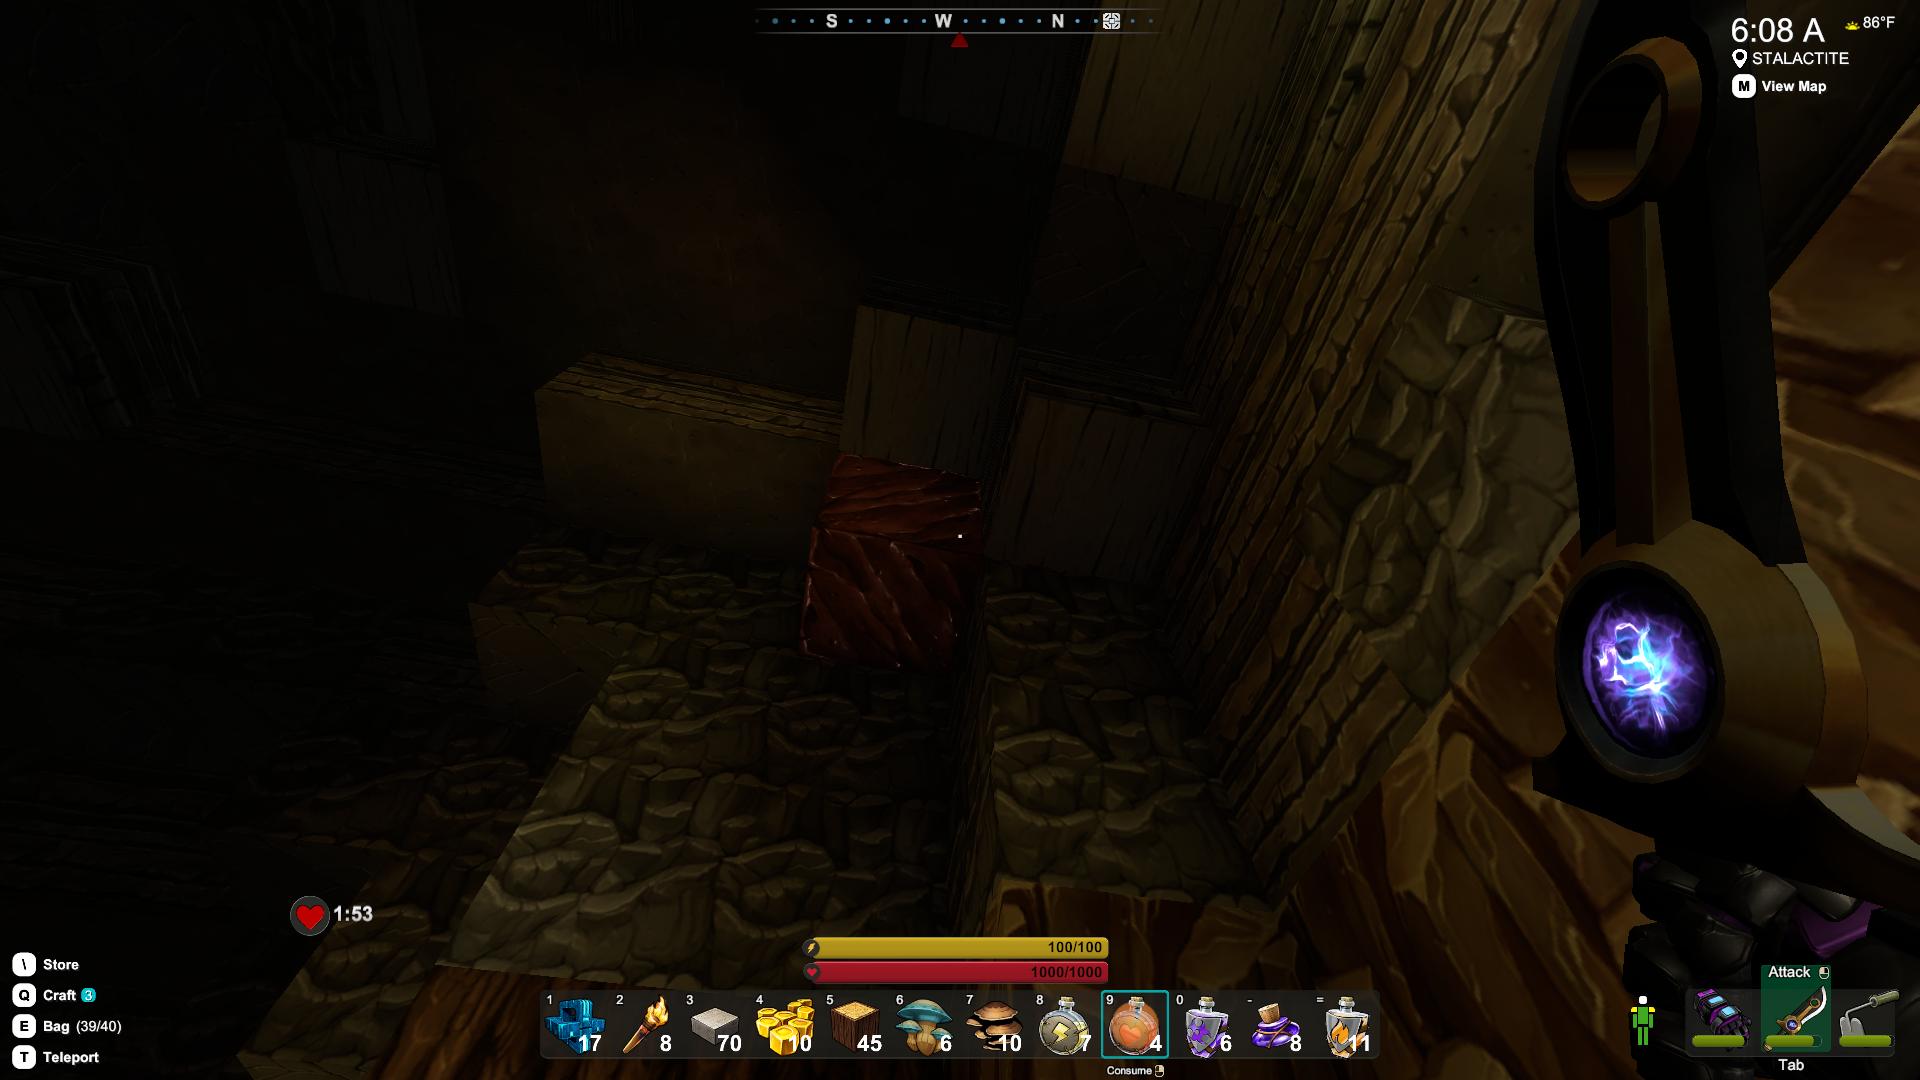
The second method is a more dangerous and requires a bit of luck. But reduces the overall amount of mining you need to do. Once you are down in the Stalactite layer, begin mining in multiple directions and keep an ear out for the sound of monsters and water. If you can hear either of them, there is a cave or system of multiple caves nearby.
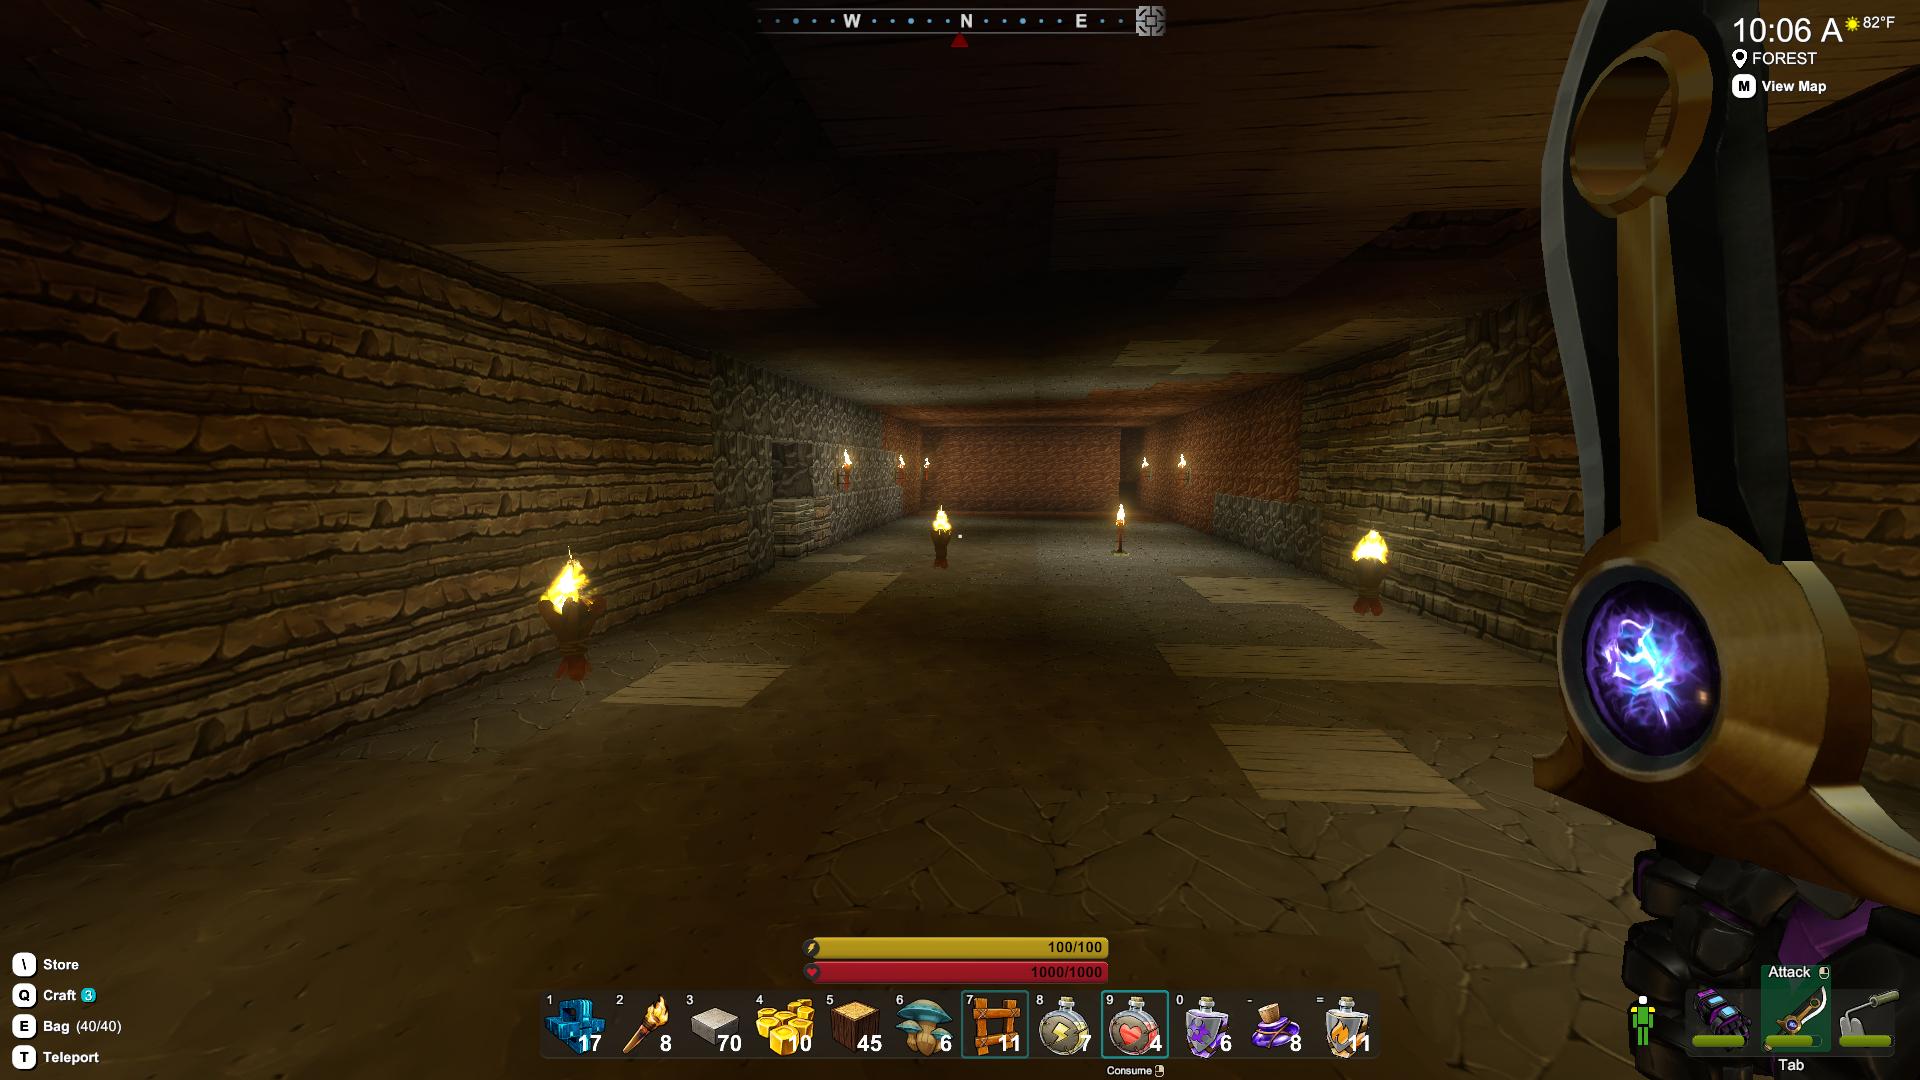
Once you locate one, make your way in. But be careful, it will be dark and there will be plenty of enemies. In such cave-like areas, you often find resources on the walls — and once you have lit up the caverns, they are easy to see. Just like if you were using the other method, use your extractors and let them do their job. Once finished, simply take the ore out of the extractors and return to your base.
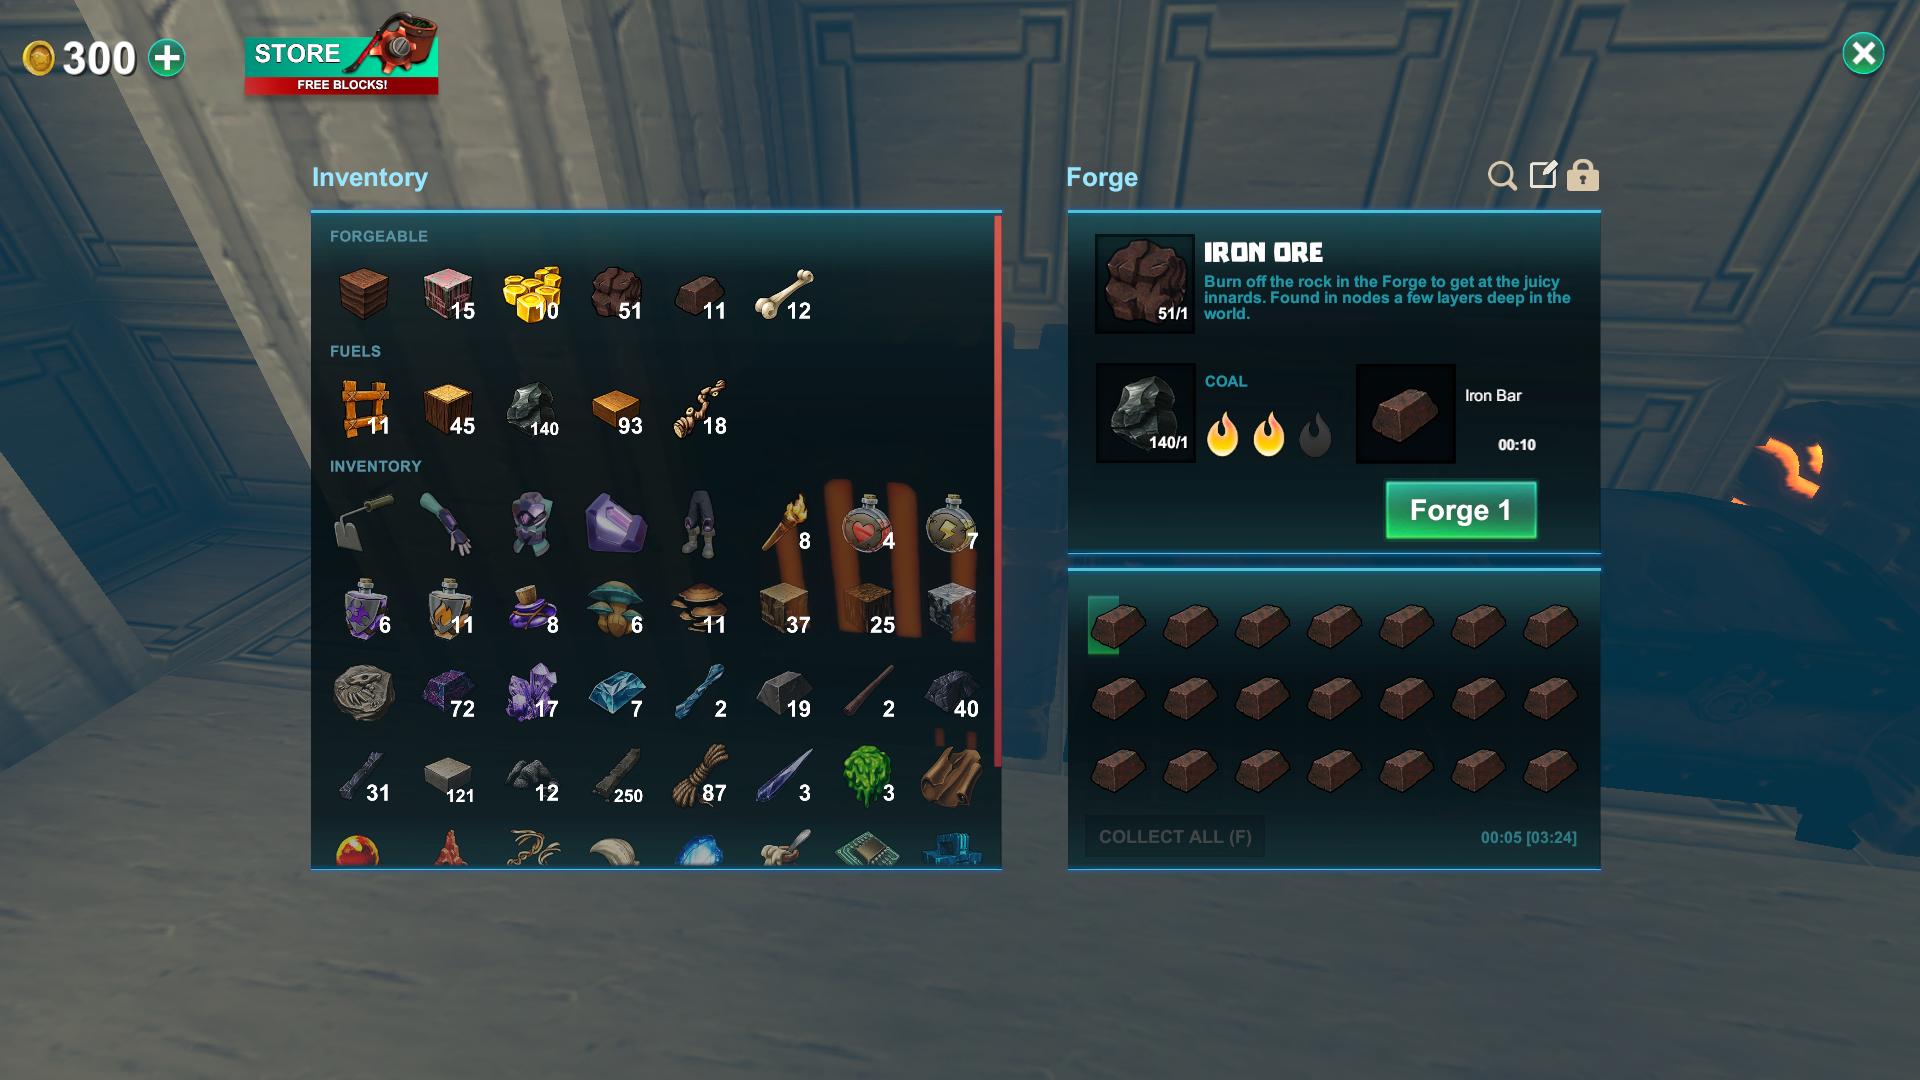
Turning Your Iron Ore into Iron Bars
All that is left to do now is turning all that Iron Ore into Iron Bars. All you need to do is place the ore into your forge and begin the process of turning it into Iron Bars. Make sure you have fuel in the forge to power it. This can be anything that will burn, such as Wood or Coal.
Once the forge is finished processing the ore into bars, simply take them out and they will be placed in your inventory as long as you have space in it. The iron bars can then be used to craft a higher tier sword, armor, and Power Cell. The bars can also be turned into rods and slabs, which are needed to craft other items.
And there you have it — everything you need to know to get your hands on that ever important Iron Ore to help you craft bigger and better items.
So what are you waiting for? Get prepared and get digging! And be sure to check out the rest of our Creativerse guides for even more tips to get you ahead of the game.


Published: Jun 26, 2017 02:22 pm