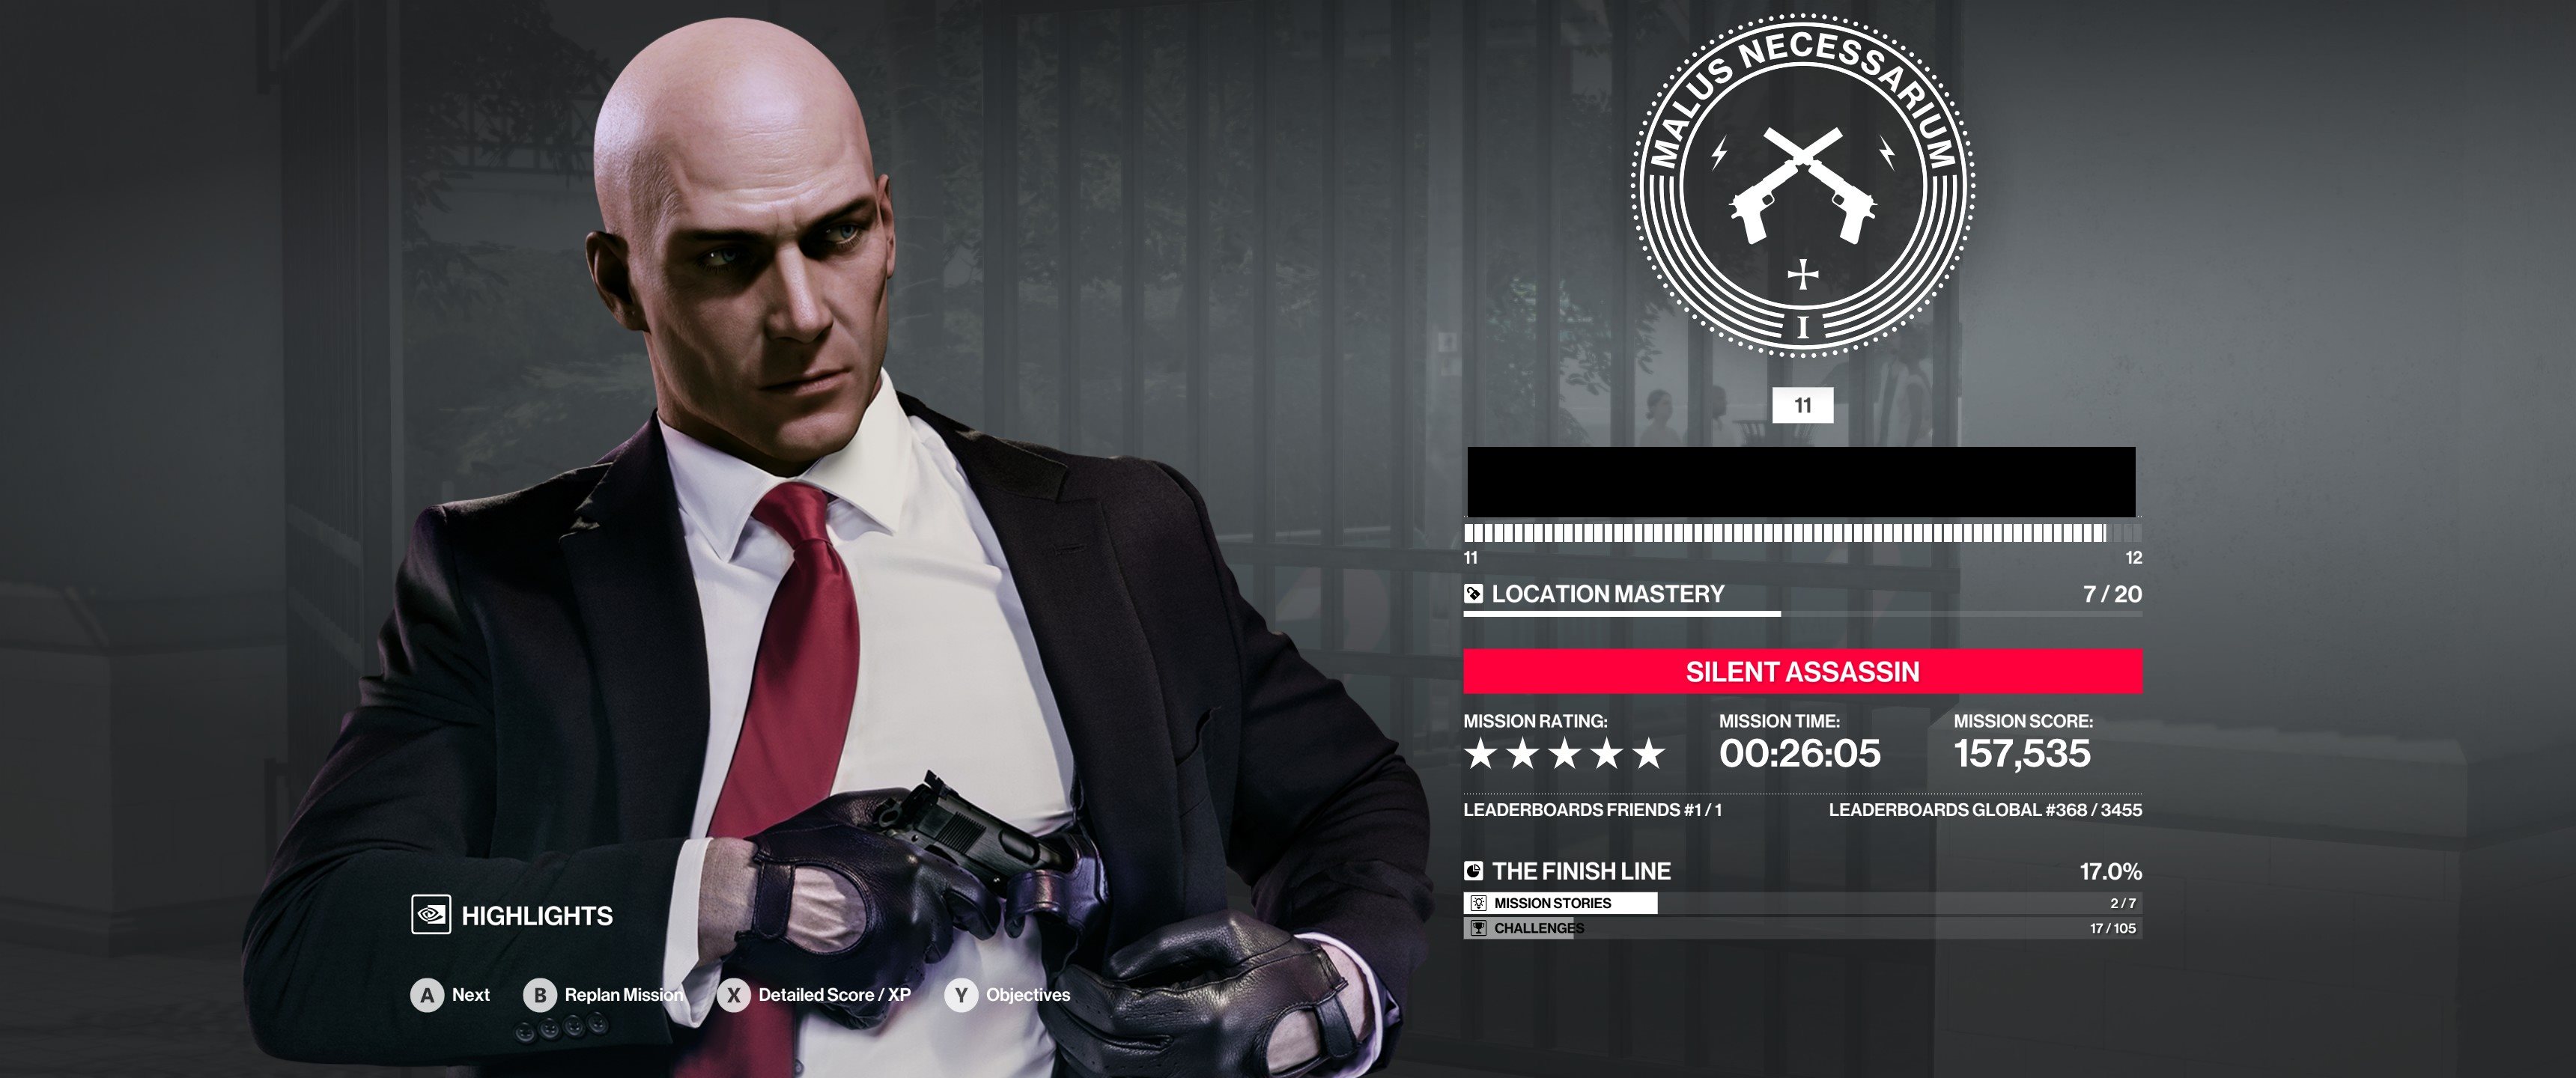
Remember, there are nearly infinite routes you can take to attain a 5-star rating in Hitman 2. This is but one path of many, but it’s one you can easily complete on your first attempt with basic equipment.
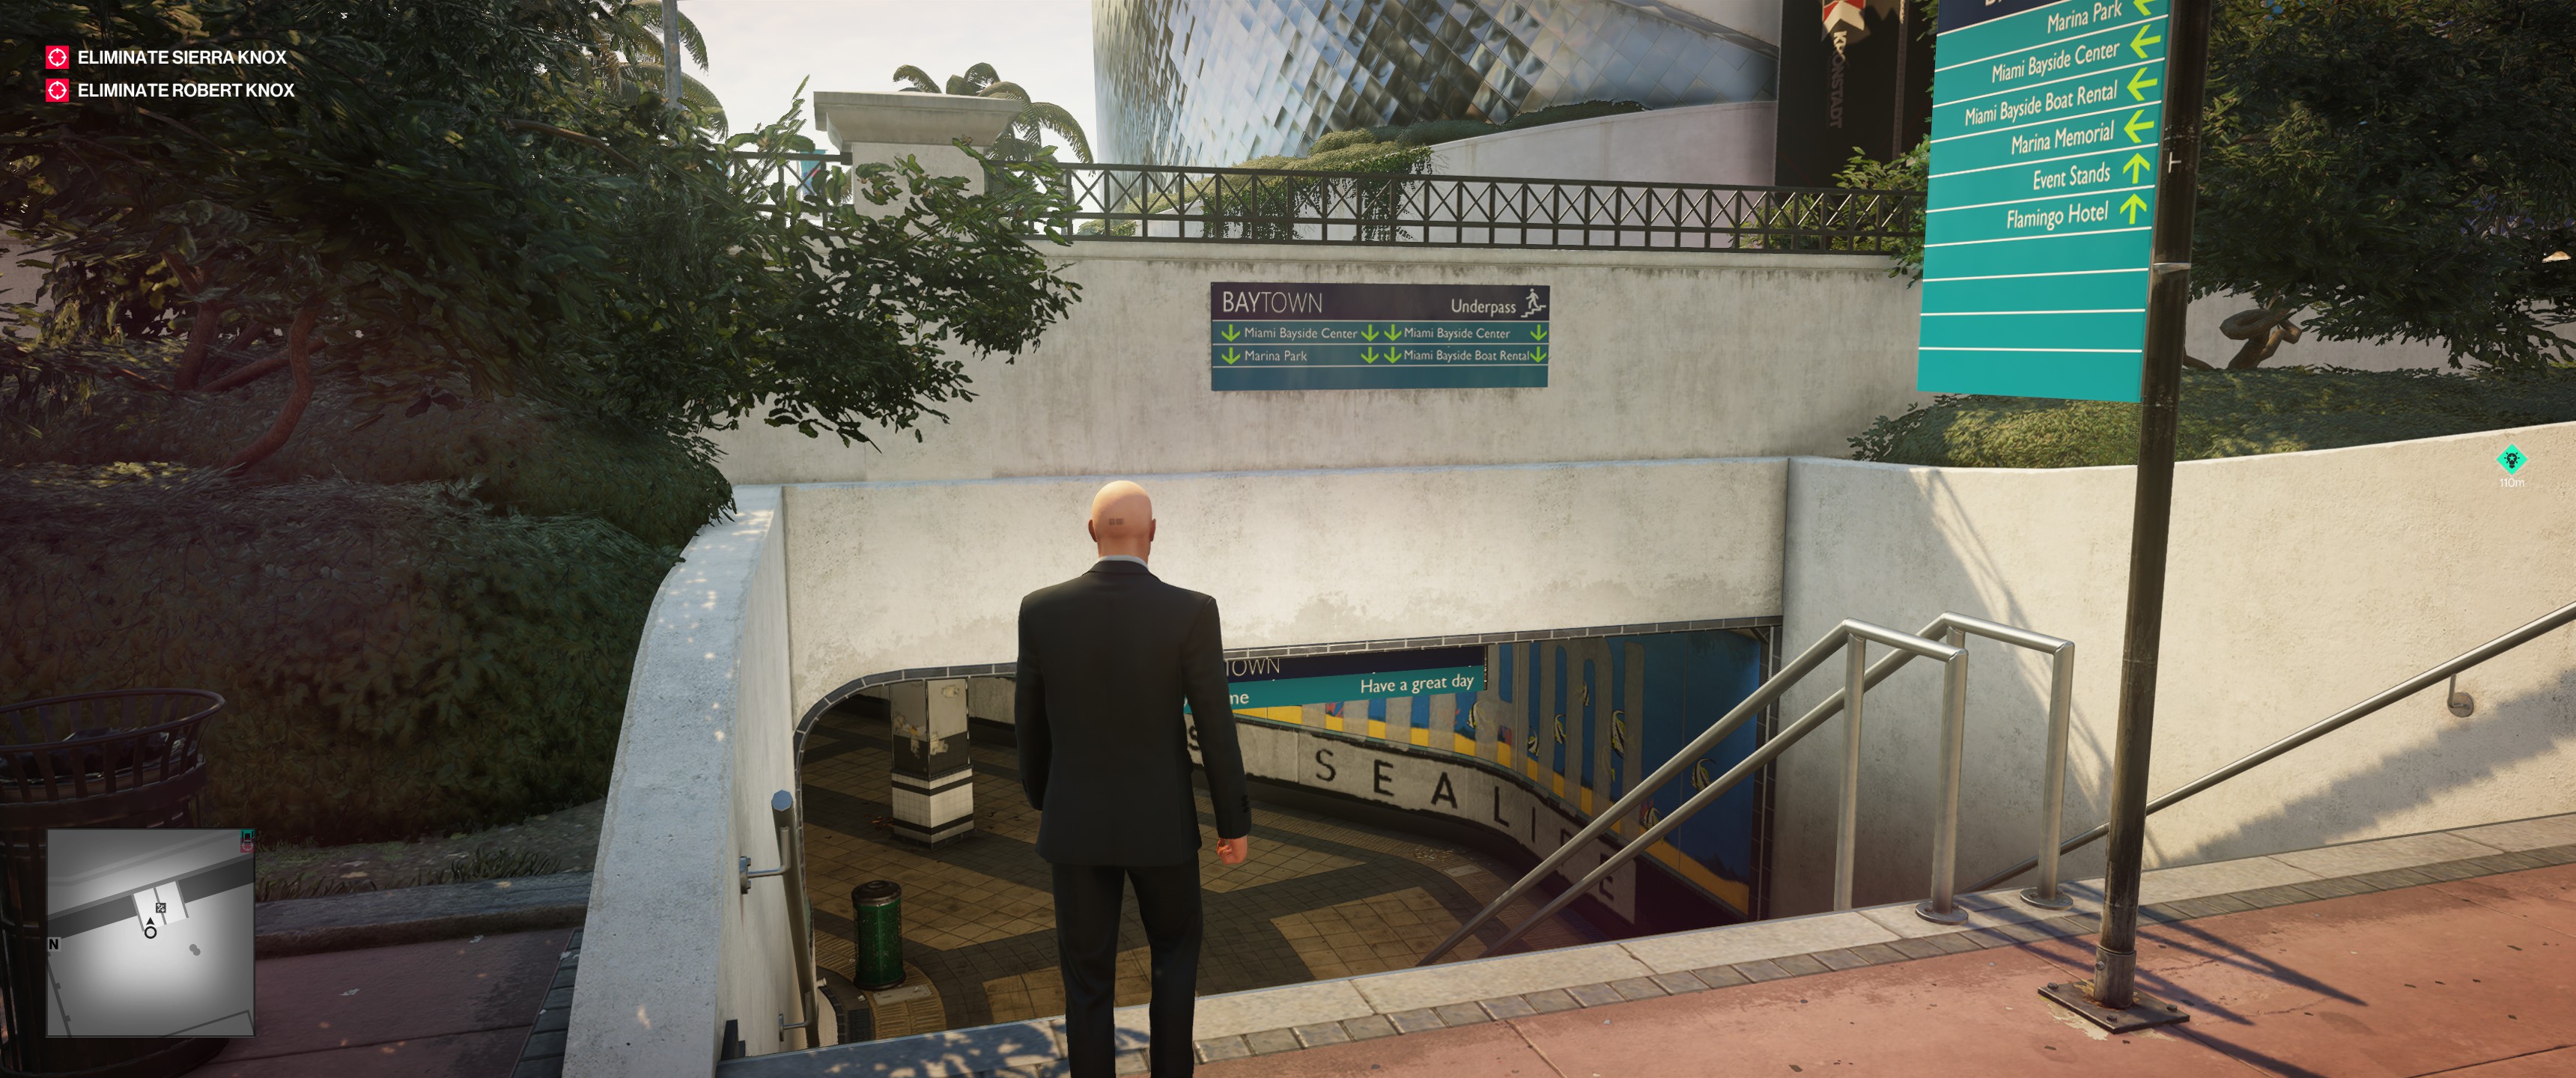
No time to waste—in order to secure a 5-star ranking on your first run through this mission, when you don’t have any extra items at your disposal, you’ll need to move fairly quickly. Immediately hang a left and head down these stairs.
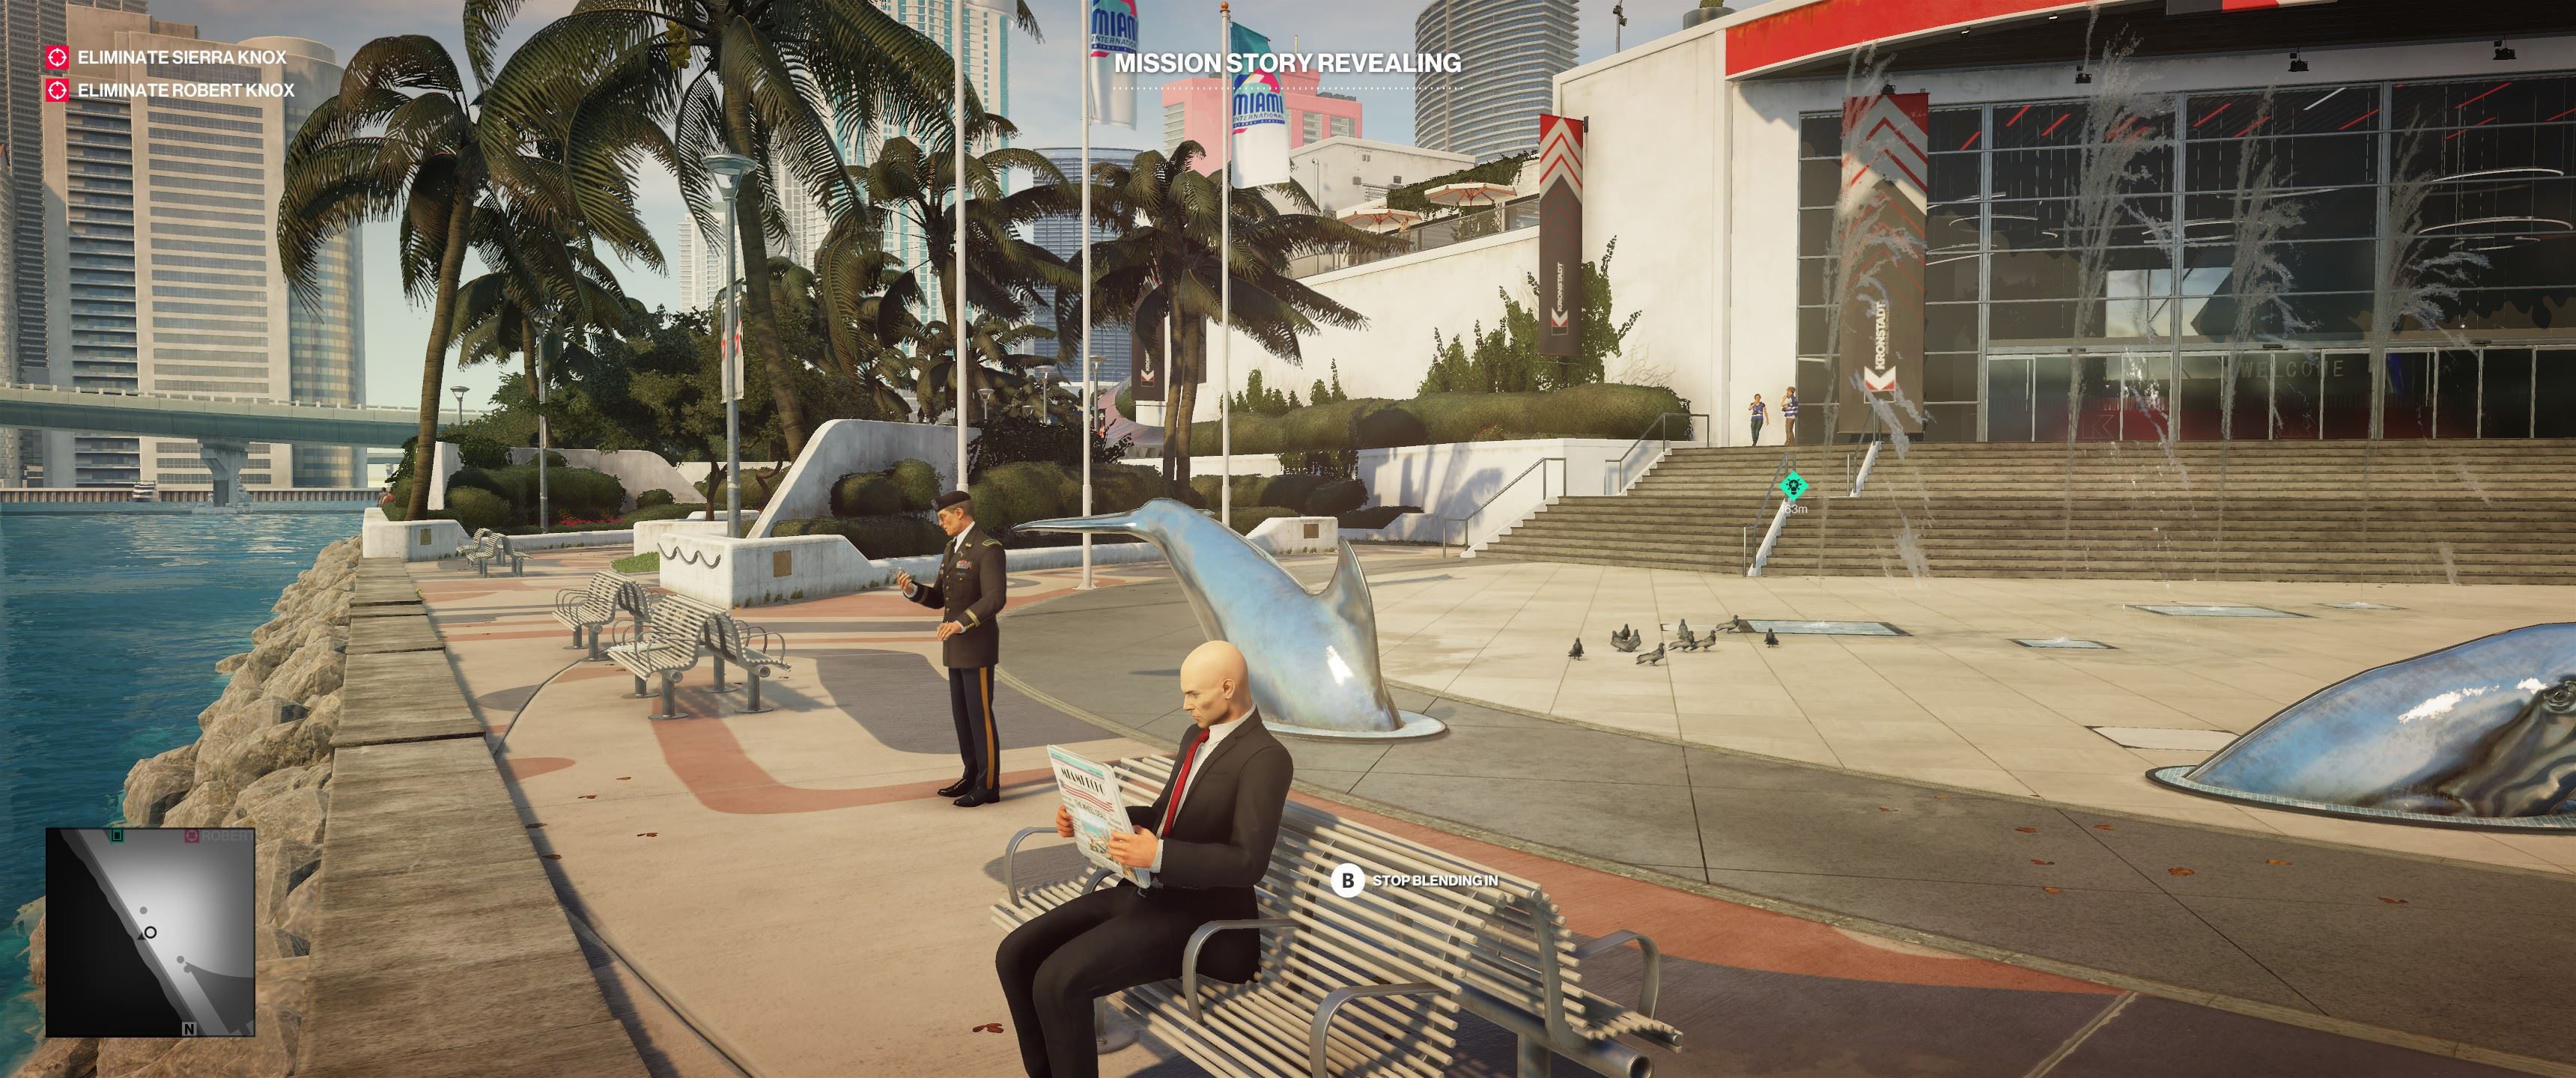
Take the tunnel to the large plaza nearby and go to the water’s edge. Pick a bench and have a seat to blend in. You’re looking for this douchey military guy. After a moment, he’ll make a phone call. Once you’ve overheard the whole thing, a new Mission Story will be revealed.
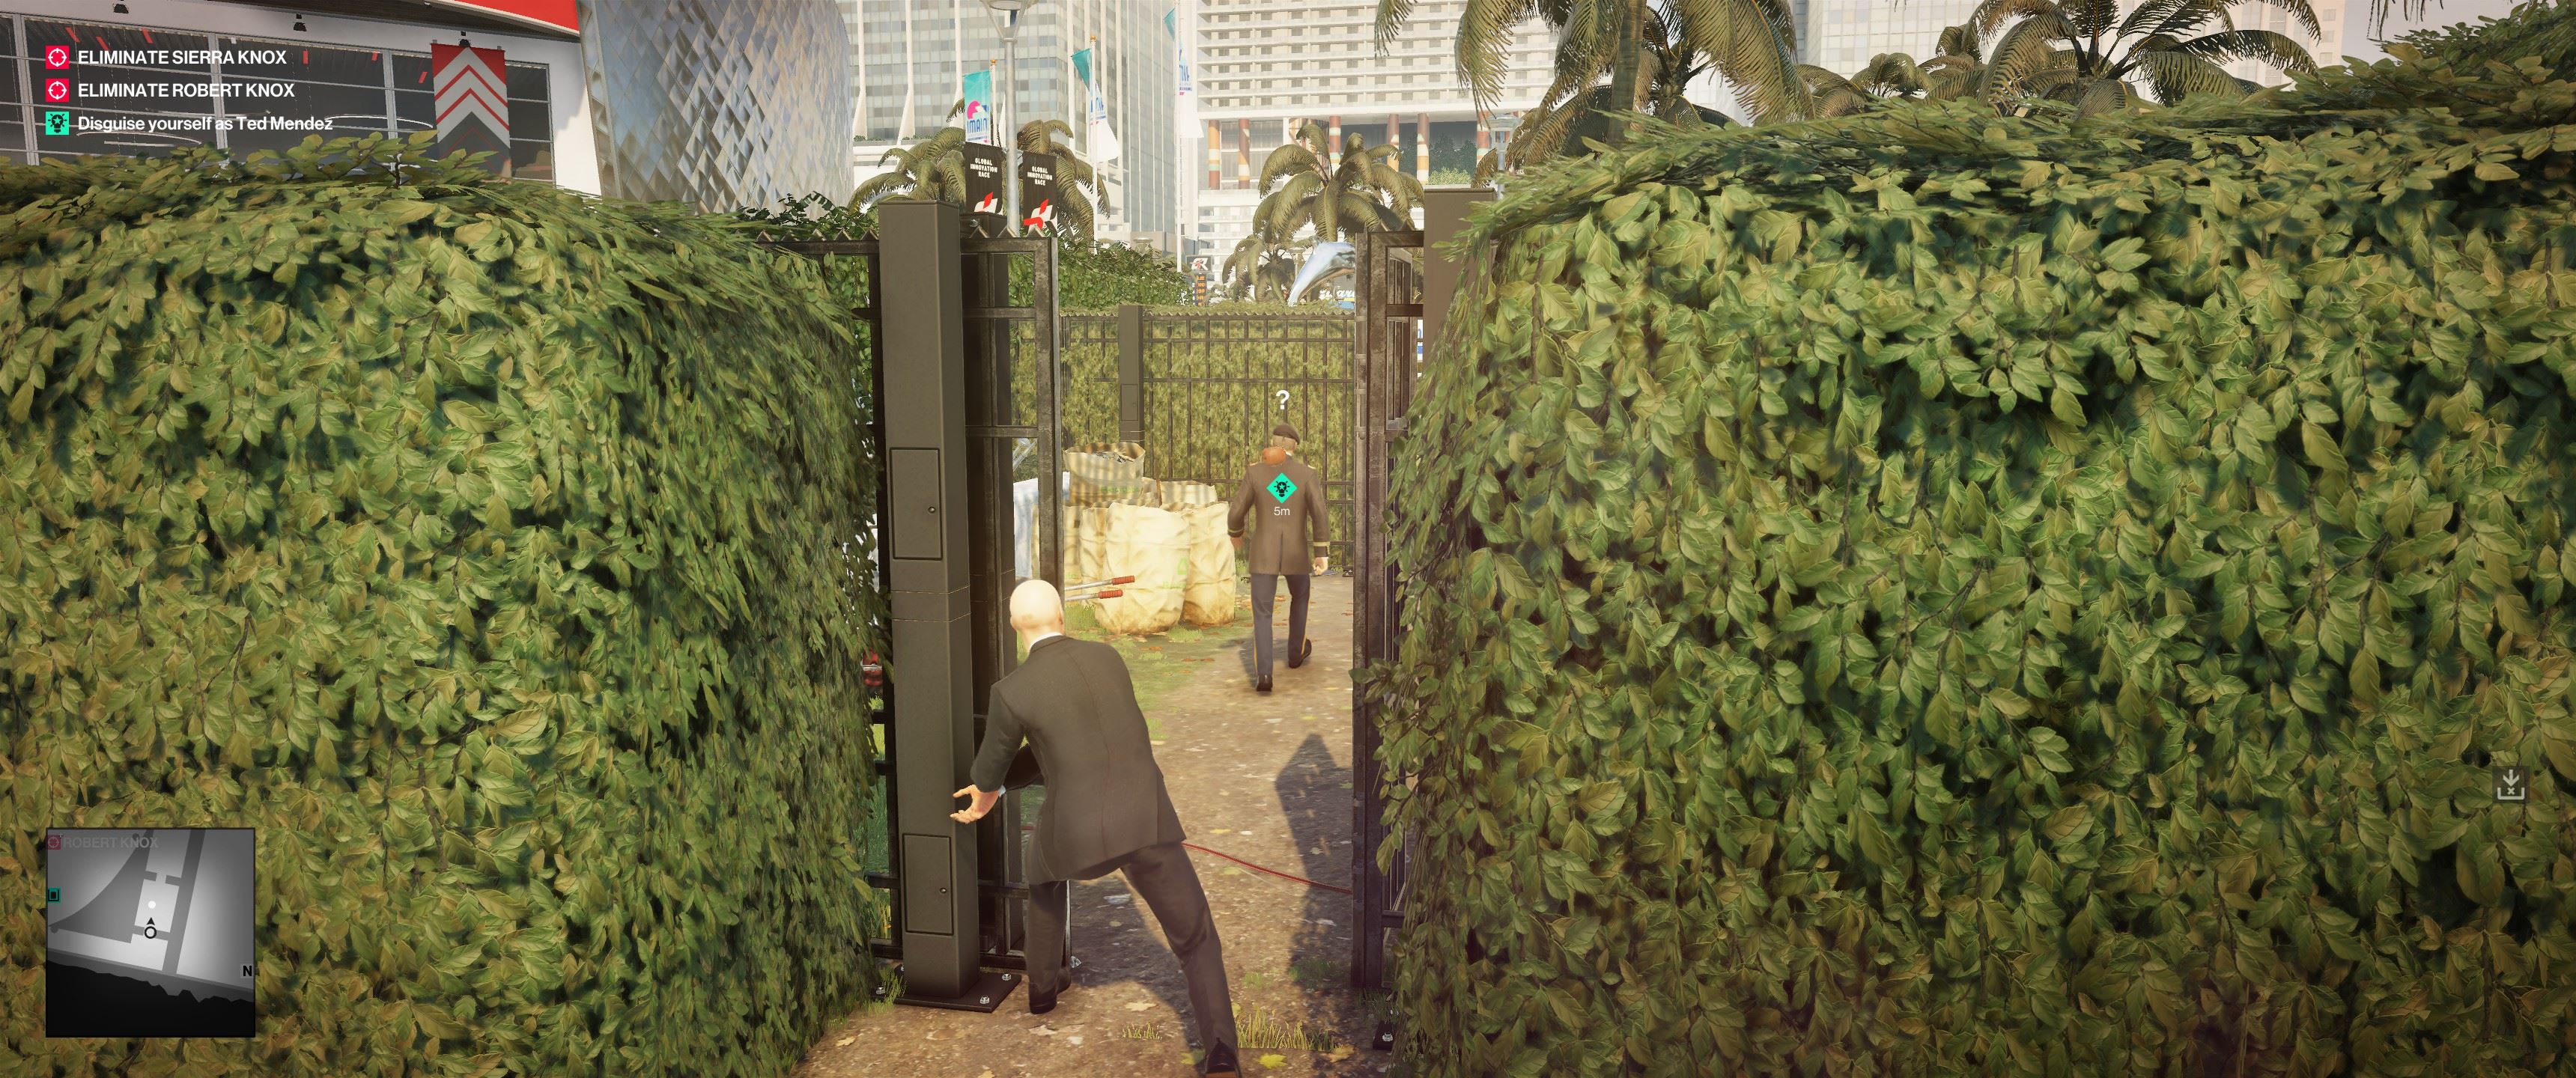
Jog over to the outdoor maintenance area just down the sidewalk, where a guy in a white shirt and a security guard will be hanging around. Pick up the coconut on the ground, then head into the maintenance area and grab the shovel.
The military dude will be here momentarily. Once he arrives, toss the shovel against the far wall in the maintenance area. He’ll hear the racket and come to investigate. Bean him in the dome with the coconut once he’s out of the security guard’s line of sight. (I suppose you could just choke him out, but come on, a coconut to the brain cage is way funnier.)
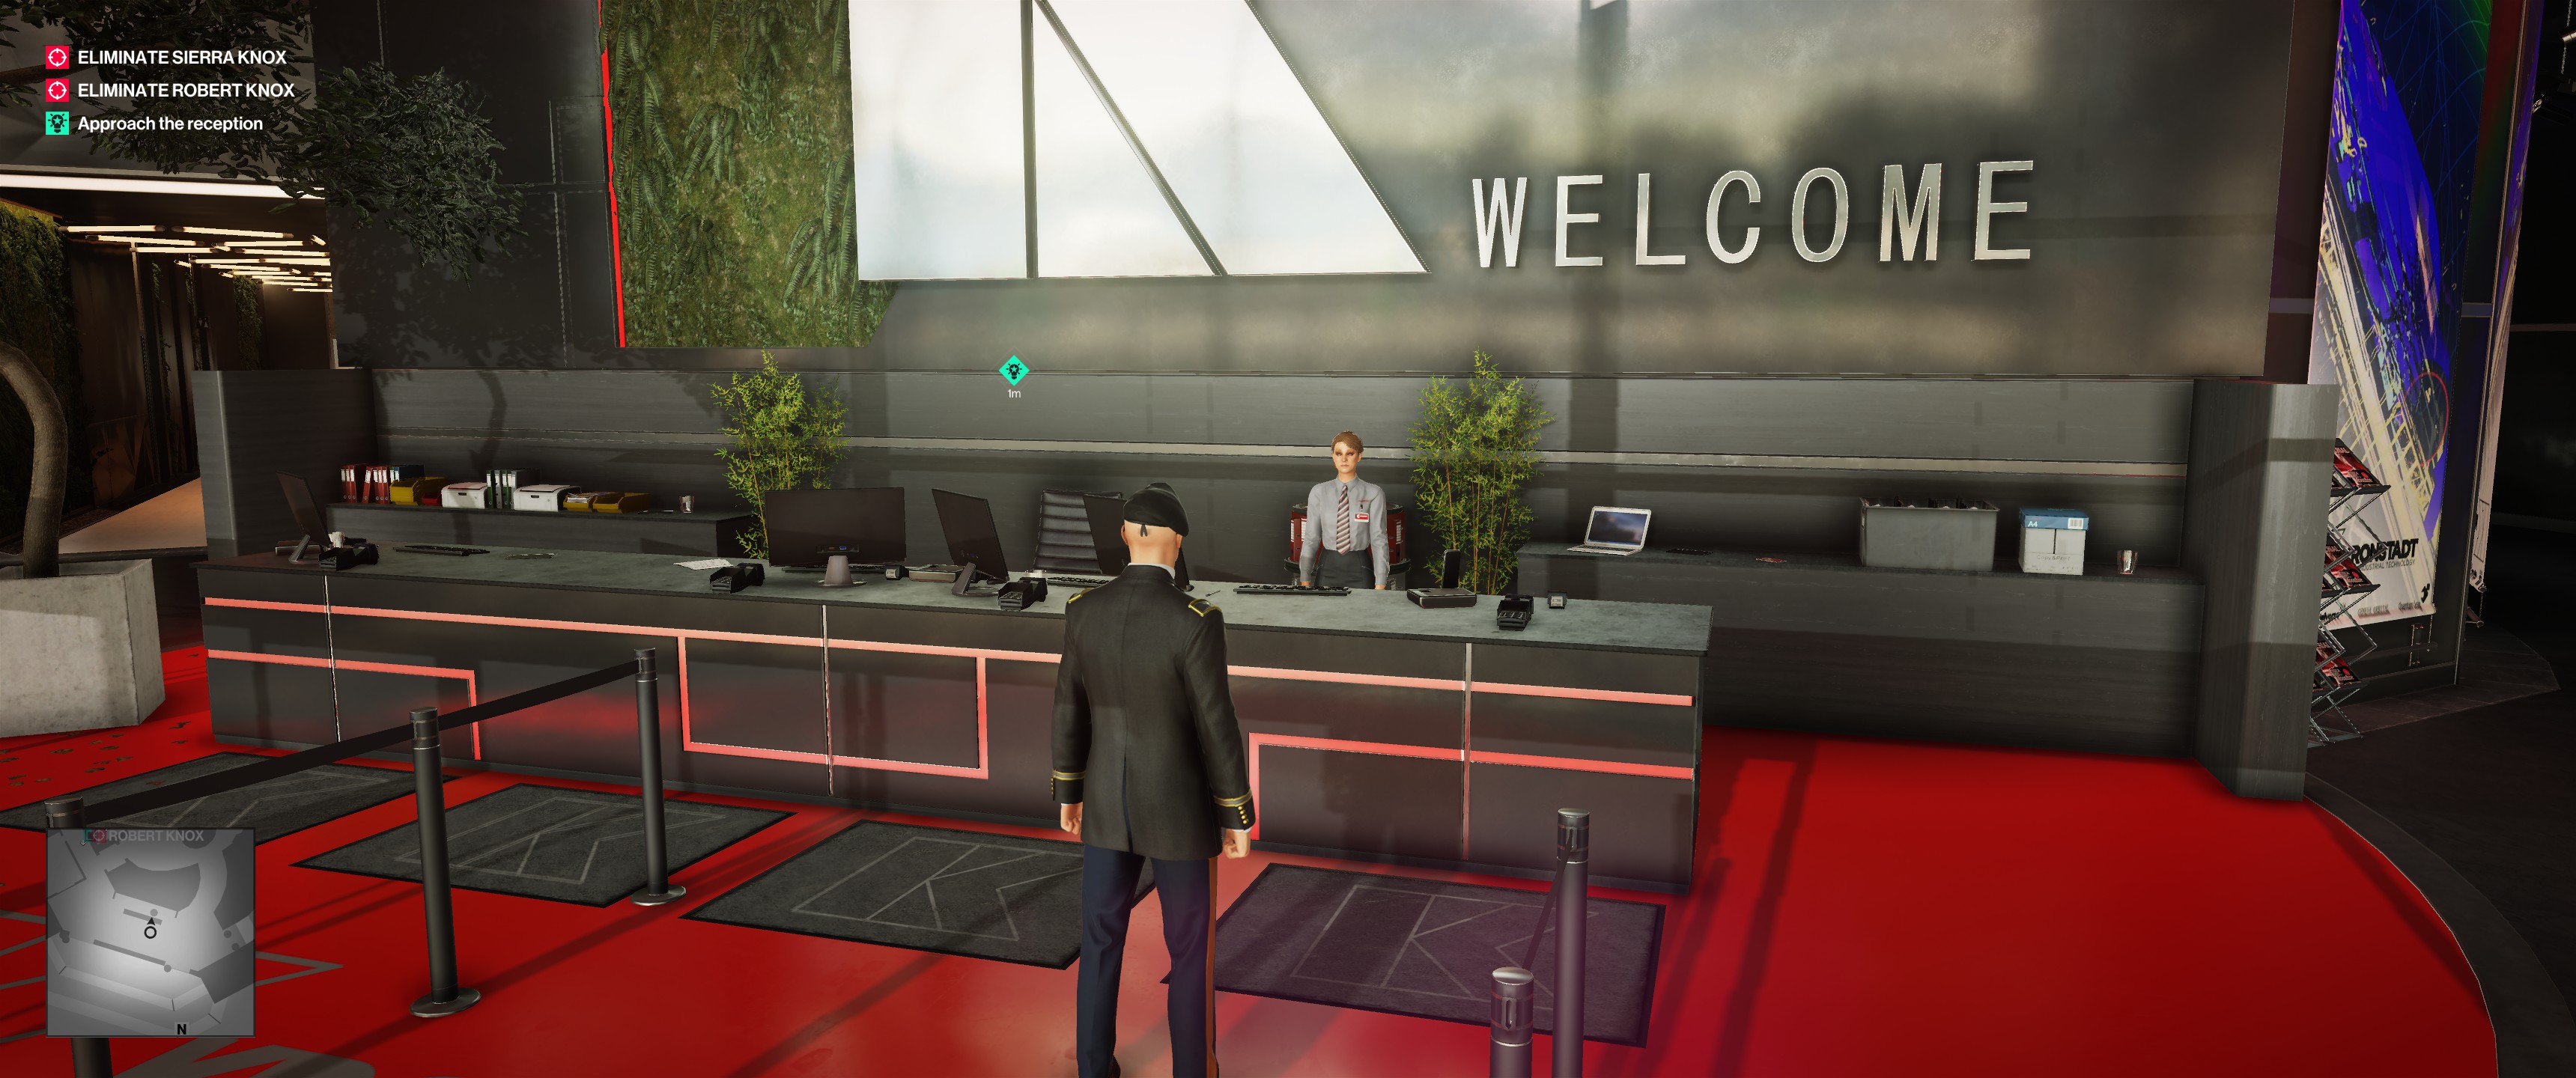
Take his clothes, then drag his body to one side of the enclosure. There’s no container to hide it in, but that’s okay, nobody ever comes in here. Run over to the large building across the plaza, head inside, and check in with the receptionist. Be careful in the lobby and throughout the rest of the building—there are cameras here and there. Don’t get spotted by them.
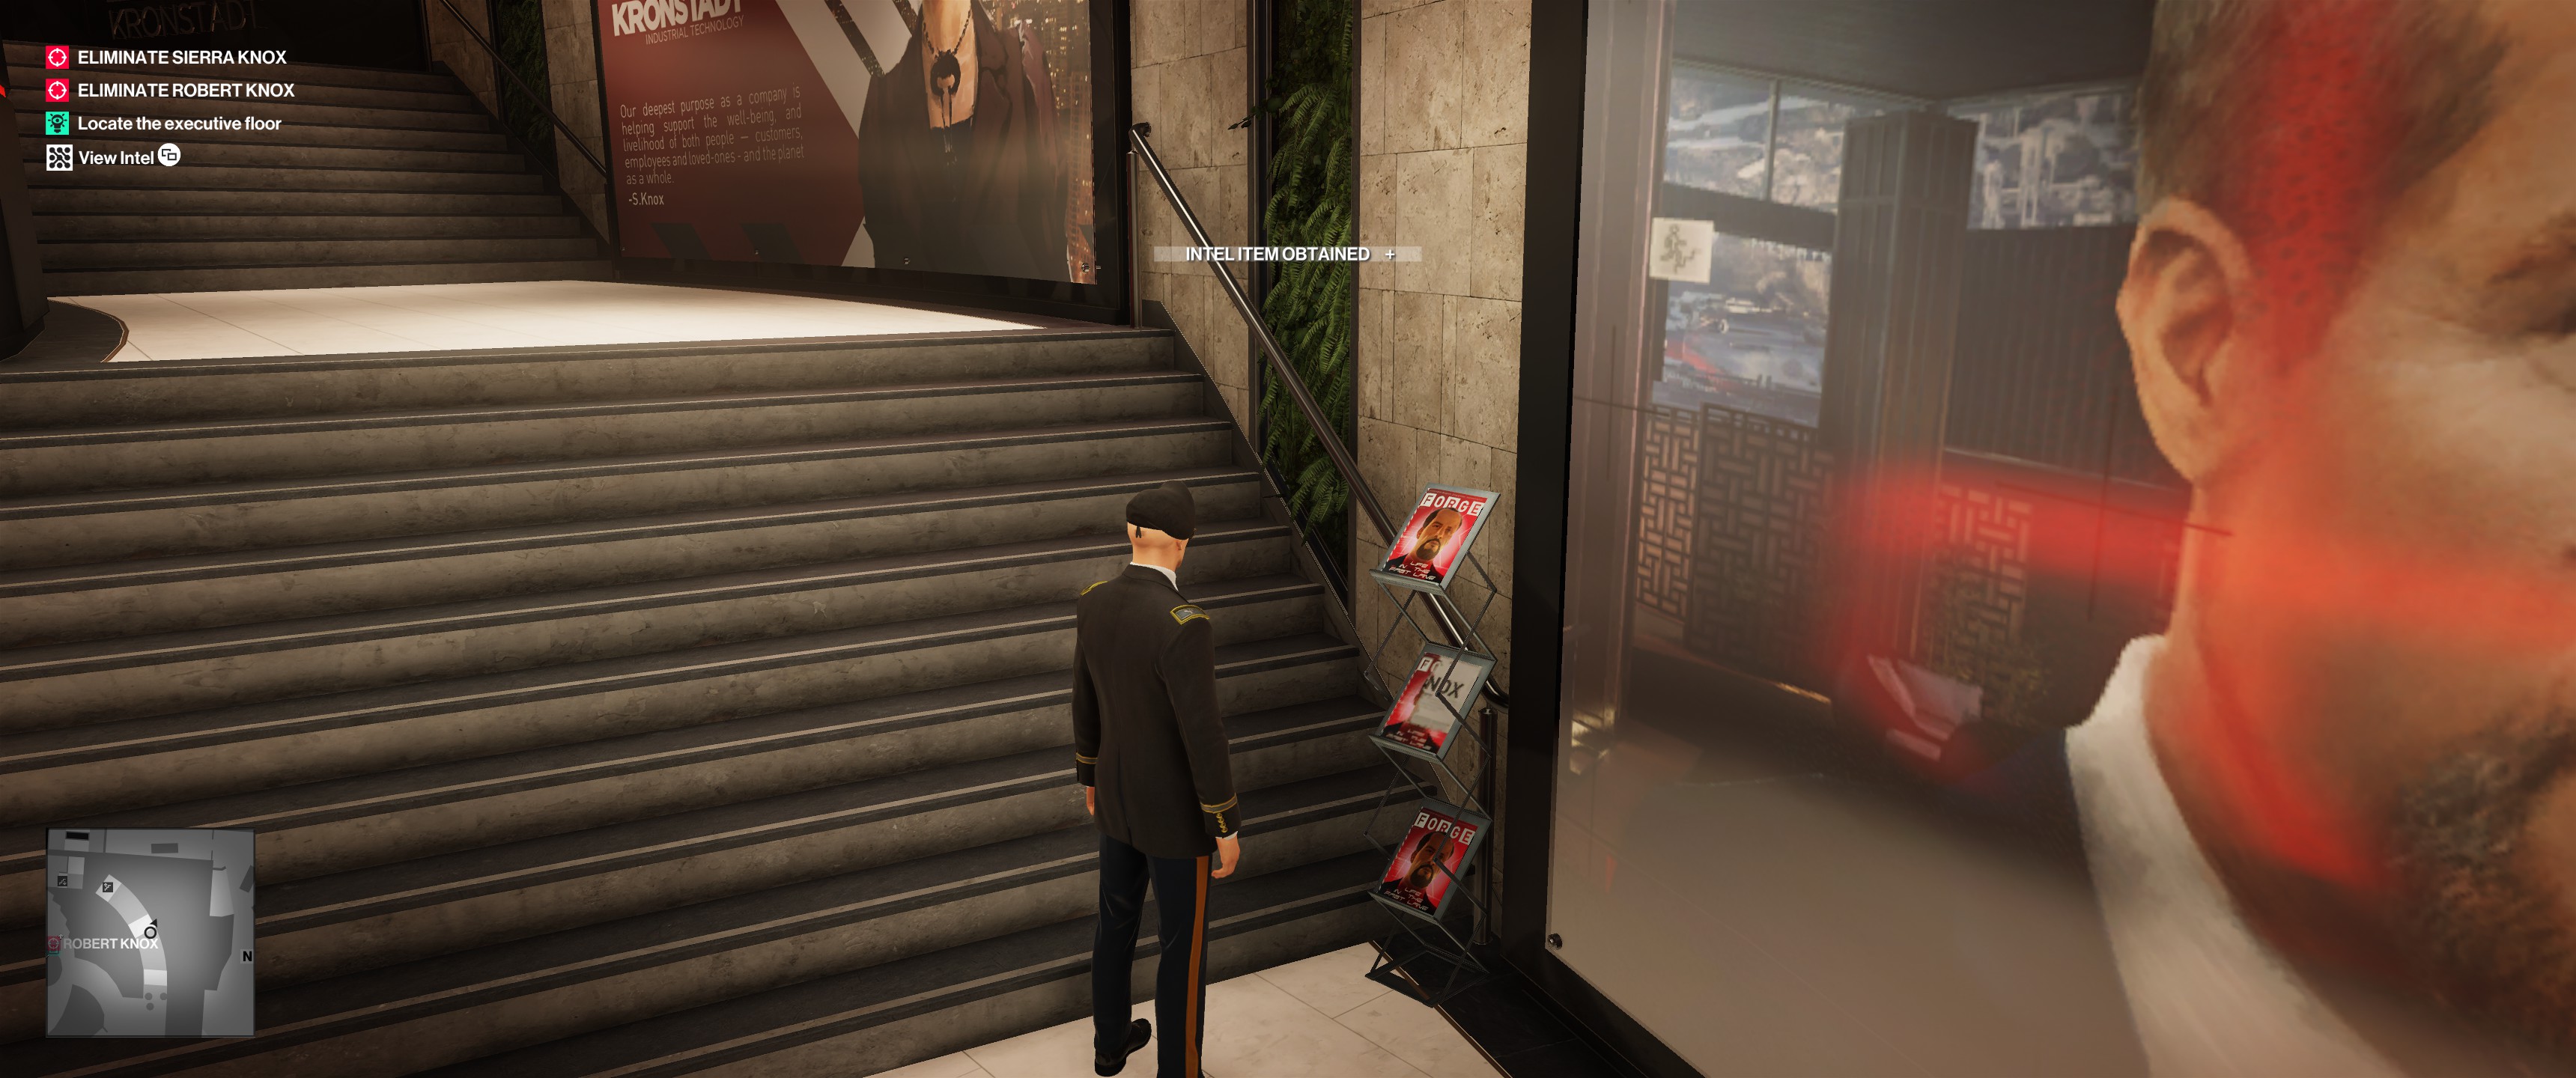
She’ll direct you to the stairs on the right. Head that way, stopping on the first landing to snag the photo of Robert Knox from the magazine rack.
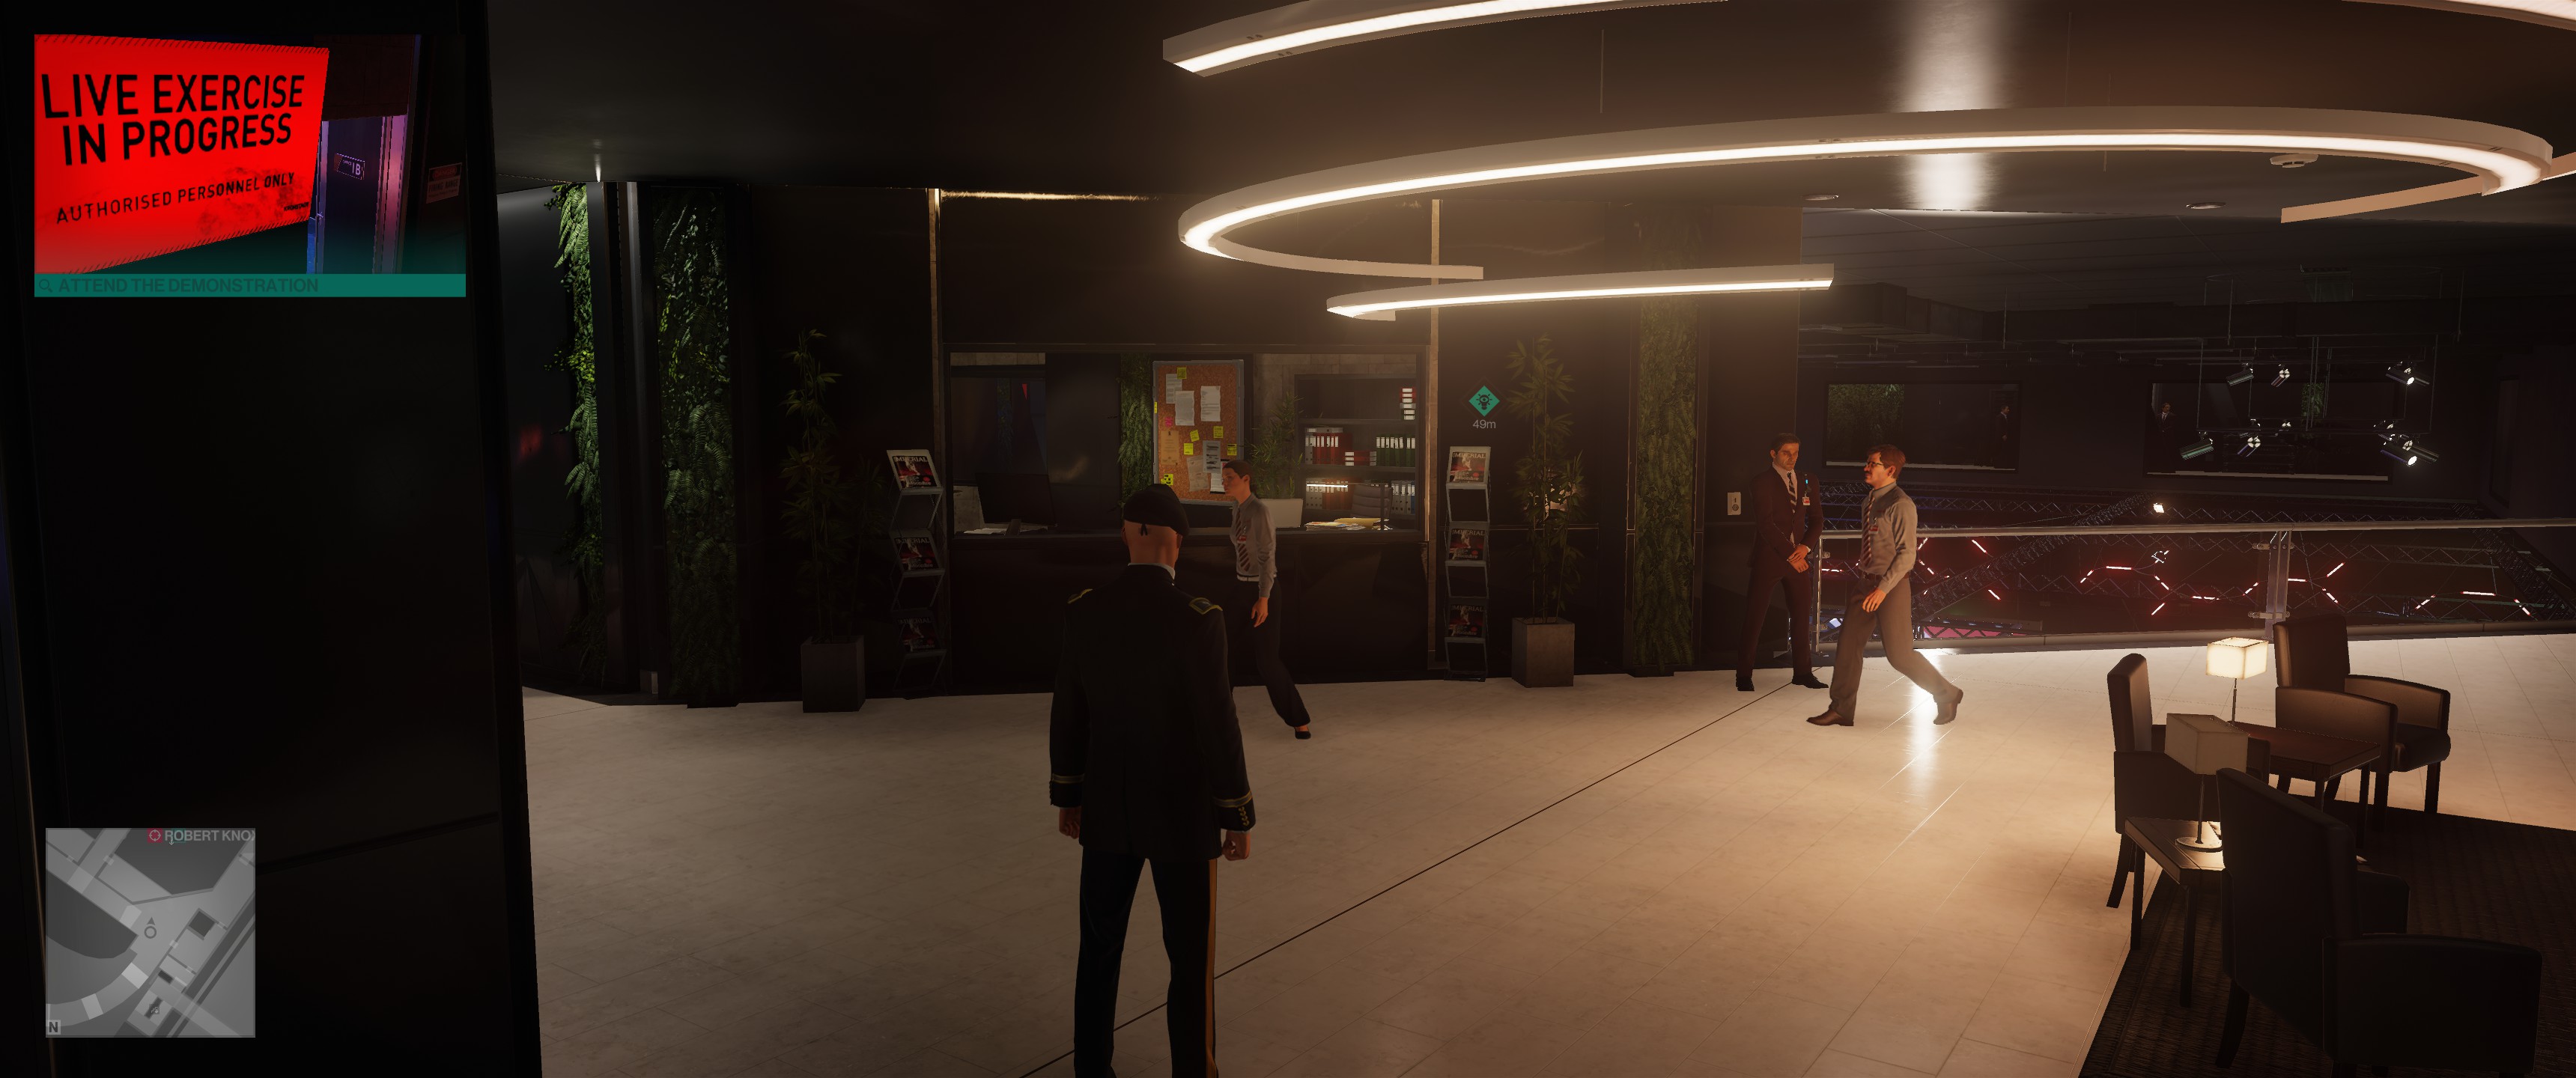
Check in with this woman at the top of the stairs and follow her all the way to the demonstration room.
Your first target, Robert Knox, will either already be there or he will arrive shortly. Hang around until he’s given his long sales speech, at which point he will scan a photo into the killer robot to make it shoot a dummy target. Wait for him to go downrange, then use the photo of Robert Knox on the killer robot to make it ventilate him.
This counts as an accident kill and an unnoticed kill, even though everyone else clearly saw you do it. Oh well, you know what they say about gift horses.

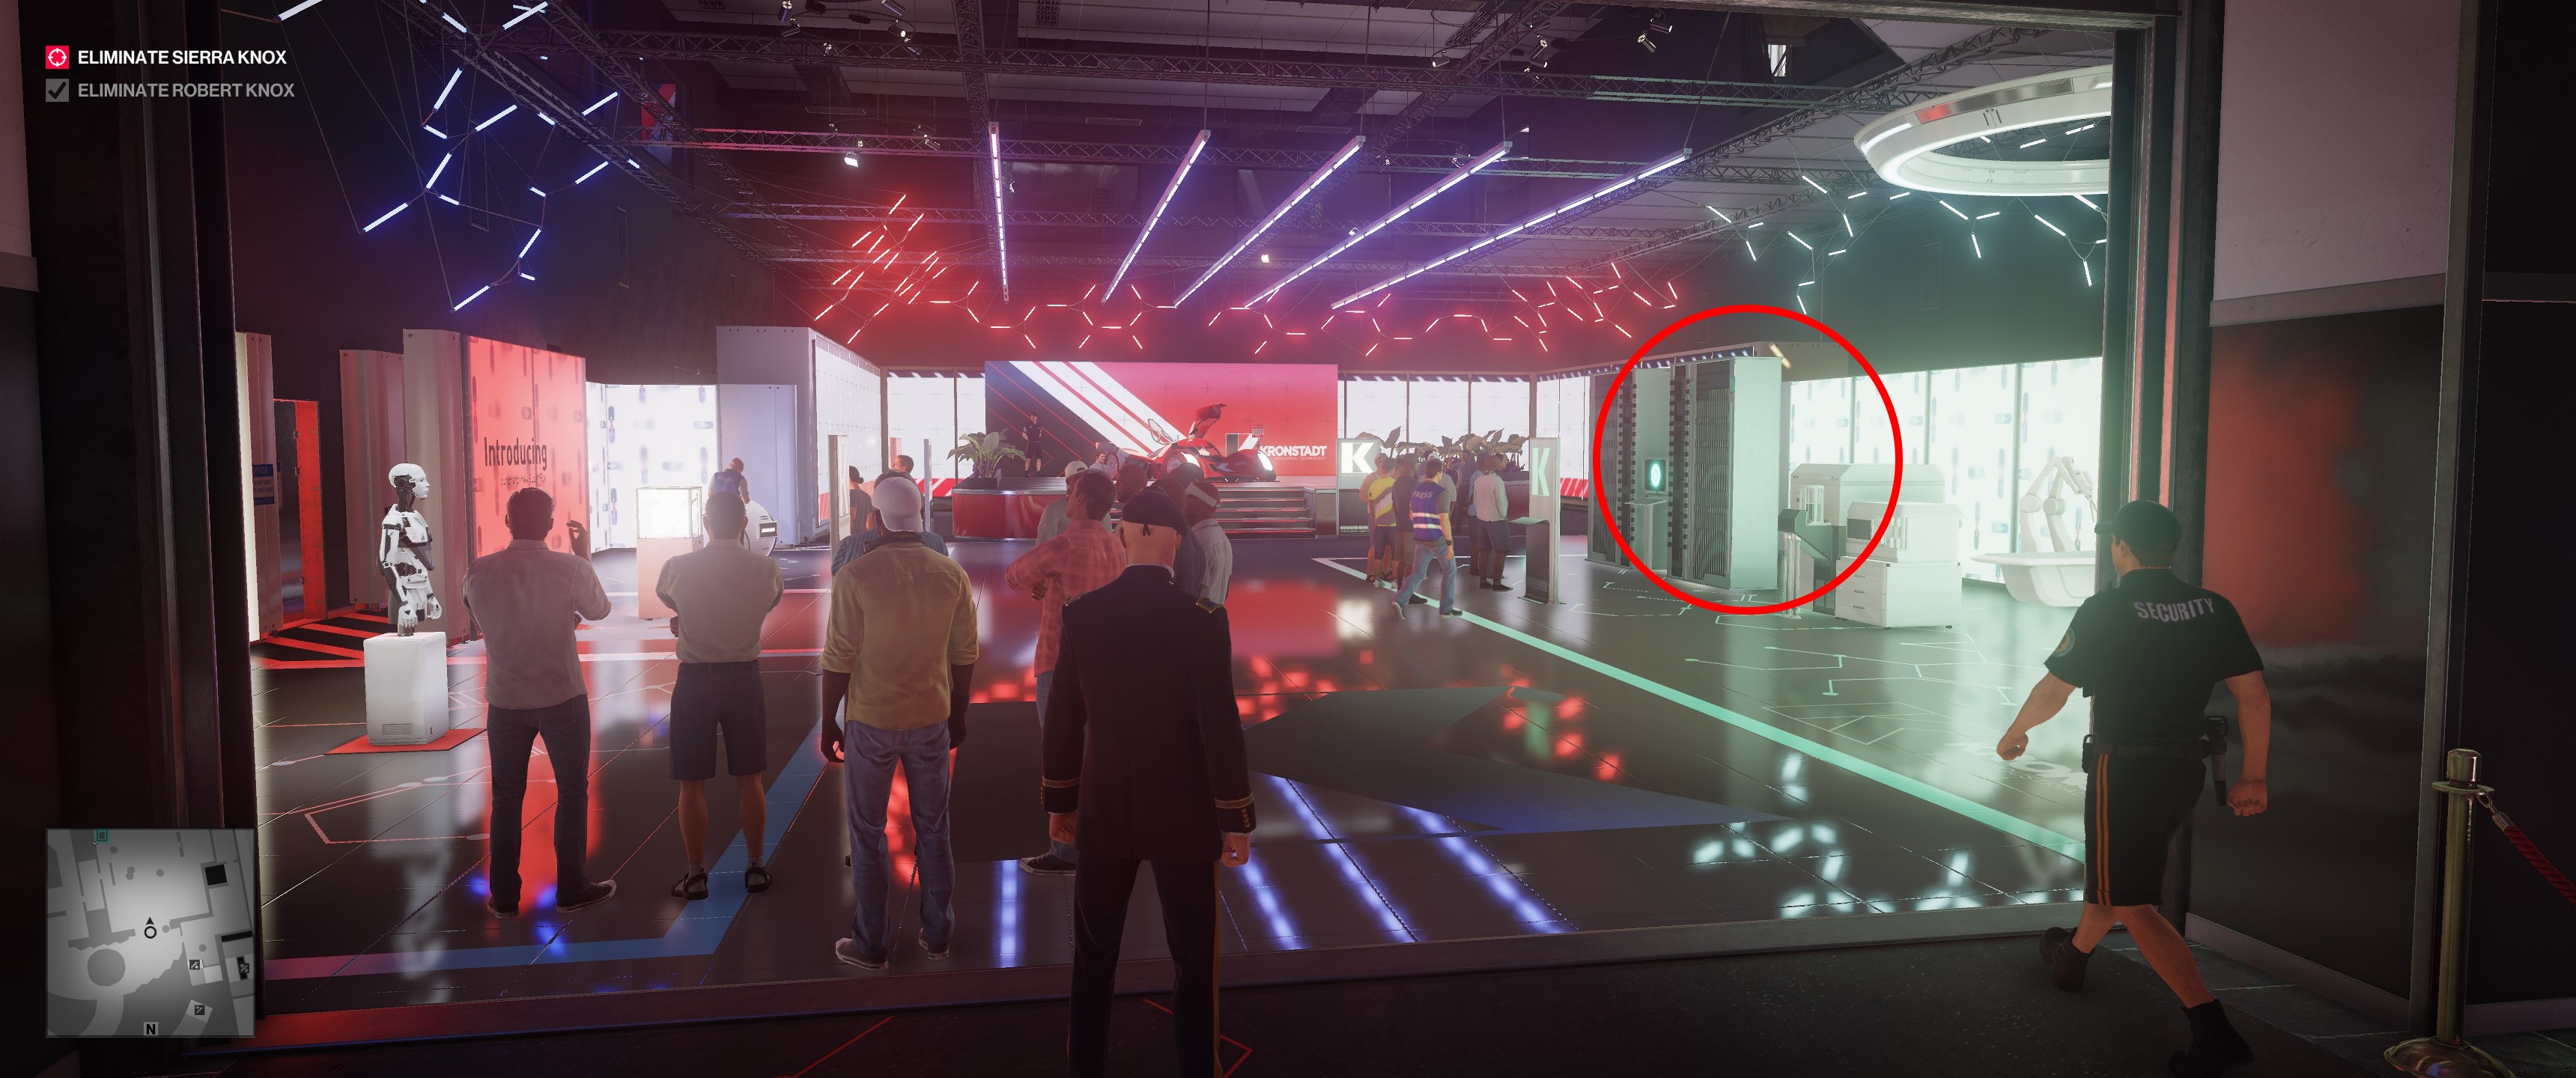
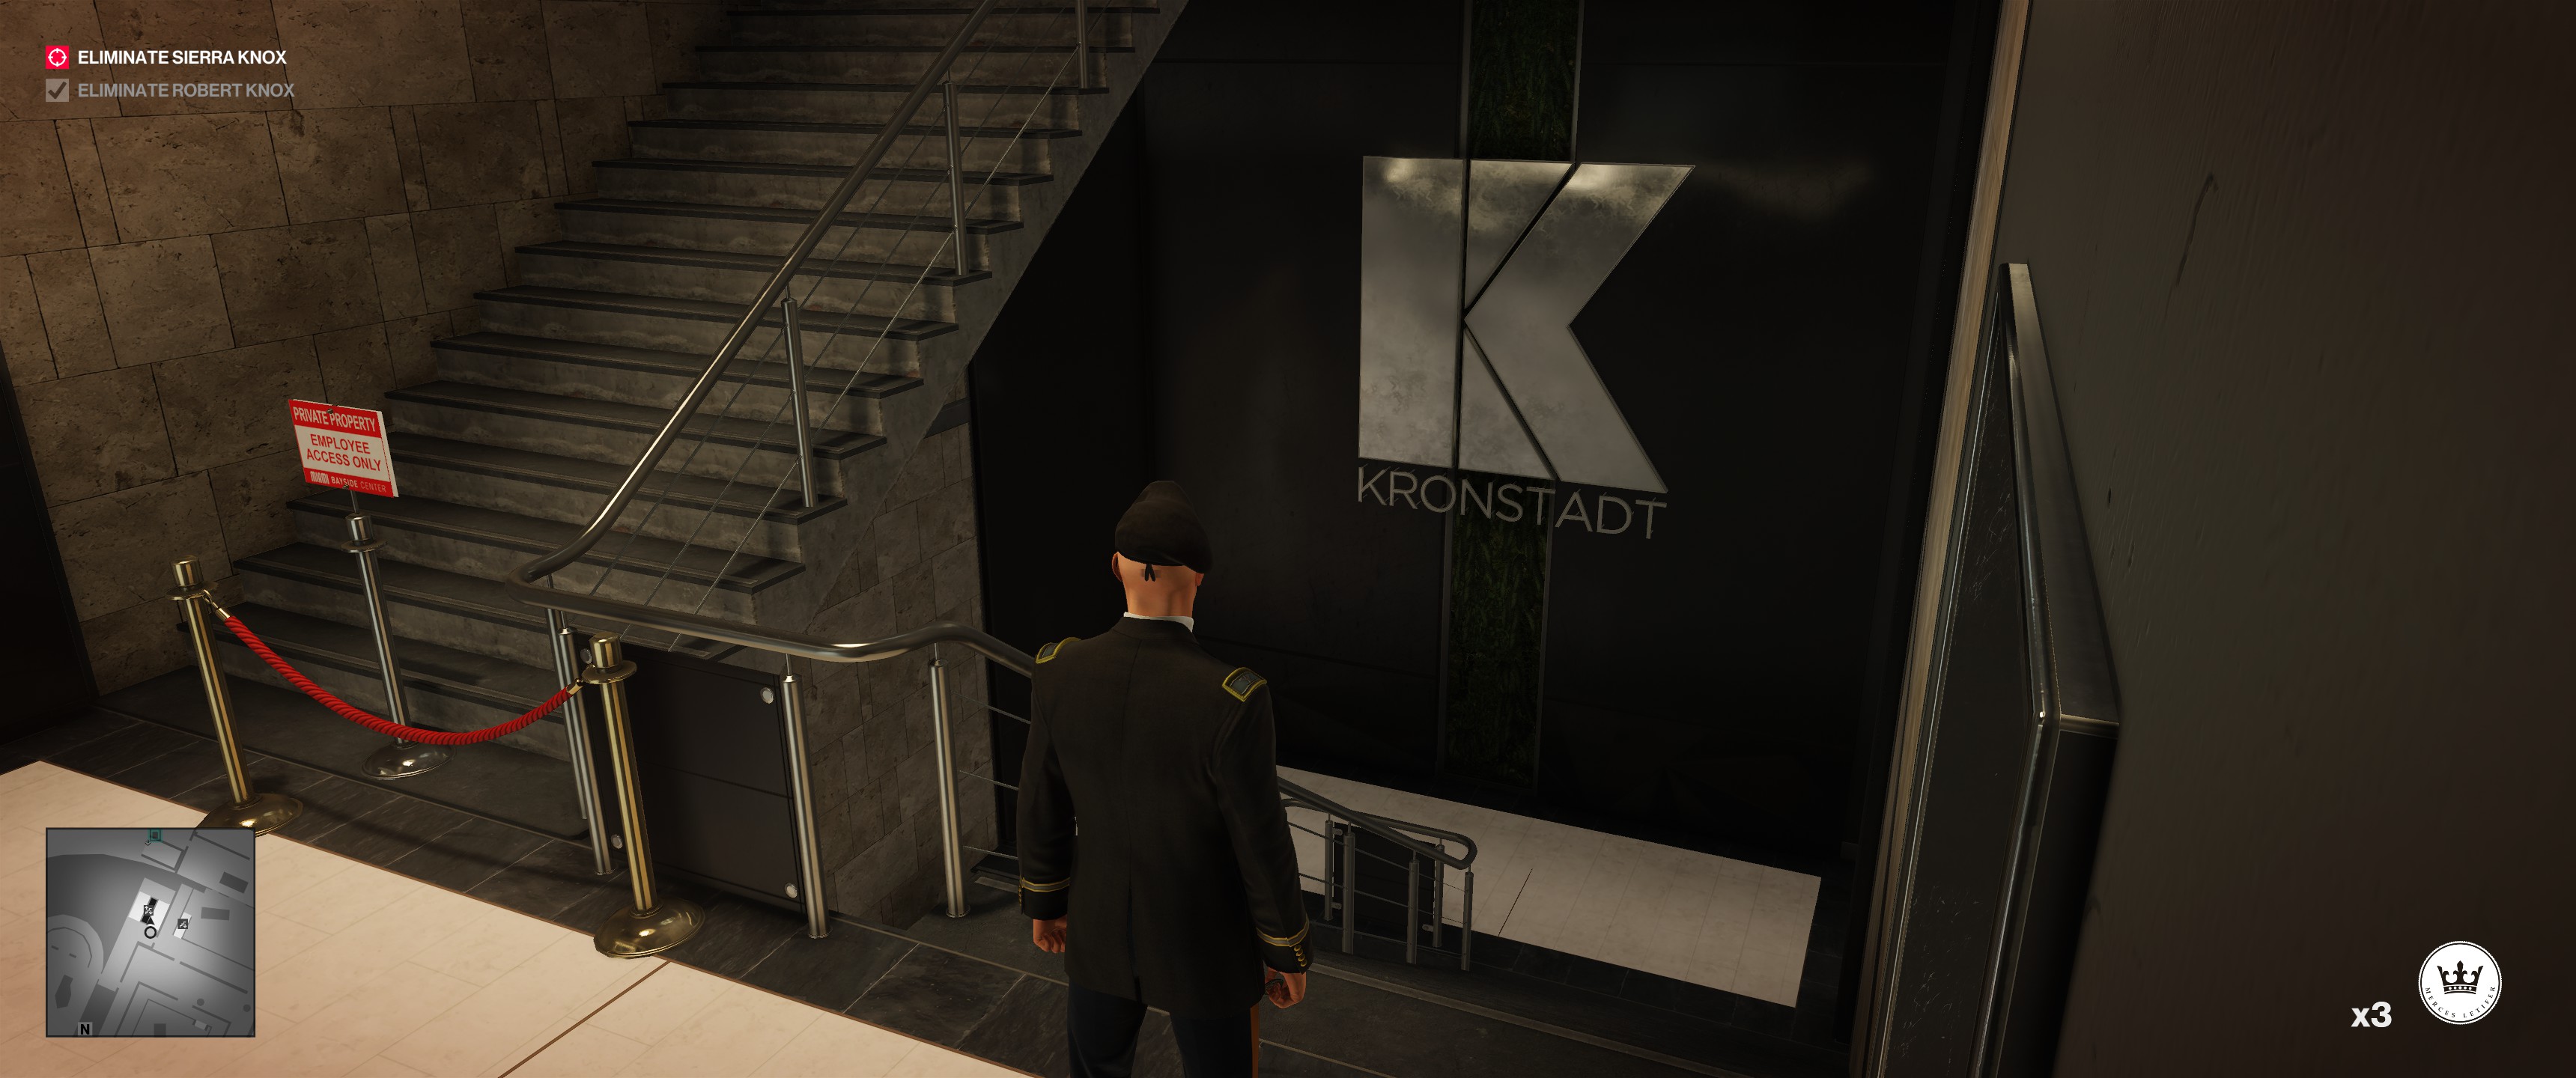
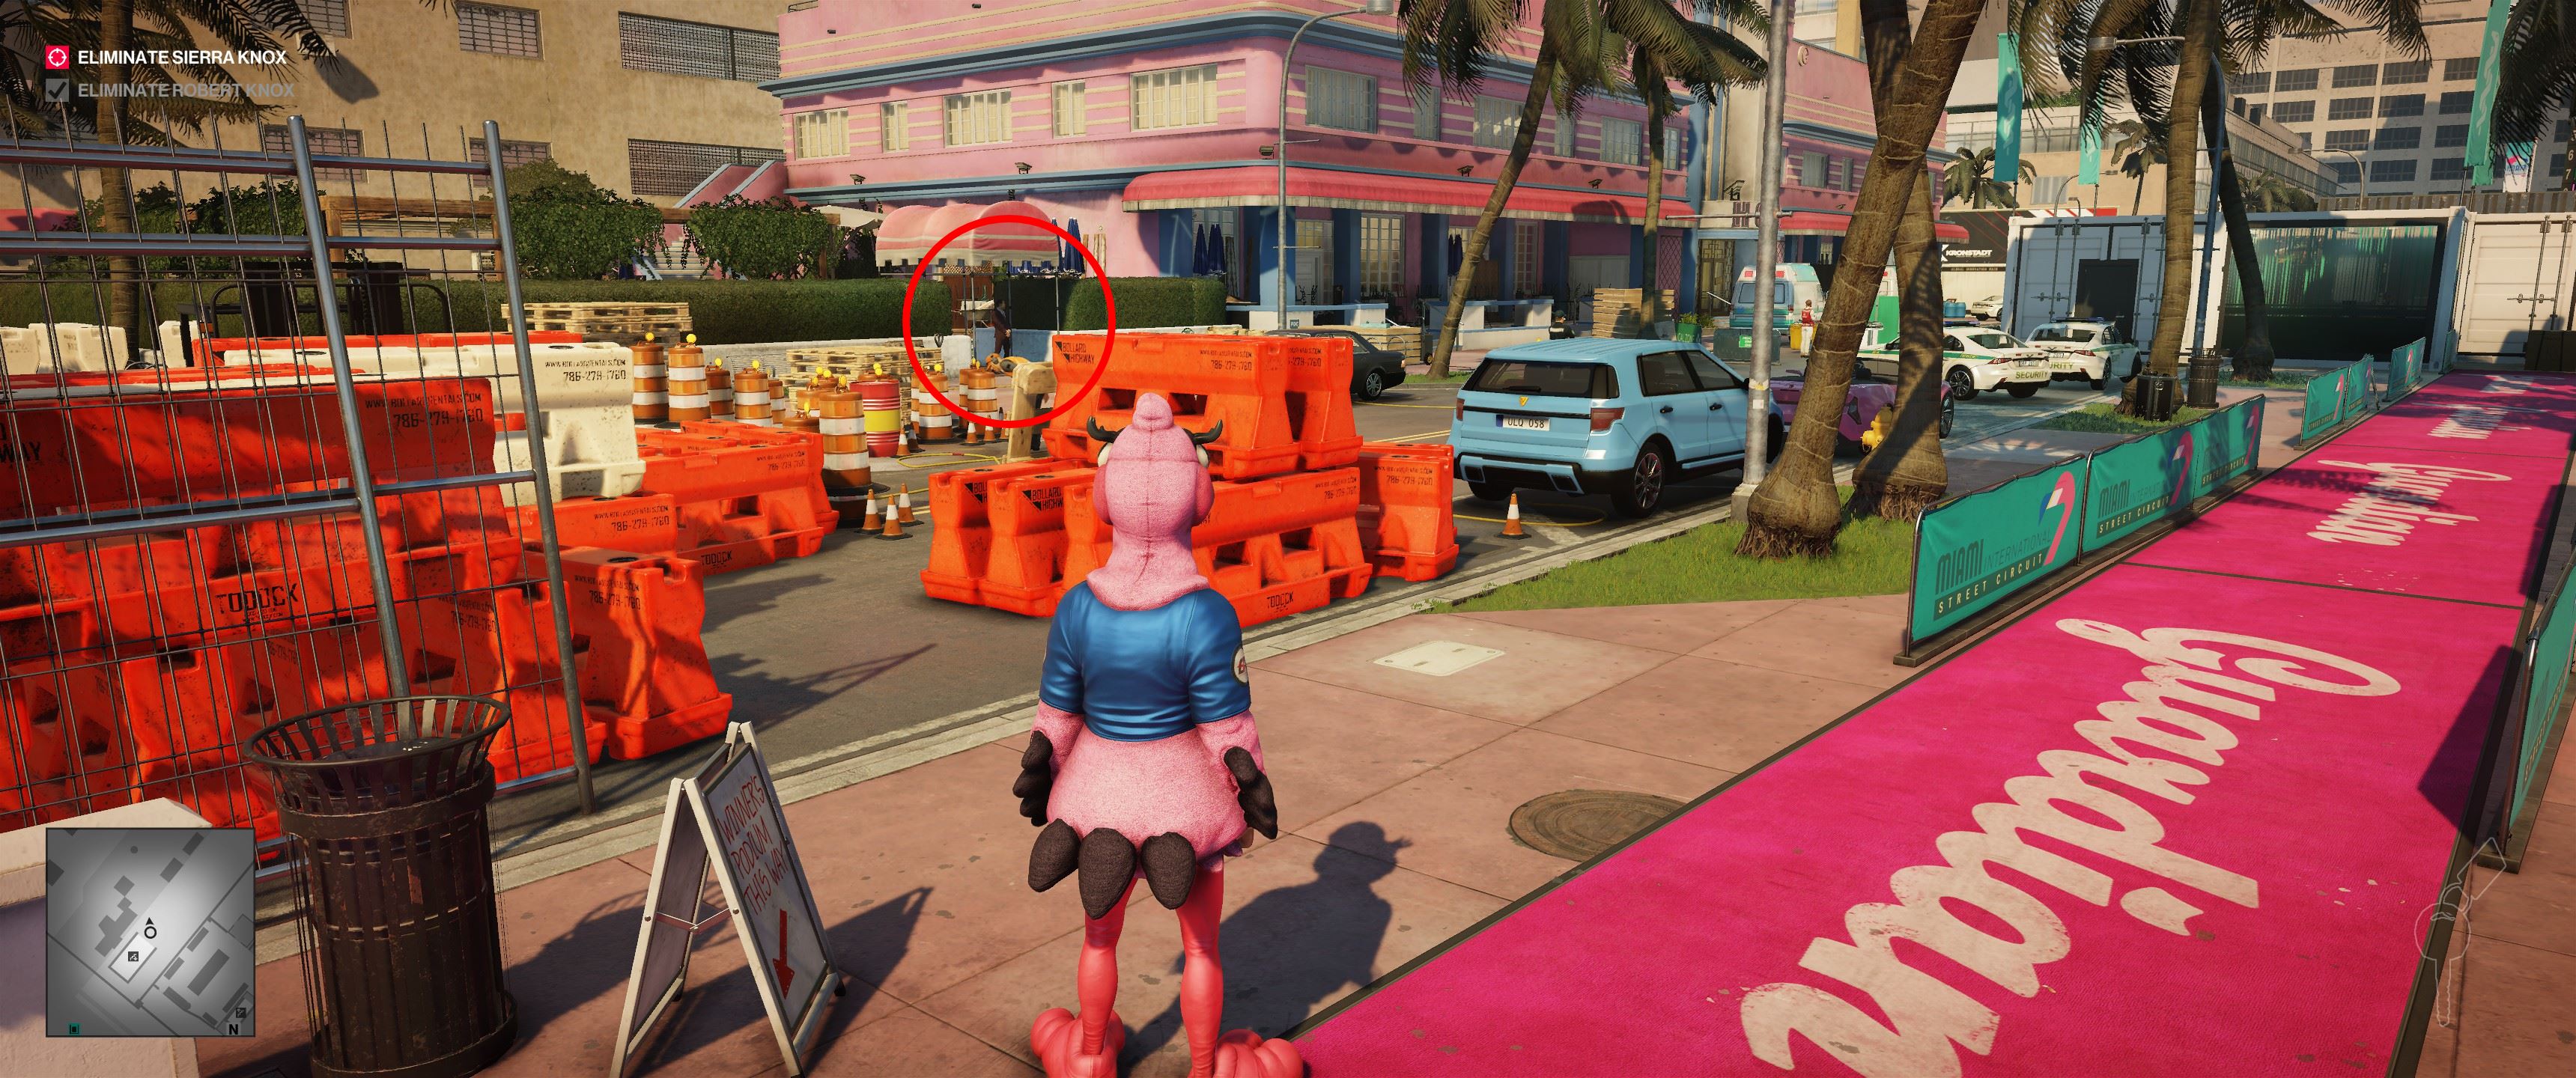
One down, one to go. Run all the way back down to the main lobby and find the expo room. It’s hard to see, but you’re looking for a staff area behind one of the displays—check the screenshot for reference.
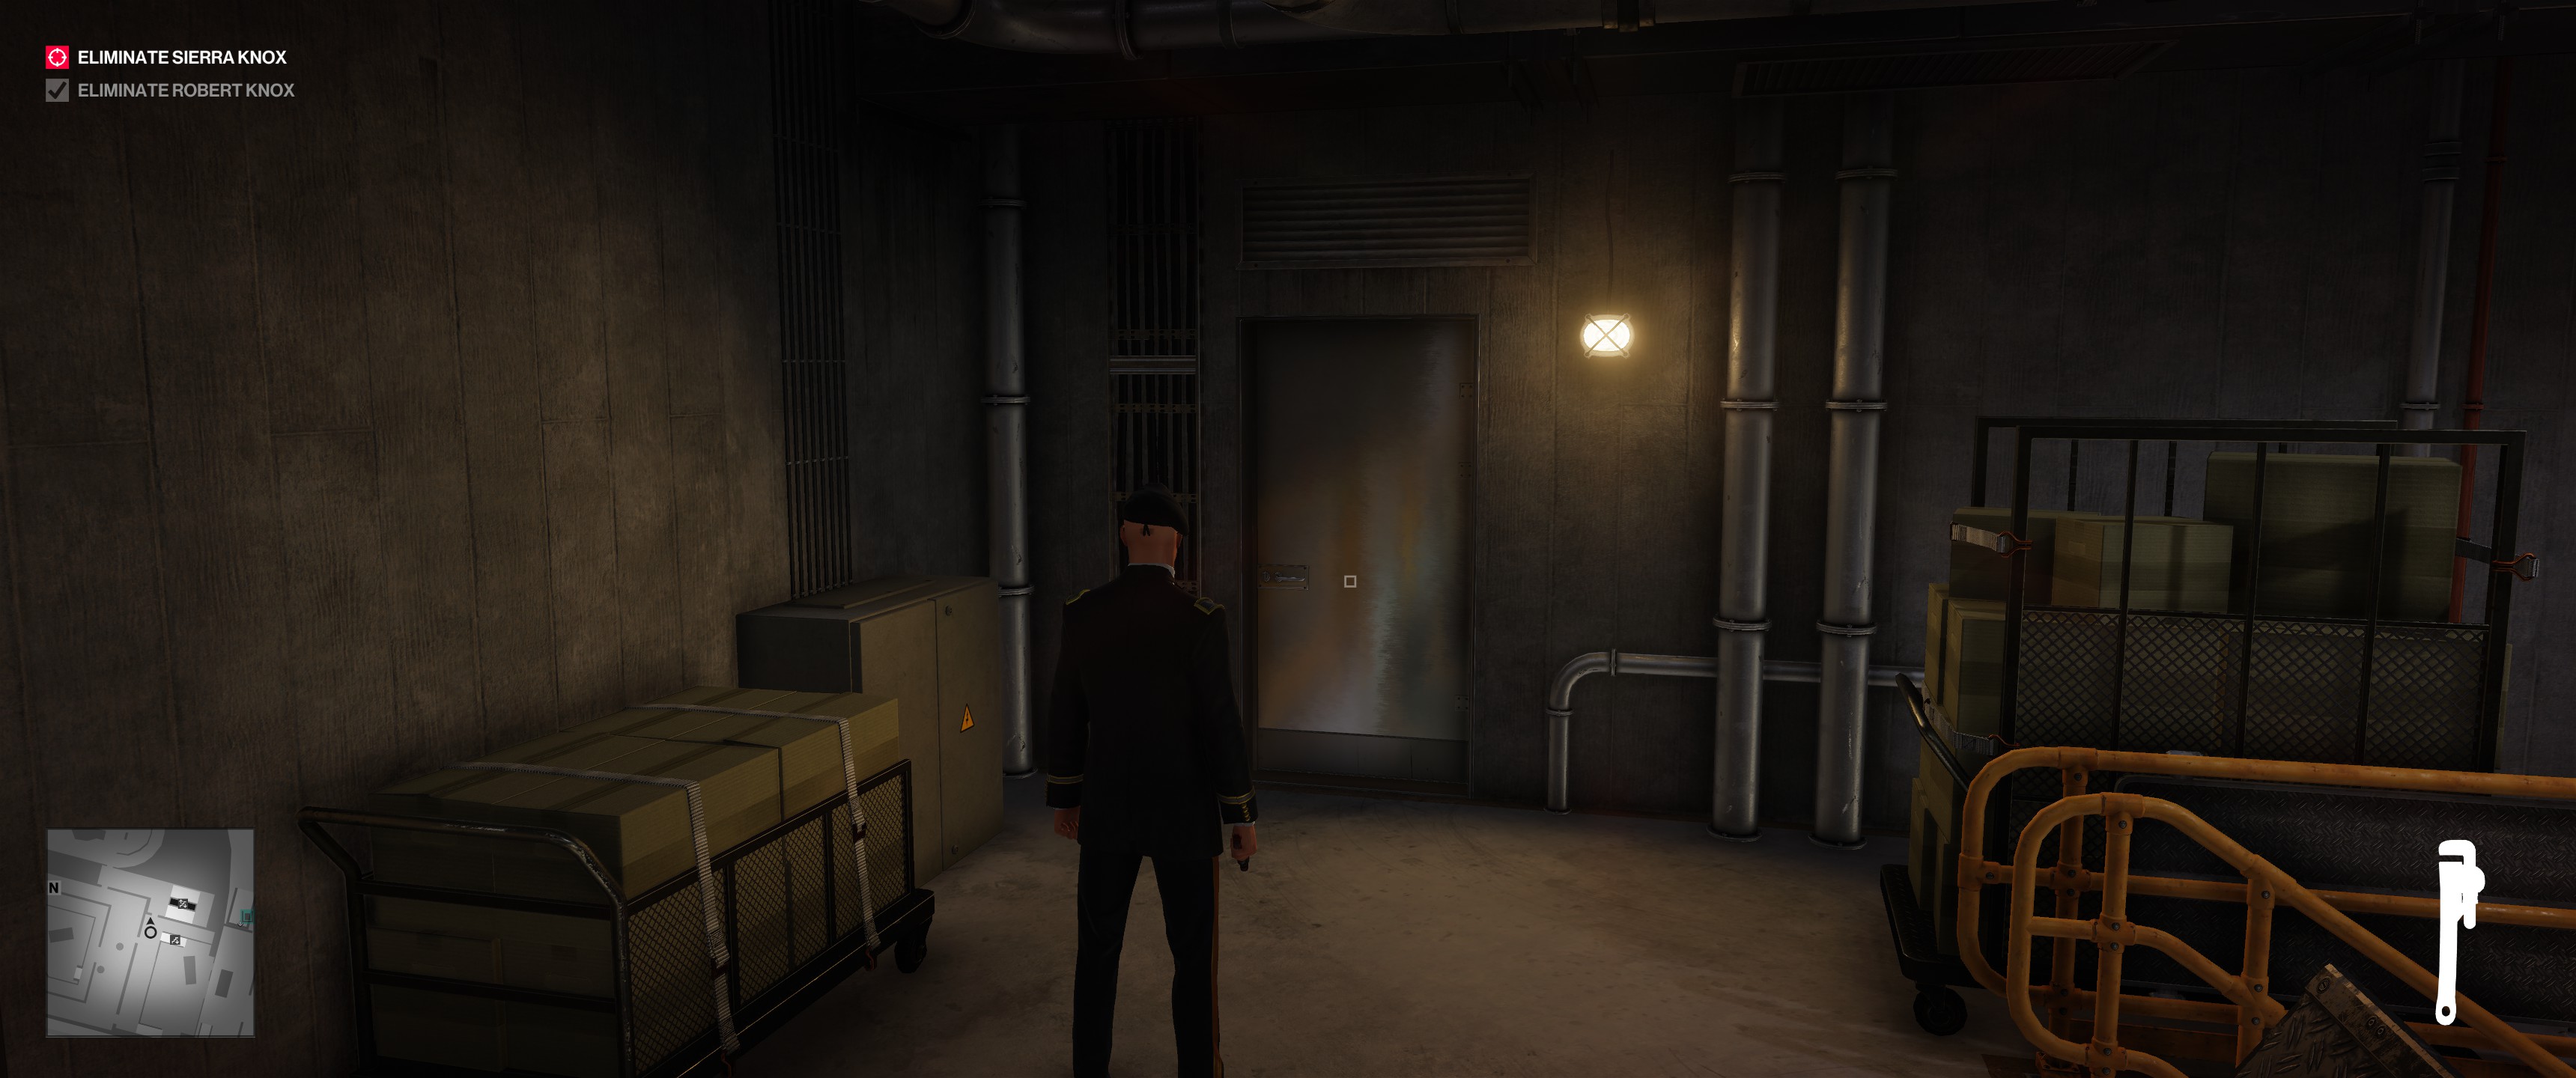
Go through this door…
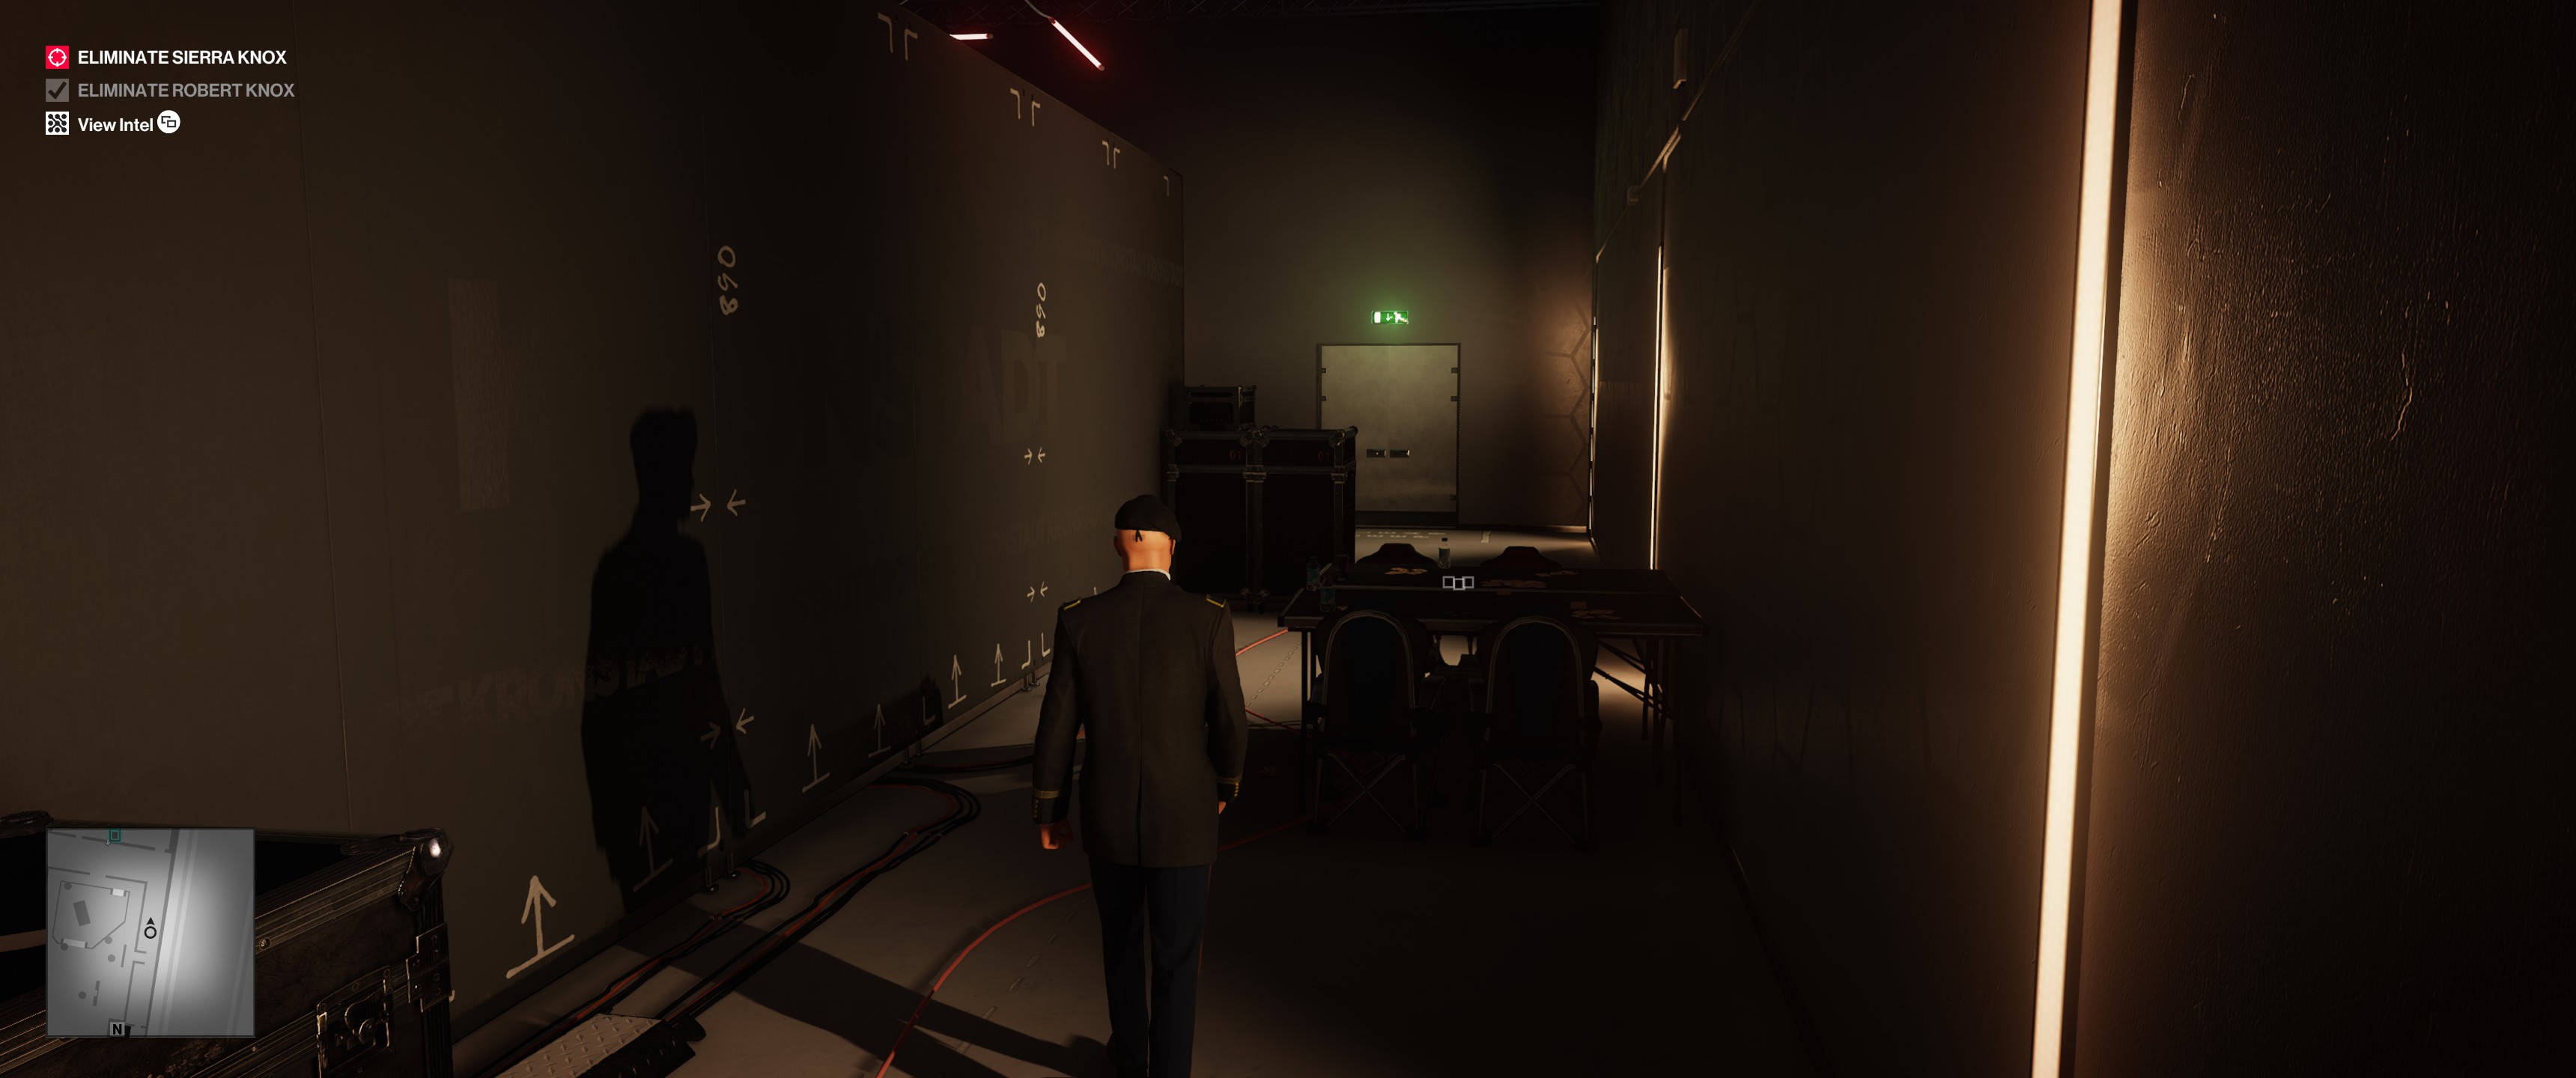
…then hang a left and go through this door at the end of the walkway.
Head down these stairs…
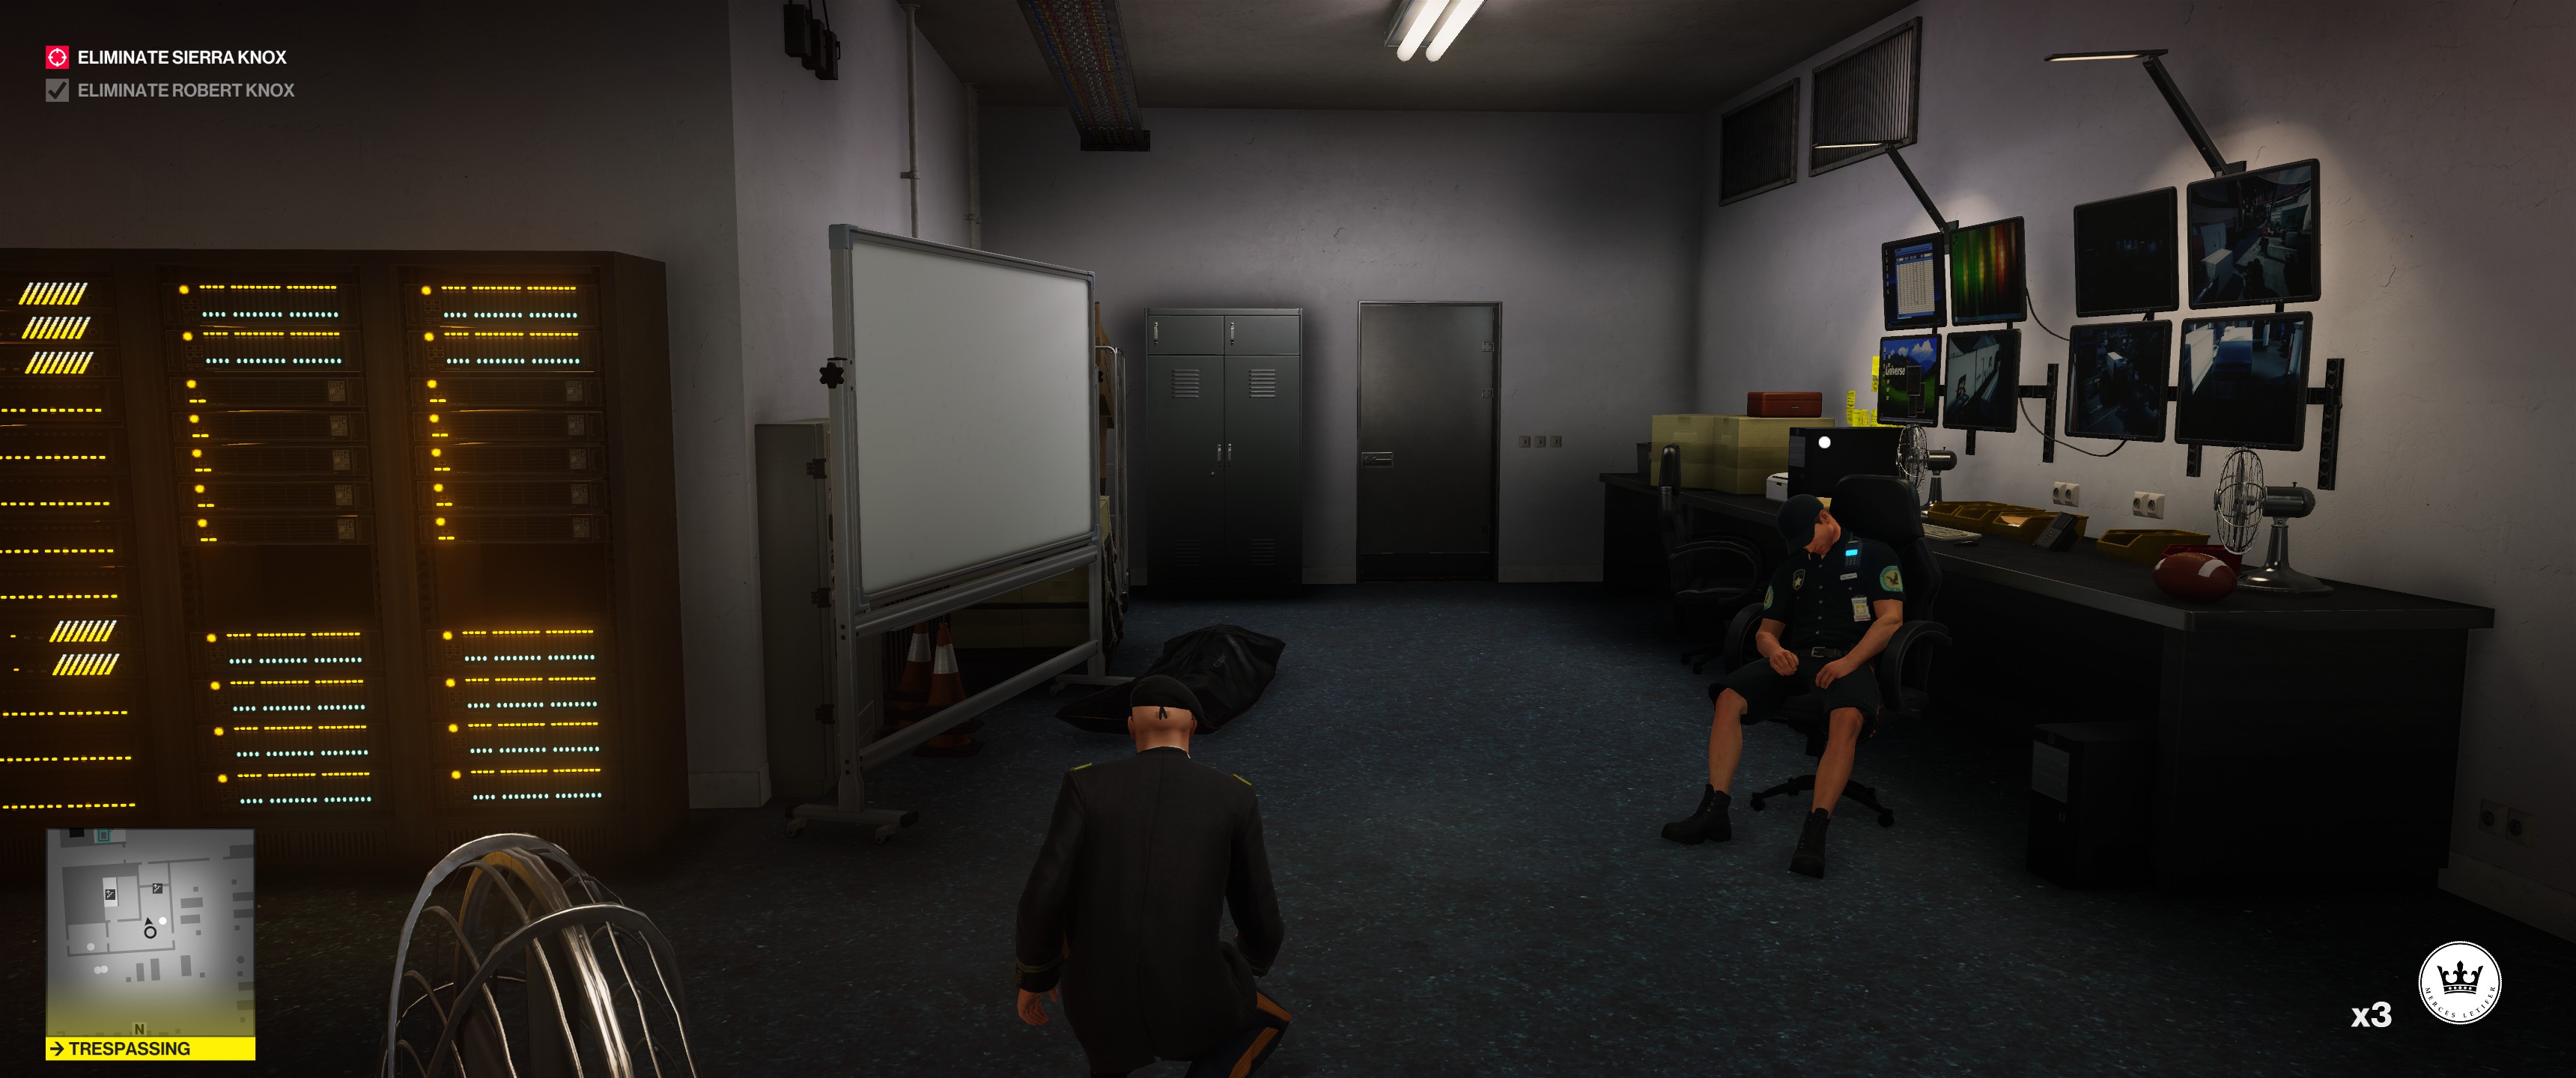
…and into the security room at the bottom. Be quiet—there’s a sleeping guard in here. Tiptoe past him and go through this door in the back.
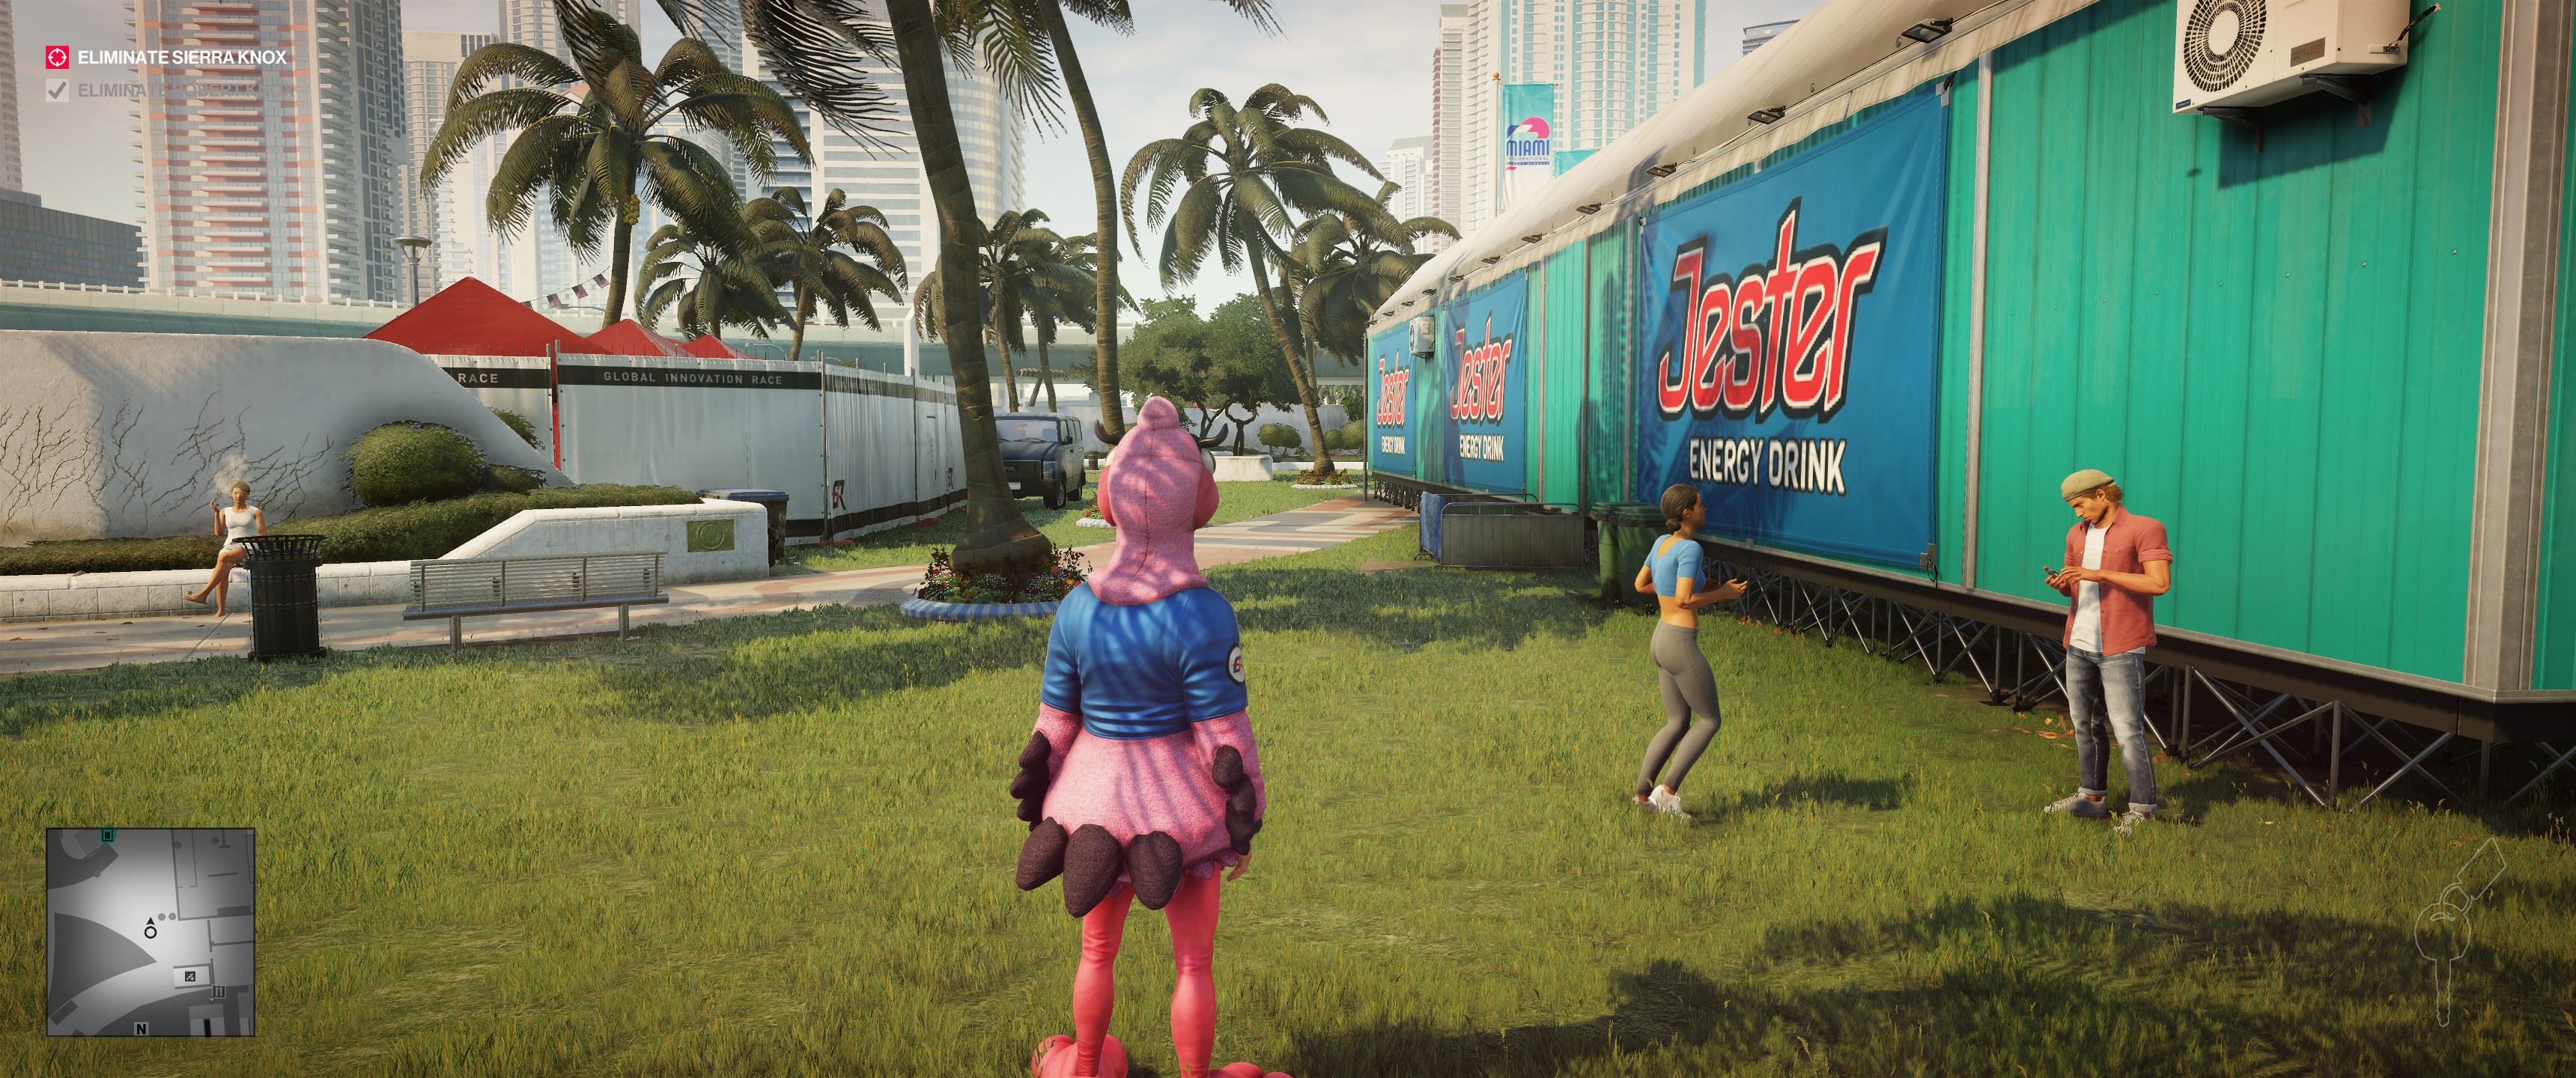
Near the vending machines to your right, you’ll see a dude dressed as a flamingo, chatting on his phone. This is your second Mission Story opportunity.
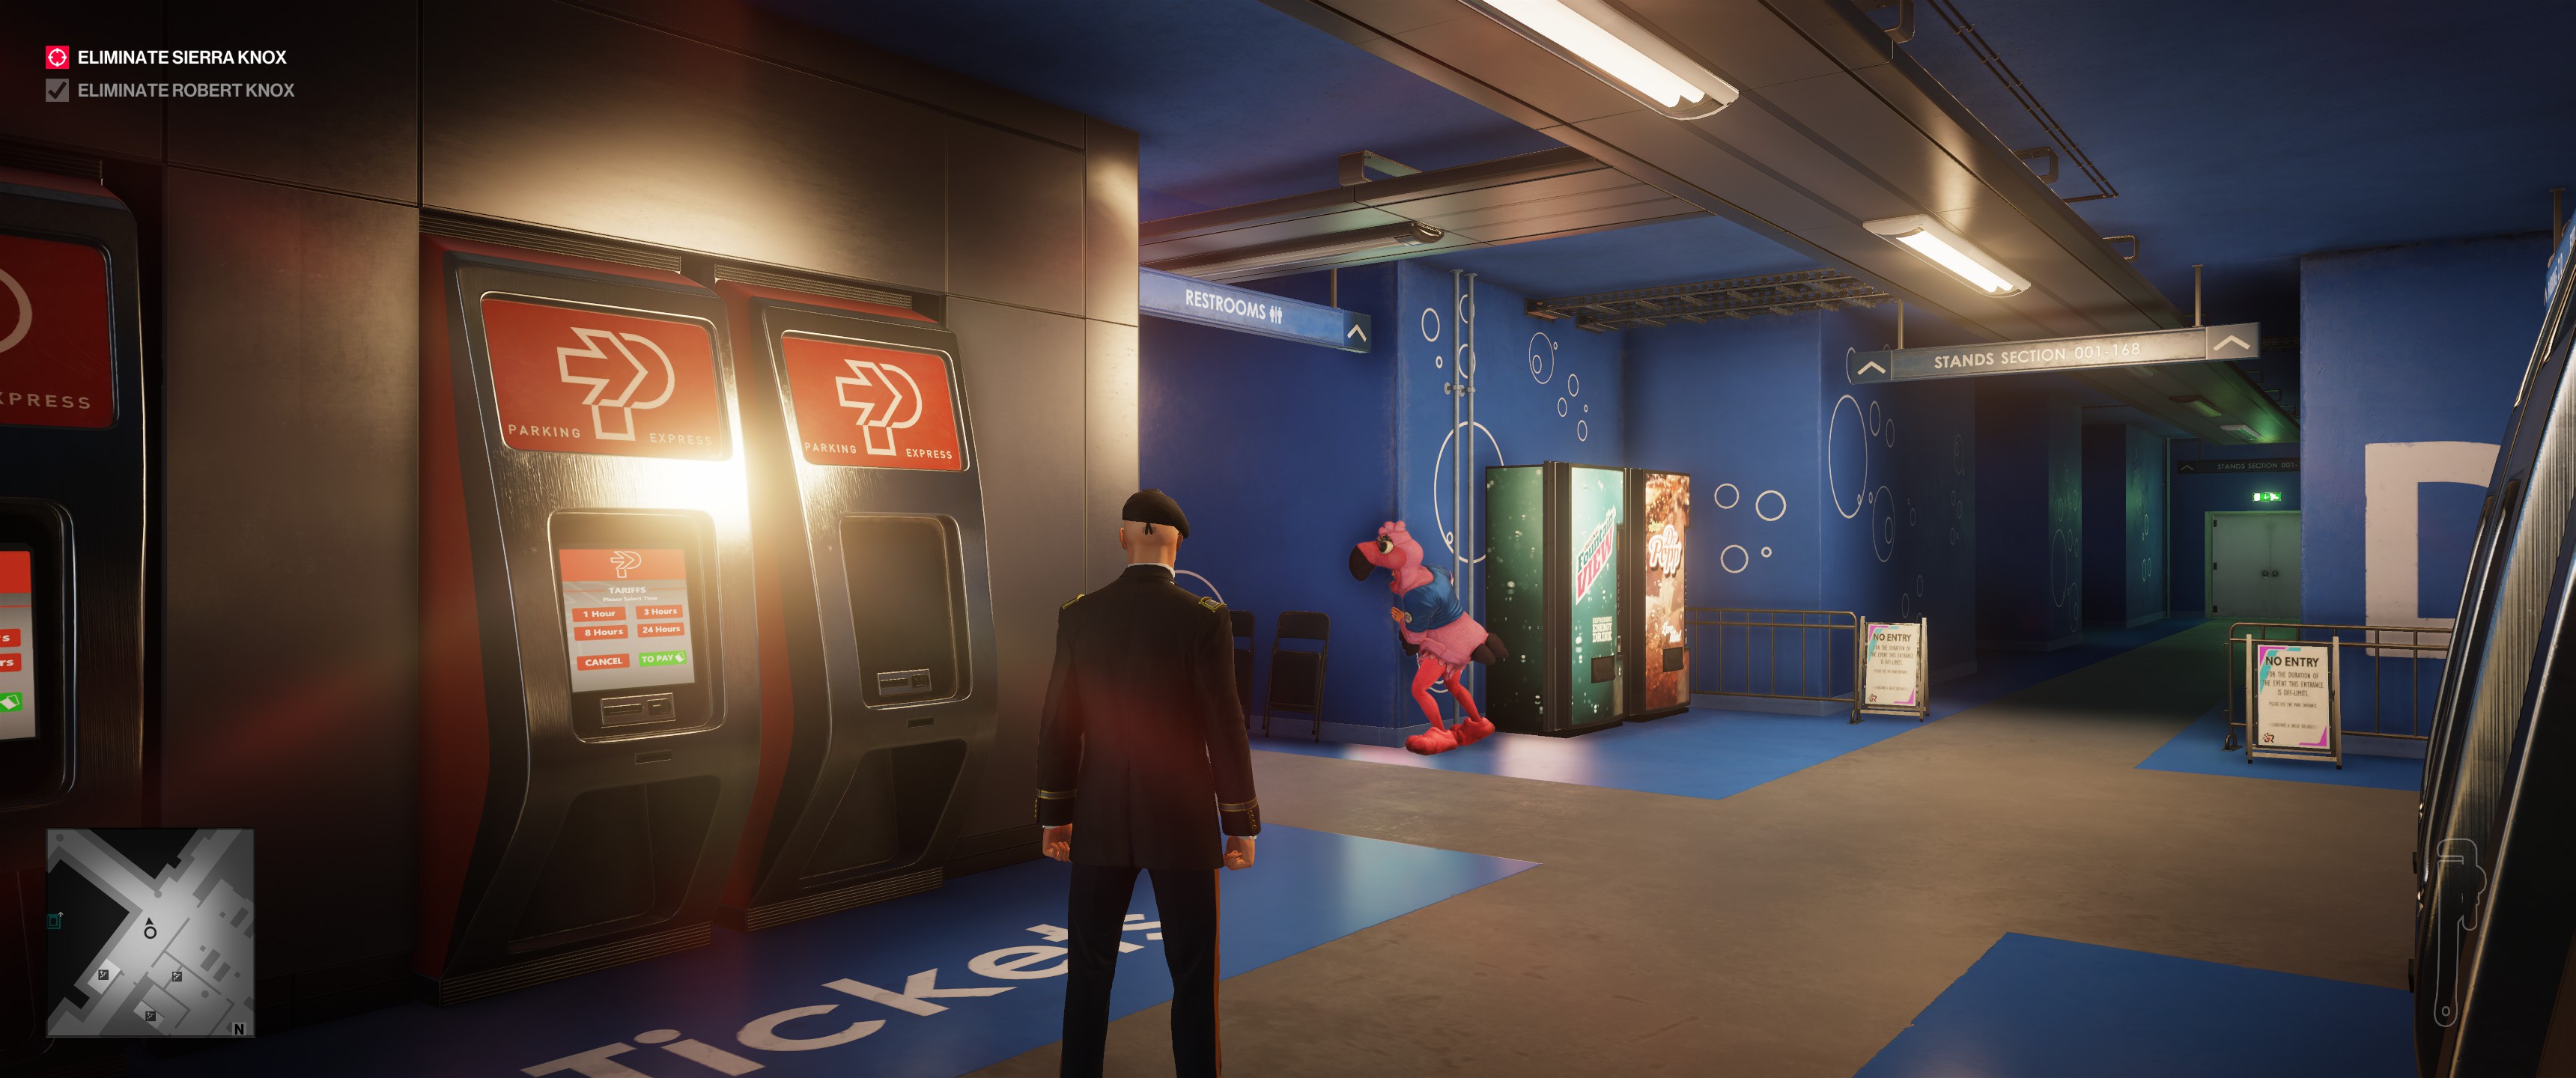
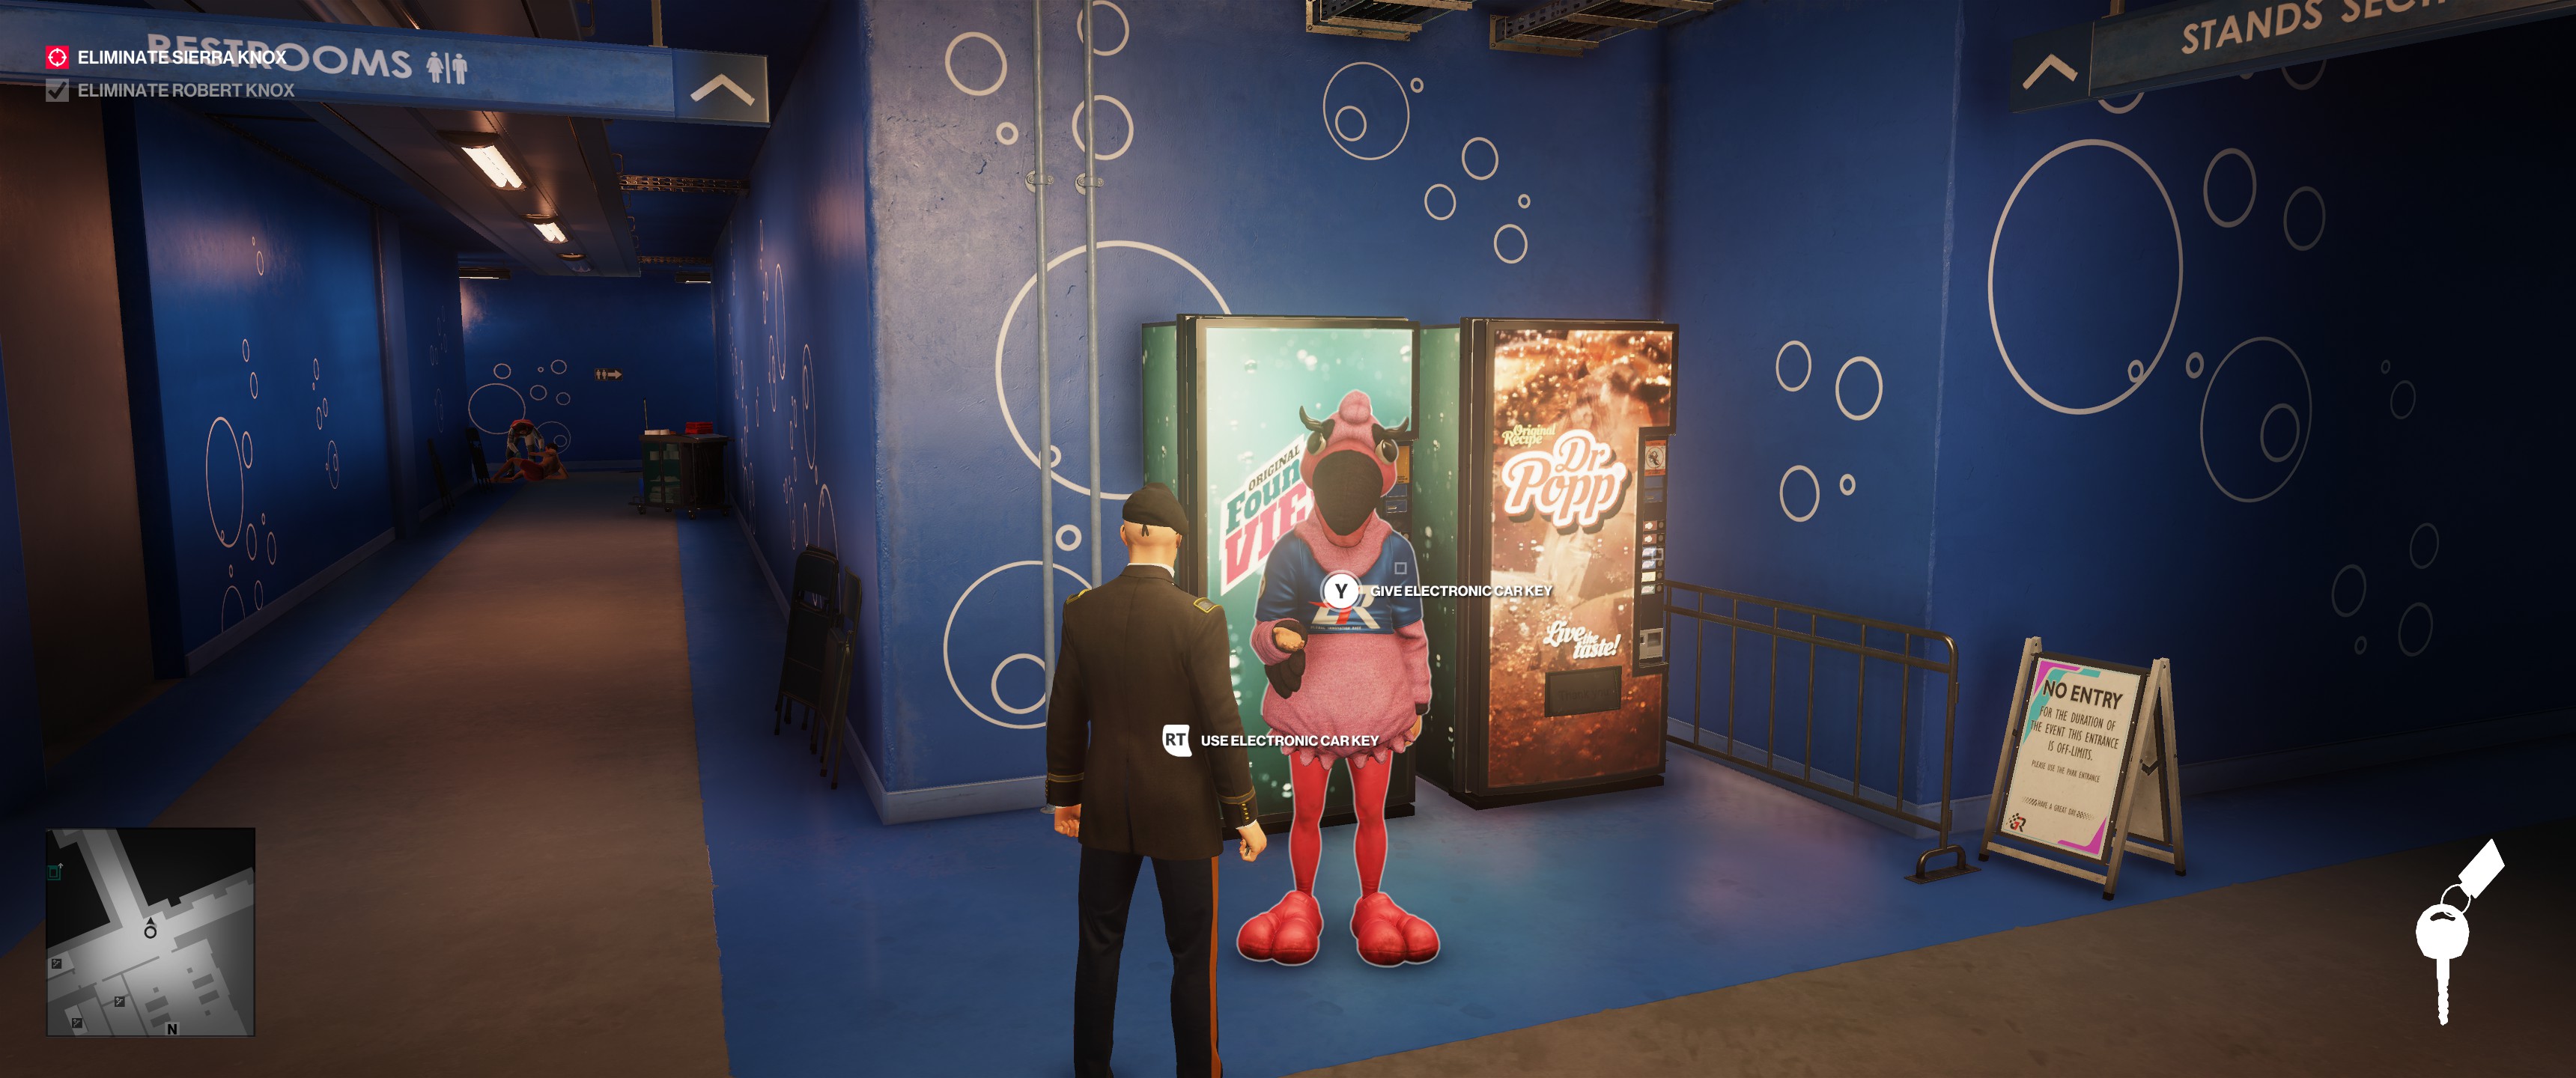
Listen to the entire conversation, then approach him. He’ll ask you to go fetch his car keys from the end of the hallway. Be a good Samaritan and oblige him. Hand the keys over and let him start toward the garage.
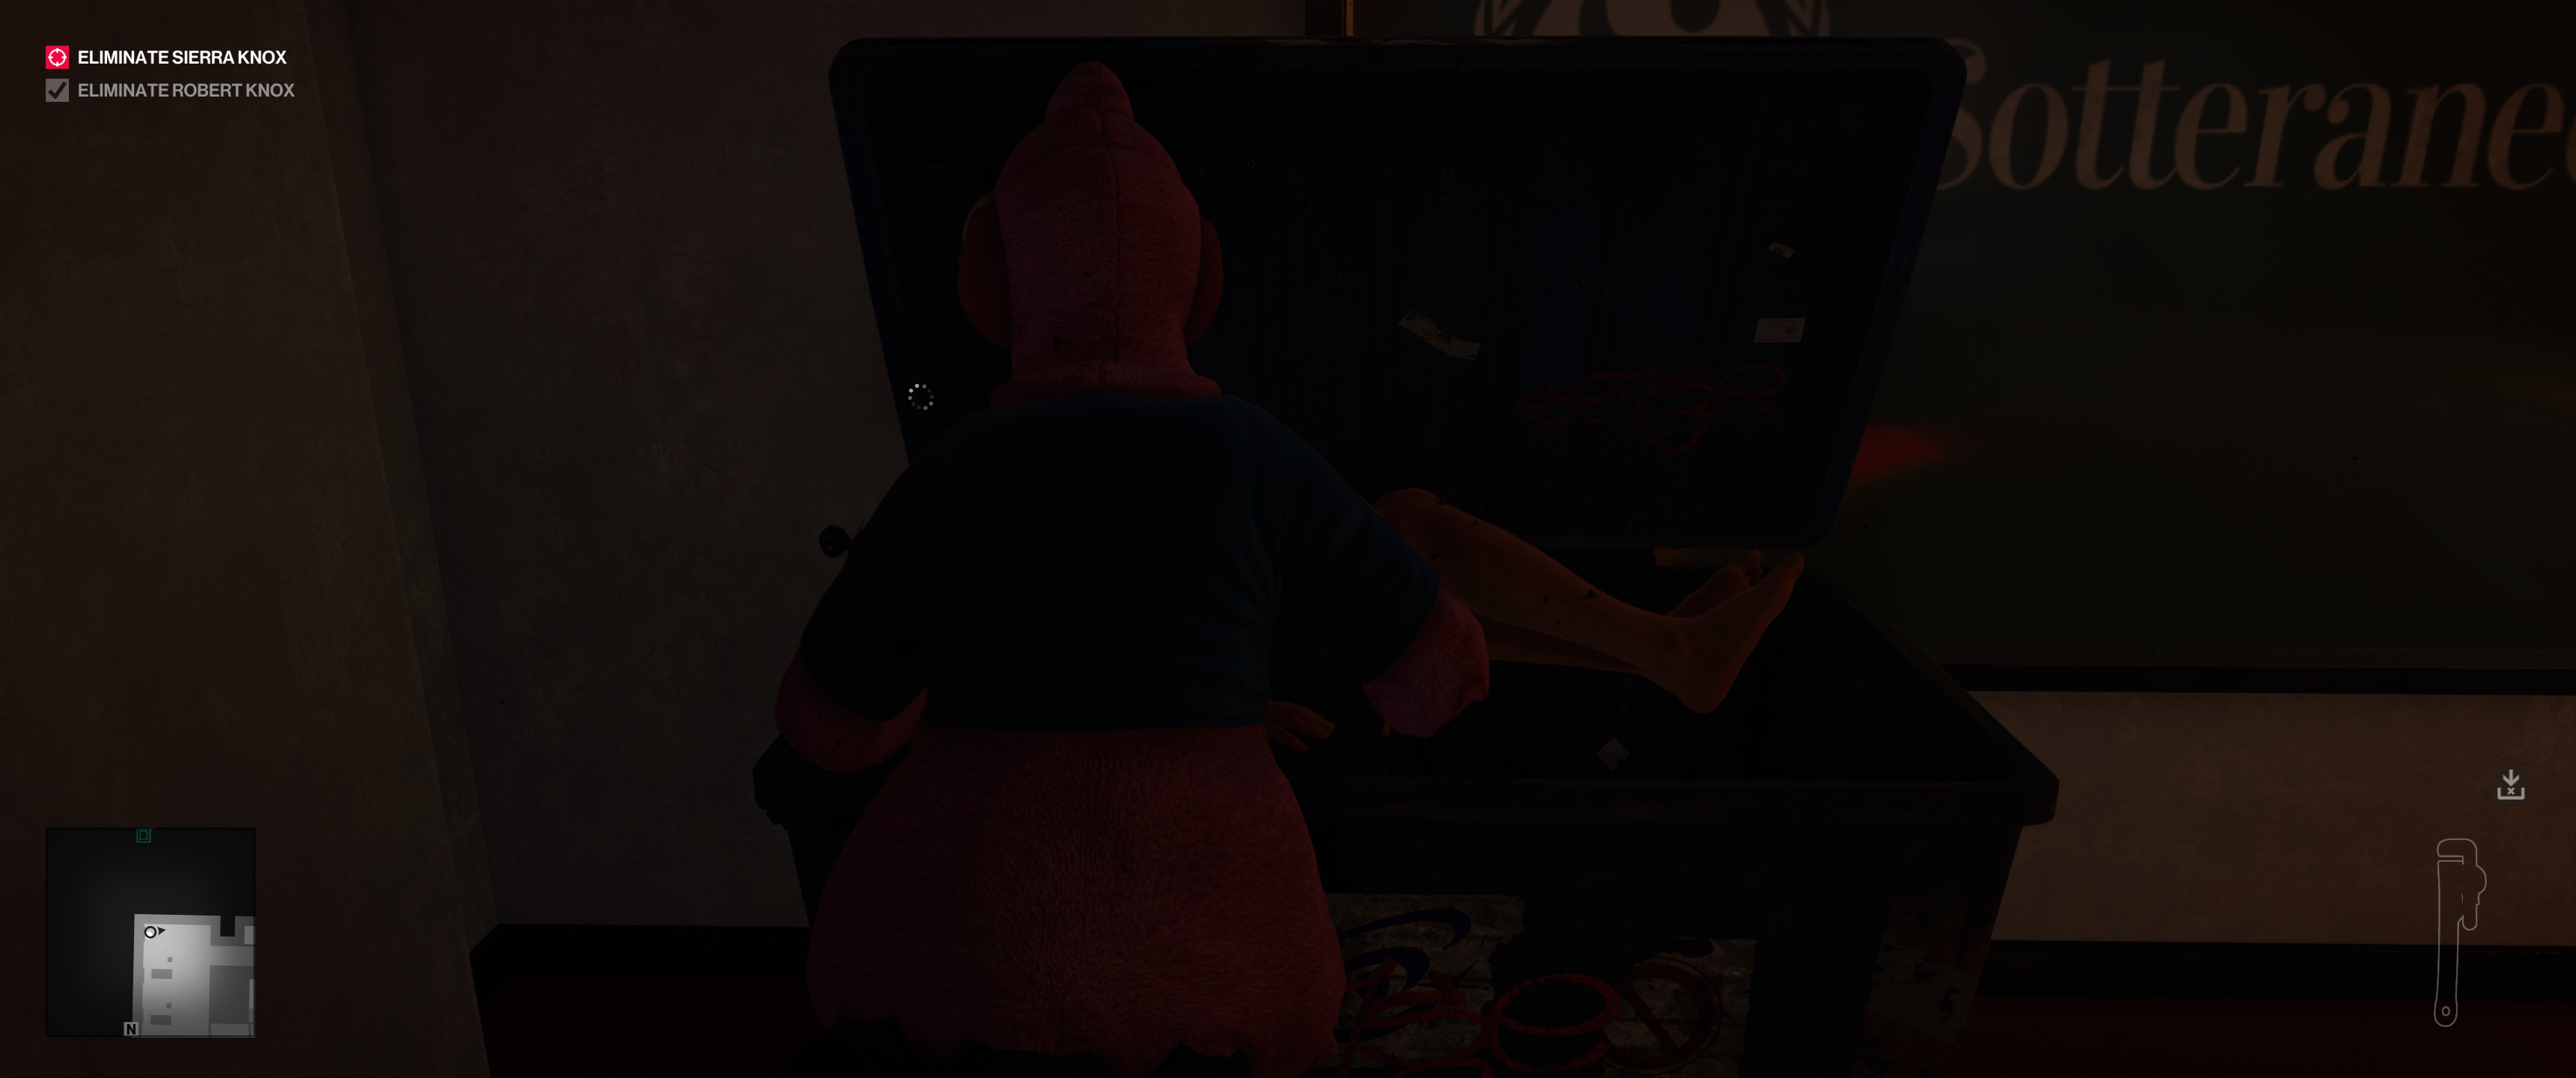
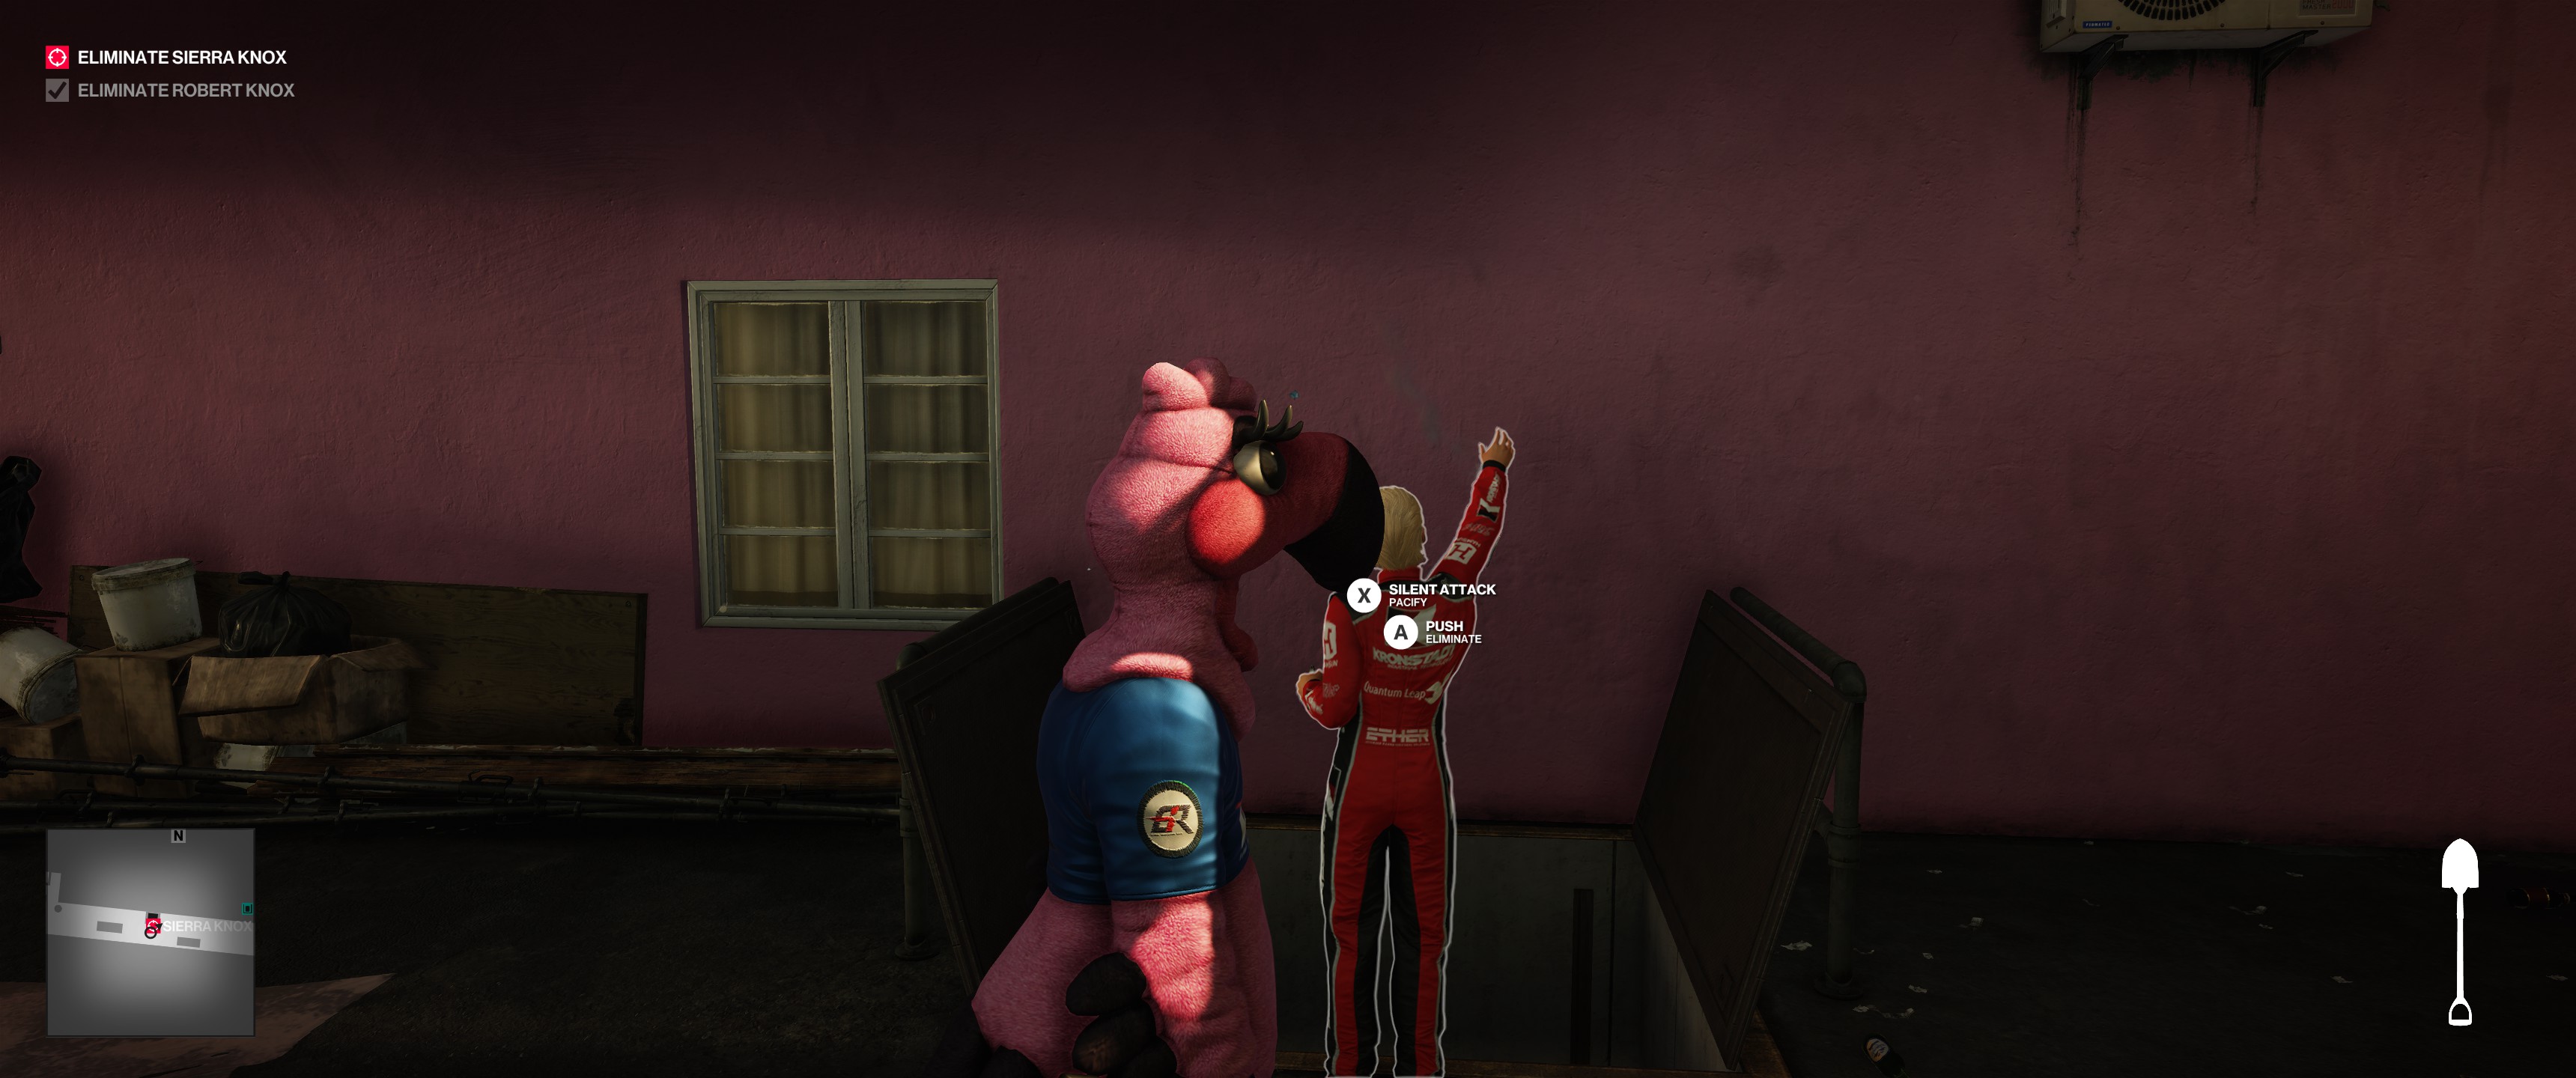
Choke him out or otherwise knock him out non-lethally as he’s passing the security room. Take his flamingo suit and reclaim the car keys, then drag him to the dumpster in the garage and stash him there. (Unless you found a security keycard somewhere, in which case you can dump him in the locker in the security room.)
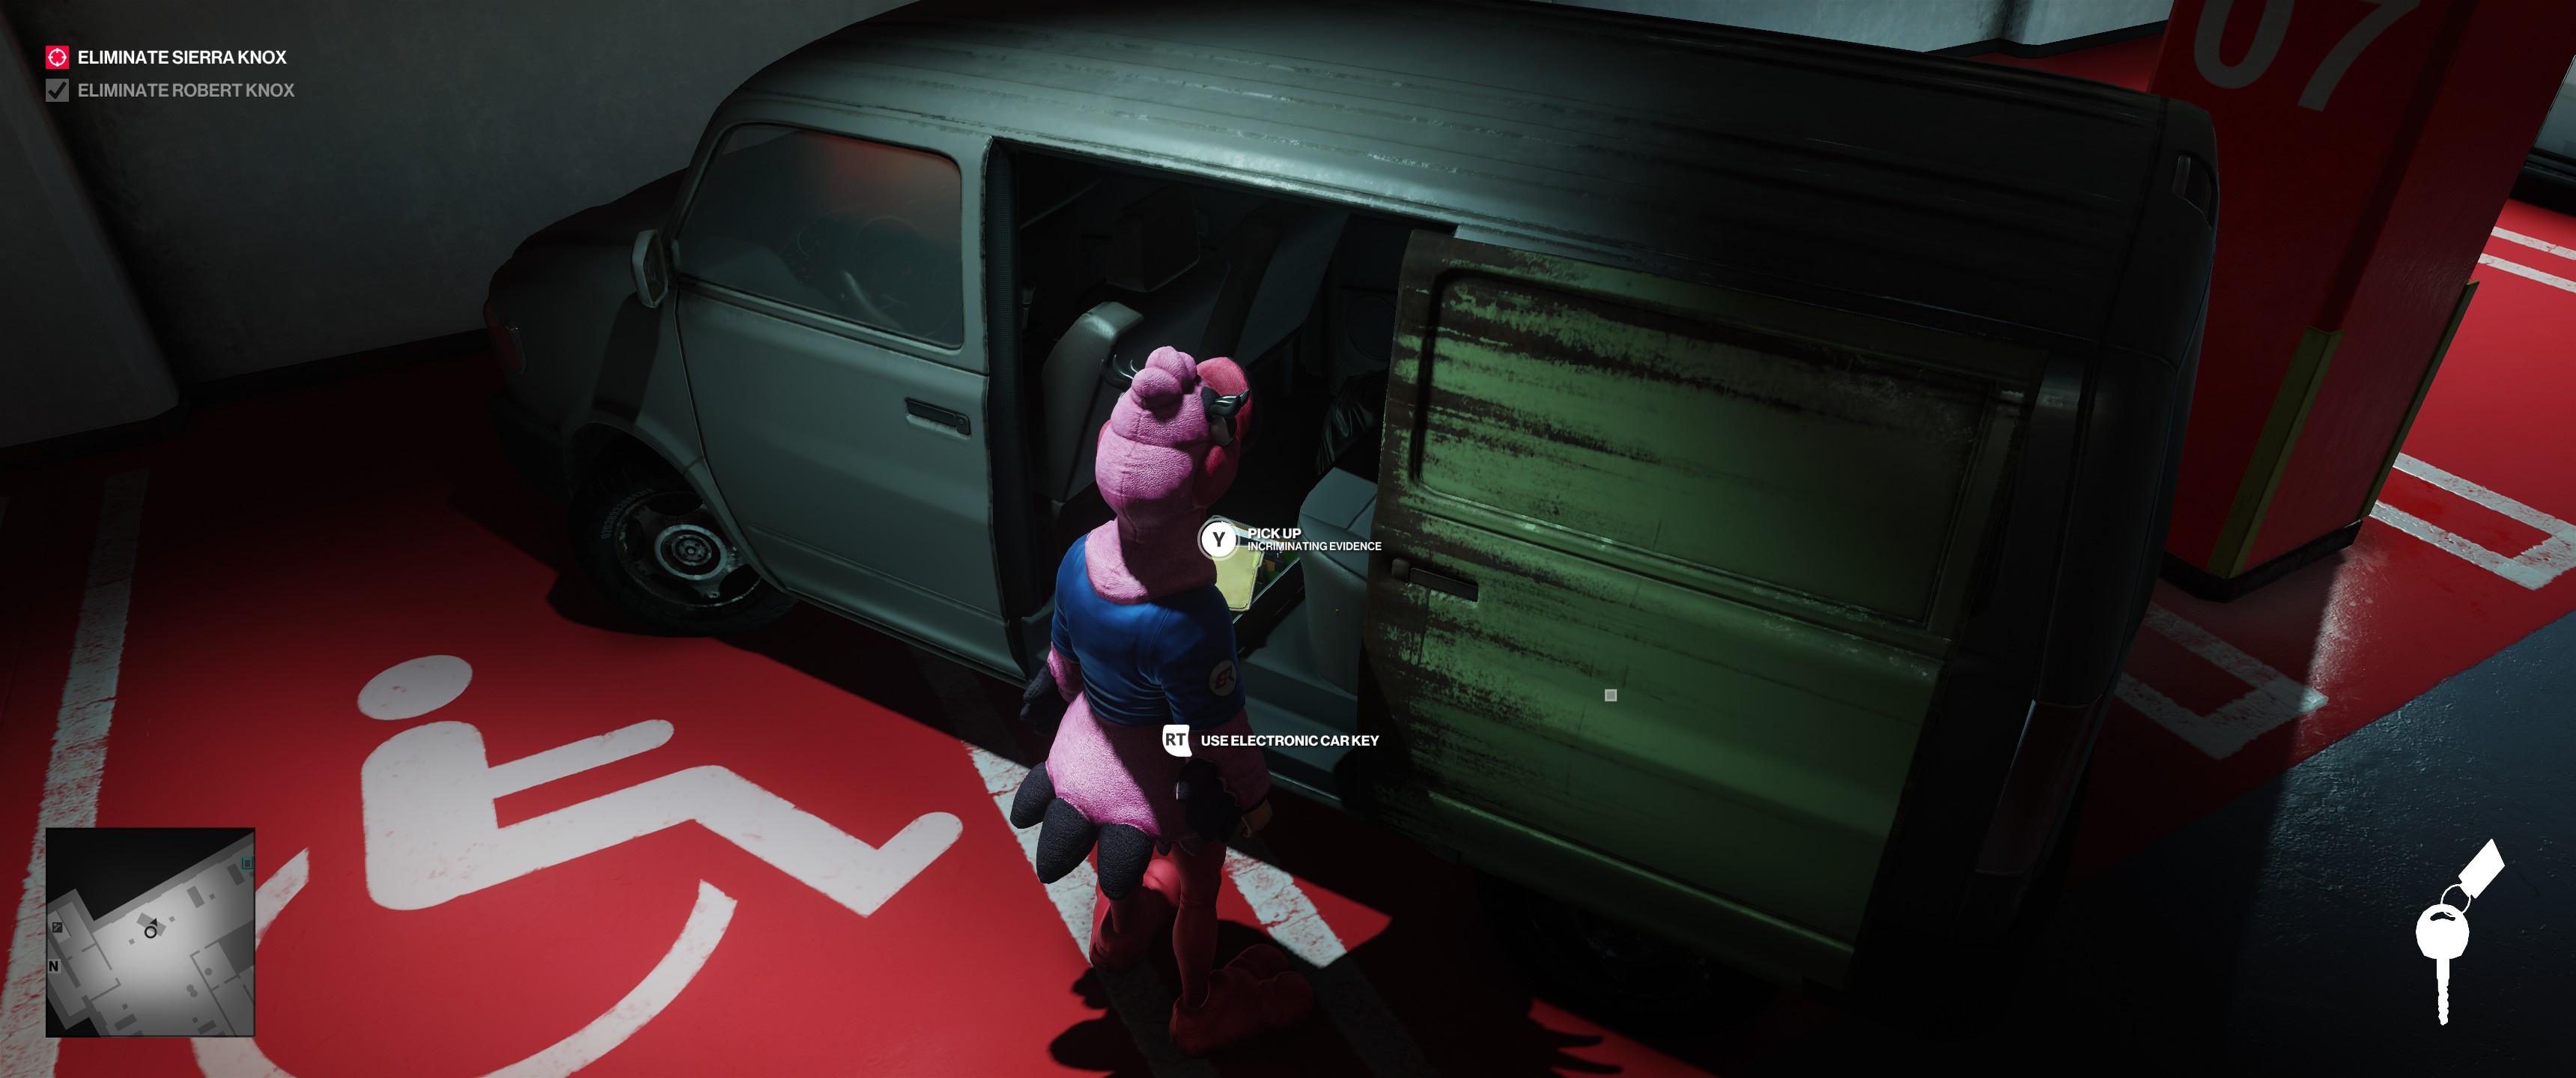
Head to the big black van in the garage and open it with the car keys. Grab the incriminating evidence within.
Double back to the main garage hallway and head up these stairs.

At the top, turn right and go this way.
These two guards will let you pass. Head down the stairs behind them.
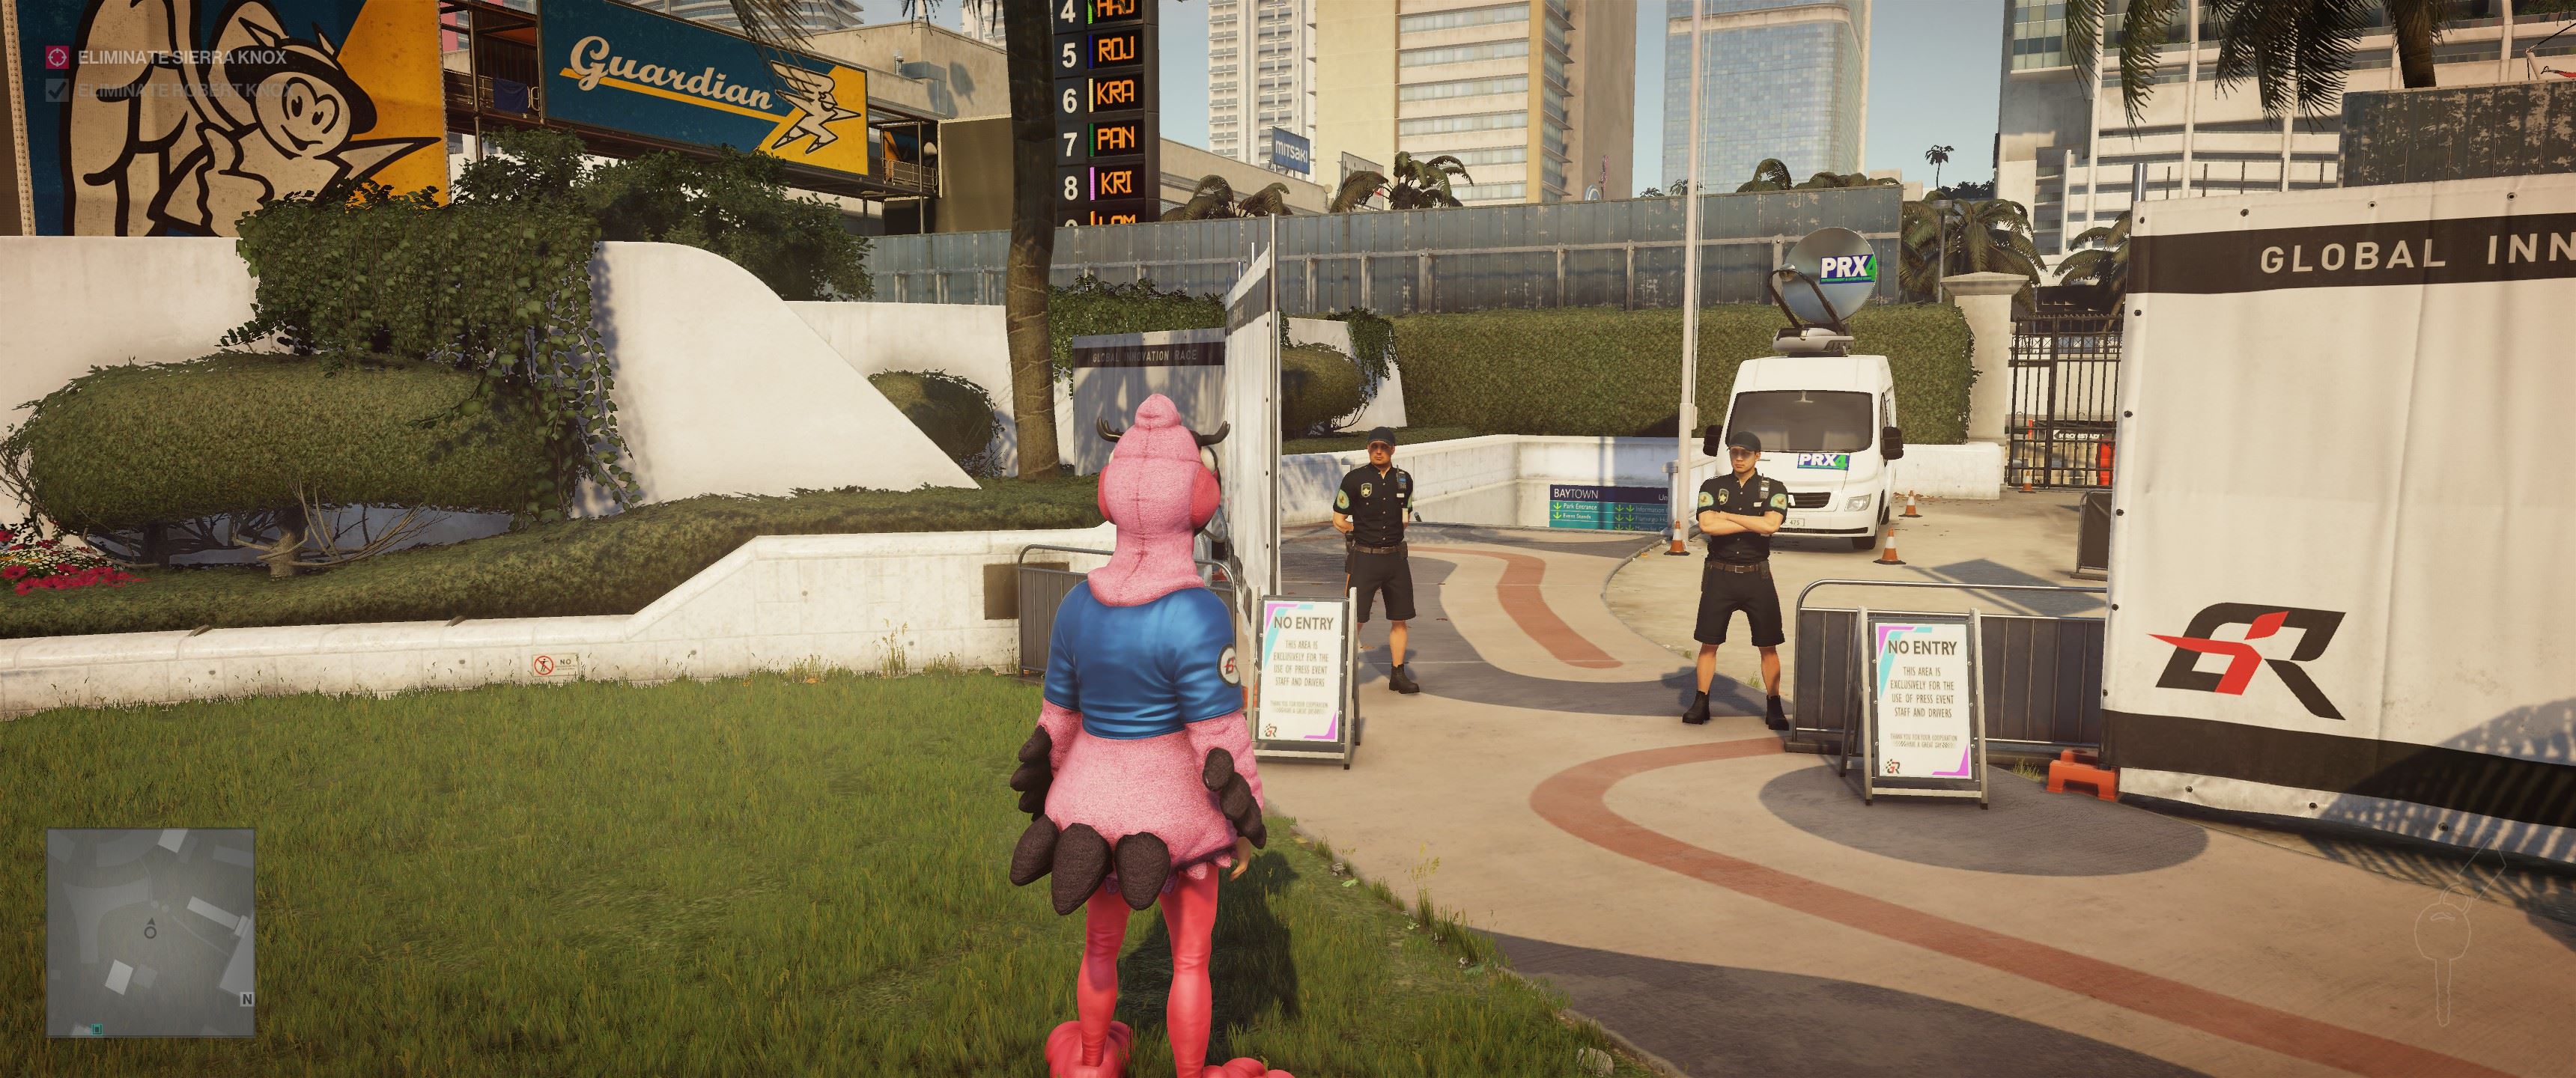
Follow the tunnel all the way down. At the top of the exit stairs, look to your left. Go talk to this guy and show him the incriminating evidence.
Once he lets you inside, have a seat in this chair and wait for Sierra Knox to show up. It may be a few minutes, depending on whether or not the race is almost over. (This is why you’ve needed to move quickly until now—if you take too long to kill her father, the race will end and you’ll miss this convenient assassination opportunity.)

Once she arrives, she’ll blather at you a bit, then tell you to follow her. Cooperate. She’ll lead you down an alley with about five of her guards. If she were remotely intelligent, she would just have them kill you, but luckily, she isn’t. She will do the opposite of the smart thing and order her guards away.
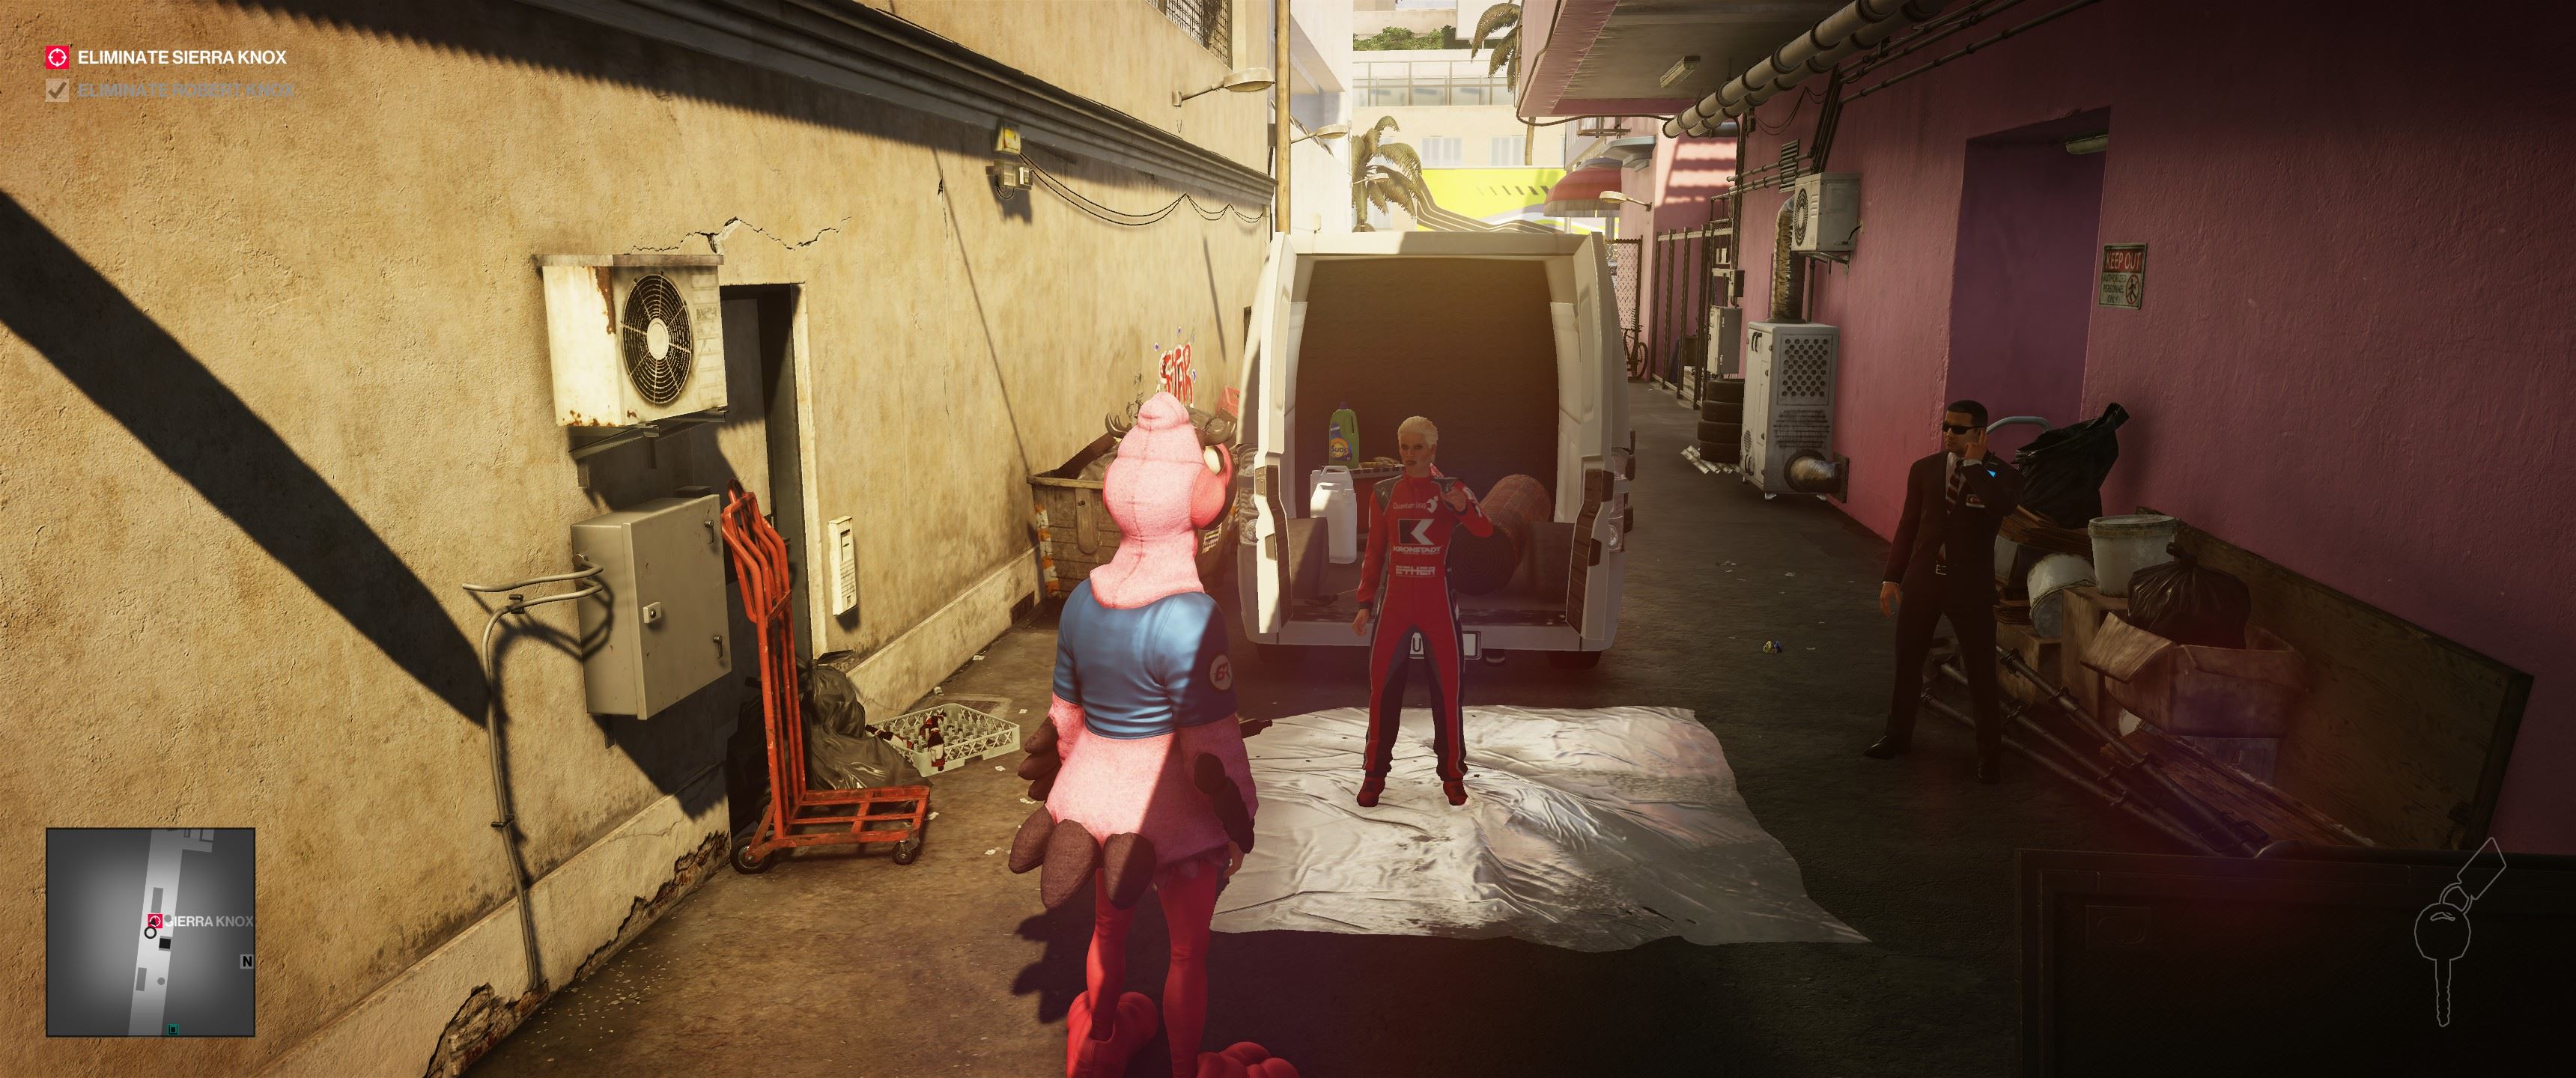
Let her finish her speech, then hand over the incriminating evidence when she asks for it. She will step over to the edge of a very deep hole in the ground to burn the evidence and throw it away, still yammering. You know what to do.
After this, her guards shouldn’t be alerted. You can pretty much just walk right out of the mission using any unlocked exit you fancy—just make sure not to get spotted by guards in an area your current disguise doesn’t grant you clearance for.

Well done! There’s your second 5-star rating.
Check out our other guides on Hitman 2, including more silent assassin walkthroughs!


Published: Nov 9, 2018 02:39 pm