Although Horizon Zero Dawn does a lot of things exceptionally well, there are a few places where the game falls short. Explaining what your armor stats mean is one of those areas.
There’s a huge selection of armors and armor types in Horizon, and it can be pretty difficult to figure out which type is going to best suit your needs and playstyle. But luckily for you, we’re going to break it all down so you can make sure you’re getting the best protection shards can buy.
What Armor Stats Mean in Horizon Zero Dawn
There are lots of things to consider when you’re picking out or modifying armor. The types of enemies you’re facing, how you like to approach combat, and what mods you have available can (and should) influence your choice of armor.
That said, no one will blame you if you pass up the Ice Hunter Armor so you don’t look utterly ridiculous trying to fend off Snapmaws.
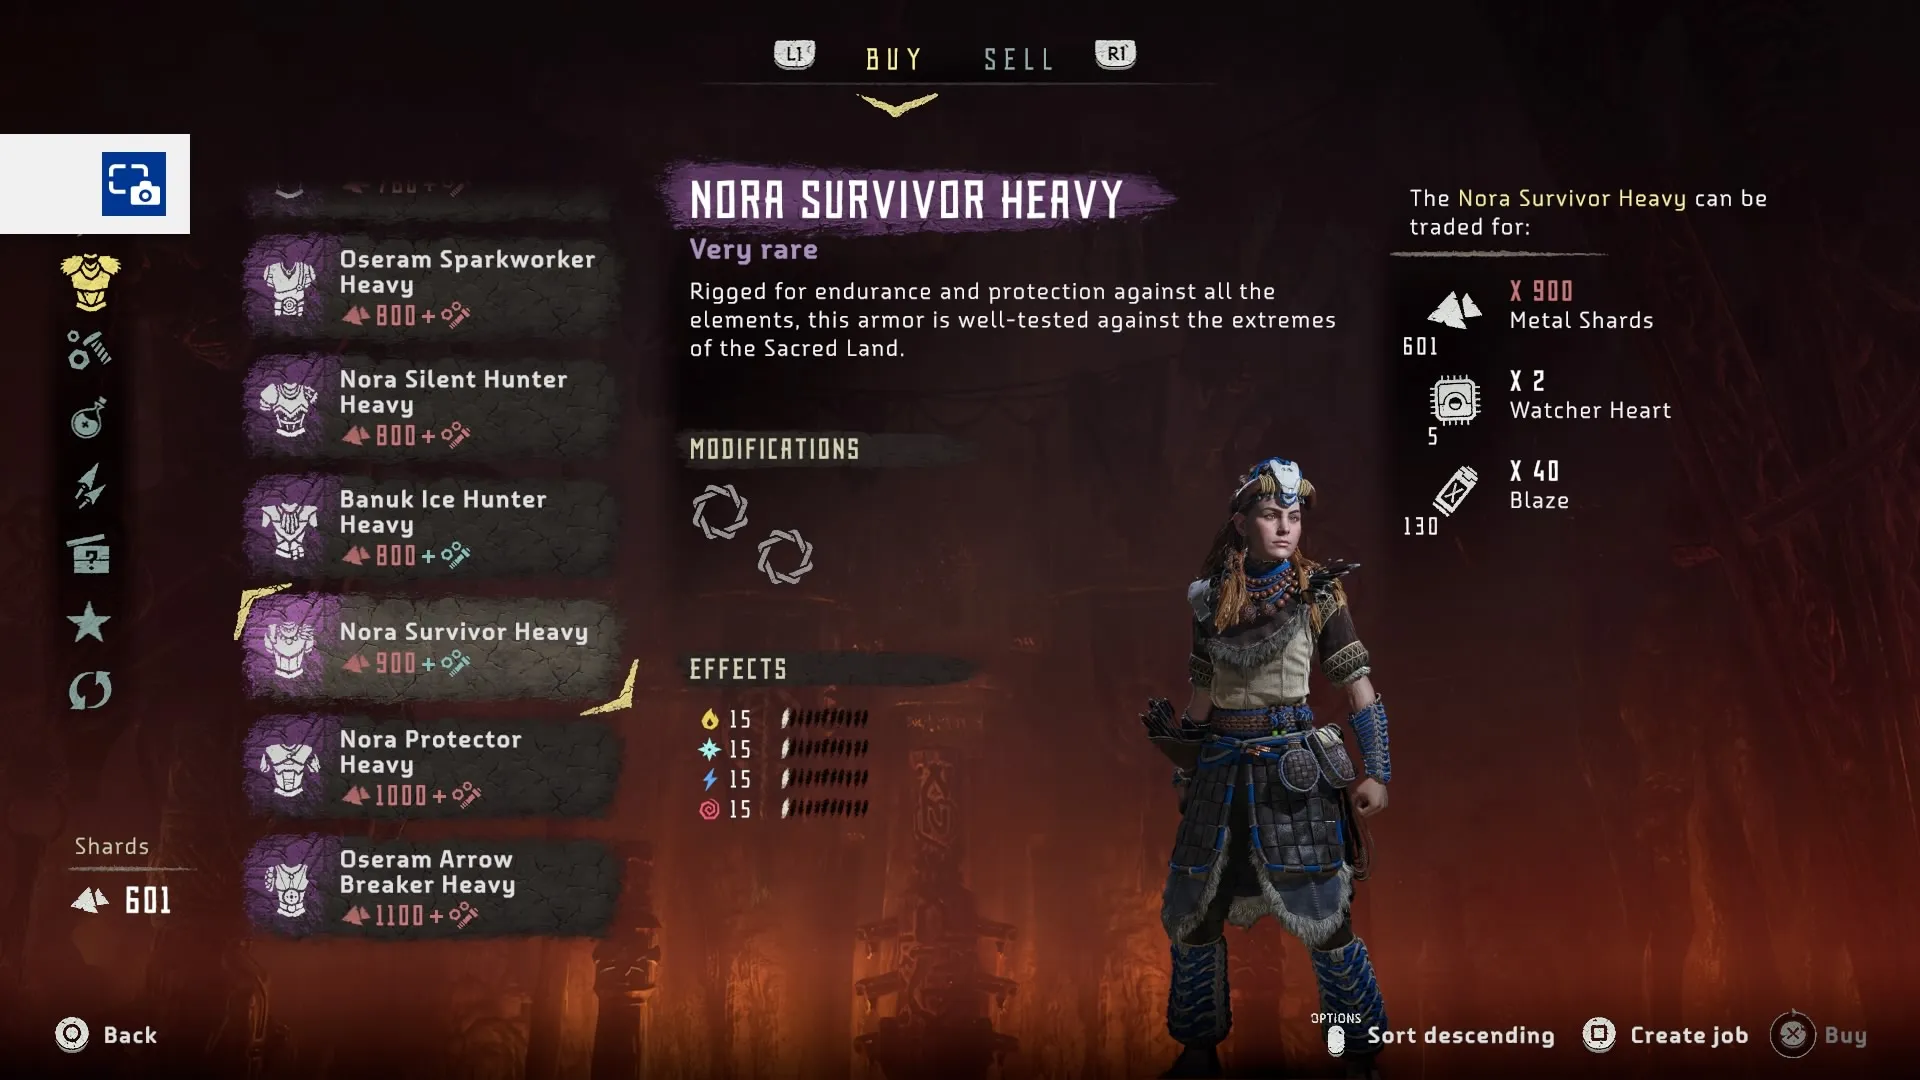
Here’s a breakdown of what every armor stat actually means in Horizon Zero Dawn. Protections on armor can be divided into three basic categories.
Physical Protections
No armor type in Horizon Zero Dawn will offer you broad physical protection outside of your base armor weight (Light/Medium/Heavy). Instead, you’ll have to choose between ranged and melee protections.
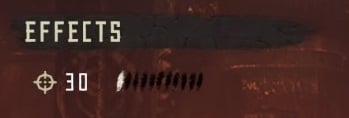
Ranged protection is just what it sounds like — you’ll take less damage from long-range attacks that deal non-elemental damage. This armor stat is denoted by a crosshair symbol:
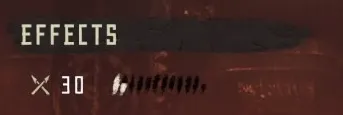
Melee protection is also self-explanatory. Having melee protection means that you’ll be better able to survive those close-quarter encounters where you’re getting tail-whipped and body-slammed by hostile machines. This stat is represented by two crossed spears:
Here’s the rundown of which armors offer physical protections and how much they’ll add to your defenses.
| Armor Set | Ranged Defense | Melee Defense |
|---|---|---|
| Nora Protector Light | — | 10 |
| Oseram Arrow Breaker Light | 10 | — |
| Nora Protector Medium | — | 20 |
| Oseram Arrow Breaker Medium | 20 | — |
| Nora Protector Heavy | — | 30 |
| Oseram Arrow Breaker Heavy | 30 | — |
Elemental Protections
If you can already withstand physical damage pretty well — or if there’s one type of machine you just can’t seem to conquer — you’re probably interested in armor that offers elemental resistance. Because let’s be honest…sometimes resistance potions just won’t cut it.
There are four types of elemental damage that armor can protect you against:
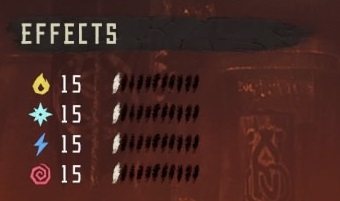
- Fire
- Freeze
- Shock
- Corruption
Some armor sets will provide average protection against all types, while others will offer exceptional protection against one type. It’s up to you to decide which one best suits your needs — or to buy them all and switch them out as necessary if that’s how you like to roll.
Here’s a helpful chart to help you see what elements you can defend against:
| Armor Set | Fire Def. | Freeze Def. | Shock Def. | Corruption Def. |
|---|---|---|---|---|
| Banuk Ice Hunter Light | — | 30 | — | — |
| Nora Survivor Light | 5 | 5 | 5 | 5 |
| Oseram Sparkworker Light | — | — | 30 | — |
| Banuk Sickness Eater Light | — | — | — | 30 |
| Carja Blazon Light | 30 | — | — | — |
| Banuk Ice Hunter Medium | — | 30 | — | — |
| Banuk Sickness Eater Medium | — | — | — | 30 |
| Nora Surivor Medium | 10 | 10 | 10 | 10 |
| Carja Blazon Medium | 30 | — | — | — |
| Oseram Sparkworker Medium | — | — | 30 | — |
| Banuk Sickness Eater Heavy | — | — | — | 50 |
| Carja Blazon Heavy | 50 | — | — | — |
| Oseram Sparkworker Heavy | — | — | 50 | — |
| Banuk Ice Hunter Heavy | — | 50 | — | — |
| Nora Survivor Heavy | 15 | 15 | 15 | 15 |
If you’re paying attention, you’ll notice that the elemental protections do not change between light armor and medium armor, even though medium armor costs considerably more. It’s not clear why this is the case. There is no “base armor” stat listed in your item screens to indicate whether Light/Medium/Heavy have any impact on overall armor durability. In all honesty, it seems like this could be a simple mistake on the developer’s part, and the “Medium” armor tier should be set at 40 rather than 30.
Stealth
It’s totally possible to play all of Horizon in stealth mode. That’s what I’ve been doing for most of my first run. And if you’re the sort to clear out a whole bandit camp with a few well-placed headshots from a high vantage point, then you’ll need all the stealth buffing you can get.
The Stealth stat is represented by a crossed-out eye:
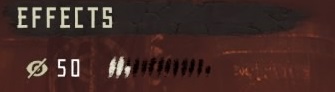
Having stealth increases on your armor will make it harder for enemies of all types to see or hear you as you sneak around. While this won’t necessarily save you from enemies that have scanner components, it will definitely give you more time to plan an attack — or a better shot at a sly escape if things get messy.
If you’re looking to creep your way through the wilds, here’s a breakdown of the stealth ratings for every Silent Hunter Armor set in the game.
| Armor Set | Stealth Stat |
|---|---|
| Nora Silent Hunter Light | 25 |
| Nora Silent Hunter Medium | 40 |
| Nora Silent Hunter Heavy | 50 |
There are far fewer options available for stealth players, but a +50 sneak stat is nothing to shake a stick at. Those Watchers won’t be able to keep their eye on you.
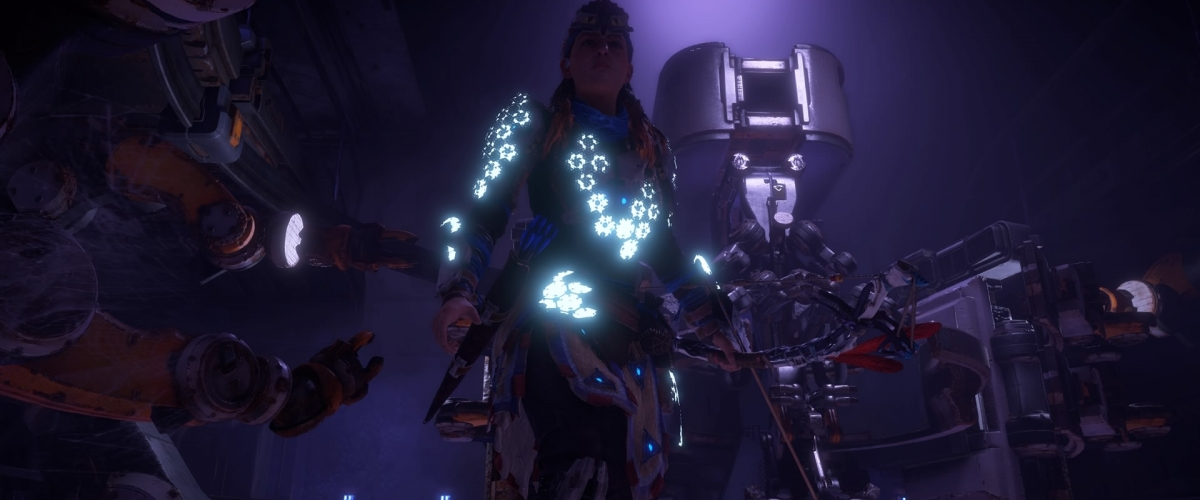
So What’s the Best Armor In Horizon Zero Dawn?
Ultimately, the “best” armor is going to boil down to how you’re playing the game and what enemies you tend to have the hardest time combating. But setting that aside, the best armor available can’t be bought from a merchant. (Surprise, surprise.)
Most players agree that the superior set of armor is the Shield Weaver Outfit. Rather than offering any specific protections against physical or elemental damage, the Shield Weaver takes protection to the next level by giving you total invincibility to all damage for a short period of time.
After it reaches its cap or takes too much damage, the shield will need to be recharged. But this is far and away the most ideal outfit for those tricky late-game encounters and boss fights.
To get this armor, you’ll need to find all five Power Cells during the “Ancient Armory” quest. You can pick up this quest by discovering your first Power Cell, or by finding the Bunker where the armor is located. (Climb the Tallneck in Devil’s Thirst for help with that.)
Finding all of the Power Cells will grant you the Shield Weaver Armor, and you can accomplish this pretty early in the game so you don’t have to bother with upgrading your armor at merchants.
That wraps up my guide to armor stats and types in Horizon Zero Dawn! If you need extra help with the game, you can check out our other guides:
- Horizon Zero Dawn Beginner’s Guide
- Horizon Zero Dawn: Complete Guide to Resources, Components, & Crafting
- Horizon Zero Dawn: Handling and Other Weapon Stats Explained
- How to Upgrade Your Spear in Horizon Zero Dawn
- Horizon Zero Dawn: How to Farm 10,000 Shards Per Hour
- Horizon Zero Dawn: How to Farm Purple (Very Rare) Mods


Published: Mar 3, 2017 04:19 pm