
Dry’l is the lord of the Godswell beyond the Drowned Abyss, and you’ll first fight him at the end of the Mortal Coil quest. The last four campaign bosses in Tiny Tina’s Wonderlands are a significant step up in difficulty from any that came before, and Dry’l is a real pill to deal with.
This fight has three phases, each distinct in mechanics and each with its own health bar(s). Dry’ls attacks cover wide areas, and you don’t have much space to maneuver where he can’t easily reach you. Many of his attacks also have wide AoEs, meaning stepping to the side no longer suffices to avoid them.
This guide will go over every phase and attack you’ll need to know to beat Dry’l.
How to Beat Dry’l in Tiny Tina’s Wonderlands
Dry’l is the first boss with multiple phases where attacks in an early phase transfer to later phases. His first form is melee-focused but has a few tricks up his sleeve. His second form adds elemental damage and ranged attacks. His final form is a mix of close and long-range combat, and he’s more than content to fill the entire arena with fire.
You’ll want to hit the glowing orange weak spot on Dry’l’s chest and stomach for max damage.
Dry’l, Whose Chains are the Sea Attacks (Phase 1)

You’ll first encounter Dry’l with the epithet Whose Chains are the Sea and primarily be dealing with him slamming the ground with either one or two hands.
Attack 1: Right or Left Hand Slam
Dry’l raises one of his arms and slams it down on top of you, dealing heavy damage and knocking you back into the air.
Dodging either slam is tricky because the attack tracks your location until he’s almost connected. Your best bet is to run to either side rather than sidestepping, then deal damage as Dry’l recovers from the blow.
Attack 2: Two-hand Slam
As the name suggests, Dry’l raises his fists into the air and then brings them down in a massive AoE that fills almost the entire arena.
You’ll want to run from one of your platform to the other to avoid this attack. Jumping at the exact right time at the back-center of the platform near some iron bars has saved me from insta-death once, but it’s not consistent.
Attack 3: Depth Charge Throw

Rarely, Dry’l will fill his left hand with three fiery, spiked depth charges, which he’ll then throw at you. They’ll explode shortly after landing near you. The explosion radius is actually relatively small, so if you can get away before the second-long fuse runs out, this is the easiest attack to avoid in Dry’l’s first phase.
Dry’l, Whose Blood is Thunder Attacks (Phase 2)
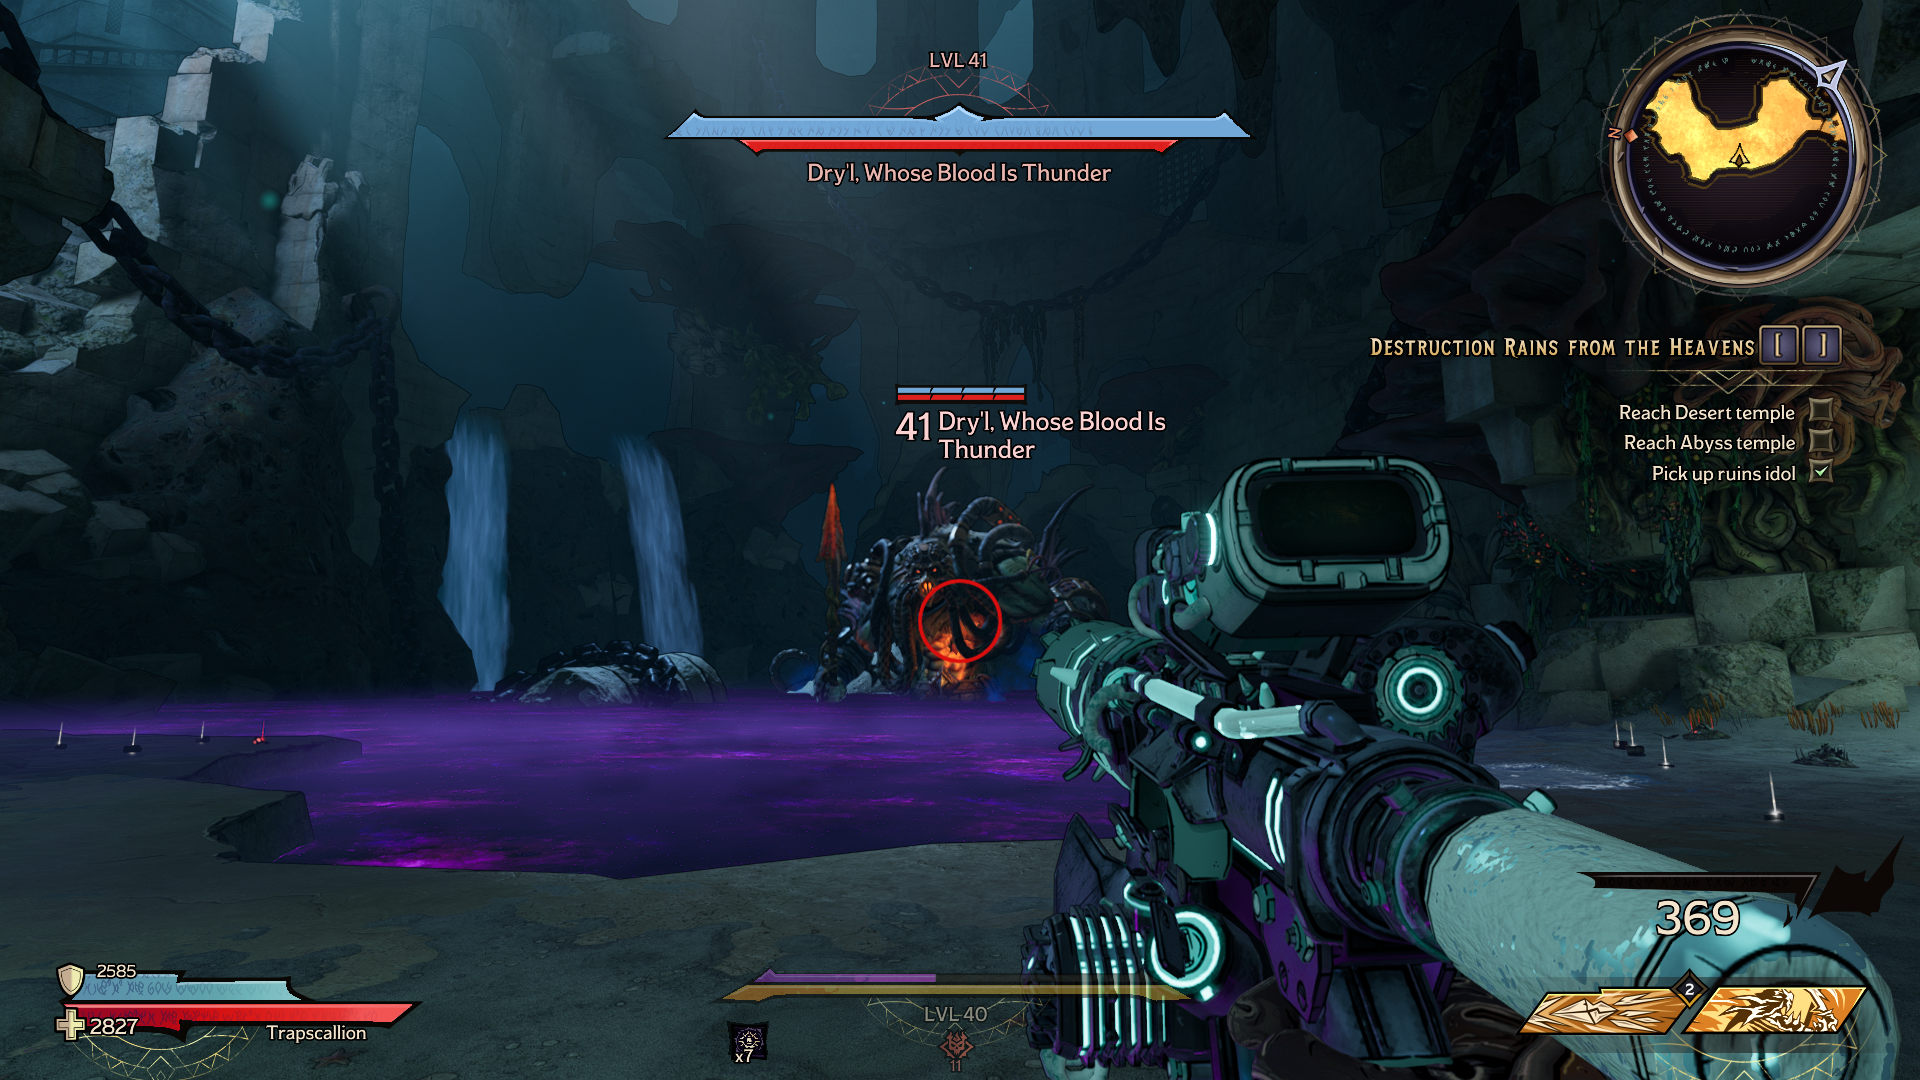
In the first of two elemental-focused phases, Dry’l moves to the back of his watery cave, pull down lightning into a spear, and then begins the fight in earnest.
Attack 1: Electric Spear Throw
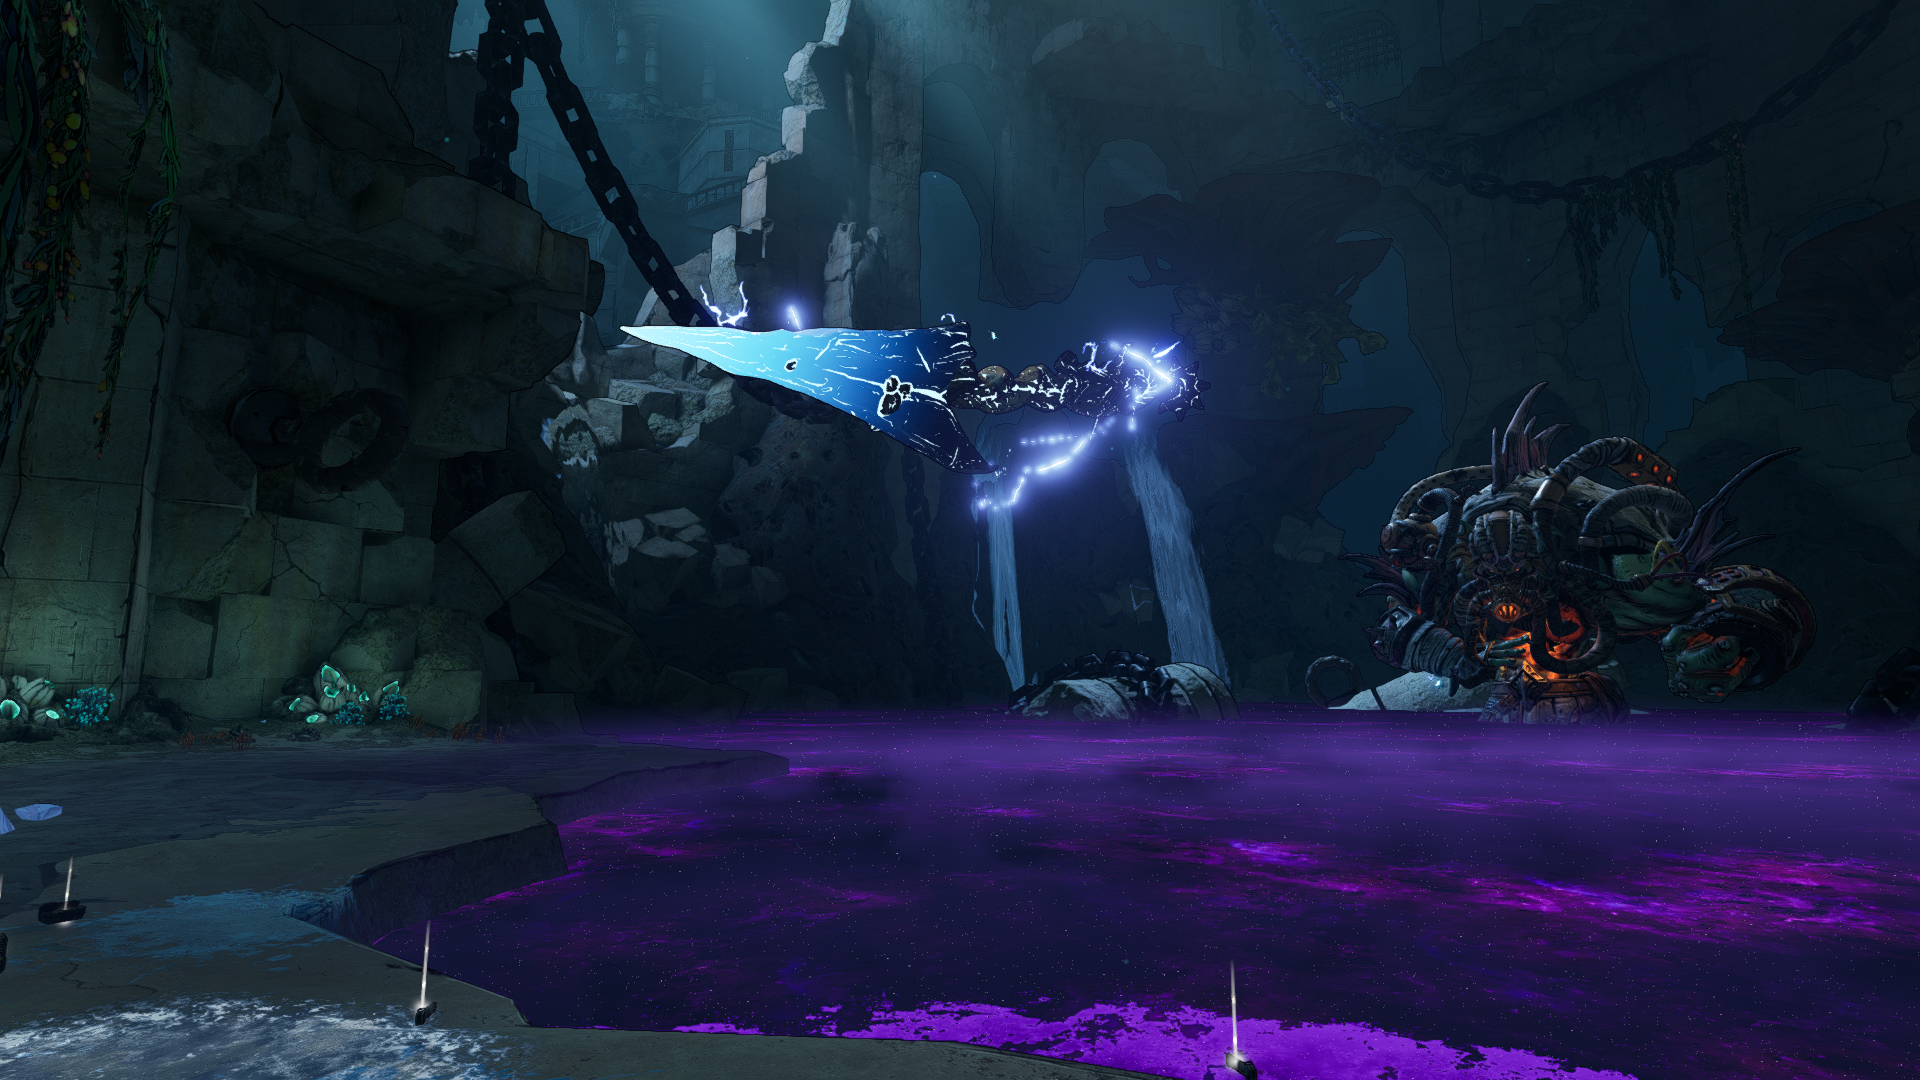
Before he makes his way back to the edge of your platform, he’ll charge his spear with electricity and throw it at you. The spear itself doesn’t track much, but when it impacts the platform, there’s an enormous explosion of electricity. Once the initial blast expires, there’s a slick of electric slime left on the ground that you’ll have to avoid.
Attack 2: Electric Spear Stake
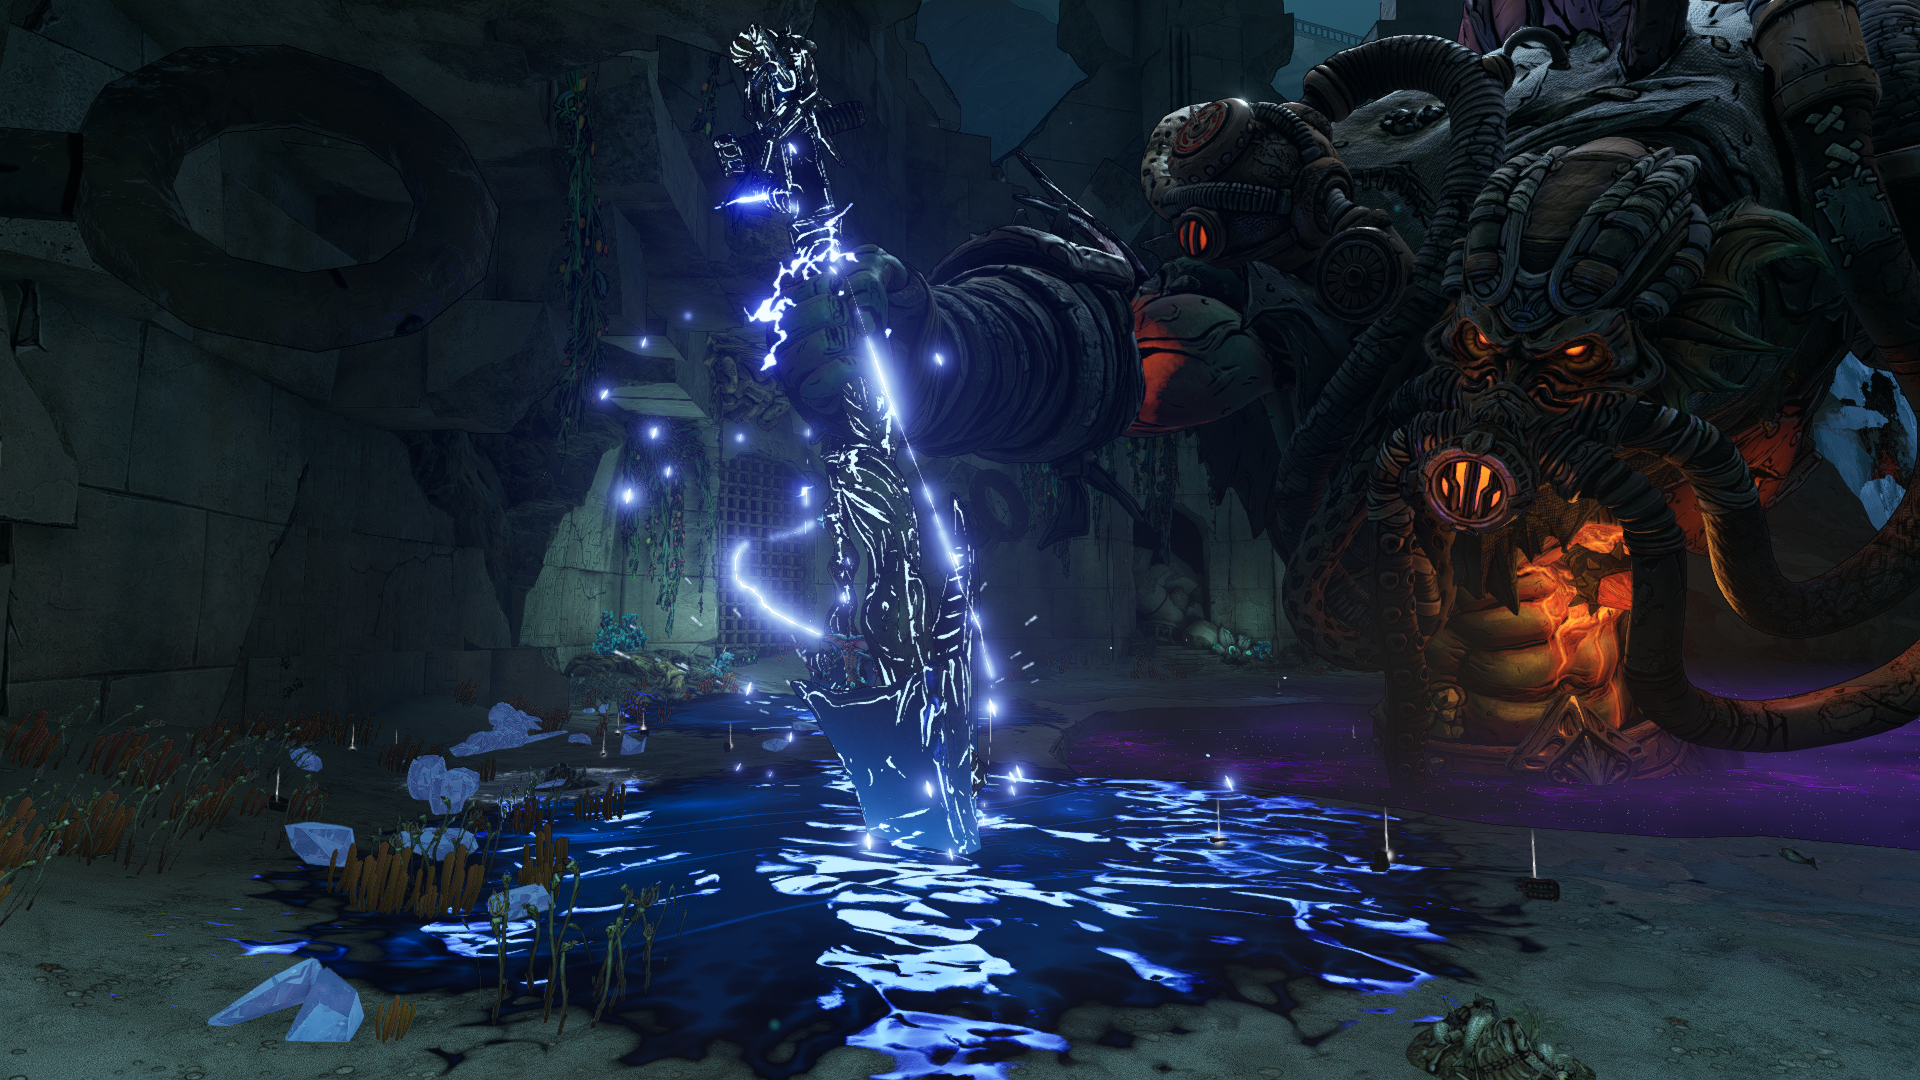
When Dry’l is back at your platform, he’ll mix in slams, but his primary means of attacking will be to raise his electrified spear and slam the pointy end into the ground. The impact causes another explosion and leaves the spear embedded in the ground, where it sets off additional explosions for about ten seconds.
Once it’s embedded, you can destroy the spear, but these also leave electrified oil slicks. Dry’l can have three spears active at once, covering the entire arena in electrical blasts, so destroy the spears quickly.
Dry’l, Whose Heart is Fire Attacks (Phase 3)
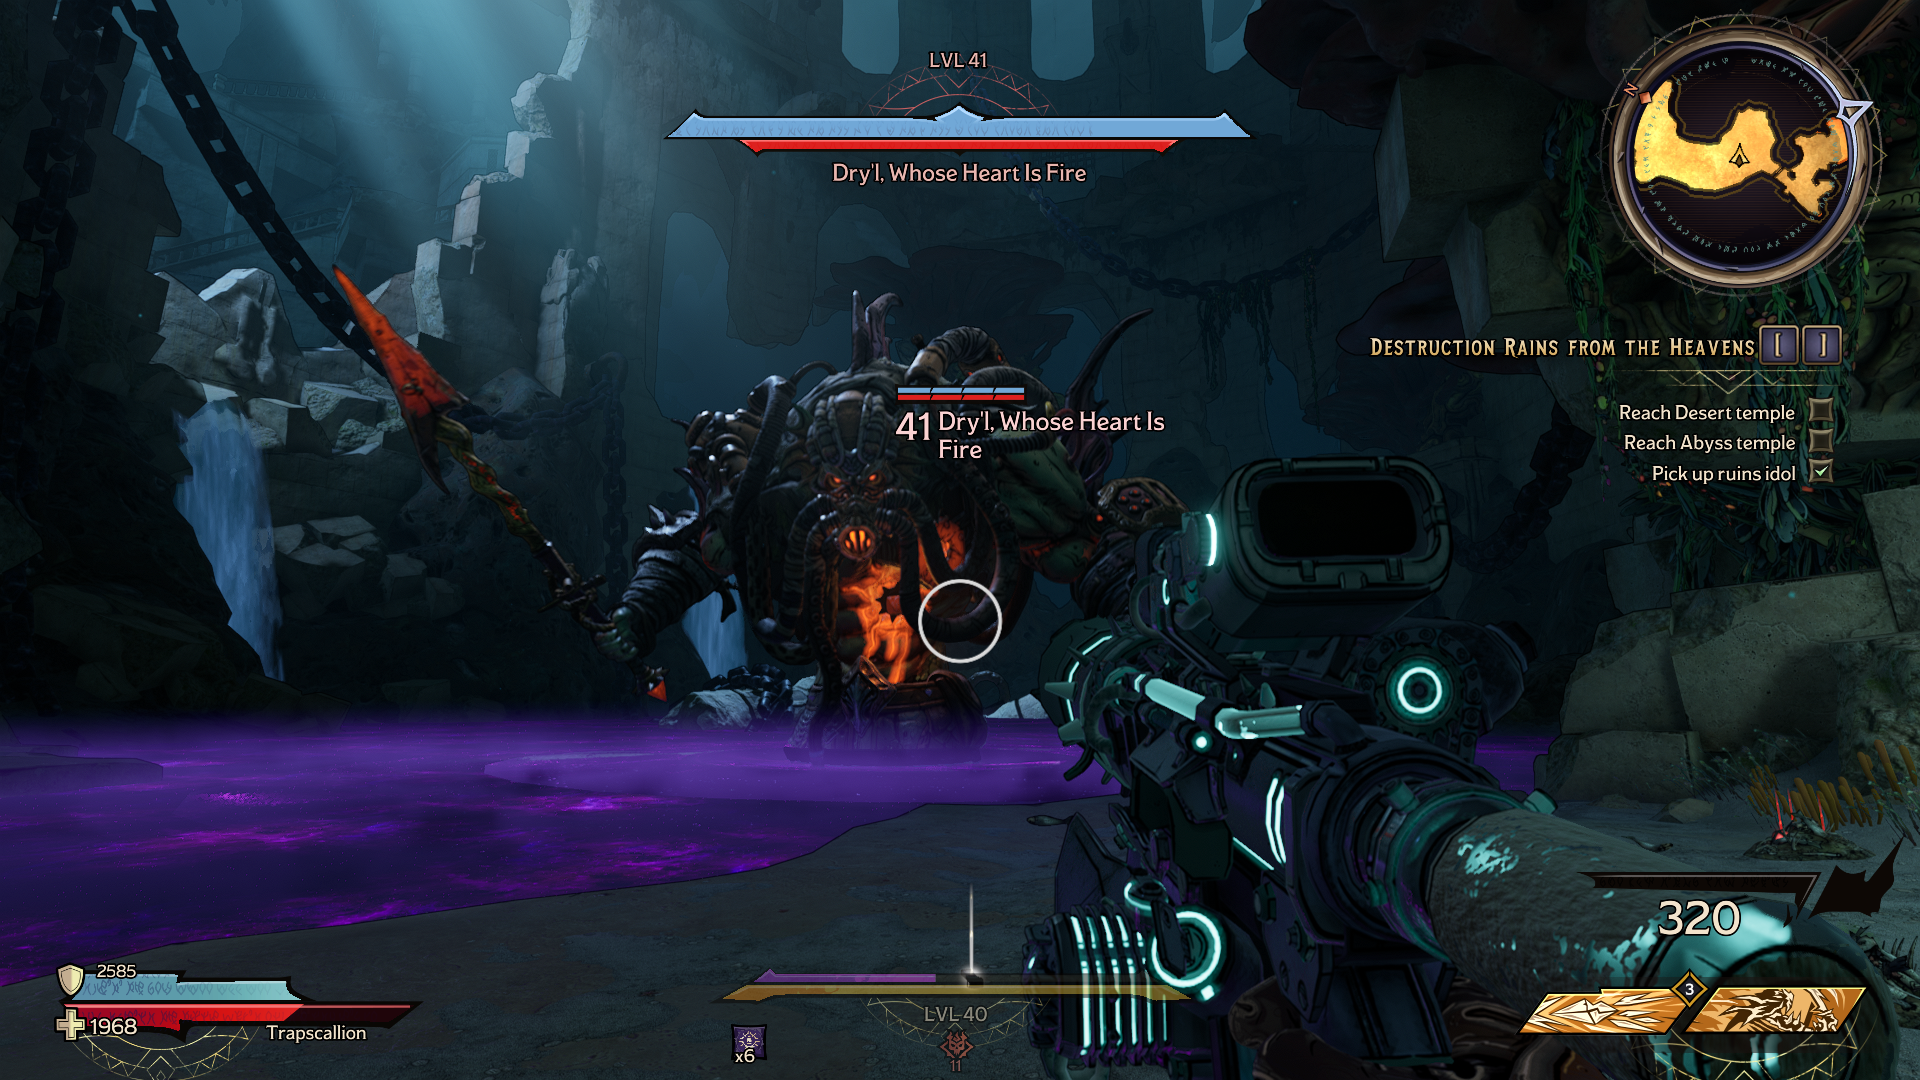
Dry’l will again retreat to the back of the arena, but instead of hurling a lightning spear, he chucks a big, flaming chunk of rock at you.
Attack 1: Flaming Rocks
When he isn’t slamming his fists, Dry’l generates fireballs that fly toward you that explode on impact. They also leave behind a pool of lava wherever they land. These last about five seconds or so and will put you on the ground far faster. They travel slowly, so it’s easy to see them coming, but you still need to be mindful.
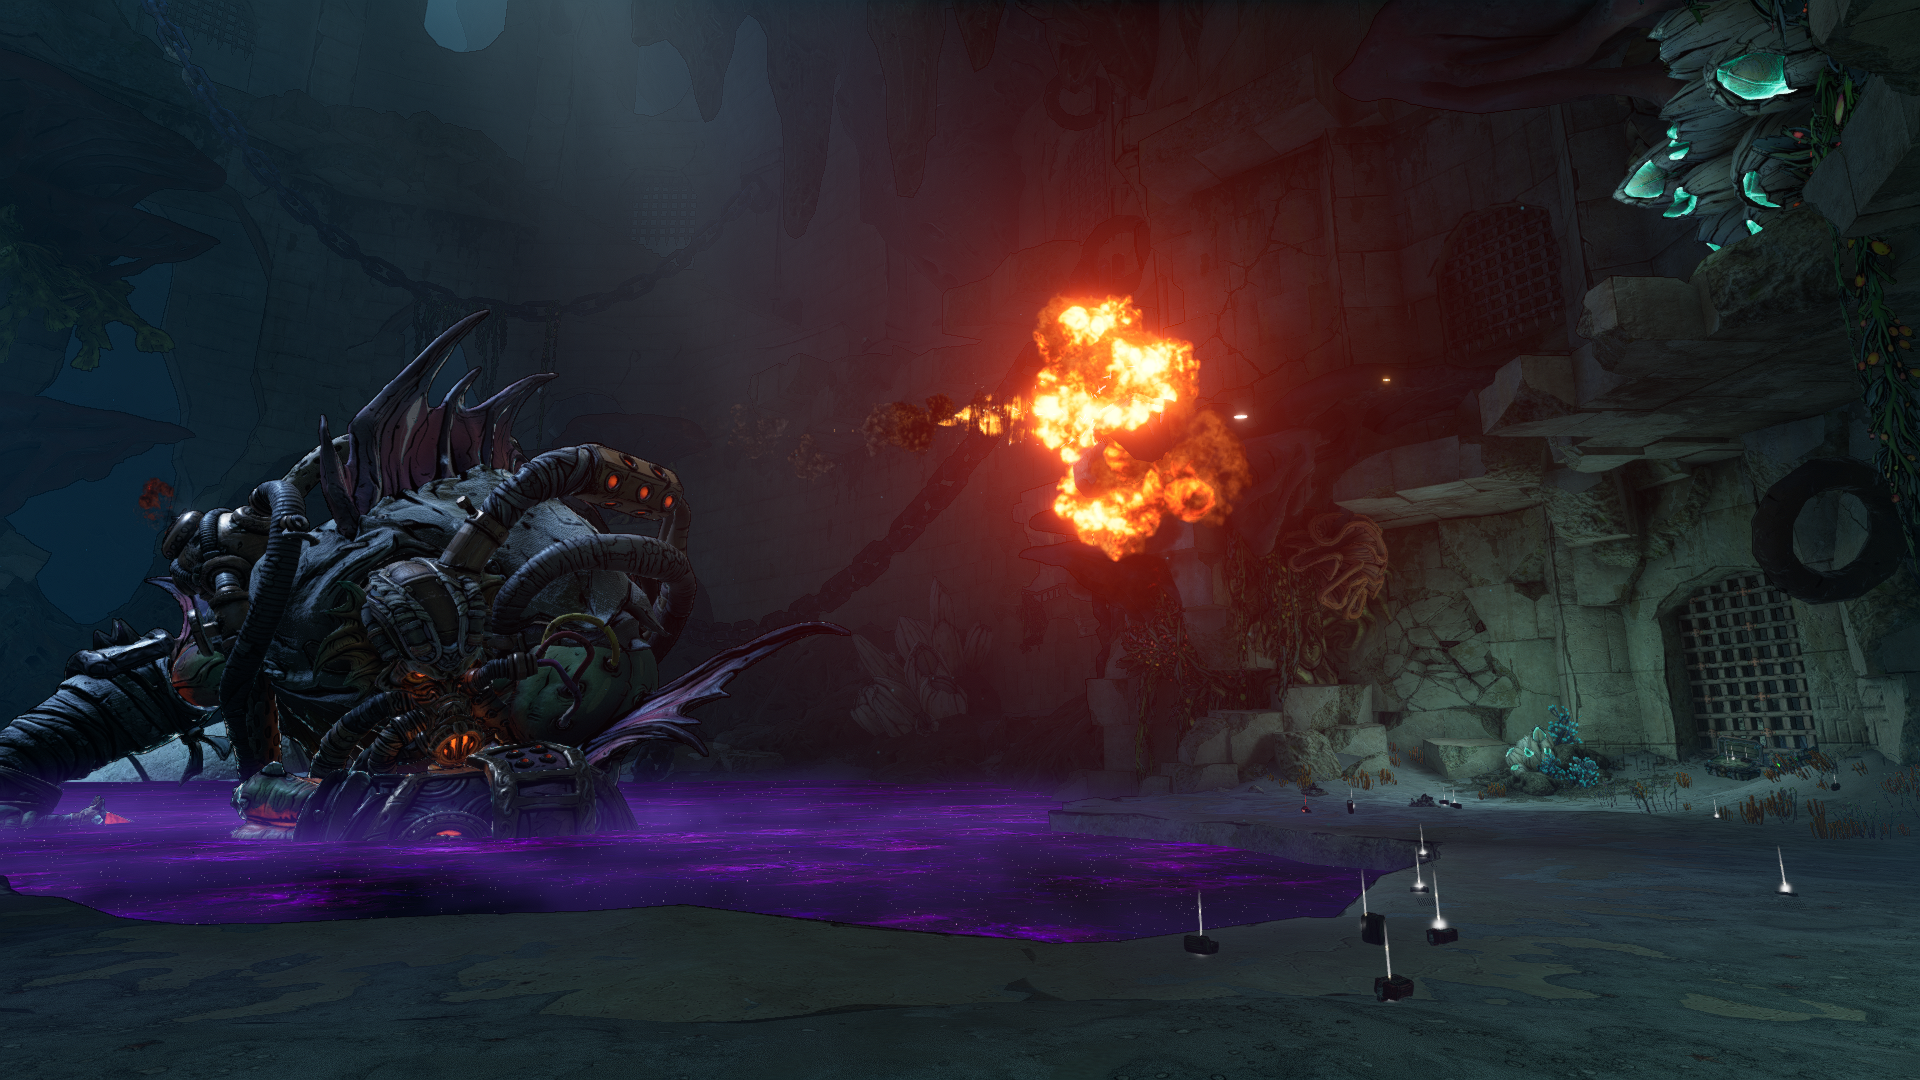
Attack 2: Flaming Breath

Dry’l lowers his head to floor level and starts breathing fire, traveling across the platform from right to left in a slow arc. The flame goes to the far wall, so you have to run to the side to avoid it. Jumping won’t do, as you’re bound to end up either in the flames or the embers of the lingering hitbox.
Those are all of Dry’l’s attacks, so hopefully, you’ll have a better time fighting him either the first time or as you return to farm him repeatedly.
He’s also an excellent place to test your build, as you can deplete each of his health bars before he gets to use almost any of his moves. It’s practically free in phases two and three, as he stands at the other end of the arena and all but demands you shoot him.
Check out our Tiny Tina’s Wonderlands guides hub for more help getting through the game.


Published: Apr 14, 2022 09:06 pm