The best way to get various kinds of meat in Eiyuden Chronicle: Rising is to set traps in forests, dungeons, and other locations. Doing so, you can quickly complete related quests and even earn a Hunting Trophy.
This guide will provide you with tips on how to use traps in Eiyuden Chronicle: Rising. You will also learn where and how you can craft different types of traps, depending on your gaming needs.
How to Use Traps in Eiyuden Chronicle Rising
Crafting Traps
There are a couple of different traps in Eiyuden Chronicle: Rising, but you always start with the Level 1 trap.
You can unlock it after completing the “Profit Chasing” quest, which becomes available during Chapter 7: Catch That Girl!. Here’s how to complete the the “Profit Chasing” quest:
- Travel to Outlander Lane in the New Nevaeh town.
- Speak to Aki at the Smithy.
- Speak to Olivier at the Inn.
- Speak to Viti at the Weapon shop.
- Go back to Second Street in New Nevaeh.
- Speak to Felipe to unlock the Tool shop.
Trap Level 1 Crafting Recipe
Once the Tool shop is open, you can start crafting your first trap, using the following recipe:
- 1x Ore.
- 1x Stone.
- 1x Lumber.
- 1,000 Baqua.
Trap Level 2 Crafting Recipe
- 1x Huge Ore.
- 1x Heavy Stone.
- 1x Lightweight Lumber.
- 2,000 Baqua.
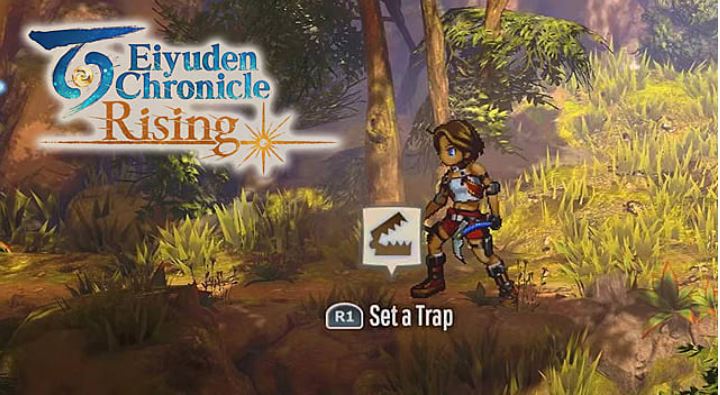
Using Traps
You can only set up traps in designated spots that are predetermined by the game. Here’s what you need to do:
- Enter a forest or a dungeon.
- Look out for pop-up messages about traps.
- When spotted, press left shift on PC or right trigger on consoles.
This simple action will place a trap in that spot. Note that you can set up multiple traps, and they will always catch something once you leave the area. However, the result is always random.
The best meat can be obtained at Hellhound Lake in the Great Forest area, so be sure to set many traps there.
Related articles
- Eiyuden Chronicle Rising: How To Save
- Eiyuden Chronicle: Rising Review — Do You Wanna Build A Village?
That’s all you need to know on how to use traps in Eiyuden Chronicle: Rising. Please, find out more about Eiyuden Chronicle: Rising tips and tricks on our dedicated hub page.


Published: May 14, 2022 08:56 am