
If you’re wondering how to get started in Valheim, the new Viking-themed survival game in Steam Early Access, you’ve come to the right place. To get through the early game, you’ll need a few tips and tricks, and this starter guide contains everything you need to know.
From crafting your first tools, weapons, and armor with the workbench, to how to begin your base, repair your equipment, cook food, and start the first boss fight against Eikthyr, these are the basics of Valheim.
Valheim Starter Guide Tips
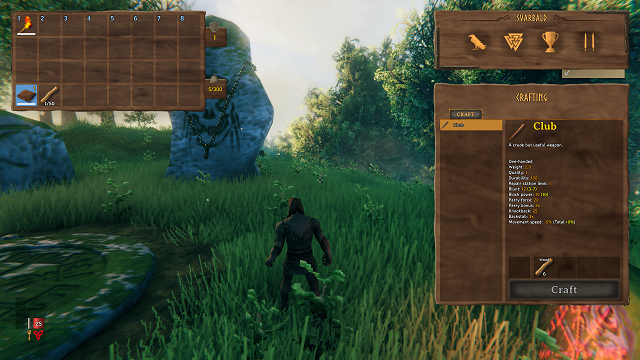
How to Craft Your Starting Weapons and Tools
When you start Valheim, you only have a rag tunic on your back and your fists to protect you. Luckily, the starting Meadows biome isn’t very dangerous, so use it to get your bearings and a handle on the controls.
Following the mini-tutorial from Odin’s raven, Huginn, which teaches you how to jump, run, block, dodge, and attack, you’ll gather wood and stone off the ground to craft your first weapons and tools. Pick up a branch to get the club recipe and a stone to get the hammer and stone ax recipes.
First, craft a club so you can fight off pesky Greylings and aggressive boar while harvesting other supplies. Next, craft the stone ax (5x wood, 4x stone) to cut down trees and gather wood.
After that, craft a hammer so you can build a workbench, the backbone of crafting.
How to Build Your First Base
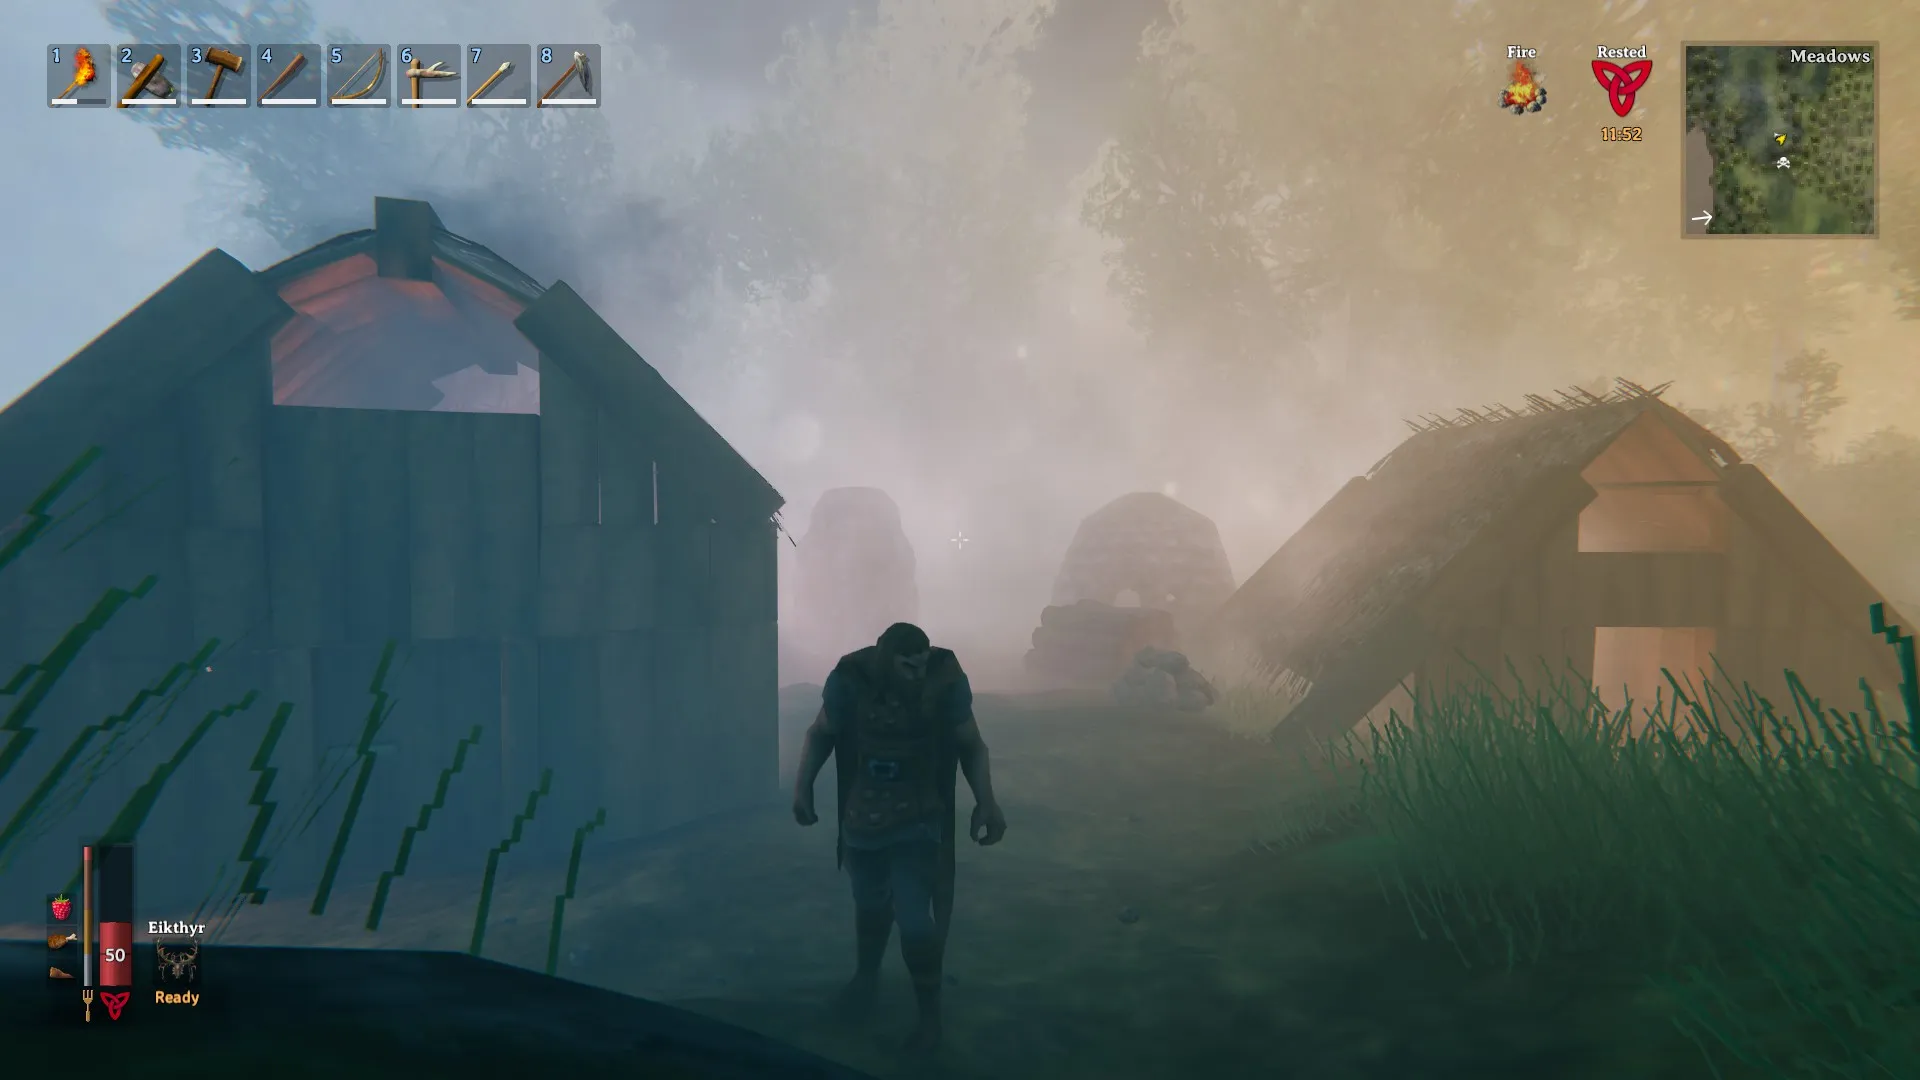
Having a base is a must in Valheim; it’s the only way to progress in crafting. Things can be as basic or as planned out as you want them to be.
At a minimum, you’ll need to build a workbench, campfire, and bed. All of these need a roof for protection from the elements. Storms can snuff out your campfire, and getting wet decreases your stamina regeneration.
From there, it’s all about gathering supplies to upgrade your workbench to craft more powerful tools, weapons, and armor.
You can have multiple workbenches spread around the map to increase your buildable area. Each workbench has a circular marker that radiates out from it, indicating where you can build structures and workbench improvements. Having more than one is essential if you’re looking to build a mighty hall or if you like to have dedicated buildings for storage, crafting, and sleeping.
You can also craft the hoe tool to level terrain, which makes building floors and walls much easier.
How to Repair Your Tools, Weapons, and Armor
![]()
The workbench is also where you’ll repair your tools, weapons, and armor by clicking on the repair hammer present in the UI on the right-hand side.
Currently, you can’t choose the order in which items are repaired; clicking the repair icon randomly fixes things. However, repairing doesn’t require any resources in the most recent Early Access build, so you don’t have to worry about scavenging for resources to fix your broken equipment.
How to Gather Resources
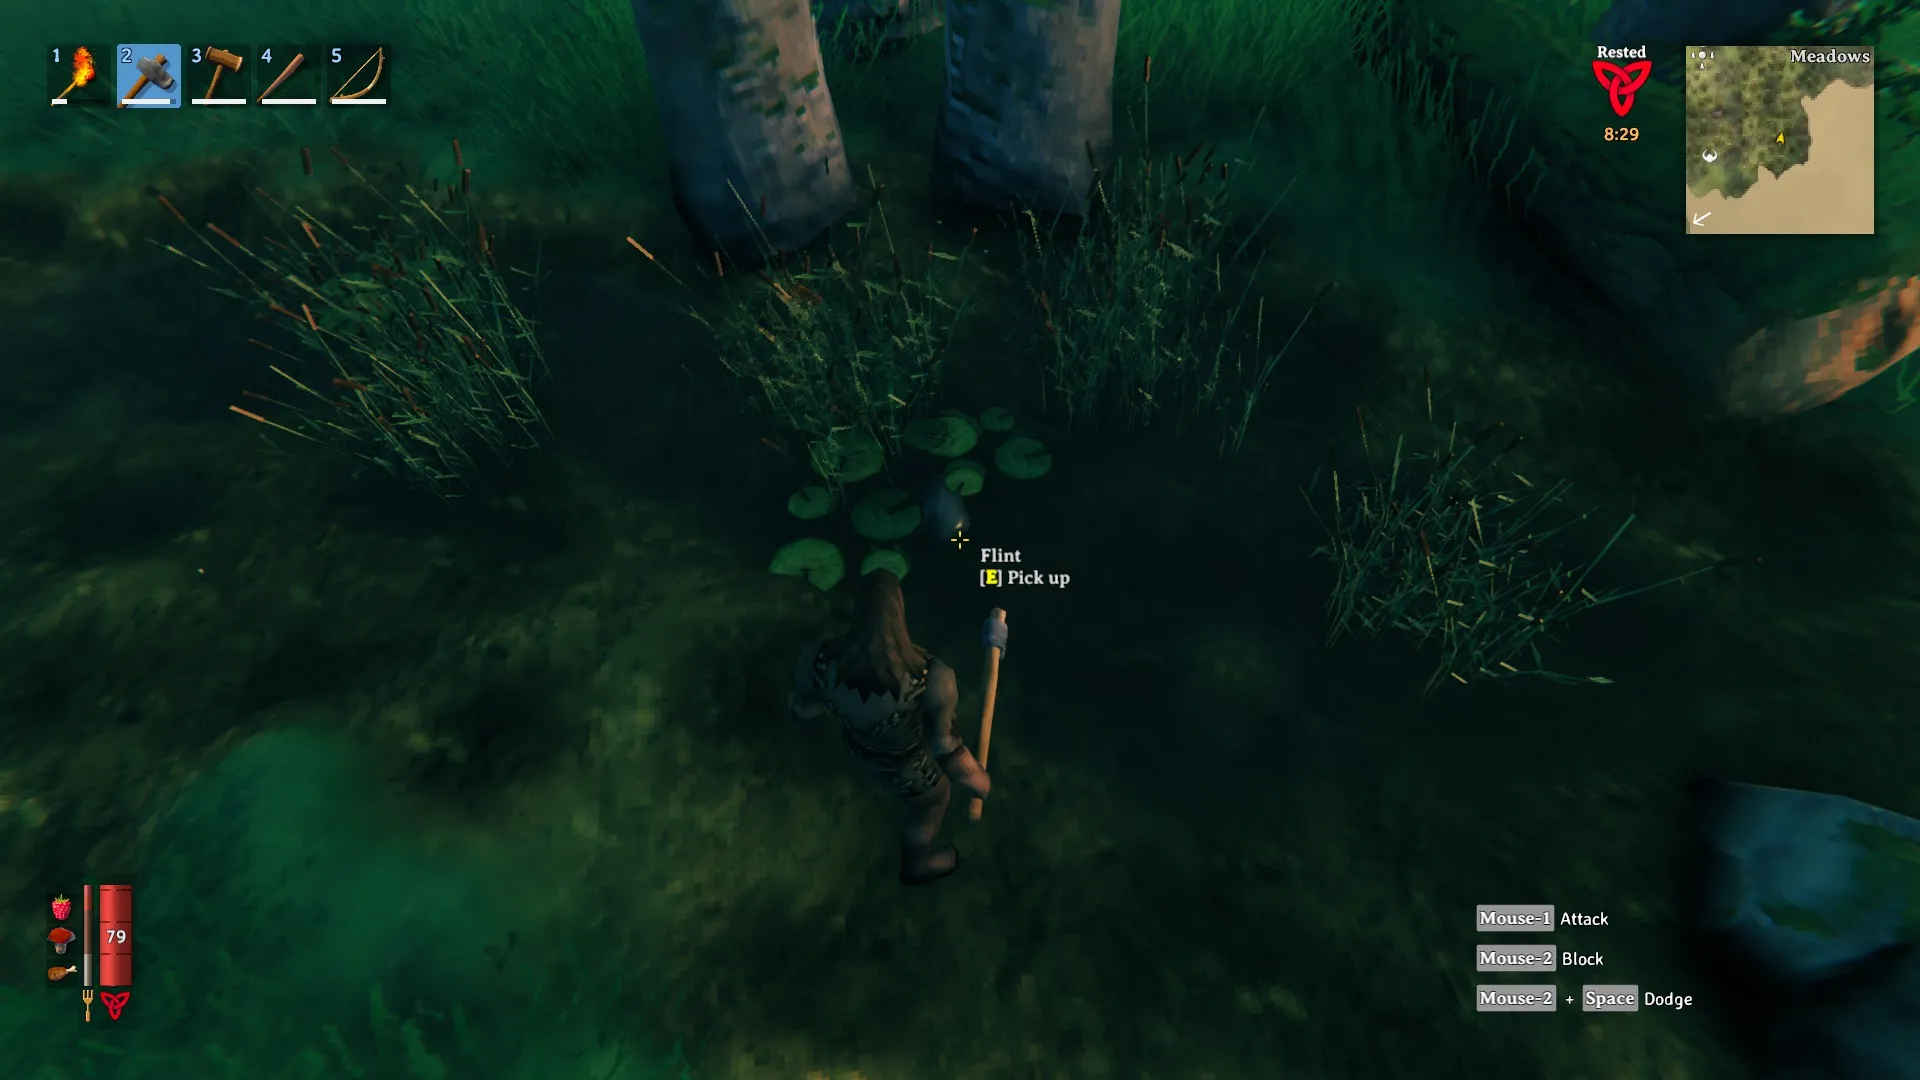
Aside from stone and wood, the items you’re going to be hunting for at the beginning of Valheim are flint, leather scraps, and deer hide. Flint is used to make and upgrade some of the more powerful early-game weapons; the same goes for leather scraps and deer hide, both of which are also used in crafting armor.
How to Find Flint
You’ll have the best luck finding flint by the water’s edge or in the water in the Meadows biome. Its grayish oblong shape is hard to miss and stands out from the black, round rocks peppering the landscape.
How to Find Leather Scraps
Leather scraps can be gathered by killing boars. Boars are an aggressive foe, but you can spook them by equipping a torch, making them less likely to attack you and more likely to flee. You’ll generally find boars in groups of 2-4 in both the woods and the open fields in the Meadows biome.
How to Hunt Deer
Deer drop deer hide and, sometimes, leather scraps. They are very skittish, though, so sneaking up on them by toggling CTRL is a good tactic. Try to approach them from behind or from the side, and use bushes and trees for cover. Just know that sneaking uses a good deal of stamina.
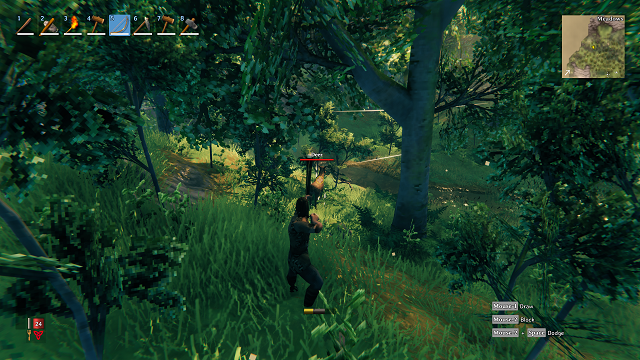
Crafting a bow and some wooden arrows at the workbench to hunt the deer and boars from a distance is your best bet. Bow shots tend to arc, so make sure to aim somewhat above your target if at a distance. The best place to find deer are in the wooded areas of the Meadows biome.
How to Cook Food
Another important resource to gather is food. Without food, your available stamina and hitpoints remain very low.
You can gather resources like berries from bushes and mushrooms found on the ground for slight health boosts, but the king of food is meat. To gather meat, kill a boar or deer, and then craft a cooking stand. Place the cooking stand over a campfire, and put the raw meat on the cooking stand.
Roasting meat requires a bit of babysitting, though, since it can burn and turn to charcoal. The first “ding” you hear after putting meat on a cooking stand means the meat is done. A second “ding” means your meat is now inedible charcoal.
How to Gear Up for the First Boss Fight with Eikthyr
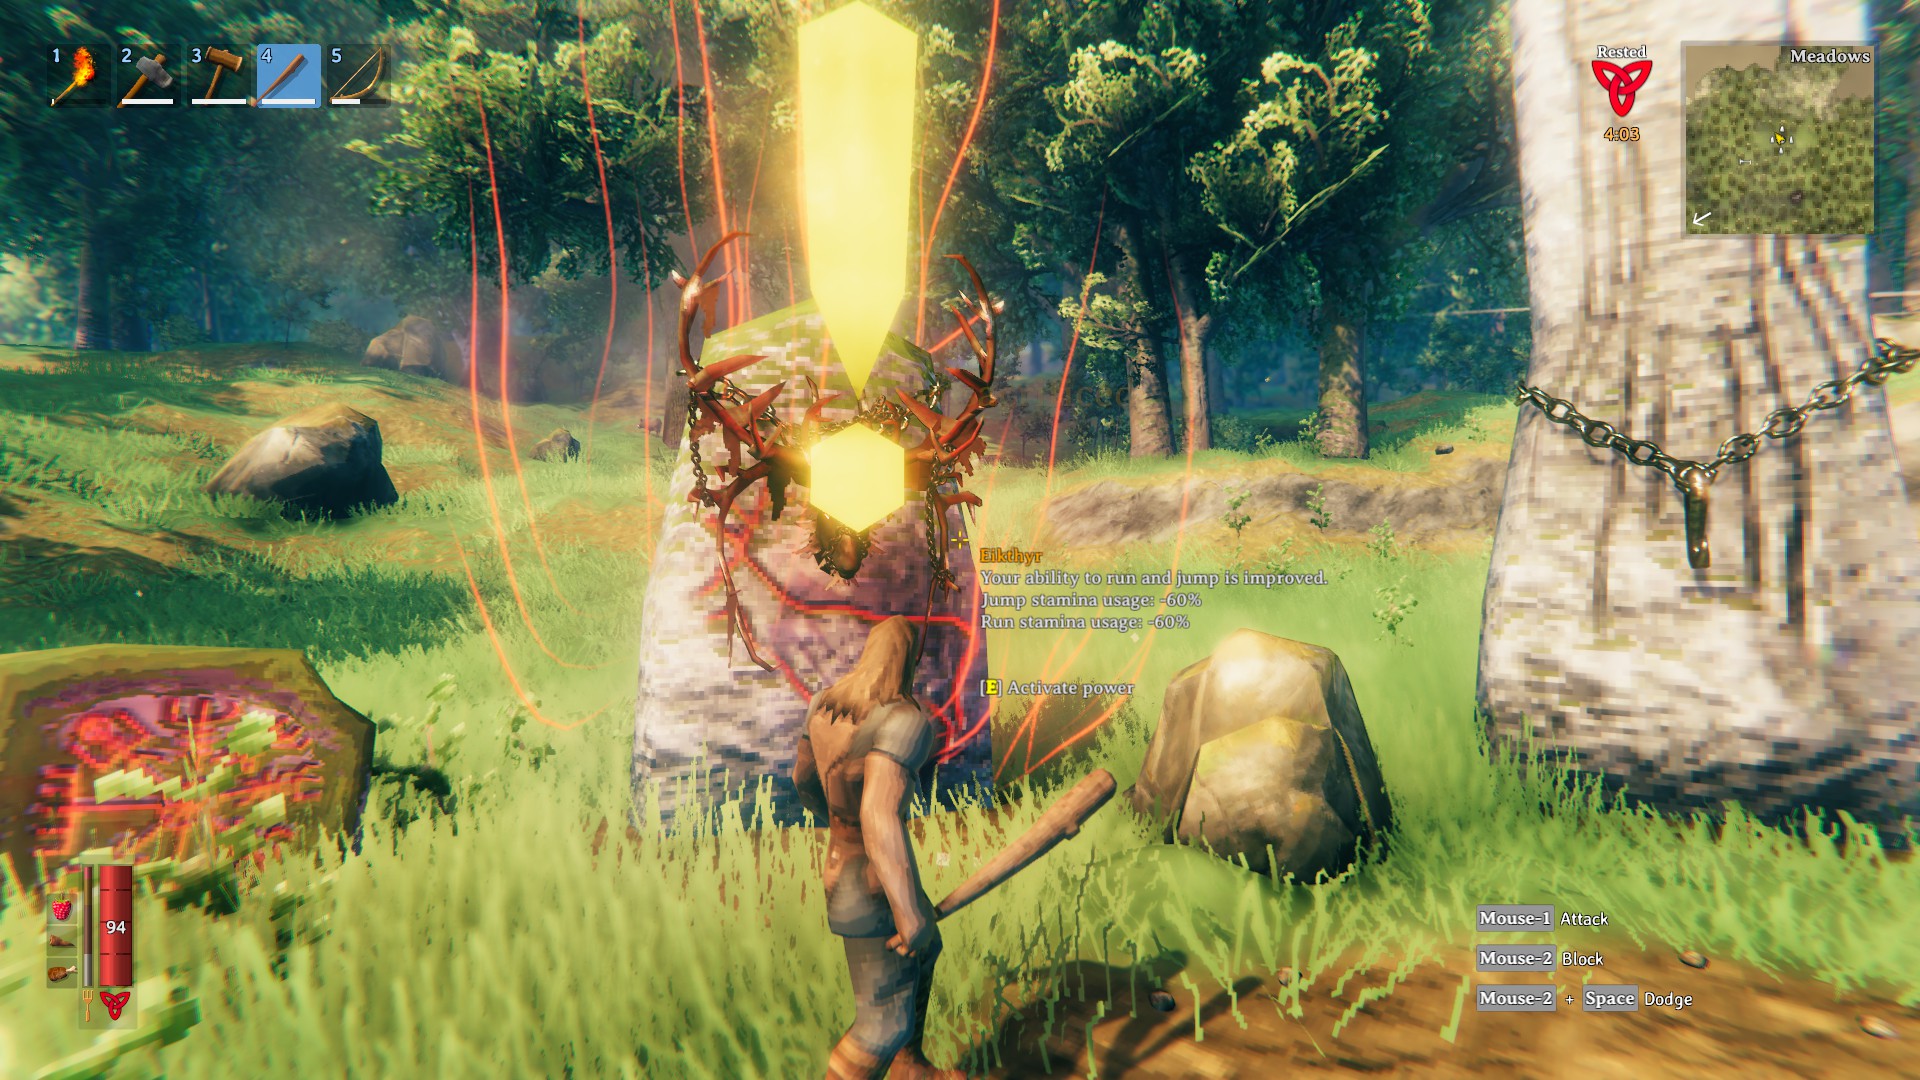
By this point, you should have gathered enough resources to craft and upgrade your weapons, as well as stock up on food. There’s much more crafting to learn and prepare for in the way of mining — such as how to craft the pickaxe — but you must defeat the first boss, Eikthyr, to progress further.
To start the boss fight, you must sacrifice two deer trophies, which you gather from killing deer.
For the best fighting chance against Eikthyr, you should consume a piece of cooked meat, grilled neck tail (found from the lizard enemies near water), and a mushroom for maximum health and stamina before putting down the offering. I’d also suggest crafting some flint arrows for your bow, a flint ax, and some leather armor to help absorb the damage for the best fighting chance.
And there you have it: our Valheim starter guide with the essential tips and tricks you need to know to make the most of your first few hours. If you found this article helpful, consider checking out our others for angling tips (and how to get the fishing rod), how to find the wiley merchant, and what you need to know about base construction.


Published: Feb 11, 2021 09:19 am