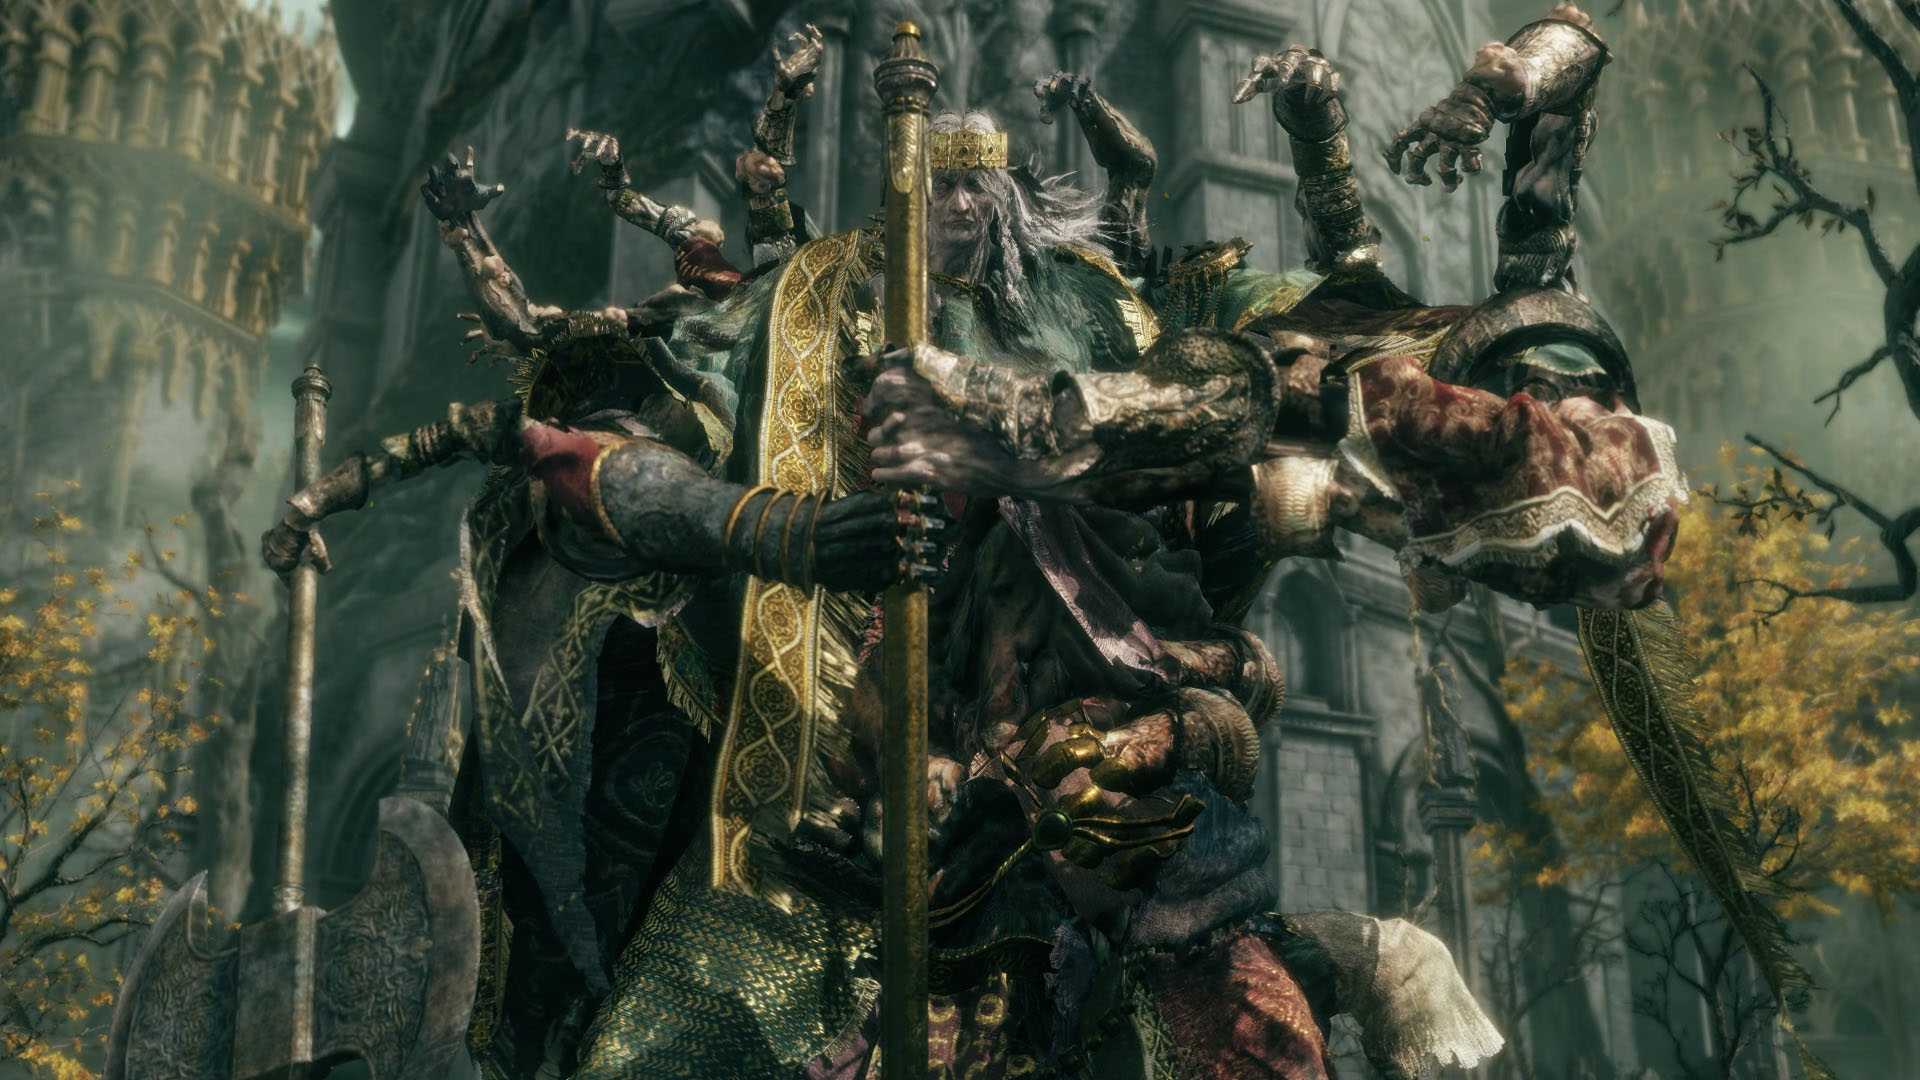
Godrick the Grafted, or Godrick the Golden as he’s sometimes called, is the first sharbearer demigod you’re likely to encounter in Elden Ring. He’s lord of Stormveil Castle and can be an even bigger roadblock than Margit, the Fell Omen for anyone unprepared for his fast, wide-ranging, and powerful attacks. Worst of all, his health pool is easily double that of Margit’s for most character and weapon levels at this early point in the game.
This Elden Ring boss guide aims to provide you with all the information you need to overcome a demigod, claim his Great Rune, and continue on the path to Elden Lord.
How to Beat Godrick the Grafted in Elden Ring
Godrick’s boss fight takes up two distinct phases. His first phase is very much a lesson for his second phase and, like Margit, something of a lesson for the rest of the game’s larger, set-piece boss fights. Godrick’s attacks here are have long windups and easy-to-see tells but can take you out in two or three hits.
Godrick then transitions at a little more than half health, pinpointed by a short cinematic. Godrick will begin to scream, raise his ax high into the sky, chop off one of his arms, then start to scream again. A second cutscene will play, showing him graft the dead dragon’s head to himself. The second part of the fight then commences.
Godrick the Grafted Phase One Attacks
Godrick has five primary attacks in his first phase. None of them are particularly fast, as he opts instead for heavy slams and other ground-covering swings. As with many of Elden Ring’s bosses, there is a significant delay to some of the ways Godrick attacks, so you need to roll or block with intention. Panicking will only get you killed.
Attack 1: Grind into Slam
The default opener to the boss fight, Godrick charges at you, grinding his axes against the ground. He’ll swing either when he reaches you or after traveling a significant but specific distance. To avoid this attack, roll forward and to Godrick’s right about a quarter second before he gets you or as he’s beginning to start his swing. You can block this attack, but doing so will take a chunk of your stamina bar and make whatever comes after a more challenging task.
Attack 2: Double-axe Quake
Godrick will begin to laugh, grasp the hilt of his ax in both hands, and point the blade at the ground as he did in his opening cutscene. After about three seconds, he slams the ax into the ground, creating a short-range earthquake. Then he’ll do it a second time for a quake that reaches twice the distance.
The optimal strategy to counter this attack is to roll into both quakes as they happen and use the invincibility frames to get close and punish Godrick’s cooldown. If you’re more comfortable retreating, know that the range on the quakes is a little beyond the visual aspect of the attack, so roll and guard farther to account for it.
Attack 3: Big but Normal Swing
This attack is the simplest Godrick uses; it’s a wide, relatively slow swing of his ax when you’re standing at close or close-medium range. Like all his attacks, it travels from your left to your right and covers Godrick’s front and part of his right side. This is the best attack to straight-up tank if you’re blocking, as it’s not powerful enough to do much to your stamina bar. Avoiding it is as simple as rolling to the boss’ side.
Attack 4: Whirlwind
Godrick begins swinging his ax in a circle above his head, creating a whirlwind around himself. This attack hits twice in very close range, and while avoiding it is easy enough, its true purpose is to set up for two other, much more dangerous attacks.
Attack 5: Whirlwind Roll and Slam
After casting the Whirlwind, Godrick begins rolling on his back in a semi-circle, eventually making his way toward you. Once he’s within close- to medium-range, he’ll launch into the air, hang there for about a second or two, then slam into the ground, creating a massive shockwave.
Like Margit’s hammer slam, avoiding this attack is easy: wait until just before Godrick starts descending, then roll toward him and to his right. Yes, that’s a pattern you should remember. It will come up again and again.
Attack 6: Whirlwind Double Shot
Godrick’s long-range attack, following the initial whirlwind charge, he’ll swing his ax and send out a whirling spear of wind, then a second one shortly after. The first spear travels from left to right, the second right to left. To avoid the first, dodge right, the second left. Roll in the direction opposite the spear’s initial movement.
Godrick the Grafted Phase Two Attacks
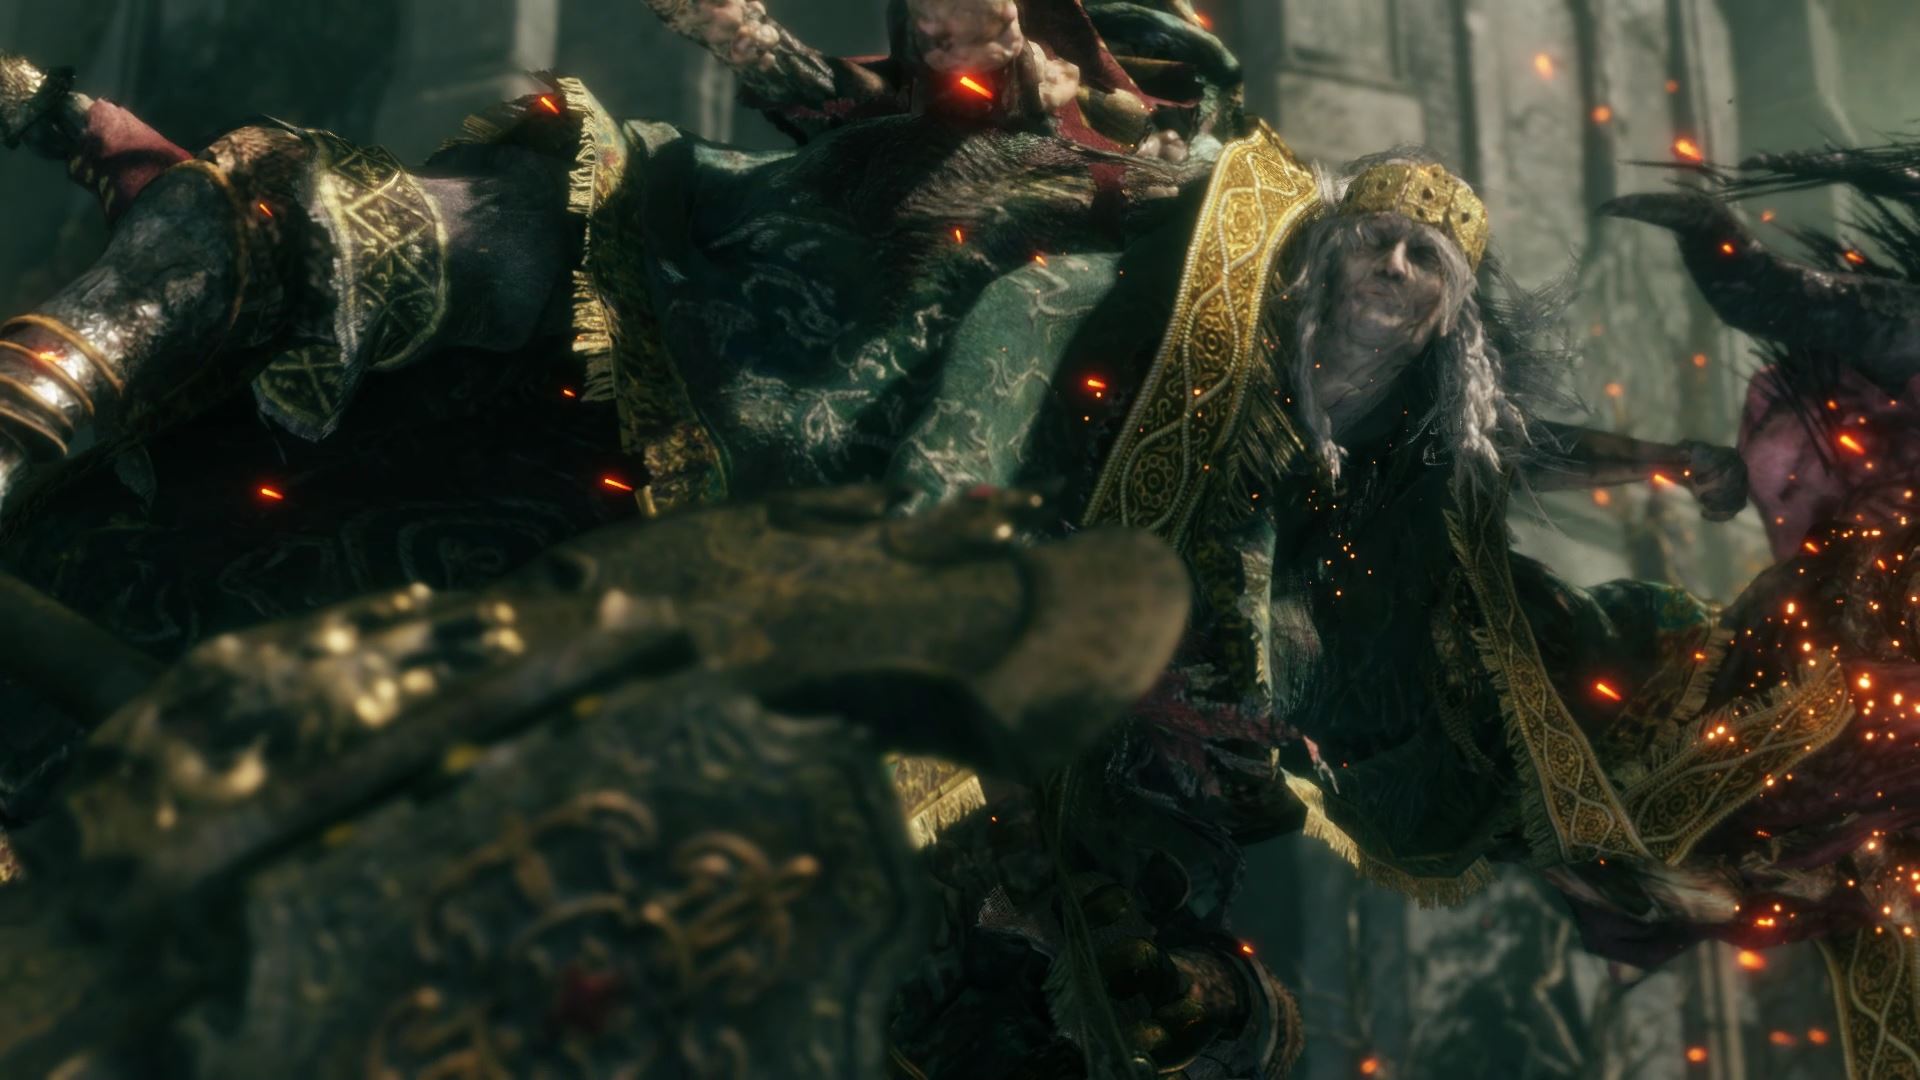
Phase two of your boss fight with Godrick is a lesson in mainline boss second phases. Rather than changing how the boss works entirely (which does happen, though rarely), Godrick’s second phase adds significant complication to the encounter without altering its core. You will see several new attacks courtesy of Godrick’s new dragon head arm, but the main novelty is how his phase one attacks evolve.
Note: Only new and changed attacks are discussed below.
Attack 1: Fire breath
Godrick’s opener to phase two raises his dragon arm, then slowly waves it across an arc in front of him, sending out fire for a considerable distance. He covers the arc slowly, and his main body is completely vulnerable during the attack, so run to his left to avoid the fire and wail on him until the fire stops.
Attack 2: Bear Witness!
Godrick raises his dragon head arm into the air like he does in his phase transition cutscene and sends out a small volcanic eruption. Flame and rocks explode in every direction, with the rocks exploding again when they hit the ground. Damage here isn’t too significant, but the radius of the attack is, so your best bet is to simply get away.
Attack 3: Dragon Head Grab
Probably the most dangerous attack in Godrick’s second phase, this one starts with the dragon head rearing back and bearing its fangs, then quickly sweeping across the front of Godrick from right to left. There’s no blocking this one. Either you roll through it to the right or back at the right time, or you’ll end up taking at least ¾ of your health from the whole affair. If you summon for this fight, don’t get too close if a cooperator gets grabbed. The fire from the attack will hurt you as well.
Attack 4: Triple Ax-Quake
If you didn’t like the first phase version of the quake attack, prepare to hate Godrick even more. The setup is the same, as is the timing of the first two quakes. The third quake has a significant delay and covers the widest area of the three. Getting away here means running the instant Godrick raises his ax. As always, you can roll through the quakes, though it takes learning the timing of three of them now.
Attack 5: Flaming Whirlwind
The whirlwind and its associated attacks follow the same structure as phase one, but now they’re on fire. Both the rolling slam and wind spears have additional AoE effects that widen and extend the effects of the attacks. Therefore, the roll timing on any explosion is delayed by a little less than a quarter second. Tight timing, yes, but it wouldn’t be the second phase without some additional difficulty.
Those are all the attacks in Godrick the Grafted’s arsenal. As with any boss guide, there’s only so much you can learn from the words on the page, so be prepared to fail a few times as you get a handle on the timing of his attacks and build your own strategies.
And those are the strategies for how to beat Godrick in Elden Ring. There’s no shame in calling for help from the friendly cooperators bound to be plentiful around the Godrick boss fog. Check out our cooperation guide to find out how. If you want to know where to prepare for Godrick a little better, look no further than our where to go first guide. Our Elden Ring guides hub continues to grow, so keep it bookmarked.


Published: Mar 2, 2022 09:46 pm