
Farming and life-sims go hand-in-hand, and Team 17’s Animal Crossing adjacent entry is no different. Whereas most games in the genre get you tilling the ground and planting crops right away, Hokko Life takes its time getting you on the farm. In fact, it’s one of the last areas you’ll likely unlock in the game.
Since getting to the farm is fairly obtuse, this guide will lead you through the steps you’ll need to take. It will also tell you how to unlock the farm’s expansion and outline the crops and trees you can plant along the way.
How to Unlock the Farm
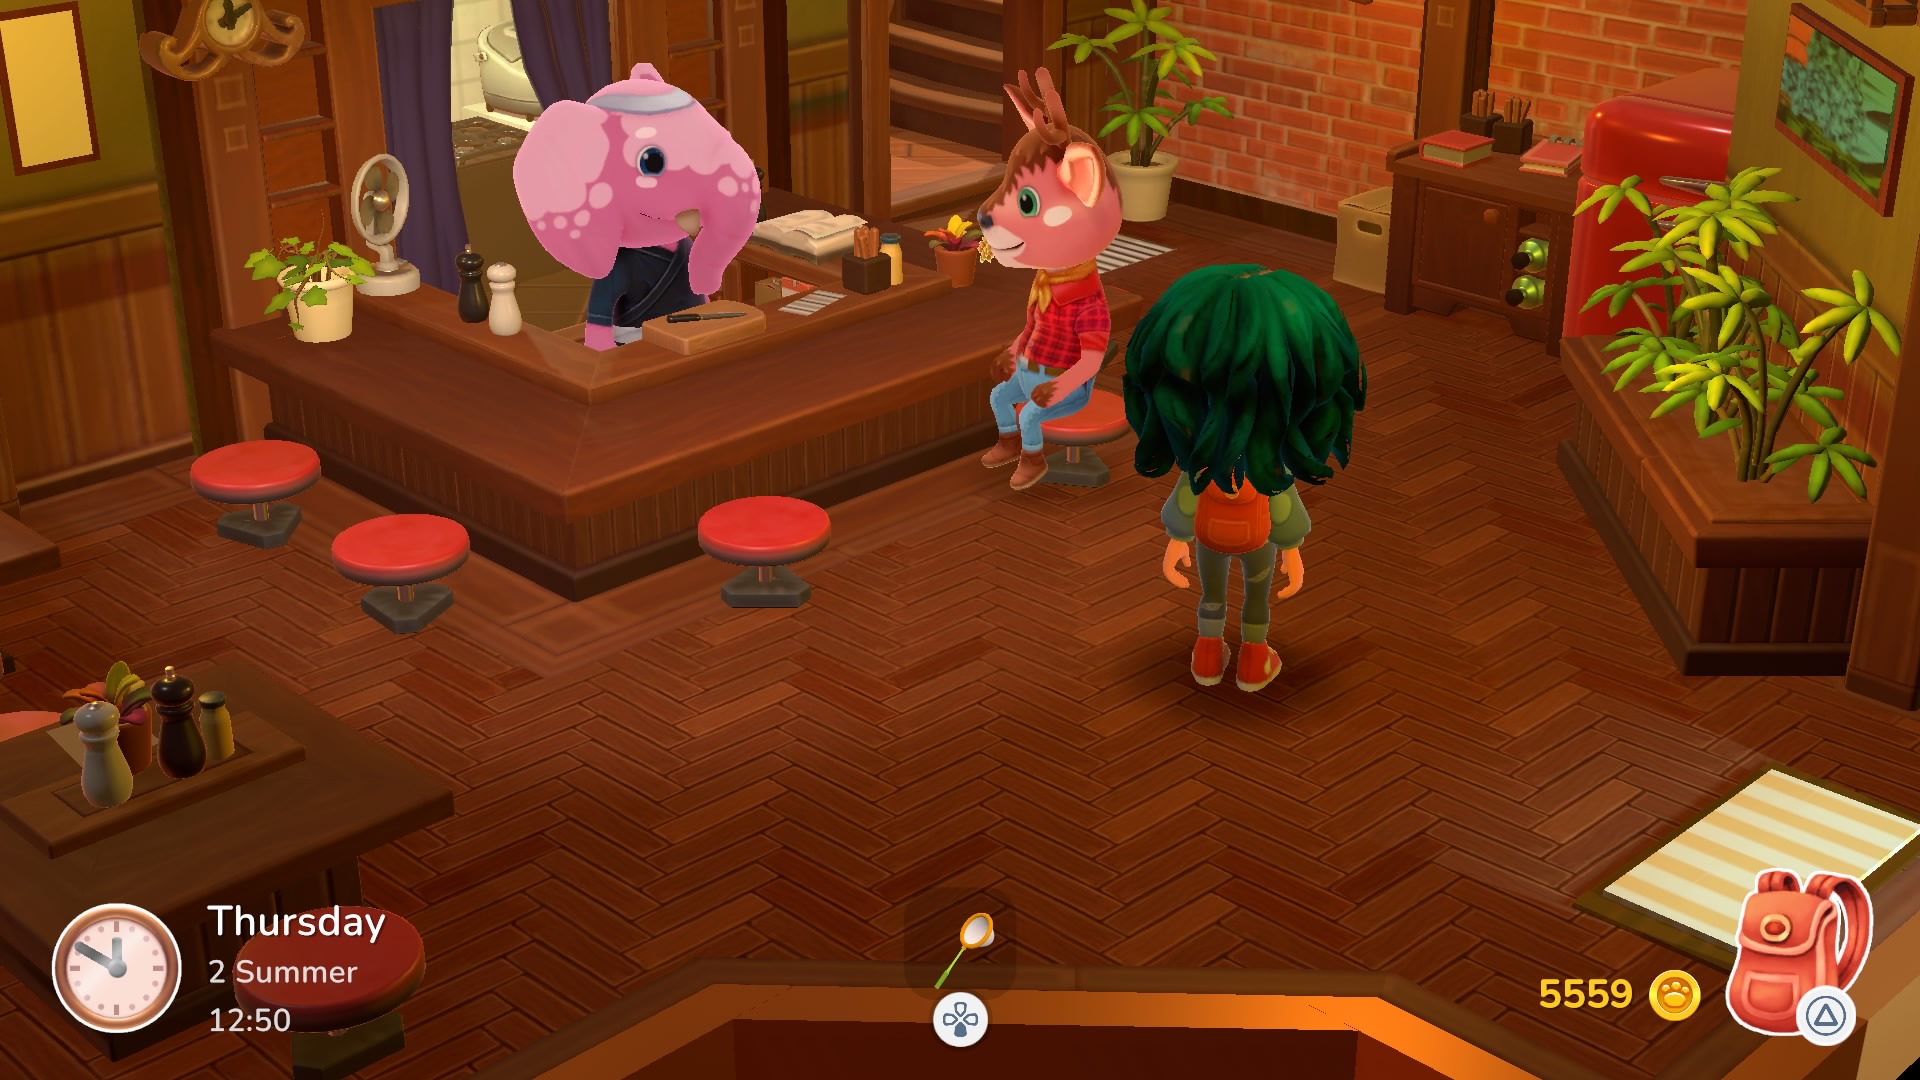
Early in Hokko Life, Oma the innkeeper will tell you that new villagers and shopkeeps will appear at the inn around lunch each day. Which NPCs appear on any given day is random, and only one NPC visits every day, so be sure to visit every time you can. To unlock the farm, you’ll need to speak with Aubrey at the inn; they’re the deer with antlers, and a red, long-sleeve flannel shirt rolled up to the elbows.
By the time you speak with Aubrey, it’s likely that you’ve already accessed the woods on the northern side of the village; it’s the path you take to reach the Mines. If not, you’ll need to do the following to reach the woods:
- Speak with Rosa, the Realtor (who appears at the inn during early spring).
- Build any house once Rosa opens shop.
- Have any villager move into the newly-constructed house.
- Build the small stairs to reach the elevated portion of the village (the small stairs recipe is given to you by Rosa once a new NPC moves in).
- Use the stone stairs leading through to Torii Gate north of the village to reach the woods.
Once on the woods path, go down the second path to the left (if you’ve not spoken to Aubrey, this path will be blocked by a wooden fence, which you’ve likely seen opening the Mines and the Small Woods). After taking the path, you’ll load into the farm area, with a barn and plenty of debris on the ground. Speak to Aubrey again, and he’ll ask you to clean things up; in my experience, this includes the weeds and logs but not the stones.
After clearing the weeds and logs from the area, speak with Aubrey once again, and they’ll tell you about growing crops and give you the recipes for the watering can and the hoe.
How to Craft the Watering Can and Hoe
Before you can do anything else farming related, you have to craft the watering can and hoe at the Workbench in the Workshop. Here are their recipes:
- Watering Can: x6 Steel.
- Hoe: x3 Wooden Planks, x3 Steel.
Farming 101
With the watering can and hoe in tow, return to Aubrey, and ask them how to start farming. Of course, they’ll tell you to till the ground with the hoe and water plots with the watering can. At the end of the conversation, you’ll get x6 Tomato Seeds, and Aubrey will open up shop so you can buy more crop seeds, flower seeds, trees, fabrics, and other farm-centric supplies.
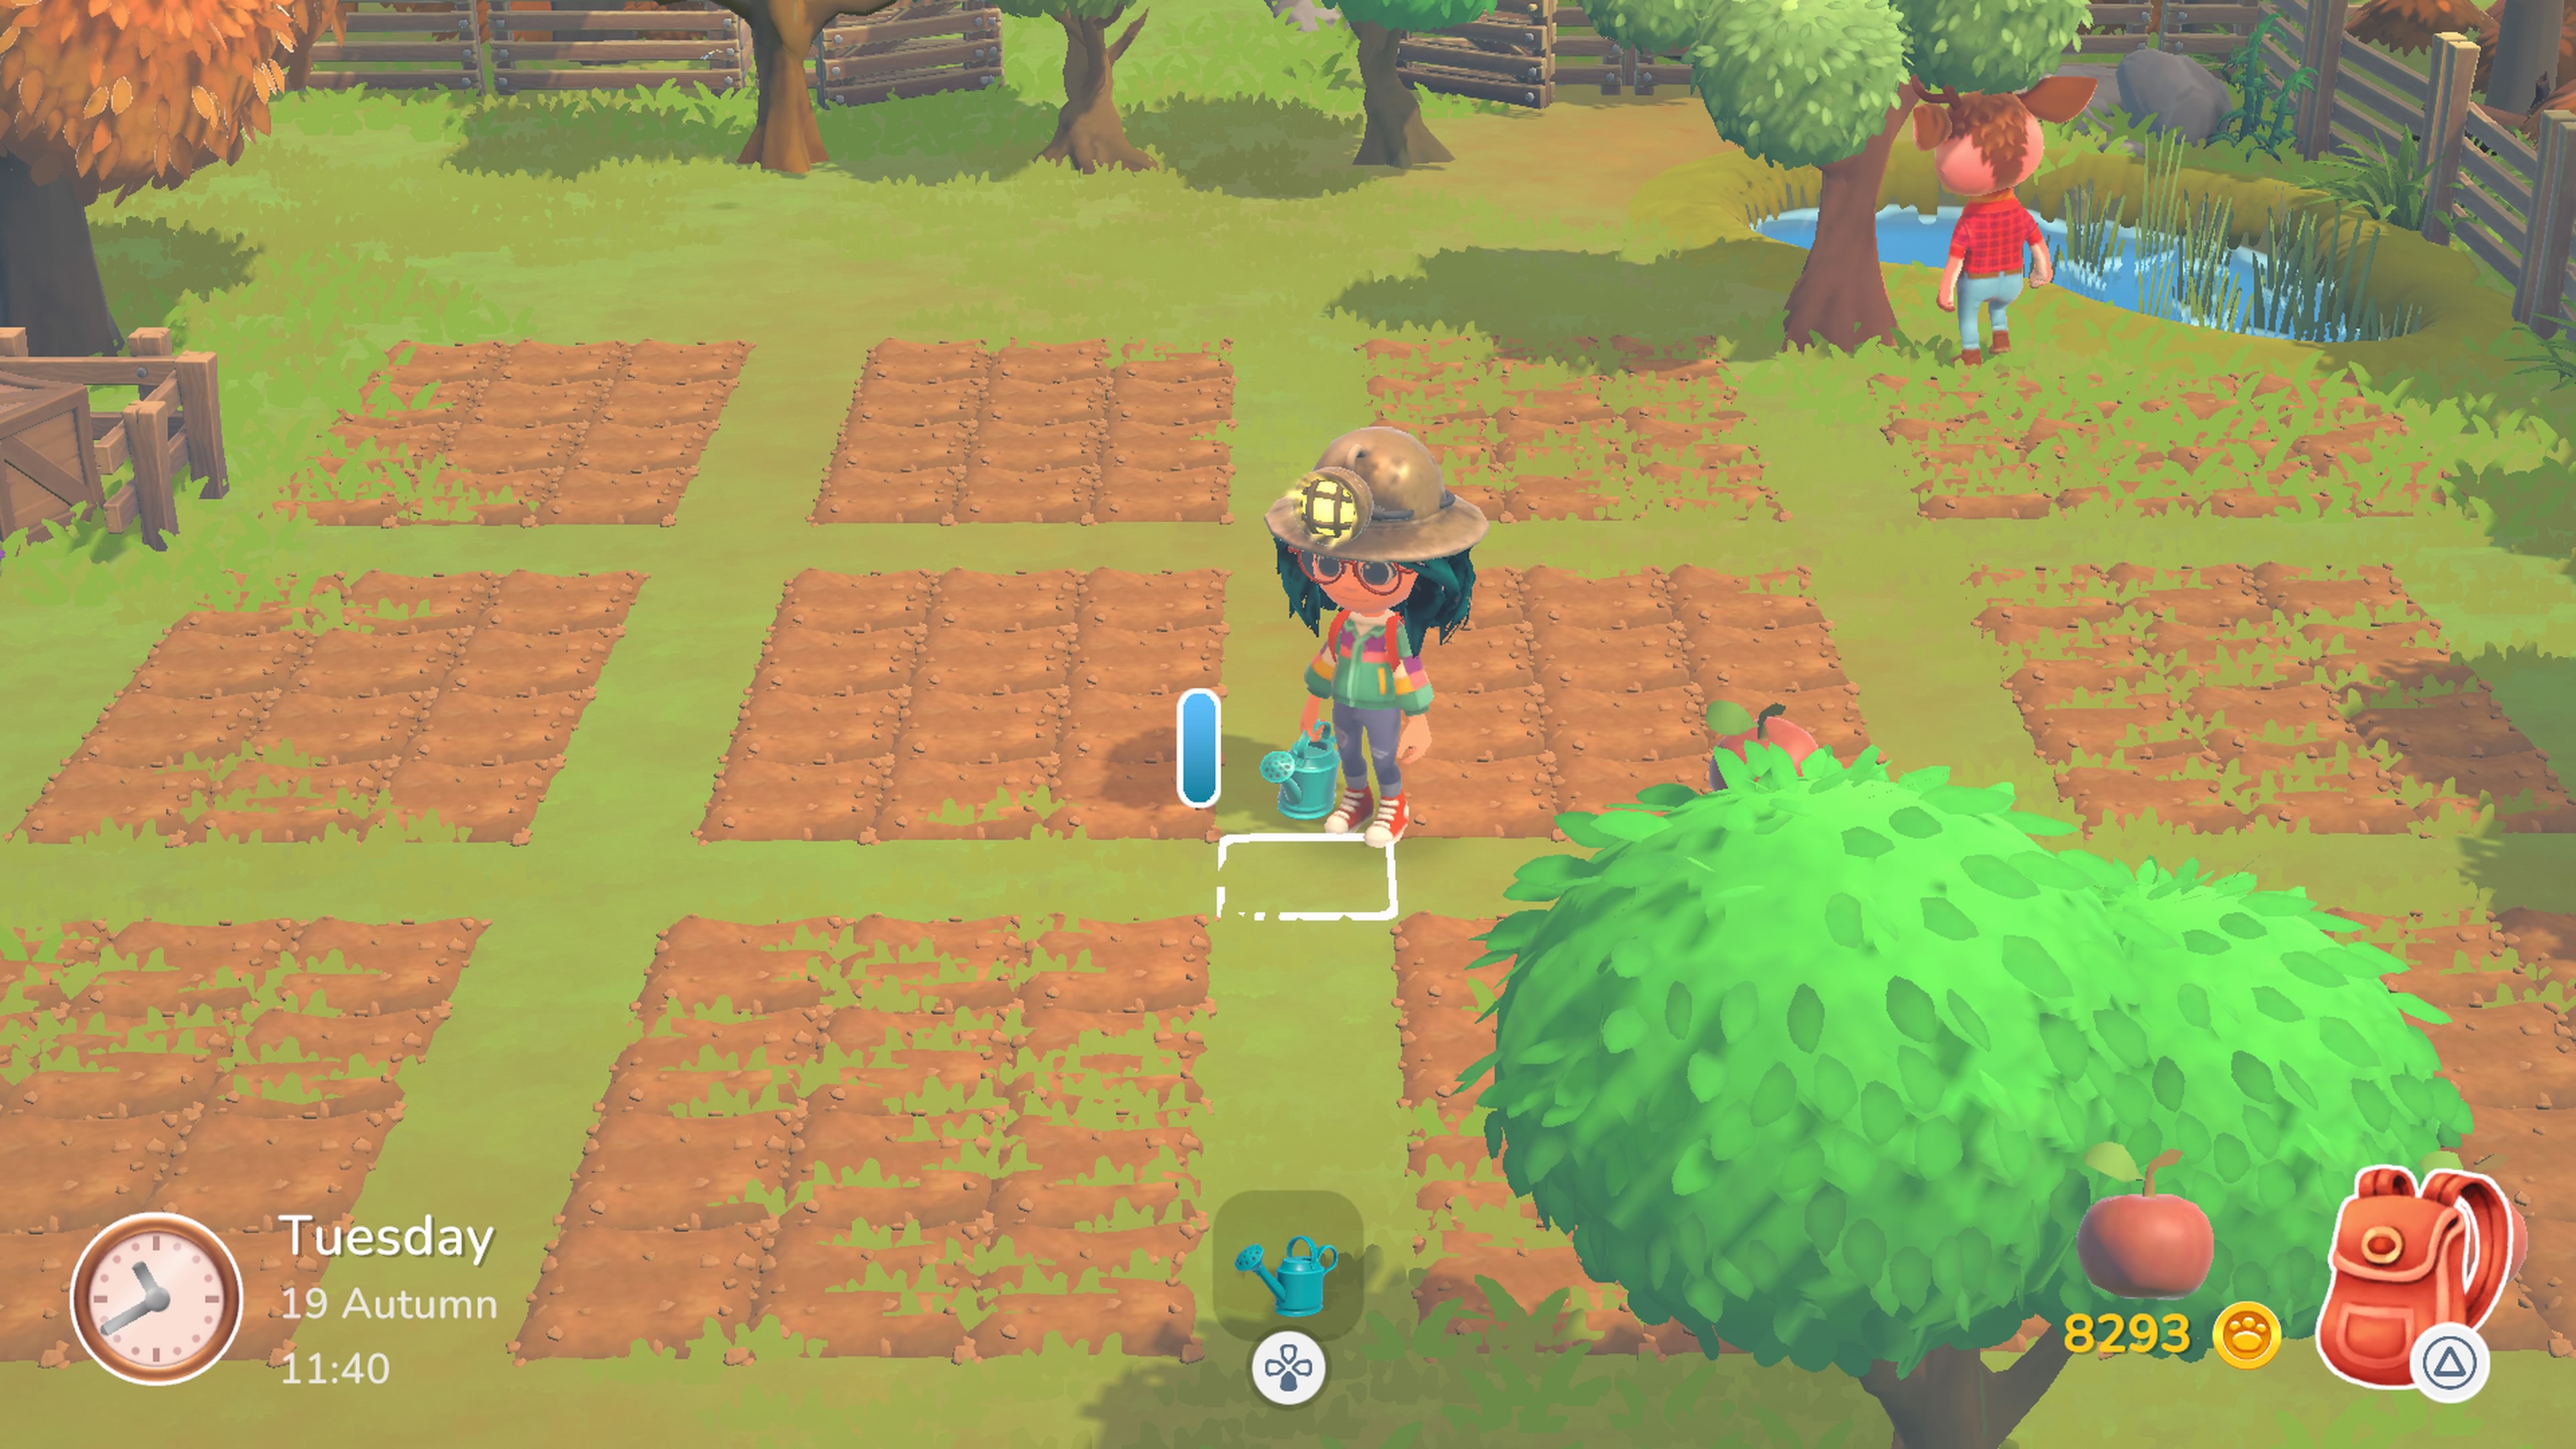
You can farm anywhere in the area by equipping the hoe and using the interact button to create a plot on the ground. Equip plant seeds, stand over a tilled plot, and press the interact button to spread seeds; you can’t place seeds on a plot that already has seeds.
Equip the watering can, fill it at the pond in the northeast corner of the farm, and use the interact button to water plots one at a time. The watering can holds six charges, and most crops can go 24-48 hours without water (trees don’t need to be watered).
You can eventually unlock the weather control device by sprinting for 3,600 seconds (60 minutes total), growing 12 types of vegetables, and traveling 40km. The device allows you to change the weather at will, making it rain for your crops whenever you choose.
How to Unlock the Farm Expansion
You’ll notice a section of land beyond the fence in the northern portion of the farm. Complete 10 villager food requests to open the farm expansion. Villager food requests become available after planting your first crops. Visit Oma at the inn to begin the quest chain; you’ll have eight to 11 days to complete each request, and new orders become available three days after completing the previous request.
Here are the first 10 you’ll need to bring Oma:
- x3 tomatoes.
- x3 lemons.
- x4 strawberries.
- x4 carrots.
- x4 grapes.
- x8 grapes.
- x6 chili peppers.
- Upside-down cake (x2 wheat, x2 apples, x2 pears).
You’ll get the Expansion Project trophy and achievement. Note that the gate to the farm expansion area may open, and you may be able to enter the area, but the trophy/achievement may not pop until you revisit the next day.
How to Get Fertilizer
As you might expect, fertiliser does two things in Hokko Life: it helps crops grow faster, and it increases the chance for plots to produce higher-quality yields, which turns into more money for you. However, you won’t have access to fertiliser during your first couple of weeks of farming.
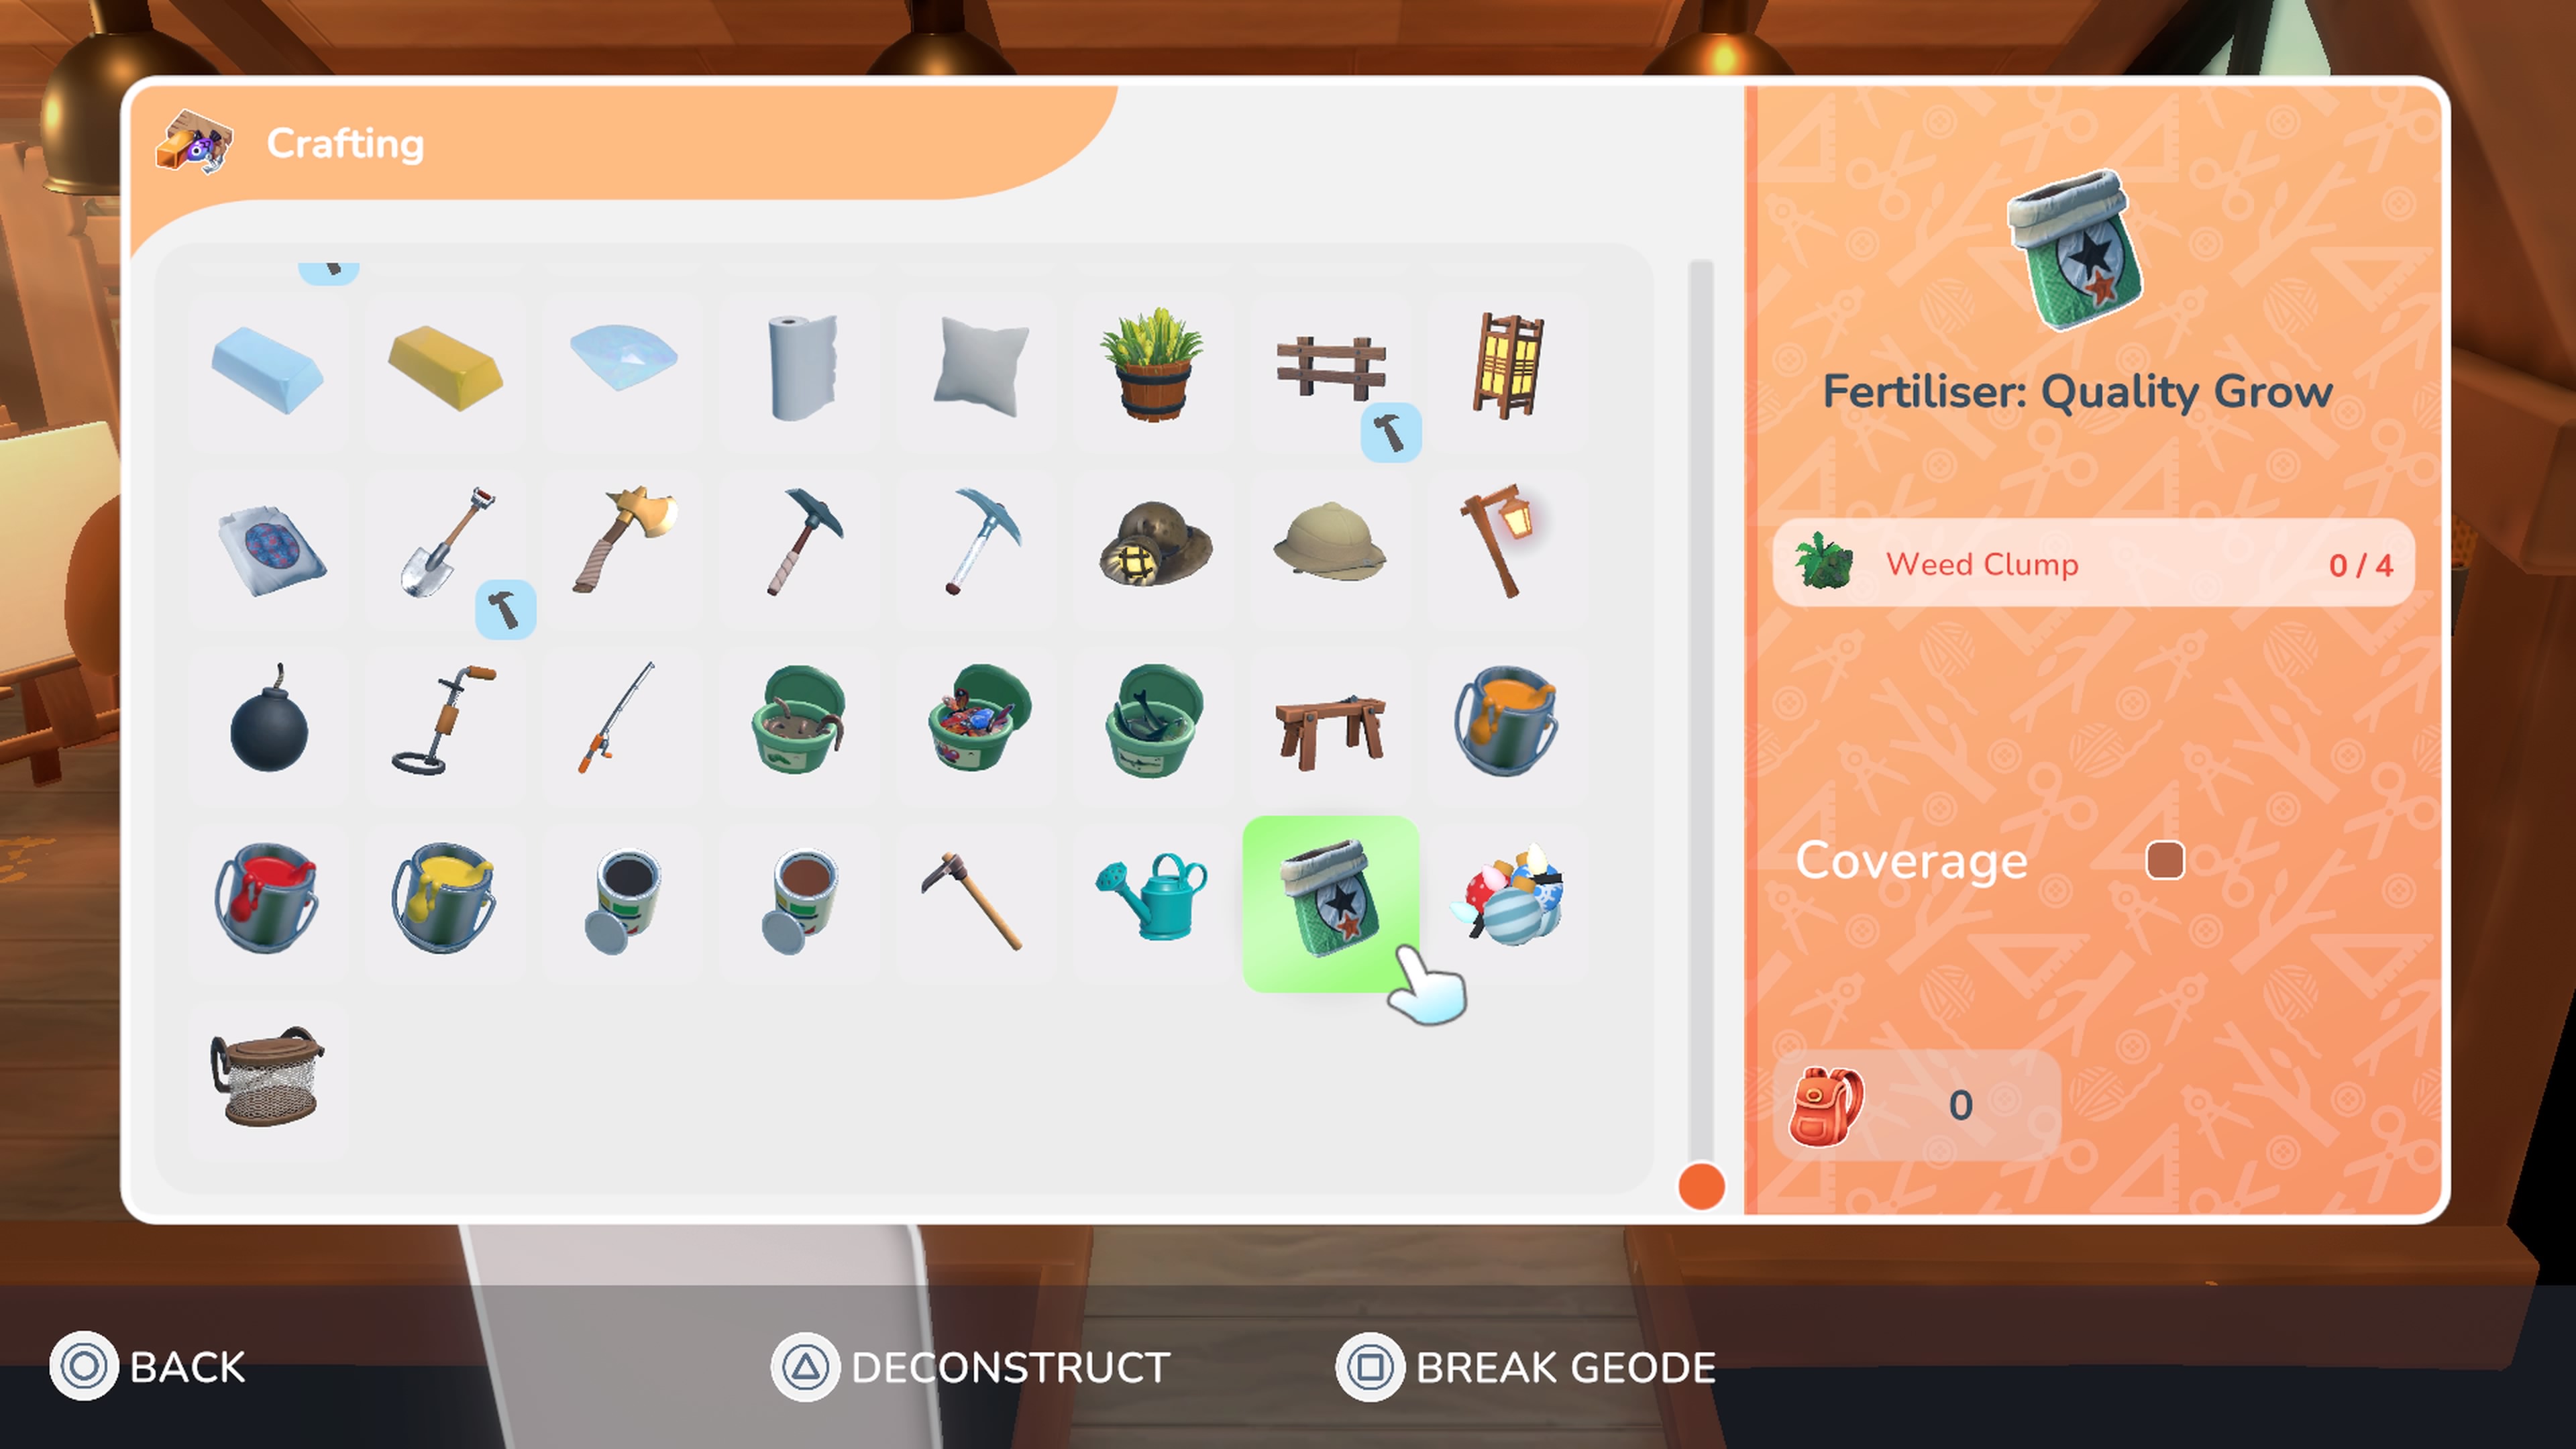
- To get Fertiliser: Quality Grow, unlock the farm, and help Oma with their first recipe. Talk to them every day at the inn, and they’ll eventually ask you to speak with Aubrey about increasing the quality of your crops. Go to the farm, and speak with Aubrey to get some growing tips.
- Fertiliser: Quality Grow recipe: x4 Weed Clumps.
- To get Fertliser: Quality Grow Pro, complete 10 Villager Food Requests (growing and taking crops to Oma). This item appears in Aubrey’s shop after unlocking the farm expansion.
- Fertiliser: Quality Grow Pro recipe: x4 Weed Clumps, x2 Clay, x2 Stone.
All Seeds and Items in Aubrey’s Shop
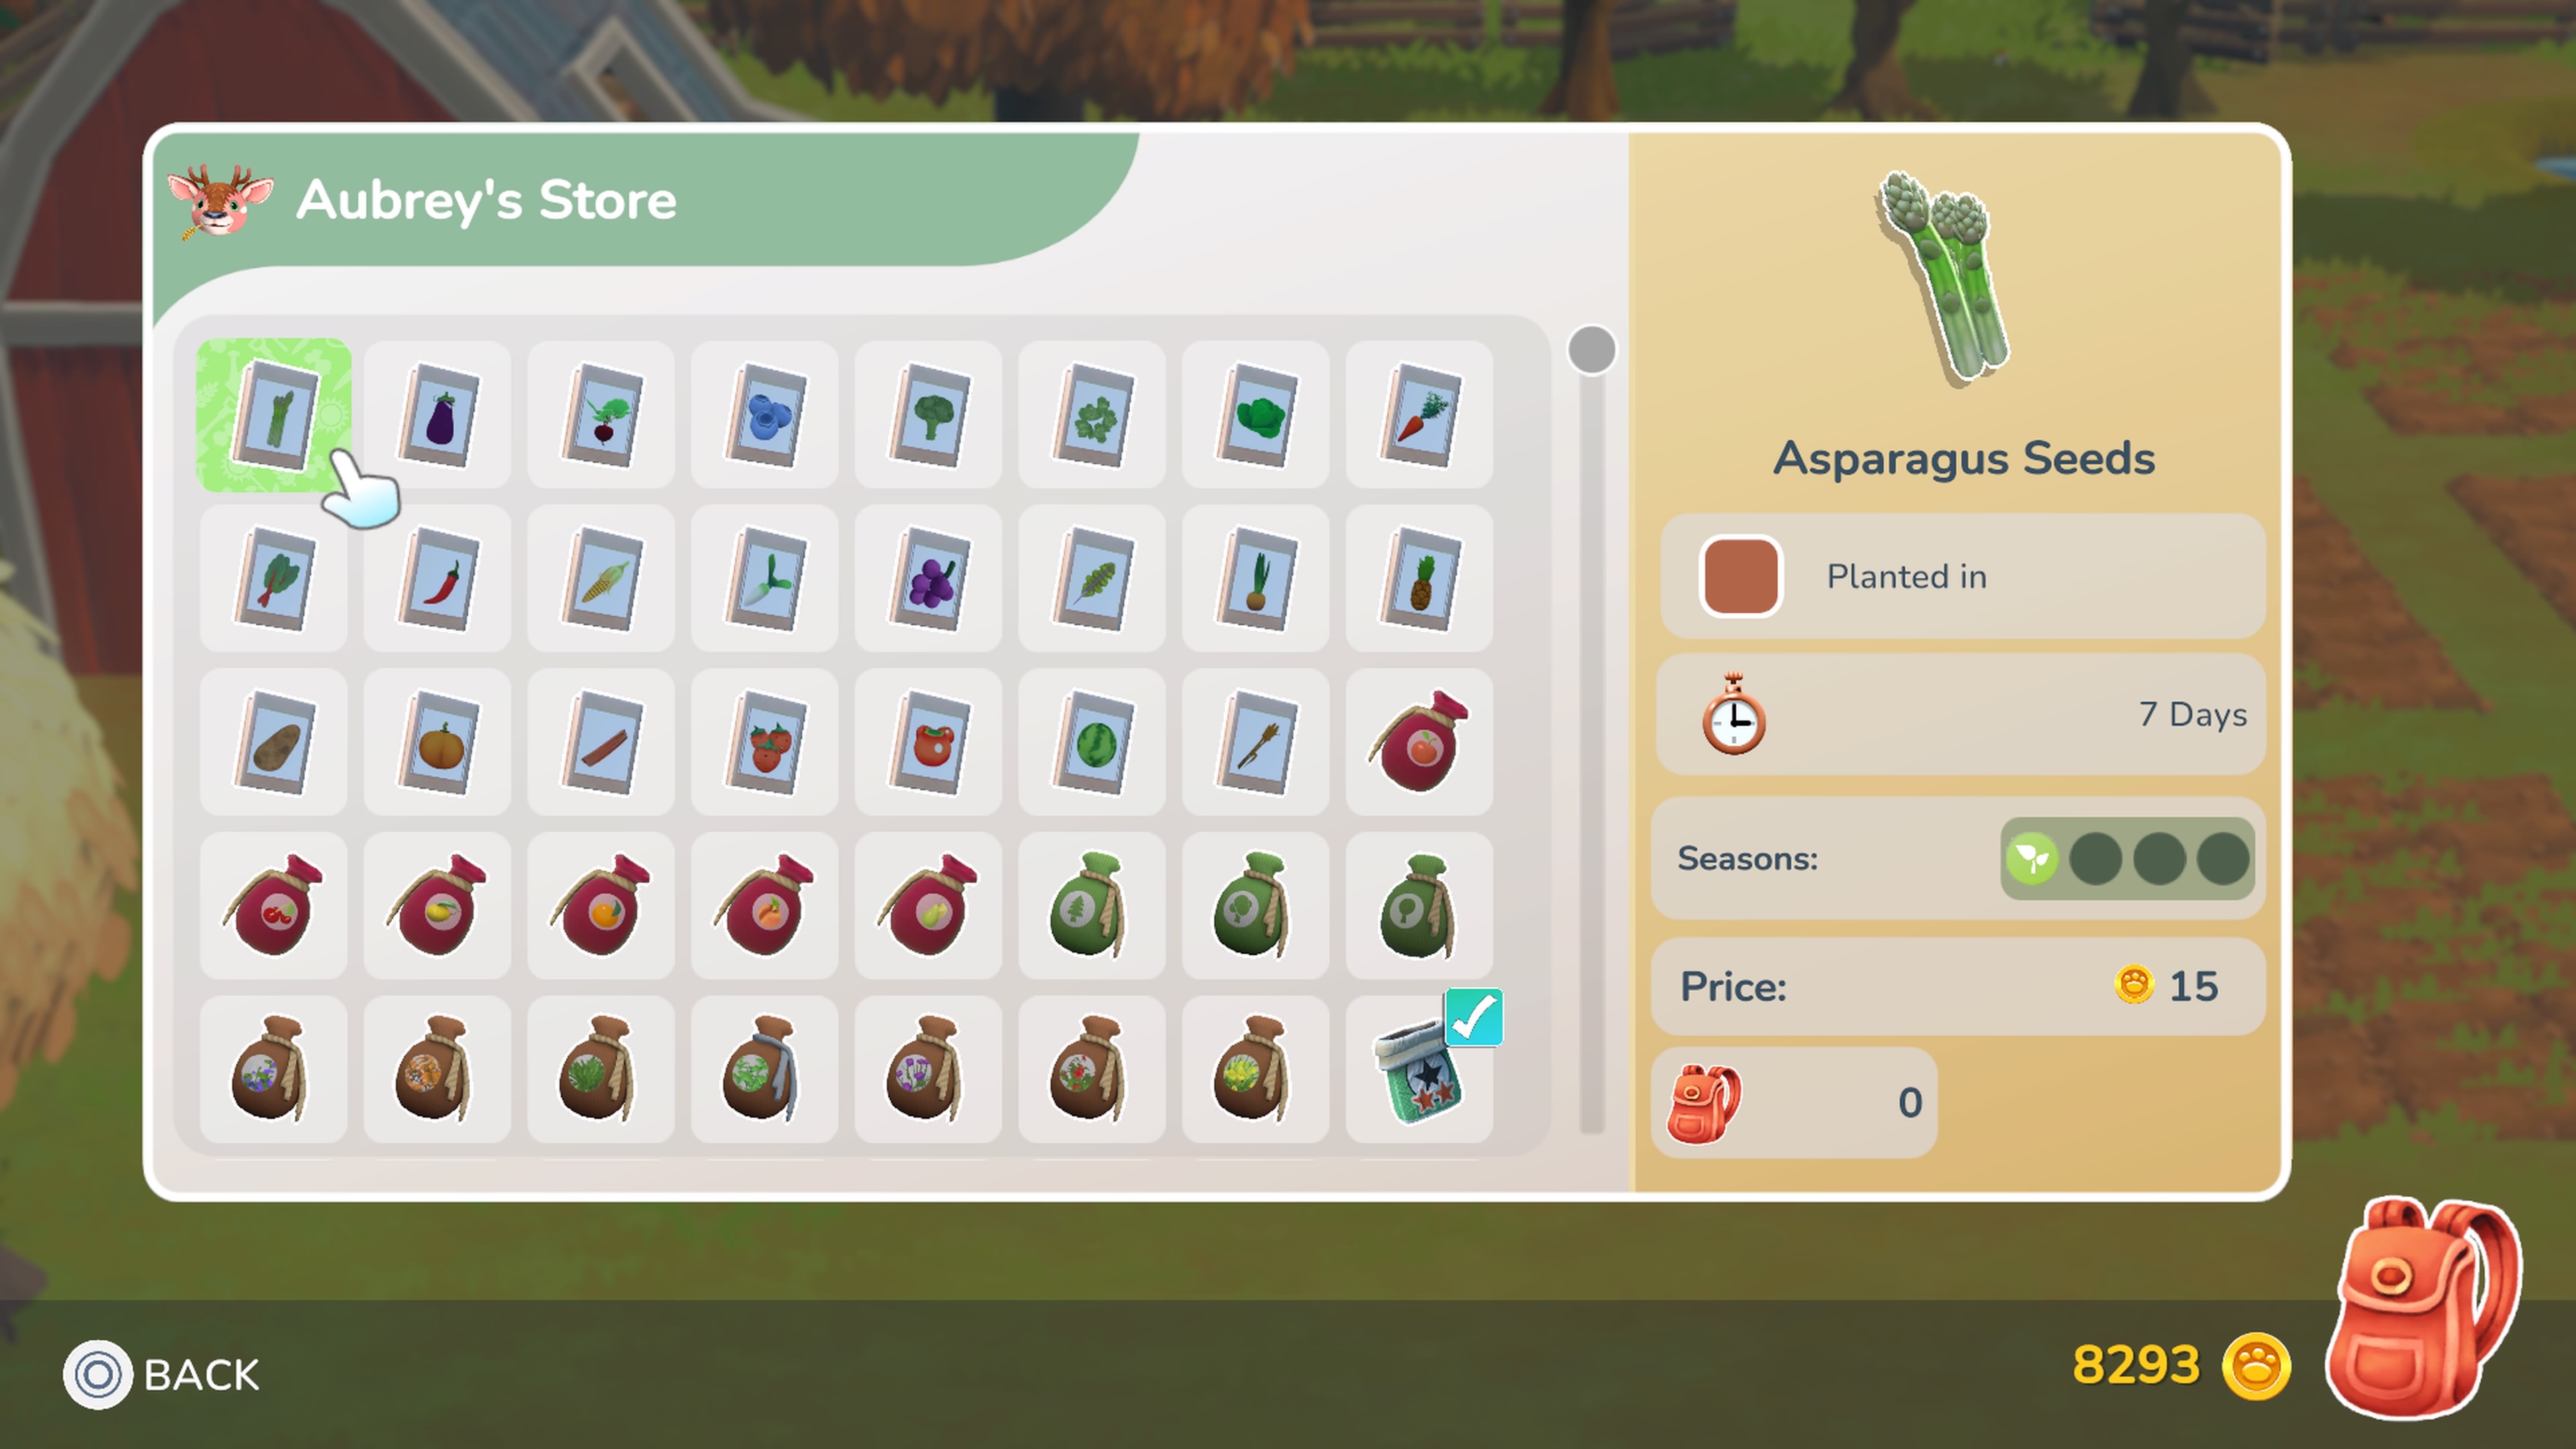
Here are all of the items you can buy from Aubrey’s shop for your farm. We’ve included their growing time and season, as well as the cost for each seed packet or fabric recipe. Note that seeds must be planted in square holes tilled with the hoe, and trees, just like conifers and mahoganies, must be planted in round holes dug by the shovel.
Crops and Trees
- Asparagus Seeds: 7 days. Spring. 13 gold.
- Aubergine Seeds: 9 days. Fall and winter. 26 gold.
- Beetroot Seeds: 9 days. Fall and winter. 20 gold.
- Blueberry Seeds: 11 days. Summer. 26 gold.
- Broccoli Seeds: 10 days. Spring. 22 gold.
- Brussel Sprout Seeds: 10 days. Winter. 22 gold.
- Cabbage Seeds: 7 days. Every season. 14 gold.
- Carrot Seeds: 6 days. Summer and fall. 14 gold.
- Pineapple Seeds: 13 days. Spring. 30 gold.
- Onion Seeds: 8 days. Spring, summer, fall. 22 gold.
- Kale Seeds: 8 days. Fall and winter. 20 gold.
- Grape Seeds: 9 days. Summer and fall. 18 gold.
- Daikon Seeds: 5 days. Fall and winter. 14 gold.
- Corn Seeds: 8 days. Summer and fall. 20 gold.
- Chili Pepper Seeds: 10 days. Fall. 22 gold.
- Chard Seeds: 9 days. Spring and winter. 20 gold.
- Potato Seeds: 7 days. Spring, summer, winter. 14 gold.
- Pumpkin Seeds: 13 days. Fall. 30 gold.
- Rhubarb Seeds: 6 days. Spring. 13 gold.
- Strawberry Seeds: 6 days. Spring and summer. 14 gold.
- Tomato Seeds: 4 days. Summer. 12 gold.
- Watermelon Seeds: 13 days. Summer. 30 gold.
- Wheat Seeds: 5 days. Fall. 12 gold.
- Apple Tree: 9 days. Summer and fall. 120 gold.
- Cherry Tree: 10 days. Summer. 104 gold.
- Lemon Tree: 6 days. Spring and summer. 46 gold.
- Orange Tree: 6 days. Spring and winter. 46 gold.
- Peach Tree: 10 days. Summer. 104 gold.
- Pear Tree: 8 days. Fall and winter. 120 gold.
- Conifer Seeds: 2 days. 4 gold.
- Mahogany Seeds: 3 days. 6 gold.
- Small Shrub Seeds: 2 days. 5 gold.
- Blue Flower Seeds: 2 days. 5 gold.
- Brown Flower Seeds: 2 days. 5 gold.
- Grass Seeds: 2 days. 5 gold.
- Green Flower Seeds: 2 days. 5 gold.
- Purple Flower Seeds: 2 days. 5 gold.
- Red Flower Seeds: 2 days. 5 gold.
- Yellow Flower Seeds: 2 days. 5 gold.
Fabrics and Other Items
- Banana Fabric: x1 fabric, x2 yellow dye, x2 light yellow dye. 38 gold.
- Blueberries Fabric: x1 fabric, x2 Fabric dye base, x2 blueberries. 38 gold.
- Pumpkin Flannel Fabric: x1 fabric, x1 base, x2 pumpkin. 38 gold.
- Strawberry Flannel Fabric: x1 fabric, x1 base, x2 strawberry. 38 gold.
- Tools Flannel Fabric: x1 fabric, x1 blue dye, x1 red dye, x1 green dye. 68 gold.
- Farm Tools Fabric: x1 fabric, x1 light yellow dye, x1 green dye, x1 red dye. 68 gold.
- Veggie Collection Fabric: x1 fabric, x1 aubergine, x1 carrot, x1 chili pepper. 68 gold.
- Watermelon Slice Fabric: x1 fabric, x1 base, x2 Watermelon. 38 gold.
- Long Hay Bale: x10 grass tuft, x5 weed clump.
- Square Hay Bale: x10 grass tuft, x5 weed clump.
Farming is a big part of Hokko Life‘s endgame, and it’s one of the more compelling mechanics in Team 17’s life-sim. It’s too bad it’s not available sooner. Regardless, now you know how to grow crops, expand the farm, get fertilizer, and more, securing your life in the village for years to come. Here’s everything you need to know about fishing if you’re the angling sort.


Published: Oct 4, 2022 03:16 pm