The Dream Machine is a point-and-click adventure developed by Cockroach Inc and published by The Sleeping Machine. Players take on the role of Victor Neff who along with his wife is starting to settle into his new home. What starts off as a standard day of moving into a new apartment soon takes an unexpected twist.
This guide will give you a step-by-step walkthrough on how to complete the second chapter of the game, including puzzle solutions. Please note that this guide does contain spoilers, so it is advised to only read as far into the article as you have advanced in the game.
The Dream Machine Chapter 2 Walkthrough
Part 1: Finding Morton
Upon starting Chapter 2, you will find yourself in Morton’s office. The goal is to solve the book puzzle and find a way to Morton’s secret hideout to confront him about what you found in your apartment. Let’s get down to business!
- Pick up the ink pad, stamp, piece of paper and book from Morton’s desk.
- Go into the next room to the bottom of the screen.
- You will notice another four books similar to the one that you found on the desk in the previous room. Pick all of them up.
- In your inventory, use the stamp with the ink pad followed by using the stamp with the piece of paper.
- Examine the piece of paper to find a date on it. Remember or write down the date, as it is randomized in each playthrough.
- Find the diary and the page of the diary that is the same date as is on the piece of paper.
- On the diary page, you will see the words of Sun, Waves, Stars, Water, Heart and Moon. Take note of what order they appear on the page as each of these represent one of the five books.
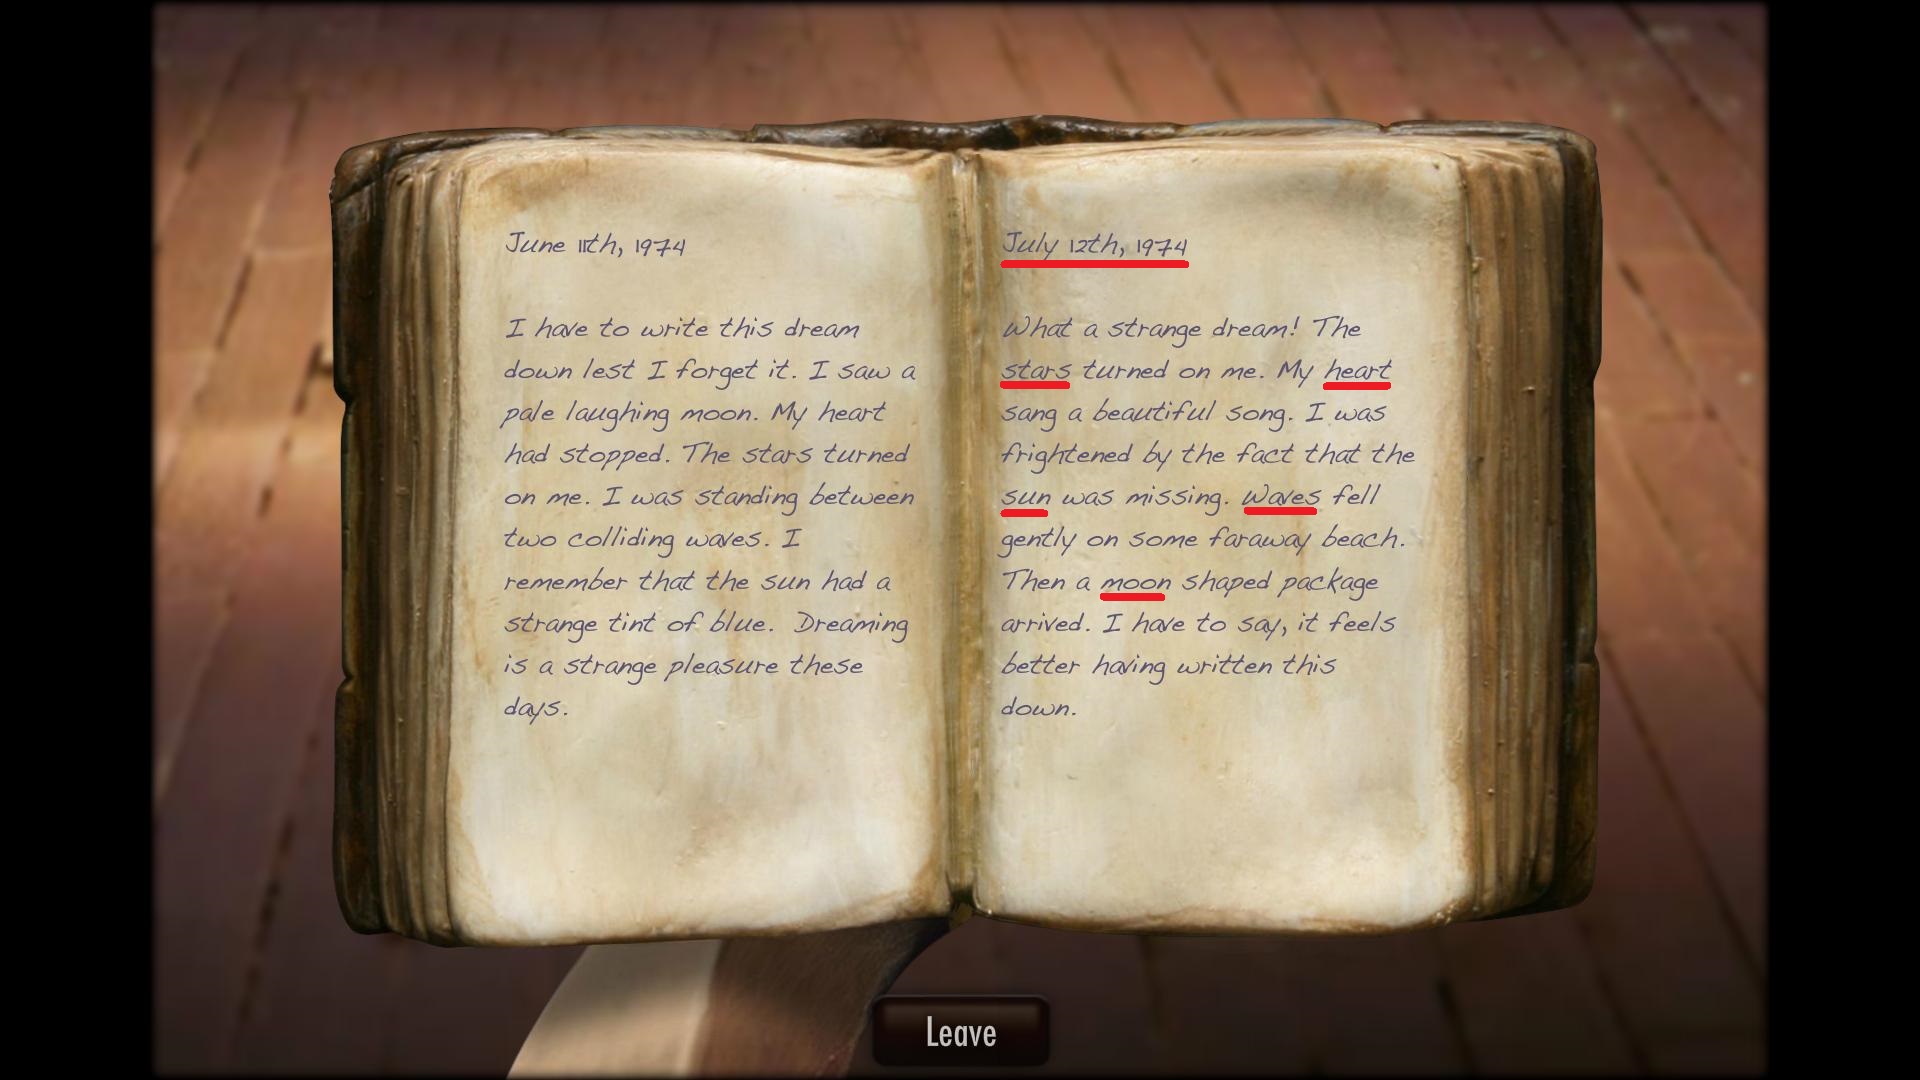
- Place the books in accordance with the order of the words on the page. In the image above, for example the date I got was July 12th, 1974. And the word order is “Stars, Heart, Sun, Waves and Moon”. So that’s the order in which the books much be placed on the bookshelf.
- Once the order of the books is correct, the bookshelf will move to reveal a hidden elevator. Use it.
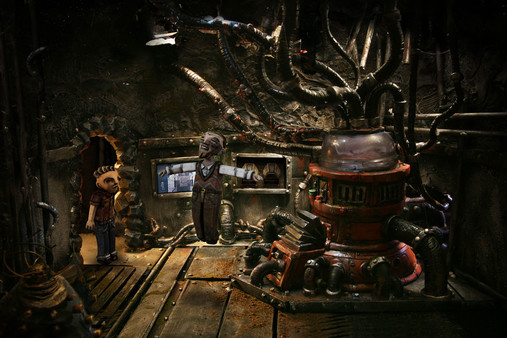
- When you exit the elevator go into the room to the right where the talking is coming from.
- Examine Morton, followed by the Machine.
- At the back wall, you will see two devices — a sender device and receiver device. Pick them both up.
- Use the sender device on Morton, followed by using the receiver device on yourself. This will bring you into the next part of the chapter.
Part 2: Morton’s Dream
In this part of Chapter 2, you must make your way through Morton’s dream, fixing and speaking to the three statue heads that you find. Only then can you find Morton himself. Let’s get moving!
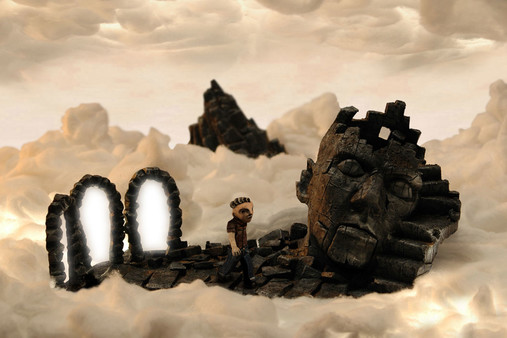
- Go into the portal to the right, which will bring you into an area with a statue with a crown on its head. Ignore it for now and go into the middle portal.
- In this area, you will find a statue with a staircase leading up to its broken skull. You will notice a square hatch in its left cheek. Open it and look in.
- Inside you will notice a line of rods, one which is bent. Pick up the bent rod and leave.
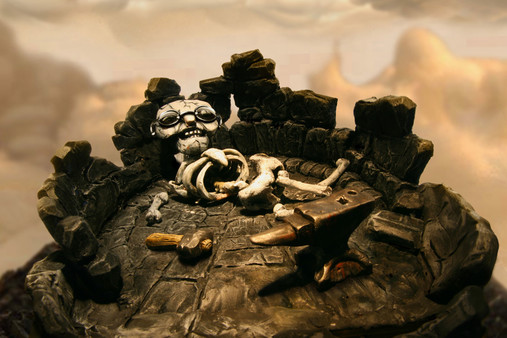
- Make your way up the stairs into the status skull where you will find an anvil and hammer on the floor and a pair of glasses on a skeleton’s face. Pick each of these items up and leave.
- Next, you need to use the anvil with the ground, followed by using the rod with the anvil, and then finally the hammer with the rod, to repair it.
- Pick up the anvil and rod, followed by placing the rod back into the statue’s hatch.
- Speak with the statue.
- Once you have finished speaking with the statue go into the left portal.
- You will notice a stirrup on the ground by the statue, pick it up.
- Examine the statue’s ear to find it full of rocks. Pick them up.
- Next, you need to place the stirrup, anvil, and hammer in the ear in that exact order. Once done, leave and speak with the statue.
- Once you have finished speaking with this statue, go into the middle portal to the statue that you first encountered but ignored.
- Open the statues hatch and place the rocks on all the platforms but the middle one. Once done, leave and speak with the statue.
- After speaking with the statue, examine the glasses you found earlier and remove both the left and right lens.
- Place the lens into each of the statue’s eyes and talk to it once again.
- Once finished, you need to visit the statues from the oldest to the youngest. To do this you need to go through the middle portal, followed by the left portal, and finally the right portal. This will lead you to Morton.
- Pick up the axe that Morton drops and use it on the tentacle.
- Speak with Morton and you will be finished this part of Chapter 2.
Part 3: Your Quest Begins
This is where your quest to stop the machine begins, and it starts with your wife Alicia. You must find the key to the elevator and make your way to her back at the apartment. Let us begin!
- Take the devices off both you and Morton.
- Use the ink pad with Morton’s hand followed by using Morton’s hand with the piece of paper.
- Exit the room and use Morton’s handprint on the paper with the print scanner to open the security room.
- Examine the waste basket to find a piece of paper in it. Examine the paper.
- On the paper, you will notice squares with one of their corners colored in. Keep these in mind.
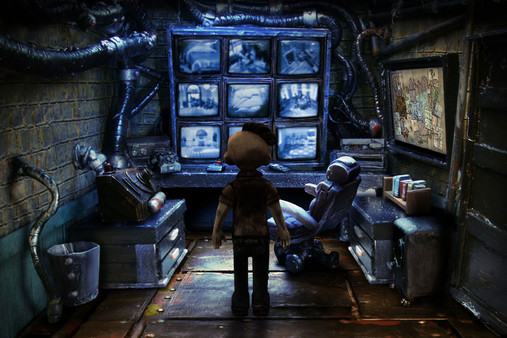
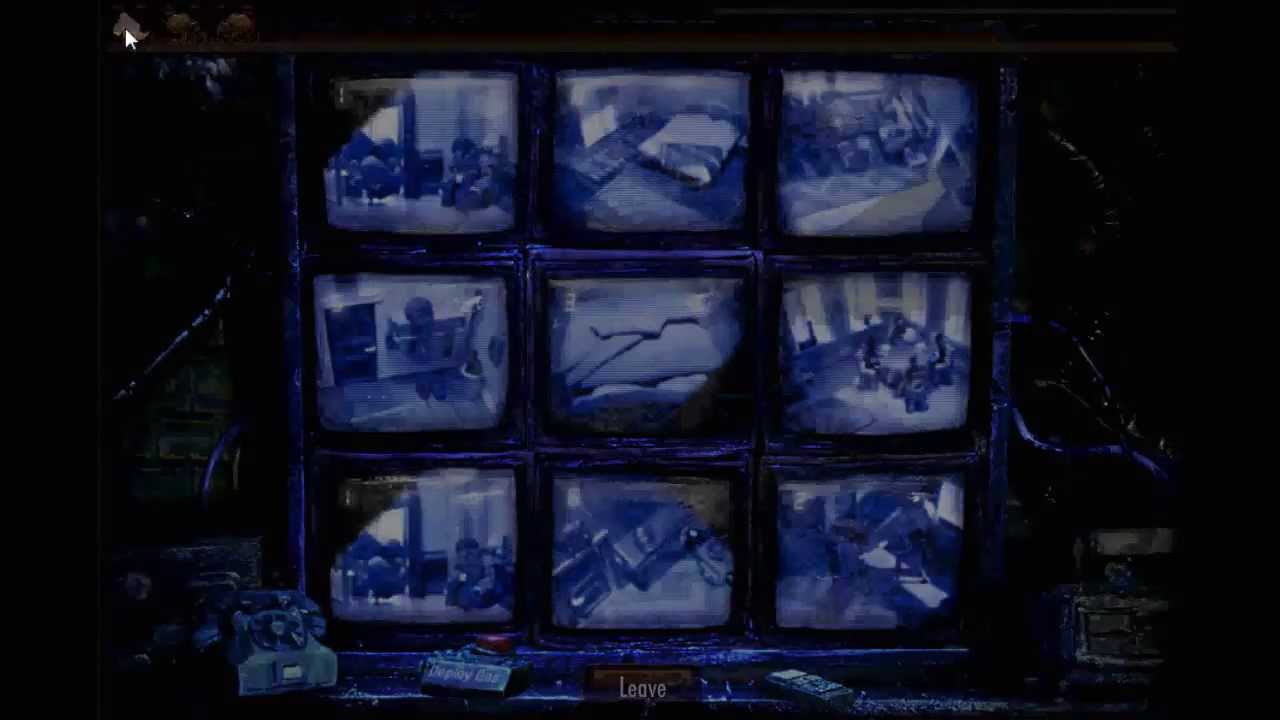
- Examine the TVs at the back of the room.
- Use the remote on the screens and you will notice that some of them have black corners and numbers on them just like that found on the piece of paper from the bin.
- Using the numbers on the TV screens and the piece of paper you will find the code to the safe. (Code is likely to be randomized.)
- Use the code on the safe and pick up the master key.
- Leave the room and use the master key on the elevator.
- Go to the second floor and enter your apartment (the door on the right).
- Use the sender device on Alicia and use the receiver device on yourself to end the chapter.
And there you have it — a complete step by step walkthrough for the second chapter of The Dream Machine. I hope that it has helped you out. Be sure to keep an eye out for more walkthroughs for the other chapters of The Dream Machine here on GameSkinny.


Published: Jun 11, 2017 01:12 pm