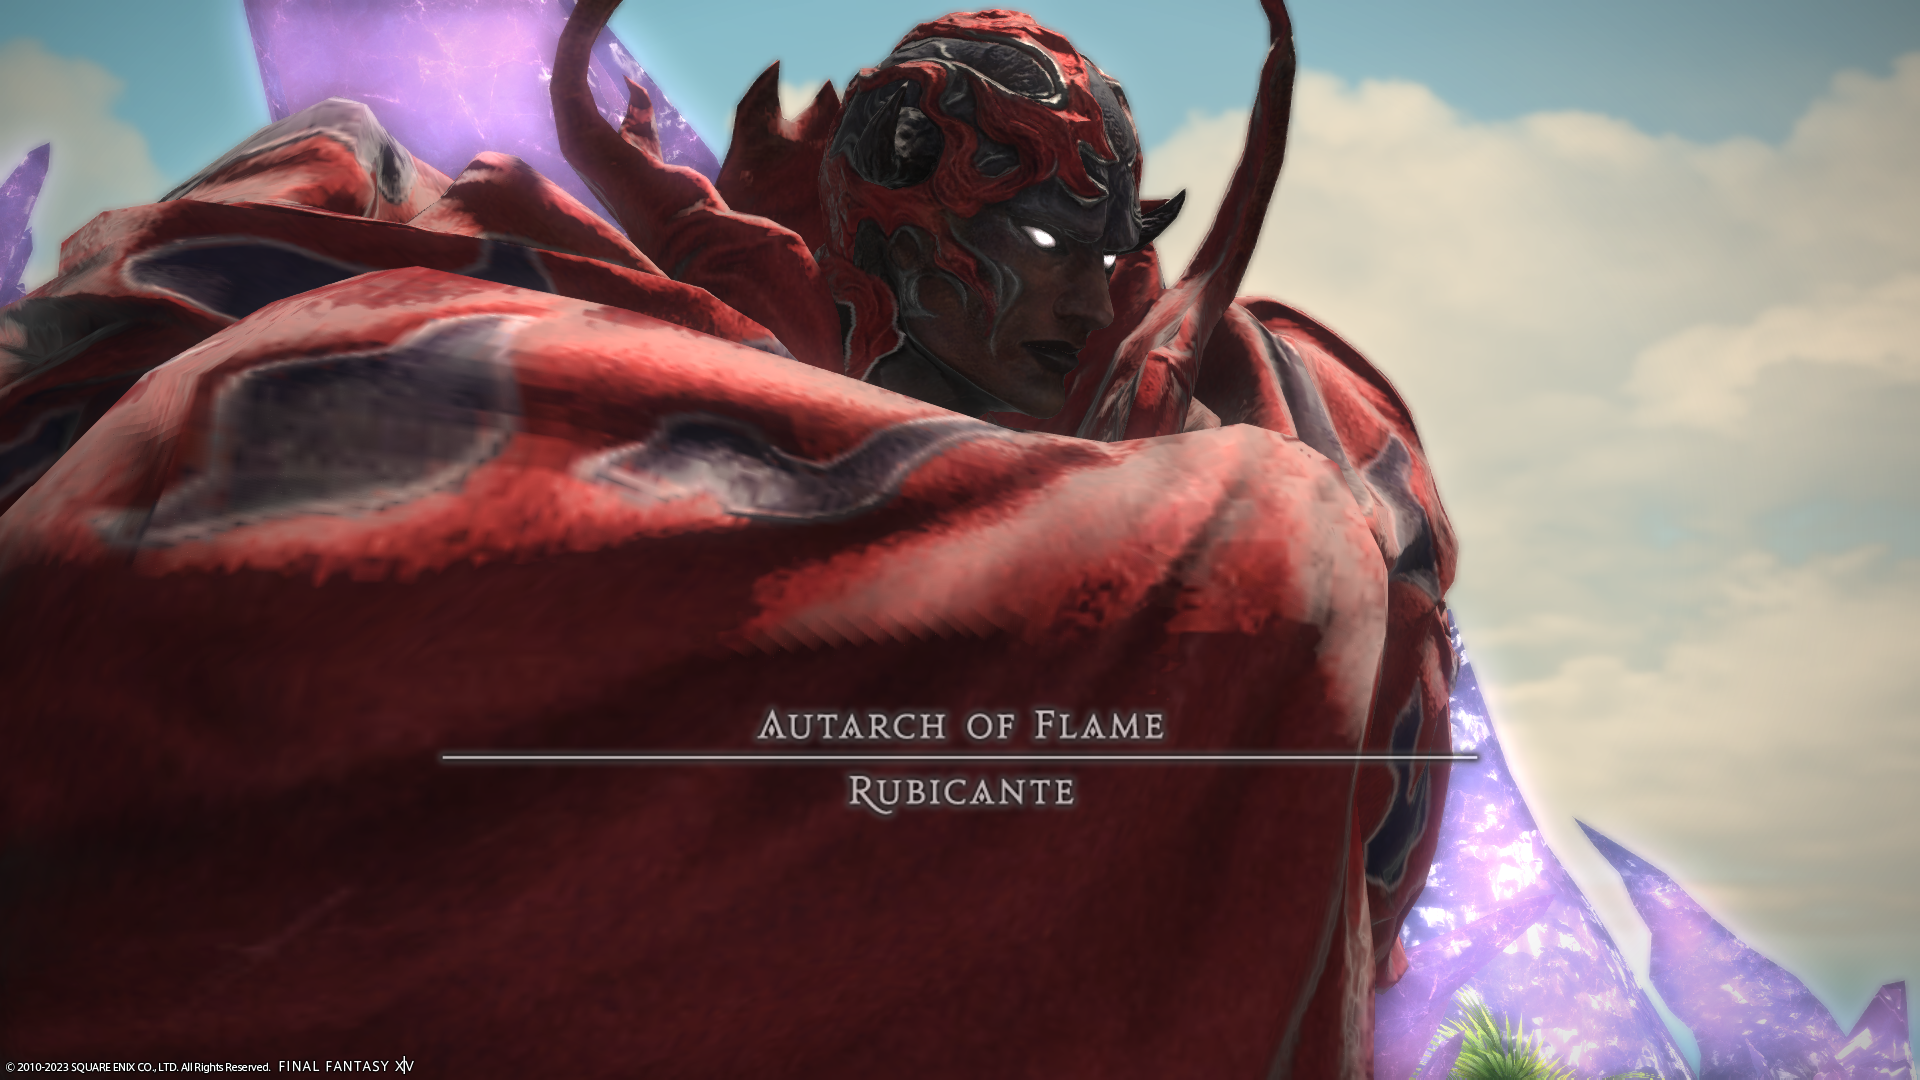
The latest villains in Final Fantasy XIV’s main story are the legendary Four Fiends from Final Fantasy IV, and fittingly, Rubicante is the final one that players face off against in Patch 6.3’s new trial, Mount Ordeals. As you might expect, the fiery fiend is one tough customer, and he has a few attacks that can be incredibly tricky to dodge if you don’t know what you’re doing. With that in mind, we’ll help you take down FFXIV’s Rubicante trial.
How to Beat Rubicante In FFXIV — Phase 1
Before we jump into the moves to watch out for, you need to keep in mind that Rubicante’s arena doesn’t have an edge, meaning you can fall right off. Keep this in mind at all times, especially when you’re trying to dodge his AoE attacks. Here’s each of Rubicante’s attacks in the first phase, and how you’ll want to deal with them.
- Inferno — A party-wide AoE attack that hits for roughly 60 percent of non-tank members’ HP. This is unavoidable so DPS should use any mitigation moves they have, and healers should be ready to restore the party’s HP.
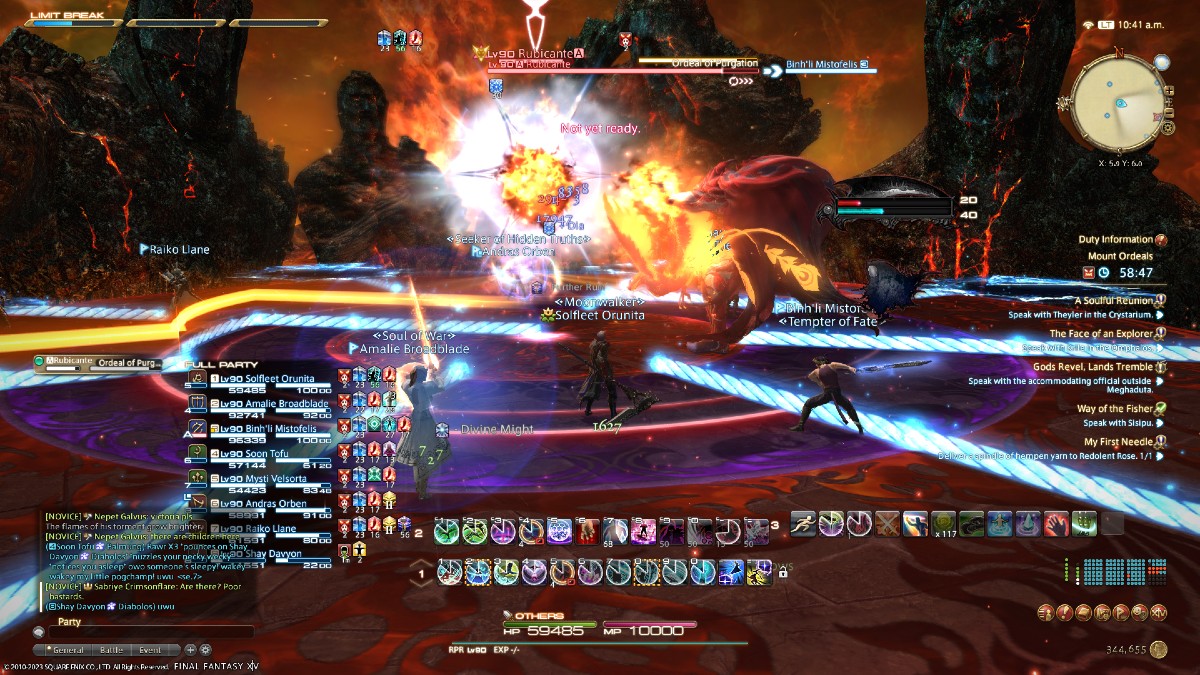
- Ordeal of Purgation — This is the main attack to watch out for in this battle, and the trickier mechanic to figure out. When a text box pops up saying “The torment of Rubicante’s heart is made manifest”, he’ll turn the entire arena into a strange fire realm, with a bunch of fuses. Only one fuse will go all the way from its rune to the center of the arene, and this is the one that will launch a large conal AoE.
- During this attack all party members are also hit with a Penance Debuff that when depleted will cast Penitent’s Shackles, locking you in place. You need to figure out which fuse will launch the attack and then move into one of the other safe areas before you get hit with the shackles. The rune that launches the attack will shoot out a cone straight through the center of the arena, so move to the sides.
- Shattering Heat — A single-target tankbuster. If you’re the tank separate yourself from the party and use a cooldown to mitigate.
- Arch Inferno — This is a rotating AoE that also makes the ground directly underneath Rubicante unsafe to stand on. Damaging AoE attacks will appear on the right and left sides of the boos and will move clockwise. The party needs to stand in the safe area and move with the attacks. This will lead into the next attack.
- Conflagration — At some point during the rotating AoE, Rubicante will launch a line attack directly down the middle of the arena. Because of this you should stay close to the edges of the rotating AoEs and be ready to dodge to the side quickly when Conflagration hits. Again, this leads into the next attack.
- Radial Conflagration — After Conflagration Rubicante will shoot conal AoE out from the center in a starburst pattern. You simply need to stand in the safe space between the cones but also be wary that Arch Inferno is still going on as well.
- Ordeal of Purgation 2 — This works exactly like the previous instance, except the inner ring will be marked with arrows pointing either clockwise or counterclockwise. This means that the rune that fires the AoE will move one position in that direction. So what you need to do is trice the fuse to the right rune, and then figure out one position in whichever way the arrows are pointing, and use that to find the safe zone.
Once you’ve reduced Rubicante to half health he’ll launch into a transition that will spawn minions, and lead into the second phase.
How to Beat Rubicante in FFXIV — Charge Phase
During the transition phase, the boss will spawn a handful of Flamesent minions and begin charging an attack. You need to eliminate all minions before his attack is charged, and if you don’t it’s a wipe.
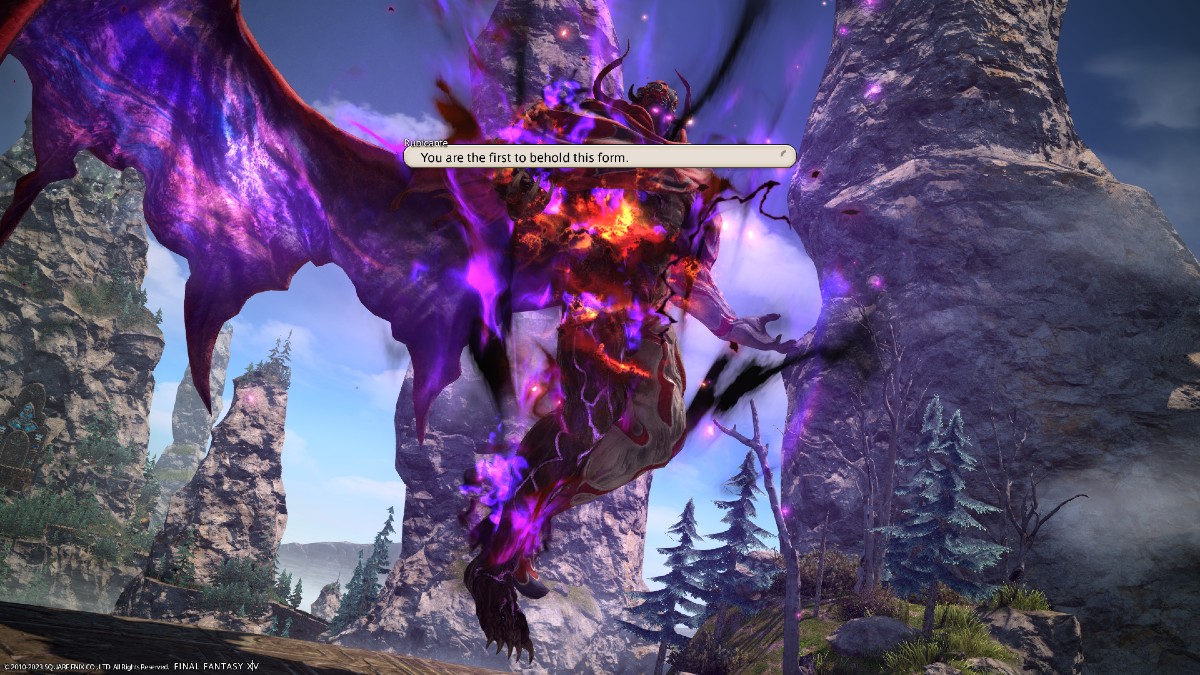
Also, keep an eye out for mini AoEs that pop up during this phase. At the end, Rubicante will cast a party-wide attack that scales with how much his gauge is charged, then he’ll take his cloak off to reveal a single wing and go into the next phase.
How to Beat Rubicante in FFXIV — Phase 2
Rubicante’s attacks in the second stage are almost entirely different, so here’s what to watch for.
- Inferno — Unlike the first phase this doesn’t instantly damage the party, but rather marks everyone with a circle AoE, so the party needs to spread out and separate.
- Soulscaled — Rubicante marks six party members with line AoEs, meaning the party needs to separate so they aren’t overlapping the attacks. The first attack is undodgeable, but once it hits, clones of Rubicant will charge back across the arena along the same lines, so make sure to dodge out of the cone AoEs in time.
- Flamerake — For this attack Rubicante moves to the center and starts charging, while a pair of arrows will start spinning. Once the move is fully cast the arrows will stop and Rubicante will shoot a large line AoE across the center of the area. Dodge to the side, but be ready for two other lines that will shoot out from the first, requiring you to move into the safe area in the center.
- Dualfire — Both tanks are targeted with large cone tankbusters, requiring them to move apart and position themselves from the party so as to reduce damage. Use a cooldown to mitigate damage.
- Sweeping Immolation — Rubicante will use a half-arena AoE, requiring the entire party to move to the safe side. At the same time, he’ll apply stack markers for a second attack, so make sure to move to the safe side AND stack up.
Now you should have everything you need to take down Rubicante and the Mount Ordeals trial. If you need other tips and tricks, make sure to check out our FFXIV guides hub.


Published: Jan 22, 2023 02:24 pm