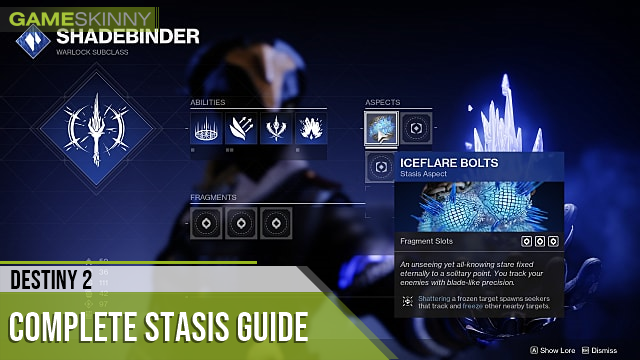
Unlocking Stasis in Destiny 2: Beyond Light is only the beginning of your exploration of the series’ first new element. You’ll gain access to the base form of Stasis by finishing the Beyond Light campaign, but there are a myriad of steps you’ll be taking after the story to unlock its other abilities.
By completing the post-game objectives, you’ll unlock Aspects and Fragments, modifications to the core subclass that change how each class uses it. There are even some additional caveats you’ll need to consider if you want to make your ultimate killing machine.
This guide will tell you everything you need to do to unlock the full potential of your Stasis subclass. Let’s dive in.
How to Unlock Stasis and the Path to Aspects and Fragments
As noted in the introduction, you can’t access Stasis until you complete Beyond Light’s story campaign. Completing the story should take around four or five hours with level grinding included.
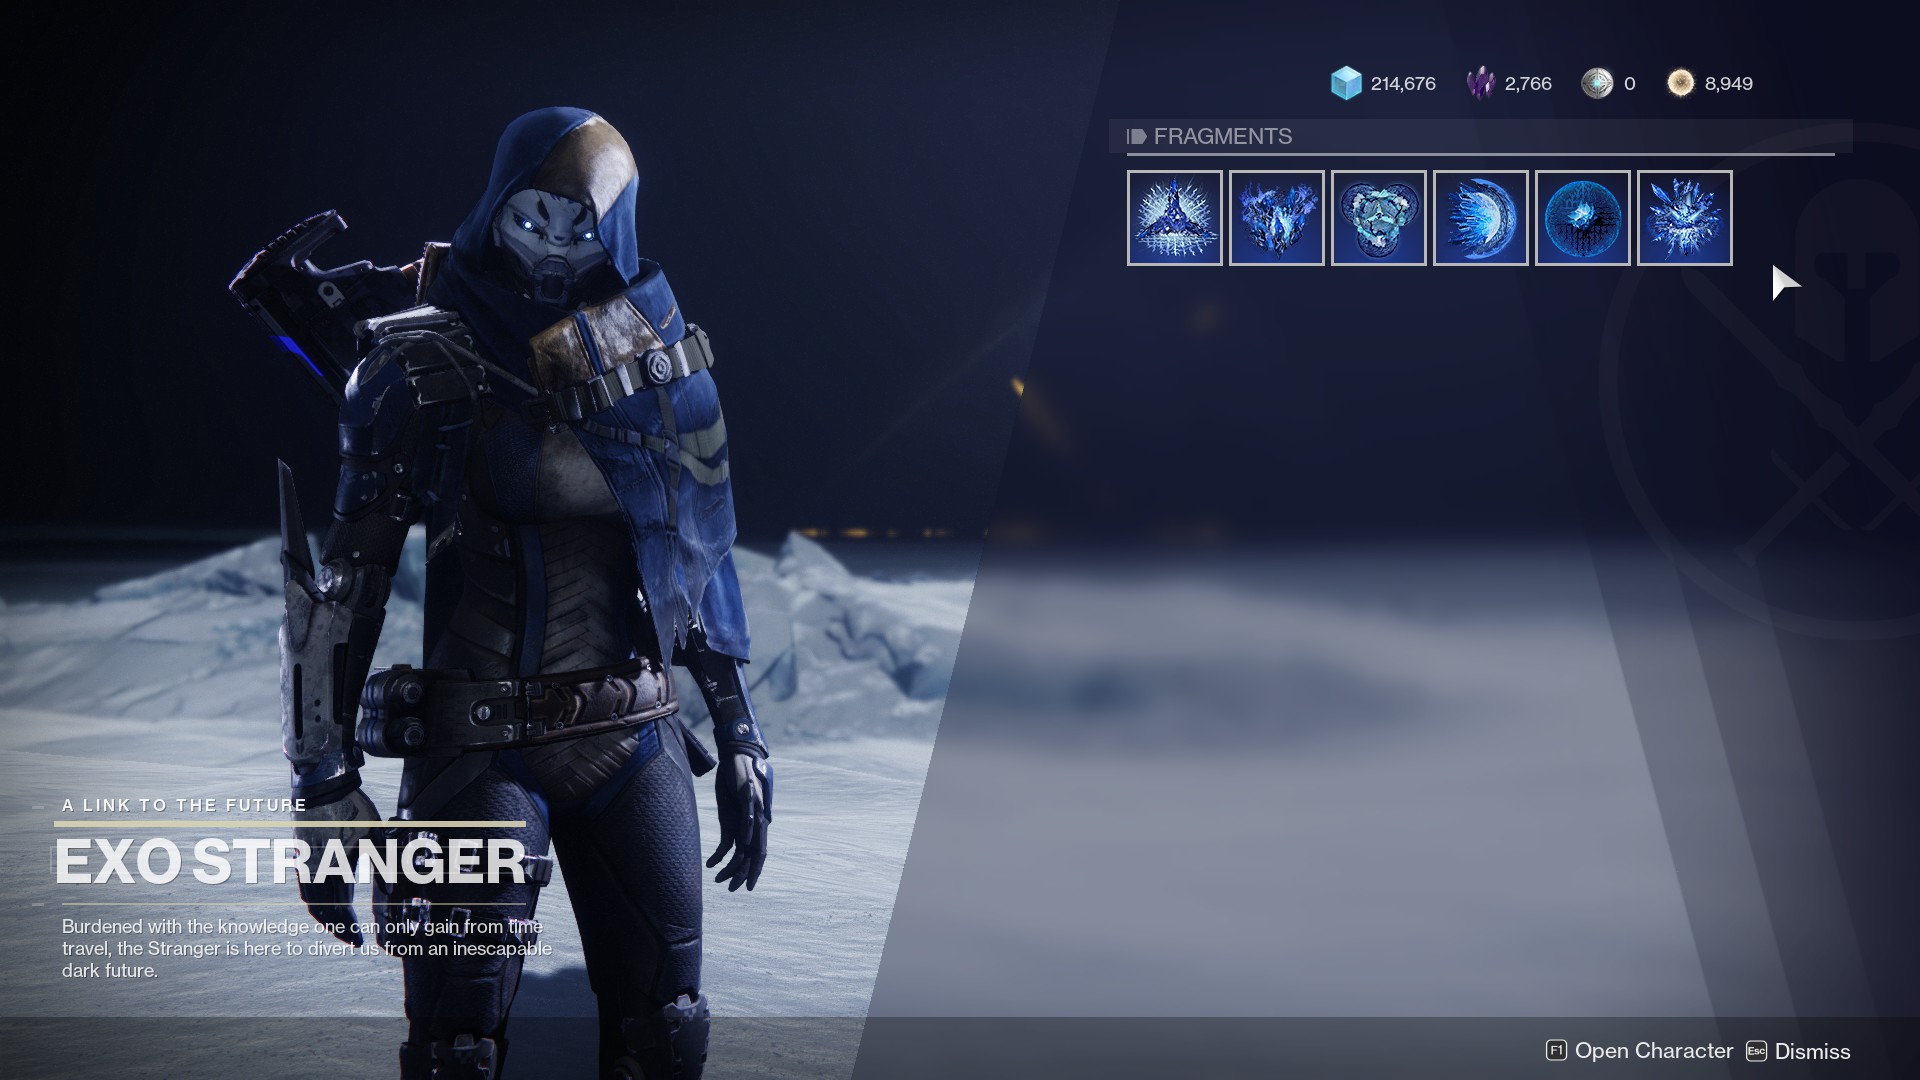
Once you’ve defeated Eramis, speak with Zavala and Variks to start the post-story content, then speak to the Exo Stranger in the Beyond. She’ll give you the first step of Born in Darkness, the multipart quest that leads to the Aspects and Fragments you need to take Stasis to the next level.
Take time to speak to both Zavala and Variks, as this will start the Reclaiming Europa questline. This separate set of objectives eventually leads you to the Salvation’s Grip exotic grenade launcher quest, which you’ll need to progress Born in Darkness to its conclusion. Check out our Salvation’s Grip guide to get your hands on the weapon.
Born in Darkness Part 1
Step 1
The easiest step, Part 1 of Born in Darkness first asks you to defeat 50 Fallen on Europa and defeat enemies with Stasis melee abilities. Fallen are easy enough to find, and the Eventide Ruins have the highest concentration of them outside of a Fallen public event or the Concealed Void Lost Sector in the Asterion Abyss.
Melee kills require a charged melee, or when the melee section of your UI is full blue. Stick to red bar enemies and try to keep them in groups. Alternately, you can complete playlist Strikes with the Brawler modifier active.
Step 2
Once you’ve done the above, you’ll need to go into playlist Strikes (if you aren’t already there) and complete three of them with your Stasis subclass equipped. While you’re running Strikes, you’ll need to also defeat 60 combatants affected by Stasis.
The method of freezing them doesn’t matter, nor does it matter which member of the fireteam freezes them, only that you are the one who defeats them. This section might take you more than three Strikes, but only if you really try.
Step 3
Your next task is taking out a platoon of Fallen led by Weniks, a boss-level Captain. You’ll find him and his crew in Eternity, the complex to the left of Cadmus Ridge. You went through the area in the campaign on the hunt for Praxis, and the location you’re looking for has a Crux of Darkness in it.
Wenix should appear after you approach the Crux and kill a few of the Fallen in the area. Kill him, and you’ll progress to the next step of the Quest.
Step 4
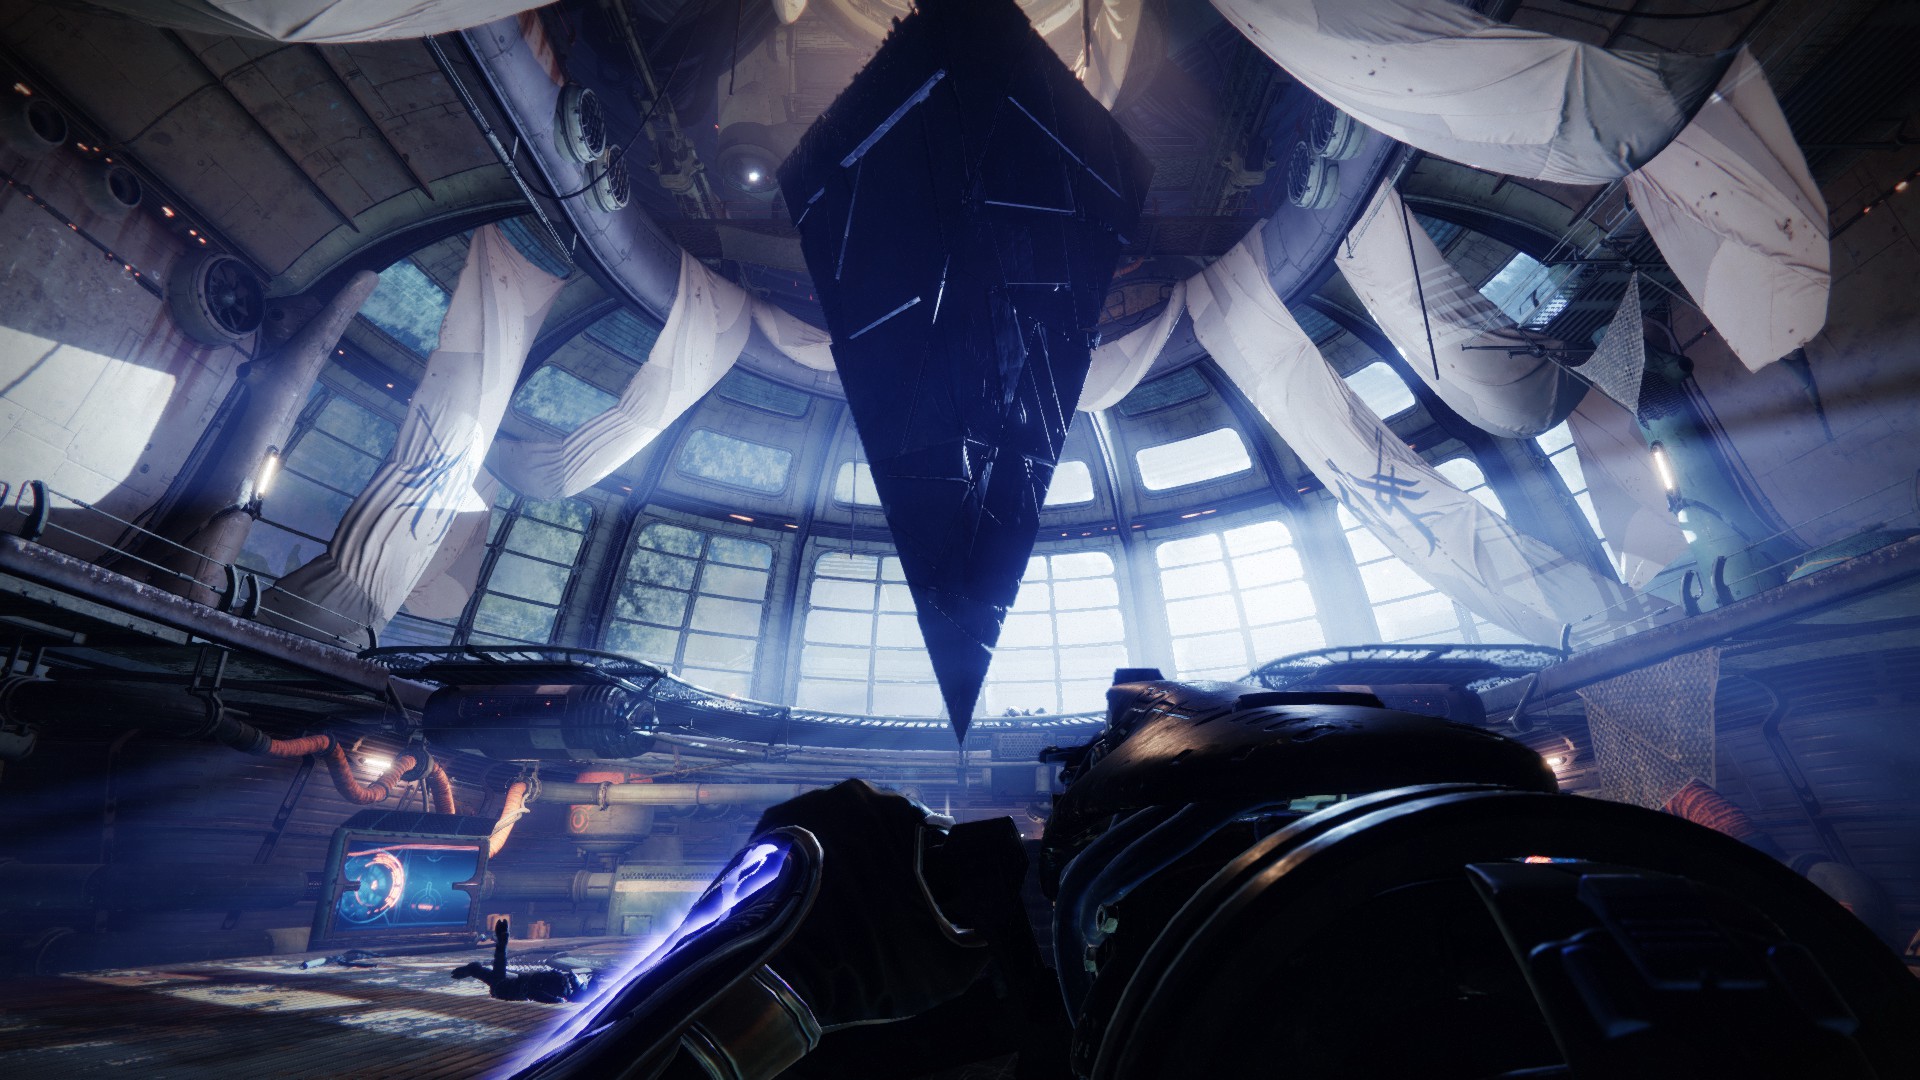
For the penultimate portion of Born in Darkness Part 1, you’ll need to go to the Bunker E15 Lost Sector in the Eventide Ruins zone. Filled with Bray robots in Vex cages, you’ll need to make it all the way to the boss room and clear it. The door near the loot chest will open. Head inside to where the Stranger awaits. Speak with her, then travel to meet her again back in the Beyond.
Step 5
The final step of Part 1 is meeting with the Exo Stranger in the Beyond. Your reward is a pair of quests: Born in Darkness Part 2 and Aspect of Control. We’ll cover Part 2 first.
Born in Darkness Part 2
Step 1
This first step is fairly straightforward. You’ll need to kill 50 Vex across Europa, as well as kill 20 enemies with Shatter damage.
Vex killing is simple enough. Go either to the Perdition or Bunker E15 Lost Sectors and kill every Vex inside. Vex Public Events are also a good way to kill 50 Vex quickly.
Shatter kills are a little trickier, so you’ll need to pull out either Salvation’s Grip or build in some high ability regeneration. Once you freeze an enemy, you can either shoot the ice crystals that form or melee them. Try to group them up as well so you can get multiple kills at a time. Shatter chains across enemies they’re all frozen, so Super kills are another great way to rack up shatter kills as well.
Step 2
Your next two tasks are to complete 3 playlist activities with Stasis equipped and kill 60 enemies affected by Stasis.
Which playlist you choose is ultimately your preference. Vanguard Strikes are the most relaxing, and so long as your teammates are also using Stasis, you won’t be competing with them too much. Crucible and Gambit are also options, as Guardian kills count for more, so if PvP is more your style, there are plenty of players rocking Stasis and will be for the foreseeable future.
The 60 kills affected by Stasis will come naturally, even if it takes you more than three activities. If you’re still trying to hit the Power cap of 1250, there’s really no reason not to grind out playlist activities, as you’ll keep gaining as you progress your new subclass.
Step 3
The third step of Born in Darkness has you return to Riis-Reborn Approach and defeat another platoon of Fallen. Head to the northernmost section of Eventide Ruins and head up the elevator. Follow the marker on your map until you reach a large room with another Crux of Darkness. Kill the captain that appears along with his retinue, and you’ll progress to Step 4.
Step 4
Back to Lost Sectors. This time you’re headed to Perdition in Cadmus Ridge. Finish the mini-dungeon, but don’t jump down from the platform after the loot chest. Instead, head to the side room on the left of the boss chamber and speak to the Stranger again. She’ll drop some additional lore on you, then depart.
Step 5
Return to the Beyond and speak to the Stranger again. She’ll give you your first Stasis grenade upgrade, and you’ll progress to Part 3.
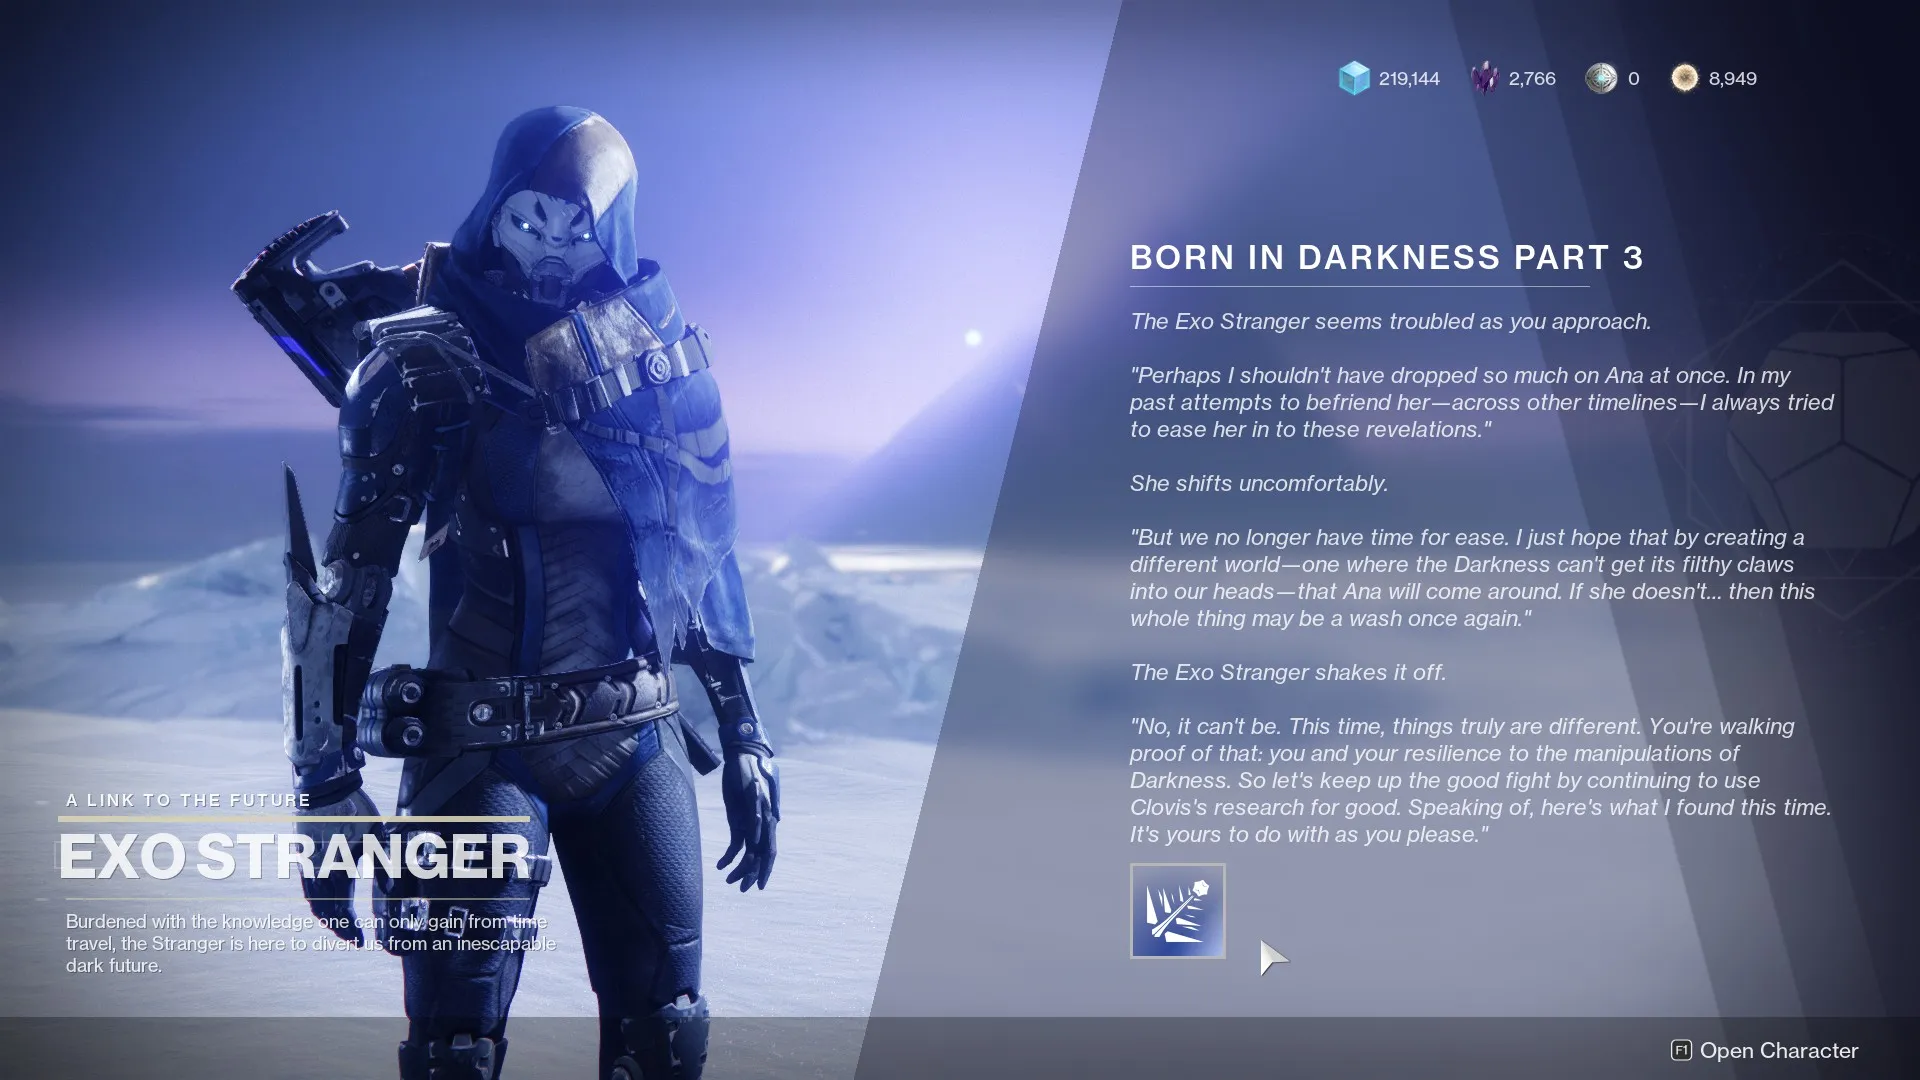
Born in Darkness Part 3
Step 1
This part of the Born in Darkness questline starts with plenty of alien killing. You’re tasked with killing 50 Vex and 50 Fallen on Europa as well as 20 enemies affected by Stasis. As with the other steps that require defeating enemies, Lost Sectors are your best friend here, though Public Events and general patrolling are just as viable, if not quite as efficient.
And as with the other steps, use Salvation’s Grip and your abilities and Super while you’re in the Lost Sectors to kill enemies affected by Stasis.
Step 2
Hope you’re ready for Gambit, ‘cause that’s where you’re headed for this step. You need to complete three matches of the mode with Stasis equipped. While playing, you’ll need to defeat 60 enemies with Stasis abilities and effects. Once again, Salvation’s Grip can be a good friend here, but for Gambit in particular, you’re better off sticking to your Super for clearing large groups of trash mobs, as Power ammo is best used to melt the Primeval.
Step 3
Back to Eternity, you’ll go to the same Fallen platoon location as Part 1. This time you’re looking for a Fallen Captain named Teraks and his crew. Kill them to move on to Step 4.
Step 4
Go to the Lost Sector in the Asterion Abyss: the Concealed Void. Complete it as you would normally, but instead of jumping down to the entrance, go through the door to the right of the loot chest. You’ll get some more lore and progress to the final step of the (currently) final part of Born in Darkness.
Step 5
Return to the Exo Stranger in the Beyond, and you’ll get your hands on the final Stasis grenade upgrade. Your journey with Stasis isn’t over, however. Now it’s time to get your Aspects and Fragments.
Born in Darkness Part 4
Step 1
The final part of Born in Darkness starts simply enough. All you have to do is defeat combatants on Europa with Stasis abilities. That means your Super, Grenade, and Melee are all up to bat. Lost Sectors, the Glassway Strike, or regular patrols will see this part completed quickly enough.
Step 2
The most involved step, you’ll need to complete three Nightfall: The Ordeal Strikes, and defeat 60 combatants with Stasis while in said Nightfalls. If you want to complete this step quickly, stick to the Adept difficulty. That level lacks any of the real challenge usually offered by a Nightfall Strike, but still has a chance at Nightfall rewards and ensures all enemies are easy to kill with abilities. Bear in mind the combatants you defeat don’t have to be affected by your Stasis abilities, so you can farm off your teammates if they’re using it.
Step 3
You’re headed to the Crux of Darkness in Creation. There’ll be another Fallen patrol you’ll need to defeat and then you need to commune with the Crux, at which point you’ll proceed to step 4.
Step 4
For this step, you’ll have a quest marker taking you to the Creation area deep in Bray Exoscience. Ana Bray and the Stranger will be standing before a giant Exo head. Listen to the deep lore and you’ll move to Step 5.
Step 5
The final step in all of Born in Darkness sees you visiting the Exo Stranger back in the Beyond. She’ll thank you for all your help and you’ll unlock the Aspect of Destruction quest for your second Aspect.
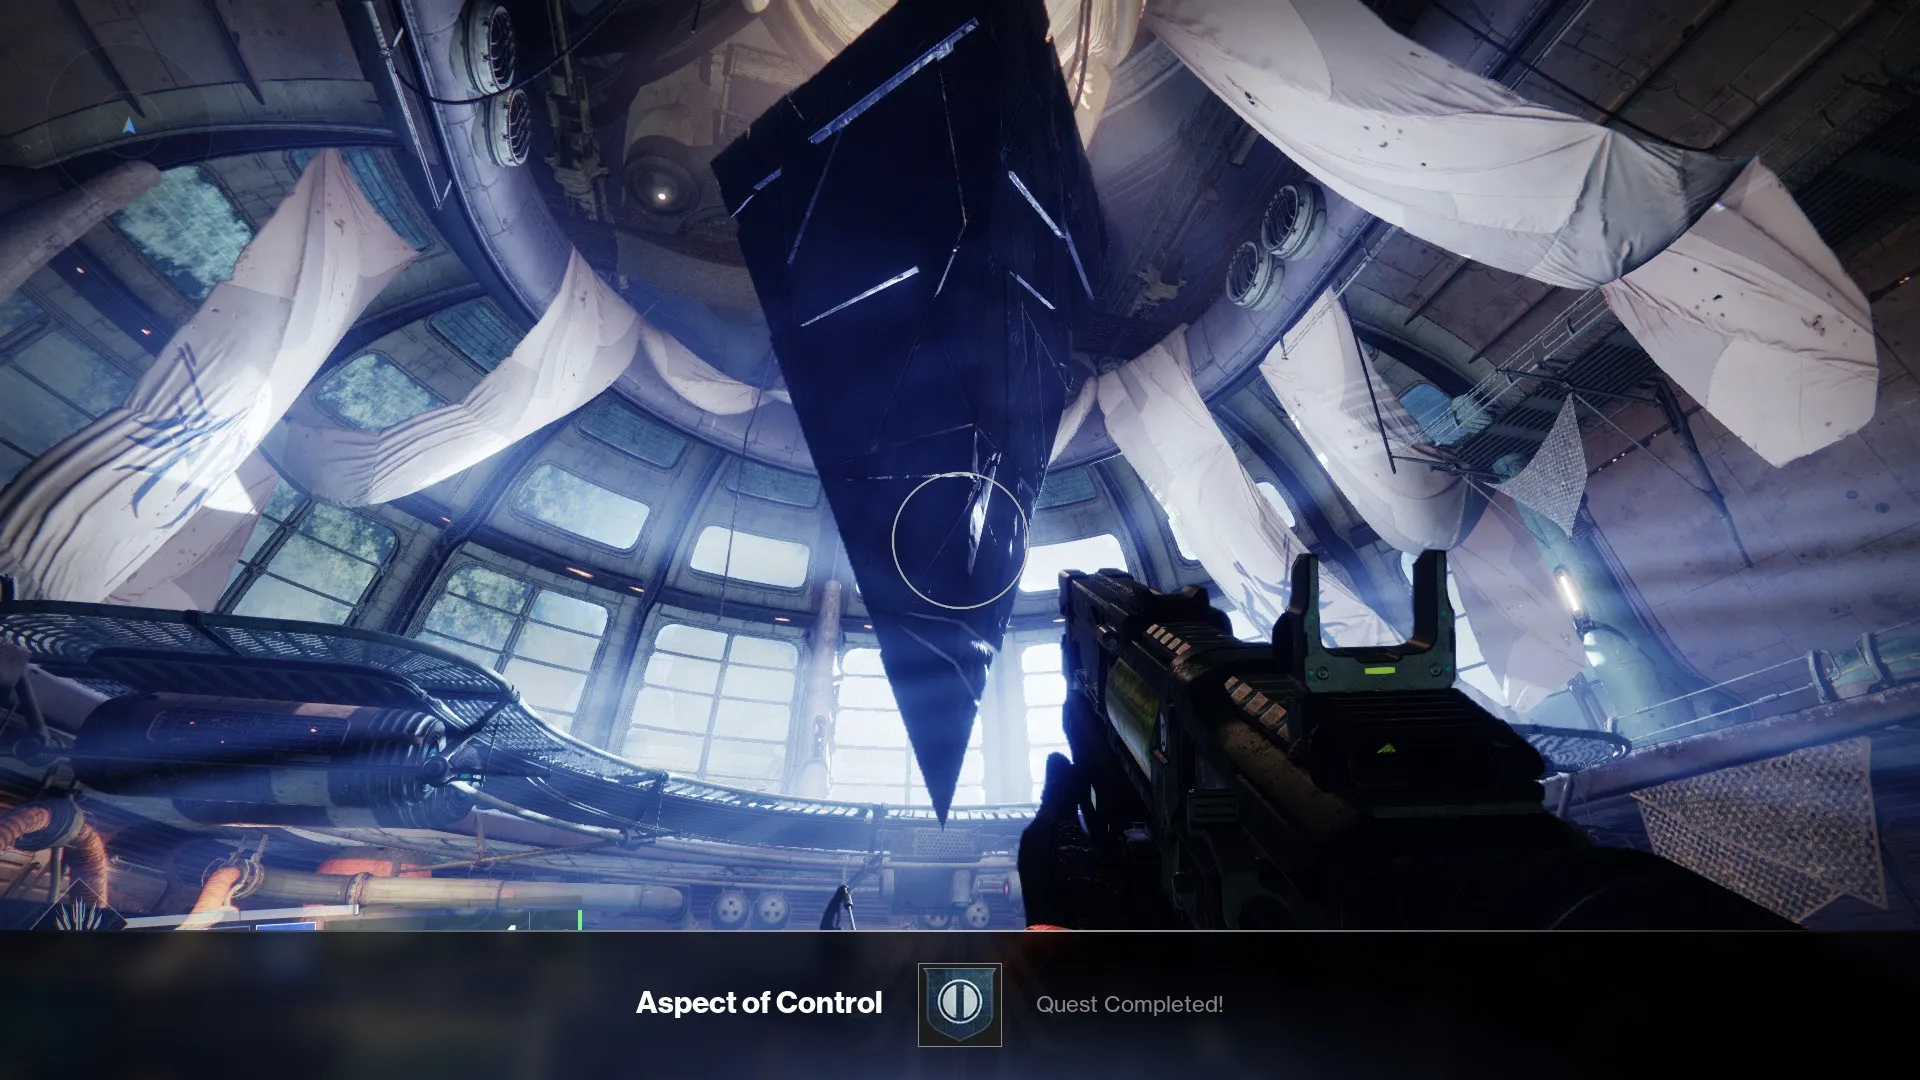
Aspect of Control
Acquired after completing Born in Darkness Part 1, you’ll be tasked with finding and destroying five Entropic Shards scattered across Europa. Finding them requires a guide of its own, but you’re in luck! We have a complete guide to every available Entropic Shard right here.
Once you’ve shattered the shards that nee shattering, you’ll head back to Riis-Reborn Approach and then to Kell’s Rising to the Crux of Darkness just before Eramis’s boss room. You’ll kill everything in the room, including a Stasis-wielding boss, and you’ll at last be rewarded with your first Aspect.
Aspect of Destruction
There are only two steps to the quest that grants you your second and last Aspect.
- First: Find and destroy all nine Entropic Shards (see our guide linked above).
- Second: Go back to the Crux of Darkness in Riis-Reborn Approach for one final test against a large Fallen platoon. Defeat them to unlock your Aspect.
How to Get Fragments
Fragments apply additional modifiers to your Stasis subclass, though the more powerful versions come with a cost to your stats. Getting your hands on the quest requires you to complete at least Born in Darkness Part 2, after which the Stranger will offer you two of three possible playlist quests. You can choose between Strikes, Gambit, and Crucible.
Unless PvP is really your thing, stick to Gambit and Strikes, as the Crucible requirements are particularly situational and are more annoying to complete than they are satisfying to pull off. No matter which you choose, you’ll spend a lot of time in the playlists, as the grind for Fragments is particularly grueling.
Note: The Fragment quests below are just one of several you might encounter as you grind. The general strategies remain applicable in most cases.
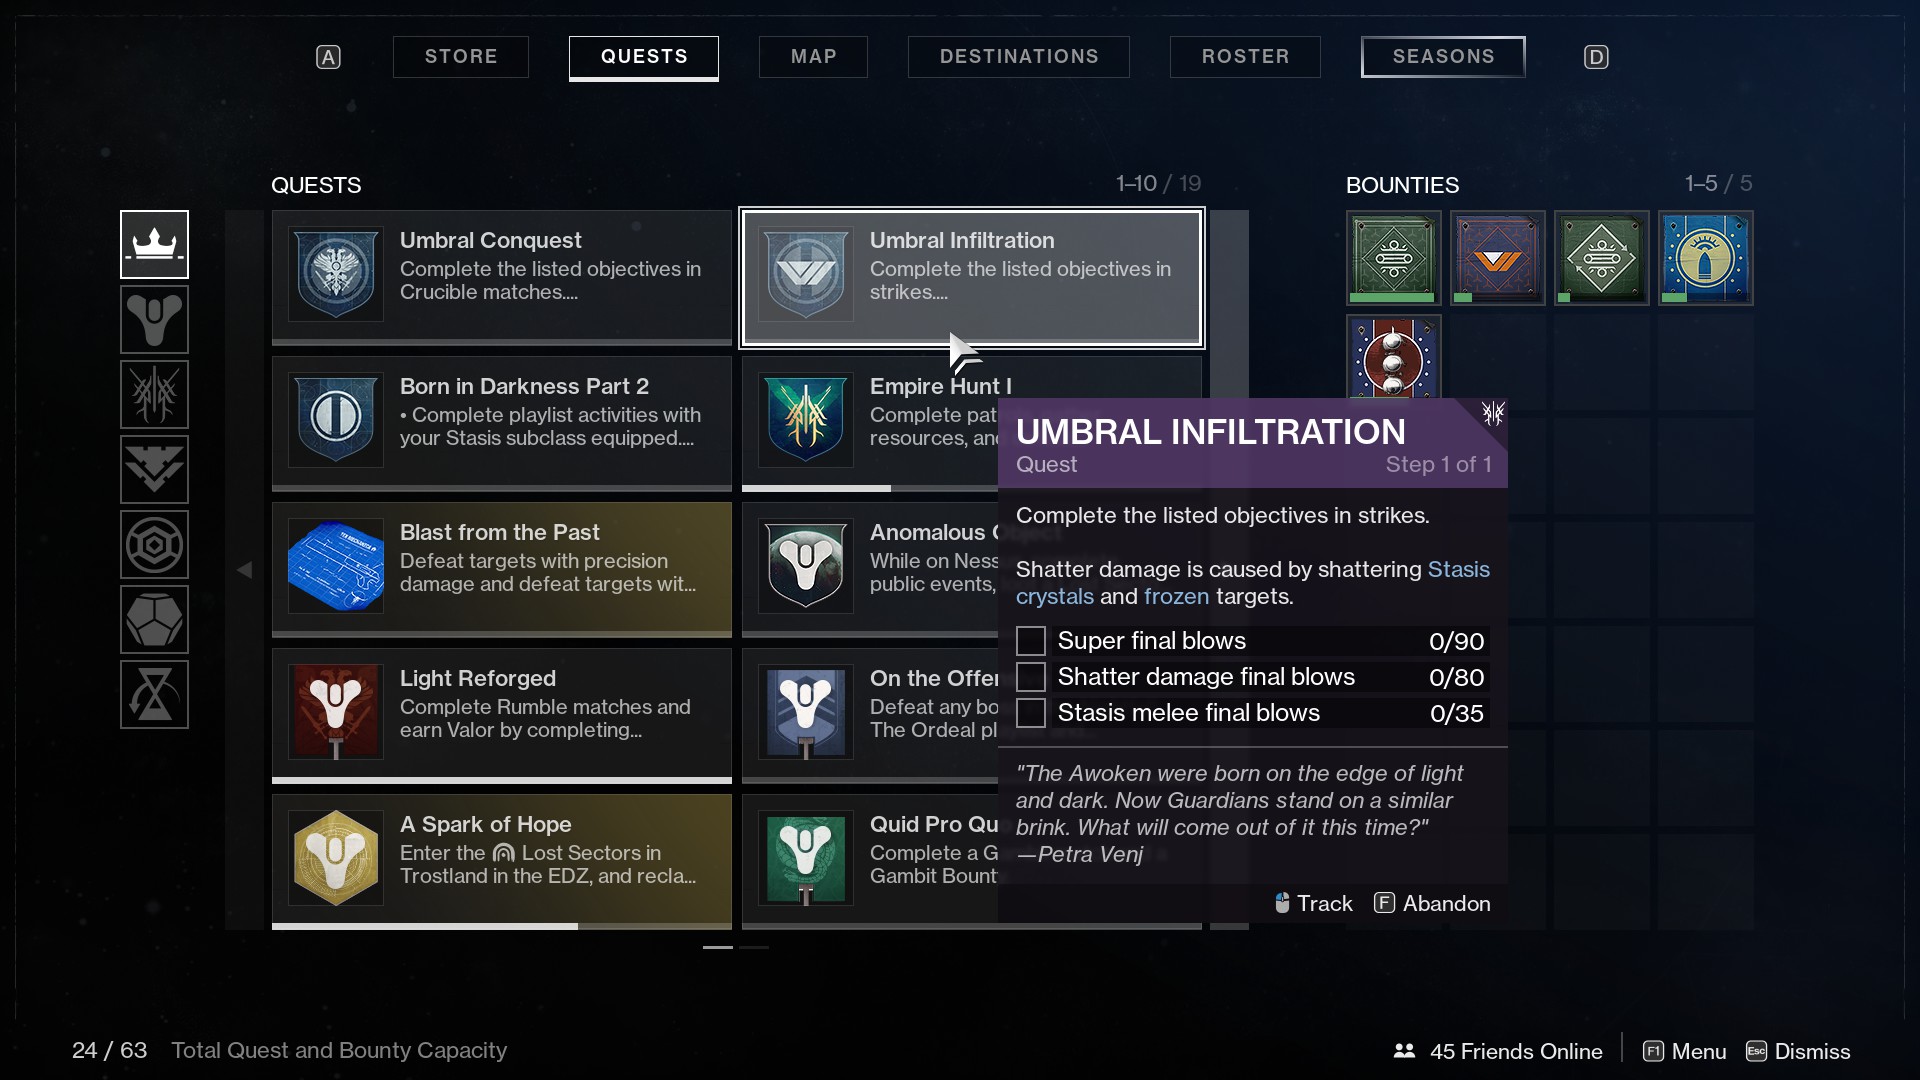
Strike Fragment Quest: Umbral Infiltration
Be ready for a lot of time in Strikes, as you’ll need to complete the following objectives to finish the Umbral Infiltration quest:
- 90 Stasis Super final blows.
- 80 Shatter damage final blows.
- 35 Stasis melee final blows.
Spec for ability regeneration and use said abilities when you know there’s a big group of enemies. Your teammates could very well have the same idea, so don’t get after them too much if they poach a few kills. Share the love. Then poach their kills yourself.
Melee kills are probably the toughest here, so spam them against the lowest level mobs whenever you’re charged up.
Gambit Fragment Quest: Umbral Schemes
The changes to Gambit’s structure have made the game mode much quicker but somewhat neutered its farmability. You’ll be going for the following objectives to get yourself a Gambit Fragment.
- Collect 20 Umbral Particles.
- 60 melee or Grenade kills.
- 40 Slowed enemy kills.
Umbral Particles are a random drop from sending blockers regardless of the blocker size. In other words, a five mote small blocker has the same chance of giving you an Umbral Particle as a fifteen mote large blocker. If you’re just in it for the Fragment, spam small blockers until you’re blue in the face. Your team might not win as much, but at least you’ll be progressing, right?
Your best bet for grenade kill farming is the Coldsnap grenade that sends out a seeking ice field. The ice wall grenade is good if you can manage proper placement, but Coldsnap is almost always a better option.
Slowed enemies come from the cold orb grenade and abilities like the Titan and Hunter Melee. Enemies will have the debuff symbol over their heads and will move, well, slower. Kill them while they’re so slow but not frozen.
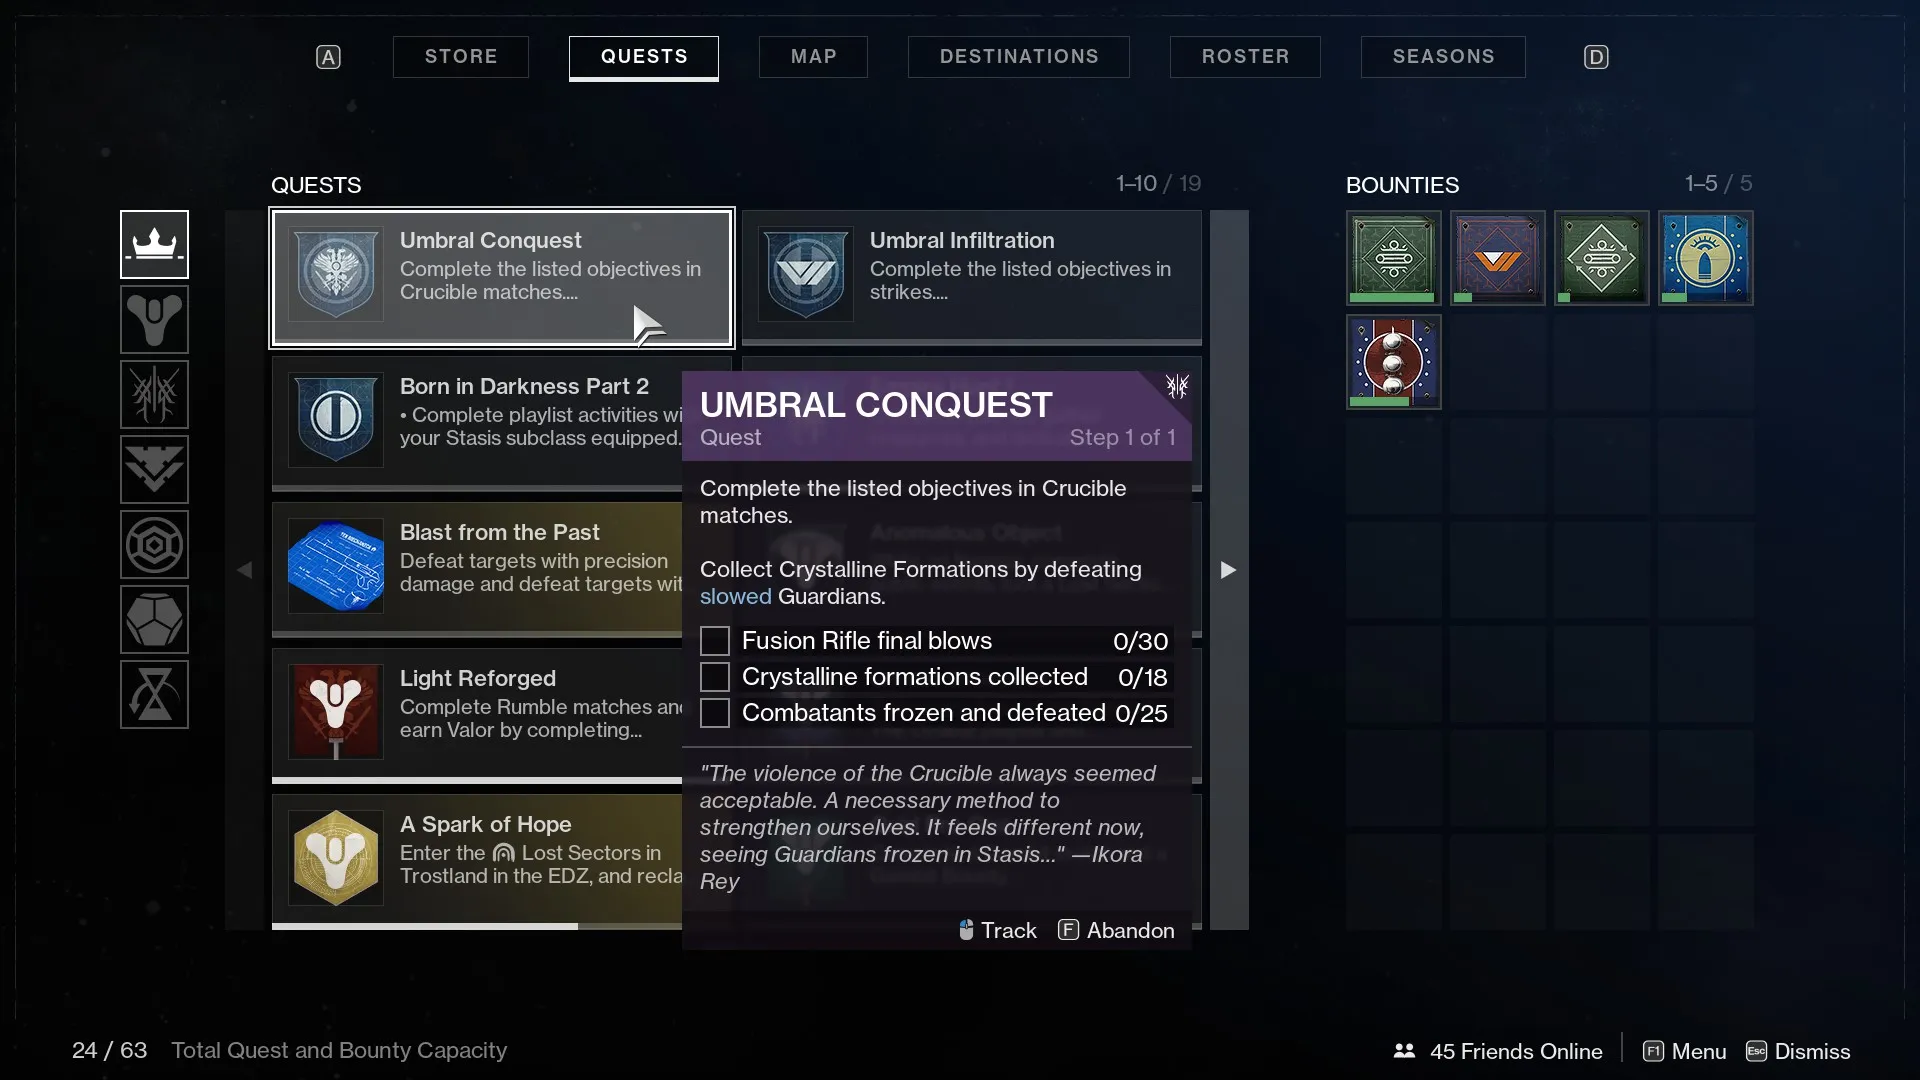
Crucible Fragment Quest: Umbral Conquest
Probably the most frustrating of the Fragment quests, if you want to complete Umbral Conquest, you’ll be going for slow kills against human targets. The others are:
- Get 30 Fusion Rifle final blows.
- Collect 18 Crystalline Fragments (by killing slowed Guardians).
- Freeze and defeat 25 enemy Guardians.
Pick your favorite Fusion Rifle, sunset or not, and go for as many kills per game as you can. Then go for the frozen kills because the slow kills will take all your attention.
As a Hunter, your melee slows, but the timing is incredibly tight, so you need to throw the shuriken and then immediately kill the opponent. You have maybe a second or so. Titan has more leeway, and Warlock doesn’t even have a melee option to slow, so they’re stuck using the grenade that creates a slowing orb. The timing there is unique, as you’ll need to wait about a second before the slow effect takes hold so you can gather the Crystalline Fragment.
There’s another issue: the game sometimes doesn’t reward the Crystalline Fragments even if you fulfill the requirement, so you’ll be spending even longer farming for those kills.
Fragment Get
Once you complete the quest requirements, you’ll be given a Memory Fragment, which you’ll be taking to the Exo Stranger in the Beyond. She’ll offer you one Stasis Fragment per Memory Fragment. Each character gets two Fragment quests per week, so choose wisely. The Stasis Fragments are below.
- Whisper of Hedrons: Gain bonus weapon damage after freezing a target with Stasis at the cost of -10 Strength.
- Whisper of Fissures: Increases the damage and burst radius of Stasis when you destroy a Stasis crystal or defeat a frozen target. No cost or benefit.
- Whisper of Refraction: Defeating a slowed or frozen enemy provides class ability energy—no additional cost or benefit.
- Whisper of Durance: Increases the duration of slow effects, and those with lingering effects also last longer. You’ll also gain +10 Strength for equipping this Fragment.
- Whisper of Bonds: Defeating frozen targets with weapons grants super energy but will cost you both -10 Intellect and -10 Discipline.
- Whisper of Shards: Shattering a Stasis crystal boosts your grenade recharge rate. Shatter additional crystals to increase the effect’s duration—gain +10 Resilience when you equip this fragment.
And that’s everything you need to know about upgrading Stasis. We’ll update the article as additional Aspect and Fragment quests come out. In the meantime, check out our other Destiny 2 guides here on GameSkinny.


Published: Nov 16, 2020 01:19 am