You find amazing new life everywhere you look in Monster Hunter World: Iceborne. However, five creatures rise above the rest, so much so that once caught, each of them comes with an achievement on PC and Xbox One (trophy if on PS4). These creatures make up Iceborne‘s rare endemic life.
Below, we break down how to find each one so you can nab some of the rarest, best-looking pets in the game.
Golden Gleam: Where to Find the Goldspring Macaque
One of the easier pets to find, the Goldspring Macaque lives in the Hoarfrost Reach, bathing in a hot spring just west of the southernmost camp. To reach this endemic life, travel to the camp, then turn left and hug the left side of the path. You’ll shortly arrive at the hot spring.
The Macaque seems to have a higher spawn rate on the Pearl Snatchers event quest, so if it’s currently on rotation, be sure to check the hot spring once you’ve launched the quest. (Hint: a picture of the Macaque in the hot spring is at the top of this article)
Friendly Pointer: Where to Find the Arrowhead Gecko
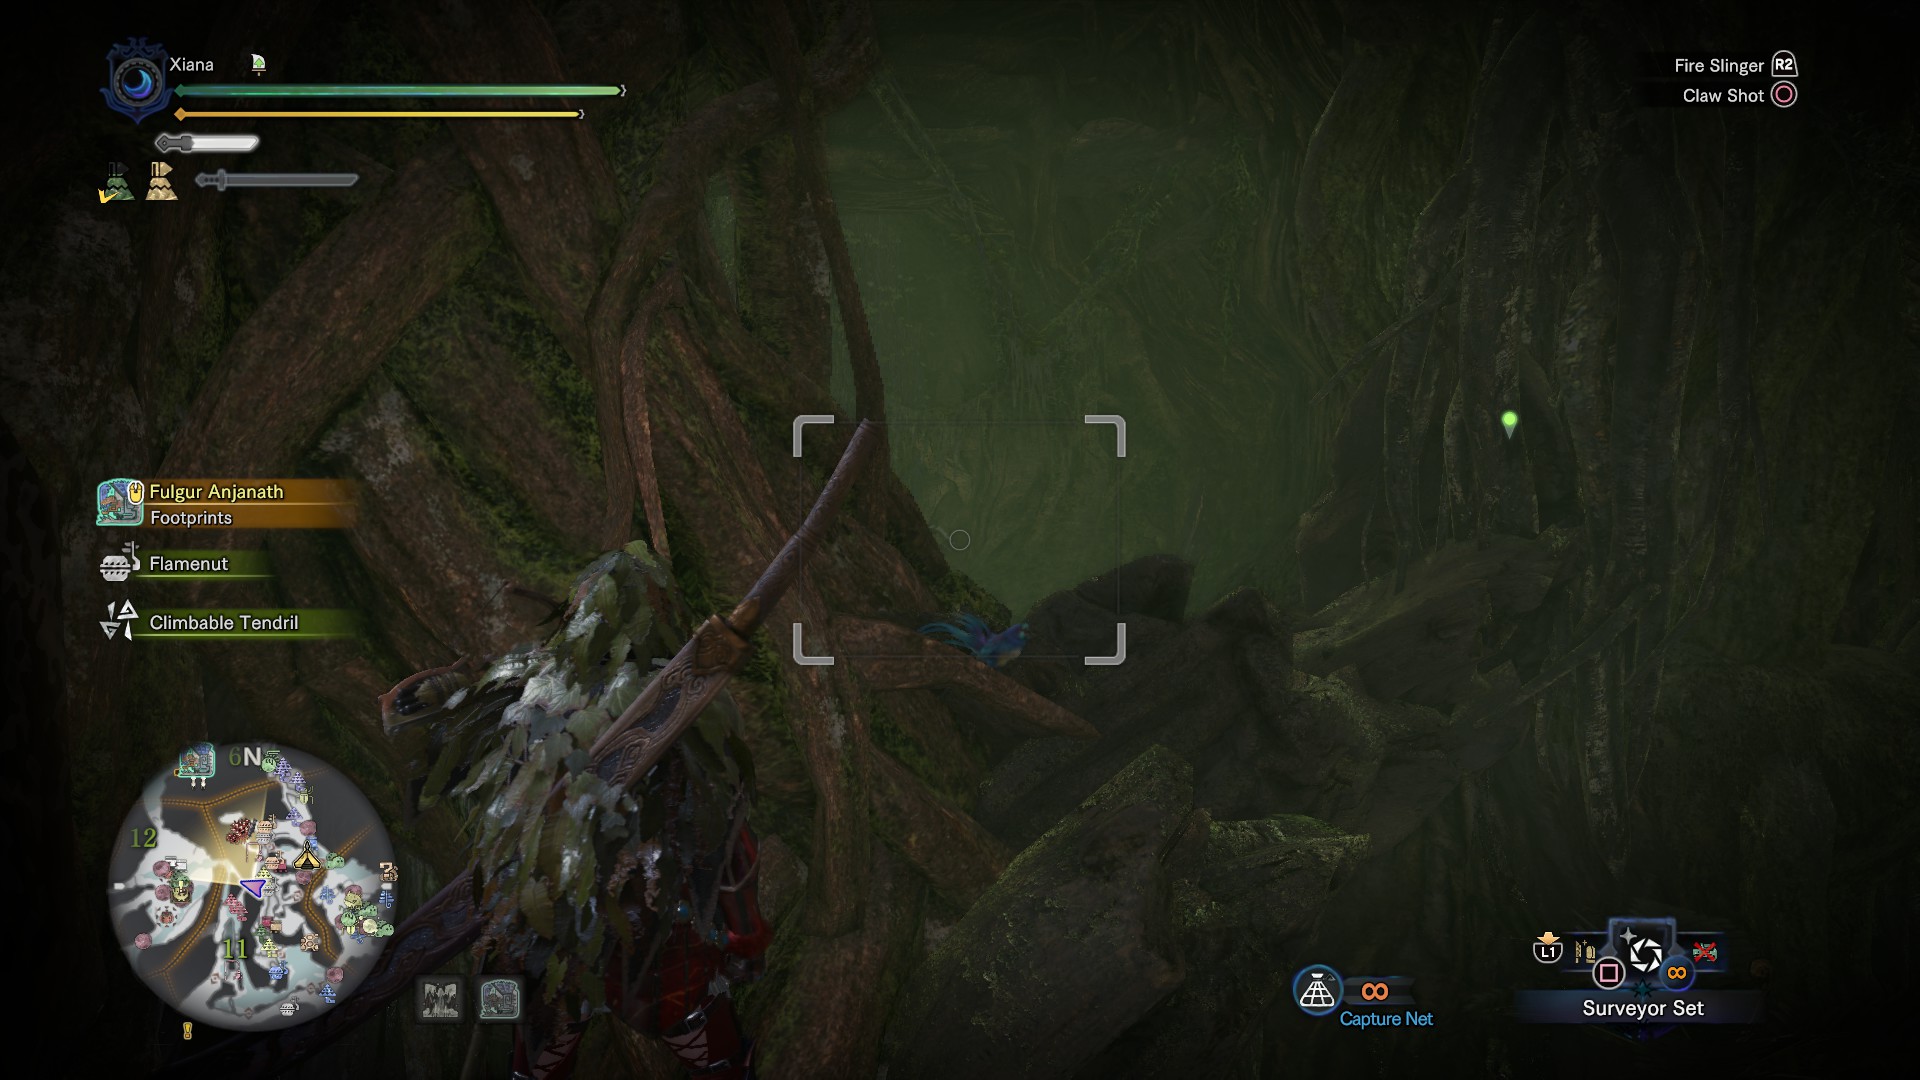
You’ll find this friendly neighborhood blue boy in either the Rotten Vale or the Wildspire Waste. He’s easier to find in the Vale, but I had the best luck finding him in the Waste, so that’s where I’ll lead you.
Arrowhead Gecko: Wildspire Waste
Start at the southern camp and turn left as you leave, taking the path up toward the caves.
You’ll pass a pond and waterfall on your way there. Stick to the right, and you’ll end up in the caves — head towards the light. You’ll pass several Tough Skinned Fruit on your way through.
Once you head out of the caves, turn right until you reach climbable vines. Take these up.
If you were lucky enough to get the little Gecko to spawn, he’ll be slithering around as you climb up. Follow him to the top and add his shiny blue endemic skin to your collection.
The next pet on our list lives very close to the Gecko in the Waste, so if you’re super lucky, you’ll find it, too.
Sweet Melody: Where to Find the Blue Diva
Looking for a beautiful birdsong? Grab yourself a Blue Diva, who lives in both the Ancient Forest and the Wildspire Waste. For the latter, take the same path to the Gecko.
Blue Diva: Ancient Forest
Ancient Forest is a much better farming choice, however. Head to the Northeast Camp and head just outside to the area with branches and two vines.
Just to the right of the exit will be a platform. If the Blue Diva’s spawned, she’ll be sitting there singing.
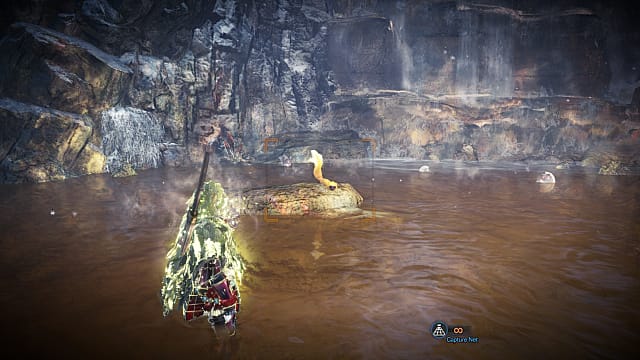
Submerged Mystery: How to Find the Sealord’s Crestfish

One of the most majestic fish in all of Monster Hunter World: Iceborne, this unit of a fish lives in the murky depths of a hidden Hoarfrost Reach hot spring. And yes, you’ll need to use the fishing rod to catch him.
To start, travel to the Shipwreck Camp and jump down into the chamber beneath the camp. From there, make a left and head into the brown, nasty areas that look kind of like the Rotten Vale.
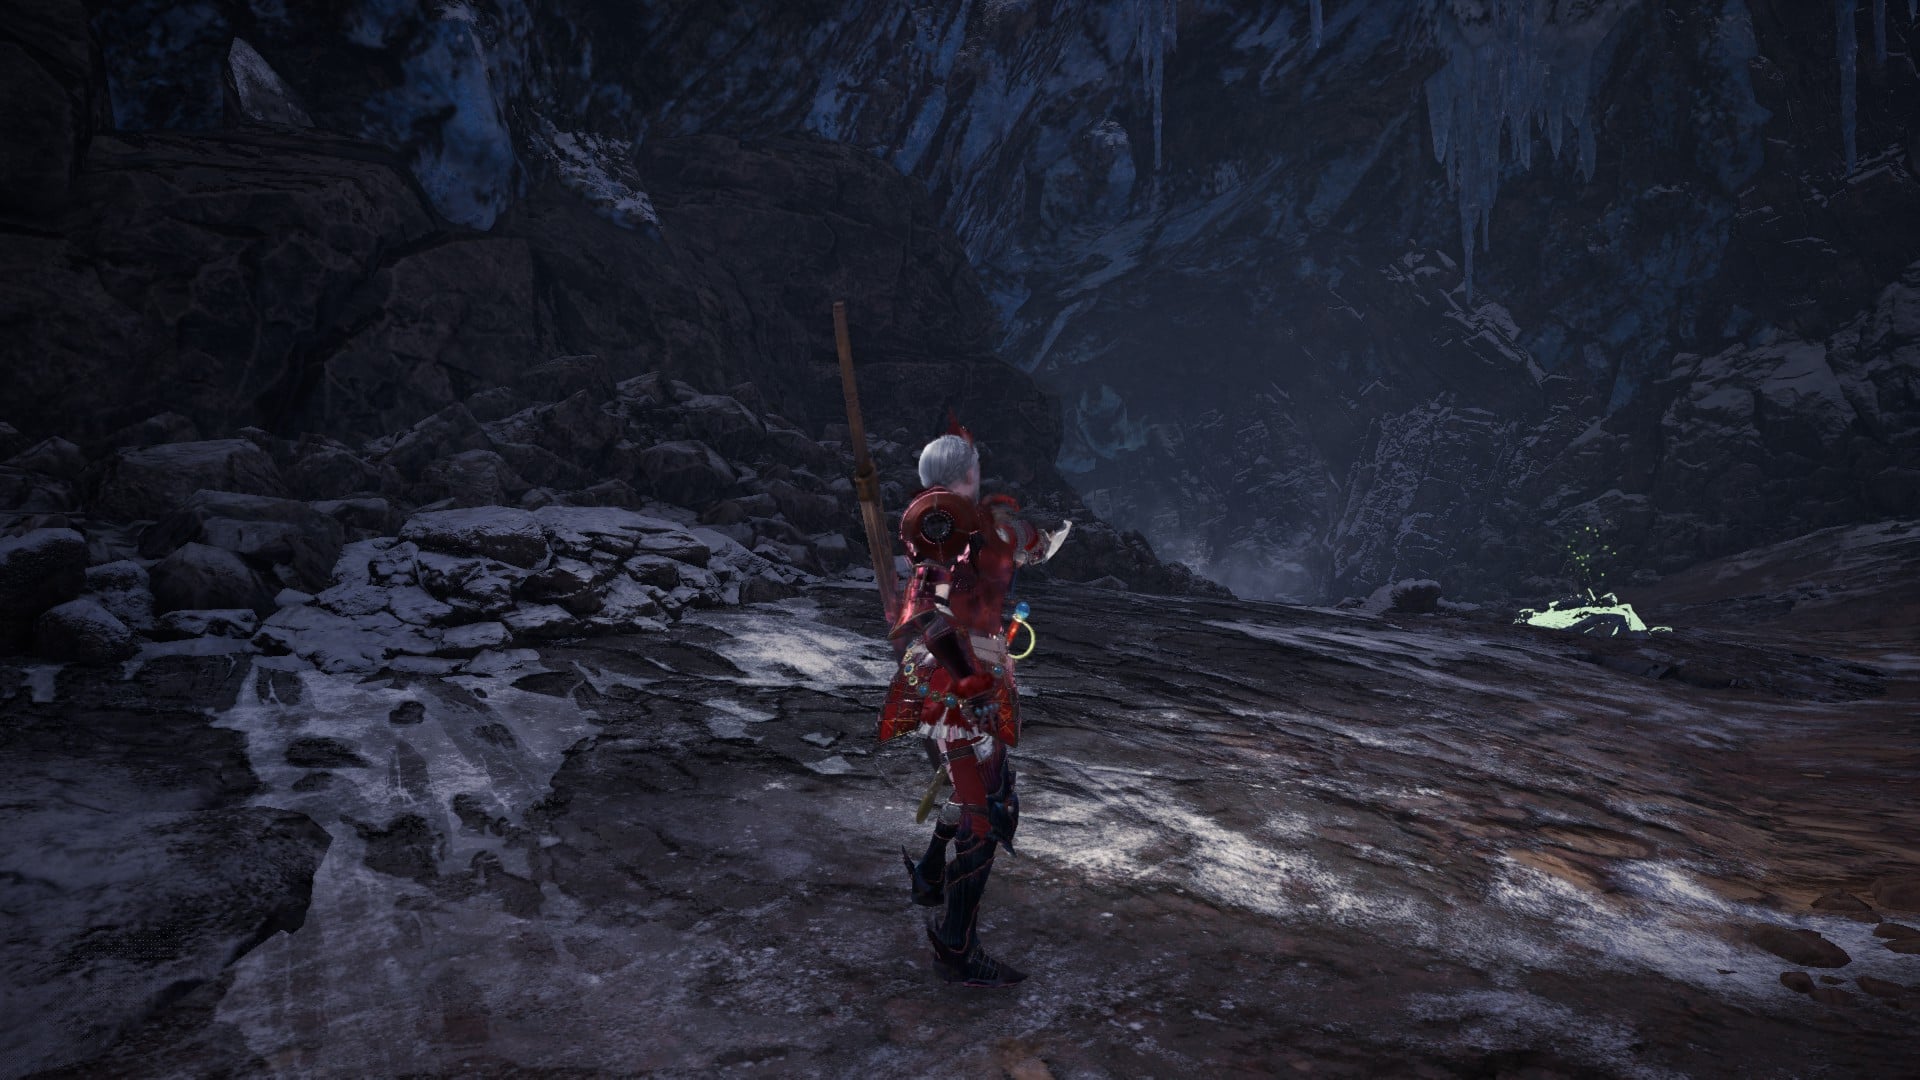
Keep to the right as you make your way down until you reach a fetid pond. Use your fishing rod in the pond and catch this piece of endemic life.
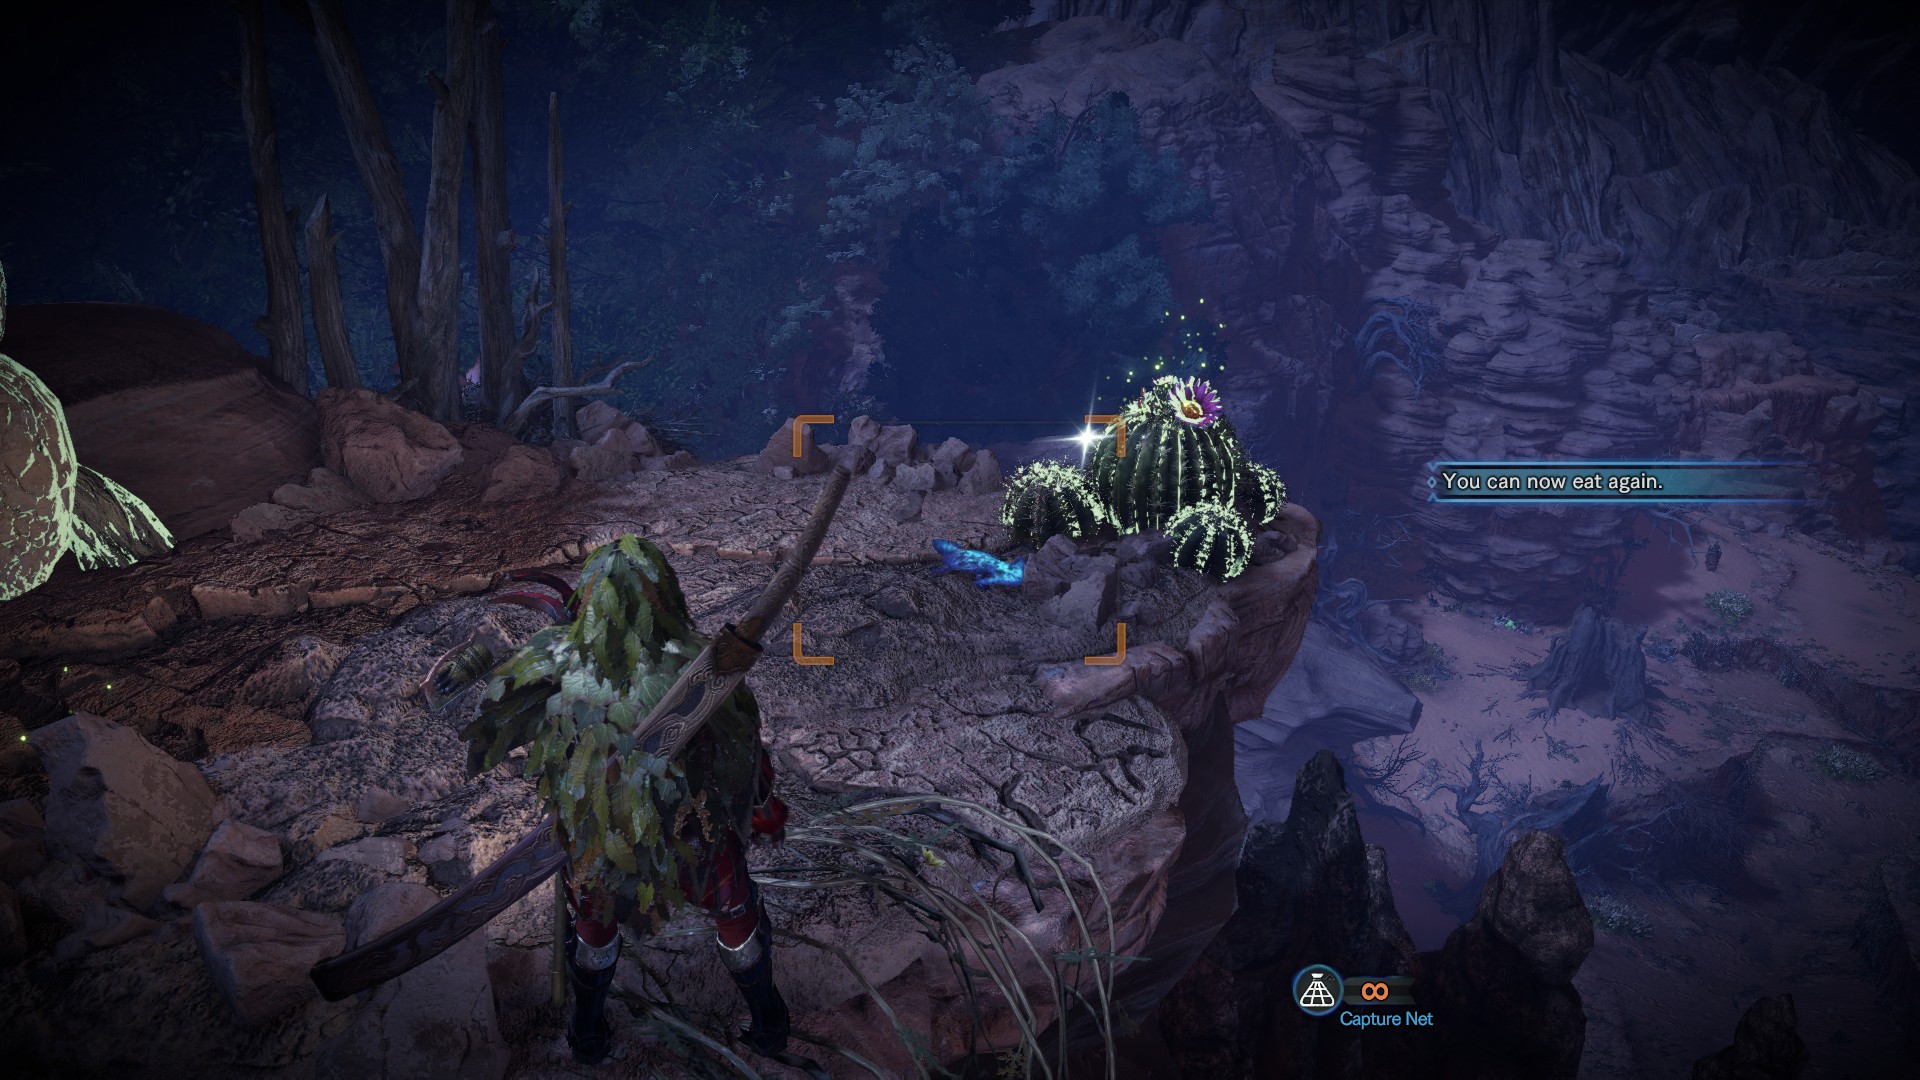
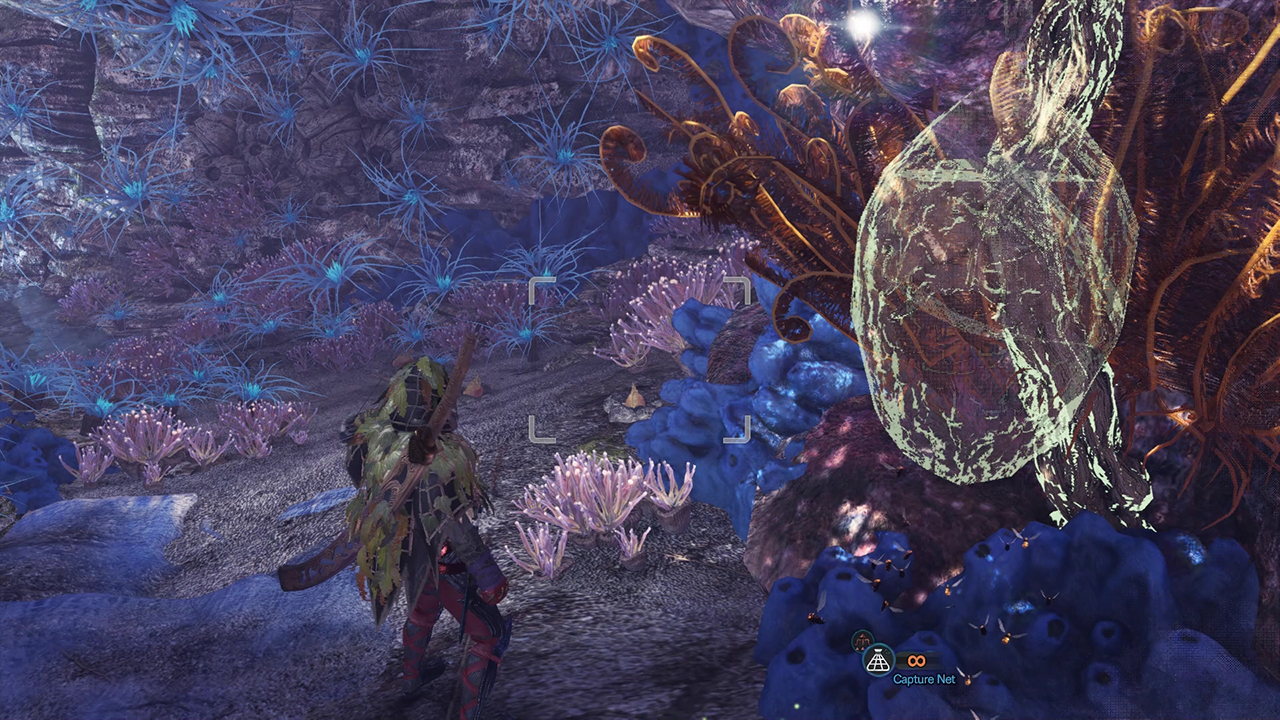
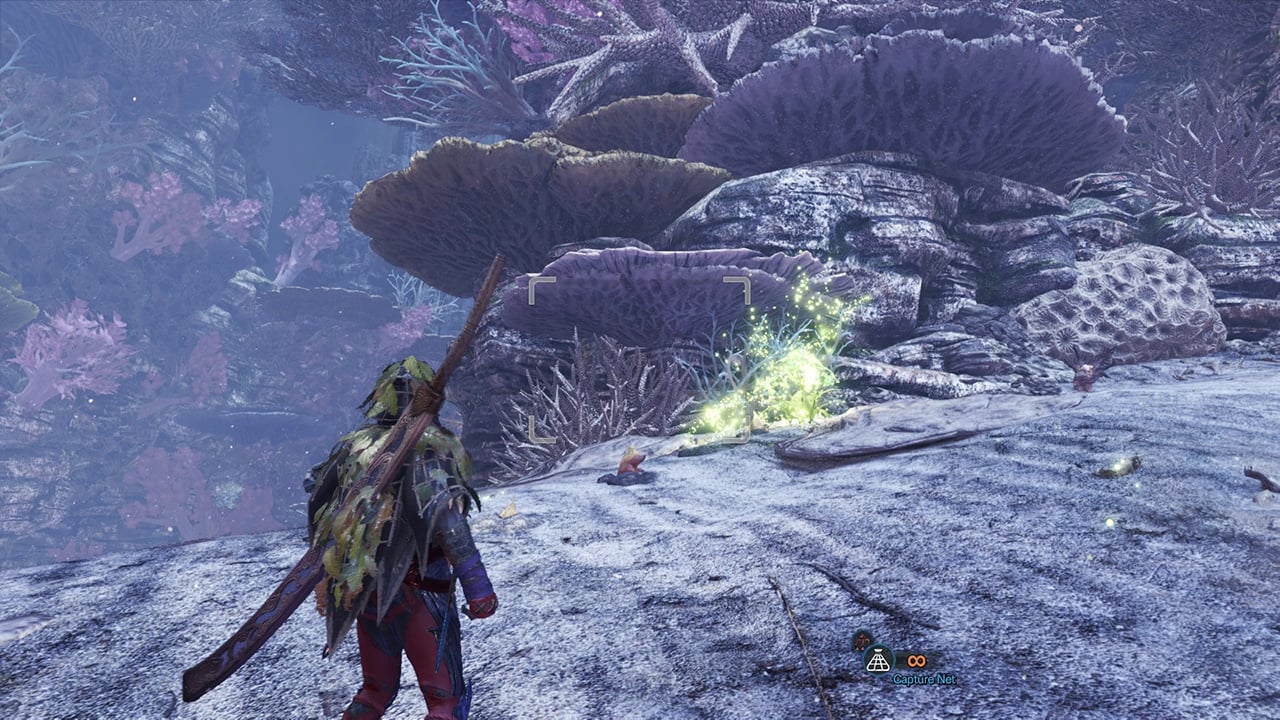
Celestial Illusion: How to Find the Wintermoon Nettle
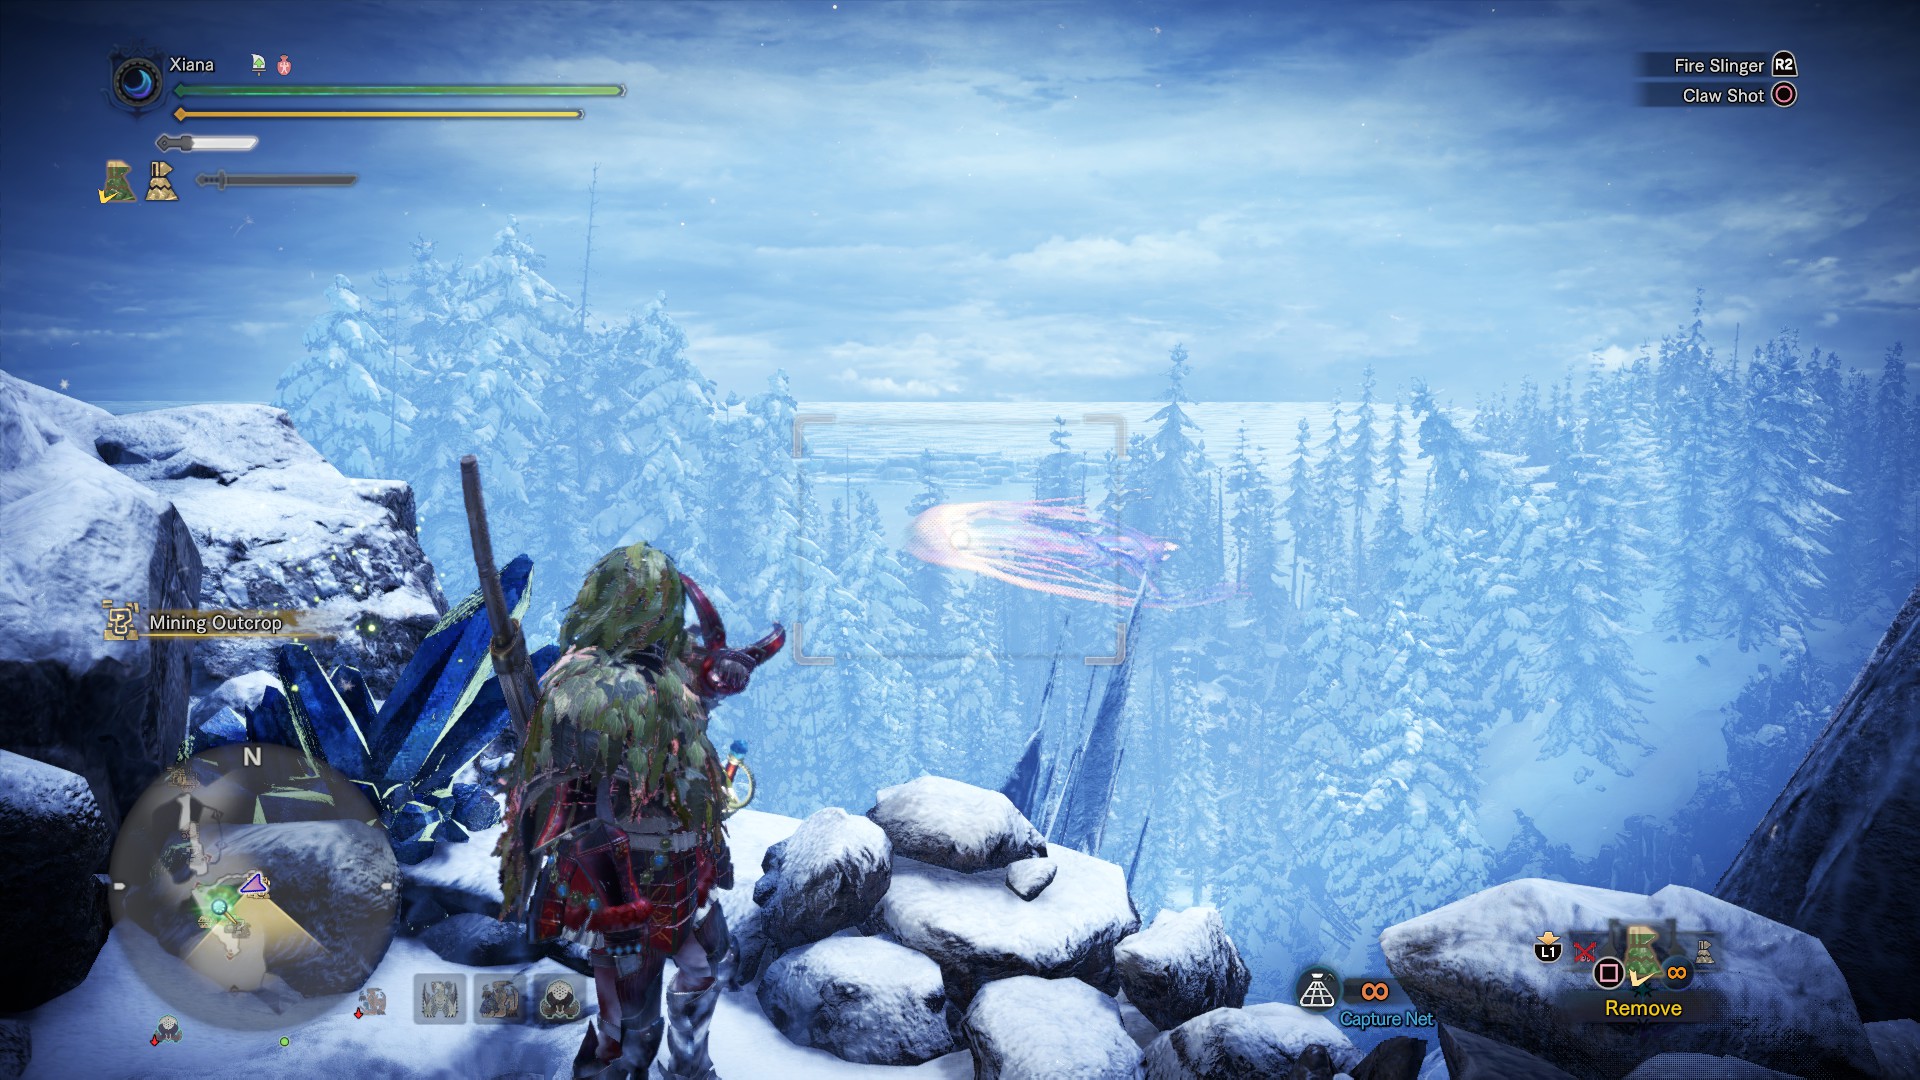
Here’s the big one, the Iceborne endemic life you’ll go crazy trying to get your hands on.
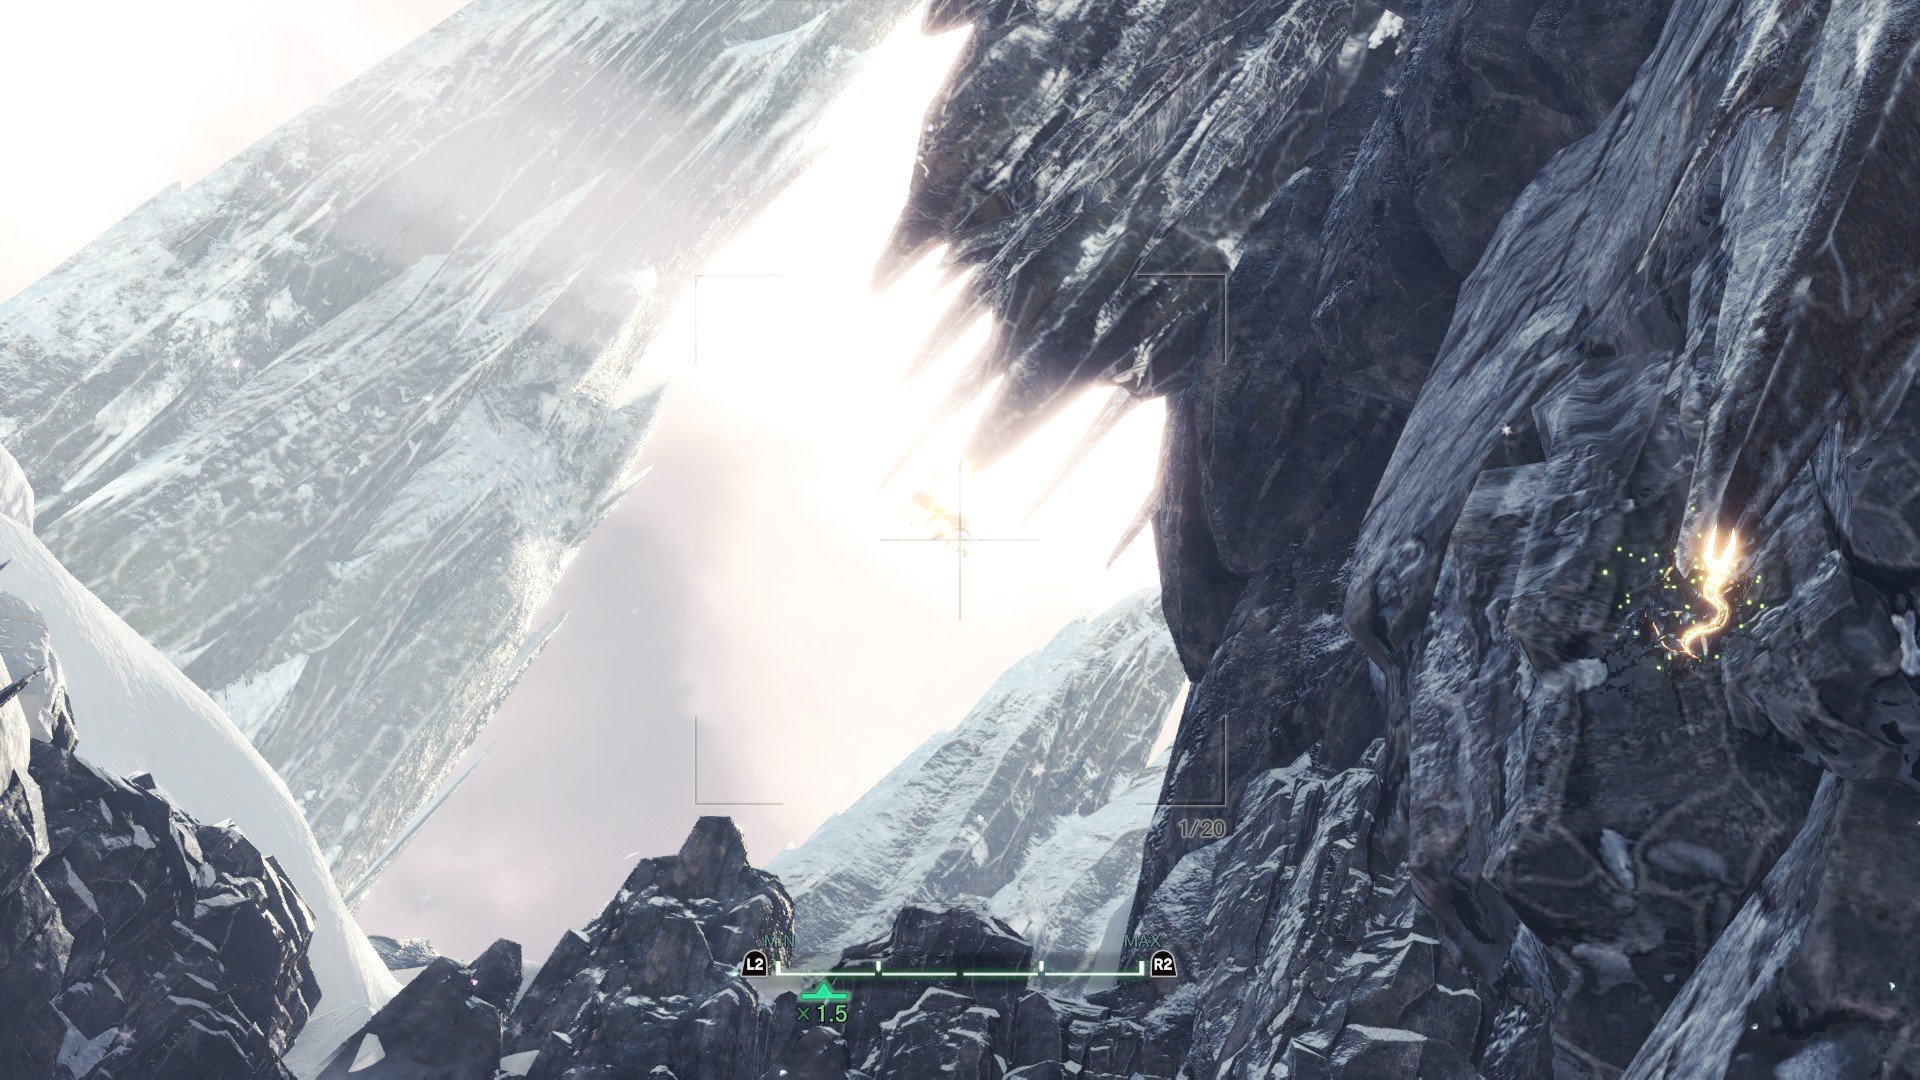
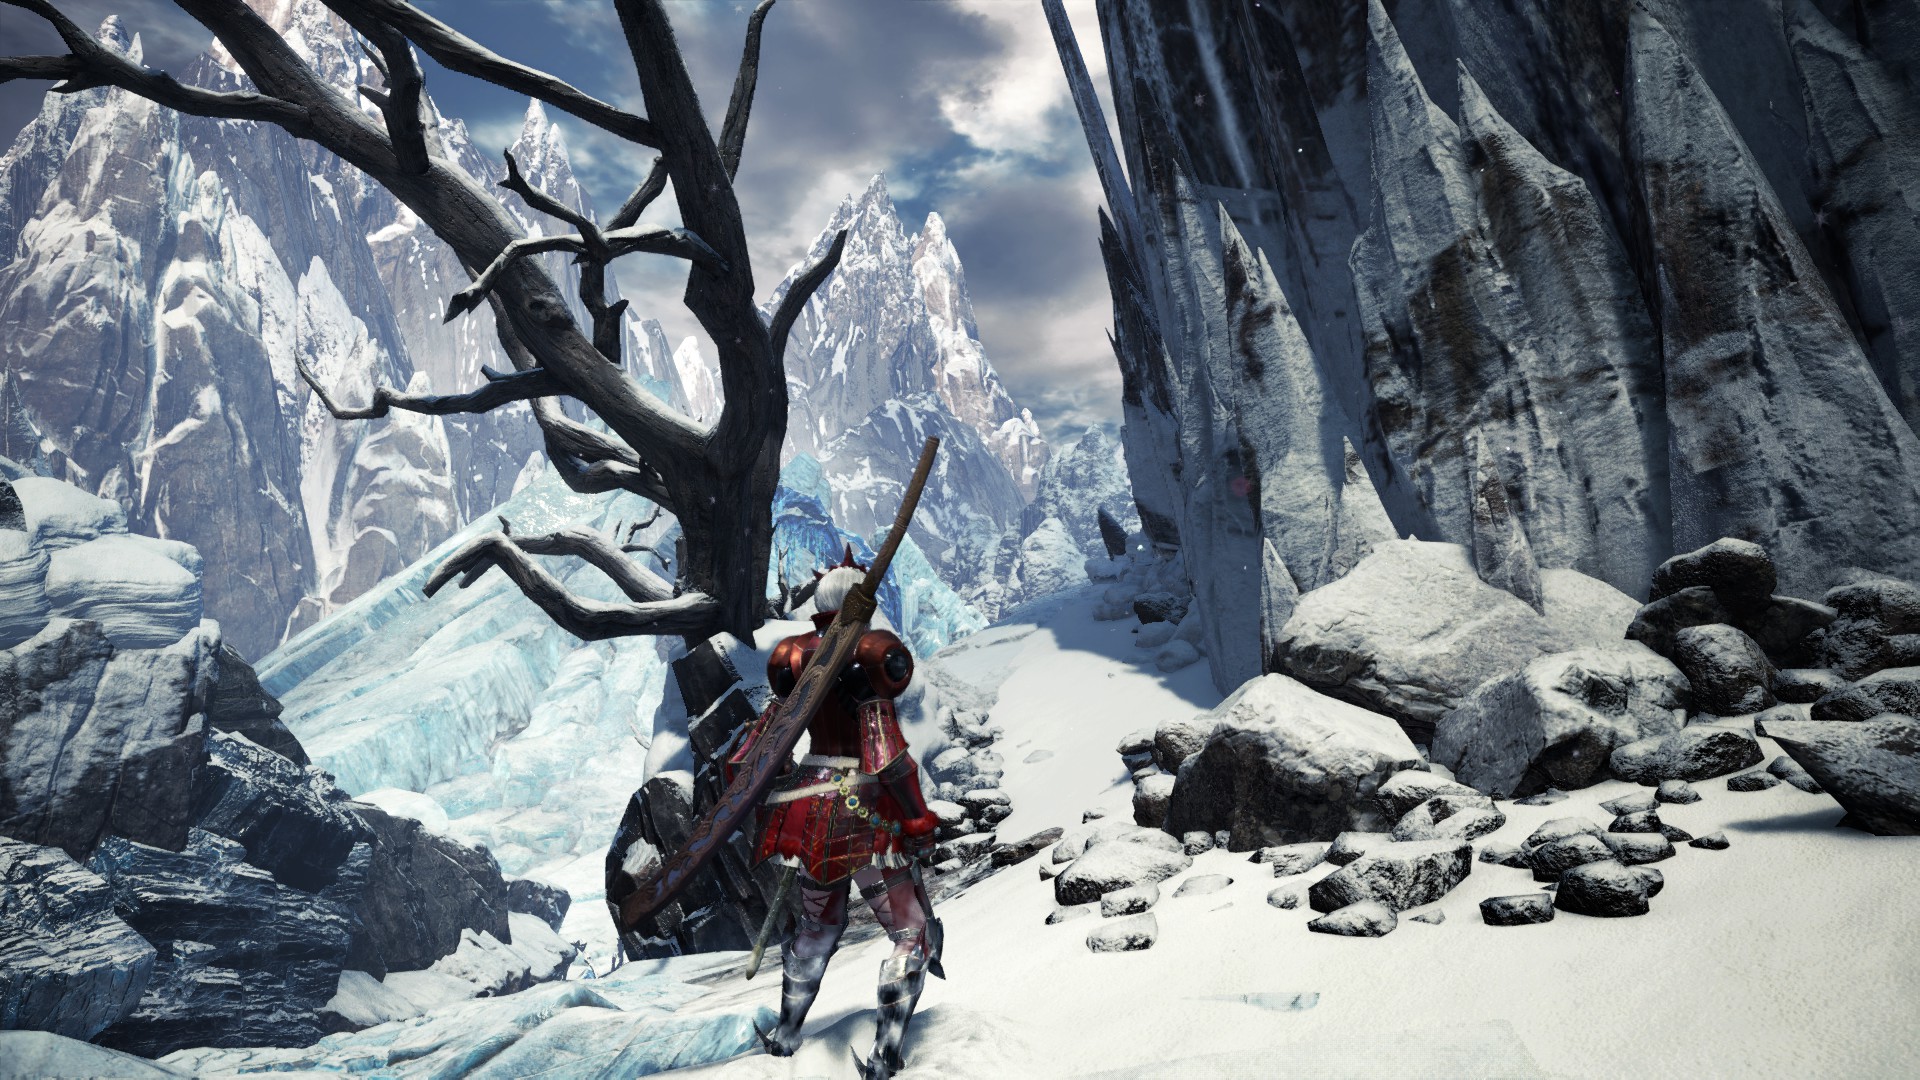
The Wintermoon Nettle lives at the top of the Hoarfrost Reach mountain and only comes out at night when conditions are Clear. Making your way up the mountain is no small feat, so here’s a detailed rundown of how to get there.
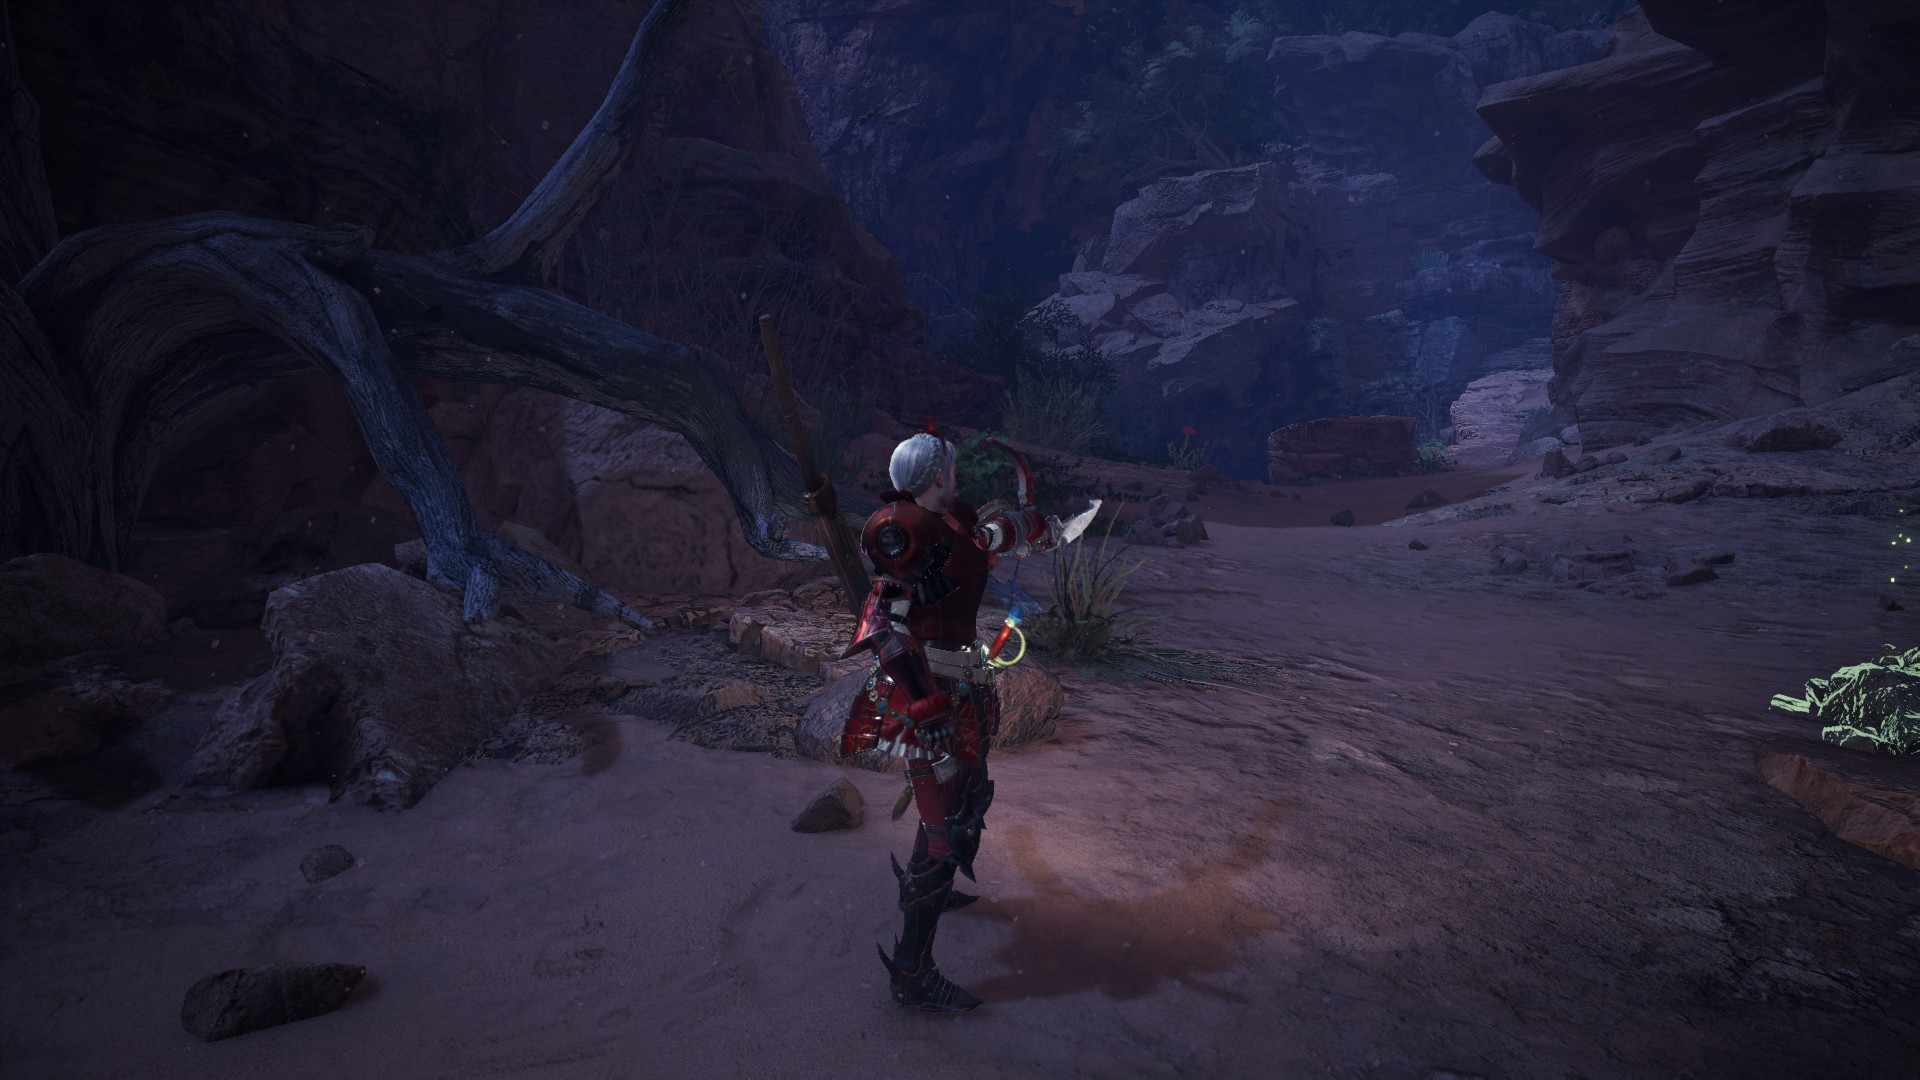
Begin by making your way to the cave in the north of Area 13. You’ll know it by the many Wedge Beetles dotting the ceiling.
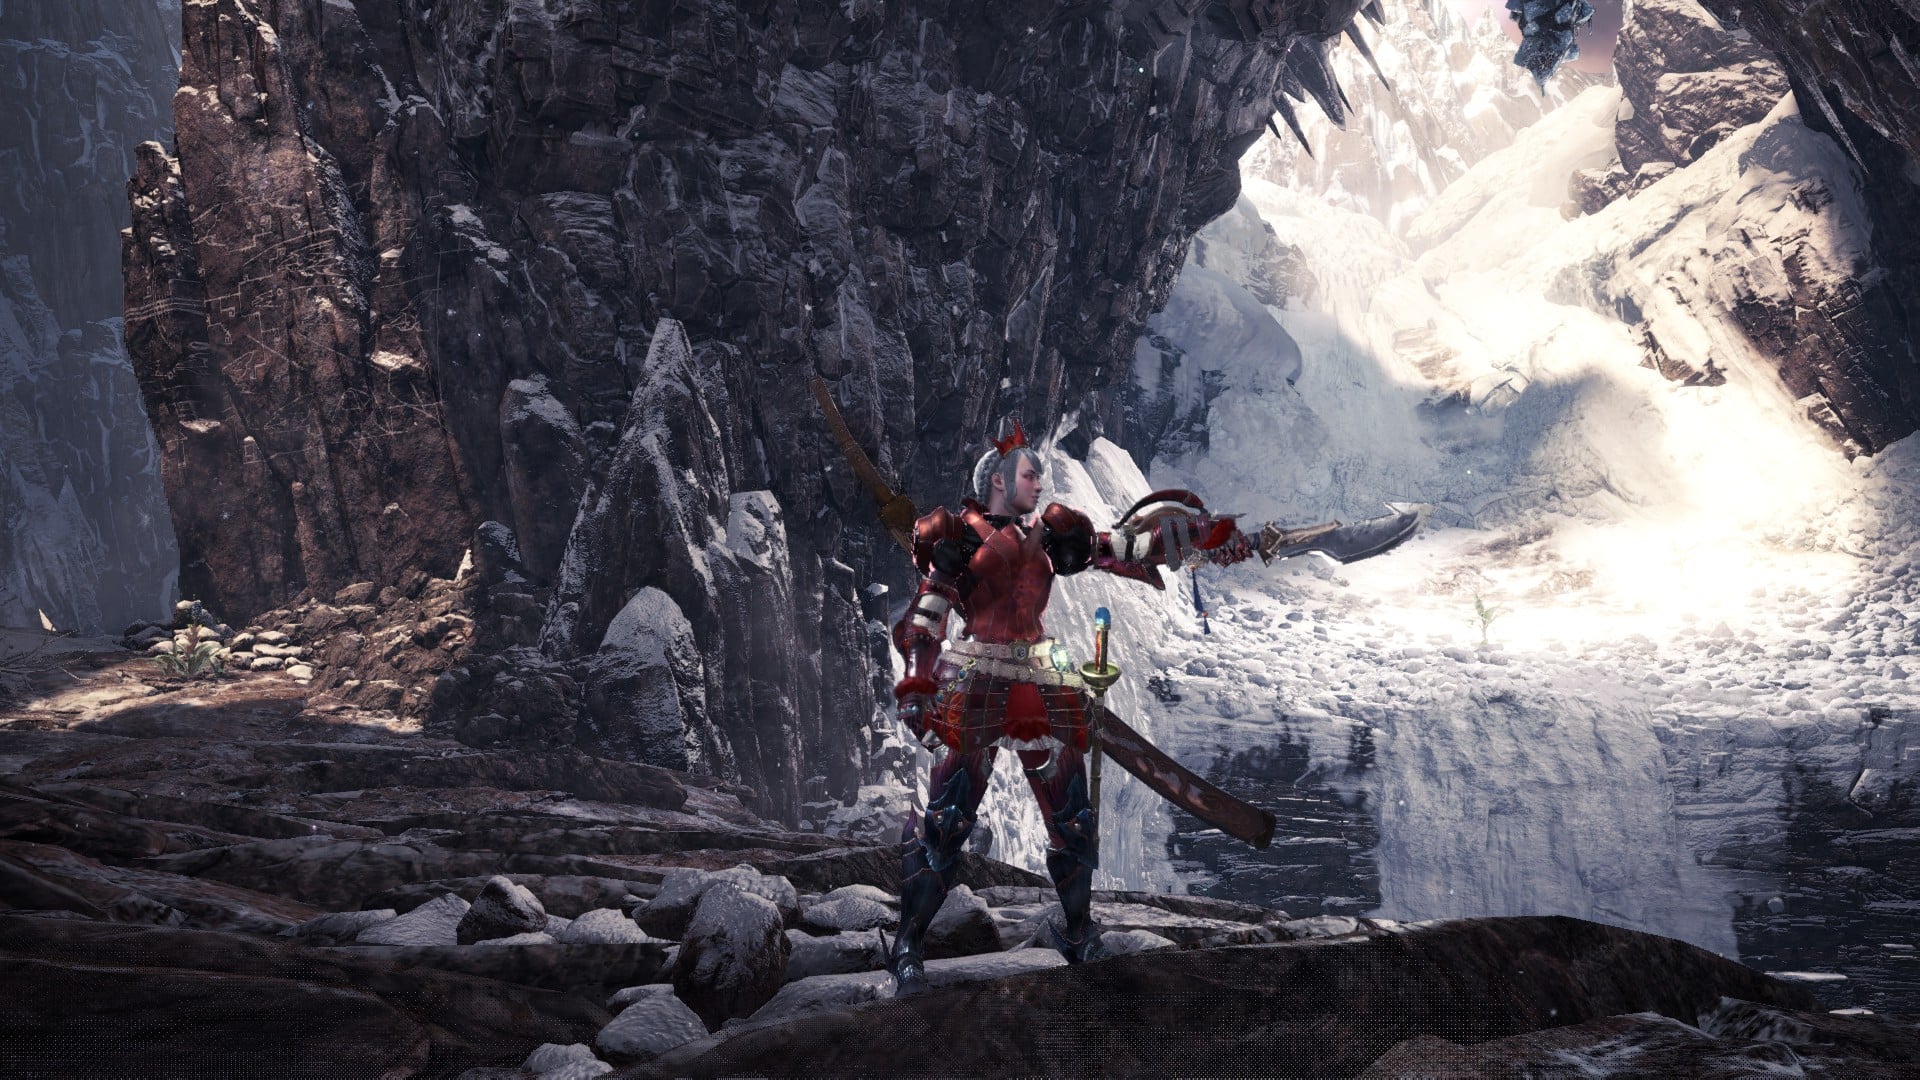
Grapple across the gap and look up. You’ll need to chain subsequent grapples to the highest beetle, then swing up and over the ledge nearby.
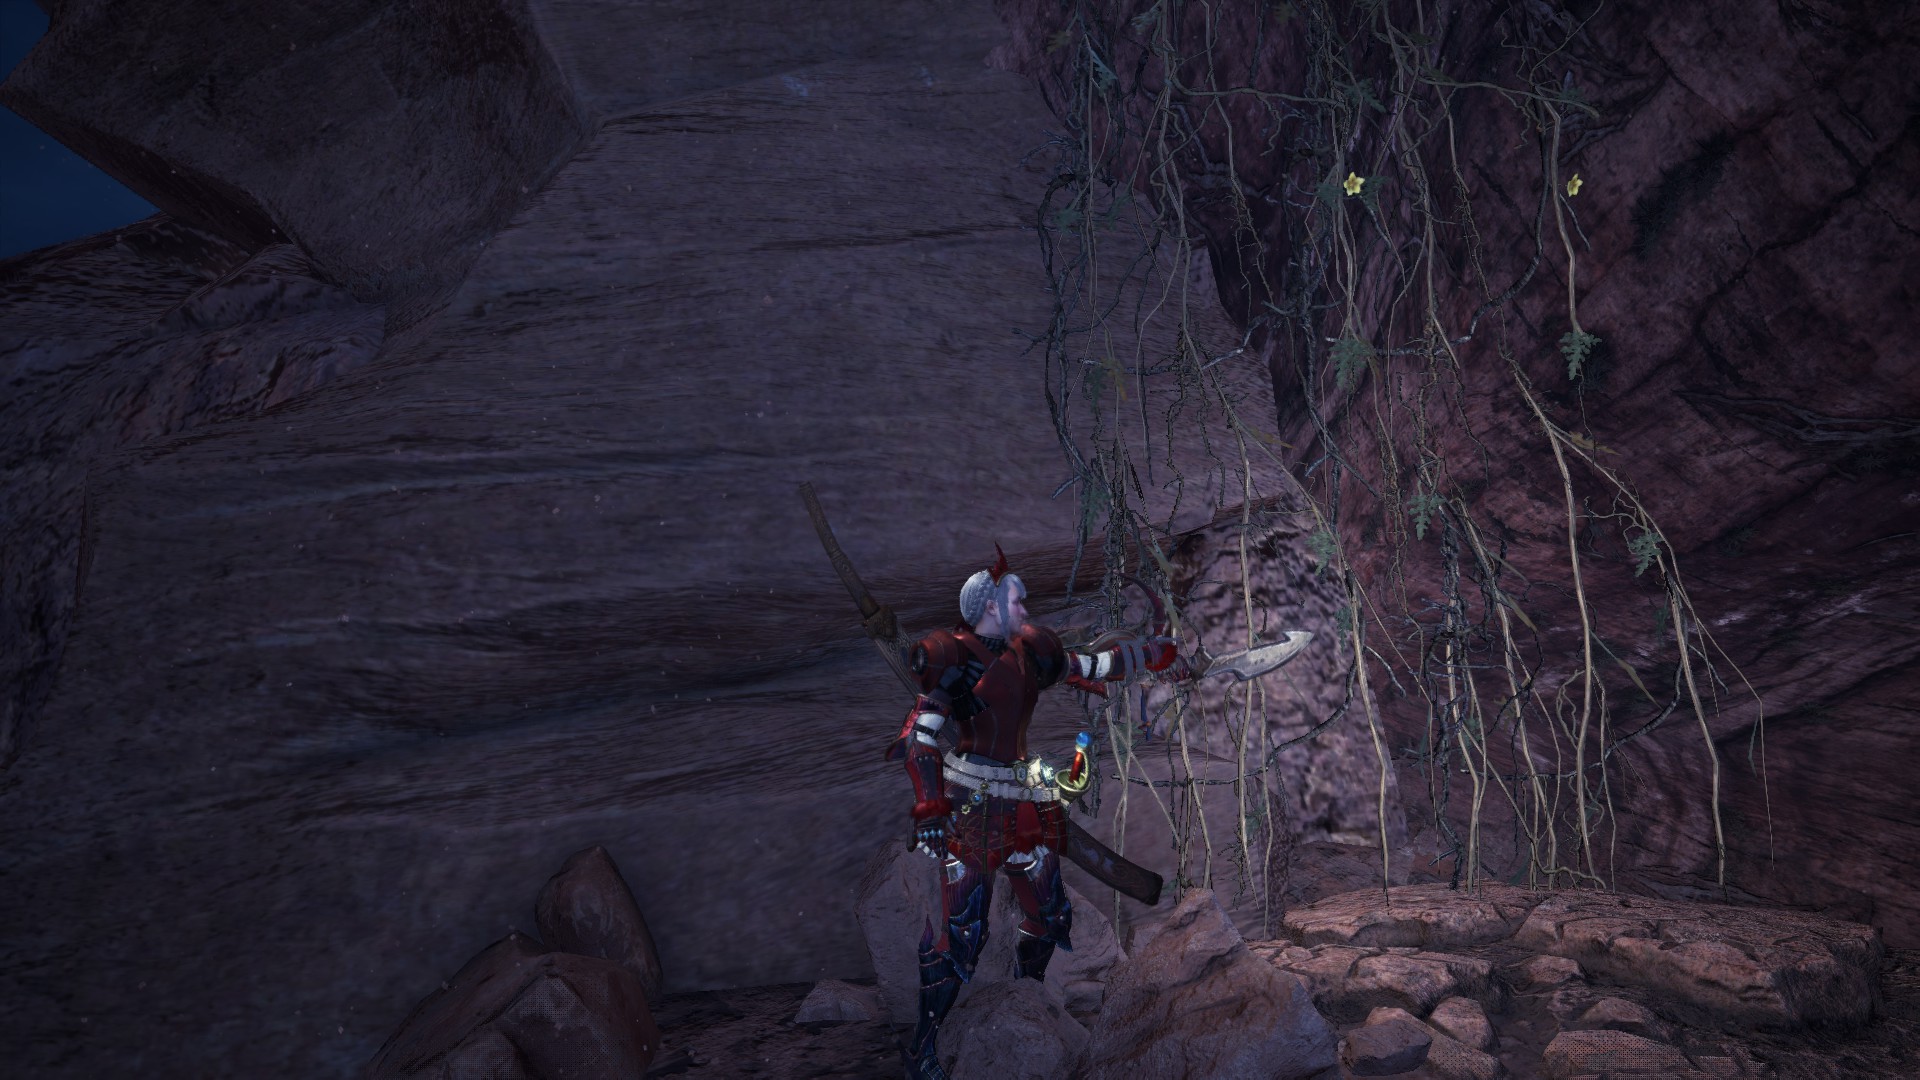
Next, follow the path until you reach a cliff. Don’t jump down. Instead, look to your left to see a vertical channel leading up. You’ll need to do some limited parkour up one side, jump across, then make a sideways jump to the climbable section of ice.
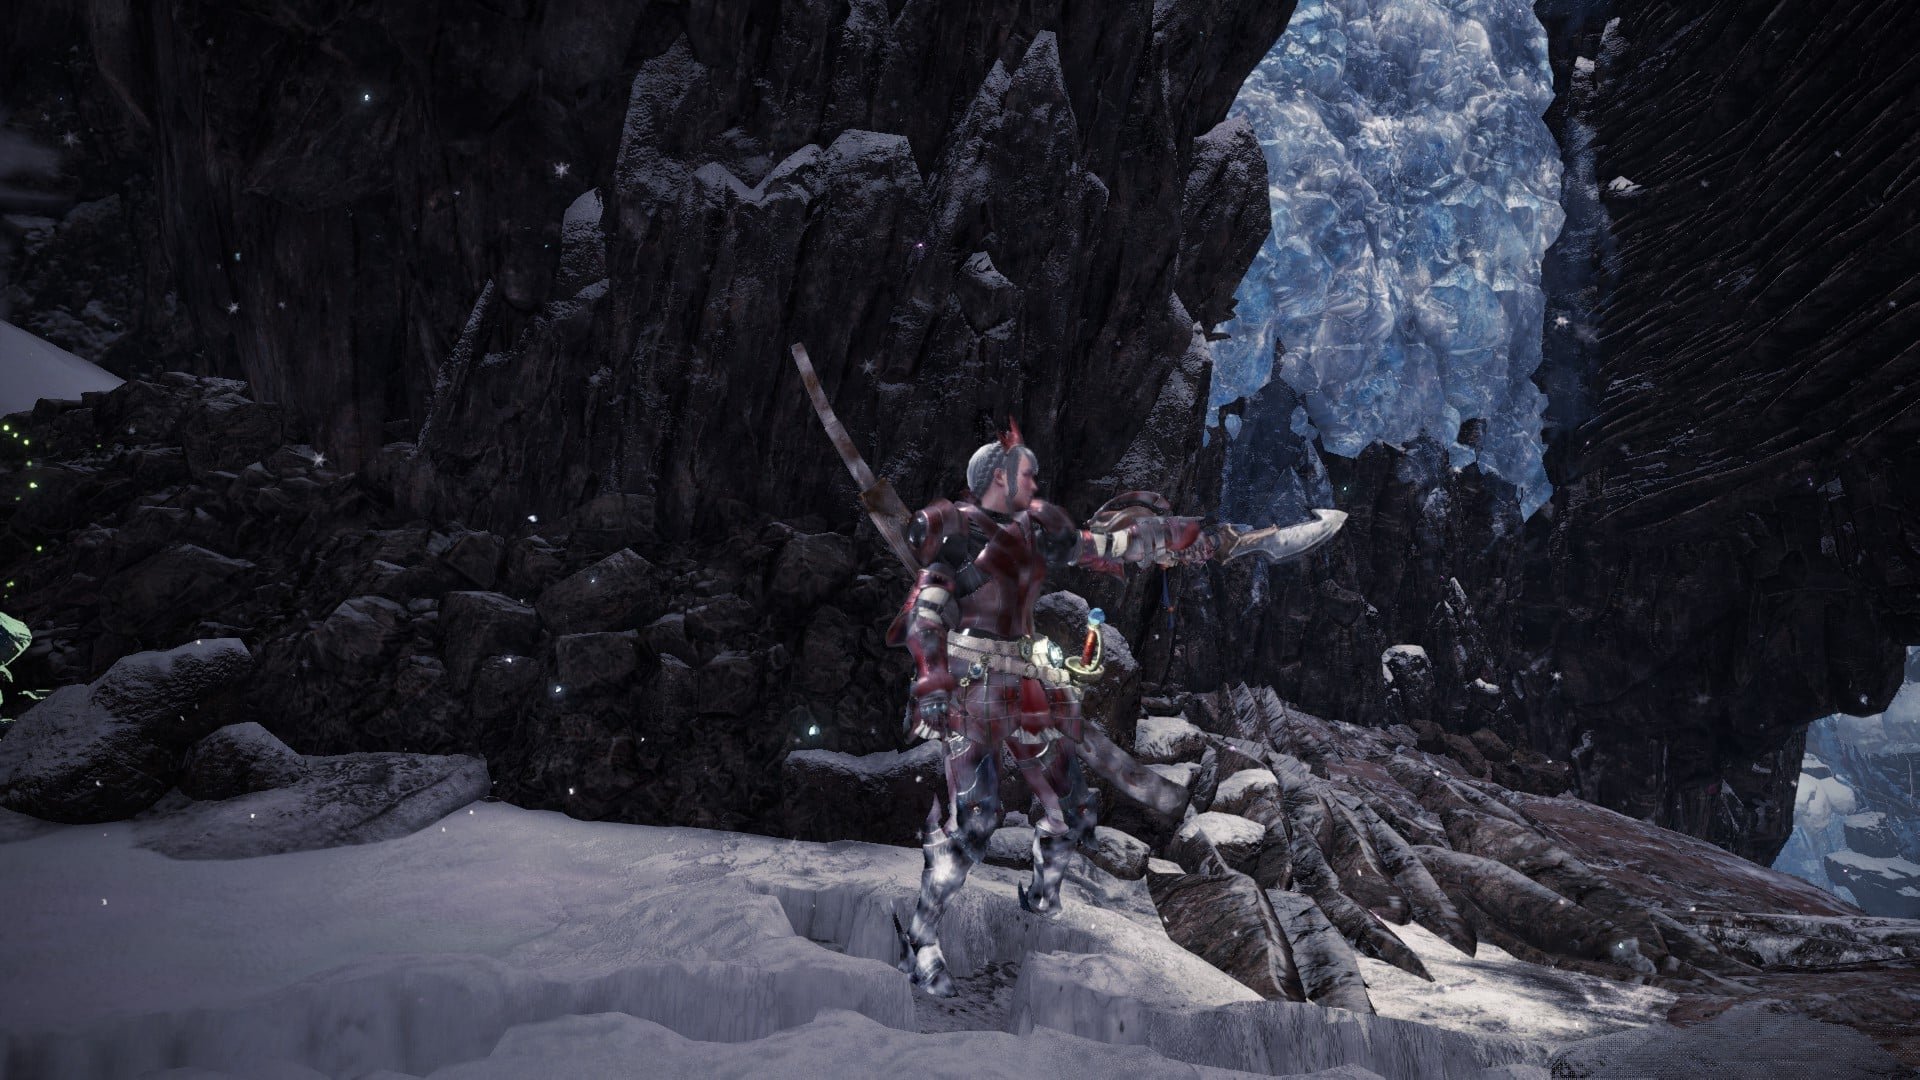
From there, you’ve got another section to jump up. Just scramble up one side, jump to the other, then jump a third time to clamber onto the next ledge.
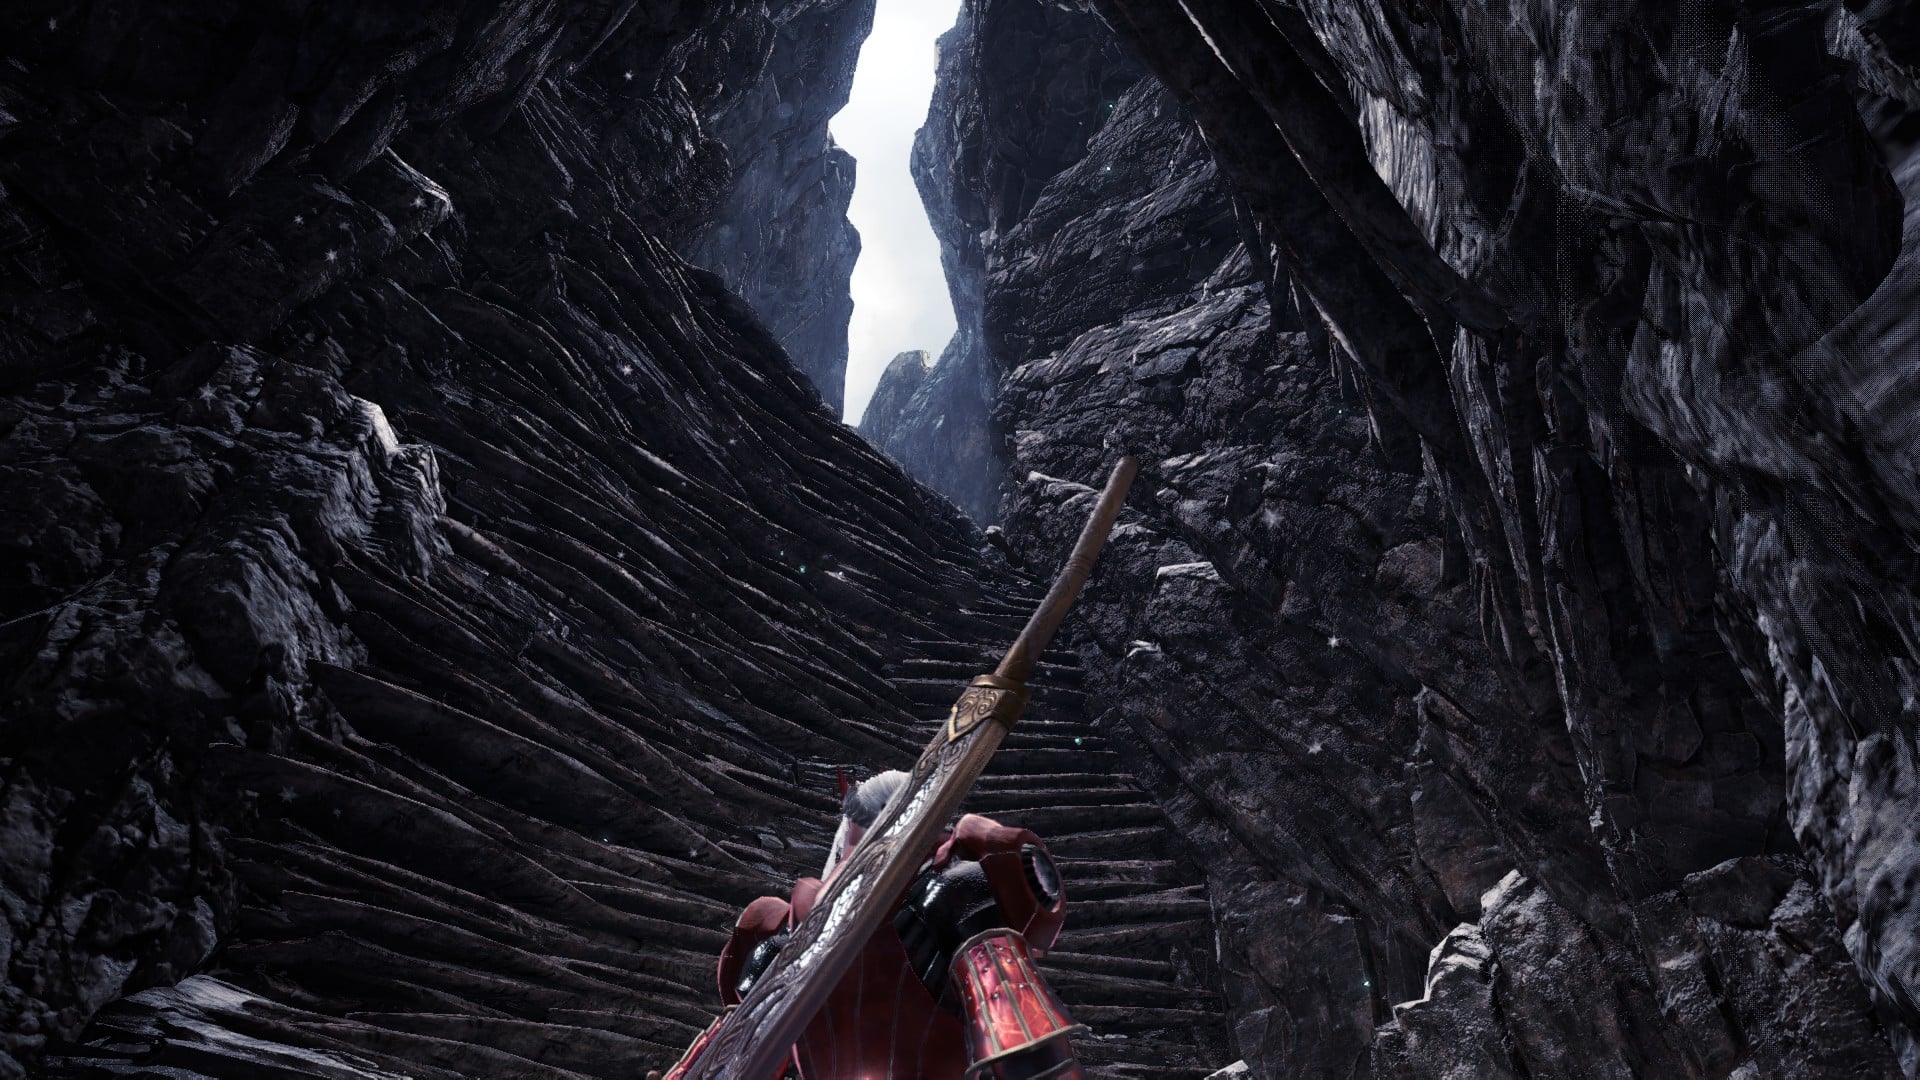
Once you’re done there, you’ll probably be doing a little waiting, as you need a steam vent to launch you onto the next ledge. Also, make sure you’re facing said ledge, or you’ll need to do more waiting.
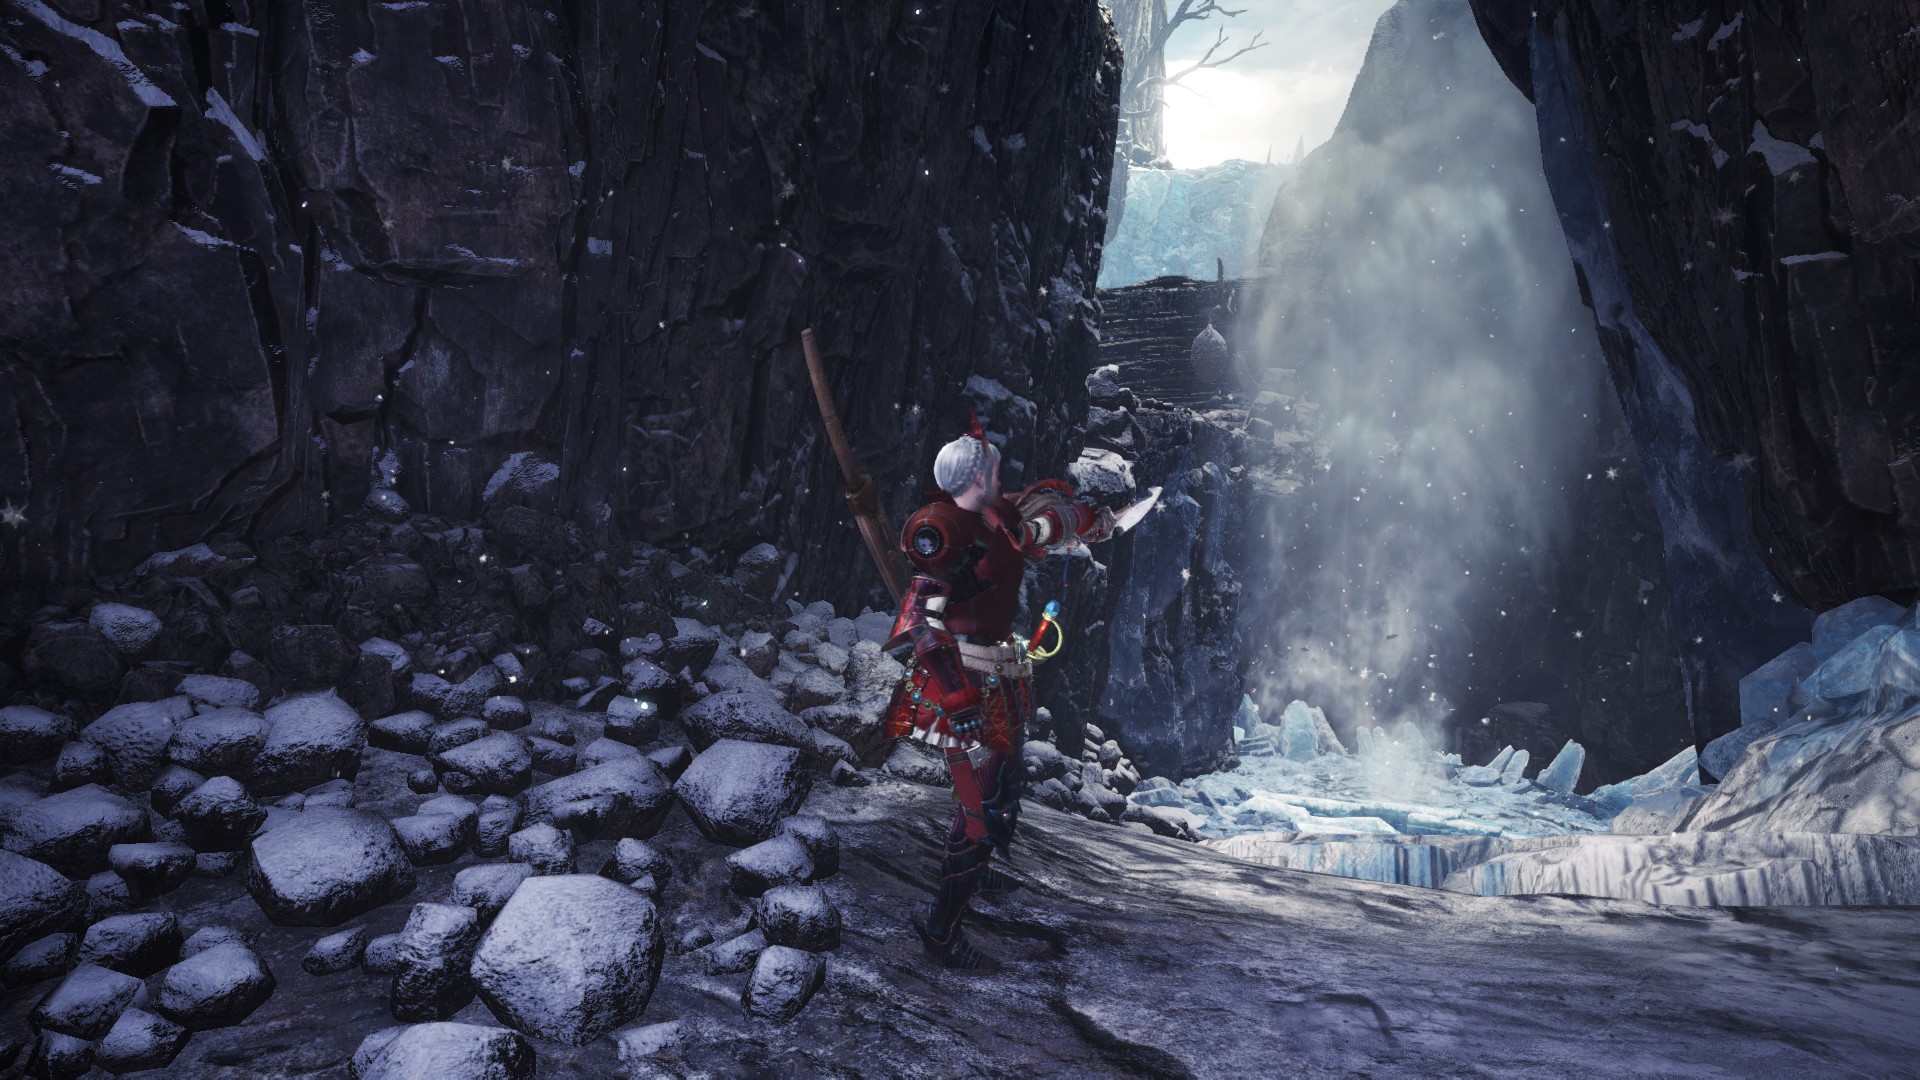
Beyond the vent launch, you’ll climb toward one last Wedge Beetle swing, after which you’ll take a path to your left.
At the end of the path is a climbable ice wall. Don your Ghillie Mantle and head up. If you’re lucky enough to spawn the Wintermoon Nettle, it will be slowly floating about the summit and its three Mining Outcrops. Wait for it to come within range of your Capture Net (it won’t immediately run if you miss) and grab it.
Deft Digger and Creatures of the Earth: How to Find Moly in the Guiding Lands
Once you reach the end-game zone known as the Guiding Lands, the last two achievements become available. You’ll be hunting creatures called Moly, and they’re scattered across all four currently available zones (more are to come with additional content updates).
Two sets of Moly exist in two different locations, and though you’ll want to collect them all, you only need one of them for the Deft Digger achievement. It’s the Creatures of the Earth achievement that’s a little trickier.
First, you must level up each zone to Level 5 to spawn the zone’s special Moly. As of writing, I haven’t reached that level yet, but the locations presented below are applicable for the rarer special Moly, also noted below.
Moly do not require you to reload the Guiding Lands to spawn them. Rather, they will spawn when you aren’t around. Visit the various spawn points periodically, but be sure to give the creatures time to show up.
Lastly, you’ll always want to be wearing your Ghillie Mantle, as these are some skittish little buggers, and you don’t want to spook them.
Ancient Forest Area Locations
You’ll find one group of forest Moly all the way in the upper-left corner of the map in Area 7. You will need to crawl through a crevice past a honey gathering point. If the Moly are there, they’ll be sitting in the middle of the fork in the path.

Another set of forest moly live near a herb plant on the righthand side of Area 6, nestled against a small rise in the ground.
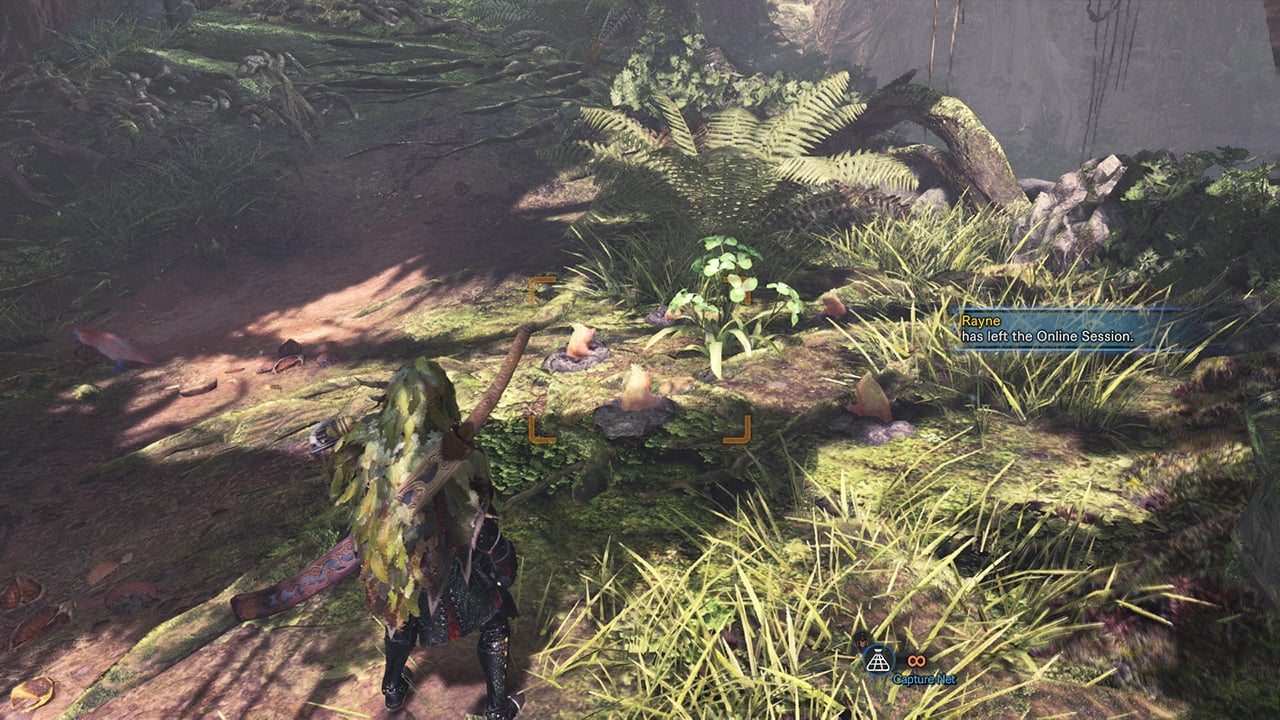
The rare forest area version is called the Mossy Moly, and have green tufts for hair.
Wildspire Area Moly Locations
For the Wildspire area of the Guiding Lands, you’ll be looking for the Rocky Moly, so known for the rocks they wear on their heads.
Your first visit should be to the bottom left corner of Area 8 to the Might Seed that grows there. That’s where you’ll find one set of Wildspire Moly.
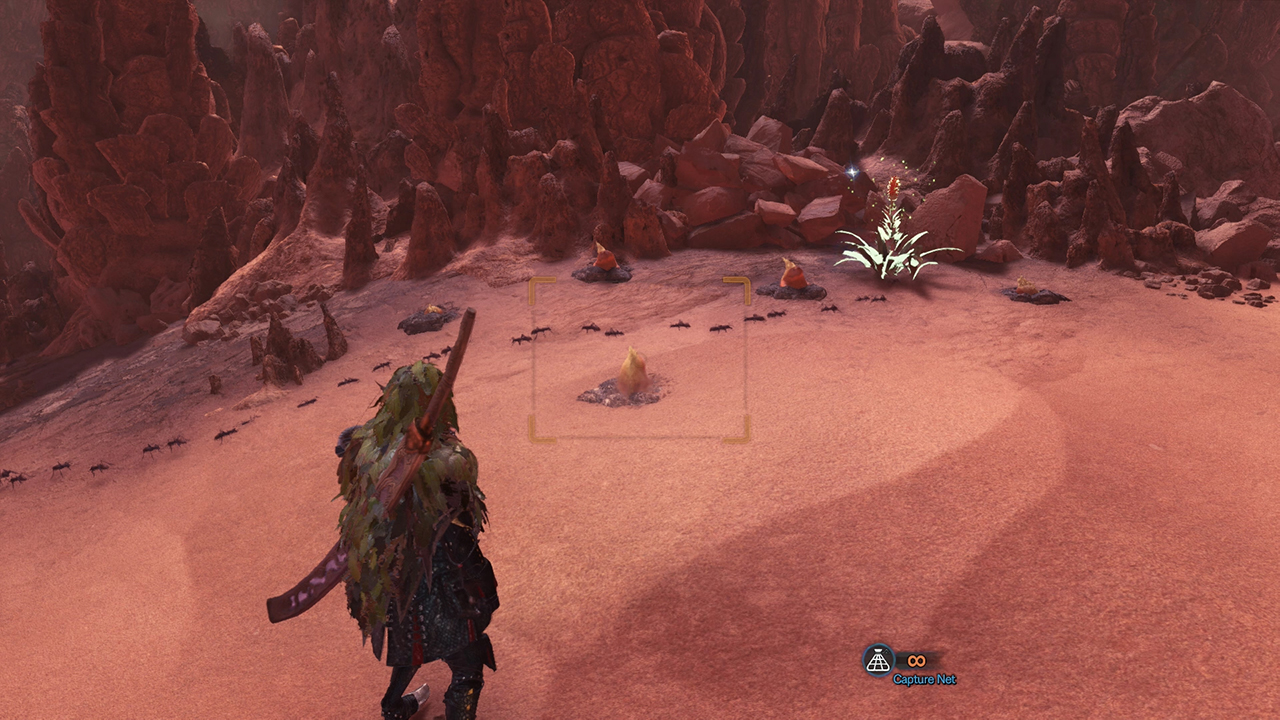
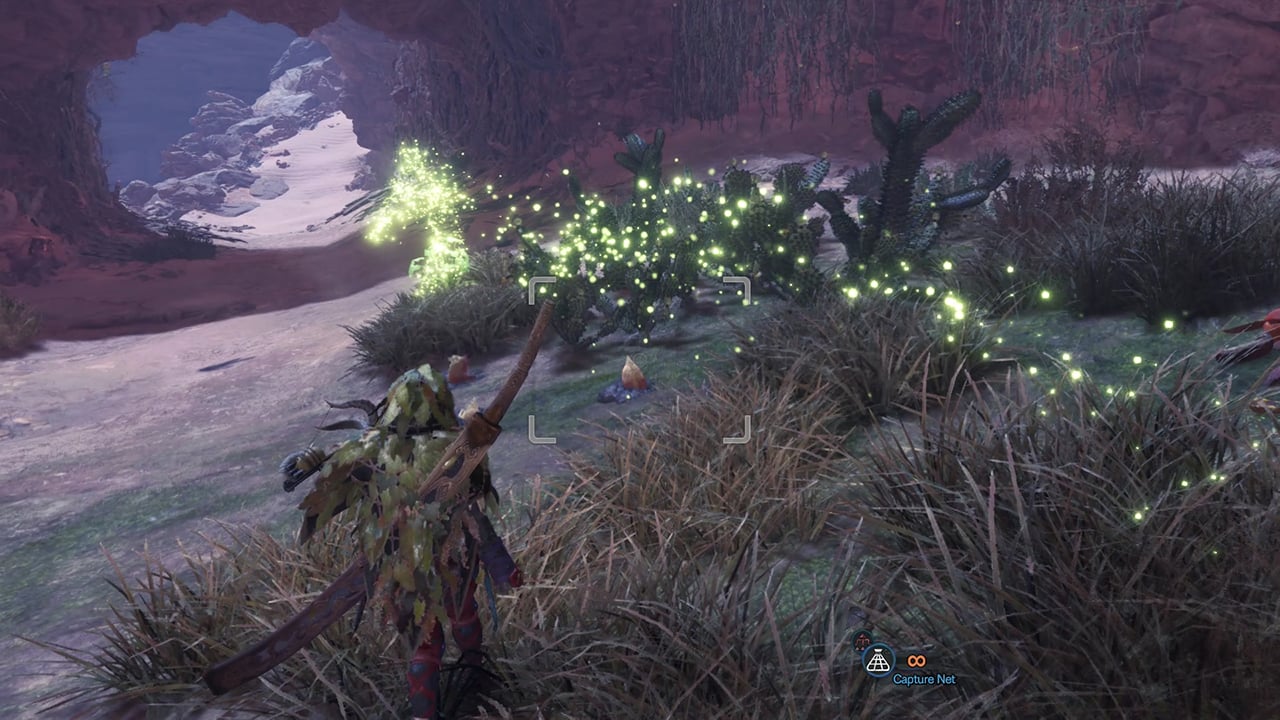
Your second group of Moly will spawn near a large cactus patch and a herb plant on the lower level, close to the area’s middle.
Rotten Vale Area Moly Locations
In this area, you’ll eventually be hunting for the Spiny Moly, which is, well, spiny. You’ll know it by the sharp red color of the spines.
One set of Moly will spawn in the northernmost portion of Area 2 near an ivy plant. You’ll know the one because it sits closes to a connecting tunnel.

Another set of Moly live with the Girros in Area 13. They’ll appear atop the large bone pile in the area’s left side near the Devil’s Blight mushroom growing from the bones.

Coral Highlands Moly Locations
In this part of the Guiding Lands, you’ll be hunting the rare Fluffy Moly, which doesn’t so much look like a mole as it does a rotund pink ball of fluff.
The first spawn point is in the northeast corner near some honey. Usually, there are Palicos or Gajalakas there, and you’ll know you’re in the right area because of the fishing pond nestled in the at the path’s end.
The second Moly group is near another herb plant on top of the cliff in Area 11. It’s the large circular chamber with two levels. Head up to the top and if they’re around, you’ll see the Moly lined up near the plant.
Helpful Tips
If you’re having trouble getting your hands on these beautiful creatures, here are a few tips for making your life easier.
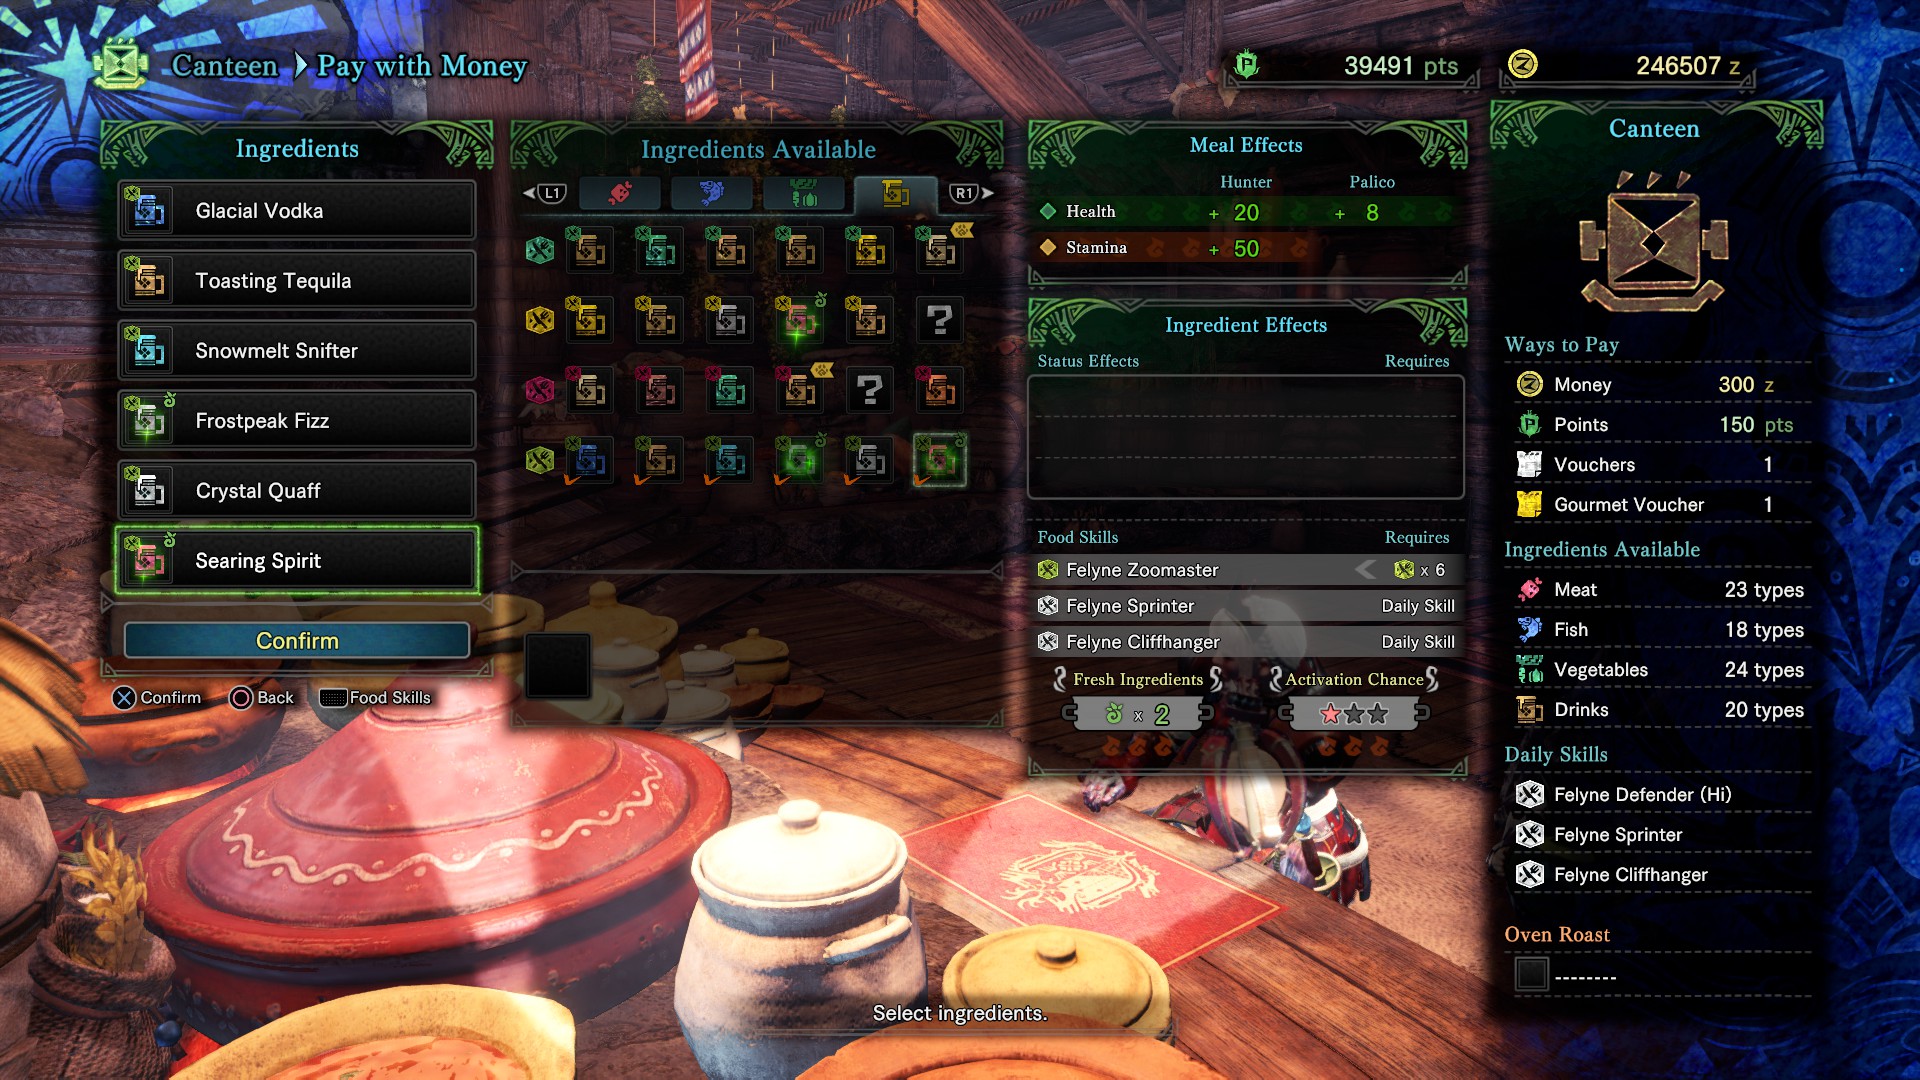
- Do the Grammeowster Chef’s questline and collect rare plants from across the Hoarfrost Reach. Each provides you with a food ingredient you’ll need to make a custom meal for the Felyne Zoomaster skill. This skill increases the spawn rate of rare endemic life.
- The six ingredients and their requirements are:
- Glacial Vodka and Toasting Tequila: The Nighty Night Nightshade quest (2nd in the Grammeowster Chef questline).
- Simmering Spirit: Simmer and Slice quest (4th and final quest in the Grammeowster Chef questline)
- Crystal Quaff: Deliver Petalcryst rare plantlife (only available in Hoarfrost Reach during flourishing Frozen Foliage)
- Snowmelt Snifter: Deliver Moonlight Icebloom (from Frozen Foliage)
- Frostpeak Fizz: Deliver Snowpeak Icebloom (from Frozen Foliage)
- The six ingredients and their requirements are:
- Wear the Ghillie Mantle. You don’t want your new pets scaring themselves away.
- Make a loop of it. If the endemic life you’re looking for isn’t tied to time or conditions, check one area, and if the pet isn’t there, immediately fast travel to a new place to look for another bit of life. Repeat as necessary.
When complete, your custom order should look like this:
Five rare specimens of Iceborne endemic life, five achievements now gracing your account. We’ll cover the Moly endemic life, son. We’ve got more Iceborne content coming your way, so stay tuned.
Check out our current Iceborne fare while you’re here:
- Monster Hunter: World Iceborne Not Loading on PC Fix
- Best Monster Hunter World Iceborne Greatsword Builds
- Monster Hunter World: Iceborne — How to Get Monster Essence
- Monster Hunter: World Iceborne Save Overwrite Fixes
- Monster Hunter: World Iceborne Monster Toughbone Farming Guide
- As always, keep watch on our Iceborne guide hub for even more.


Published: Jan 15, 2020 12:32 am