
Veteran Kingdom Rush players will be quick to understand the differences between the towers in Kingdom Rush Vengeance. Previous game entries have towers that share the general traits in the new game, but there are some big differences.
This guide will help break down the different towers available in Kingdom Rush: Vengeance and the benefits of each one. The towers listed are only the ones available for free and not those that require an in-app purchase.
Shadow Archers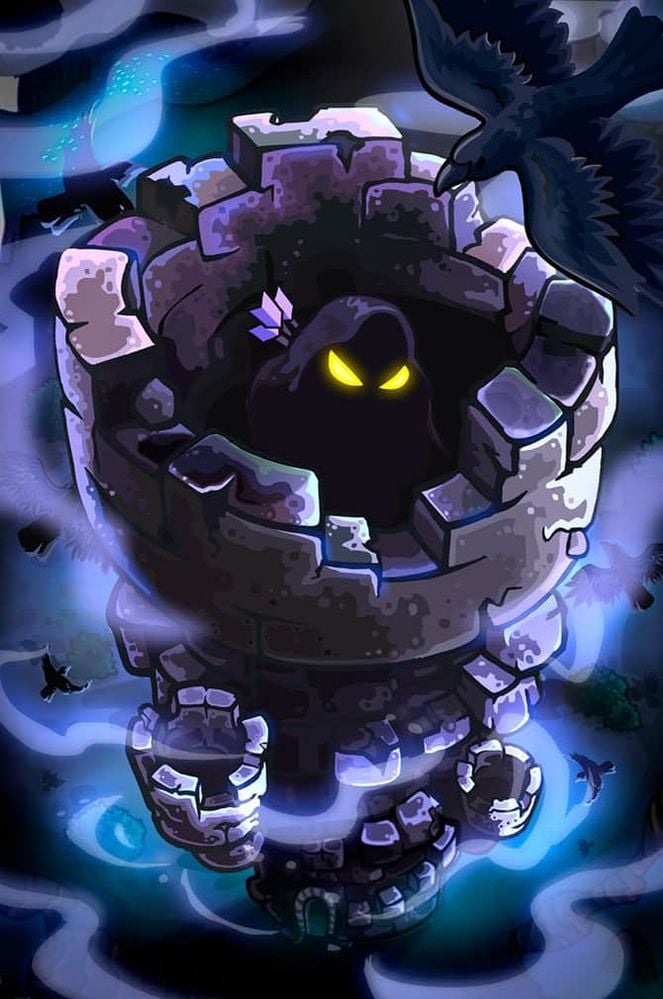
Shadow Archers is the first tower and one worth having to the endgame. It’s a cheap tower that can be leveled up fast to do significant damage at a long distance.
Towers should be placed at the spots at the beginning and end of the enemy’s path. Archers should be the first and last towers to attack enemy troops.
When reaching level 4, players should invest in Shadow Mark for those towers at the beginning of the path as this will allow enemies to face several towers while in a weakened state. Shadow Mark should be the focus of towers at the end of the path so they can take out enemies near the goalpost. Crow’s Nest is the last ability to purchase as it does a minimal amount of damage, but it helps.
Attack Damage
- Level 1: 3-4
- Level 2: 7-11
- Level 3: 14-21
- Level 4: 23-24
Abilities
Shadow Mark: Shots an arrow that marks a target causing extra damage to the enemies.
- Level: +30% extra damage
- Level 2: +60% extra damage
- Level 3: +100% extra damage
Blade of Demise: The archer vanishes and stabs an enemy in the back, killing it instantly.
- Level 1: 40 second cooldown
- Level 2: 30 second cooldown
- Level 3: 24 second cooldown
Crow’s Nest: Summons a crow that attacks enemies passing by.
- Level 1: 1 damage
- Level 2: 2 damage
Orc Warriors Den 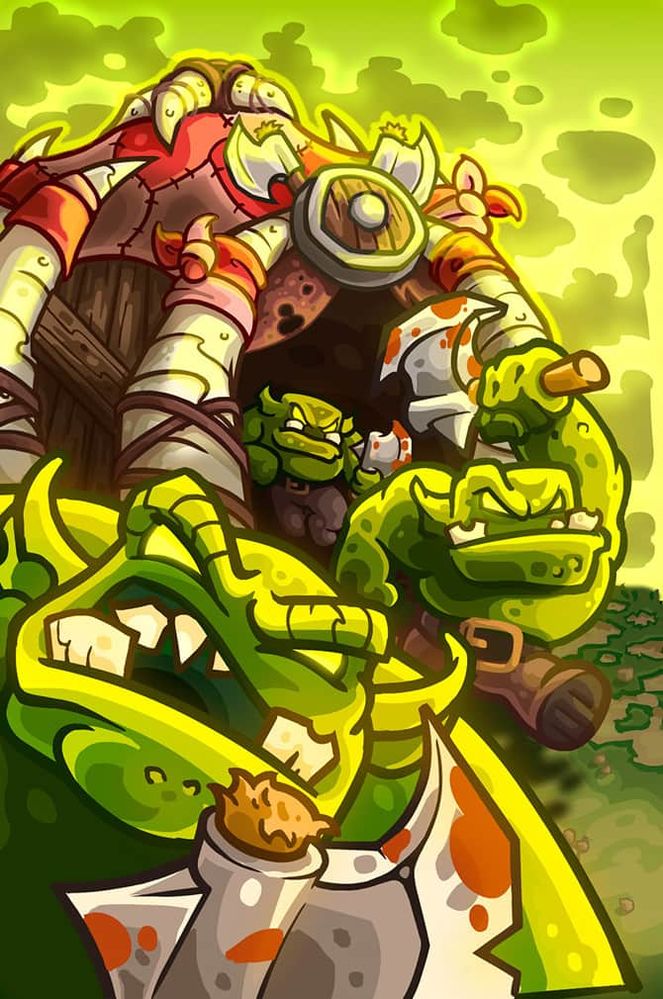
Orc Warrior Den is the second tower available and one that quickly loses its viability. Early on, it will be vital to each stage because the orcs will slow down enemies. However, later stages will have enemies much stronger that will run over them.
Place the orcs towers near artillery and mage towers so they can cause enemy troops to group up and be easy targets. It’s also important to place an orc tower near the goalpost to stop enemies close to crossing the goal.
Lust for Combat is the first ability to purchase and level up since the orcs do minimal damage. Captain Promotion is a second ability to purchase in order to have one orc that will survive against some of the tougher enemies. Seal of Blood is a bit of a waste considering the number of hit points they have.
Attack Damage and Hit Points
- Level 1: 1-3, 60 HP
- Level 2: 3-4, 100 HP
- Level 3: 5-7, 150 HP
- Level 4: 9-14, 200 HP
Abilities
Lust for Combat: Orcs gain bonus damage.
- Level 1: 40% bonus damage
- Level 2: 80% bonus damage
Captain Promotion: Promotes an Orc Warrior to Captain, improving his damage and health.
- Level 1: 300 HP, 12-21 Damage, 50% Armor
Seal of Blood: Orc Warriors will regenerate more HP per second.
- Level 1: 5 regeneration
- Level 2: 10 regeneration
Infernal Mage 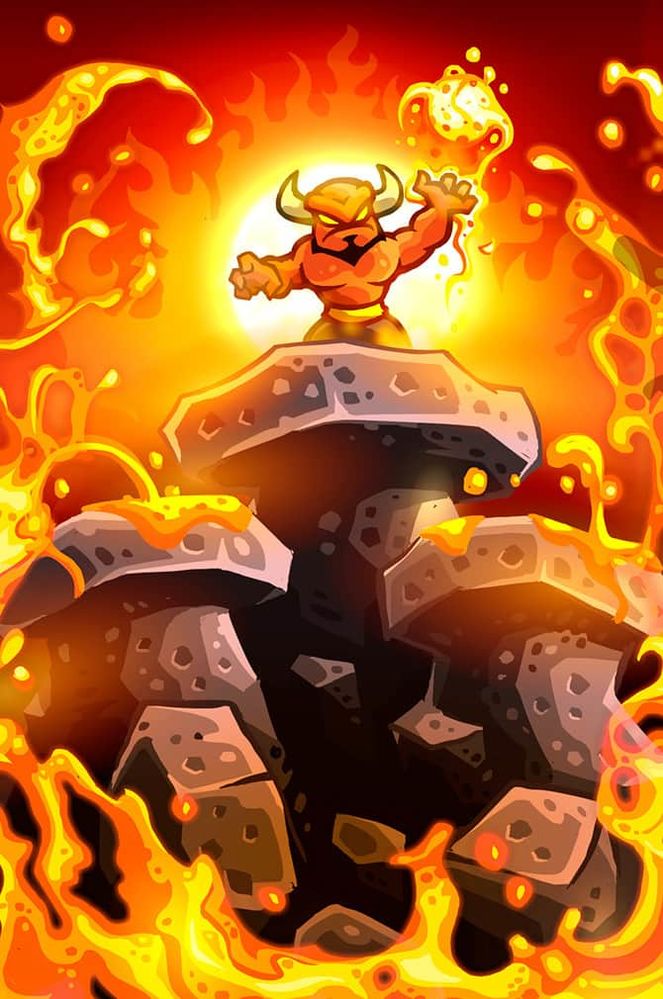
Like the Shadow Archers, the Infernal Mage is a tower that has a lot of utility making it useful throughout the game. It deals a ton of magical damage that can take down big, armored and flying enemies with ease.
The ideal place for the Infernal Mage towers are chokepoints and areas on the path where they can reach enemies on multiple lanes. Keep them close to melee towers and Melting Furnace as slowed down enemies make for easy targets.
Lava Fissure is the first ability to obtain and level up. This will help mages do even greater damage and to more enemies. Affliction is helpful especially if the enemies will come in contact with artillery towers for some hefty damage. Infernal Portal can be useful as it will help delay a few enemies, but this mage tower should be focused on doing damage first.
Attack Damage
- Level 1: 5-16
- Level 2: 16-49
- Level 3: 33-100
- Level 4: 49-146
Abilities
Affliction: Casts an infernal rune over the path that reduces enemies’ armor for a few seconds.
- Level 1: 25% reduction
- Level 2: 50% reduction
Lava Fissure: Casts a seismic explosion dealing magic area damage to enemies.
- Level 1: 28-42 damage
- Level 2: 56-84 damage
- Level 3: 80-120 damage
Infernal Portal: Teleports a group of enemies back onto the path.
- Level 1: 3-4 enemies
- Level 2: 3-6 enemies.
Rocket Riders 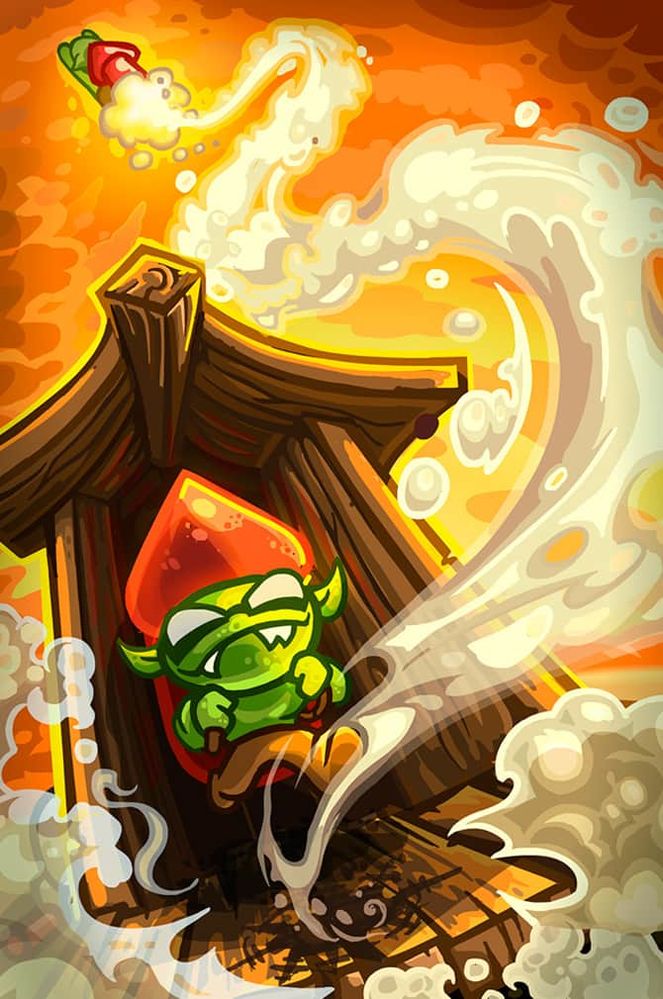
As the first artillery tower, Rocket Riders is a tower you want to keep until the end. It does big area damage at long range, which is important as the number of enemies increase.
Rocket Riders should be placed at wherever the most enemies will bunch up. Keeping them near a melee tower is a good idea, but it’s imperative to not place the towers on the side paths since quick and flying enemies usually come through as both enemies can evade the rockets.
Nitro Boosters are a big help when available since it’s extra damage at even a longer range. Defective Engines will offer some help, but don’t bother with Minefield as they can be wasted if no enemies walk on them.
Attack Damage
- Level 1: 7-10
- Level 2: 20-29
- Level 3: 40-58
- Level 4: 64-92
Abilities
Minefield: Throws a mine on the road and deals damage to enemies that step on it.
- Level 1: 60 damage
- Level 2: 125 damage
- Level 3: 190 damage
Nitro Boosters: Shoos a nitro-propelled bike that deals damage and has extra range.
- Level 1: 100 damage
- Level 2: 185 damage
Defective Engines: Shoots a defective bike that explodes mid-air and throws debris, dealing damage to the affected enemies.
- Level 1: 22 damage
- Level 2: 32 damage
Dark Knights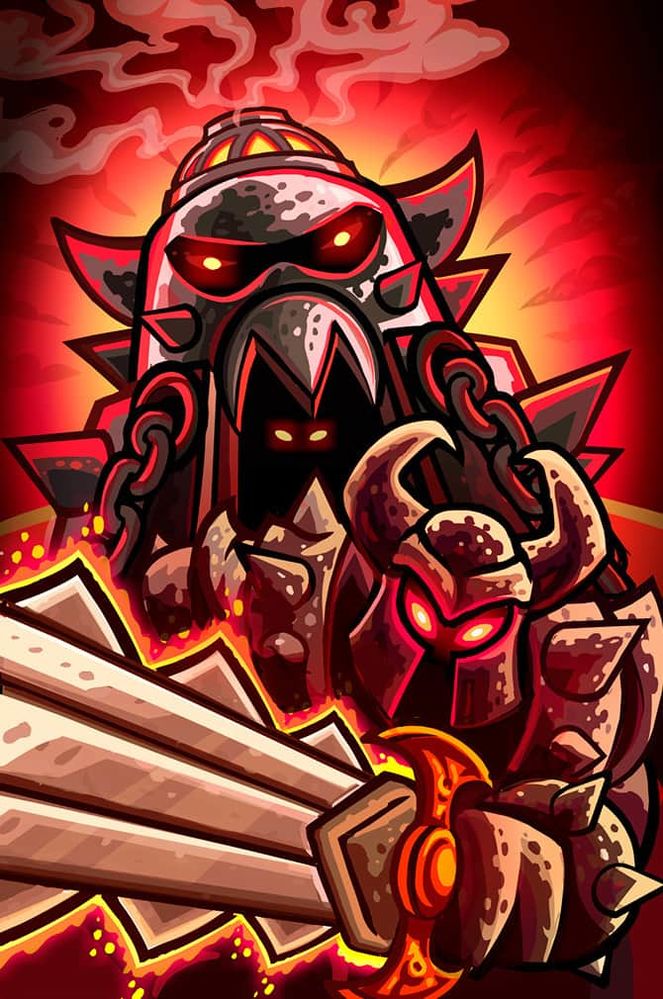
Dark Knights become available at the sixth level of the game, Bolgur’s Throne. They’re the second melee tower and should replace the Orcs Warriors Den immediately. The knights have more hit points and deal more damage for a bit more gold than the orcs.
As the case with all melee towers, place one close to the goal post, ideally next to the Shadow Archers in order to hold off enemies. A tower should also be placed near artillery and mage towers in order to slow down troops to receive more damage.
Armor of Thorns and Impervious should be purchased at the same time. This allows for the Dark Knights to sit back and let the enemies damage themselves. Forget about Brutal Strike as it’s far to small of a chance to kill an enemy especially since nearby towers can do the job just fine.
Attack Damage and Hit Points
- Level 1: 2-3, 100 HP
- Level 2: 4-10, 130 HP
- Level 3: 7-20, 180 HP
- Level 4: 12-36, 240 HP
Abilities
Brutal Strike: Dark Knights have a small chance of executing their enemy on each hit.
- Level 1: 2% chance
- Level 2: 4% chance
- Level 3: 6% chance
Armor of Thorns: Dark Knights deal damage when they receive a melee hit from an enemy.
- Level 1: 15 damage
- Level 2: 30 damage
- Level 3: 45 damage
Impervious: Dark Knight shield themselves resisting up to 3 hits without receiving damage.
- Level 1: 6 seconds
Melting Furnace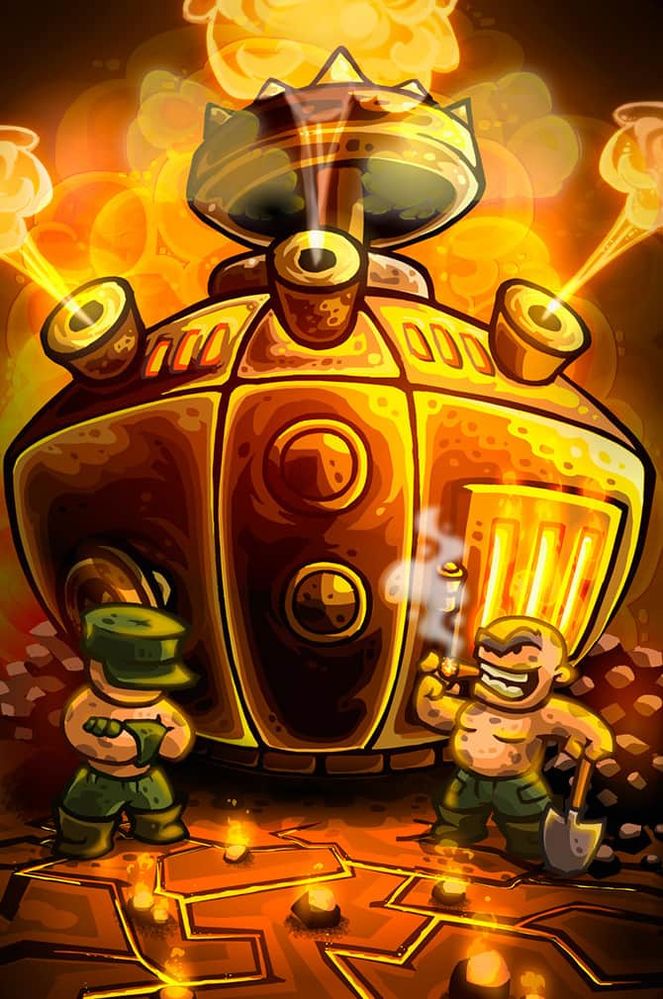
Although it’s considered an artillery tower, Melting Furnace is more about crowd control. With each attack, it will stun enemies nearby. This makes the tower great at slowing down big groups. However, in comparison to Rocket Riders, it deals less damage overall. Usage of Melting Furnace is more about preference since it can help with stall enemies but won’t take them out quickly.
The ideal placement of a Melting Furnace is right in the middle of the action. Make sure it’s near a mage or ranged tower as enemies will continue to receive damage as they’re stunned.
When purchasing abilities, start off with Burning Fuel as this will speed up the Melting Furnace’s attacks. Abrasive Heat should be next as long as you have two towers close by. Red Hot Coals will help increase the tower’s damage output, but it’s not really needed.
Attack Damage and Stun
- Level 1: 5-7, 0.3 seconds
- Level 2: 14-18, 0.4 seconds
- Level 3: 25-31, 0.5 seconds
- Level 4: 41-50, 0.6 seconds
Abilities
Abrasive Heat: Nearby towers gain bonus attack damage.
- Level 1: 15% bonus damage
- Level 2: 30% bonus damage
Burning Fuel: The furnace infuses itself with a powerful fuel that speeds up its attack for a short period of time.
- Level 1: 41-40 damage
Red Hot Coal: Throws hot coal that burns and deals damage to enemies standing on them.
- Level 1: 3 coals, 5 damage
- Level 2: 5 coals, 8 damage
Specters Mausoleum 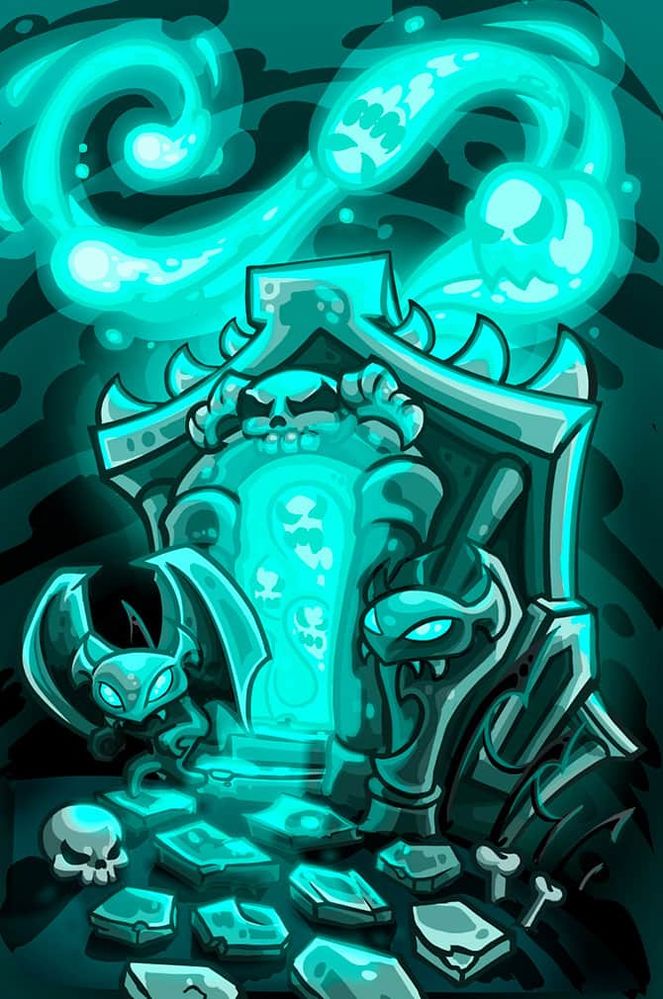
Considered a mage tower, Specter Mausoleum trades in damage for more crowd control at a cheaper price. The tower has its benefits, but it shouldn’t be the primary mage tower in your arsenal. Think of it as more of a support tower.
Since it’s considered a mage tower and has melee troops available, you’ll want to place the Specter Mausoleum away from melee towers and closers to another mage or artillery tower.
Guardian Gargoyles and Spectral Communion should be the first abilities purchased. The gargoyles will essentially make the tower a melee tower dealing magic damage and Spectral Communion will help improve those damage numbers. Possession can be helpful when it works on bigger enemies, but it lasts for a short amount of time and has a long cooldown to be truly effective.
Attack Damage
- Level 1: 5-8
- Level 2: 13-20
- Level 3: 26-38
- Level 4: 48-71
Abilities
Spectral Communion: The mausoleum can hold extra specters.
- Level 1: 4 specters
- Level 2: 5 specters
Possession: Take control of an enemy that will fight buy your side for a brief moment.
- Level 1: 23 second cooldown
- Level 2: 20 second cooldown
- Level 3: 17 second cooldown
Guardian Gargoyles: Summons a Guardian Gargoyle that will fight by your side.
- Level 1: 300HP, 16-25 damage (1)
- Level 2: 300HP, 16-25 damage (2)
Goblirangs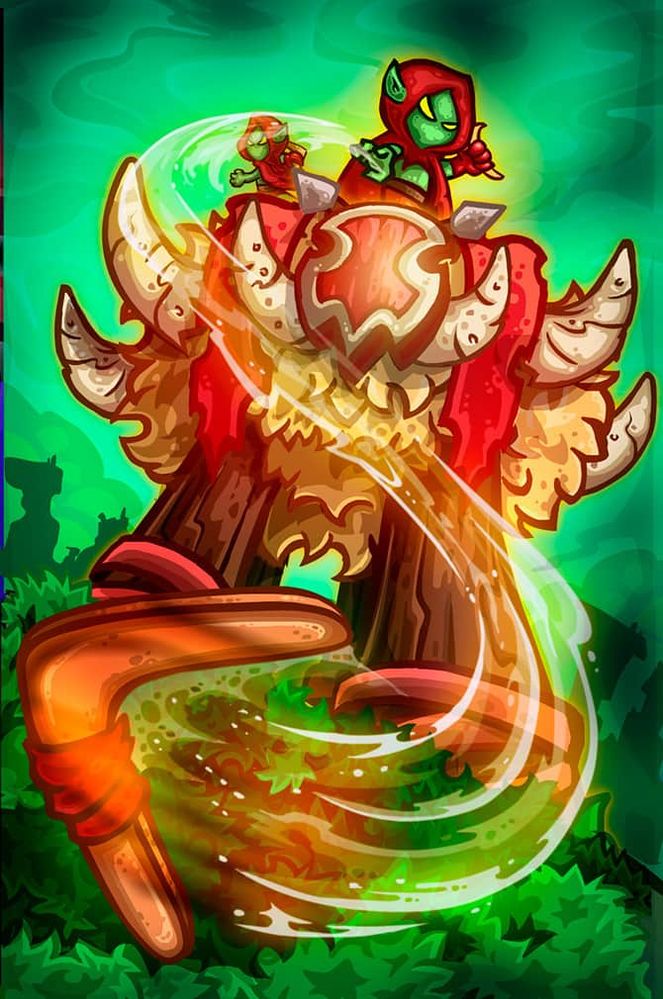
Goblirangs are the second ranged tower you’ll receive and have the longest range. However, in comparison to Shadow Archers, they do slightly more damage per hit but with a must slower attack rate. The only advantage Goblirangs have in comparison to Shadow Archers is their chance to stun giving them some crowd control. If that’s part of your strategy then add Goblirangs to your tower choices.
Like Shadow Archers, Goblirangs should be placed at where the entry and exit points for enemies in order to deal damage as early, or late, as possible.
Headbang is what makes Goblirangs unique so pick that ability first. Then go to Biggarangs in order to increase damage output. Angry Bees is not needed, but will help deal some more hurt to enemies.
Attack Damage
- Level 1: 3-4
- Level 2: 7-14
- Level 3: 14-26
- Level 4: 25-47
Abilities
Headbang: Goblirang attacks have a chance to stun the target on each hit.
- Level 1: 5% chance
- Level 2: 10% chance
- Level 3: 15% chance
Biggarangs: The Goblirangs fling a huge boomerang every few seconds.
- Level 1: 27-49
- Level 2: 32-60
- Level 3: 43-81
Angry Bees: Throws a beehive at an enemy dealing damage to it and nearby enemies for 7 seconds.
- Level 1: 120 damage
- Level 2: 230 damage
- Level 3: 345 damage
Bone Flingers
Bone Flingers is another ranged tower, but it has the shortest range. It makes up for that short range by being versatile with its summoned skeletons and upgraded damage. Depending on your strategy, you might want to substitute Shadow Archers with Bone Flingers or equip them both.
Again, this is a ranged tower so place it near the entrance and exit of the path. The summons are especially useful near the goal post as they’ll help stall enemies.
Summon Bonem is easily the best of the abilities for the tower. Not only does the golem have a lot of HP and deal good damage, but it can also do ranged damage, which will help weaken opponents before they get in melee range. Got Milk is next to increase the tower’s damage output, followed up with The Walking Dead to help stall the enemies.
Attack Damage
- Level 1 = 2-4
- Level 2 = 5-11
- Level 3 = 9-20
- Level 4 = 14-34
Abilities
Summon Bonem: Summons a giant skeleton golem that will fight and shoot enemies.
- Level 1: 300 HP, 17-41 damage
The Walking Dead: Every few seconds spawns a skeleton that walks through the path.
- Level 1: 19-39
- Level 2: 24-44
- Level 3: 29-49
Got Milk: Increases damage of the basic attacks.
- Level 1: 80 HP, 10-20 damage, 16 second cooldown
- Level 2: 160 HP, 15-25 damage, 12 second cooldown
Elite Harassers
Easily the best of the melee towers, Elite Harassers do far more damage than Dark Nights and Orc Warriors. They’re not the tankiest of melees, but their ranged attack makes them incredibly versatile. Once this tower is available, use it as your primary melee tower.
Place Elite Harassers in the thick of combat near artillery and mage towers to help slow down enemies. Also, make sure to put them near the goal post to stall any stragglers.
Arrow Storm is a big help since it does big ranged damage that will take down any flying enemies and weaken ground troops before they come into melee range. Backstab will help increase the troops chance of surviving, and Fury of the Twilight will add another chance to keep them in the fight.
Attack Damage and Hit Points
- Level 1: 5-7, 70 HP
- Level 2: 10-13, 130 HP
- Level 3: 15-25, 160 HP
- Level 4: 25-35, 220 HP
Abilities
Backstab: Harassers now counter the next attack when dodging an enemy’s melee hit.
- Level 1: 10-15 damage, 40% dodge chance
- Level 2: 20-30 damage, 50% dodge chance
Arrow Storm: Swiftly shoots several arrows at their enemies.
- Level 1: 16-23
- Level 2: 32-48
- Level 3: 48-72
Fury of the Twilight: When harassers die, they have a chance of going berserk.
- Level 1: 250 HP, 32-48 damage
Orc Shaman
The last of the free towers is easily the best. Orc Shaman does the most damage and should be equipped right away. The only drawback is its slow attack speed in comparison to the Infernal Mage, but still, make the Orc Shaman your default damage dealing tower.
Orc Shamans should be placed in the middle of the lanes and wherever there’s a possible chokepoint. It will do big damage to whatever enemies come across it and it has two area attack spells to unless on groups of enemies.
Meteor Shower does the most damage of the two area attack abilities making it the first one to purchase. Static Shock will come next making the tower deal damage to plenty of enemies. Healing Roots should be considered only if melee towers are nearby as it’ll help keep them alive.
Attack Damage
- Level 1: 4-20
- Level 2: 10-55
- Level 3: 20-110
- Level 4: 35-190
Abilities
Healing Roots: Fills a zone with powerful healing roots. Allies over it will get healed.
- Level 1: 20 HP
- Level 2: 40 HP
- Level 3: 80 HP
Meteor Shower: Casts a shower of meteorites that deal damage to the affected enemies in the area.
- Level 1: 18-33
- Level 2: 28-52
- Level 3: 35-65
Static Shock: Lightning strikes now deal extra damage to nearby enemies.
- Level 1: 3-13
- Level 2: 6-26
- Level 3: 10-38
*****
That’s it for my Kingdom Rush Vengeance overview! If you’re having trouble with the final stage, check out my guide on how to best it.


Published: Dec 14, 2018 06:01 am