
Following our complete guides to grabbing all the weird rat drawings and finding all the painter’s lost family mementos, today we finish off the Layers Of Fear collectibles with a listing of all locations for the whispered echoes from the past.
Unlike the rat drawings and mementos, there isn’t a location in-between each chapter to check which whispered echos you have found and which are still missing. You’ll have to keep track of them on your own and ideally grab them all in a row during one single playthrough.
The process of picking up all the secret whispers unlocks two different achievements / trophies: “It Rings A Bell” for finding the first one, and “Whispers Long Forgotten” for finally locating all of them.
Chapter 1
Layers Of Fear Whisper #1
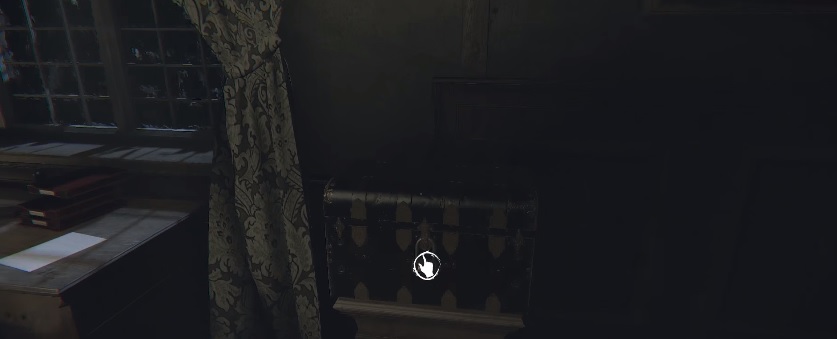
Shortly after leaving the main painting room for the first time you will arrive in an office-type room with a locked chest and some candles. Light the candles to make the combination for the chest’s lock appear on the paintings on the wall.
Use those three numbers to unlock the chest and grab the ring inside. This reveals the first whispered echo segment and unlocks the “It Rings A Bell’ achievement.
 Whisper 1
Layers Of Fear Whisper #2
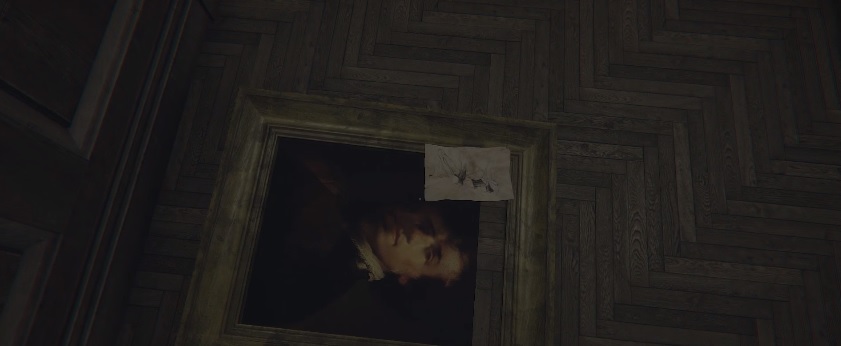
After leaving the room with the giant painting that appears behind you, go upstairs to the fireplace room and leave through the door on the left to enter a hallway filled with paintings. When a painting flies across the wall and lands on the ground, turn it over to find a scrap of paper. Interacting with the paper unlocks the second whispered segment.
 Whisper 2
Layers Of Fear Whisper #3
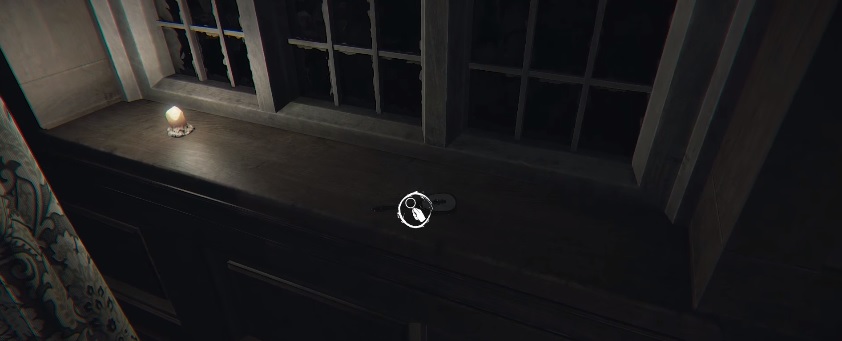
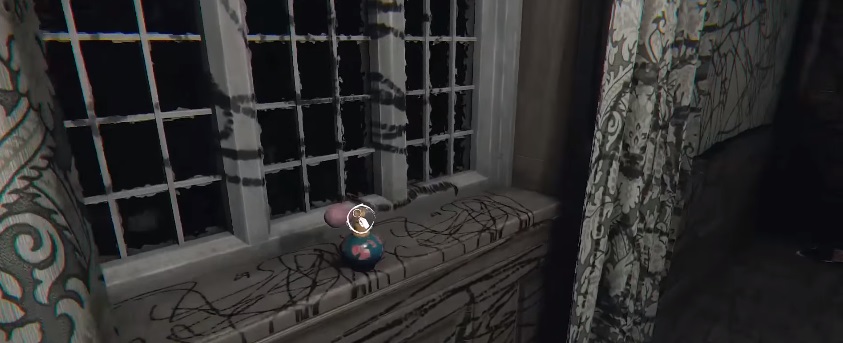
In the hallway where you hear a woman crying from another room, turn to the right and look at the windowsill near the curtain. Pick up the hair brush for whisper #3.
 Whisper 3
Chapter 2
Layers Of Fear Whisper #4
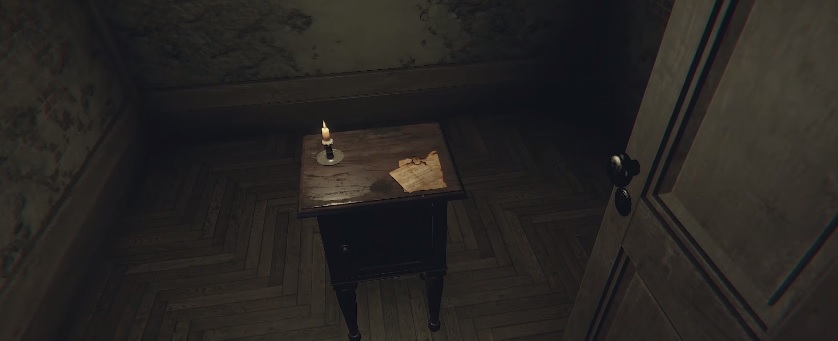
At the start of this chapter, go into the room on the left (across from the tiny room with all the paintings on the walls) to get the fourth whisper by picking up the sheet music.
 Whisper 4
Layers Of Fear Whisper #5
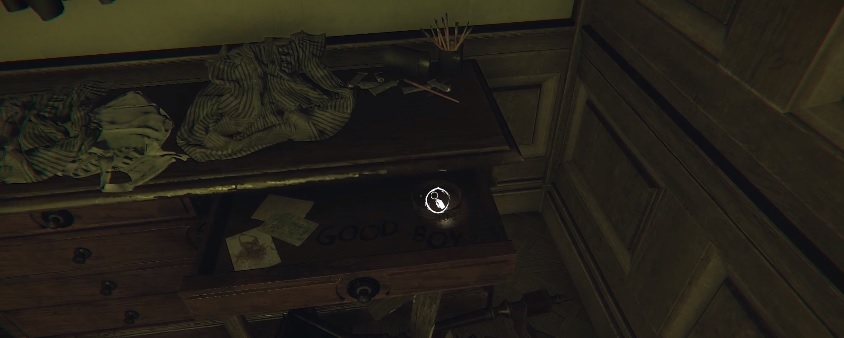
Right after seeing the dog painting catch fire, turn to the right and open the top-right drawer of the desk covered in clothes and pencils. The whisper triggers when you pick up the dog collar.
 Whisper 5
Layers Of Fear Whisper #6
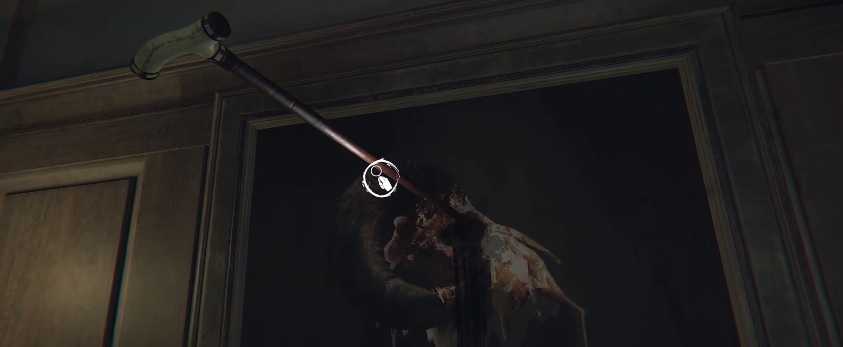
After getting locked in the room where you have to light the candles to leave, go back into the hallway and turn left to follow the stream of paint on the floor. Look at the painting on the wall until it changes to an animal skull with a cane sticking out. Activate the cane to access this whisper segment.
 Whisper 6
Layers Of Fear Whisper #7
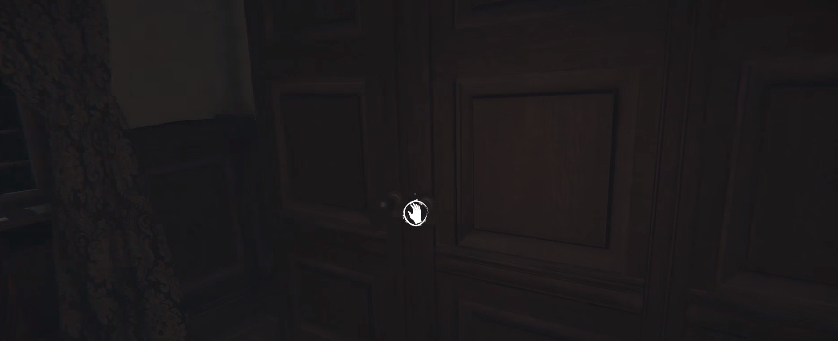
In the bedroom with the record player, before interacting with anything else, open the standing wood closet across from the door (the one to the far left). Grab the violin sitting on the middle shelf to active this whisper.
 Whisper 7
Layers Of Fear Whisper #8
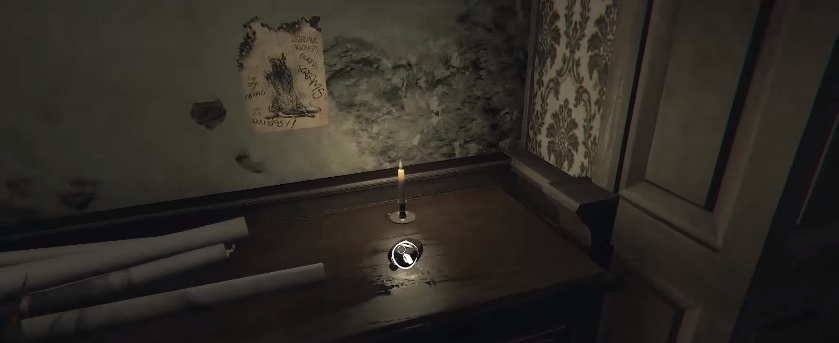
At the very end of the chapter, when you return to the main painting room, don’t look at the painting yet. Instead, turn to the left wall that holds all the rat drawings you’ve collected and pick up the flask on the desk to get this whisper.
 Whisper 8
Chapter 3
Layers Of Fear Whisper #9
When you hit the recurring hallway intersection (the one where the right-hand side is blocked by an avalanche of books), go straight forward instead of turning and go through the door into the room with the easel and the wall writing. Pick up the glasses sitting on the front side of the easel to trigger this whisper.
 Whisper 9
Layers Of Fear Whisper #10
During the phone puzzle segment in this chapter, eventually you’ll see a phone drop from above and crash onto the floor. Interact with the broken phone receiver to get whisper #10.
 Whisper 10
Chapter 4
Layers Of Fear Whisper #11
Near the start of this chapter you will get stuck in a room with four doors where the walls are covered in crayon drawings. Each time you open a door, it will just lead to a brick wall. Keep up this pattern until the exit door appears down a short hallway.
Walk down the hallway and look at the door, but don’t open it yet. Instead, turn around again and look exactly where you just were standing – which will now be a completely different room with different wall drawings.
This part is a little touchy and has to be triggered properly – walk all the way up to the far wall, then turn around again and walk back towards the exit door. If you did it right, a scrap of paper will now be nestled on the floor in plain sight. Pick up the paper to hear this whisper.
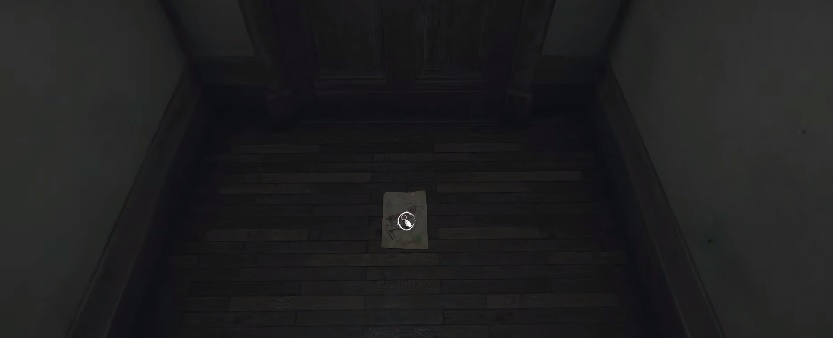 Whisper 11
Layers Of Fear Whisper #12
Shortly after the previous whisper, go down the hallway covered in crayon scribbles until you see the bear sitting in the hallway. Grab the birthday hat off the bear to trigger the whisper.
 Whisper 12
Layers Of Fear Whisper #13
In a large room with open drapes and two rocking chairs, grab the baby shoes on the table to trigger the thirteenth whispered segment.
 Whisper 13
Layers Of Fear Whisper #14
Shortly after the previous whisper, go down the right-hand path of a hallway to reach a room with a large bookcase on one side and a table with a checkers set on the other.
Grab all three checkers pieces scattered across the room (one is on the floor, and two are found in the drawers of the dresser against the wall). Activate the checkers board after grabbing all three pieces to get this whisper.
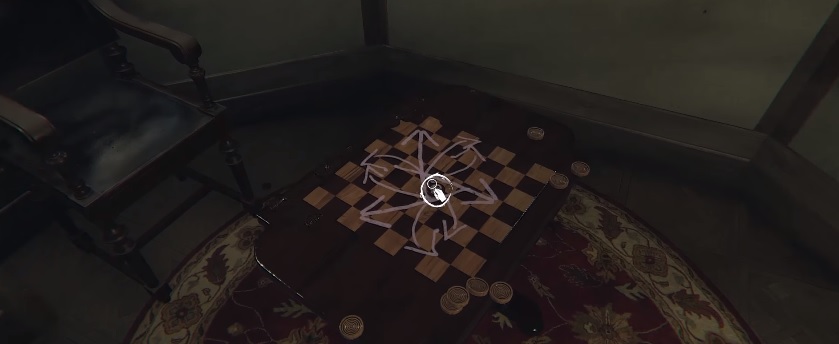 Whisper 14
Layers Of Fear Whisper #15
After the neon doll hallway maze, you will pop back out into a room with a black and white checkered floor and a bunch of bottles lying around. Go into the closed closet room at the back of this area and find yet another heaping pile of dolls. Grab the toy soldier sitting on the ground to get this whisper.
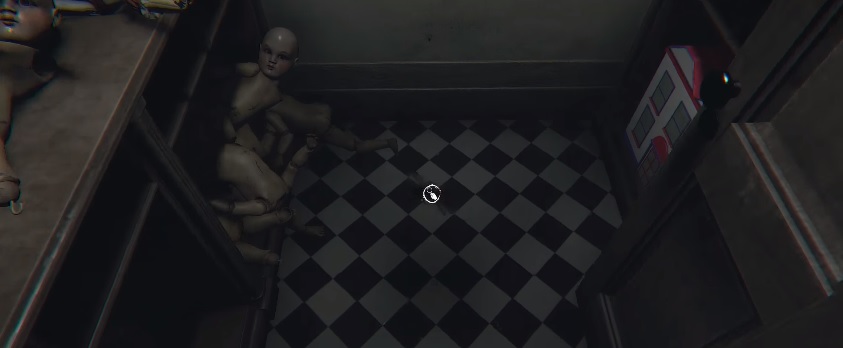 Whisper 15
Layers Of Fear Whisper #16
A short time later, when walking down a hallway with windows and more wall scribbles, grab the perfume bottle on the windowsill to the left for whisper #16.
 Whisper 16
Layers Of Fear Whisper #17
After you complete the spinning baby room, go back out into the hallway and look at the standing shelf to the left near the door. The bottom shelf on the right-hand side was previously locked, but will now be unlocked after you go through the bizarre scene in the baby’s nursery. Grab the gun sitting on top of the doll for the next whisper.
 Whisper 17
Chapter 5
Layers Of Fear Whisper #18
In the thoroughly destroyed room with the giant painting across the back wall, open the chest on the right side and grab the dog muzzle, which unlocks the latest whisper.
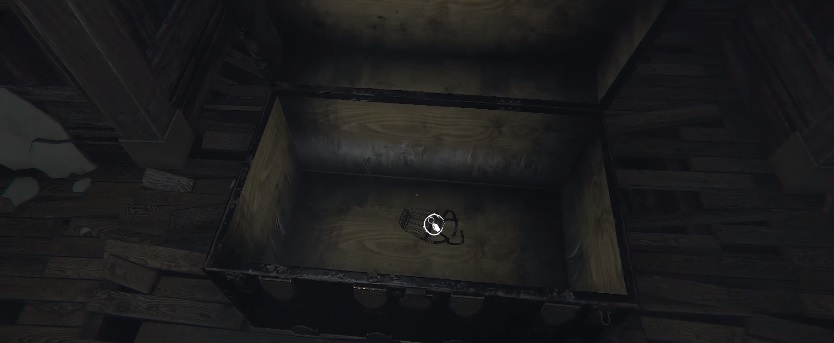 Whisper 18
Layers Of Fear Whisper #19
In the weird room with the sparkly black stuff all over one area of the wall, look at the small marble table in the center of the room. Grab the bottle of whiskey to active the whispers.
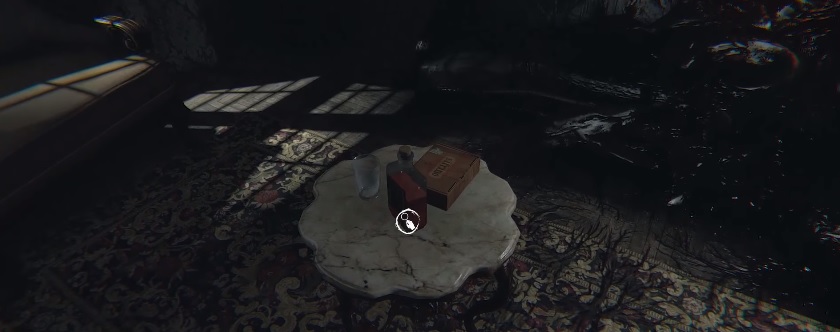 Whisper 19
Layers Of Fear Whisper #20
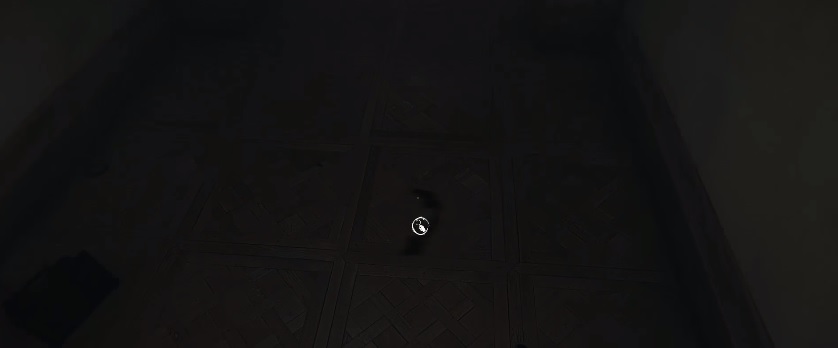
After the “don’t look back segment” where you have to pull the chain to escape a room, you will return to the recurring hallway intersection with four corridors. Go straight forward this time and grab the pile of broken brushes on the ground for whisper #20.
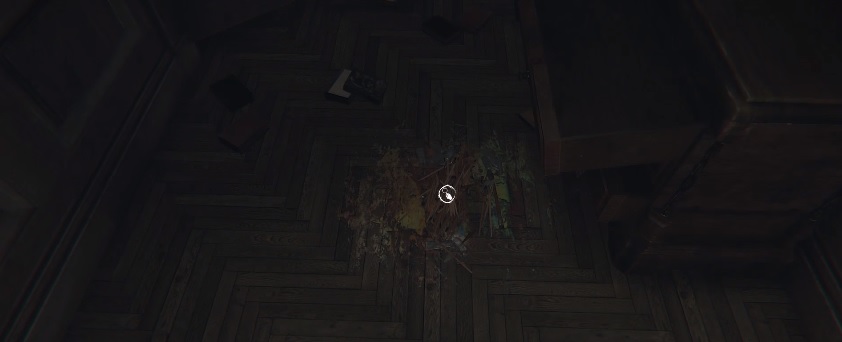 Whisper 20
Layers Of Fear Whisper #21
Turn around after grabbing the previous whisper and head down the hallway on the left (which will actually be the hallway on the right when you first enter the intersection). Through the door is another fireplace room with an upside down painting. This whisper is activated by grabbing the broken paint color palette sitting right in front of the fireplace.
 Whisper 21
Layers Of Fear Whisper #22
Following the segment where you travel in an elevator, go into the room with the broken floorboards and open the chest in the corner. Picking up the clock activates this whisper.
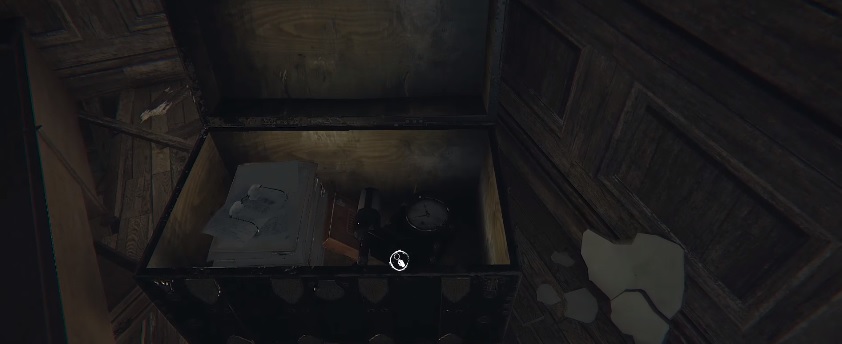 Whisper 22
Layers Of Fear Whisper #23
After leaving the previous room and going back into the hallway, grab the makeup compact sitting on the windowsill to the left for the next whisper.
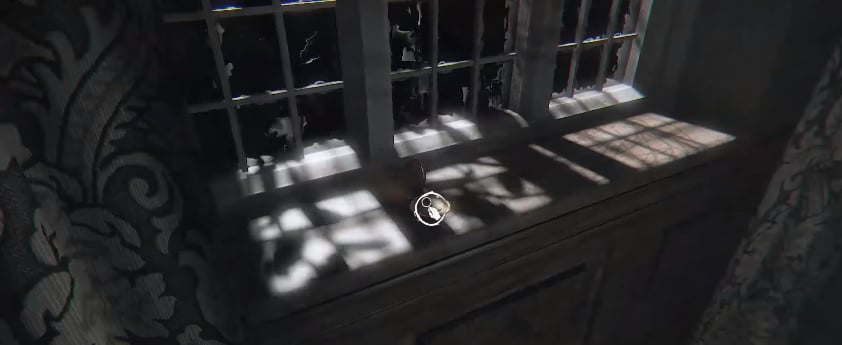 Whisper 23
Chapter 6
Layers Of Fear Whisper #24
This one is a little tricky. You’ll enter a room with candles all over the floor and a weird standing triple painting. Walk around the outside of the paintings repeatedly until they fall down on the floor. Grab the barely visible dead rat sitting on the floor where one of the paintings fell for whisper #24.
 Whisper 24
Layers Of Fear Whisper #25
Right after the room with the machinery and the pipes, you will head into a hallway with black stuff draped all across the floors and walls. A short ways into the hallway, turn into the room on the right and wait for the bed to catch fire. After the vision ends, grab the bandages sitting on the table to get the next whisper.
 Whisper 25
Layers Of Fear Whisper #26
After the Ouija board room you will eventually return to that same hallway you keep seeing with objects on the windowsill. Grab the necklace sitting there to activate whisper #26.
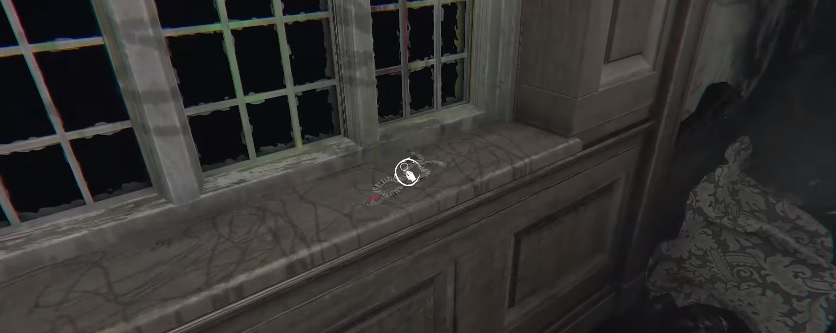 Whisper 26
Layers Of Fear Whisper #27
Immediately after grabbing the previous whisper, turn right and then right again to enter a side room covered in the black stuff. Grab the paper on the floor, which not only counts as a family memento (if you are collecting those as well), but is also the last whisper segment. Picking it up should unlock the “Whispers Long Forgotten” achievement.
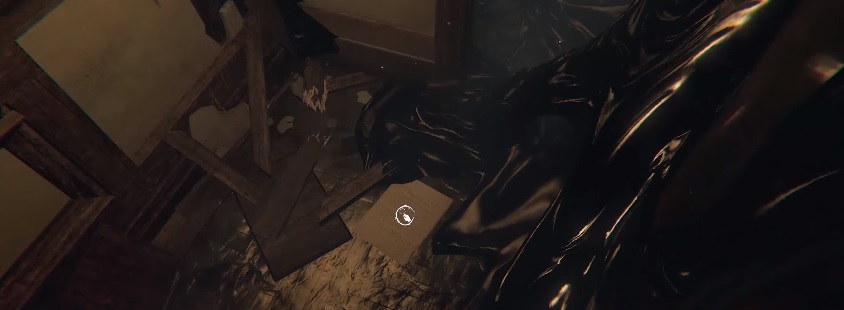 Whisper 27
Still on the hunt for yet more secrets in Layers Of Fear? Head over and read our guide on how to get all three distinct endings here, or check out a complete listing of each achievement at this location.


Published: Mar 4, 2016 01:49 pm