
There are 58 files scattered throughout all four story scenarios in Resident Evil 2, some hidden, some not, all containing necessary clues, useful details, or frightening hints of the infected city around you.
Whenever you read a new file, the game tracks it in the Records screen under the “Lore Explorer” heading. Finding and reading all 58 unique files in the game unlocks the Lore Explorer trophy/achievement.
This does require a full clear of three of the four story scenarios, and a partial clear of the other character’s second run. Over the course of both characters’ second runs, you receive two notes from the character you aren’t currently playing, left in conspicuous locations.
Note that while developed photos from rolls of film do get stored in your inventory’s files section, they do not count for Lore Explorer, and as such, aren’t mentioned here.
This guide contains mild spoilers for locations and events throughout the game.
General Files in Resident Evil 2
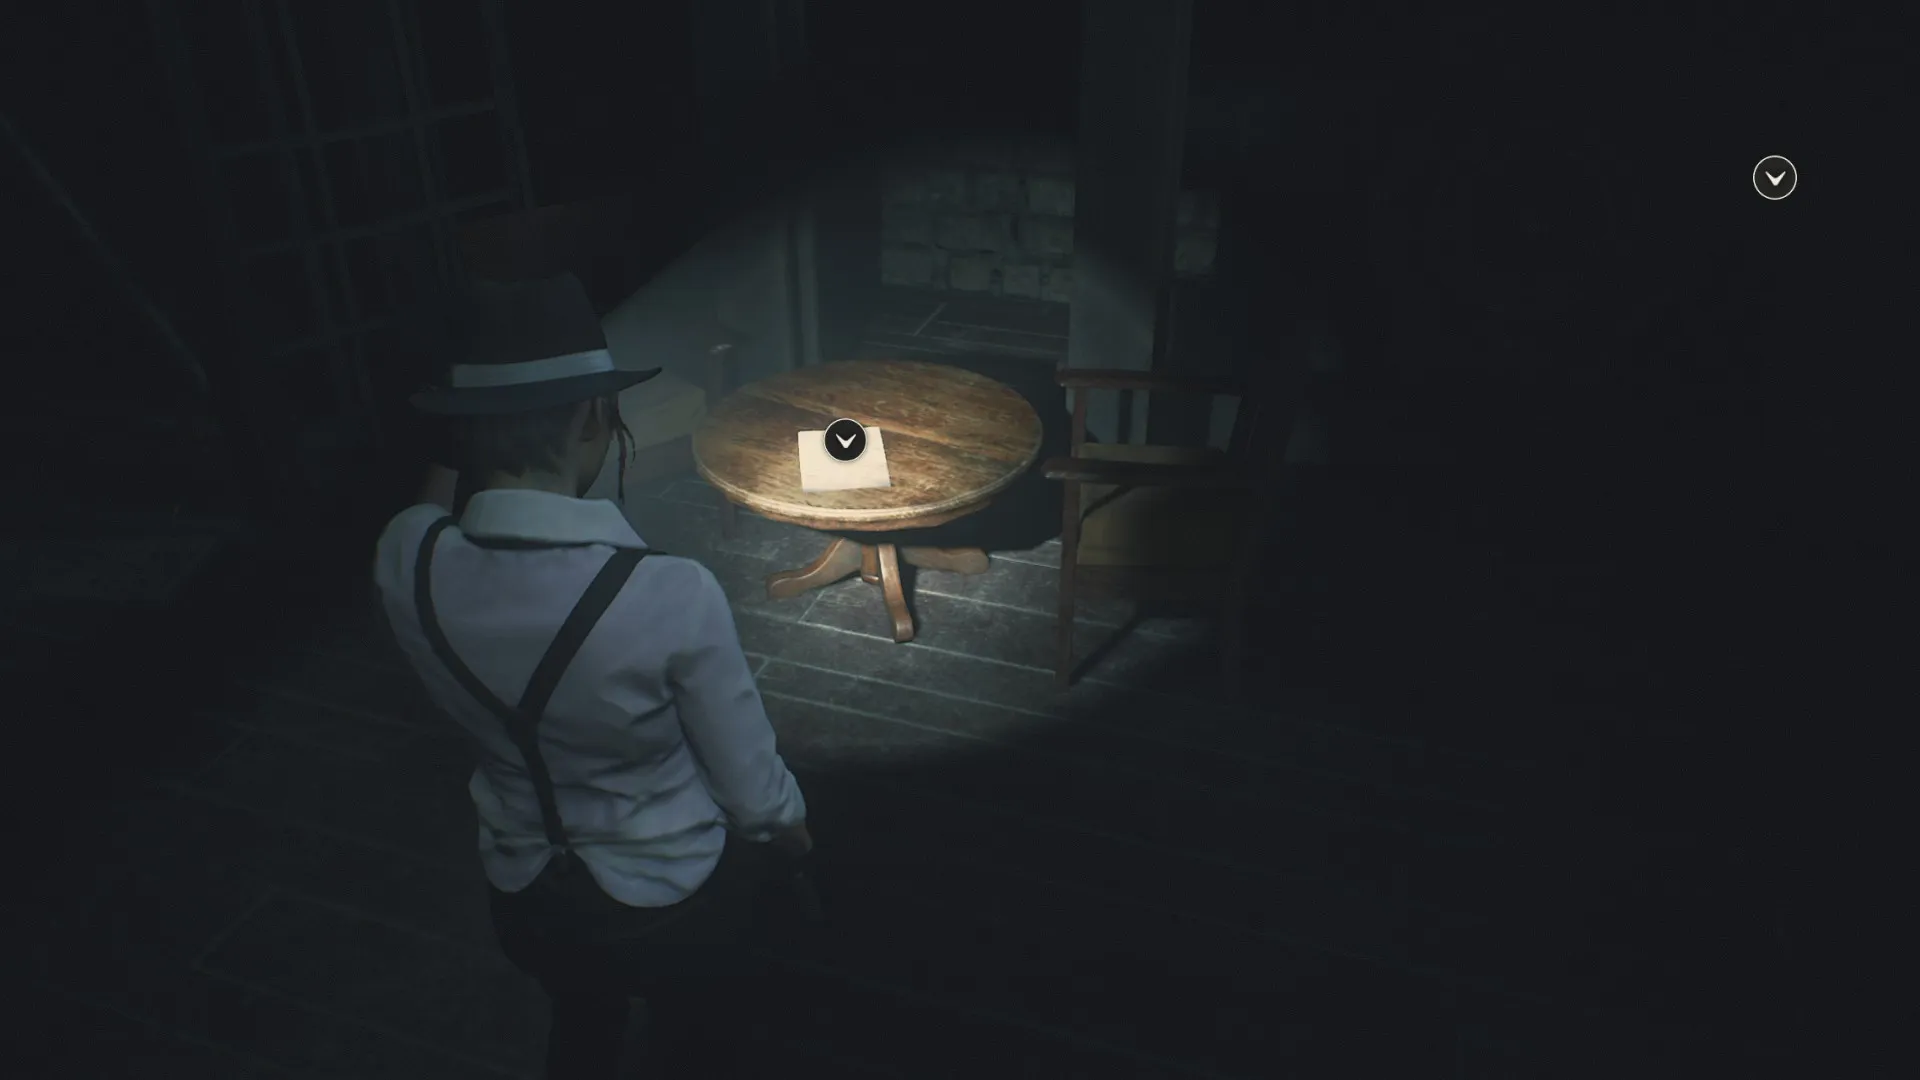
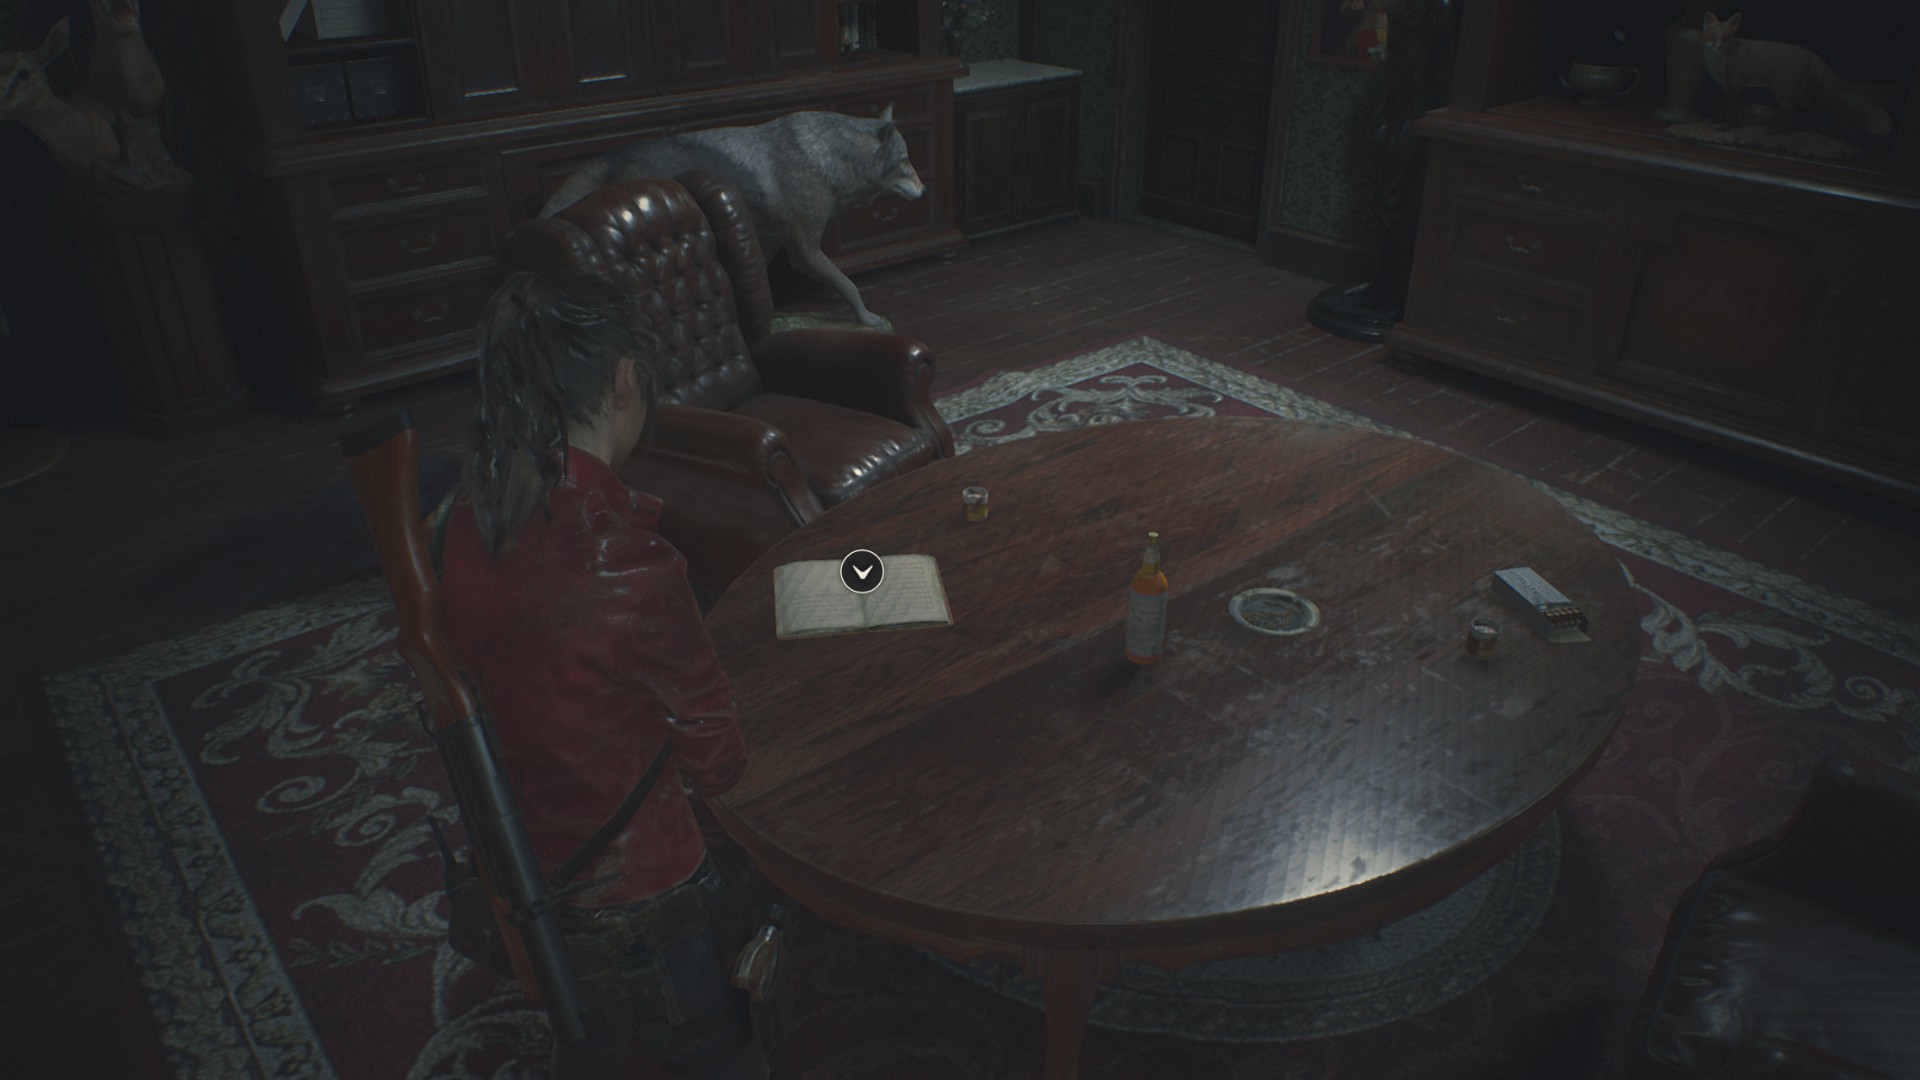
File 1: Record of Events
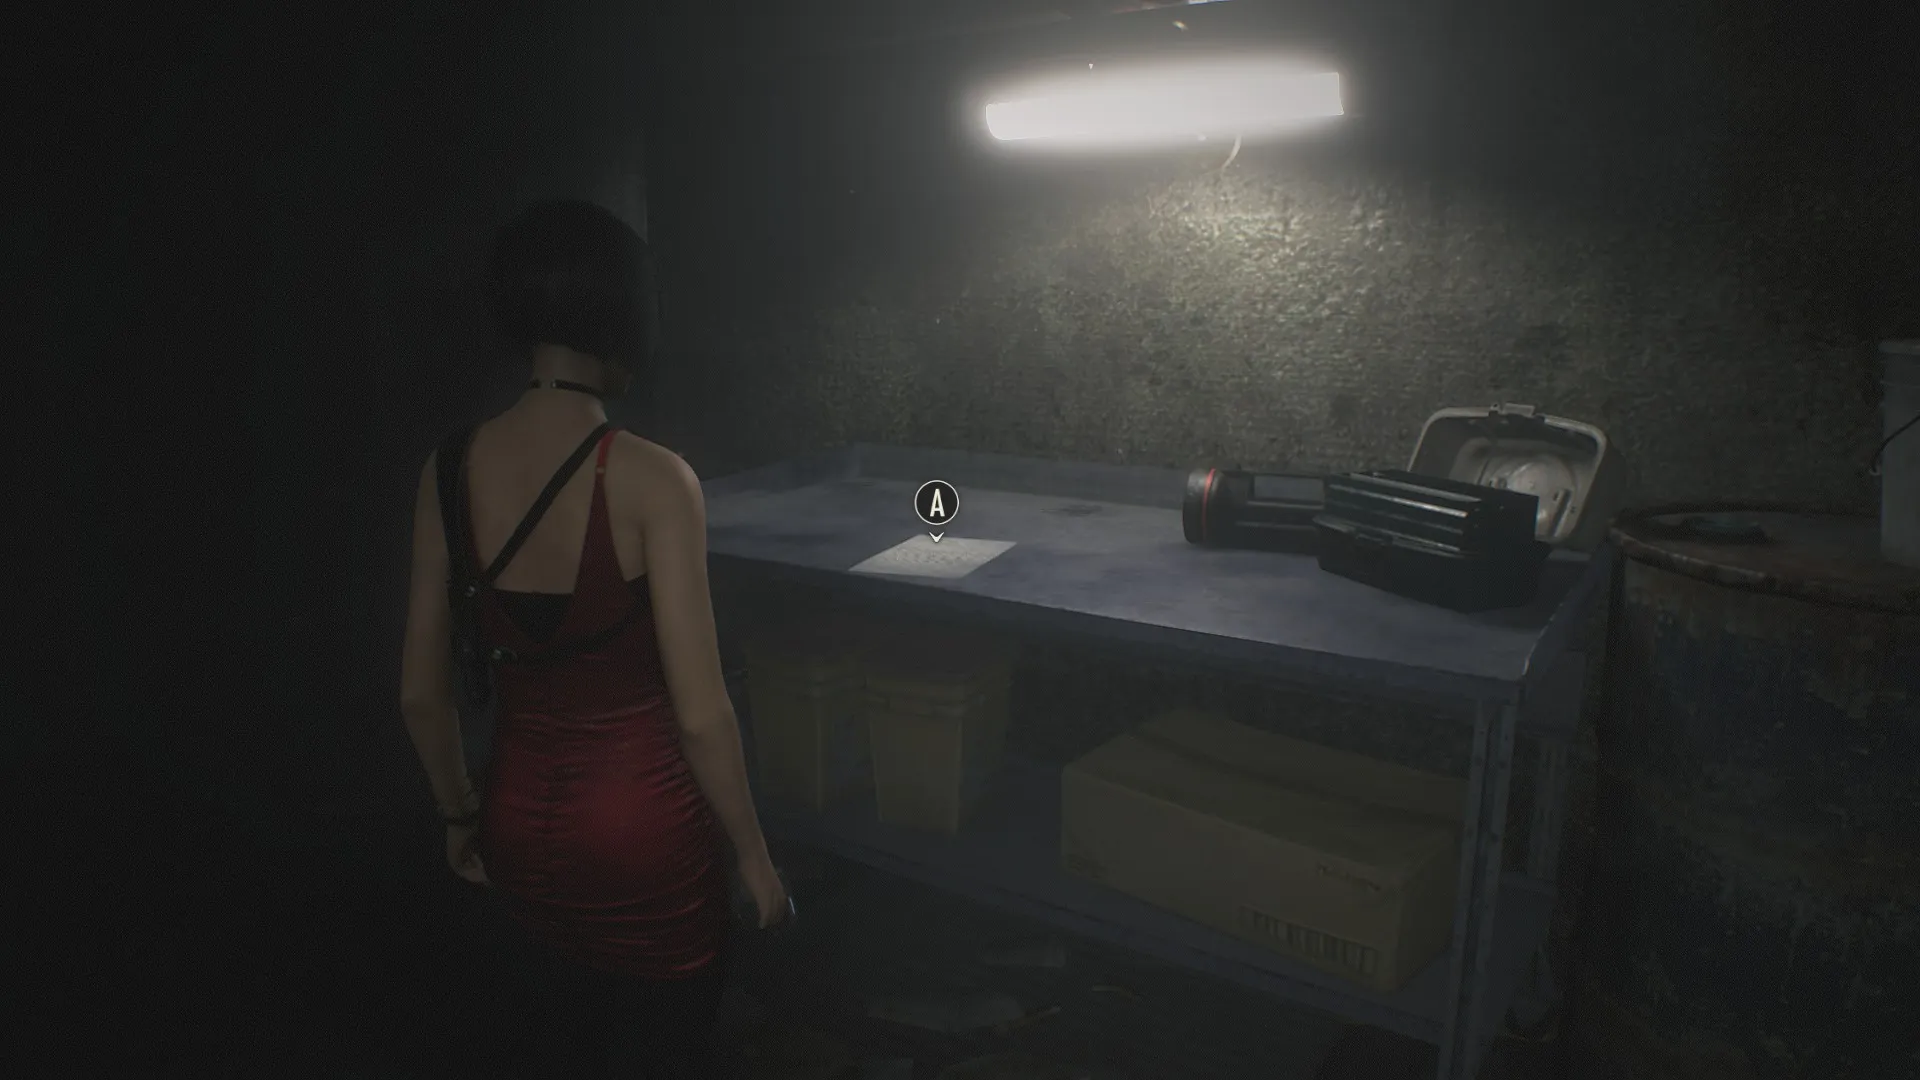
On a table in the Operations Room in the west wing of the RPD.
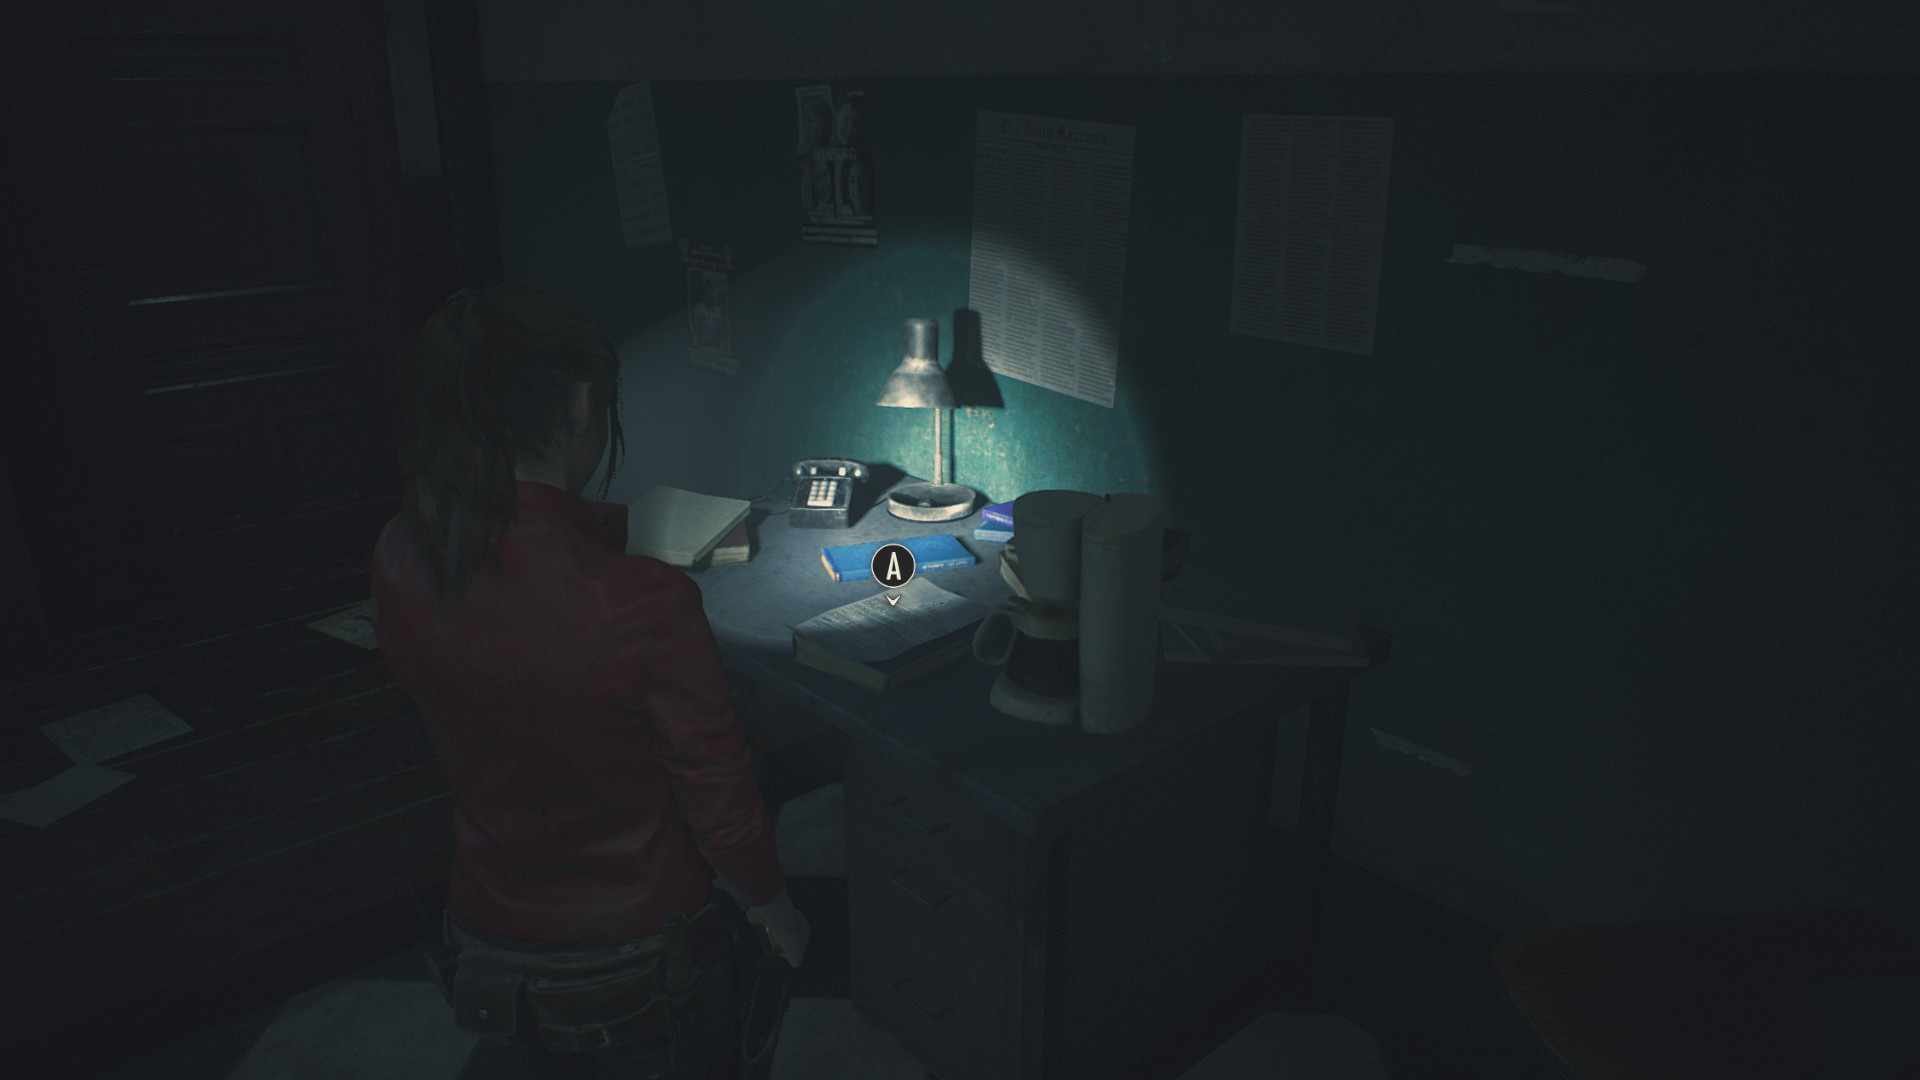
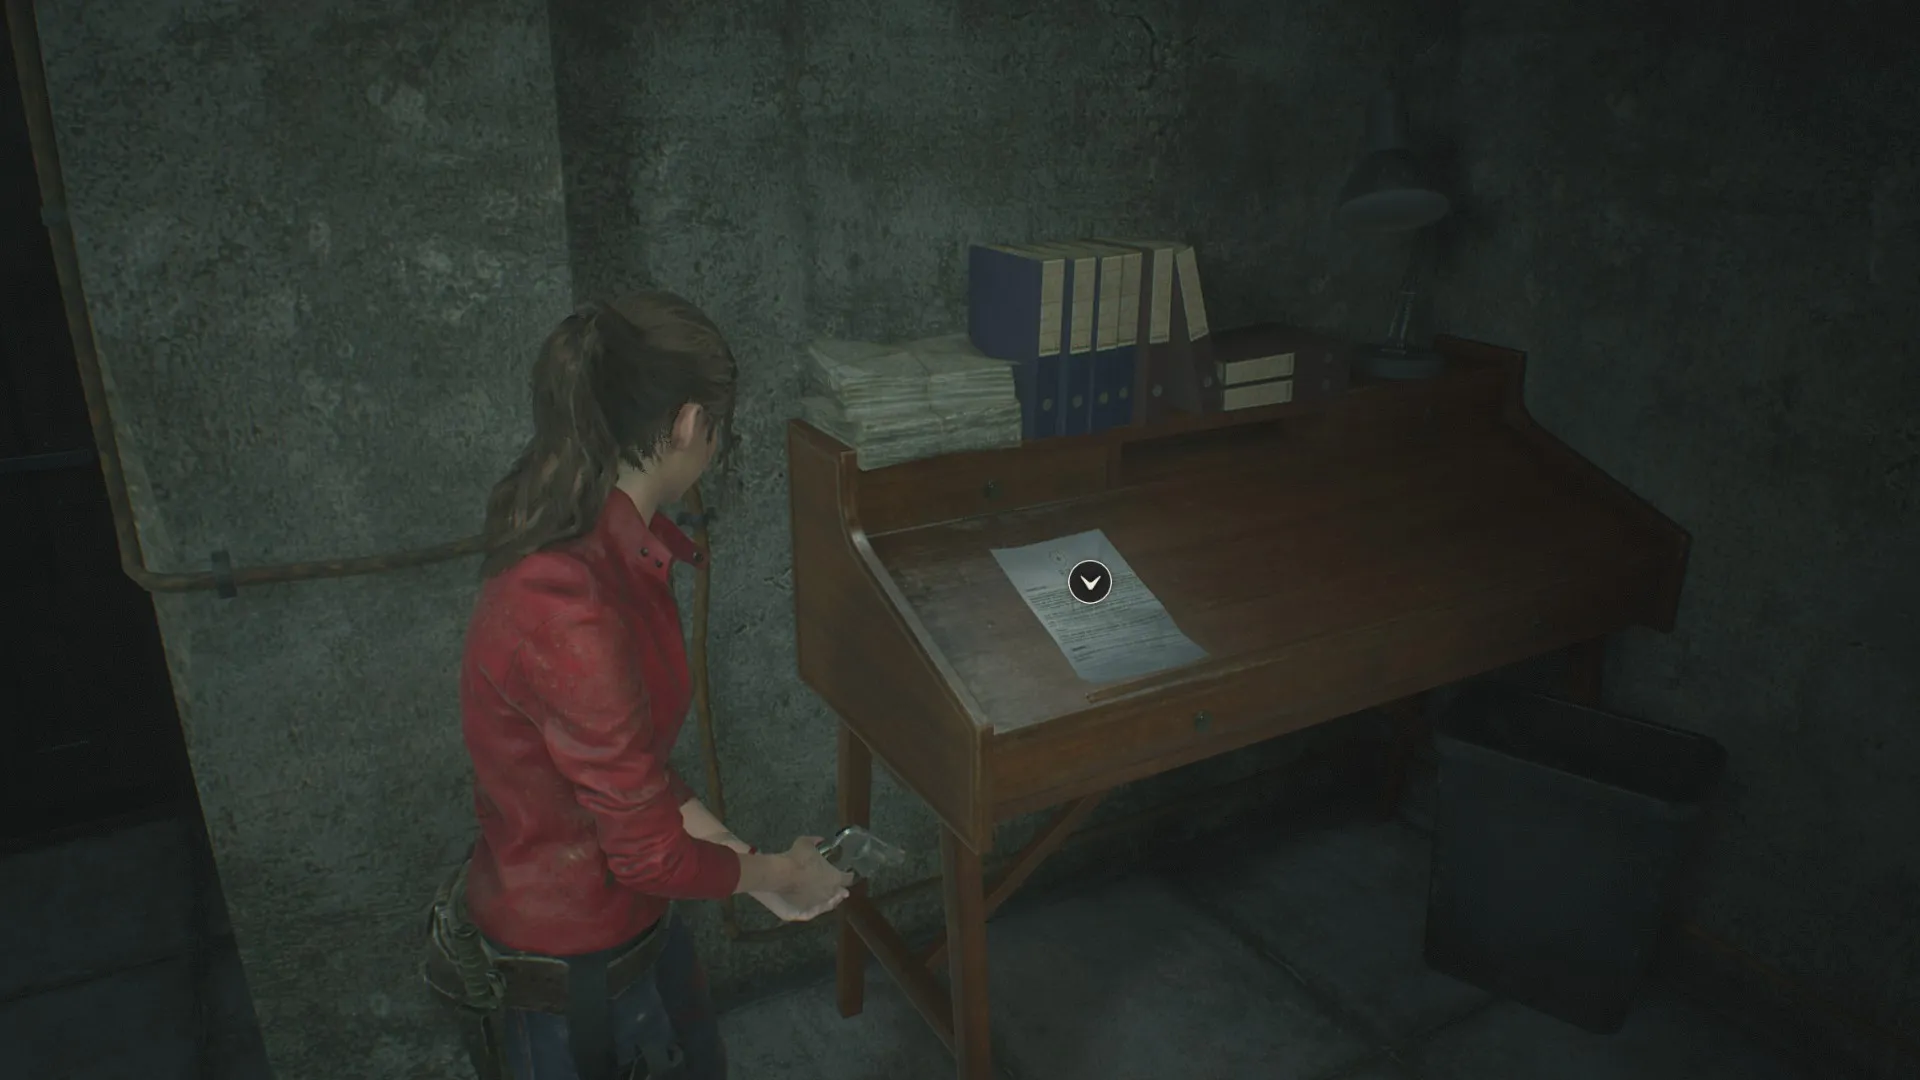
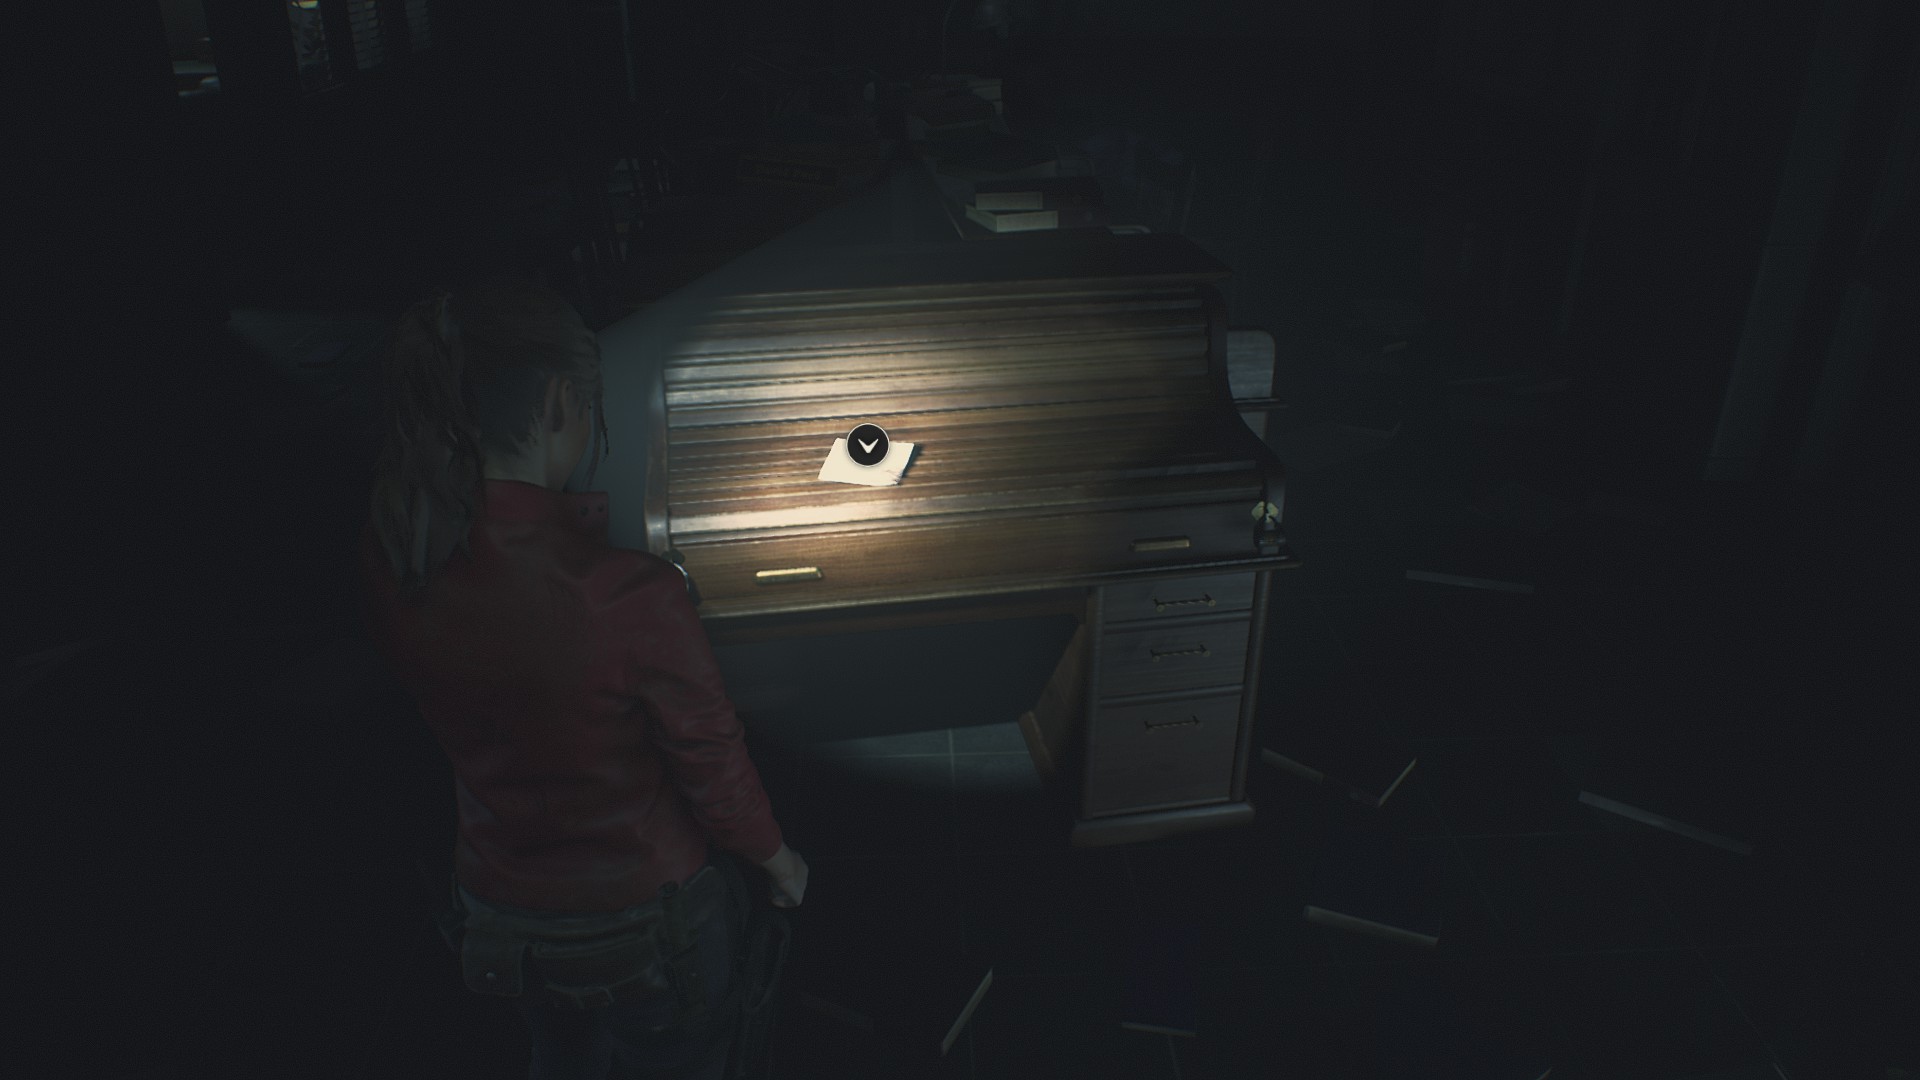
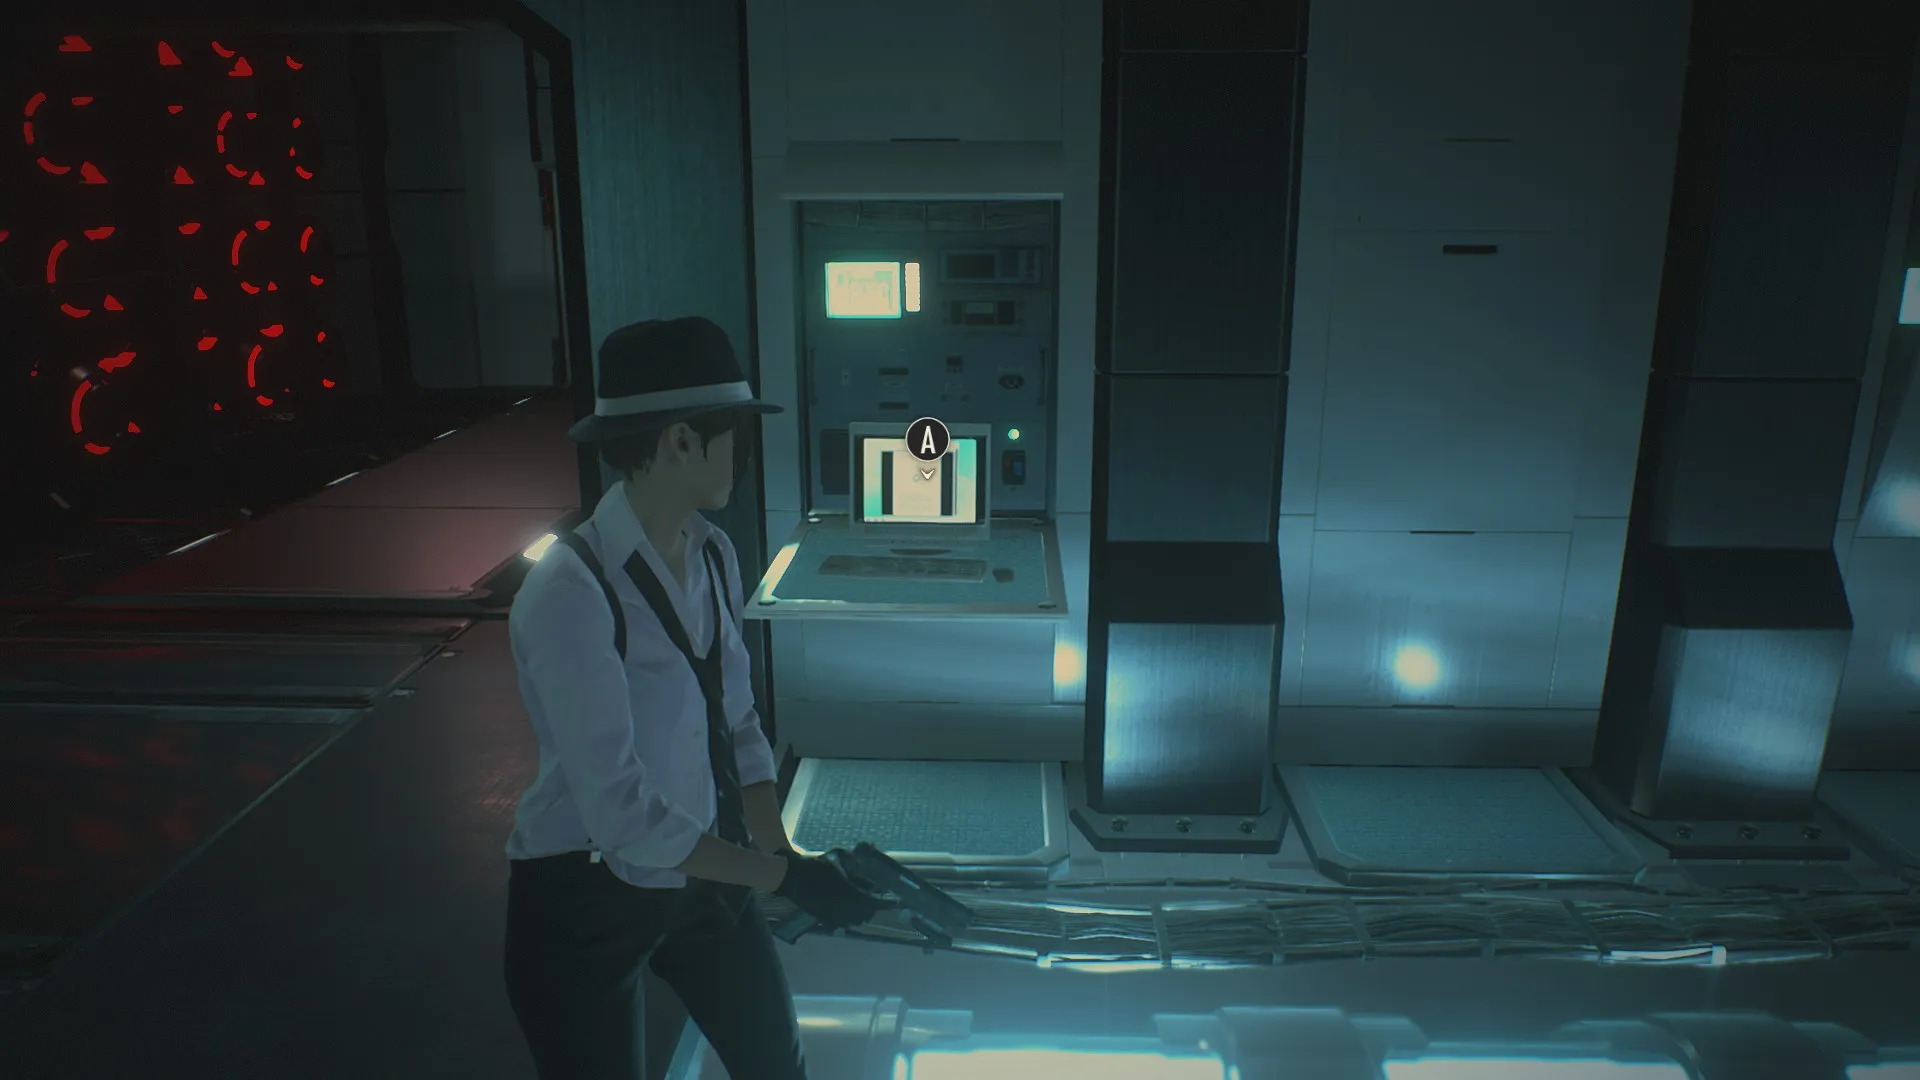
File 2: Storage Locker Terminal Memo
On the roll-top desk near the entrance to the Secure Storage Room on the west side of the RPD.
File 3: Rookie’s First Assignment
On Leon’s desk, on the east side of the RPD’s West Office, underneath the “Welcome Leon” banner. Oddly, this isn’t specific to his scenario.
File 4: Operations Report
On Elliot Edward’s desk, as identified by the nametag, in the RPD’s West Office.

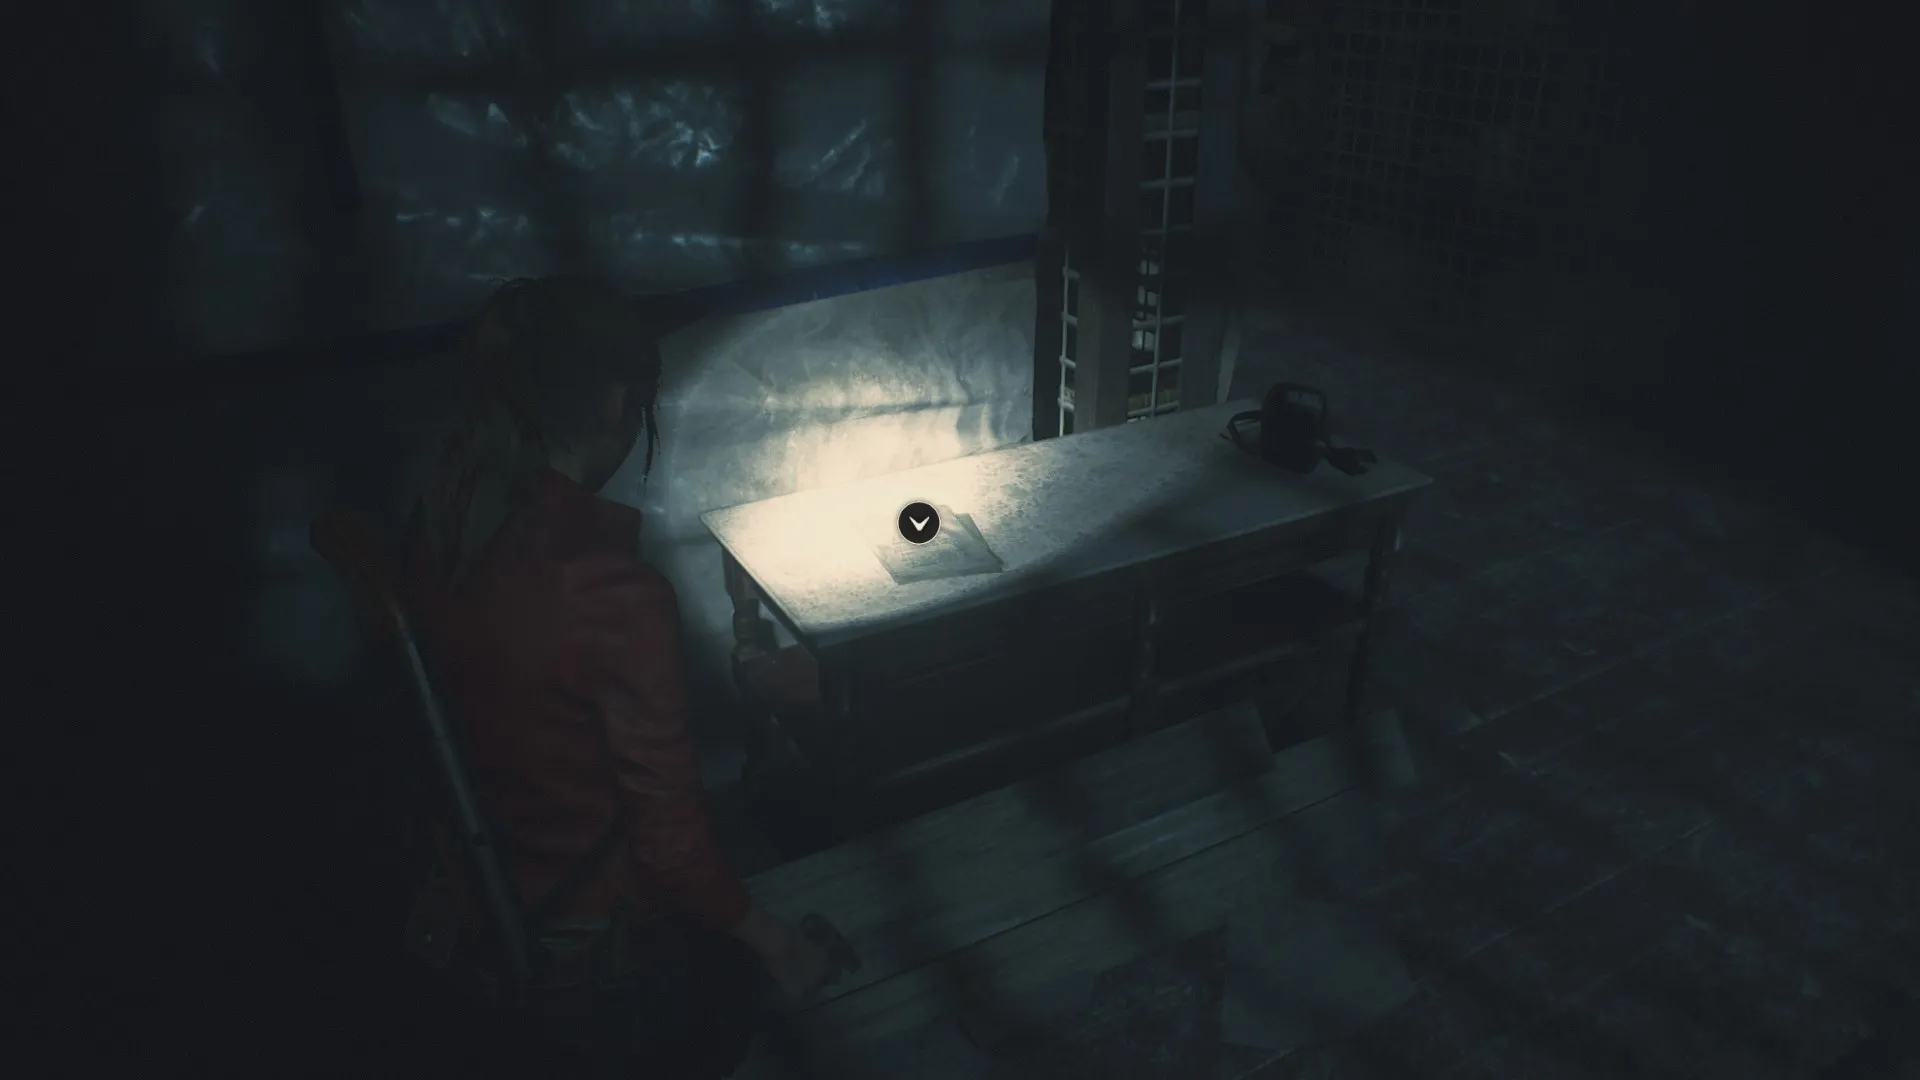
File 5: Medicinal Uses of Herbs
Near the entrance of the RPD’s Darkroom.
File 6: To any survivors
At the end of the blocked hall outside the west door to the West Storage Room on the third floor of the RPD.
File 7: Some Guy’s Scribblings
On a table near the C4 charge on the south end of the West Storage Room on the third floor of the RPD.
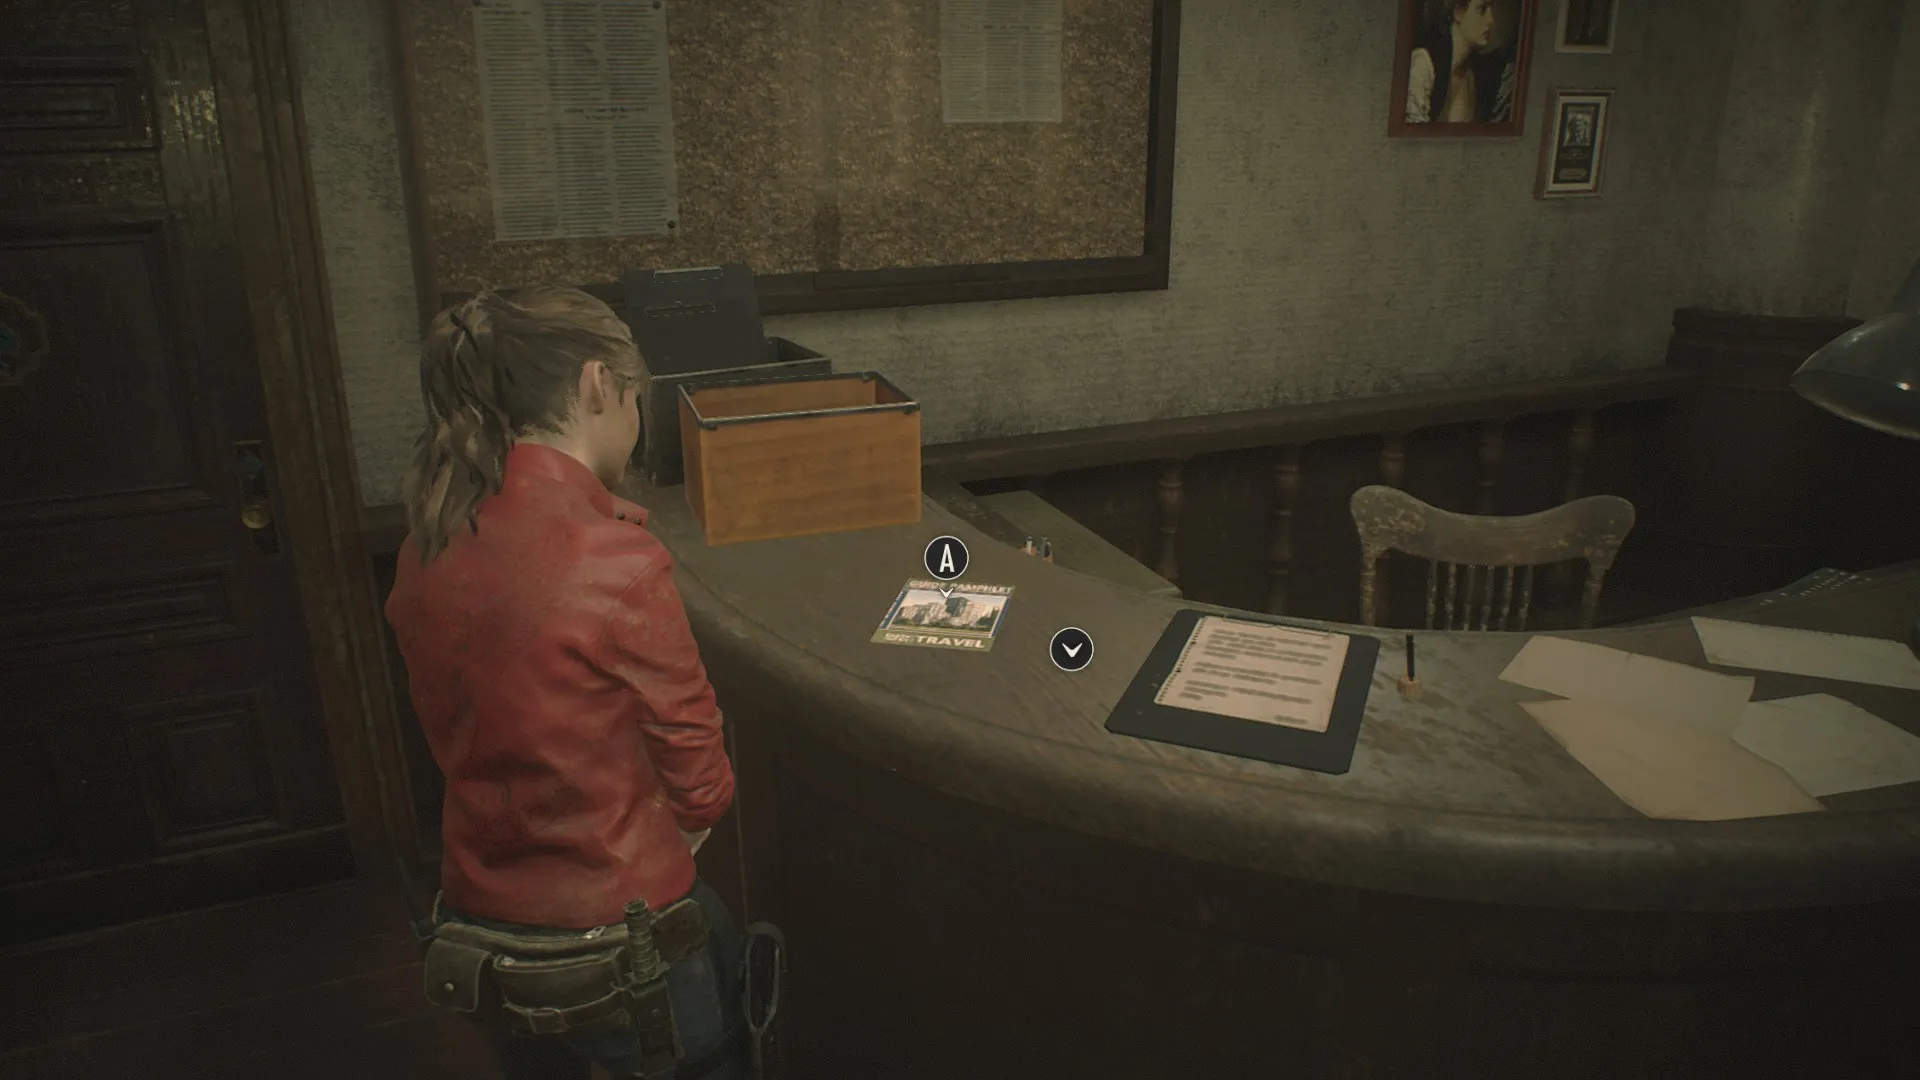
File 8: Guide Pamphlet
On the desk in the Waiting Room on the east side of the second floor of the RPD.
File 9: Art Article: “The Red Stone”
On a chair in the Art Room on the RPD’s second floor.
File 10: Portable Safe Instructions
Posted up on a wall in the corner of the Men’s Locker Room on the second floor of the RPD. (This is always here, even on a 2nd Run when it’s not actually sitting next to the first Portable Safe.)

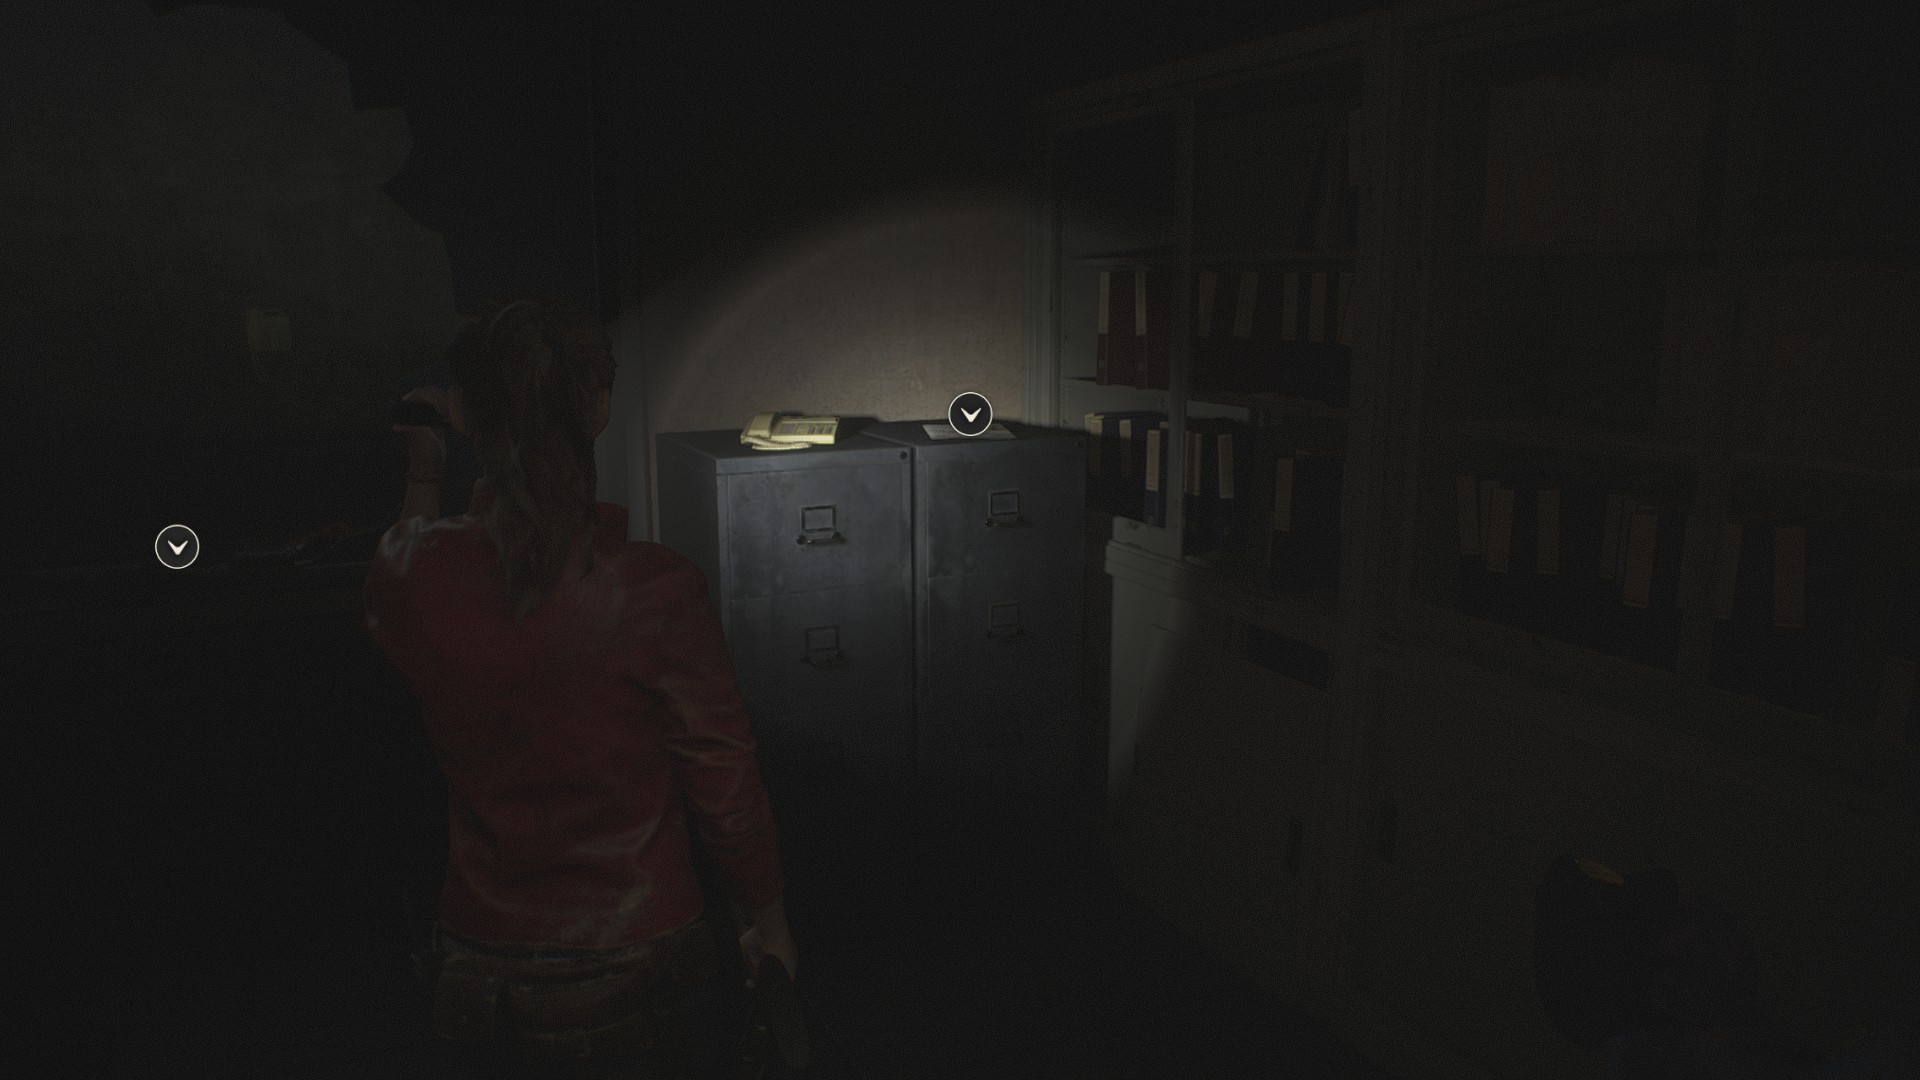
File 11: Internal Memo
On the cabinet behind Wesker’s desk in the STARS Office.
File 12: Autopsy Report #53477
On a janitor’s cart near the door in the RPD’s Morgue.

File 13: A Message From Mr. Raccoon
On the check-in desk in the RPD’s Firing Range.

File 14: Equipment Disposal Notice
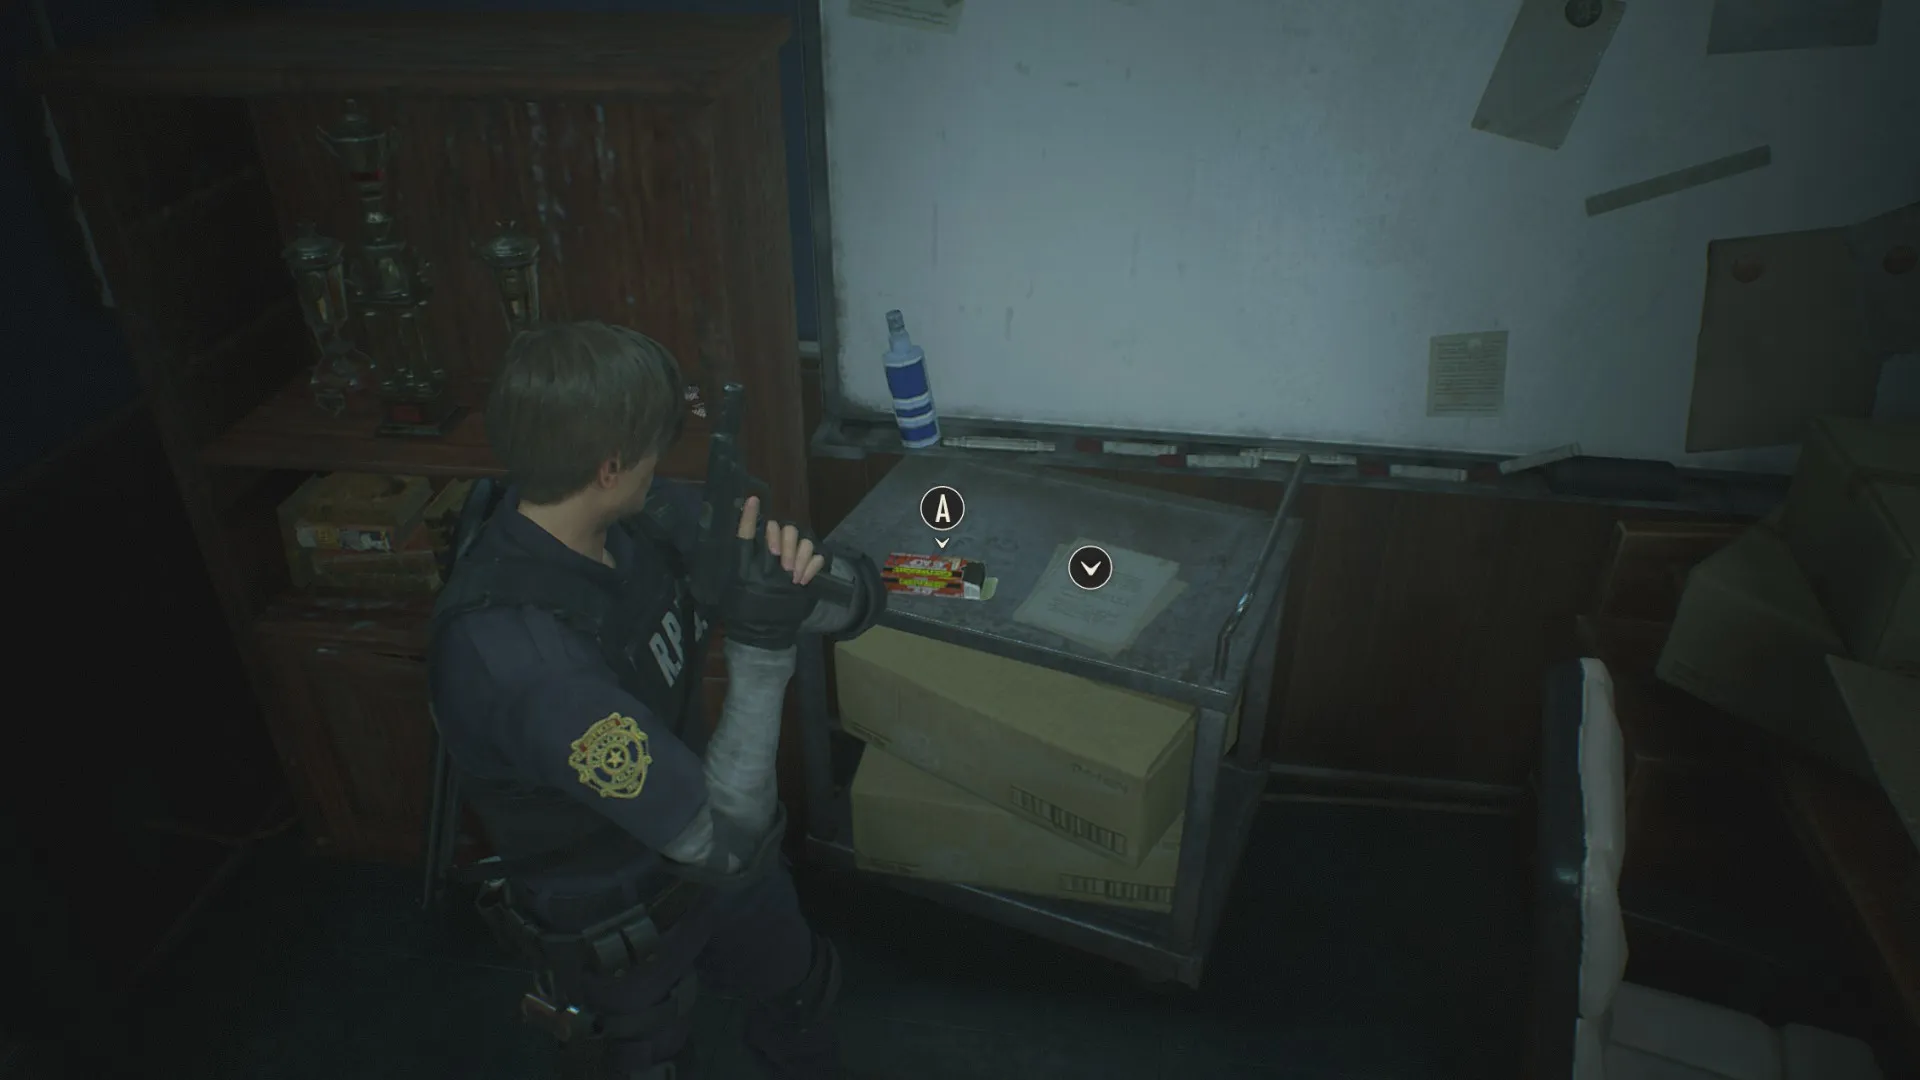
Next to the yellow tin box on a table just inside the RPD’s Firing Range.

File 15: Confiscation Report
On a filing cabinet in the corner of the Observation Room on the second floor of the RPD. (Leon can go straight in once he has the Club key. Claire has to wait until the Interrogation Room window breaks, then jump through.)
File 16: Letter to STARS Members
On a bench in the Armory in the STARS Office. You get a bit of additional dialogue when Claire reads it.
File 17: Repair Plan
On a table just inside the Clock Tower on the RPD’s third floor.
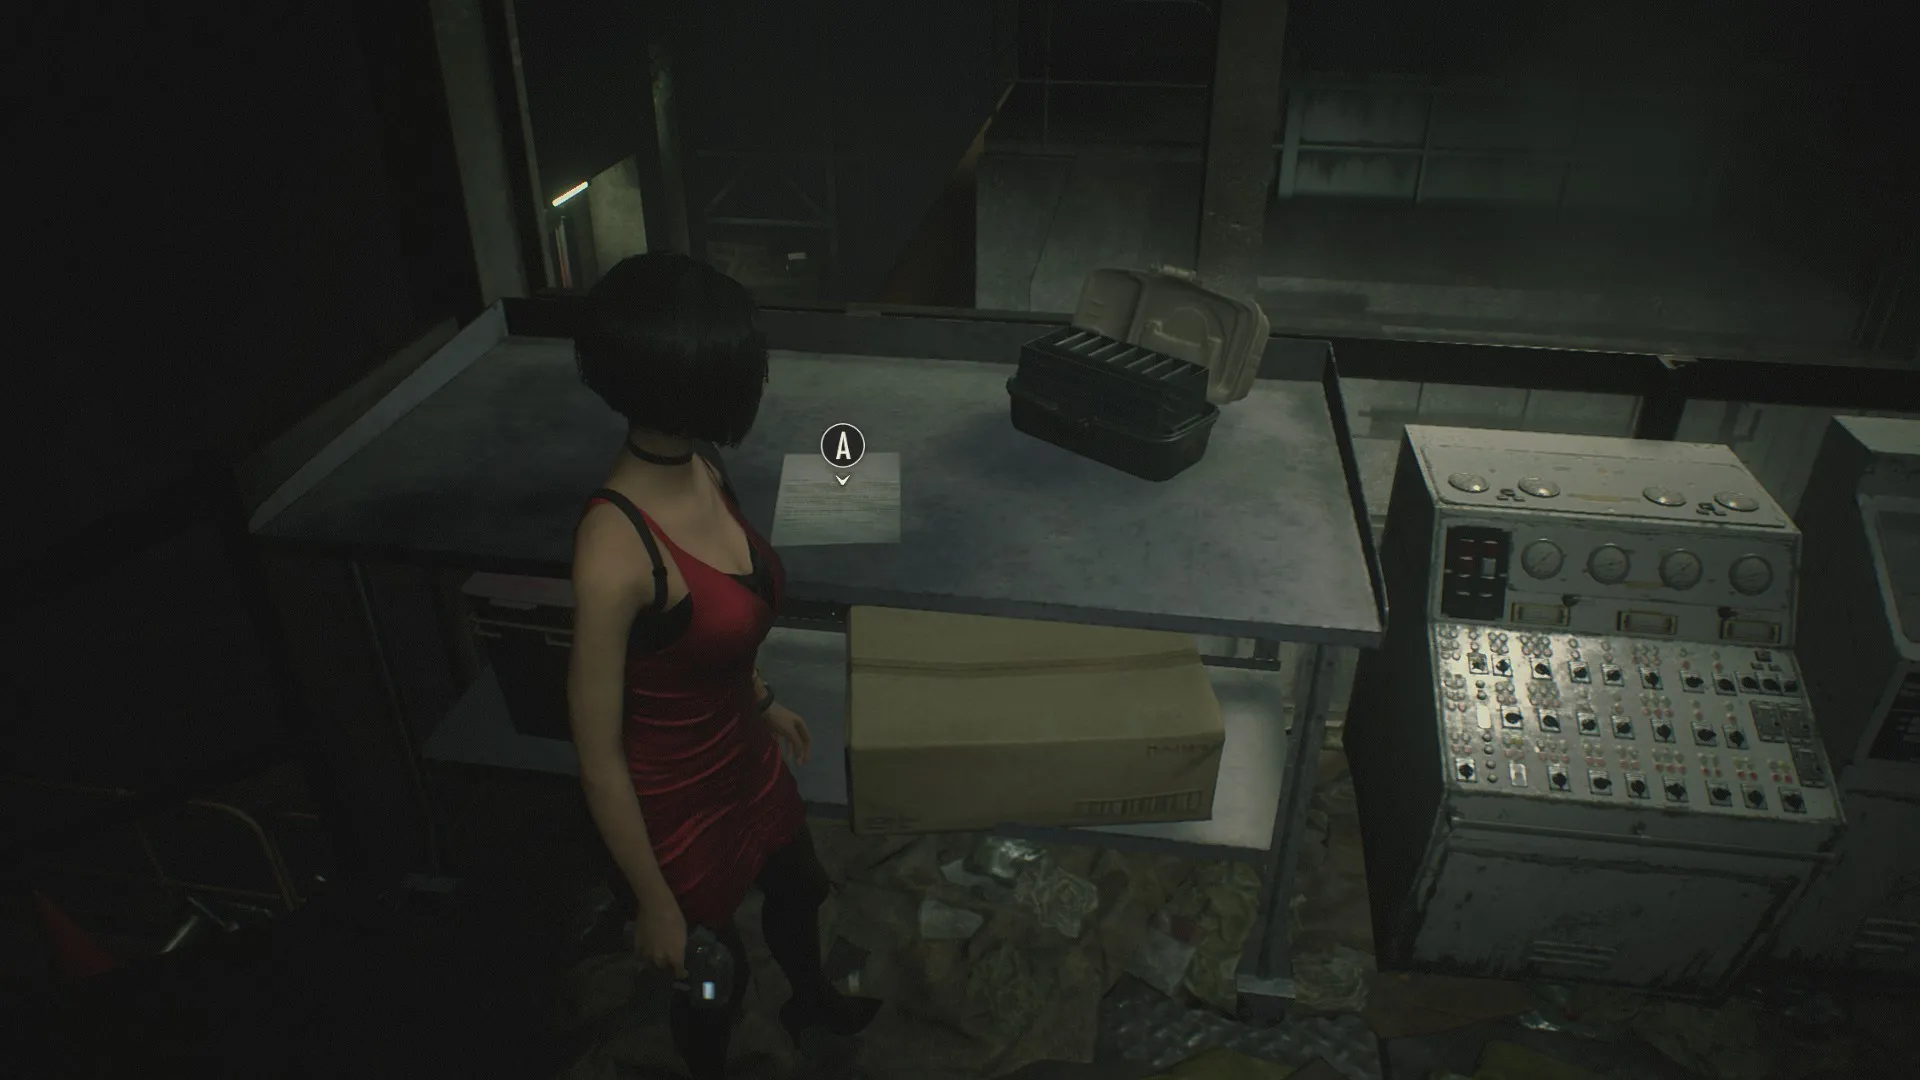
File 18: Copy of Emails to Umbrella HQ
On a table in the back of the Control Room in the sewers.

File 19: Sewer Company Pamphlet
On the table next to the VCR in the Monitor Room in the sewers.

File 20: Unlocking the U-Area Door
Underneath the bulletin board in the sewers’ Monitor Room, between the two rows of plug panels.

File 21: Delivery Receipt
On the table at the end of the Cable Car Platform.
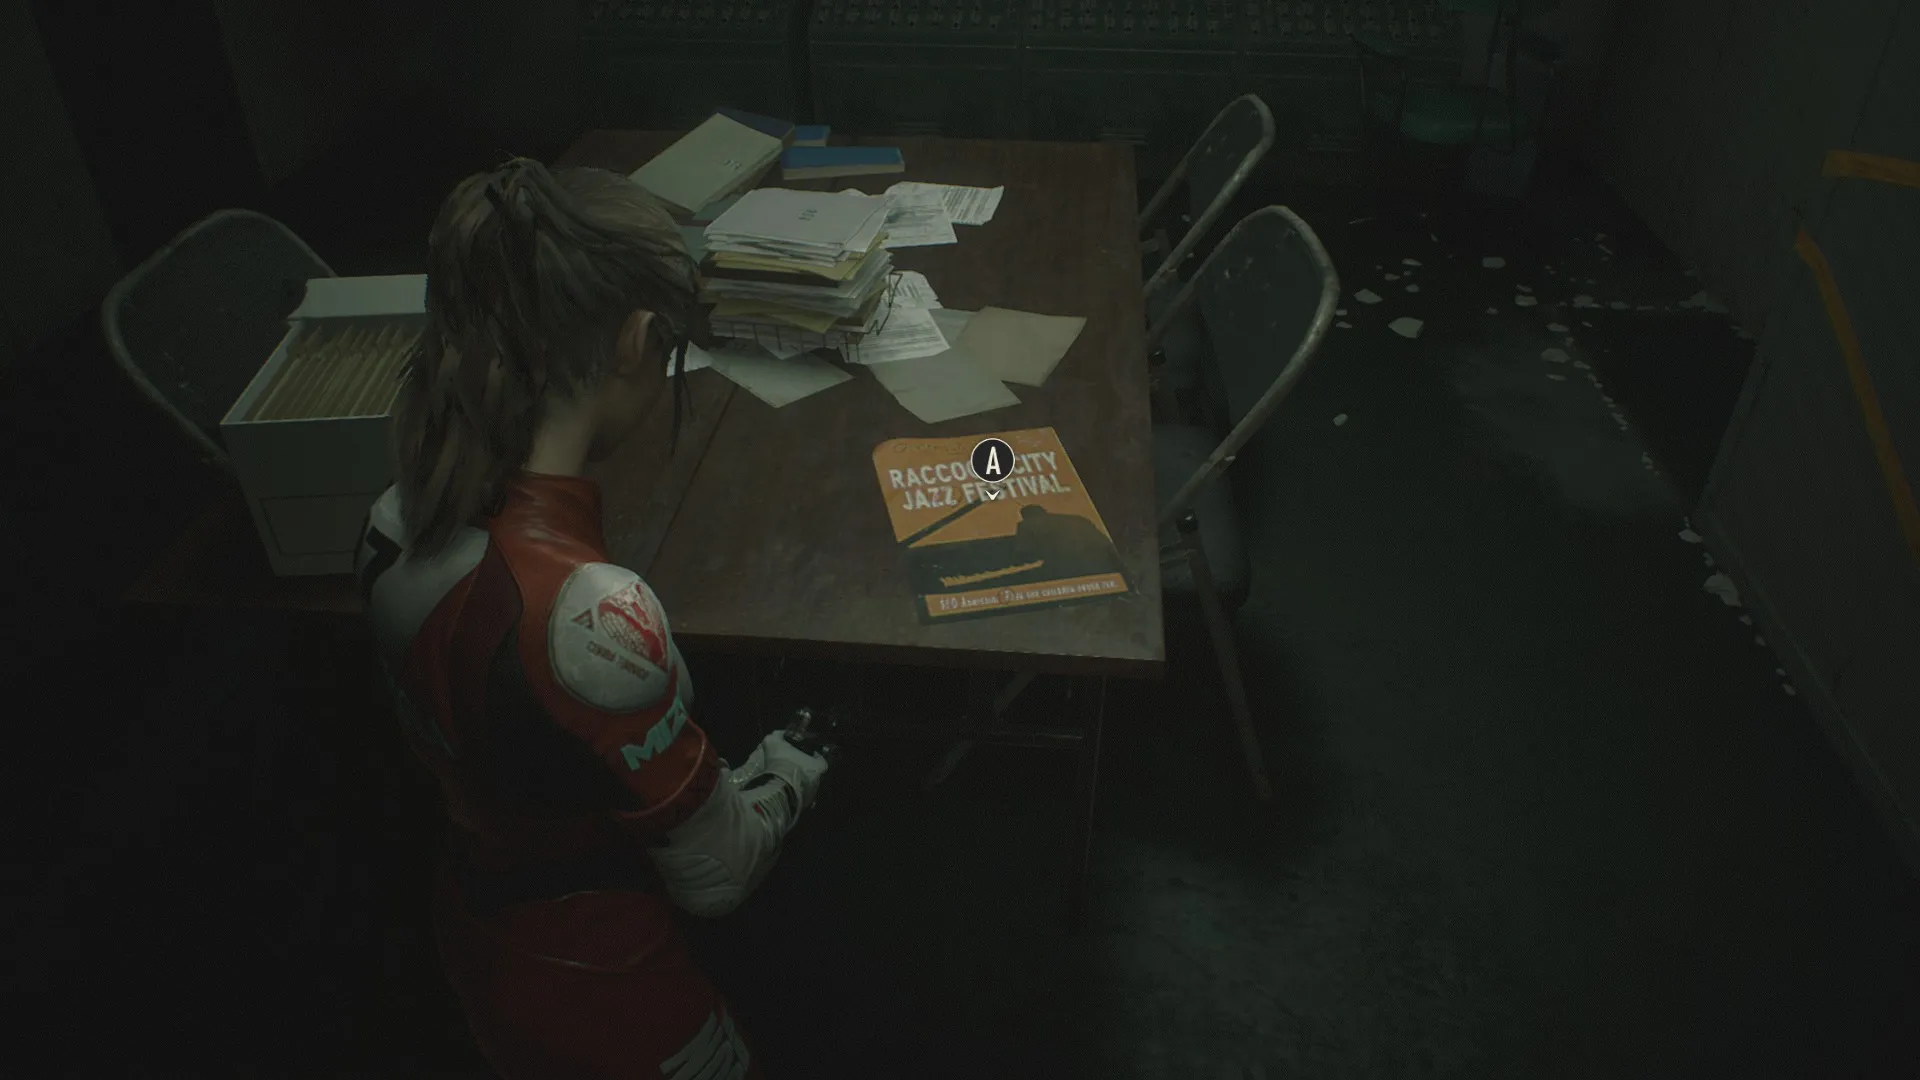
File 22: Jazz Festival Flyer
On the center table in the Workers’ Break Room in the sewers.
File 23: ID Wristbands
On the dry-erase board in the small safe room behind the laboratory’s front desk.

File 24: Nap Room Log
On the CRT monitor under the counter of the laboratory’s front counter, in the Lobby.
File 25: Special Forces Recording
Check the dead USS soldier on the platform between the Lobby and the central elevator platform in the laboratory.
File 26: Herbicide Synthesis
On the center counter in the Drug Testing Lab in the East Area of the laboratory.

File 27: Somebody’s Note
On a chair in the storage room south of the lobby of the East Area, near the stairwell entrance. It’s very easy to miss.
File 28: Wayne Li’s Note
Once you have the signal modulator, backtrack to the Nap Room and use it on the exposed panel to reactivate power to the area. This opens the nearby pods, one of which has a zombie and this file in it.
File 29: Wayne Li’s Inbox
Check the computer near the freezer entrance in the Low-Temp Testing Lab.
File 30: Byron Cartwright’s Inbox
Once you’ve got a level 3 ID Wristband, check the computer in the podium in the Presentation Room of the laboratory’s East Area. (This may be slightly easier for Claire than for Leon, as Claire isn’t being chased out of the lab.)
File 31: William Birkin’s Inbox
Once you use the signal modulator to restore power to the West Area of the laboratory, a nearby PC lights up. Check it to read this file.
File 32: Research Diary
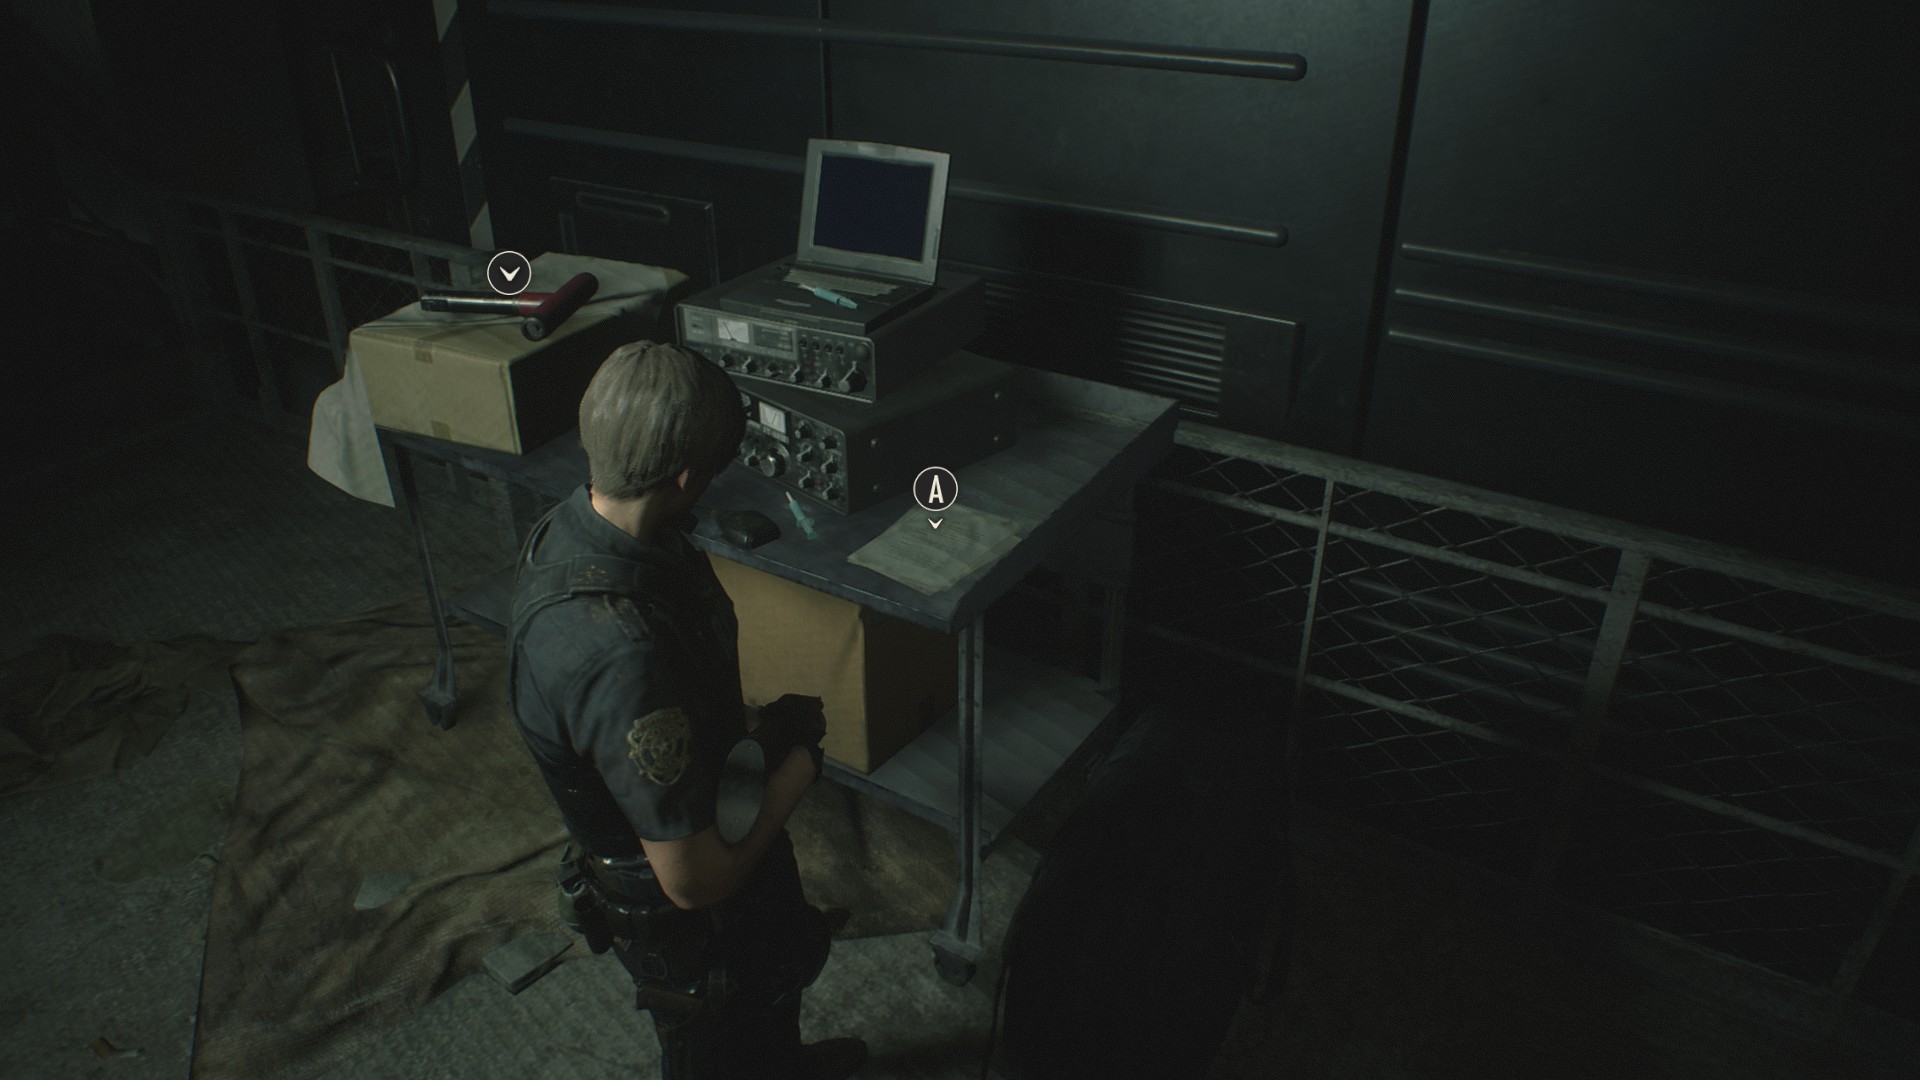
On a computer in the P-4 Level Testing Lab.
Claire Exclusive Files
These files are unique to the areas exclusive to Claire’s run through the game.
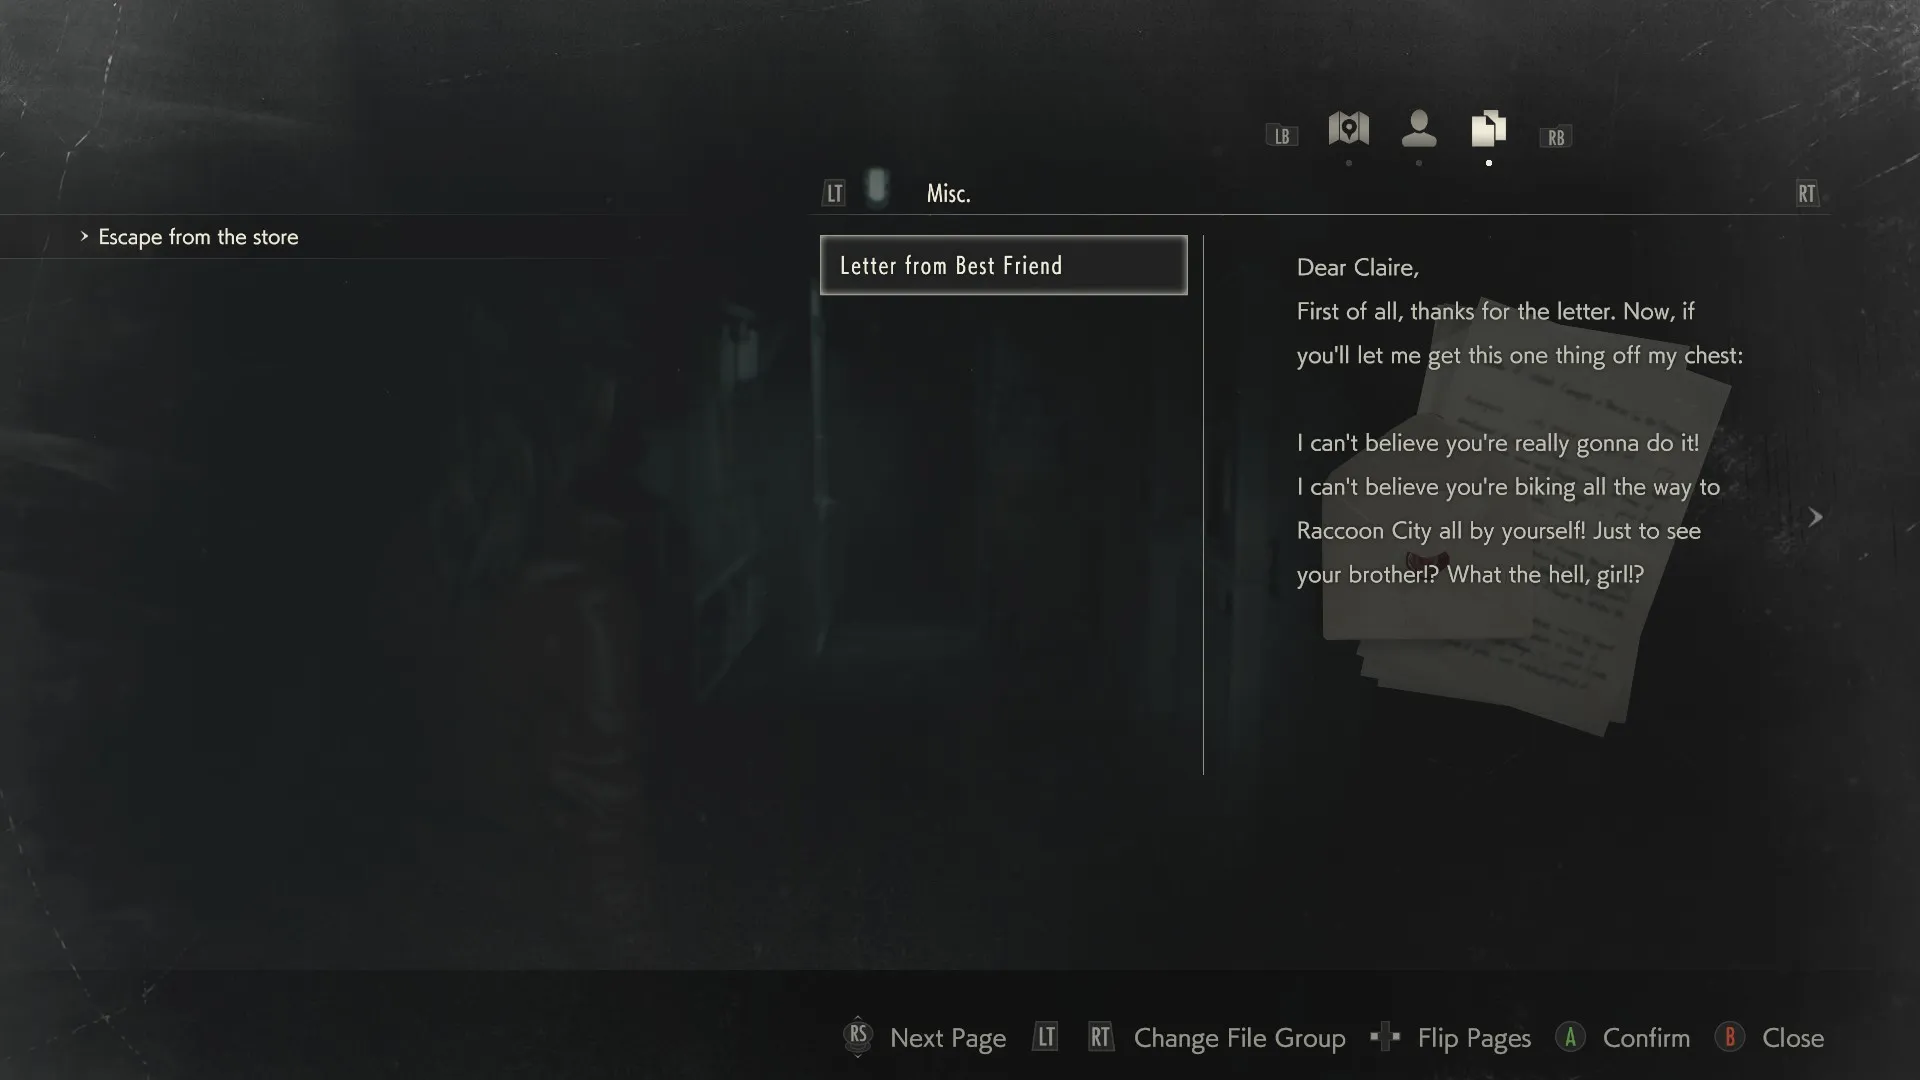
File 33: Letter From Best Friend
This is already in your inventory when you start the game as Claire. You’re automatically considered to have read it.
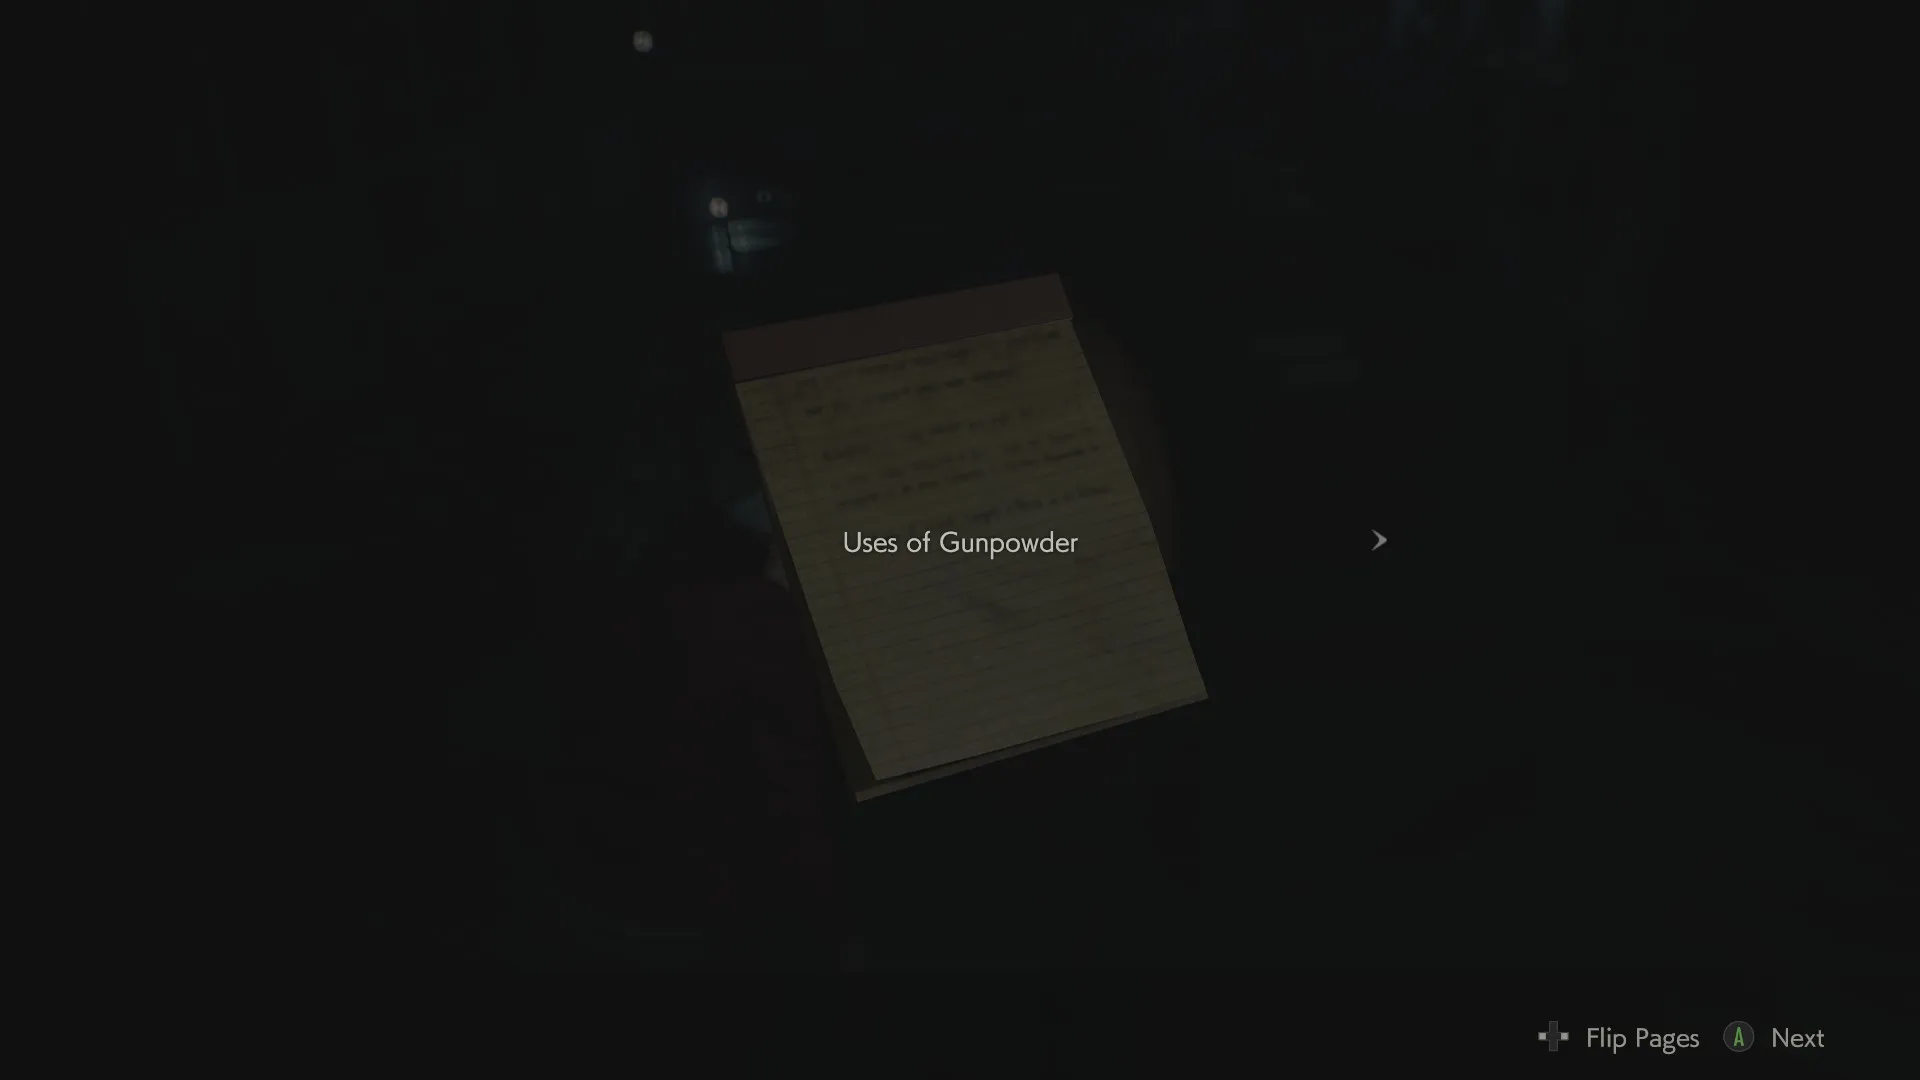
File 34: Uses of Gunpowder
Next to a jar of Gunpowder on a table in the RPD’s West Office. (Leon has a file by the same name in the same place, but the text is different, so the game counts it separately.)
File 35: Raccoon Monthly, June Issue
On a table in the hallway outside the Elevator Control Room in the RPD’s basement.

File 36: Copy of Emails to Chief Irons
On Chief Irons’s desk in his office in the RPD.
File 37: Taxidermy Log
On the coffee table in Irons’s office.
File 38: Repair Shop Letter
On a shelf near the Relief in the back of Chief Irons’s Private Observation Room.

File 39: Sally’s Diary
When playing as Sherry, read this in the hallway just outside the Bedroom, after you escape. (If you miss this as Sherry, it’s permanently gone. Claire can’t get back here.)
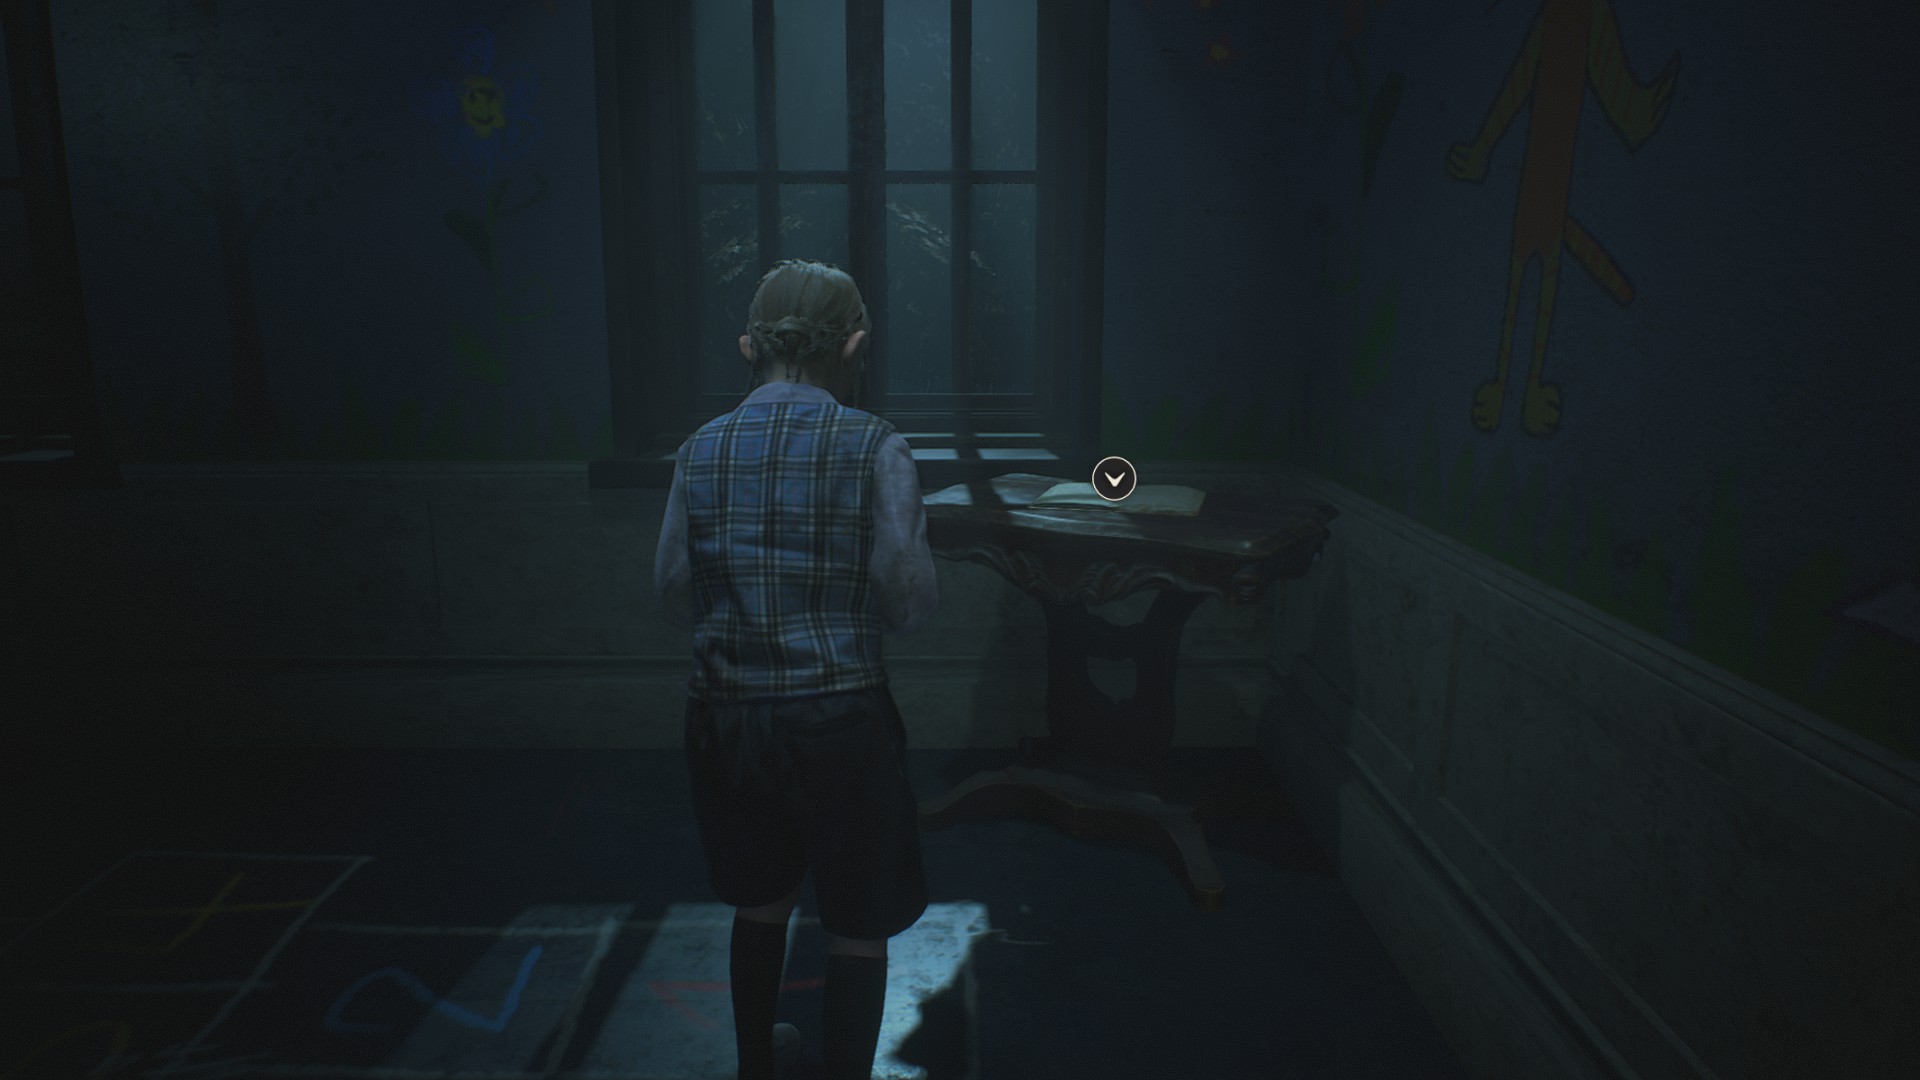
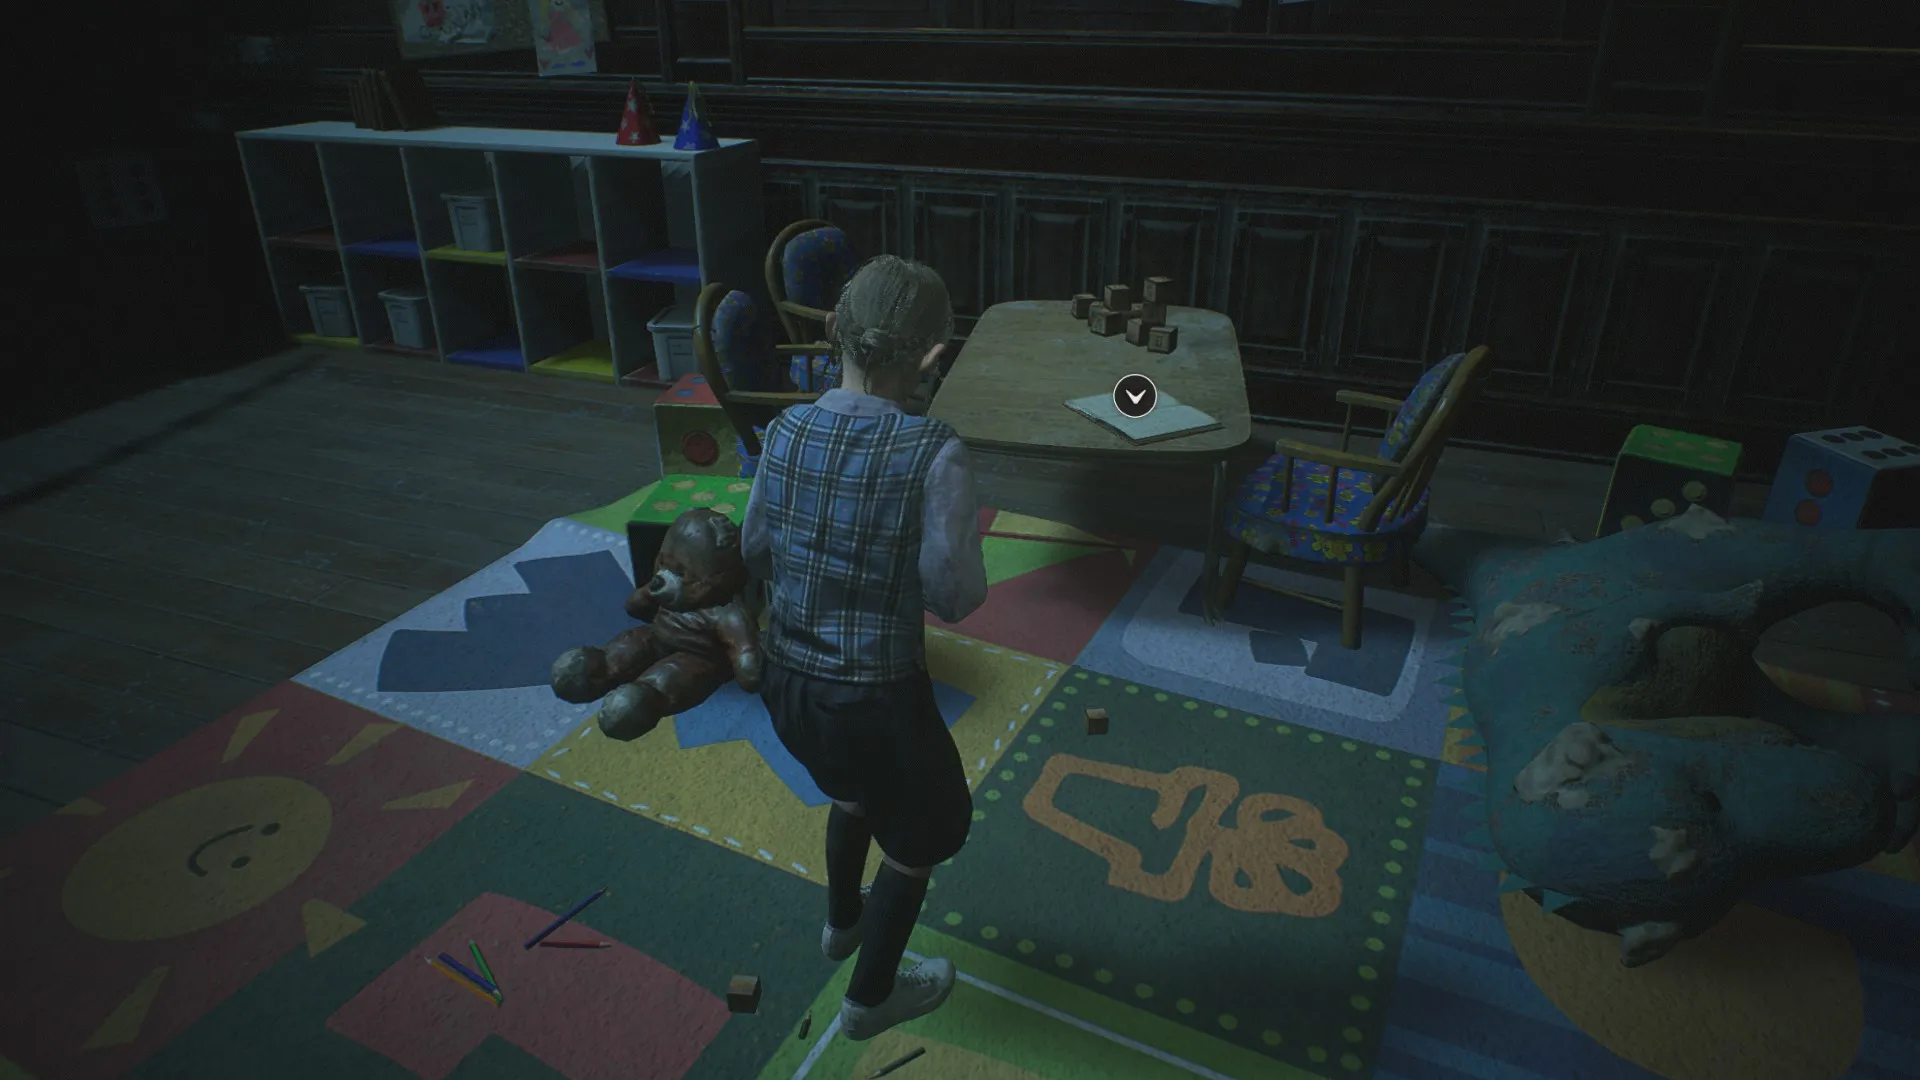
File 40: Tom’s Diary
Read the open book on the child-sized table in the lobby of the orphanage.
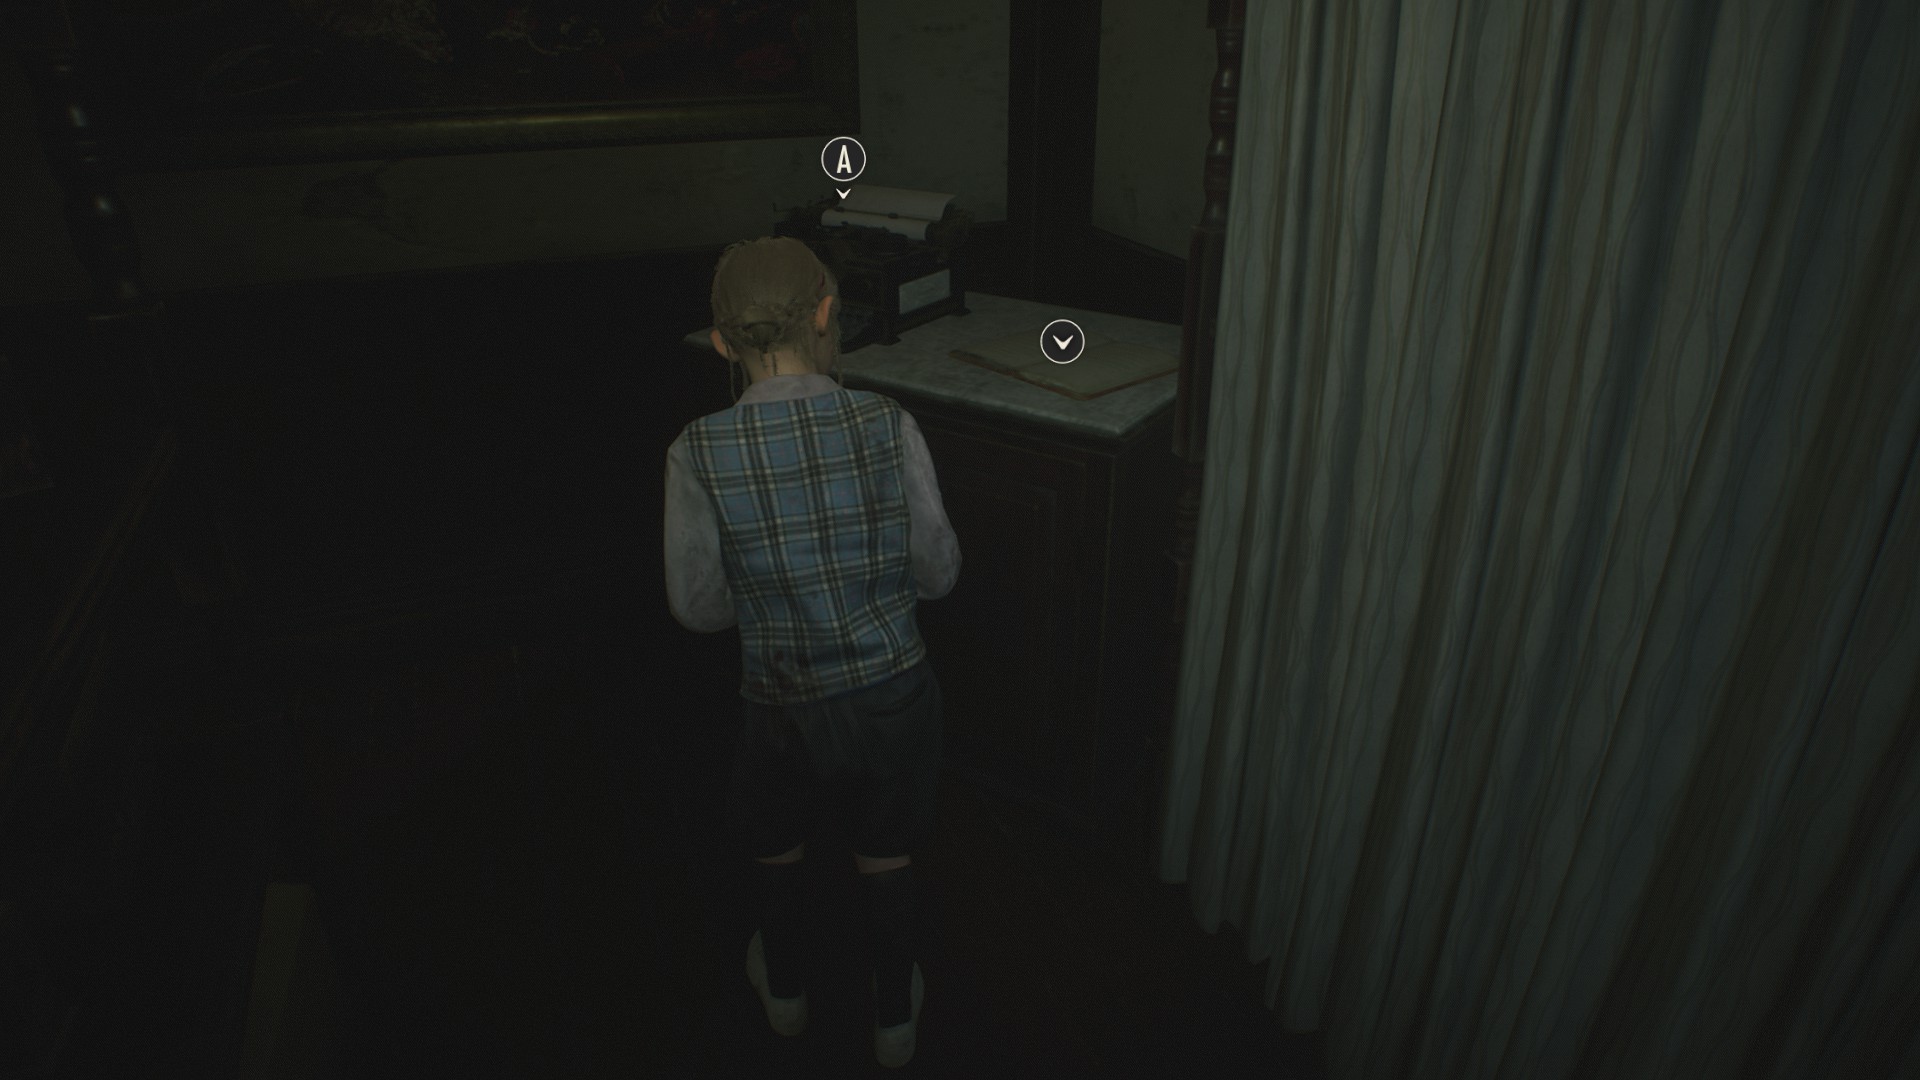
Fiel 41: ____’s Diary
Next to the typewriter in Chief Irons’s “workroom” in the orphanage.
File 42: Letter From The Director
When you reach the orphanage as Claire, go upstairs into the playroom and check the bathroom where Irons was trying to wash the acid off his face. This file can be found on a bench inside.
File 43: Report: About “G”
After the elevator crash at the end of the orphanage section, before you leave the room where you met Annette, visit the nearby safe room. This file can be found on a dry-erase board next to the entrance door.
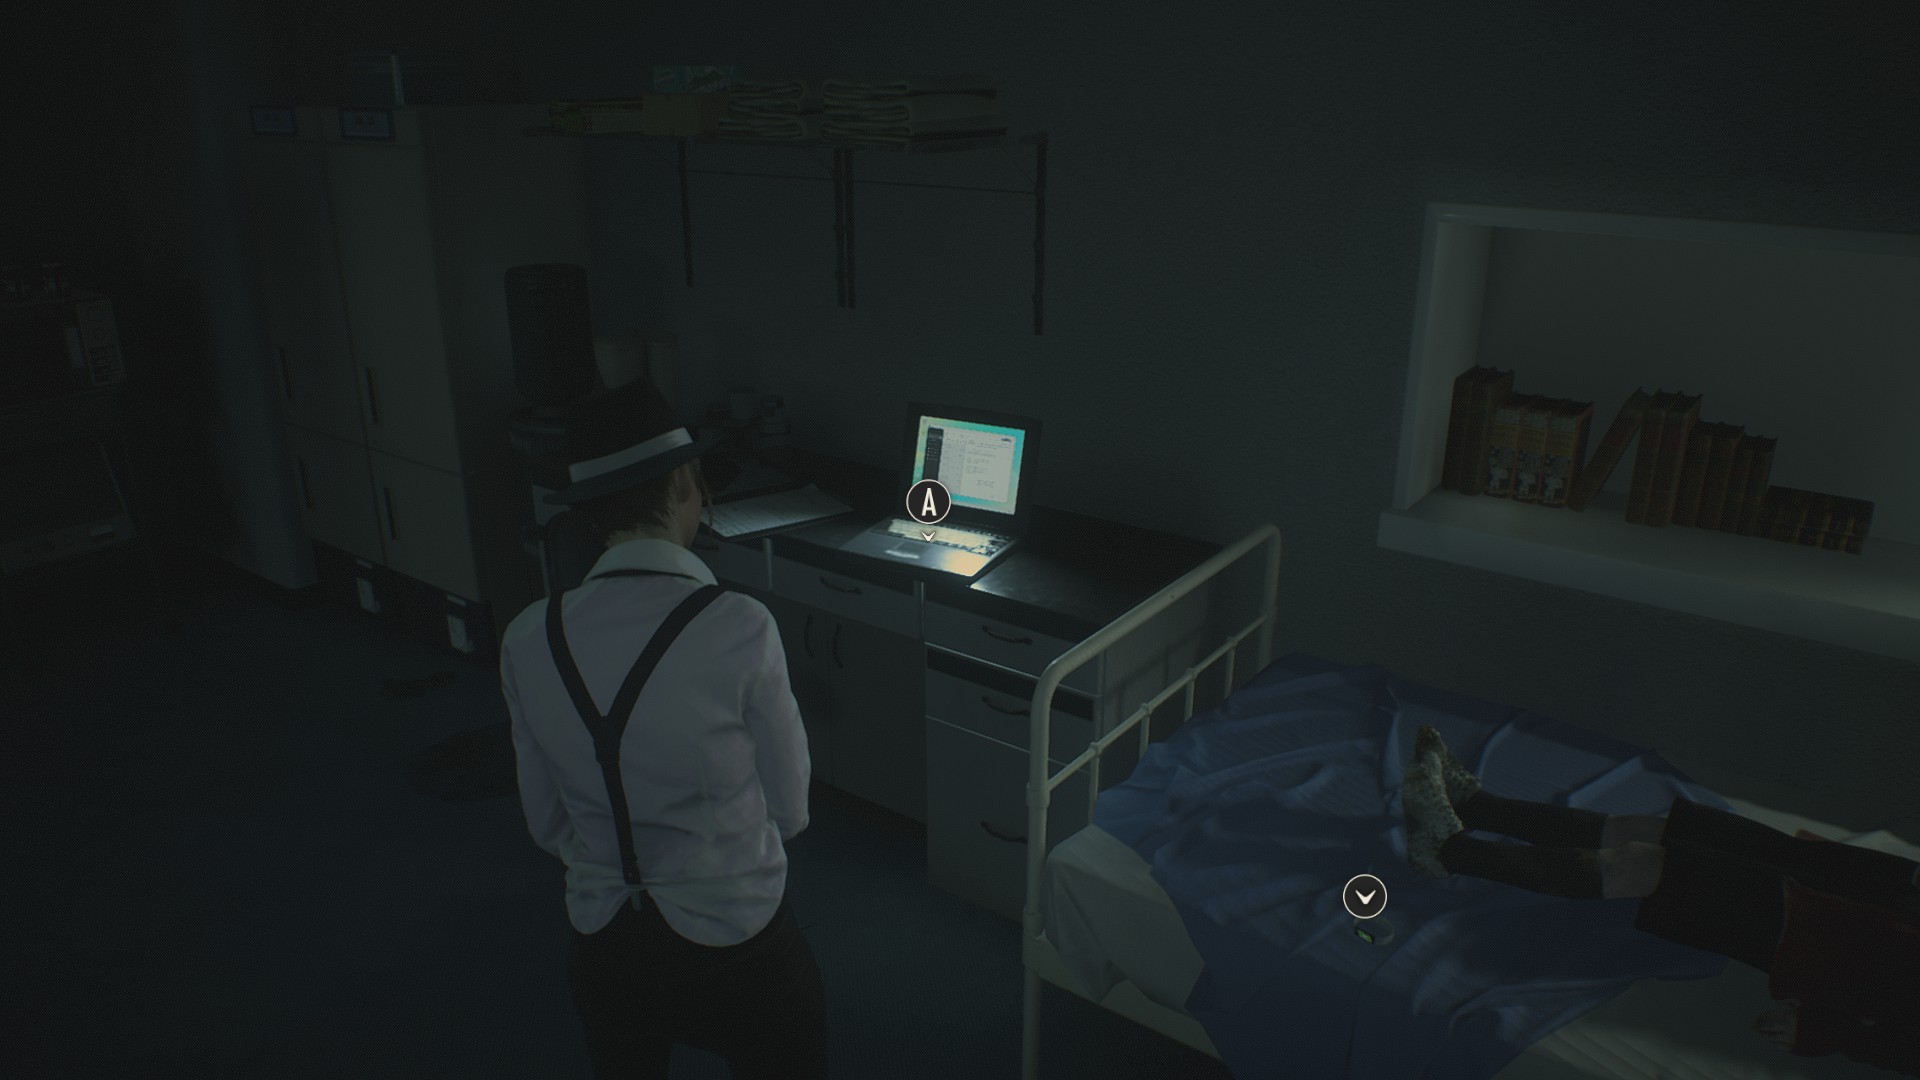
File 44: [IMPORTANT] NEST-Wide Alert
On the open laptop next to the bed in the Security Room in the laboratory. Claire reads off of this during the preceding cutscene, but you can double-check it afterward for the file.
Leon Exclusive Files
These files are unique to the areas exclusive to Leon’s run through the game.
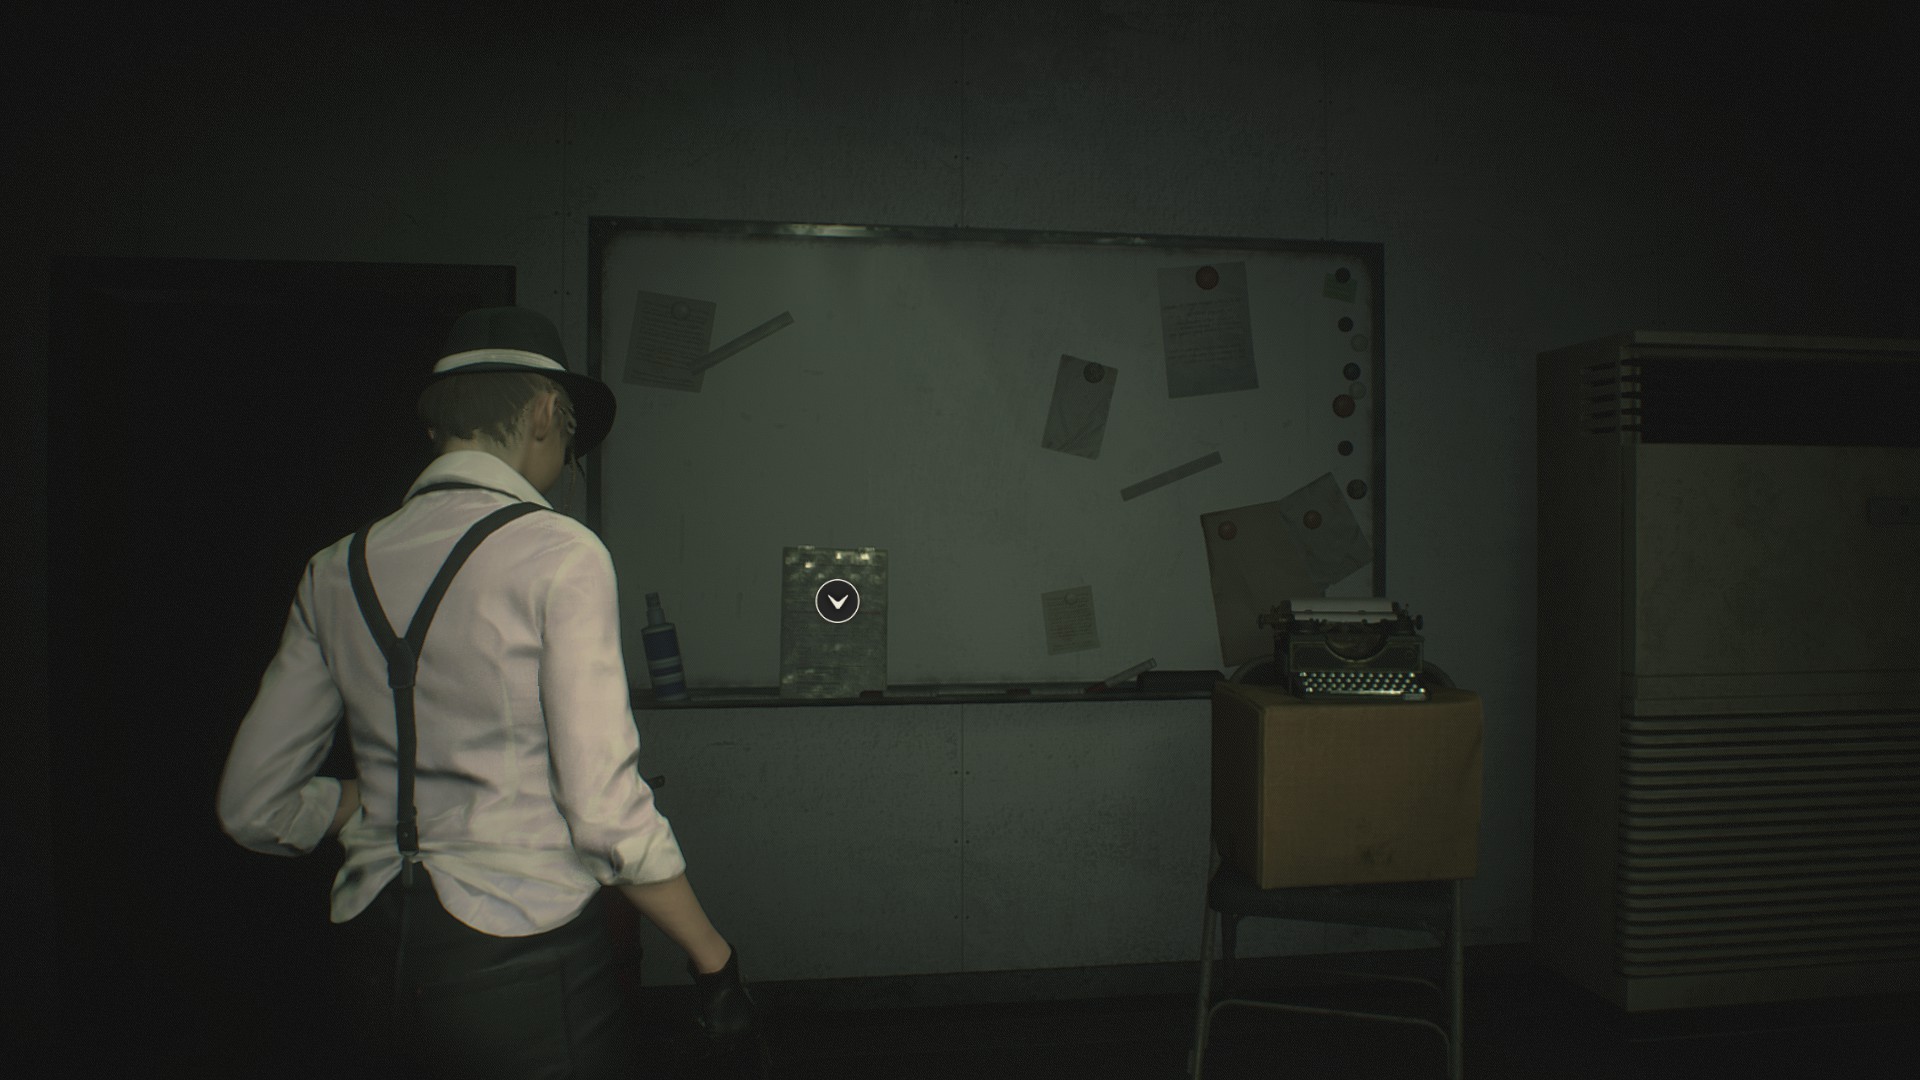
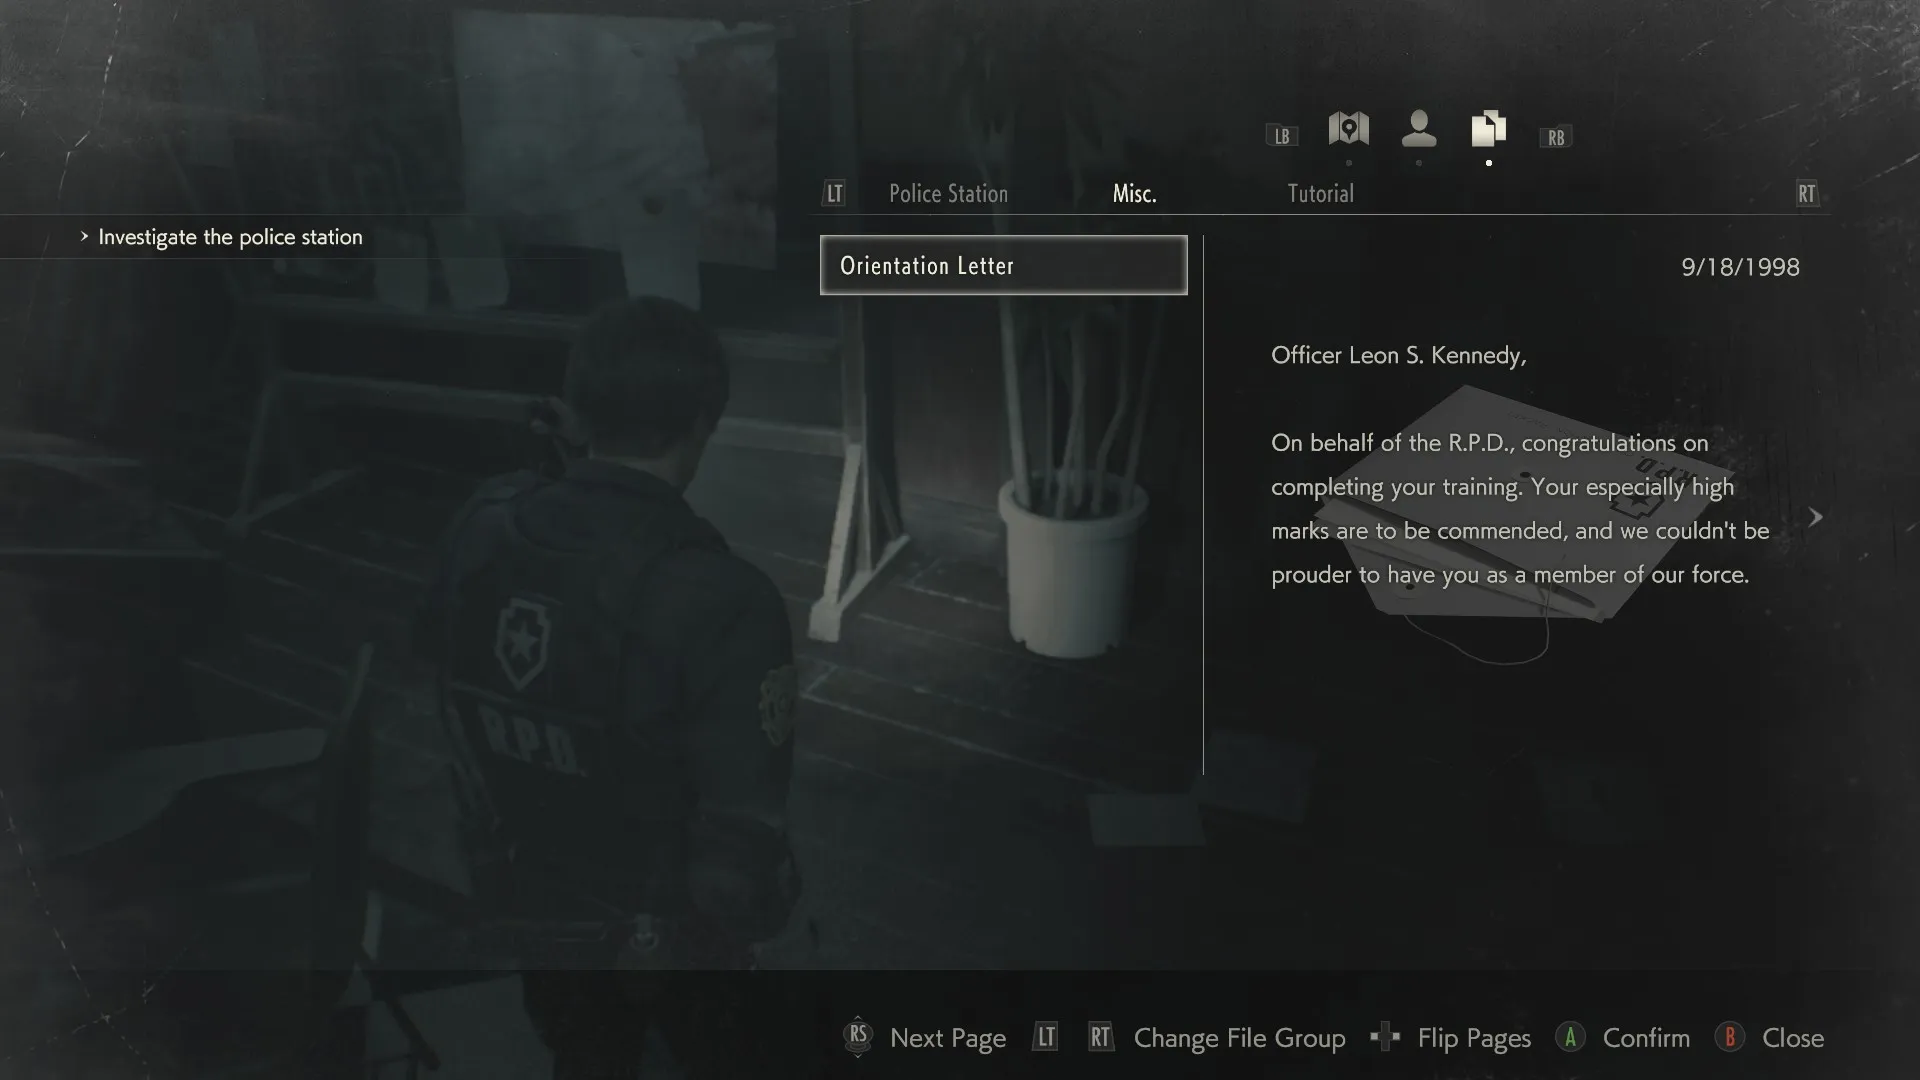
File 45: Orientation Letter
This is already in your inventory when you start the game as Leon. You’re automatically considered to have read it.
File 46: Uses of Gunpowder
Next to a jar of Gunpowder on a table in the RPD’s West Office. (As with Claire, this is technically a different file in the same place with the same name, which is counted separately for the purposes of the achievement.)
File 47: Memo: “Jail Power Panel”
On a table in the Cellblock in the RPD’s basement, near Ben’s cell.

File 48: Ben’s Memo
Once you’ve opened Ben’s cell, check the table next to the toilet.

File 49: Interview Transcript
Automatically received when you pick up the Parking Permit from Ben.
![]()
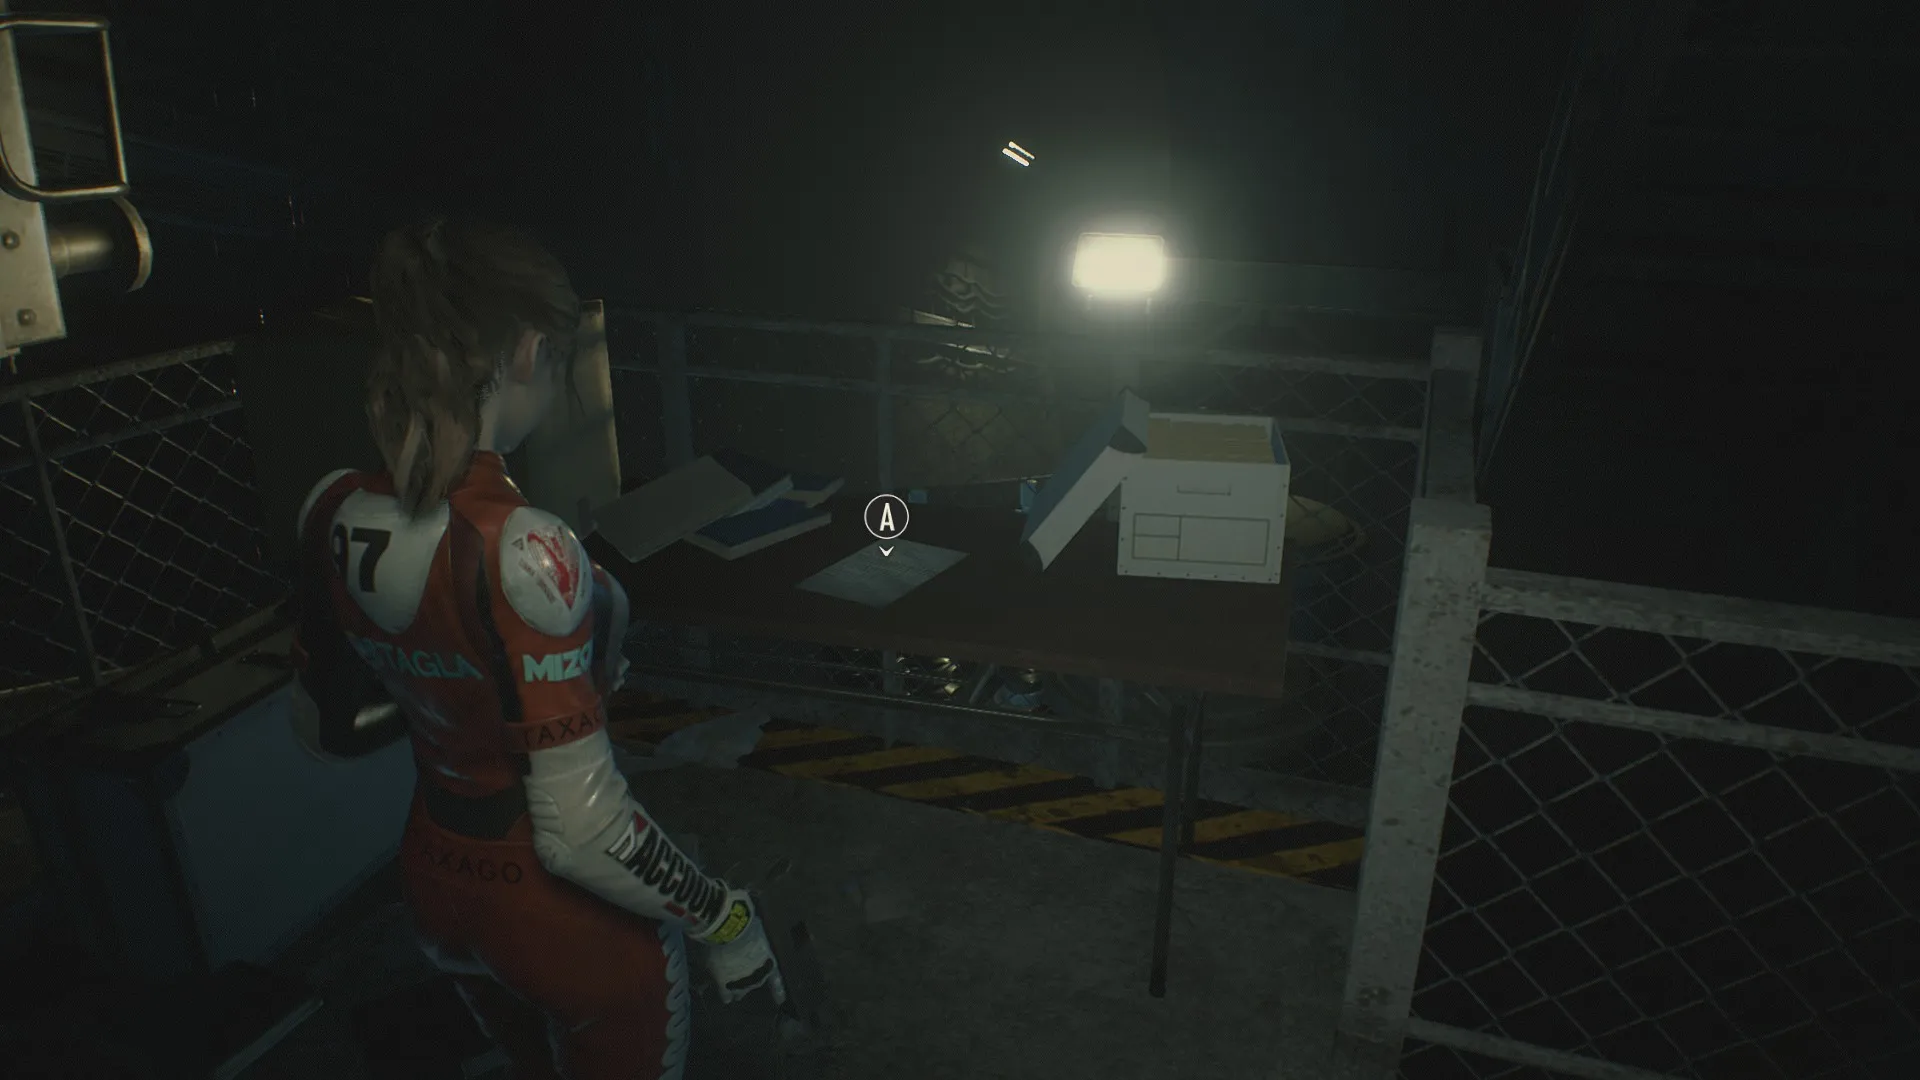
File 50: Sept. Inspection (Week 1)
As Ada, drop down into the first room past the first ventilation shaft and check the workbench.
File 51: Sept. Inspection (Week 2)
As Ada, look on the table next to the switch that opens the door to the incinerator.
1st Run Only
There’s a single file that only appears on a character’s 1st Run.
File 52: Officer’s Notebook
Automatically received when you try to rescue Elliot.
Second Run Only
These files don’t appear at all unless you’re on either character’s 2nd Run.
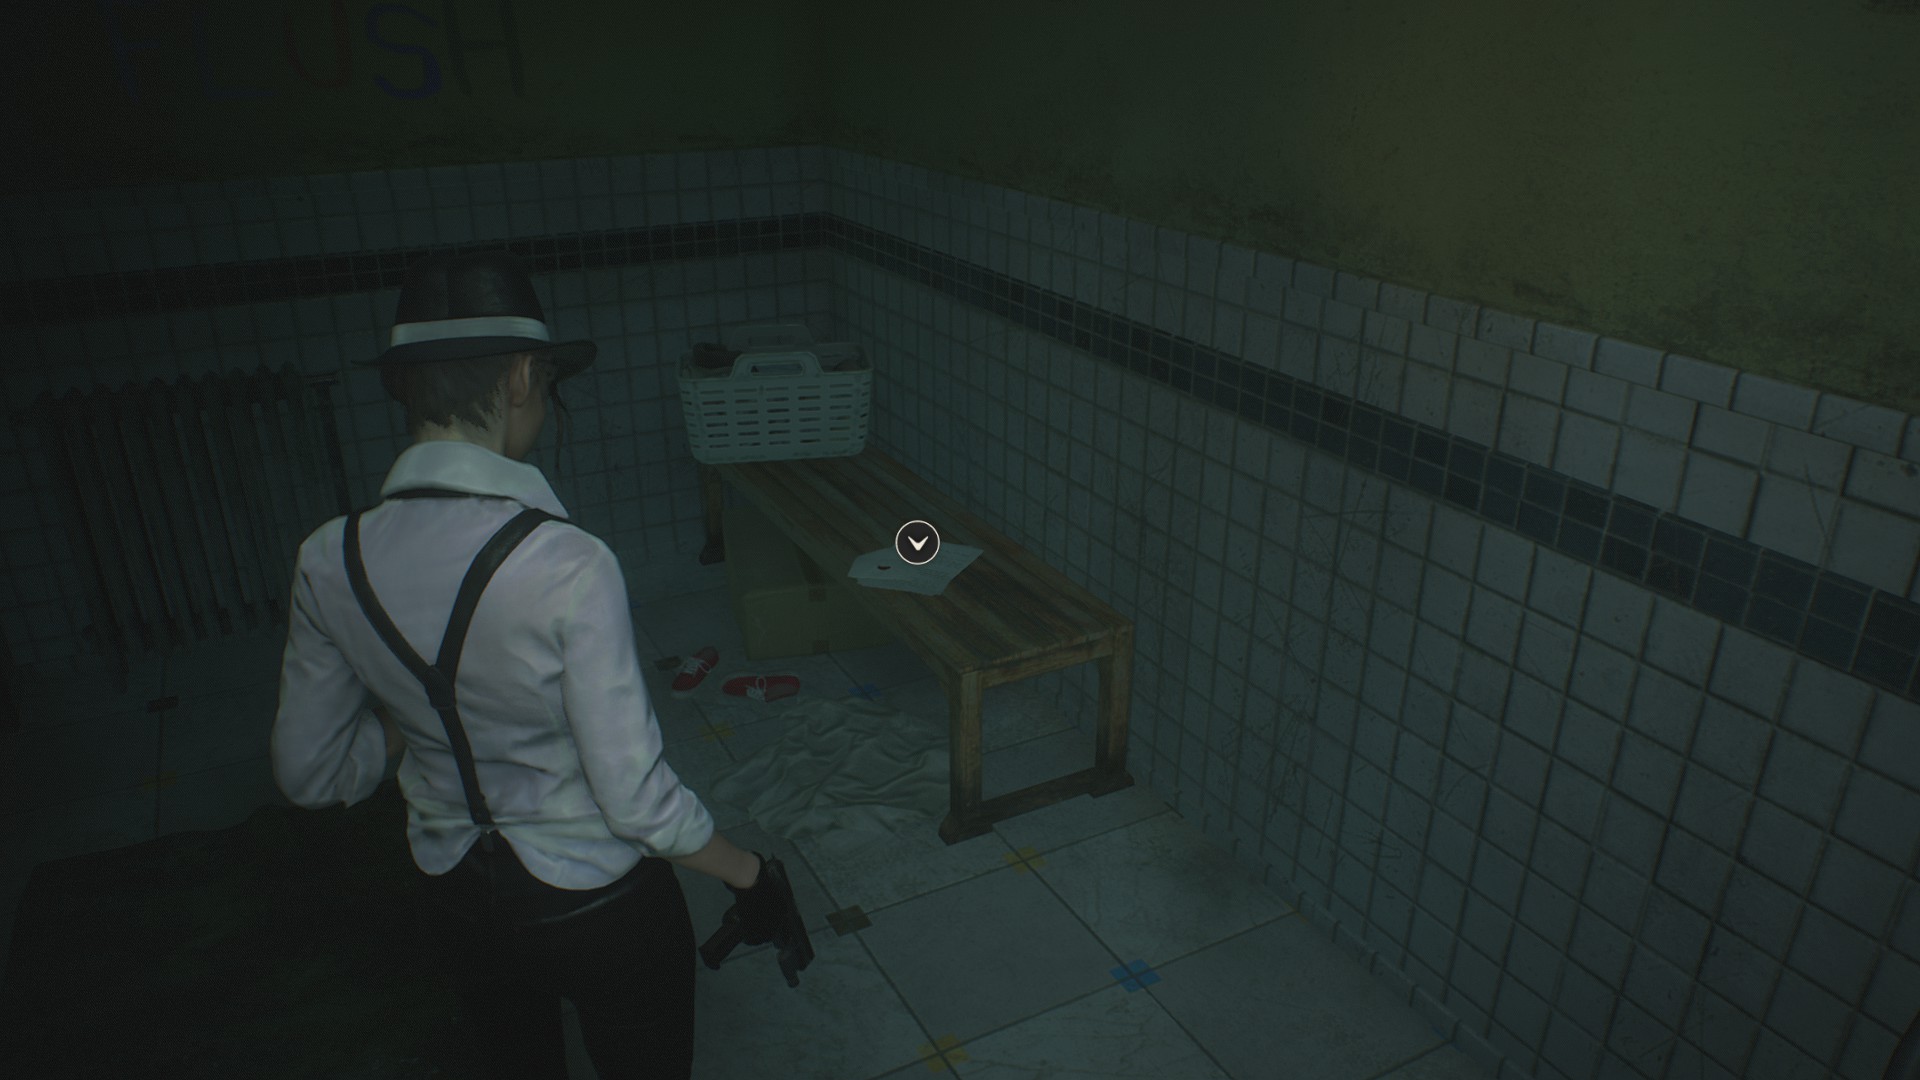
File 53: Scrap of Paper
On the desk near Elliot’s corpse in the Watchman’s Room in the RPD’s East Hall. It’s very easy to miss, but is also a vital clue.
File 54: Notebook With Missing Page
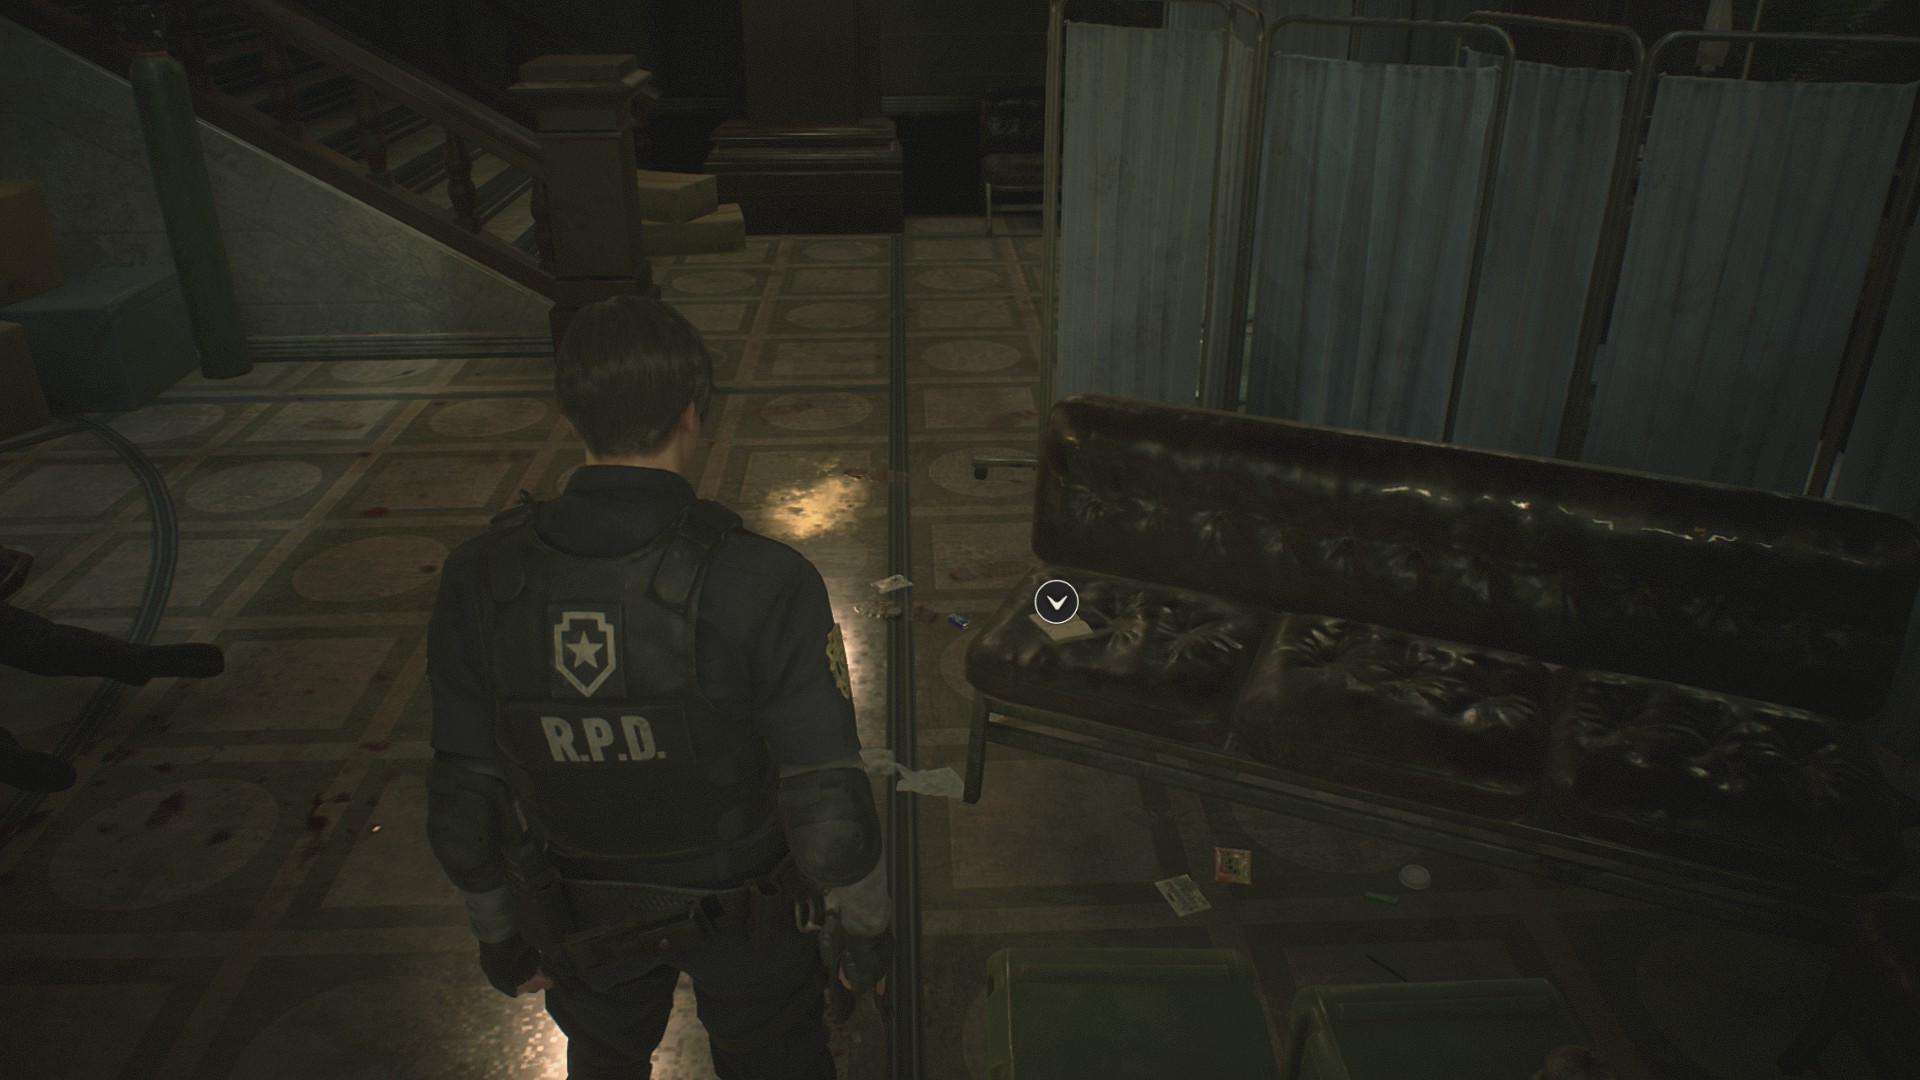
On the bench where Marvin was sitting near the goddess statue, in the RPD’s lobby.
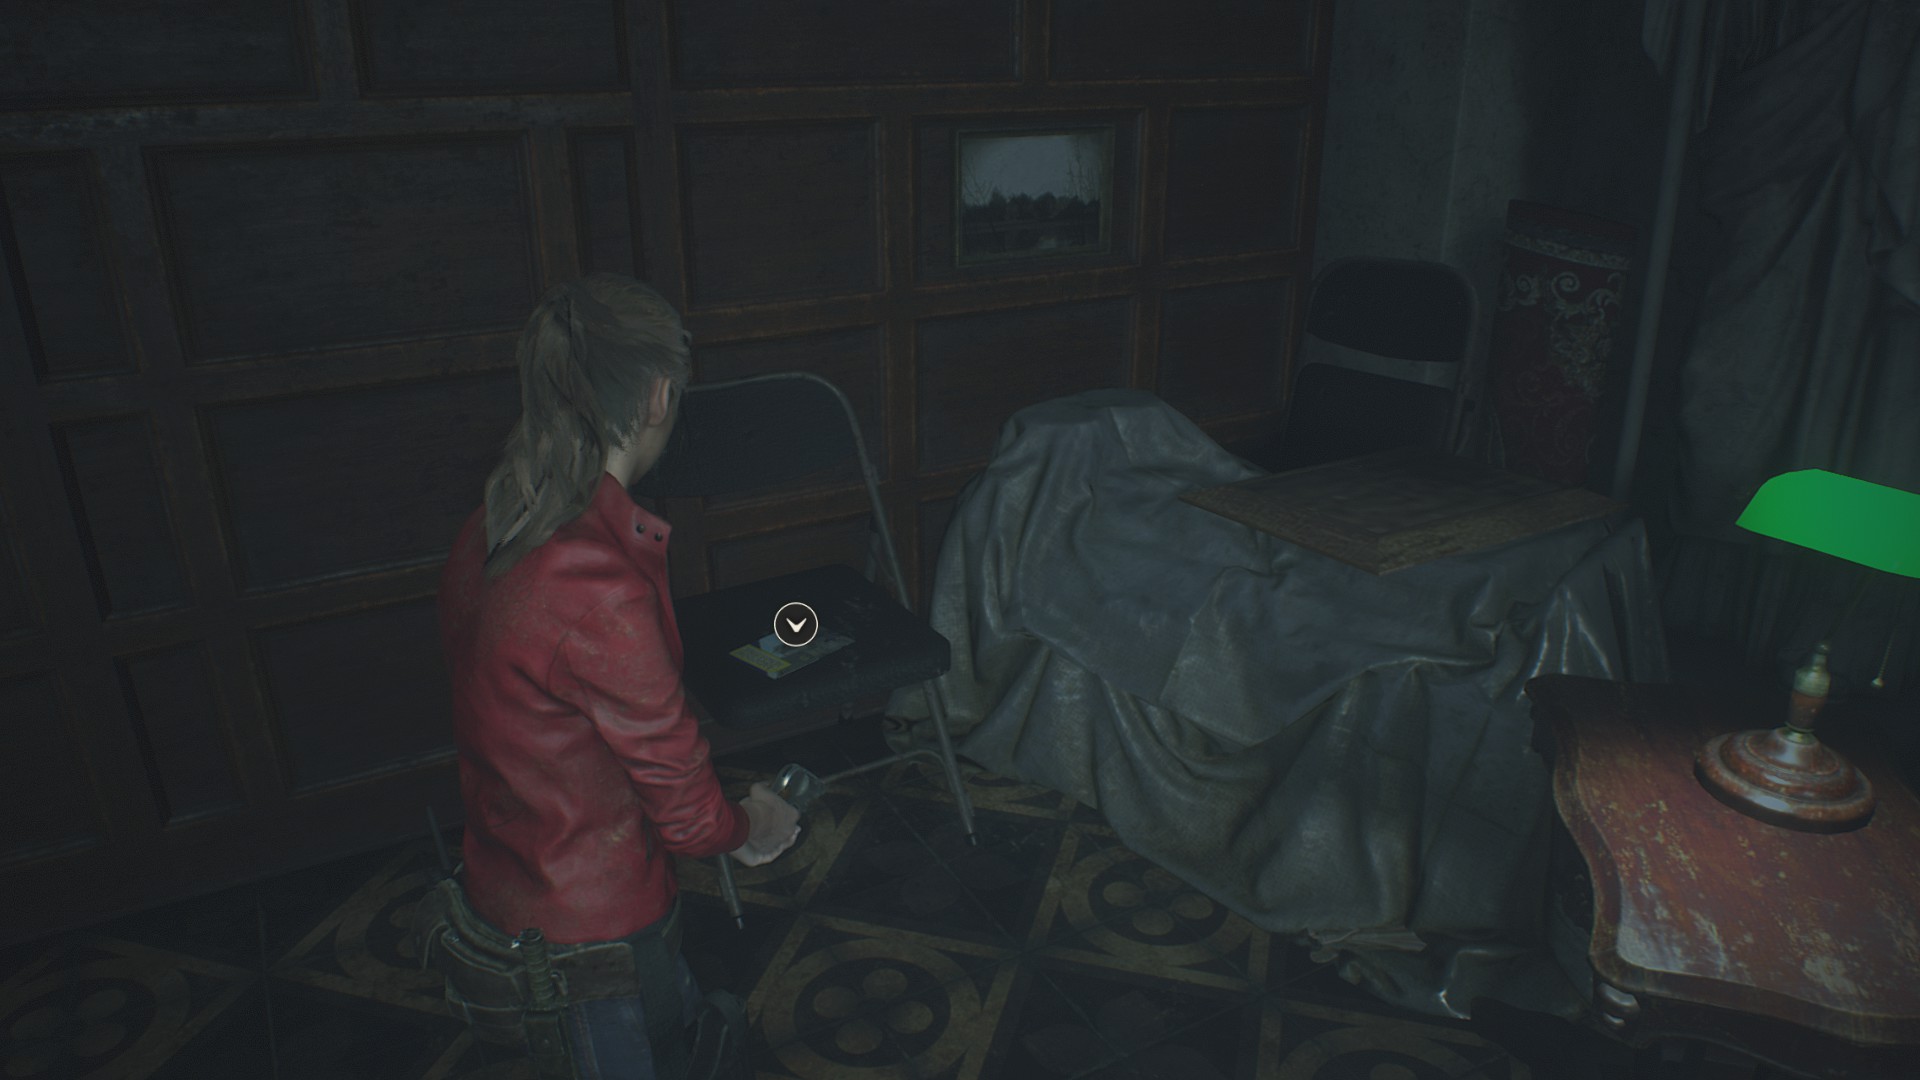
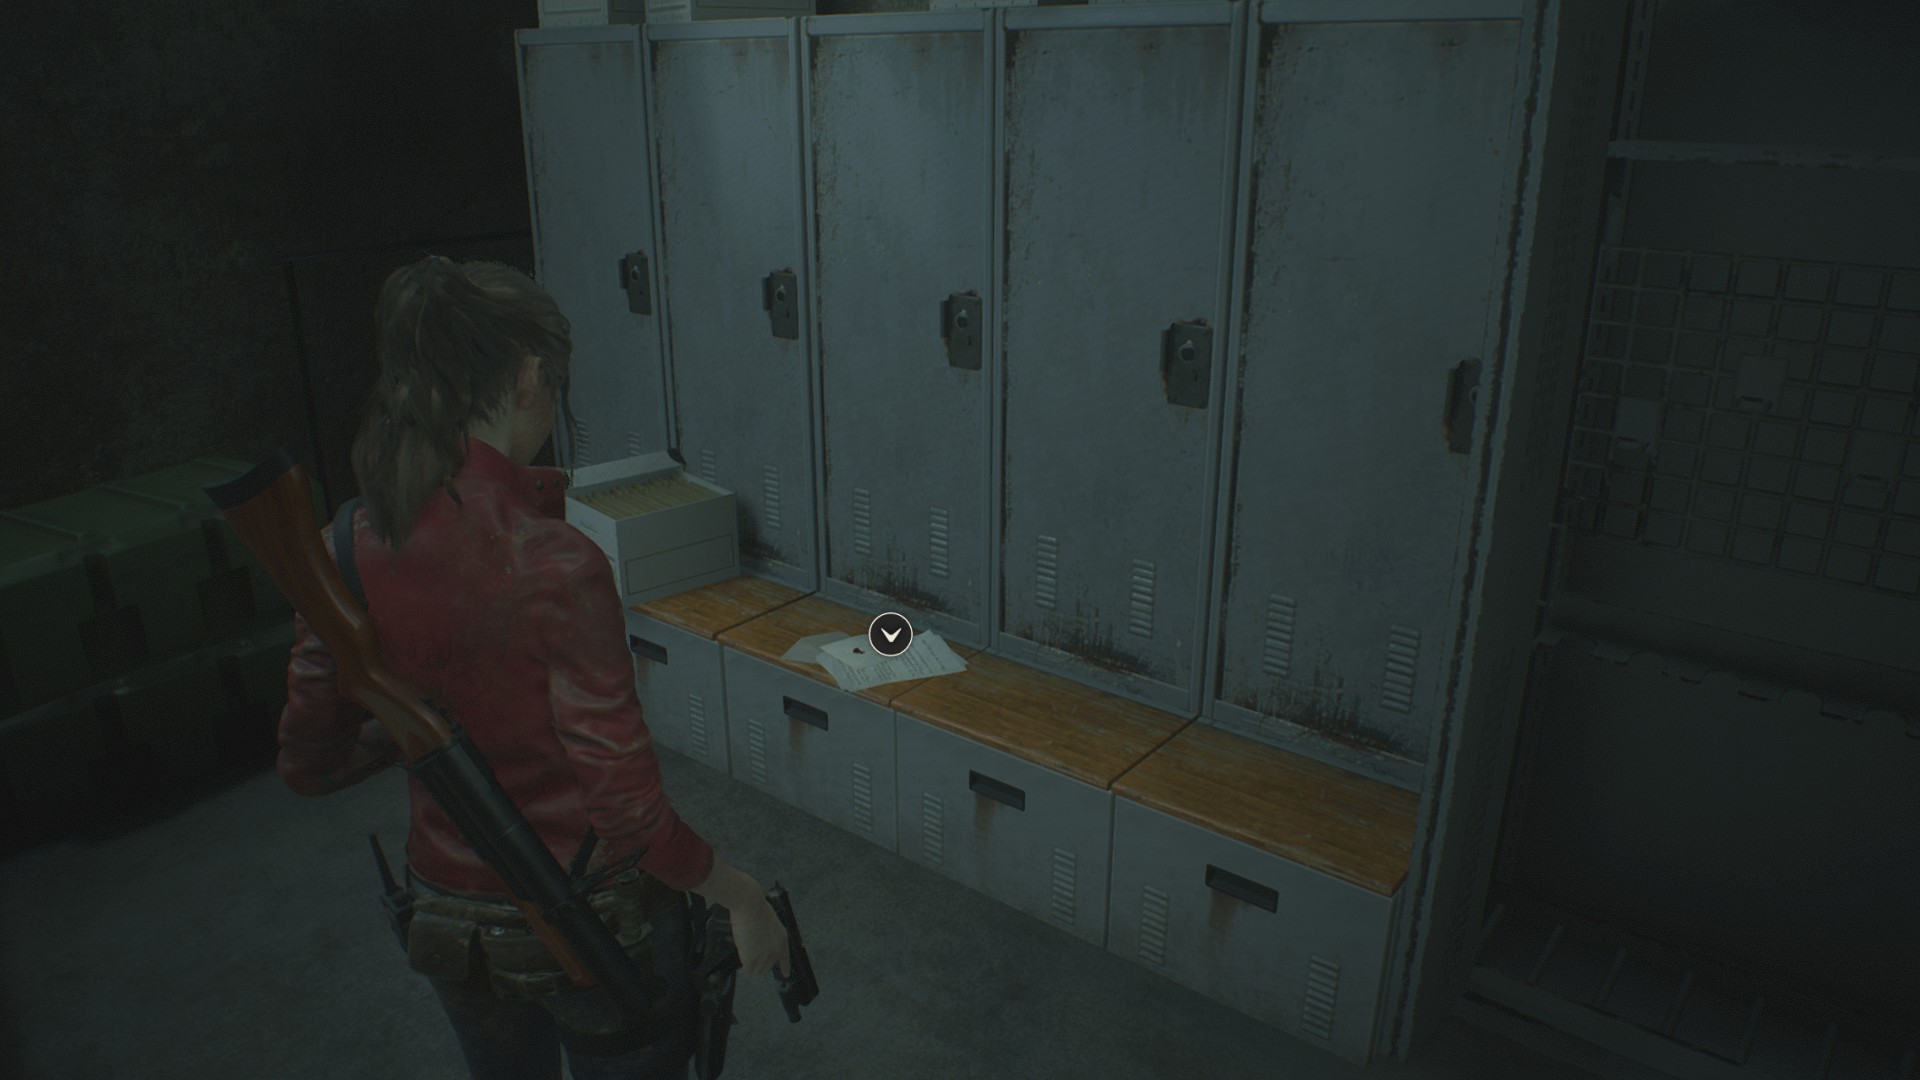
Files 55/56: [Leon/Claire’s] Memo
On a roller cart near the door to the Armory in the STARS Office, next to a box of pistol ammo. Whichever character you’re using, the memo will be from the other one. You need to get both Leon and Claire’s Memos to complete Lore Explorer.
Files 57/58: [Leon/Claire’s] Note
On the same table as the T-shaped tool on the Cable Car Platform in the sewers. As above, the Note will always be from the character you aren’t using. You need to get both Leon and Claire’s Notes to complete Lore Explorer.
Finishing off this Record is worth a trophy or achievement, depending on your platform, as well as another unlocked character model for your collection.
Errata, 1/28/19: The “[IMPORTANT] NEST-Wide Alert” file is, in fact, specific to Claire, and doesn’t show up at all for Leon. A correction has been made.
—
If you followed these directions, you should now have every file in the game and have the elusive Lore Explorer achievement. But there’s a lot more that takes you to task in Resident Evil 2. Take a look at our other guides for surviving in Raccoon City, such as where to get all the keycards and codes, and where to find all the statues, and more.


Published: Jan 26, 2019 05:44 pm