The Spire of the Watcher Dungeon, new in Destiny 2 Season of the Seraph, comes with a few secrets, six of which are the audio logs left by Eramis: the Devilish recordings scattered about the first sections of the activity. Finding all of them is doubly rewarding: you get the Devil in the Detail’s Triumph for the WANTED Title and an increased chance at the Hierarchy of Needs dropping after you beat the final boss.
We’re covering where to find all six Devilish recordings in this guide.
Where to Find All Devilish Recordings in Destiny 2’s Spire of the Watcher Dungeon
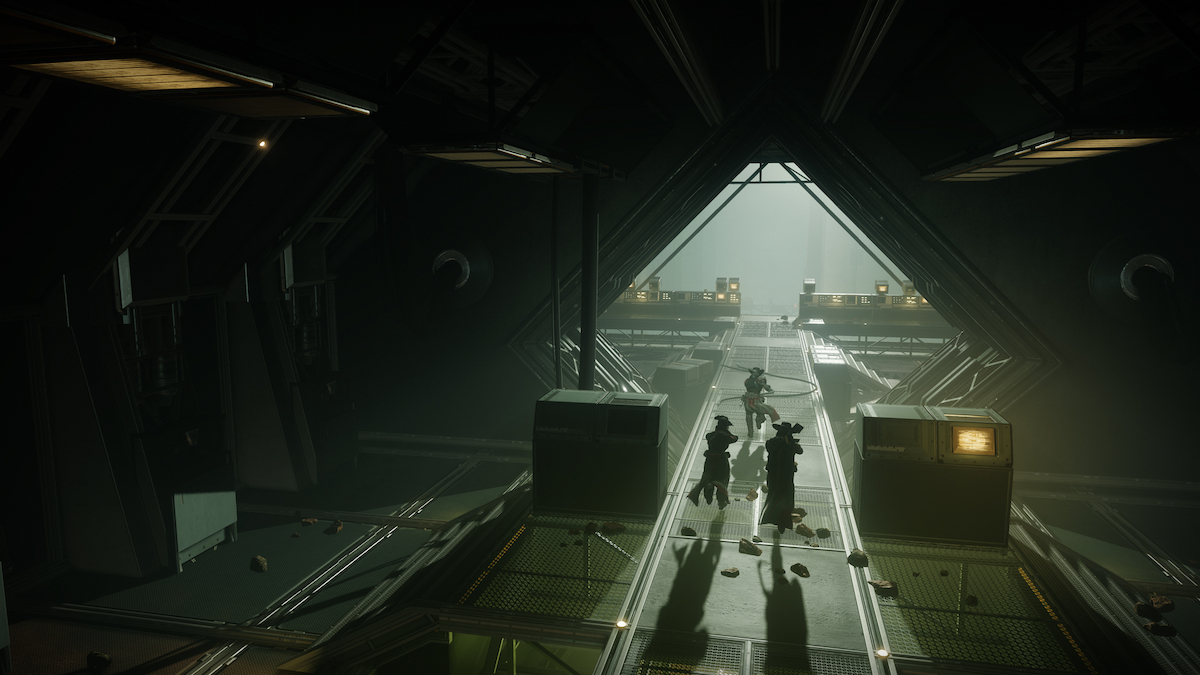
Unlike some of Destiny 2’s older activities, where the secrets are spread across the entire runtime, you can find all six Devilish recordings before the Akelous fight. You will need to complete the Ascend the Spire and Reestablish Power encounters, but if your only goal is the recordings, you can leave once you reach the first proper boss fight.
First Devilish Recording Location
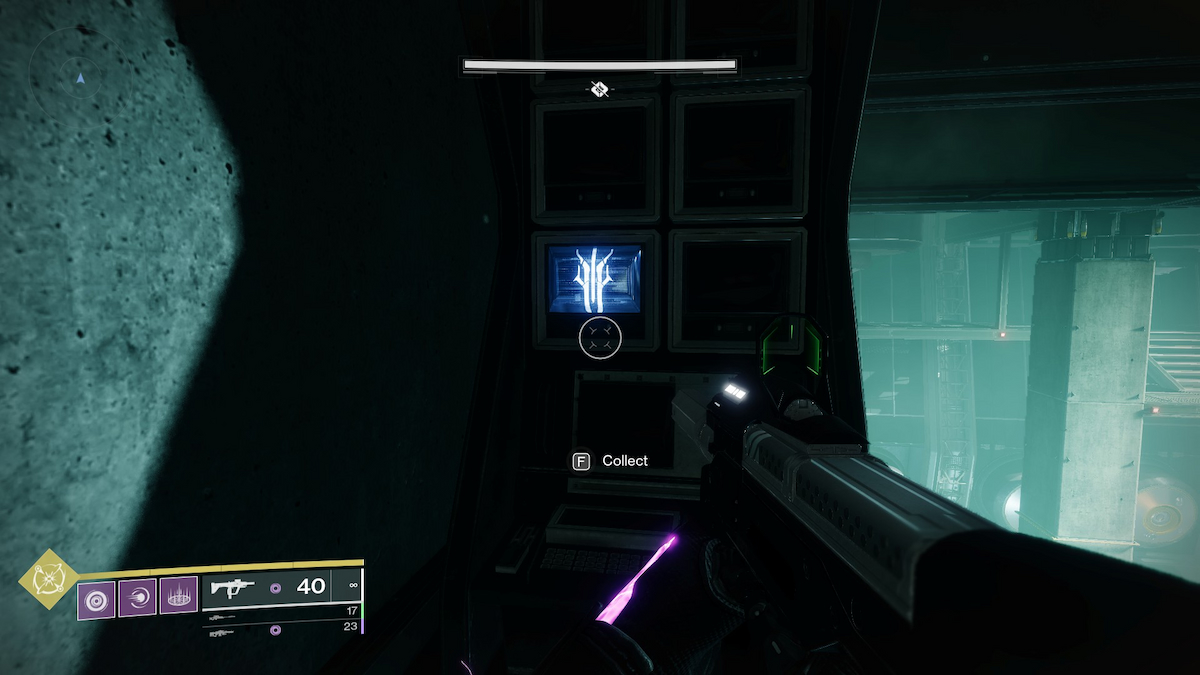
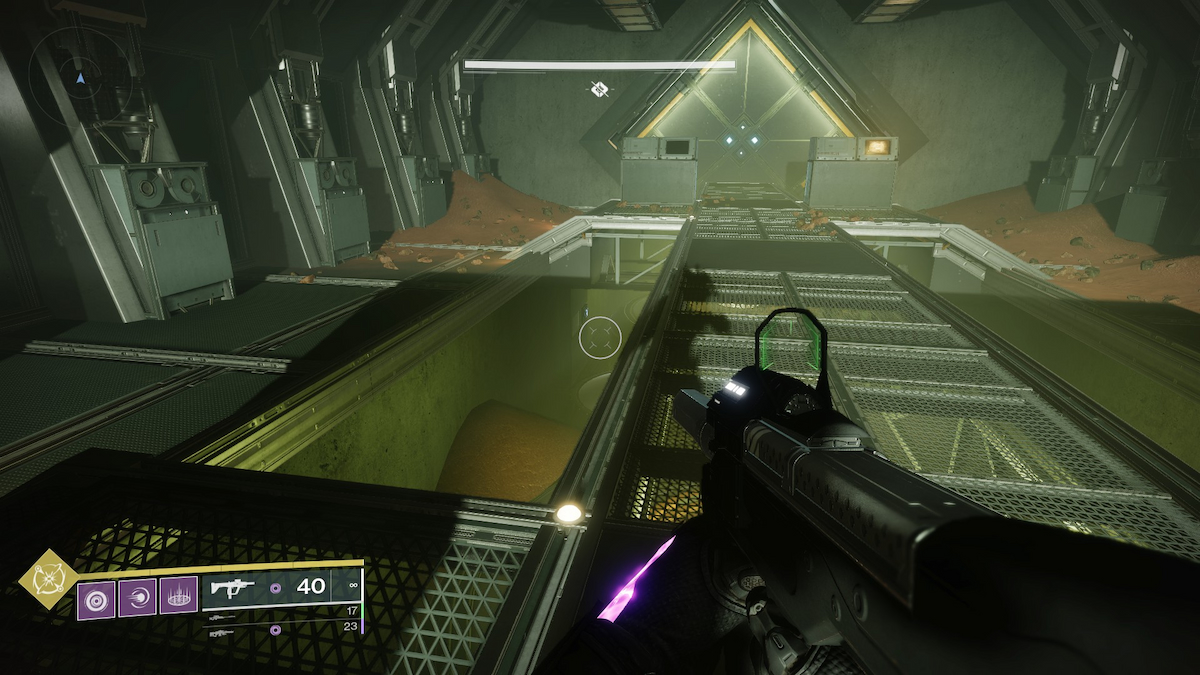
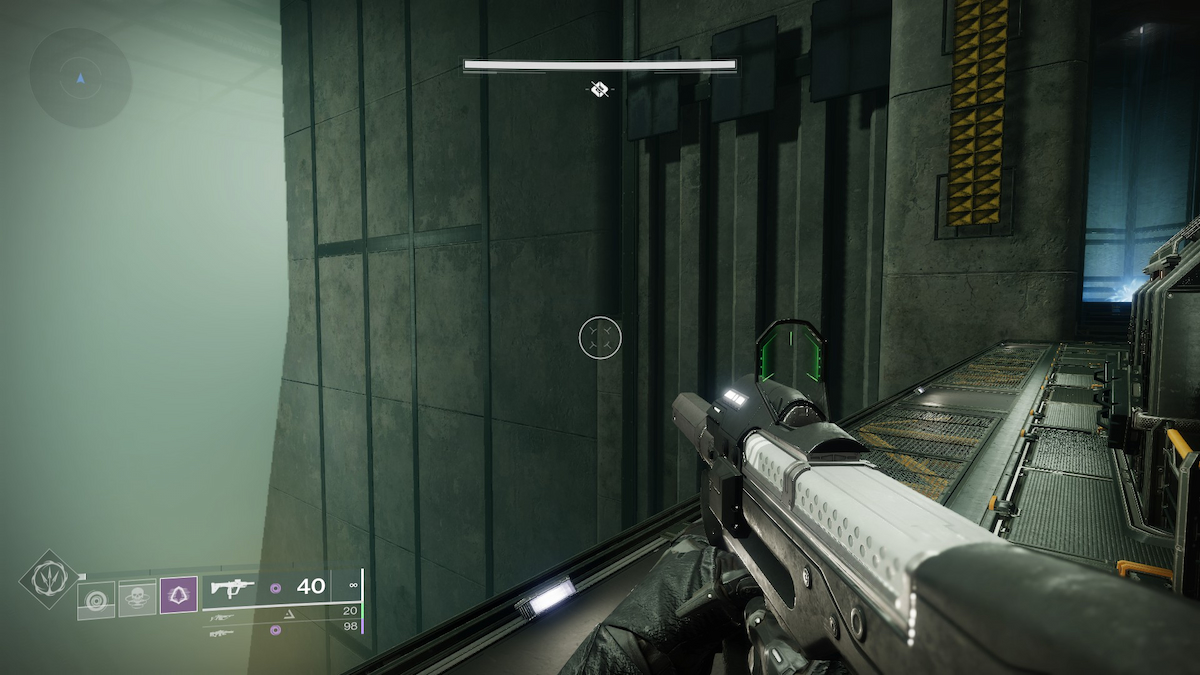
After you complete the Reestablish Power encounter, head down the shaft that opens but don’t proceed past the first room. Instead, look up and to the right of the shaft from inside the room. You’ll see a platform you can jump to.
Screenshot by GameSkinny
The first Devilish recording is on a computer terminal on the platform.
Second Devilish Recording Location
Screenshot by GameSkinny
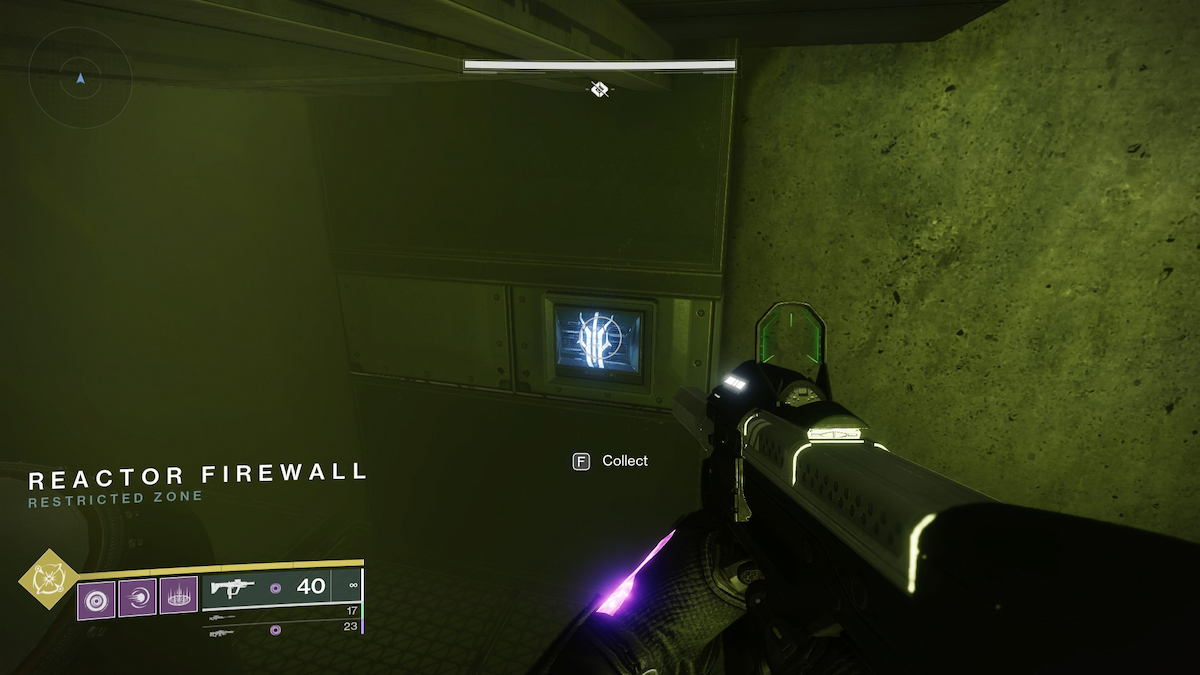
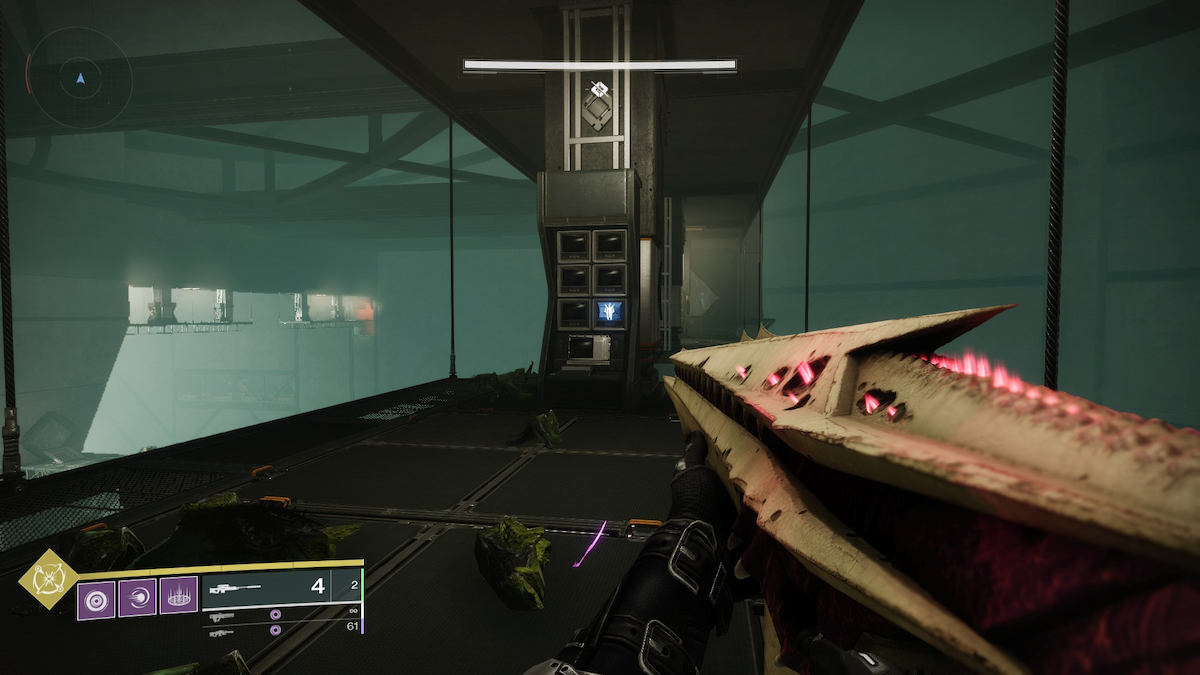
From the first room, progress through the vents until you reach the room with windows looking over the enormous jumping puzzle room. You should see a walkway over a greenlit, shallow channel.
Screenshot by GameSkinny
Near the far-left wall across from the windows, against the channel wall, will be the second Devilish recording.
Third Devilish Recording Location
Screenshot by GameSkinny
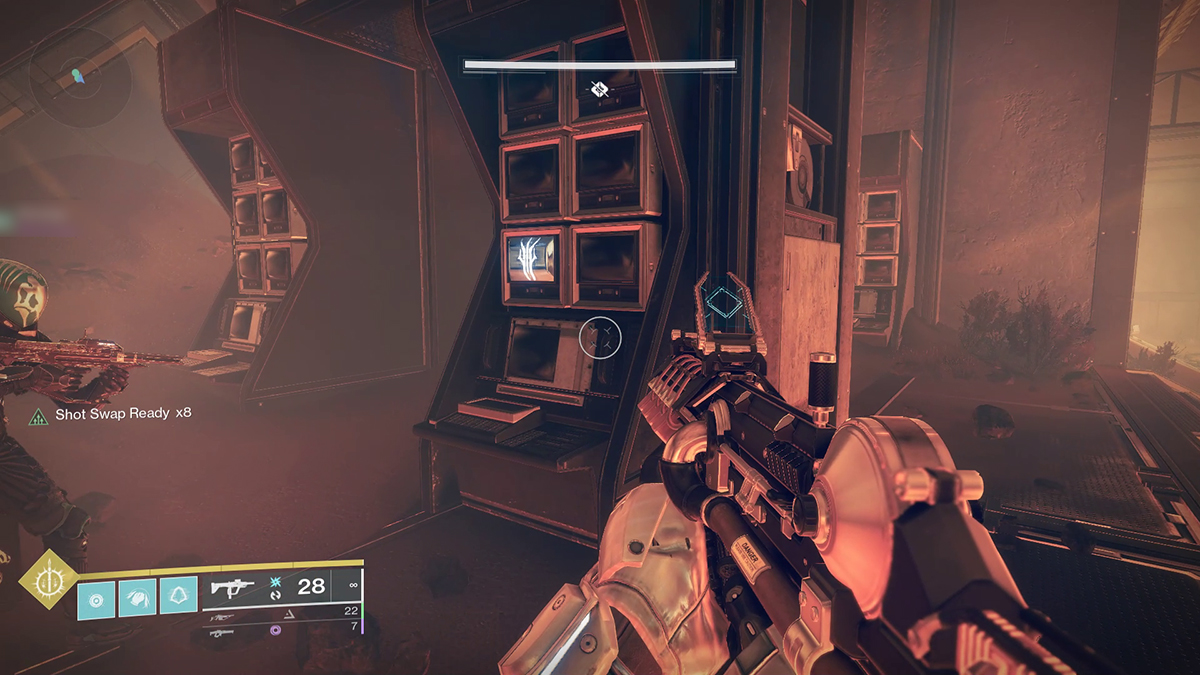
The next Devilish recording is shortly after you enter the jumping puzzle above the huge chasm. Jump across the small platforms, onto the tiny ledge, then up the platforms near it. Rather than progressing toward the grav-lift, turn around and jump along the right side of the pillar. There will be a small grate there to facilitate you making it across.
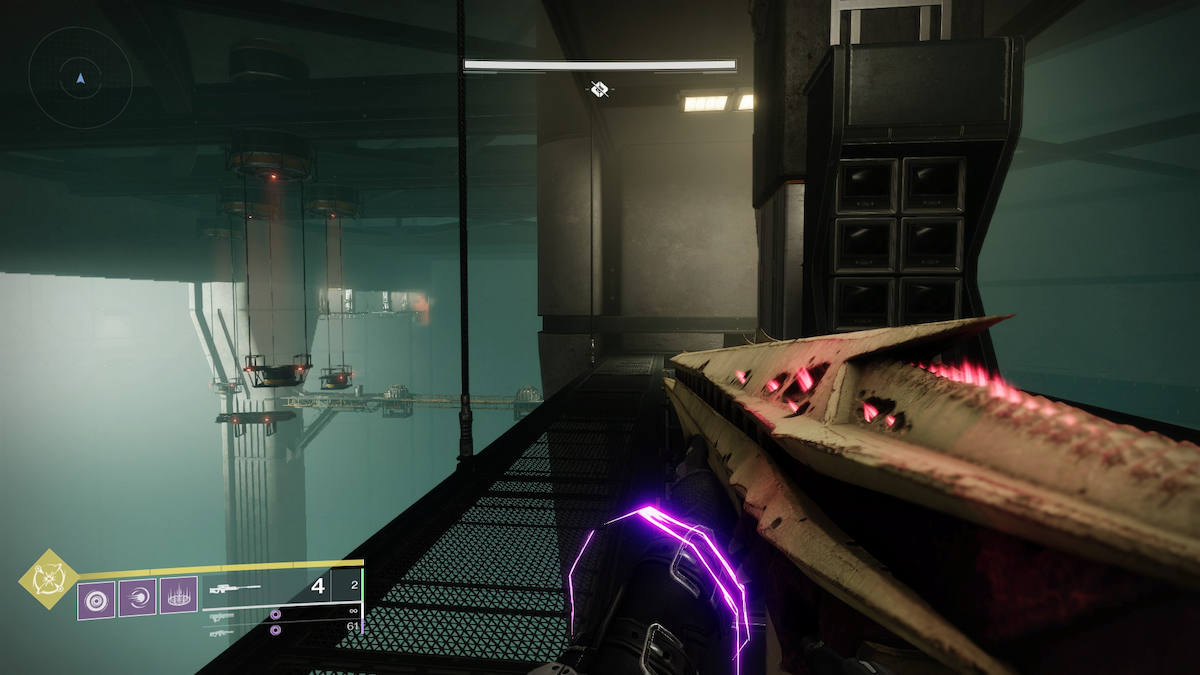
Once you’re on the platform on the other side, you should see the Devilish recording on the monitor. The first secret chest of the Dungeon isn’t far, either.
Fourth Devilish Recording Location
Screenshot by GameSkinny
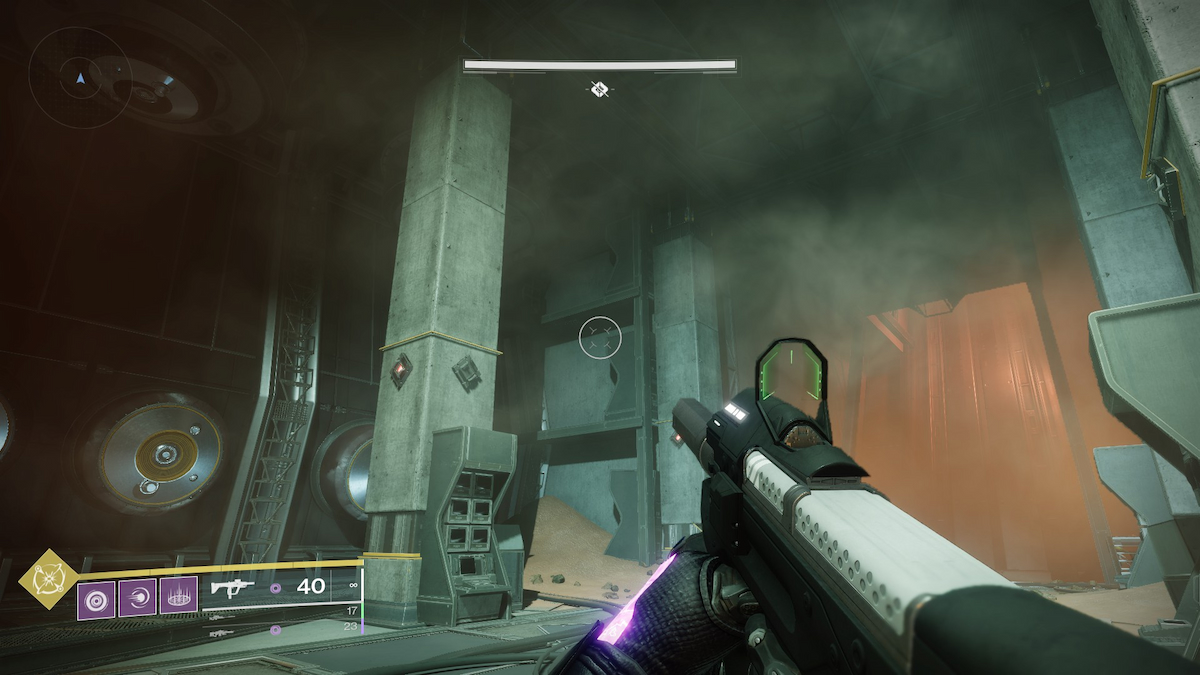
The fourth recording is the only tricky one. Before you take the grav-lift at the end of the jumping puzzle, look to the left of the lift itself. Three sheets of metal with stone columns reach out from beneath them. To the left of the third and farthest column is a small platform.
Screenshot by GameSkinny
Jump to it. The fourth Devilish recording is there, nestled away on the hidden monitor.
Fifth Devilish Recording Location
Screenshot by GameSkinny
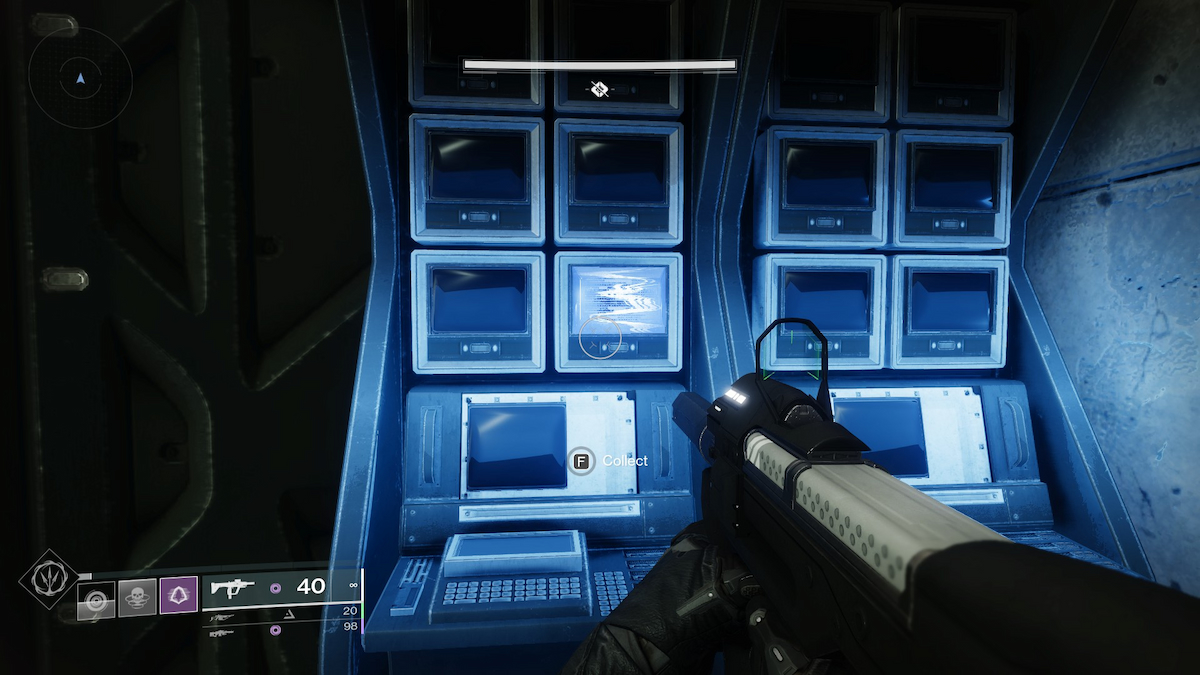
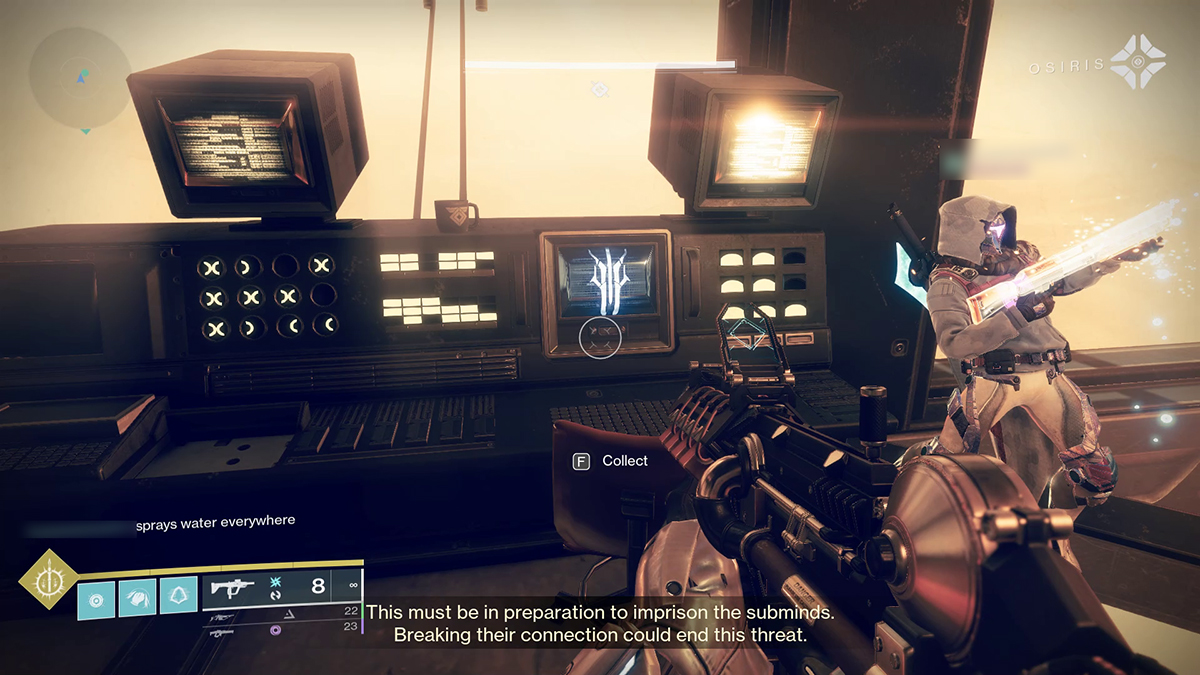
When you reach the orange-lit room filled with old computers, just before you jump up to start the Ascend the Tower encounter, go to the bank of computers directly across from the rally flag. The fifth Devilish recording is on a monitor there.
Sixth Devilish Recording Location
Screenshot by GameSkinny
The sixth and final Devilish recording is in the room just before the Akelous boss fight. Once you finish jumping through the platforms from the first loot chest, turn right and go down onto the lower level to the computers by the window. The recording should appear clear as day.
Once you listen to the final Devilish recording, you’ll be able to pick up the Devil in the Details Triumph, and you’ll have a marginally better chance at the Hierarchy of Needs Exotic Bow. This upgrade won’t guarantee the bow by any means, so you’ll want to complete some other Triumphs for better chances. For more Destiny 2 content, check out our guides hub.
Featured image via Bungie


Published: Dec 22, 2022 10:15 pm