One of the most crucial systems in Vampire: The Masquerade – Swansong is also one of the least well-explained. For as much as you need blood, the whys and wherefores of getting it are handled a little counterintuitive. With that in mind, you may be wondering how to feed. Here’s a quick explainer on how to manage your Hunger in Swansong.
How to Feed … or Drain Friends and Not Murder People
While Swansong does offer a short tutorial on the Hunger mechanic early on — when Emem visits Sylvia’s “bar” in Iverson’s building — managing it through feeding is a bit more complex than a single explanatory infodump can handle. Thankfully, it’s also relatively difficult to mismanage.
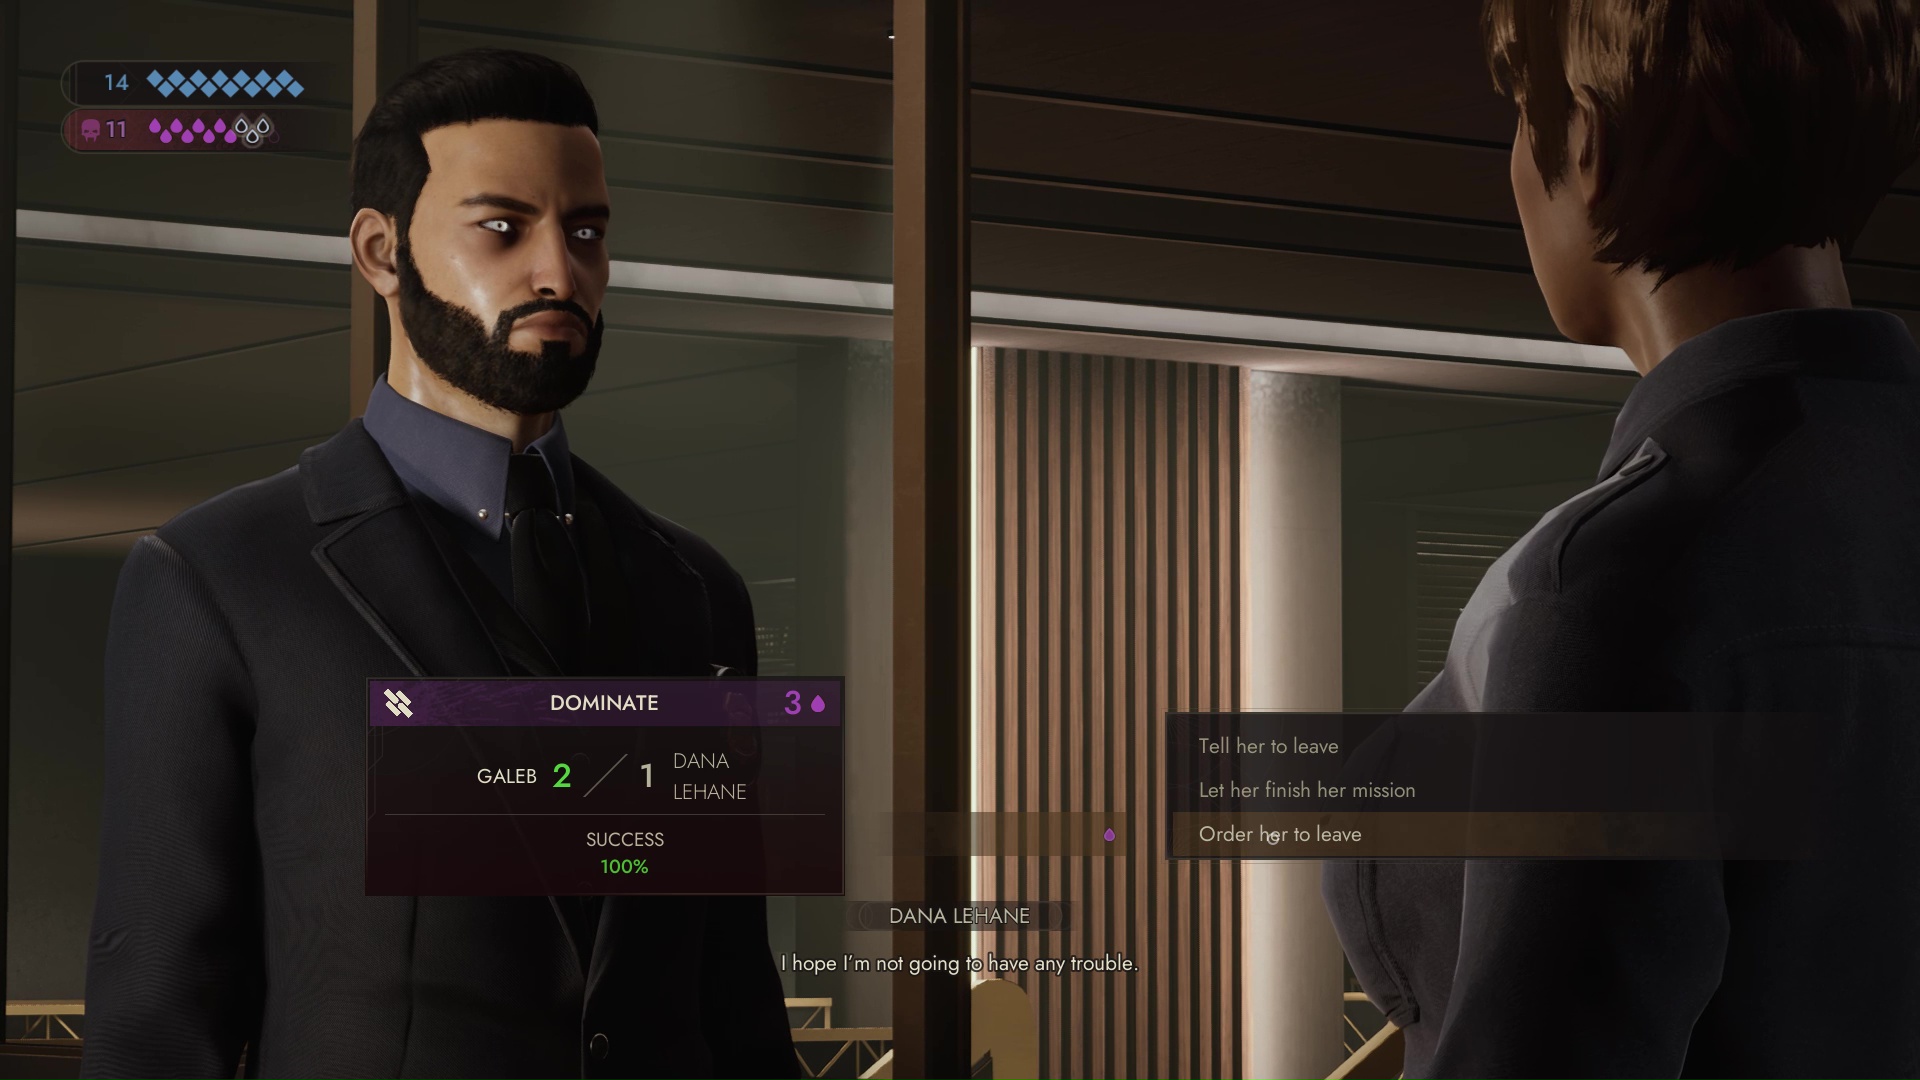
Each of the three playable characters starts with a 12-point Hunger track, visible in the upper left-hand corner of the screen. Your Hunger grows by using the powers that come from your vampiric Disciplines, such as Celerity, Dominate, and Auspex.
The most immediate consequence of high Hunger is that it potentially shuts down your Disciplines. If you don’t have enough space left on your Hunger track to pay the associated cost, you won’t be able to use your powers at all. Additionally, at low levels of Hunger, your vampire receives a 10% bonus if you tie in Psychology challenges, with a penalty of 10% in Intimidation ties.
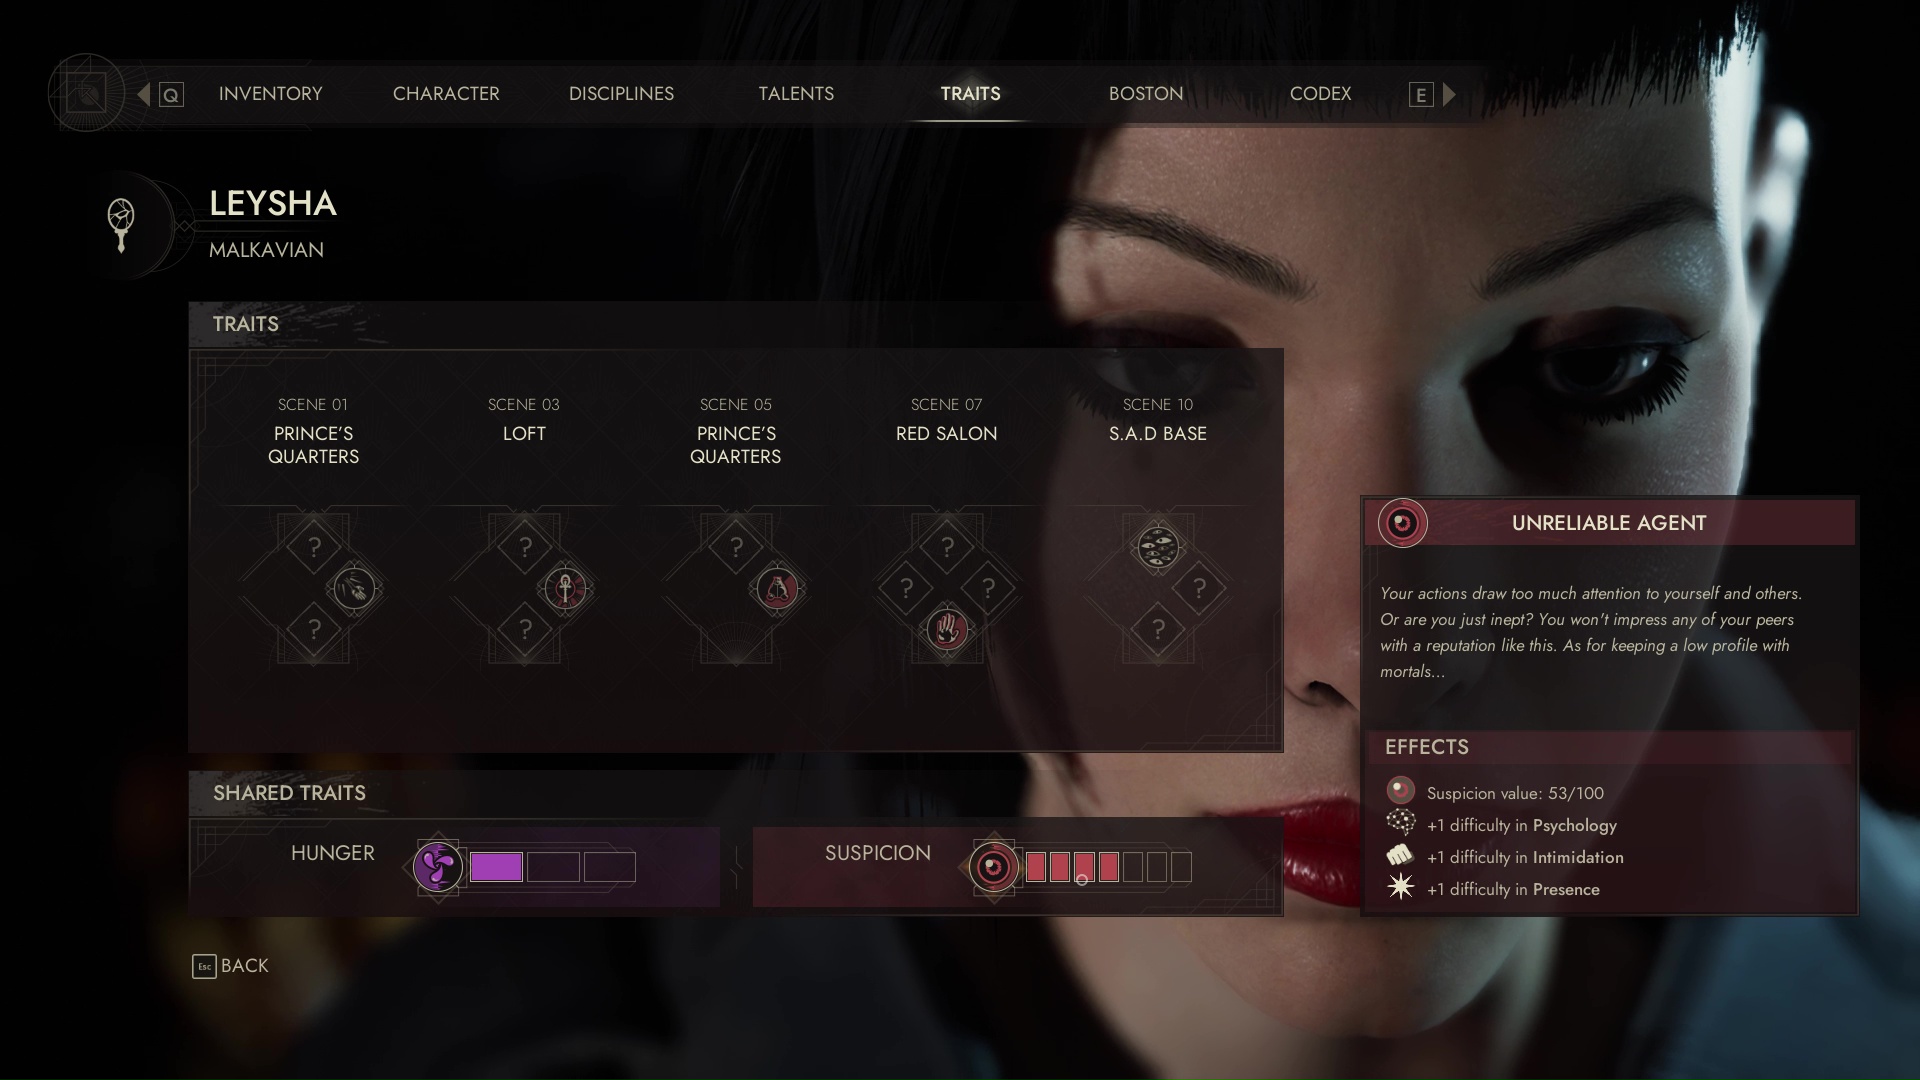
Conversely, if you have 9 Hunger or higher, you get a 10% boost on Intimidation and a 10% penalty on Psychology, as your character’s on the verge of going feral. This is tracked by a meter in your Traits menu. In general, Psychology is the more useful of the two traits, so you’re better off at low Hunger if you’ve got any sort of choice in the matter.
If your character has too much Hunger for too long, you run the risk of being forced to attack certain humans. For example, if you open the panic room in Jason Moore’s apartment at high Hunger, you’ll end up automatically failing one of your major objectives.
Fortunately, Hunger is easy enough to manage once you understand how hunting works in Swansong. You can reduce Hunger by drinking blood from available humans or rats, both of which are generally available in every scene.
The risk you run with hunting, however, is that you may raise your Suspicion, which is shared among all three of your active characters. Like Hunger, this is tracked on a gauge in your Traits menu, and the higher it gets, the more difficult it is for you to interact with NPCs.
Beginning at 20 Suspicion, you start taking a -1 penalty to various social talents, starting with Psychology. Essentially, you’re always treated as if the affected trait is one dot lower than it actually is. Your character’s acting too crazy to be trusted, either by humans or other vampires, which can effectively lock you out of a lot of desirable outcomes.
Eating a rat earns 2 automatic Suspicion, which is lowered to 1 if you get halfway down the Rat Eater Trait’s track. The first three rats found in Emem’s jail cell in Jefferson Library do not count towards this total, as they’re effectively mandatory. You also receive the “Proper” vampires frown on this trophy/achievement the first time one of your characters drinks rat blood.
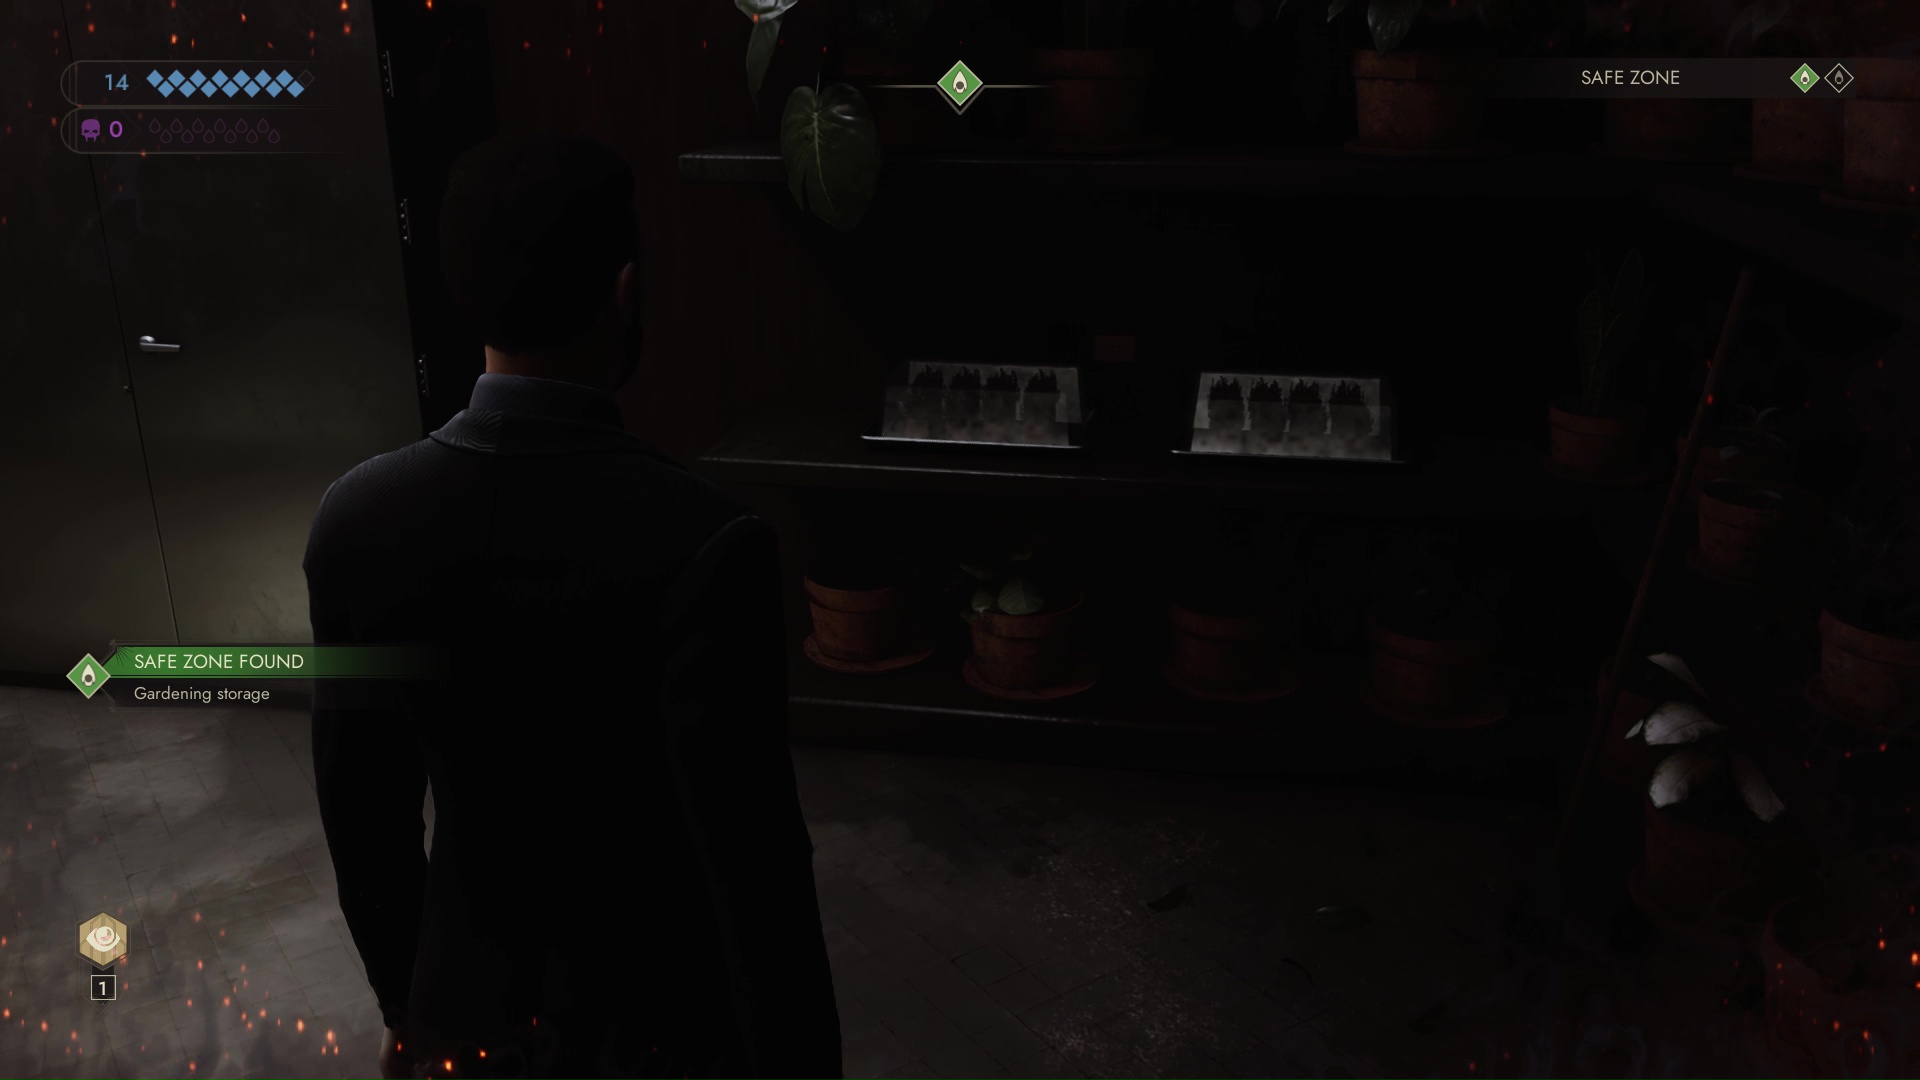
To feed on a human, you must have discovered a nearby safe room. There are generally at least two saferooms in any given scene; some are easy to miss, but they generally aren’t hidden in the traditional sense. As you can see above, safe rooms are automatically marked by a special icon at the top of your screen, and you’ll be notified in the UI whenever you find a new one.
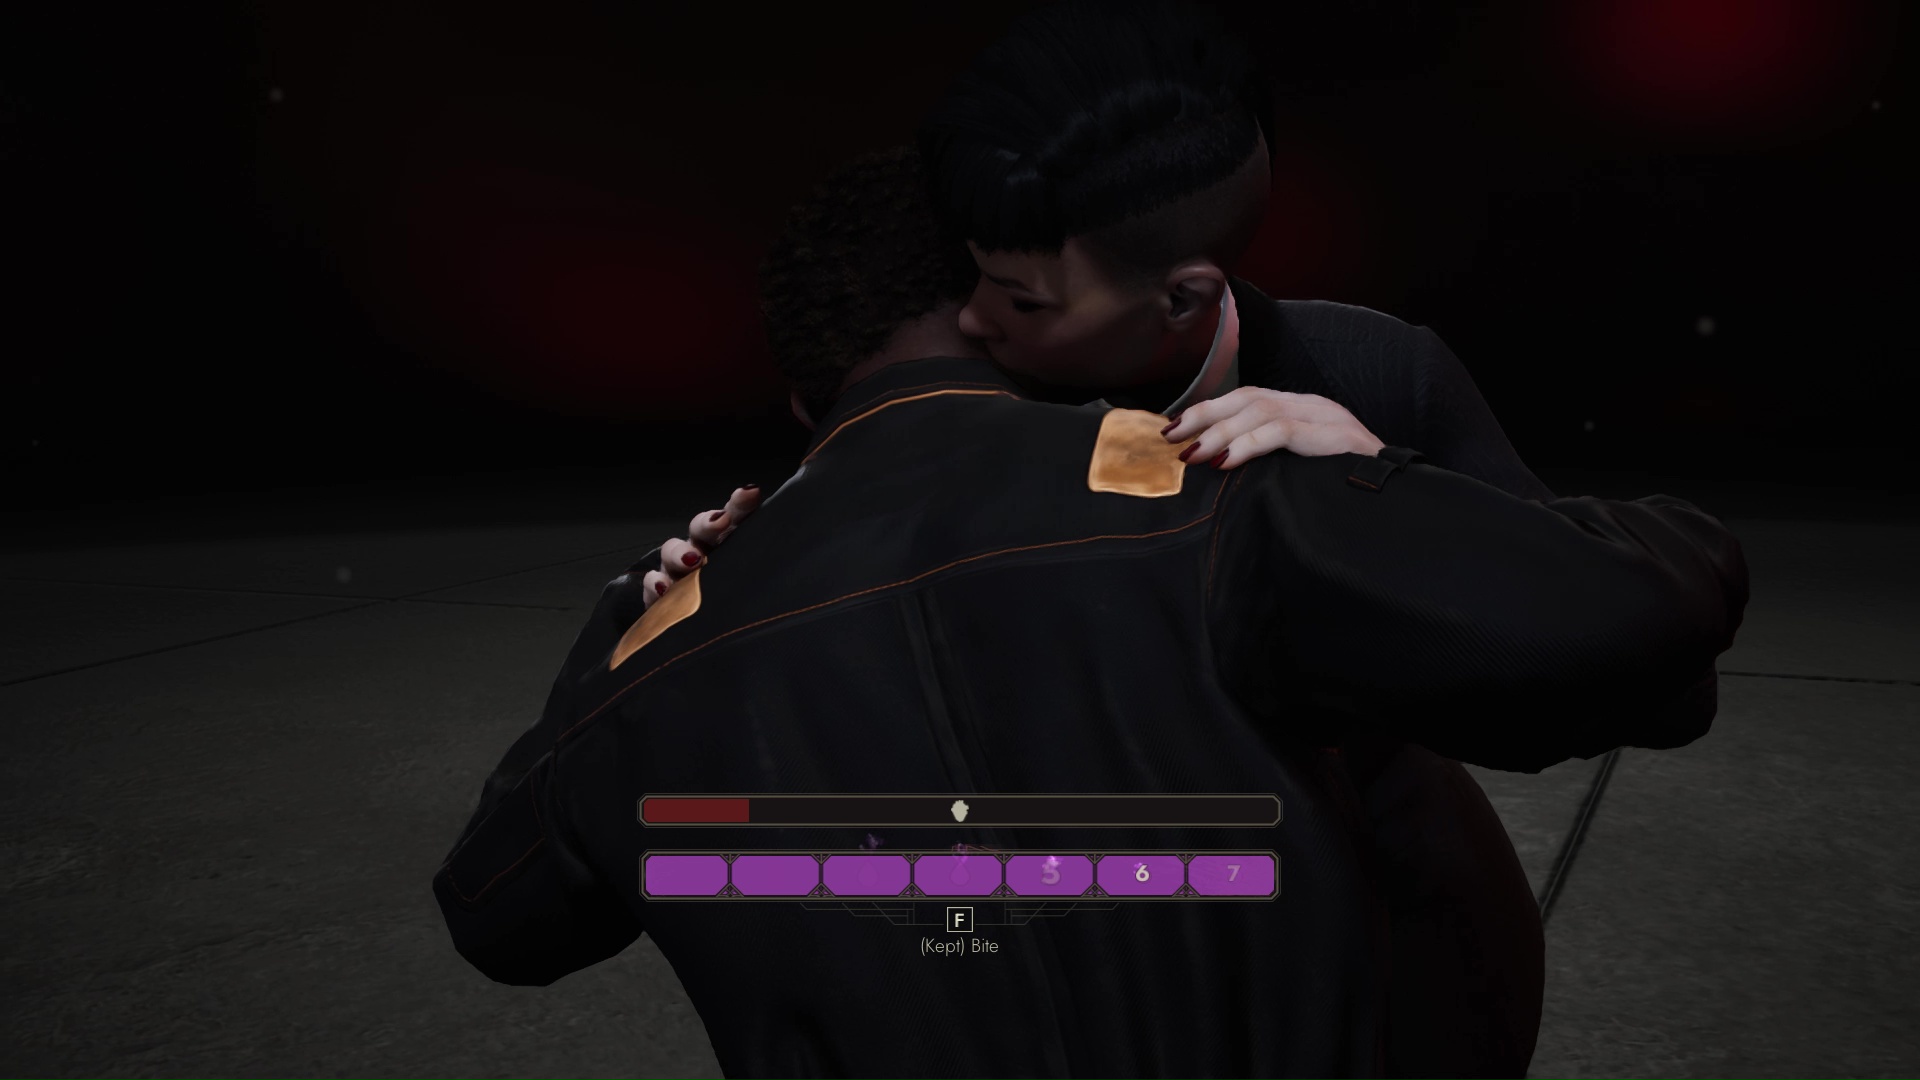
Once you have a spot in which to do so, opting to feed on a human with a contextual button will transport both you and them to the nearest empty safe room and begin a simple minigame.
You’re given a few seconds in which to press and hold a button (default F on PC), and the longer you hold it down, the more Hunger is removed, to a maximum of 7.
If you let the meter fill all the way during a feeding minigame, or if you don’t press it at all, your character will drain the human to the point of death. If you drain a human but leave them alive, you won’t incur any Suspicion at all. You’ll simply leave the unwitting blood donor dazed in the safe room.
This mechanic, as with a lot of other things about Swansong, makes slightly more sense if you’re familiar with Vampire’s tabletop rules. Kindred in Vampire can reseal the wounds they make with their teeth by licking them, and getting hit with the “Kiss” is a real mind-screw.
Successfully feeding on a human in a given scene provides you with a Resonance bonus, which is determined on an individual basis and can’t be learned ahead of time without some of the later Auspex powers.
Generally, any Resonance bonus makes it cheaper, sometimes significantly so, to upgrade one of your Disciplines, so it’s worth your time to drink some human blood at least once per scene. Once you’ve done so at least once with each character, you’ll unlock the You are what you eat trophy/achievement.
If you start leaving whole exanguinated corpses lying around, though, that’s harder to explain. Your character will automatically hide the body if necessary (there’s a reason why every safe room has a nice roomy closet), but you’ll take a big attendant Suspicion hit.
This can range from 15 points (a junkie in the Tremere’s memory trap) to as many as 35 (a SAD agent while you’re in the SAD base). As such, being a prolific murderer in Swansong is effectively the game’s hard mode.
Suspicion penalties start with Psychology, which is arguably the most crucial conversational talent, which provides a big incentive to be careful.
In practice, the character who’s at the most risk of Suspicion is Emem, as her Blink power can generate a lot of Hunger in a hurry and you’re often required to use it in order to make progress. Emem’s also got the least hang-ups about rats. Galeb won’t eat a rat at all under any circumstances, while Leysha will only eat one if her Hunger is at 3 or higher.
It’s arguably worth it to do a first blind run through a level, then restart before the end and try to complete it with as little use of Disciplines as possible, especially as Emem. Otherwise, it’s easy to go overboard on the rat-munching and end up at or near 20 Suspicion before the game’s halfway point, and there’s a late-game Confrontation where you really can’t afford the Psychology hit.
One useful tip here is that Emem also has a lot of early opportunities to feed off of humans, and multiple non-lethal hunts will eventually reward her with a longer Hunger track via your Talents menu.
If you feed twice in Sylvia’s bar at the start of the game, by discovering both safe-room alcoves and taking a little blood from two separate vessels, you can then nom your way through the prisoners in the Tremere’s memory prison and easily collect enough hunts to extend your Hunger track. This will come in very handy late in the game.
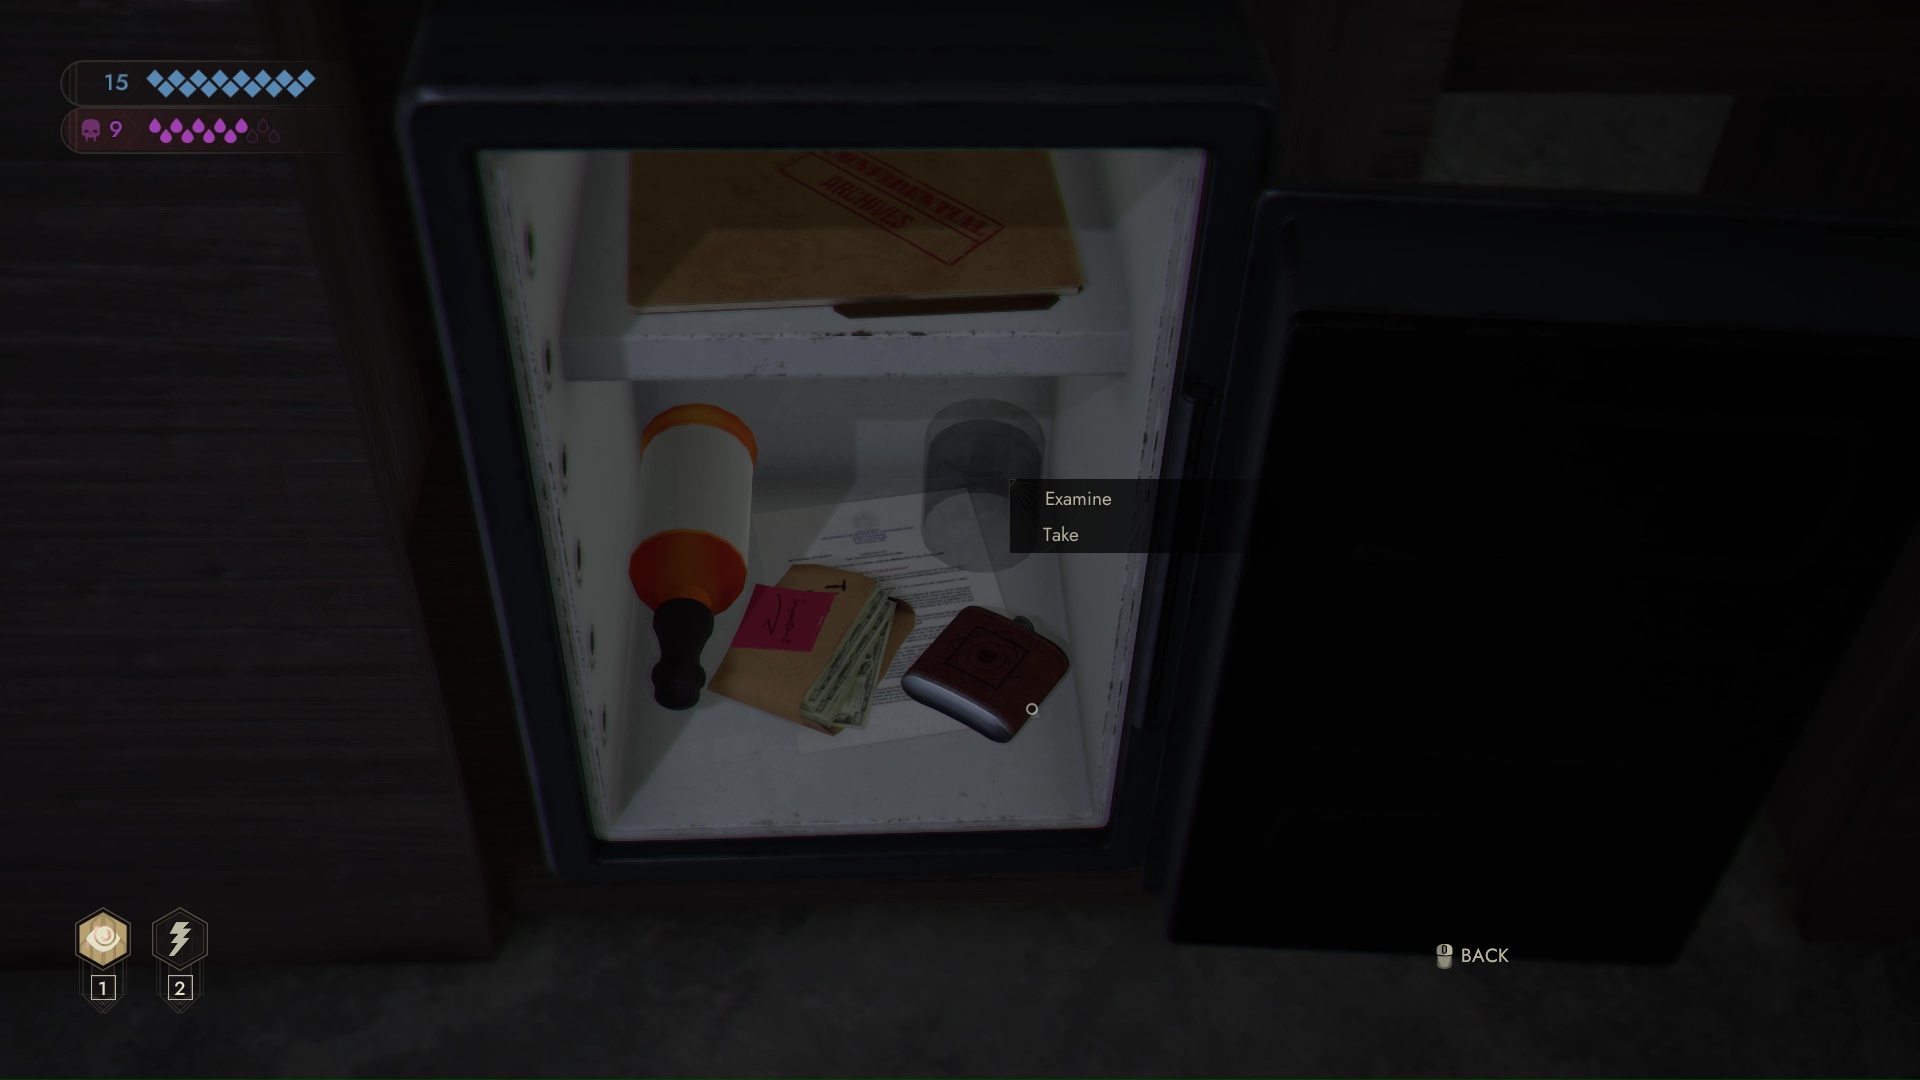
All three characters can also occasionally find Tremere concoctions (above), which remove 2 Hunger on use with no associated Suspicion. These are rare but useful, and it’s best to save them until the back half of the game.
And that’s basically all you would ever need to know about how to feed and manage your hunger in VtM: Swansong. For more guides on the puzzles of Vampire: The Masquerade – Swansong and more, keep an eye on our official tips hub for the game.





Published: May 25, 2022 04:43 pm