There are multiple endings in Oddworld: Soulstorm, depending on how well you do. To get the good ending, you only need to get 80% of the Mudokons, but who plays an Abe game to only free 80% of the Mudokons? To do the job and do it right, and show off in a screenshot on Twitter, you need to save all the Mudokons.
Getting every one of Abe’s alien buddies to safety is not easy. Some are relatively simple, merely a case of navigating some platforms or searching every nook and cranny to find your disheveled cohort. Others, you need to be clever, savvy, and quick to keep them all from harm.
This guide is will give you the location of every Mudokon for stages two through eight, and provide some pointers on how to save them relative to their situation.
Oddworld Soulstorm Mudokon Locations Part 1
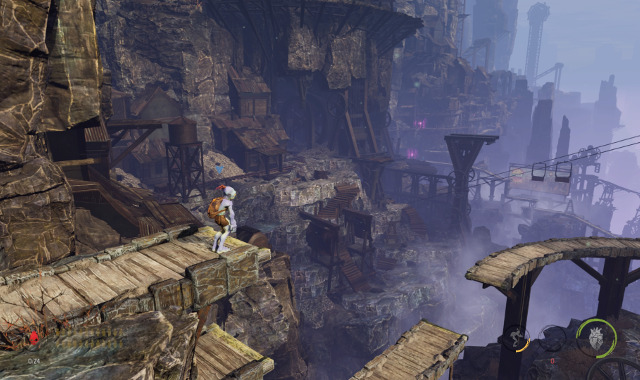
Stage 2 – The Ruins, 200 Mudokons
This is an atypical situation to teach you how to possess Sligs, and manage your position. Get yourself on the top right ledge, then once you open the gate to let all your pals through, possess the first Slig that appears on the left.
From there, start mowing down the other Sligs as they appear. During your reloads is when casualties are most likely to occur – make your shots count, though, and you should get 100% without much trouble.
Stage 3 – The Blimp, 1 Mudokon
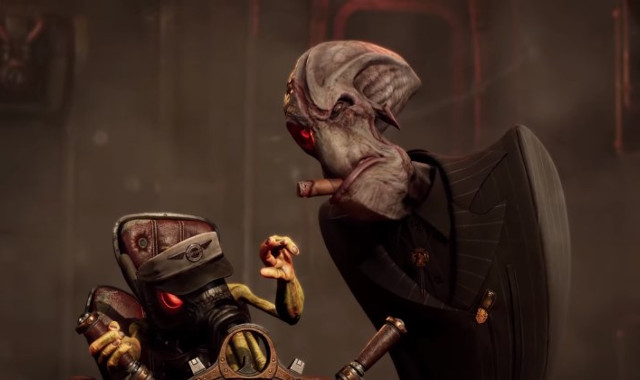
Oddworld: Soulstorm gives you a sliver of the proper Mudokon-saving action as a secret before plunging you into the deep end.
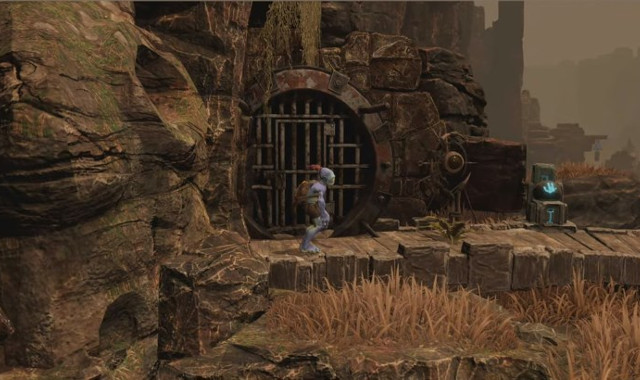
The one Mudokon in The Blimp lies in a secret area just after the opening. Climb and sneak around the first glut of snipers and ladders, then look for a ledge that’s below your current platforms.
The camera angles can make this tricky, but just keep an eye for anywhere that looks like a solid platform below you. There you’ll find a door that takes you to your one Mudokon to be saved.
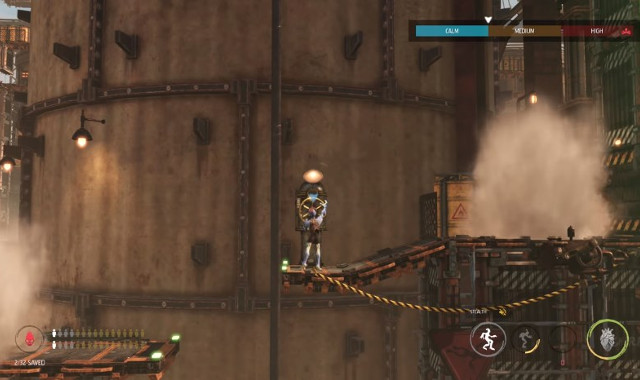
Stage 4 – The Funicular, 24 Mudokons
This is where the game starts finding its rhythm, and shows you some of the puzzles you’ll have to navigate for a high mark. You’ll be searching caves for the most part, gathering ingredients, and sneaking around those pesky hounds. Thankfully, Mudokons follow you’re movement when it comes to sneaking and running, meaning you won’t have to worry too much about them making noise if you’re not making noise.
Something of note: the lift after the second mine goes to a secret are that contains a switch. You need to pull this switch to get every Mudokon.
Mudokons 1 to 4
As soon as you exit the cave with the last ingredient, you’ll have a Mudokon to cure. Bring him on the lift back around to the entrance of the mine you were just in. A ladder downward brings you to a secret area with four Mudokons. Cure them, open the portal, and away they go.
Mudokons 5 to 7
With your first friend in tow, you’ll find another two on the bridge on your way back towards the start of the level, and then the four you met where you began. Cure them all, but leave them there.
Instead, go back further, to find the doorway you couldn’t access now open, thanks to that switch from earlier. Inside, hang right to find three more Mudokons awaiting the antidote, and a portal to save them.
Mudokons 8 and 9
Go back to your seven cohorts, and use them to turn on the cable car. Hop on, making sure they’re all on-board. Leave them waiting, and head to the left when you stop.
You’ll find two sick Mudokons among some platforms, and the entrance to a mine. These caves contain two more friends to retrieve and some hounds. Tread lightly, and you shouldn’t have much issue getting the fuel you need, nor finding the Bird Portal that’s right at the left-most edge.
Mudokons 10 to 19
Bring the two from outside the entrance to this mine back to your other seven to make nine, then one more can be found on the path in the other direction. A Bird Portal sits out in the open near here, activate it to send them to freedom.
Mudokons 20 to 24
The final five lay in another secret area. You’ll find a ledge facing a shack just after the Bird Portal, double-jump to land on a secret path. Follow this to find the last Mudokons for this level. One is obscured by a wall, the other is in the building on your way to the Bird Portal. Find them, and you’ll have all 24 Mudokons.
Stage 5 – Sorrow Valley, 31 Mudokons
Things start to get a little more complicated here, testing your ability to control the aliens once you enlist them.
Mudokons 1 to 4
A cave holds the first four in a small puzzle. You’ll need the two up above where you come in to step on the release buttons to get to the other two trapped Mudokons. Be careful, those dogs are lurking. Once you’ve all four away from the mechanized doors, you can chant to get them through the Bird Portal.
Mudokons 5 to 8
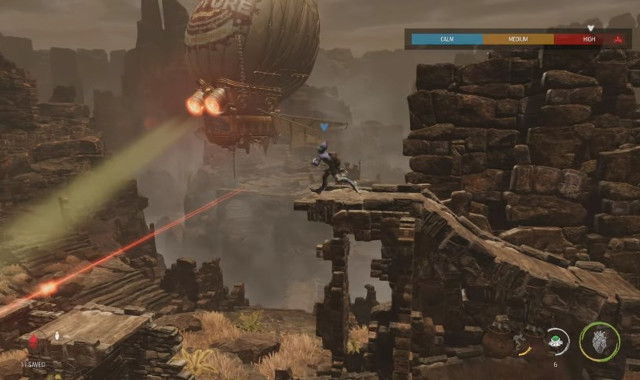
You’ll need to possess a Flying Slig to clear this section. While you have them, shoot a wooden panel towards the end of the trail – this unlocks a secret area.
In said area are four Mudokons, and some Sligs. Get rid of the Sligs, and you can guide those sickly aliens to freedom.
Mudokons 9 to 11
Keep climbing the ladder that’s bringing you to the next regular section, crossing the monkey bars, to find a secret area up above that has three more Mudokons, and a portal.
Mudokons 12 to 14
This next part’s tricky. You’ll have three Mudokons to guide to a Bird Portal that lays just beyond a set of Sligs and mines. Go on your own first to defuse the mines, then sneak the Mudokons to the other end.
Once you’re there, you’ll need to dispatch the Slig that’s sleeping just above the portal. If the Slig wakes up, the Bird Portal will not come back. Throw a brew and a flare on the biomechanical oppressor to burn it to death, then chant to send your friends away.
Mudokons 15 and 16
You’ll find a branching lower path just after the above. Follow it for two more Mudokons, and a portal for them.
Mudokons 17 to 21
Another mine follows, containing five more Mudokons. Three are easily found, the next two are tucked away on a ledge – make sure to keep using your chant powers to illuminate every nook and cranny.
Once you’ve sneaked past the baying hounds, a switch lets you gate them away, to activate the portal in peace.
Mudokons 22 to 27
The next section’s a puzzle using a Flying Slig. Control the Slig through the obstacles, killing every other Slig, and burning the crates at the bottom. Inside is a relatively breezy cave with six Mudokons to save.
Mudokons 28 to 31
Towards the end of the level are three Mudokons, and a bird portal, just a little after the Flying Slig puzzle.
Mudokon 32
Smash any crates you need in the last stretch to uncover a secret area that has your last alien comrade.
Stage 6 – Phat Station, 32 Mudokons
Things start getting yet more complex as we near the train Abe’s going to hijack. Smokebombs become a crucial part of your inventory, and you’ll be using plenty of stealth to get everyone out in one piece.
Mudokons 1 and 2
The first is at the start, as part of an introduction to using smoke to avoid snipers. Guide him to the nearby Bird Portal. The second is just after, backtrack with him to the same portal.
Mudokons 3 to 8
Following the regular path, you’ll eventually find yourself among worker prisoners. Six are being held, and you’ll need all six to progress. Sneak them down when the Slig isn’t looking, then hide in lockers when the Slig is coming towards you.
The AI isn’t the most responsive, and if you’re struggling, do them three at a time, telling the safe parties to wait on either side
Mudokons 9 to 11
Some standard platforming, and smokebomb stealth here. All three are easily found on the path forward.
Mudokons 12 to 14
The big smiley enemy in this section can be tricky. You need to throw a smokebomb at the right time, then slip past – no easy feat when you’ve three Mudokons following your lead. The only strategy is trial-and-error until you find your rhythm. Patience, you’ll get there!
Mudokons 15 and 16
You’ll find these two right after you get back to the exterior of the station.
Mudokon 17
A good rule of thumb is anywhere there’s an upper platform, you should check it out for a Mudokon, like in the next section, where you’ll find one lowly friend.
Mudokon 18
Right by the checkpoint, you can’t miss them.
Mudokons 19 and 20
One is obvious in the next platforming bit, the other is above. It’s worth scoping this area out before committing to a strategy, but the patterns are easy enough to work out.
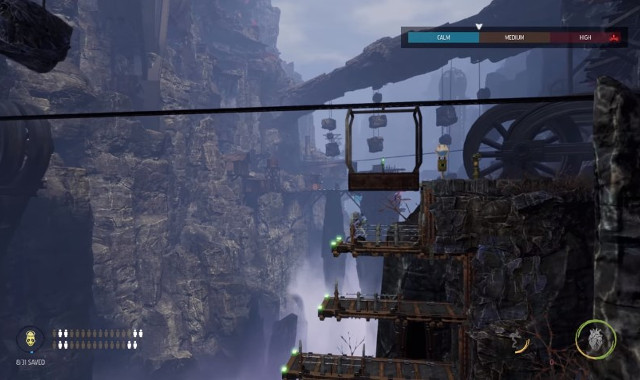
Mudokons 21 to 32
All twelve are strewn across the deathtrap that is the fueling station. Be cautious here, every section is a liability for one or more of your alien cohorts, and once you hit a checkpoint with a dead Mudokon, they’re dead unless you restart the level.
Keep track as you work along the platforms and puzzles for the dozen aliens. None are especially hidden, so you shouldn’t have much trouble finding them. Once you do, onward!
Stage 7 – Hijack, 15 Mudokons

We loop around to the train from the start of the game, and a big boss encounter to boot.
Mudokons 1 to 3
Right as start the level, the first part of the train you can enter.
Mudokons 4 to 6
A secret area you get access to by lighting the brew on fire. Put out the fire, then backwards, using some monkey bars on the underside, you’ll be able to find these three Mudokons, and help them escape.
Mudokons 7 to 9
these are protected by a Slig with a lever, knock him out to free them, and continue on.
Mudokons 10 to 12
A little on from the above, pass through the yellow gate, then find and activate a second lever, to get these three Mudokons in your party.
Mudokons 13 to 15
Another secret area, and this time you’ll need another Flying Slig. Possess it, using its artillery to blow apart the wooden paneling blocking your route. Then use the monkey bars again to retrieve the three last Mudokons.
After this is the Slig Mama boss fight. Tell your party to wait, and deal with the boss, and a Bird Portal is your reward.
Stage 8 – Reunion at the Old Trellis, 254 Mudokons
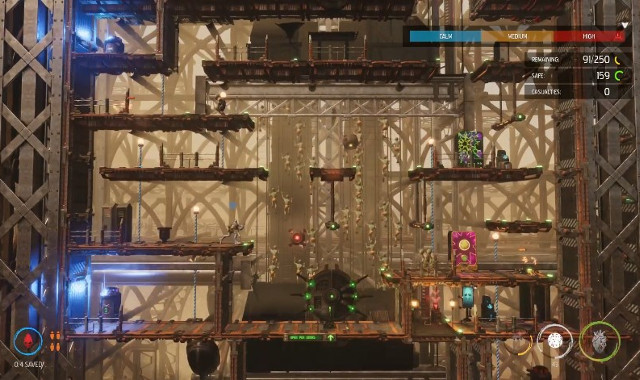
Shorter than you’d think, despite the number, because the vast majority are saved through a prolonged bit of tower defense.
Mudokons 1 and 2
One Mudokon is waiting right as you start the level, the next is down past the elevator, near a Slig guard. Take out the Slig, and you’ll have a party of three.
Mudokons 3 and 4
Once you’ve opened the cave and let the other 250 Mudokons out, you’ll find these on your way back up, towards, the main attraction.
Mudokons 5 to 254
Remember the section at the start where you’d to protect Mudokons from a hail of gunfire? This is a more complex version of that, utilizing the Mudokon aggro where you can give them weapons, and have them back you up.
You will need all four of the available helpers here, and probably a couple of restarts to get it right. Again, patience is your best asset – keep an eye on where Sligs are coming from, and at what frequency. You’ll get there.
Now you’re halfway there, time for the other half. You can find the Mudokon locations for stages nine to 17 here!


Published: May 6, 2021 10:24 am