
A new Call Of Duty means a new zombie mode, and in this case, it’s completely the opposite thematically of the main single player campaign. Shifting from robotic sci-fi aerial battles to ’80s mayhem in an amusement park, Zombies In Spaceland features a ton of Easter eggs.
One such hidden gem is the return of the Pack-A-Punch weapon upgrade machine. It isn’t just sitting around waiting to be used though, as you have to turn on five generators to power a portal before Pack-A-Punch becomes accessible in the secret projection room.
Need even more Infinite Warfare help? Be sure to also check out:
- Armory weapon upgrade locations
- Easter eggs guide: recruiting David Hasselhoff
- Zombies guide: unlocking the Shredder
- Zombies guide: Souvenir Coin combos
- Redeeming Bullethawk Codes
- Fixing frame rate issues and bugs
- Call Of Duty: Infinite Warfare vs. Battlefield 1 analysis
Spawn Area Generator
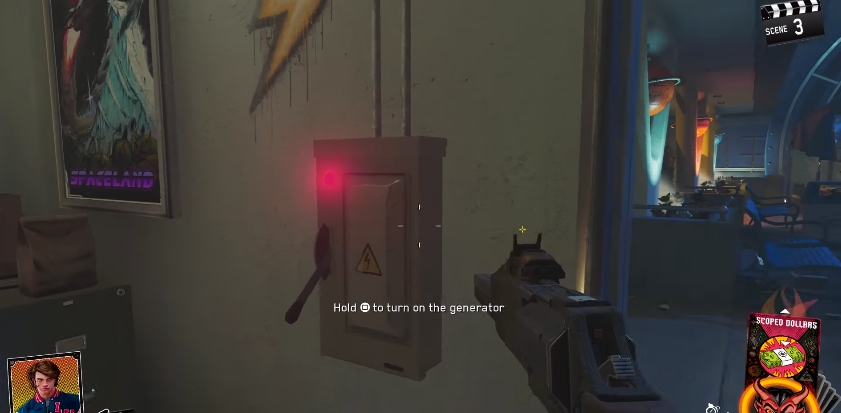
This first generator doesn’t actually power the portal, but you do have to turn it on to access the other areas of the park. Turn directly around after the match starts and head into the door marked “Power This Way” in neon spray paint.
Flip the first switch on the wall between the door and a Spaceland poster. You can now open the first “Pardon Our Space Dust” wall for $750 and enter the rest of the park.
 1st Switch
Kepler System Generator
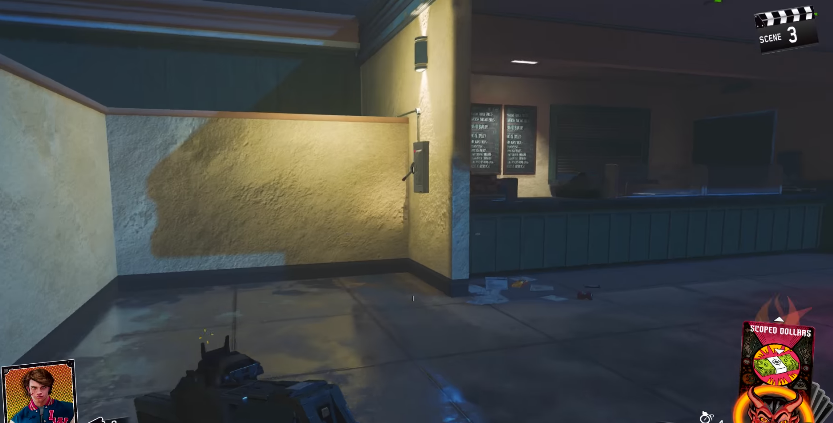
Open the wall blocking access to the restrooms area ($1250 to unlock), then head up the stairs with the neon “Power This Way” spray paint. The switch is easily located on the wall next to the area with the chalkboard and cash registers.
 2nd Switch
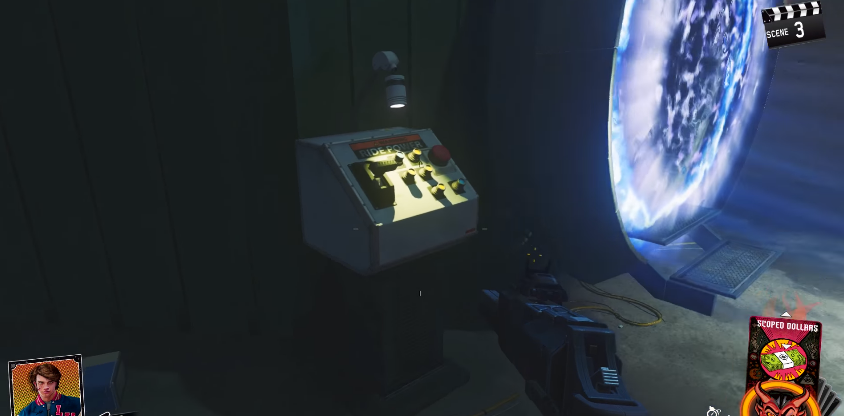
Head back down the stairs and head left around the corner to find a powered down portal labeled “Experience The Future” along with a switch on a console. Flip the switch to turn on the portal and step inside to be transported back to the park’s central area. Take a look up and you’ll see the portal now has one functioning light.
 Accessing the Portal
Galaxy Journey Generator
Go past the Galaxy Journey sign and you should see the powered down portal on your right side as you approach the Star Mission sign ahead. Hang a right just after that sign and then go into the large open segment on the left.
The generator switch is on the wall on your left as you walk through the corridor. Just like before, go back and flip the console power switch and then enter the portal.
 3rd Switch
Astrocade Generator
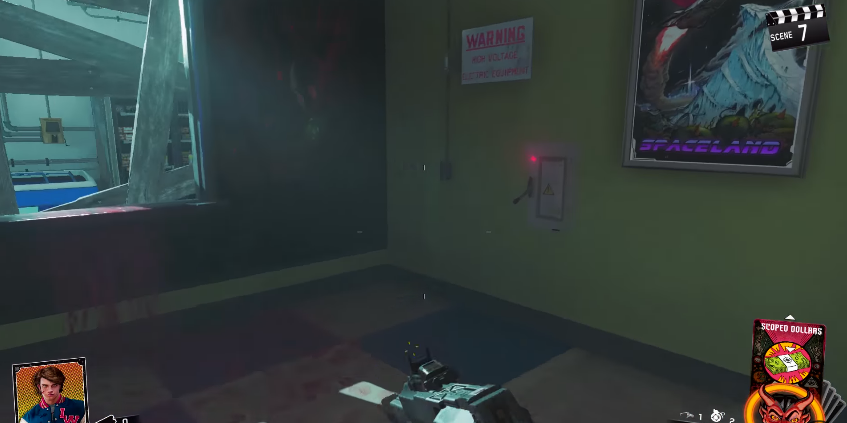
Inside the Astrocade (the real one, not the fake one where you earn tickets to respawn), turn right immediately after the powered down portal and you’ll see the generator switch on the wall next to a Spaceland poster. Turn around, flip the console switch, and enter the portal.
 4th Switch
Polar Peak Generator
After running through the main Polar Peak tunnel, the path branches so you can either unlock a wall to the left or enter a room with balloons on the right. Take the right and head up the slope to unlock a $1250 wall. The switch is on the wall just ahead next to a Magic Wheel machine. The portal is then found back down in the balloon room.
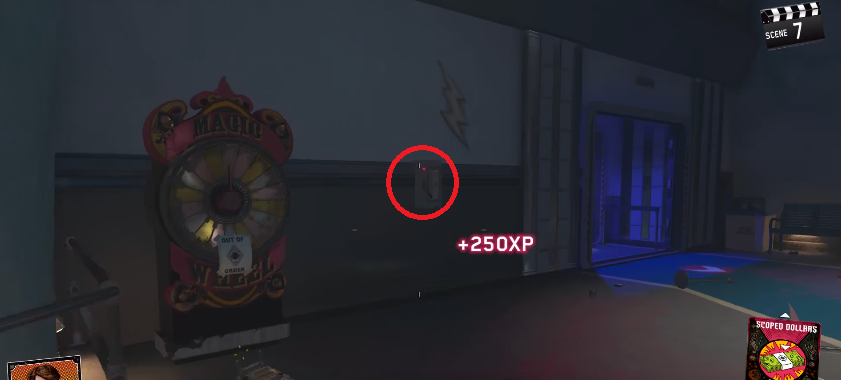 5th Switch
Projection Room
Now that all four generators are powered, just turn around and go back in the central area’s portal. You’ll know you’ve hit them all because all four lights above the portal are turned blue instead of yellow. Walk through the portal to the projection room.
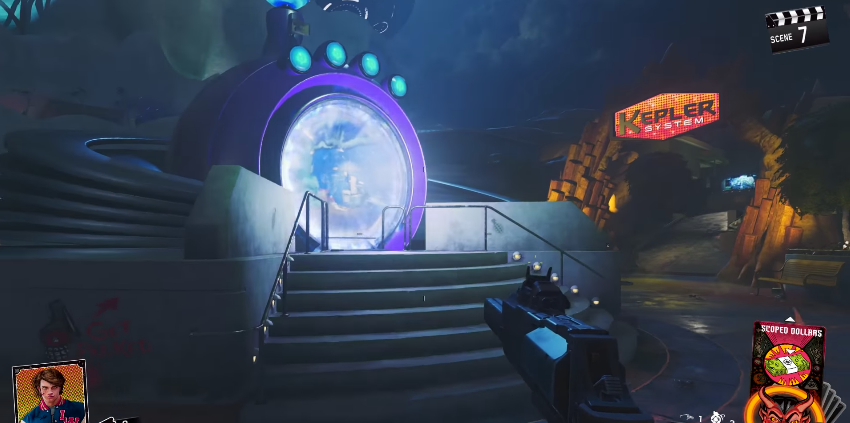 Fully Powered Portal
Now that you are finally inside the secret projection room, you can upgrade whatever weapon you happen to currently be holding… for a not so measly $5,000. It’s well worth the cost though, and frankly becomes entirely essential to survive the later waves.
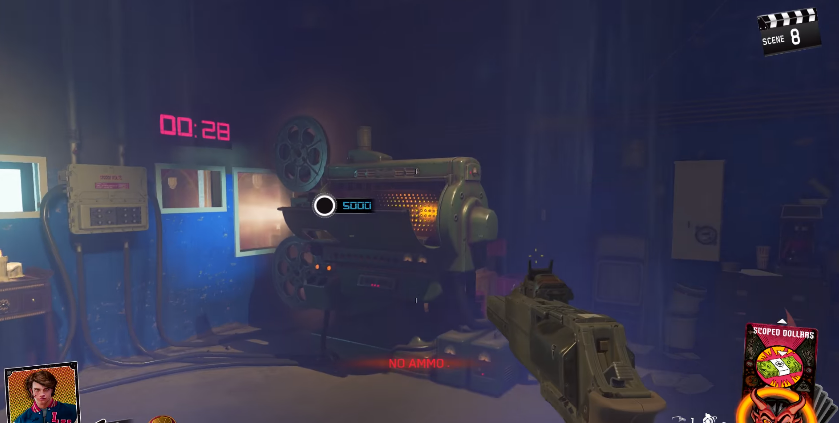 Pack-A-Punch Upgrade Machine
Now just turn around to go back through the portal to return to the fray! The projection room will continue to be available for upgrading weaponry (without having to flip all the switches) until your team dies and the map restarts.
Did you find what you were looking for? Or are you waiting to be transported? If you have any issues, let me know in the comments below.


Published: Nov 4, 2016 02:38 pm