
Welcome back to The Witcher 3: Wild Hunt. CD Projekt RED brings us their DLC “Blood and Wine.” This latest installment is the last of Geralt of Rivia’s quests. I know, I know, I am quite upset myself. But, we must wipe our tears so that we savor this last adventure with the infamous White Wolf.
Be sure to check here for more guides to help you achieve success throughout your journey.
Getting Started
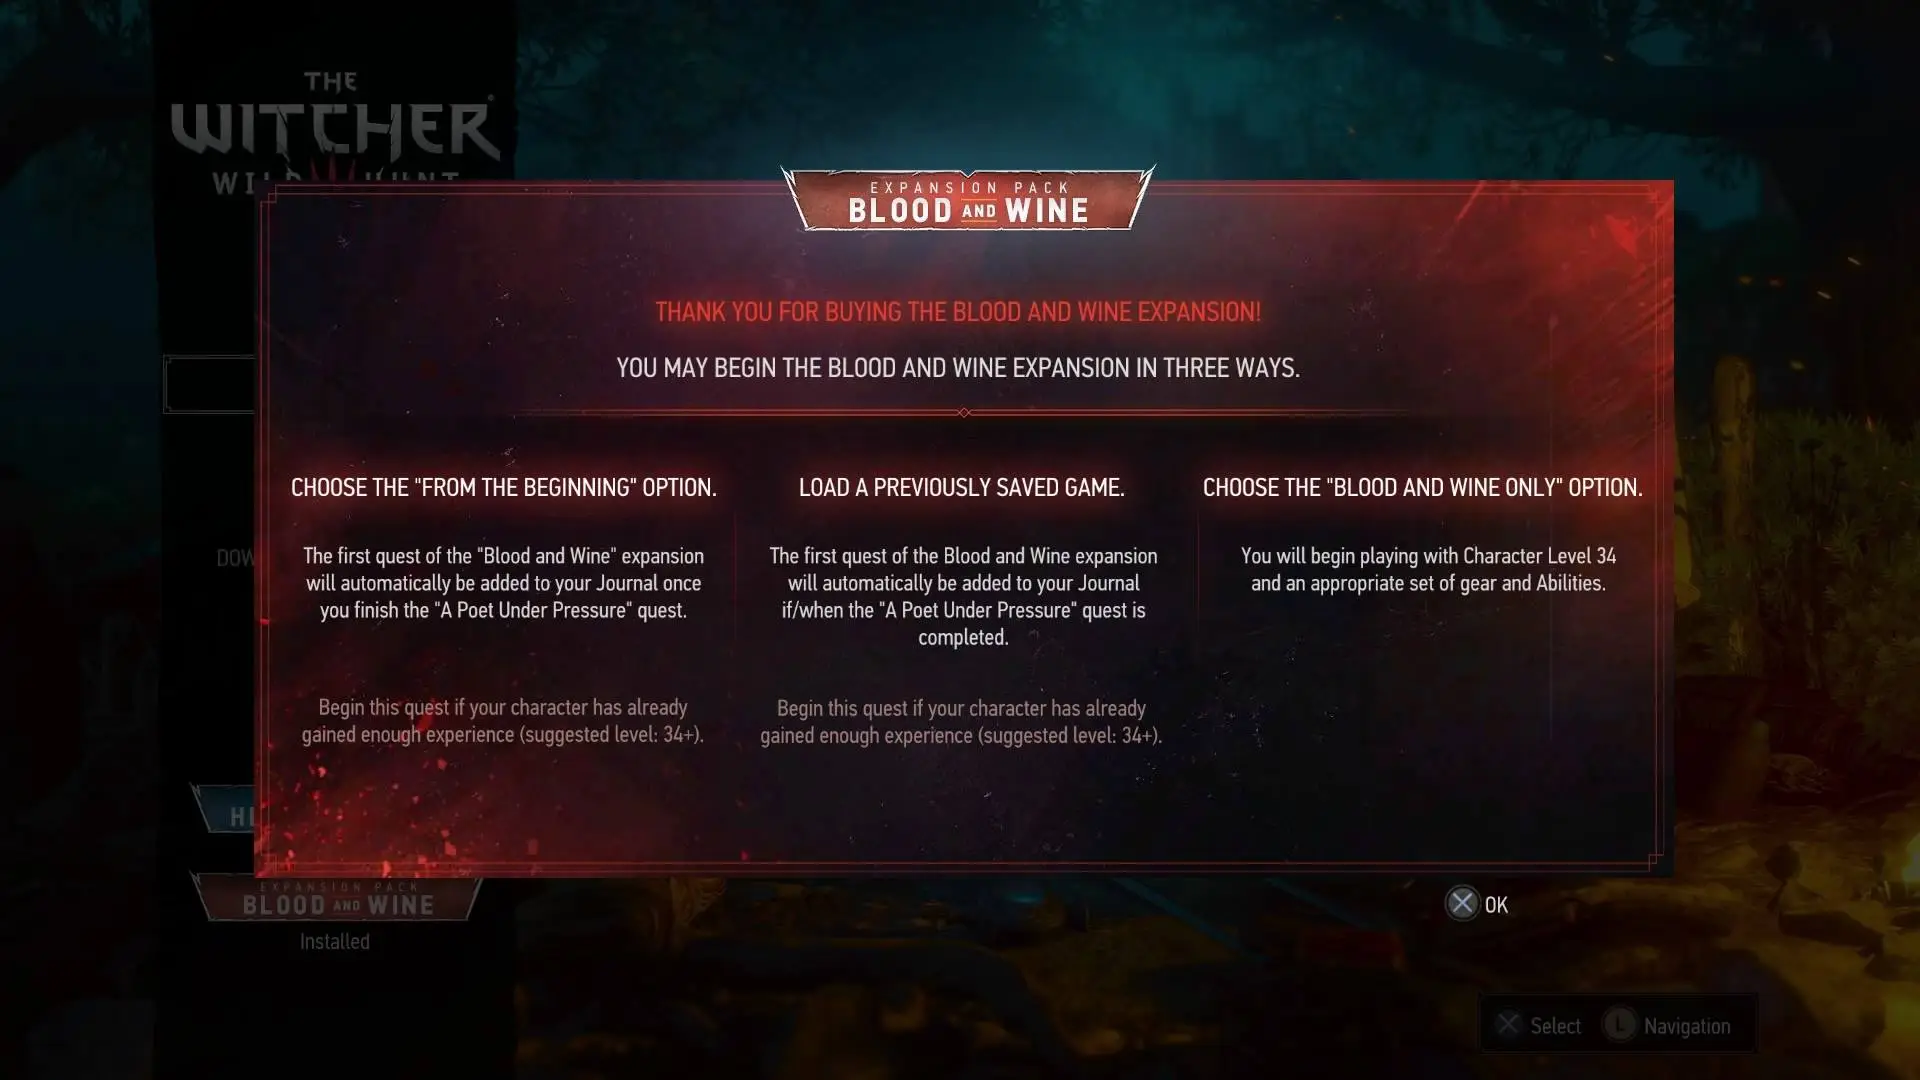
To start Blood and Wine, you must stop in Oxenfurt and head to the notice board. If you’re under level 35, I would highly recommend you wait; enemies start at level 35 here. There you will find a contract called “Envoys, Wineboys.” You will need to meet up with two Knights from Toussaint: Palmerin de Launfal and Milton de Peyrac-Peyran. They will be in Holloway at the Stonecutter’s Settlement in Velen. You can opt to let them fight the bandits, or talk the Knights out of getting involved as a quick option (which I did).
Palmerin reads the official notice from Dutchess Anna Henrietta of Toussaint, which requests Geralt’s presence to deal with a beast murdering her noble subjects.
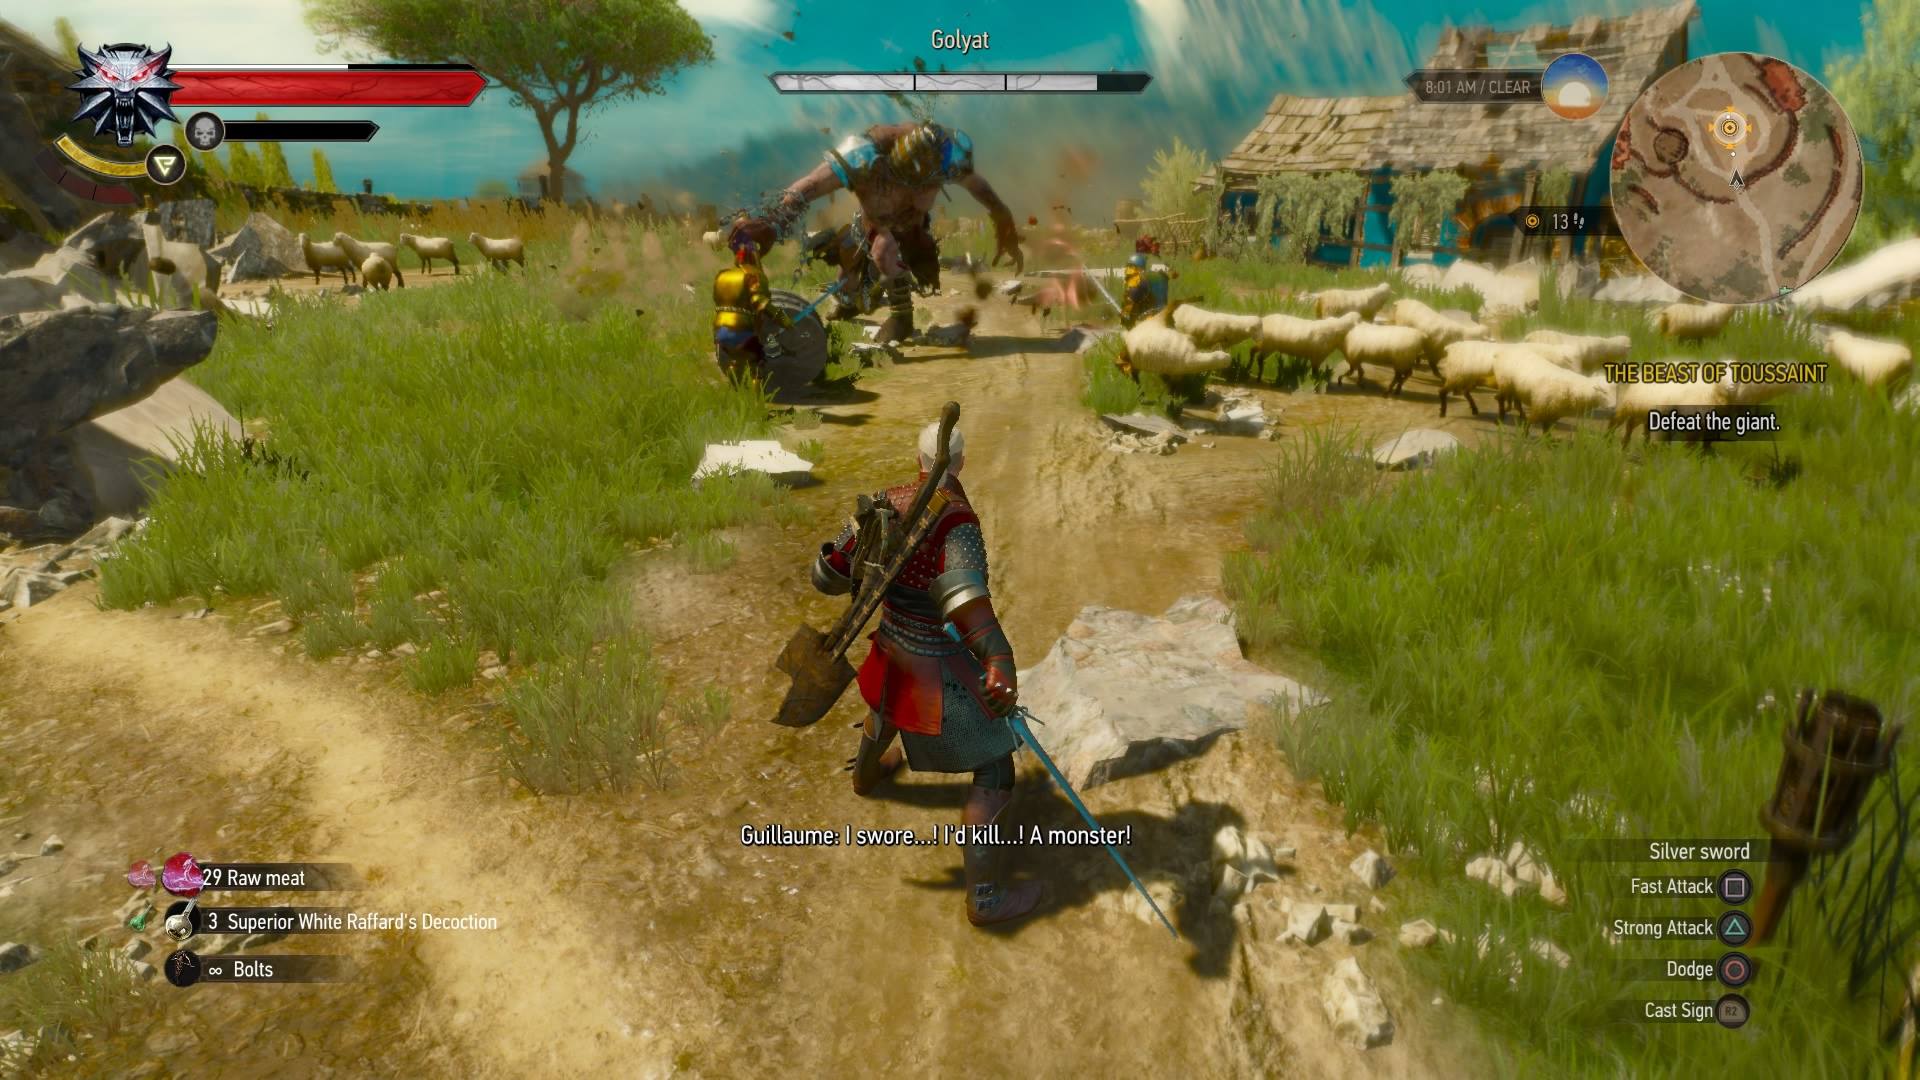
Upon accepting, you’ll follow the knights to Toussaint where you are greeted by Golyat the Giant — and by greeted, I mean you must defeat him. Equip Quen to then proceed with fast attacks and quick dodging. Watch for his stomping foot and spin attacks once his health bar begins to lower. This battle is quite easy I must say, especially if you have the Quen Active Shield maxed. Damage absorbed by the shield restores vitality! It is my best friend in the game.
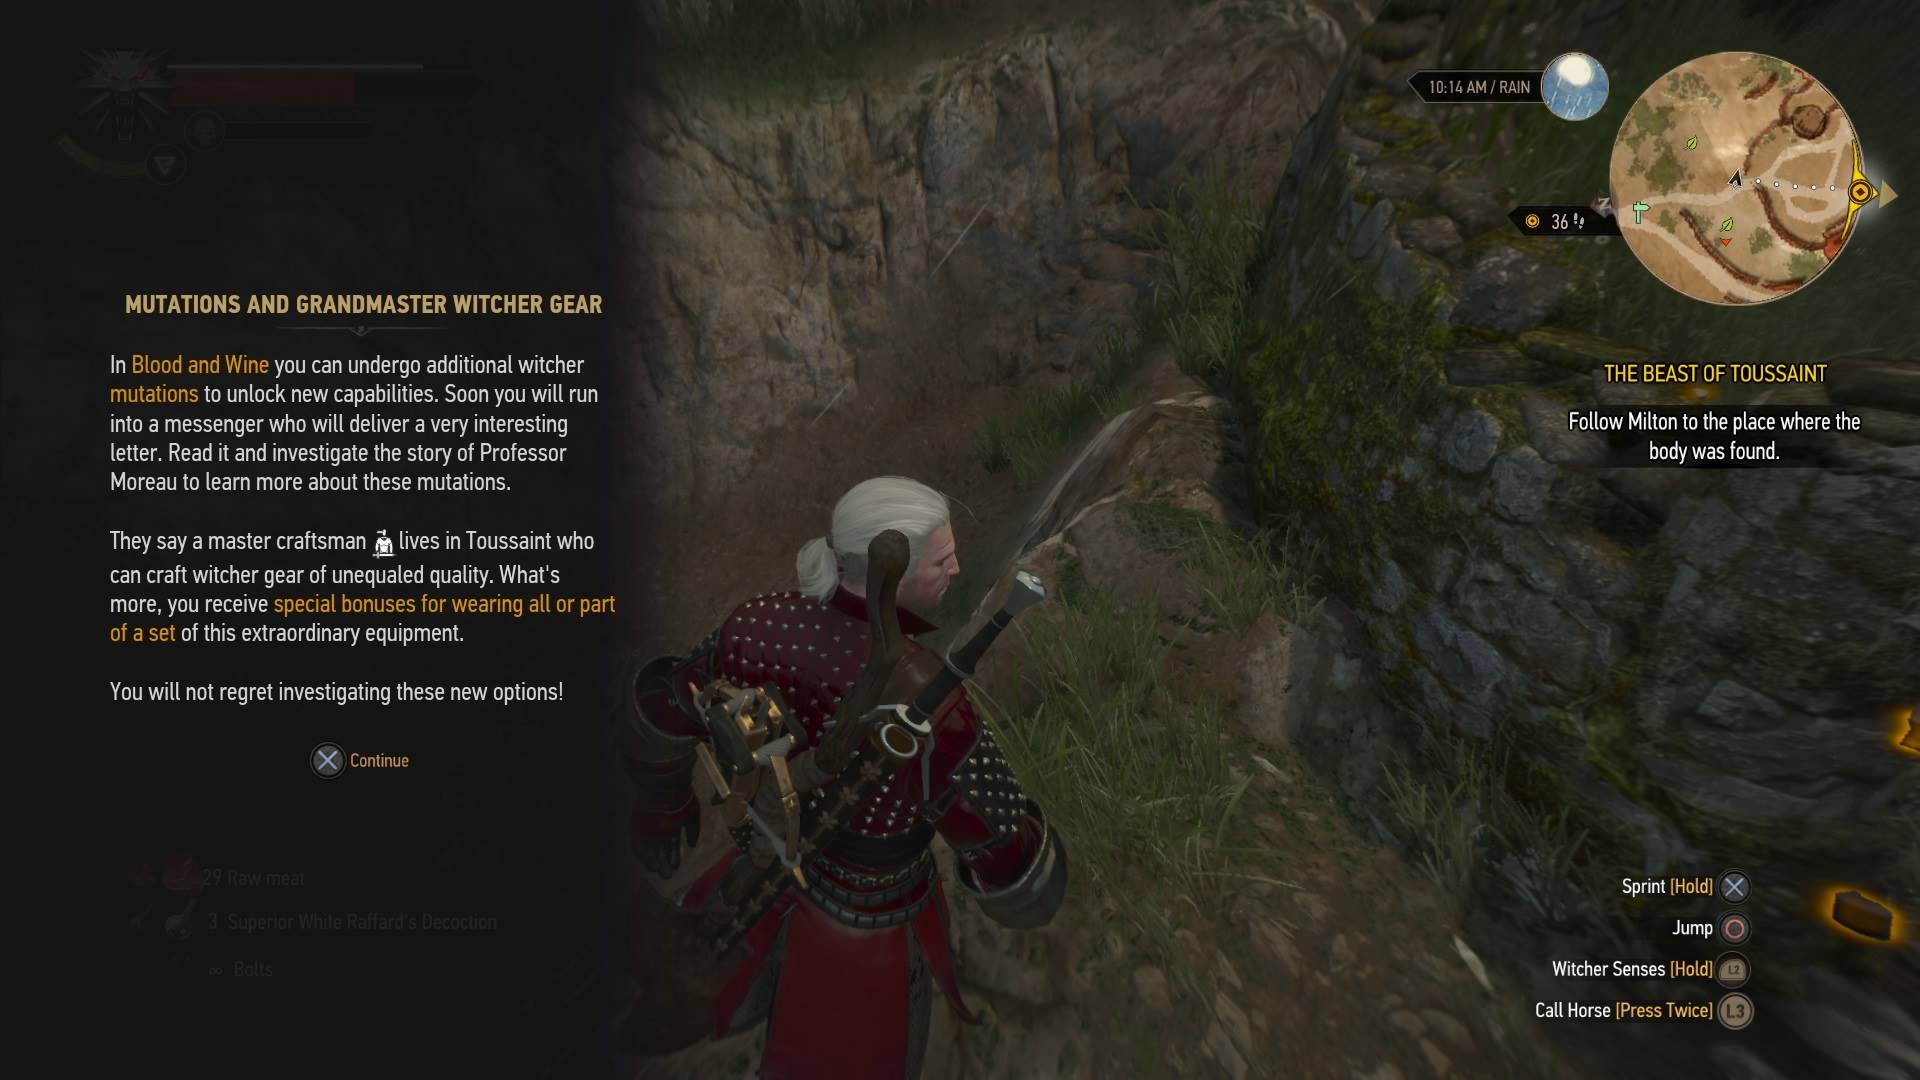
After that you will follow Milton to the water’s edge to find the body of the latest victim. There you will need to defeat some Scurvers (new monsters, and there are tons of them!). Use Necrophage oil and Igni to defeat them. Once you’ve done that, “The Beast of Toussaint” quest automatically begins.
From there you will join Milton at The Cockatrice Inn to speak with everyone. You will find new food available, recipes, books, and a notice board outside. Picking up the notices will add:
- Gwent: To Everything – Turn, Turn, Tournament
- Gwent: Never Fear, Skellige’s Here
- Wine Wars: Belgaard
- Knight for Hire
- Mutual of Beauclair’s Wild Kingdom
- Witcher Contract Big Game Hunter
If you are like me, you will immediately hold off on continuing just so you can venture around and unlock some fast travel markers. I stumbled upon San Sebastian, Beauclair (Harbor Gate), and Beauclair Port. Another marker opened as well called the Gran’place.
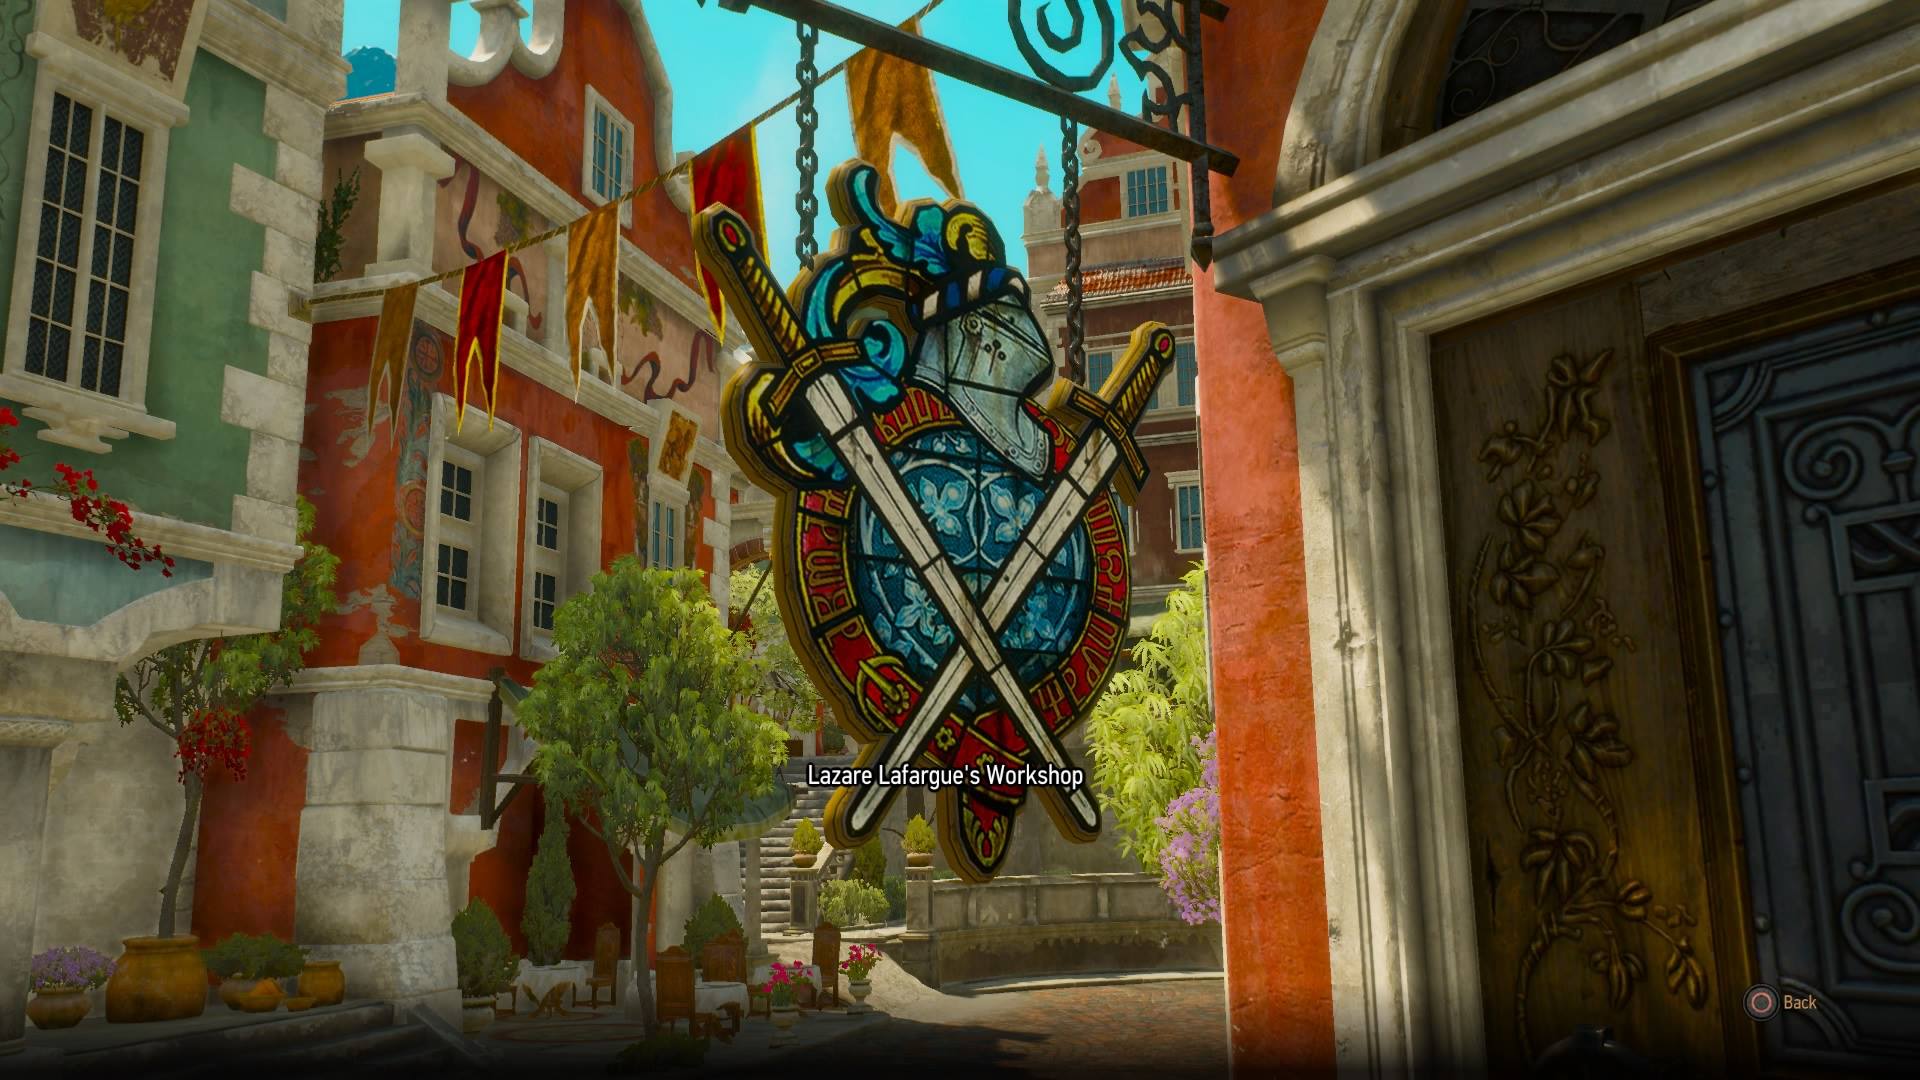
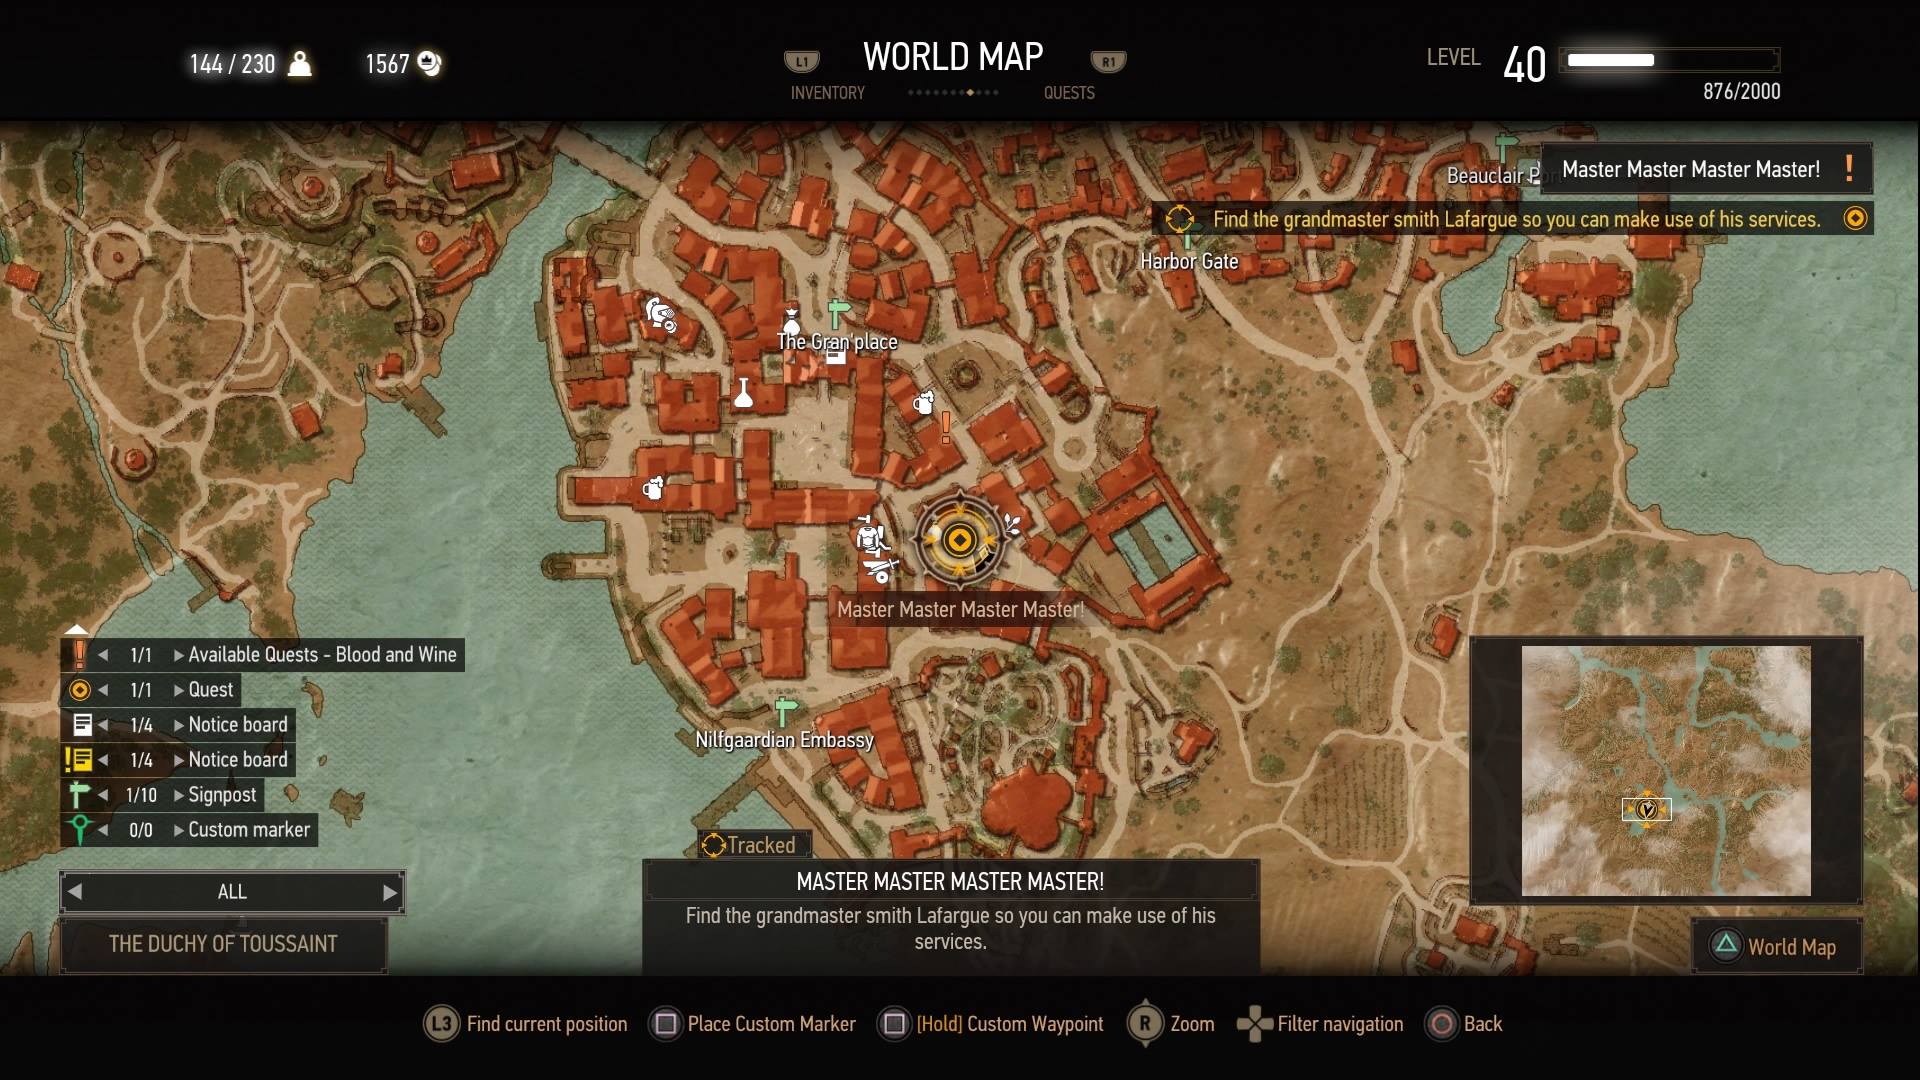
I stopped by the notice board here and received a contract for “Master, Master, Master, Master.” I met a master blacksmith named Lafargue at his shop and he asked for my assistance in obtaining plans for:
- Grandmaster Crafted Griffen Gear
- Grandmaster Crafted Feline Gear
- Grandmaster Crafted Ursine Gear
- Grandmaster Crafted Wolven Gear
- Grandmaster Crafted Manticore Gear
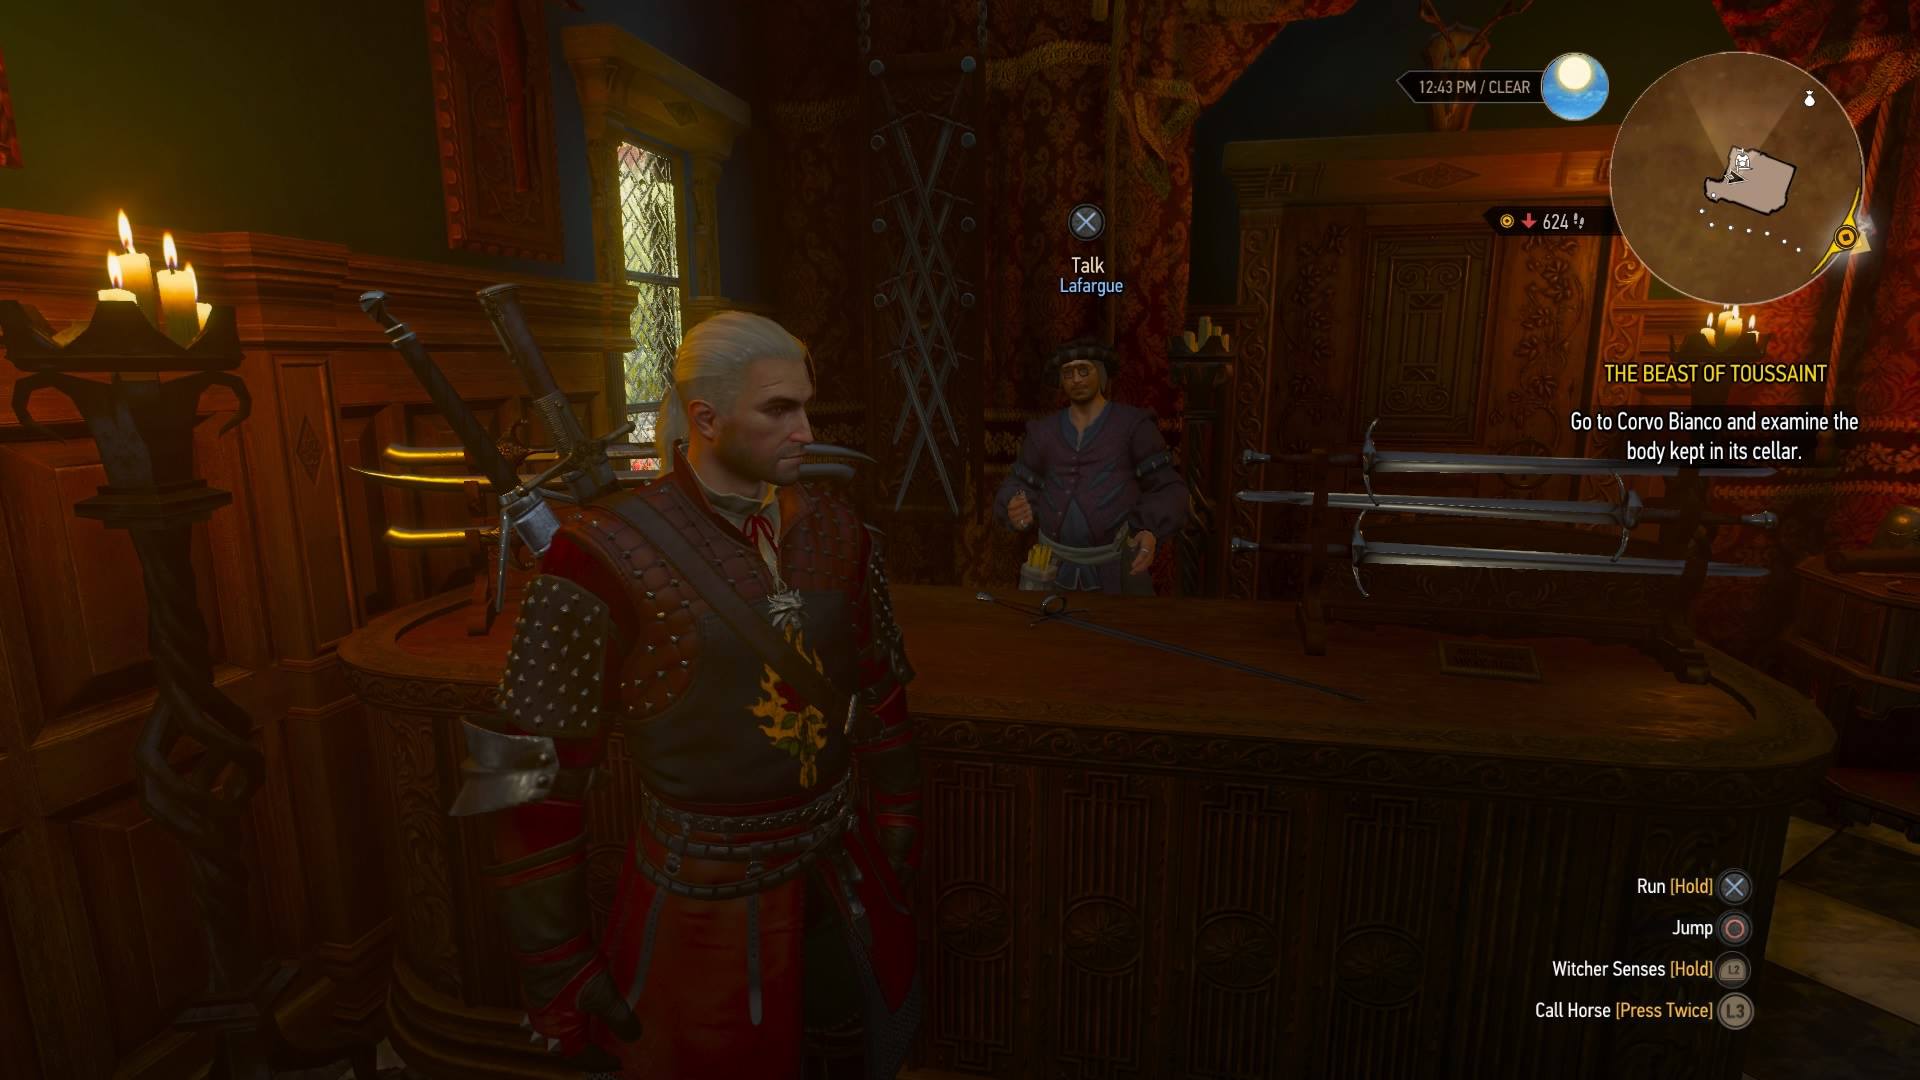
Upon finding these plans, he agrees to make himself copies and to make Geralt whatever he wishes, plus get some coin. Grandmaster level gear gives some serious bonuses when equipped as a partial or full set.
Grandmaster Crafted Gear
Grandmaster Crafted Griffin Gear
Head out towards the ruined fort. Three of the diagrams are in a box inside, along with a letter that points to the location of the remaining three. Make your way to the new location and fight off the bandits when you arrive. Afterwards, use the “Eye of Nehelani” on the wall to reveal a hidden staircase. You are in a Hanse, so deal with the boss quickly before continuing your search. However, if you are quick you can be in and out before the reinforcements arrive.
Now head inside and use your Witcher senses to find a small switch on the wall that reveals another hidden passage. Loot the box at the end on the left, read the note, and then look on the desk for the spare crystal. The desk is located right of the room if you are facing in from the unpowered portal. Place the crystal in the frame and use the Aard sign to proceed. On the other side there’s a Golem, so prepare with Elementa oil to take him down before proceeding to the next room. The remaining diagrams are on a chair, a table by the still, and in a chest next to the fireplace.
Grandmaster Crafted Feline Gear
First Location: Head for the house. The gates are locked, so make your way to the south-east corner and use the collapsed part of the scaffolding to get inside. Defeat the pocket of bandits and talk to the clerk – he knows nothing useful, so head inside the red building and loot the picture hanging on the door inside to the left to find one of the diagrams and a clue to the next. Head back outside and search amongst the dead bandits to find the key to the gate and a set of orders. Read the orders, unlock the gate, and move on to the next location.
Second Location: Is a Hanse, and will definitely need clearing out before you can properly look around. Head toward the upper floor using the wooden ladder on the collapsed bridge on the south side to find the Bandit Chief. Once the area is clear, head for the signal fire on the north side of the ruins, loot the container to find another set of diagrams, and your next clue. Now head towards the cave and follow the passage inside. Beware, there are Archespores here so deal with them before searching the area. The remaining diagrams are in the northernmost tip of the cave.
Grandmaster Crafted Ursine Gear
First Location: Head to Flovive, making your way around the outside of the ruined building until you find some fallen rocks below a collapsed roof. Use Aard to clear the rocks out of the way and head into the darkness. There will be a chest just to the right once you are inside, which contains three diagrams and your next clue.
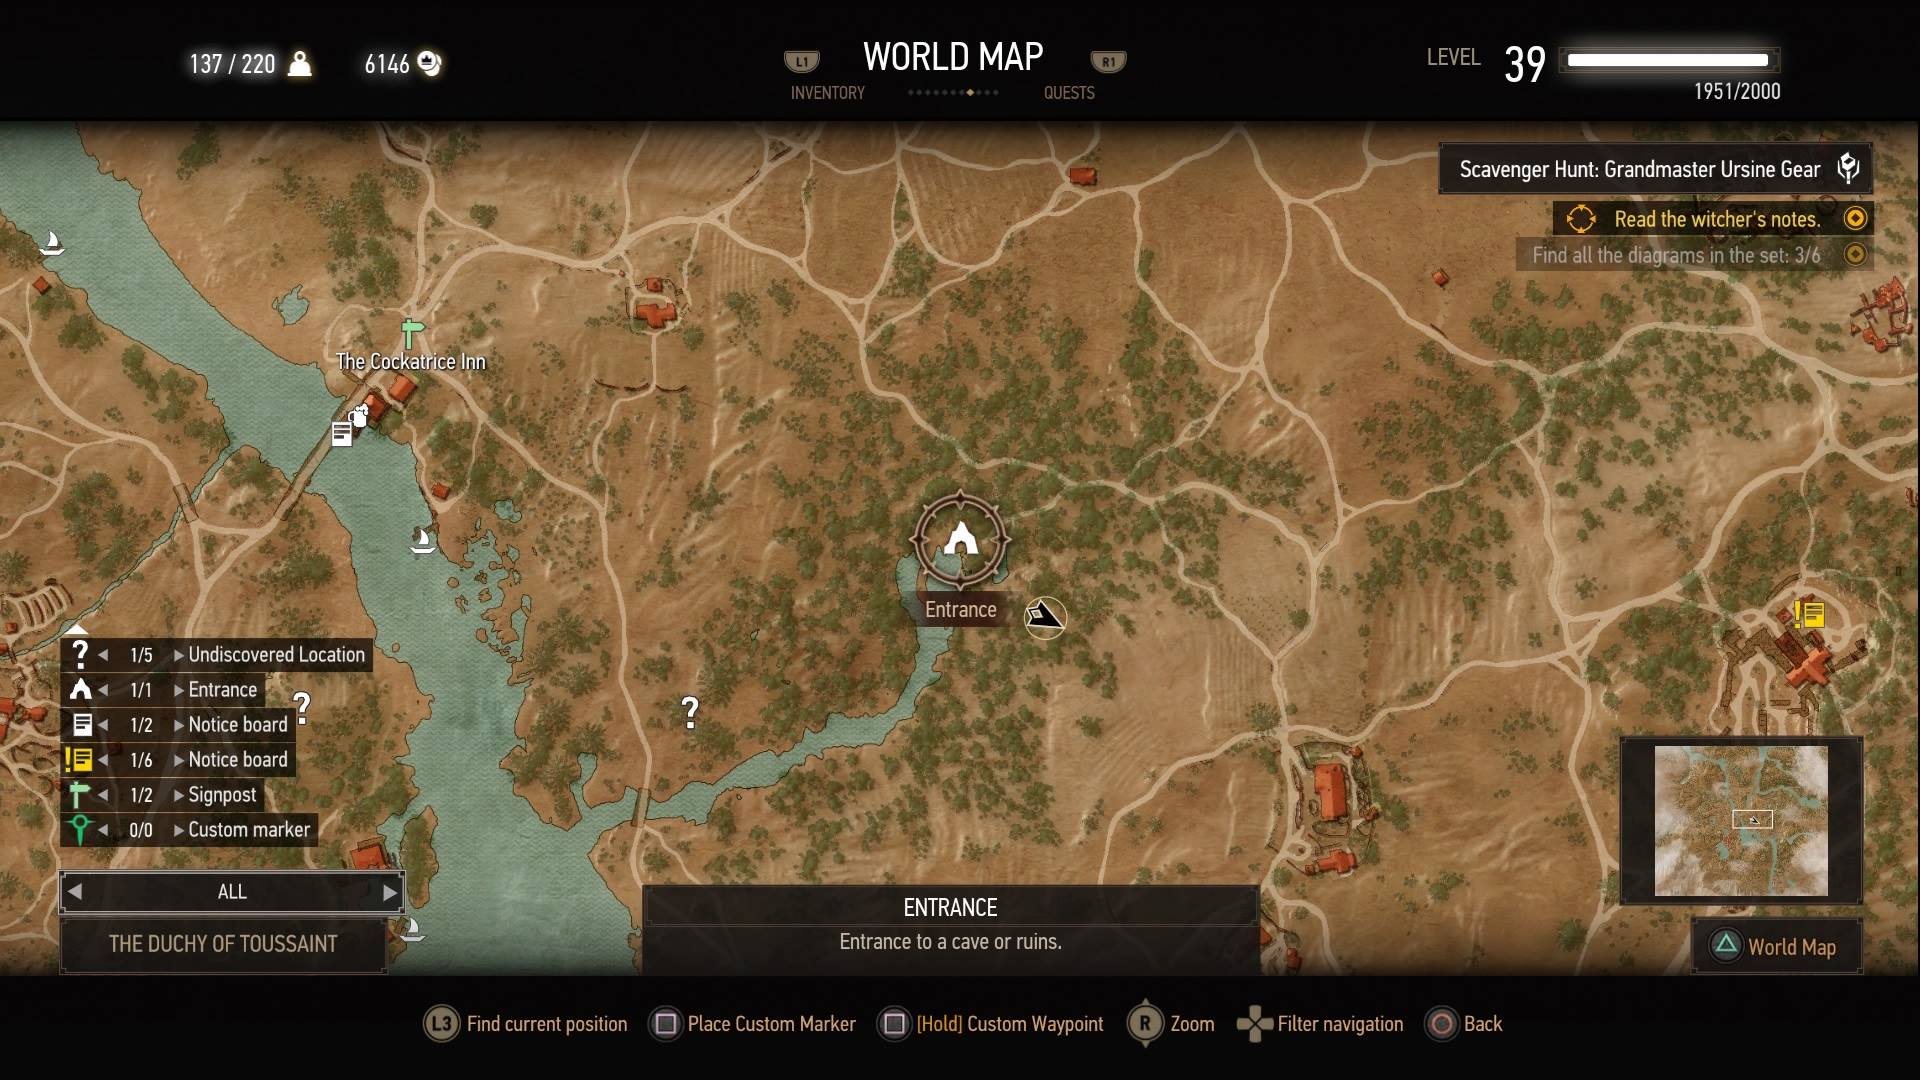
Owl Eye’s of Grottos cave (there are two entrances)
Second Location: Head towards the Tufo Vineyard and find the cave “Owl Eye’s Grottos.” If you have already dealt with the Monster of Tufo contract, then it will be marked on your map. Drop down the waterfall in the entrance and use Aard to clear the rocks to your left; and read the warning left on the ground. Use your Witcher senses to follow the bear markings on the wall until you find the dead Witcher — loot him to find the remaining diagrams.
In the “Owl Eye’s Grottos,” you will discover various colored armor dyes, green gold ore, meteorite ore, copper ore, Formulas for Purple and Gray armor dyes, Dye Remover, new books, and ore in the rocks (gold and silver).
In the collapsed home, you will discover other armor dyes and a peacock feather.
Grandmaster Crafted Wolven Gear
Here you will head for the ruins and look in the box under one of the benches in the campsite for a clue, then make your way to the next marker. The entrance is on the lower levels of the stone terraces and inside is a magic barrier that needs a key. Before going inside, loot the skeleton tucked in the corner of the area near the entrance. Use the switch to the right of the barrier to lower it and head inside.
This area is swarming with monsters, so be cautious while you are exploring. Defeat the Barghests, examine the skeletons on the ground, then head to the left and use Aard to break down the wall at the end of the passage. The large chamber ahead plays host to a Giant Centipede that needs to be killed before using Aard to get through another wall. You will be attacked by both Wraiths and Barghests as you drop down into the next room, so be prepared.
Nip into the room to the right of where you landed to find three diagrams on the dead Witcher under the rock, then head the other way and examine the satchel on the ground to find the other three. Head into the next room and pick up the key from the floor near the door to make your way out.
Grandmaster Crafted Manticore Gear
Destination One: Upon reaching the first marker, you will come under attack by a Forktail, have Draconid oil and Golden Oriole potion equipped; and use Aard to knock it out of the sky. Once you are at the prison itself, climb to the tower using the ledge on the northwest side and loot the loose brick just beside the doorway to reveal the first diagram and the clue to the next location.
Destination Two: There will be a Panther just outside the cave, so deal with that and then head inside. Examine the prayers hung around the walls until you find one you can loot. You will find it on the back of the second diagram, along with another clue.
Destination Three: Use Aard to knock down the wall at the back of the monument. If you have not yet completed “The Words of the Prophets Are Written on Sarcophagi,” then you will be attacked by a Wraith called “The Great Beggar.” The diagram will be in a small box on the left of the alcove, ahead of where you got in.
Destination Four: Swim to the end of the cave and make your way up the steps. You will encounter gas clouds and while passing through the series of caverns you will start suffering from hallucinations, each designed to test your devotion to one of the Virtues.
- Ignore the naked women in the first room.
- Give Alms to each of the beggars in the second room.
- Defeat the Kikimores in the third room.
- Use Aard to break into the next room.
Head towards the slope on your right to meet your final hallucination and get the fourth diagram.
Destination Five: Tackle the bandits and loot the sack at the bottom of the lake to get the last diagrams. Here you will find a final note to end the hunt.
- Then return to Lafargue in Beauclair for your reward.
Hope this helps. Don’t forget to check through The Witcher 3: Wild Hunt Master Guide List for more helpful guides, tips, and tricks to assist you throughout your journey.


Published: Jun 4, 2016 02:37 am