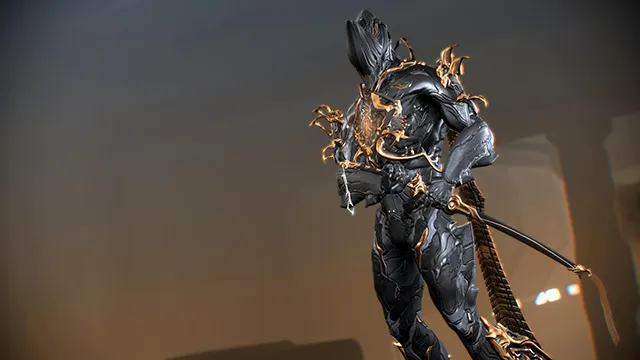
With the introduction of update 23.0 all Warframe players can obtain the Excalibur Umbra frame through the new Sacrifice quest. The new frame has higher levels of armor and energy, but the best part is that it is a sentient frame capable of fighting on its own without being piloted by an operator.
You don’t need to complete the full Sacrifice quest in order to get Excalibur Umbra. However, you will not be able to use the frame until you complete the full quest. So follow our guide below on how to most efficiently get to the end of the Sacrifice quest.
How to Complete The Sacrifice Quest in Warframe
Mission 1: Investigate Sentient Energy
After the introductory custcene you will be given the task to search for traces of sentience on Lith, Earth. The mission will start off with killing a horde of ghouls and moving towards the courtyard.
When you enter the courtyard you will need to equip your Codex Scanner and search for three warframe traces and one sword:
- The piece of cloth is hanging from the stone in the west
- The helmet can be seen in the eastern part
- The remains are lying near the tombstone in the central-eastern area
- The sword can be seen embedded near the tree
Then, head towards the extraction zone and survive another wave of ghouls. Once you’re there, the mission will be over and you will have the Excalibur Umbra blueprint.
Mission 2: Explore Lua
In order to build the actual frame you will be sent to Pavlov, Lua. Upon landing you will need to explore the ruins and solve the Orokin cipher. In order to do this you need to blow up lids on the walls of the room holding the cipher with three symbols. This will reveal one of the symbol parts.
Then, follow the marker on your mini-map and you will find the second symbol part. Finally, go back to the cipher and choose the three required symbols, which will solve the puzzle.
Keep exploring the ruins and you will find another Orokin cipher, this time with five symbols. Search the area as before by following the marker on your map and reveal four symbol parts on the walls. Again go back to the cipher and select the necessary symbols.
Enter the lab and search for the device near the pillar. Examine it and choose the enemy symbol indicated by blue color. Finish the mission by extracting.
You can now head to Foundry and build the Excalibur Umbra using:
- 1x Orokin Cell
- 60x Kuva
- 1200x Nano Spore
- 1600x Alloy Plate
- 10000x Credits
As stated before, if you try to pilot the Umbra at this point, it will attack you and escape. So there’s more to do before you can actually use it.
Mission 3: Search for Umbra
You will find Umbra on Nuovo, Ceres. First, you need to stun it and then try to use transference on it. As a result, you will start a mini-game of Komi, which requires you to surround enemy stones with your own.
After a few rounds regardless of the result, you will need to move to the extraction zone and keep pursuing Umbra.
Mission 4: Pursue Umbra
Fly to the Triton, Neptune and kill five mimics upon landing. After that you will fight Umbra again, and you will need to deplete it off its shields. When you’re done with the shields, you need to stun and use transference on it once again.
Another mini-game of Komi will begin during which a few important story elements will be revealed.
Mission 5: Confront Umbra
This mission takes place on Tycho, Lua and follows the same scenario as before. You will fight Umbra once again and use transference to enter its memories.
After the cutscene you will finally be piloting the Excalibur Umbra in all its glory. But before venturing into the extraction zone you will need to eliminate all sentients, which shouldn’t be a problem.
Mission 6: Return to Earth
In the final mission you will be going back to Earth and confront Ballas on the courtyard from the very first mission. Umbra will act on its own, without you piloting it, so just let it do its thing. When it finally defeats Ballas, the quest will be completed.
—
Hopefully, this guide helped you finish all the missions in the Sacrifice quest and get the Excalibur Umbra, and for other Warframe guides here at GameSkinny, check out the links below:
- How to Get Limbo Prime
- Finding and Manufacturing Harrow Parts
- Morphic Transformer vs. Primed Morphic Transformer For Your Archwing
- Should You Go with Shield Disruption or Corrosive Projection?


Published: Jun 22, 2018 10:01 am