Completing Fia’s questline in Elden Ring unlocks one of the game’s hidden endings. There aren’t as many steps here as there are in Ranni’s quest, but the two are somewhat connected, as failing Ranni’s will lock you out of completing Fia’s.
Between the two, however, certain parts of the Fia chain make almost all of Ranni’s quest look like child’s play. There are, however, some serious rewards for this quest beyond the new ending, so your time is well spent completing it. Now enjoy your hugs from the Deathbed Companion, and steal the mark of Death itself.
How to Complete Fia’s Questline in Elden Ring
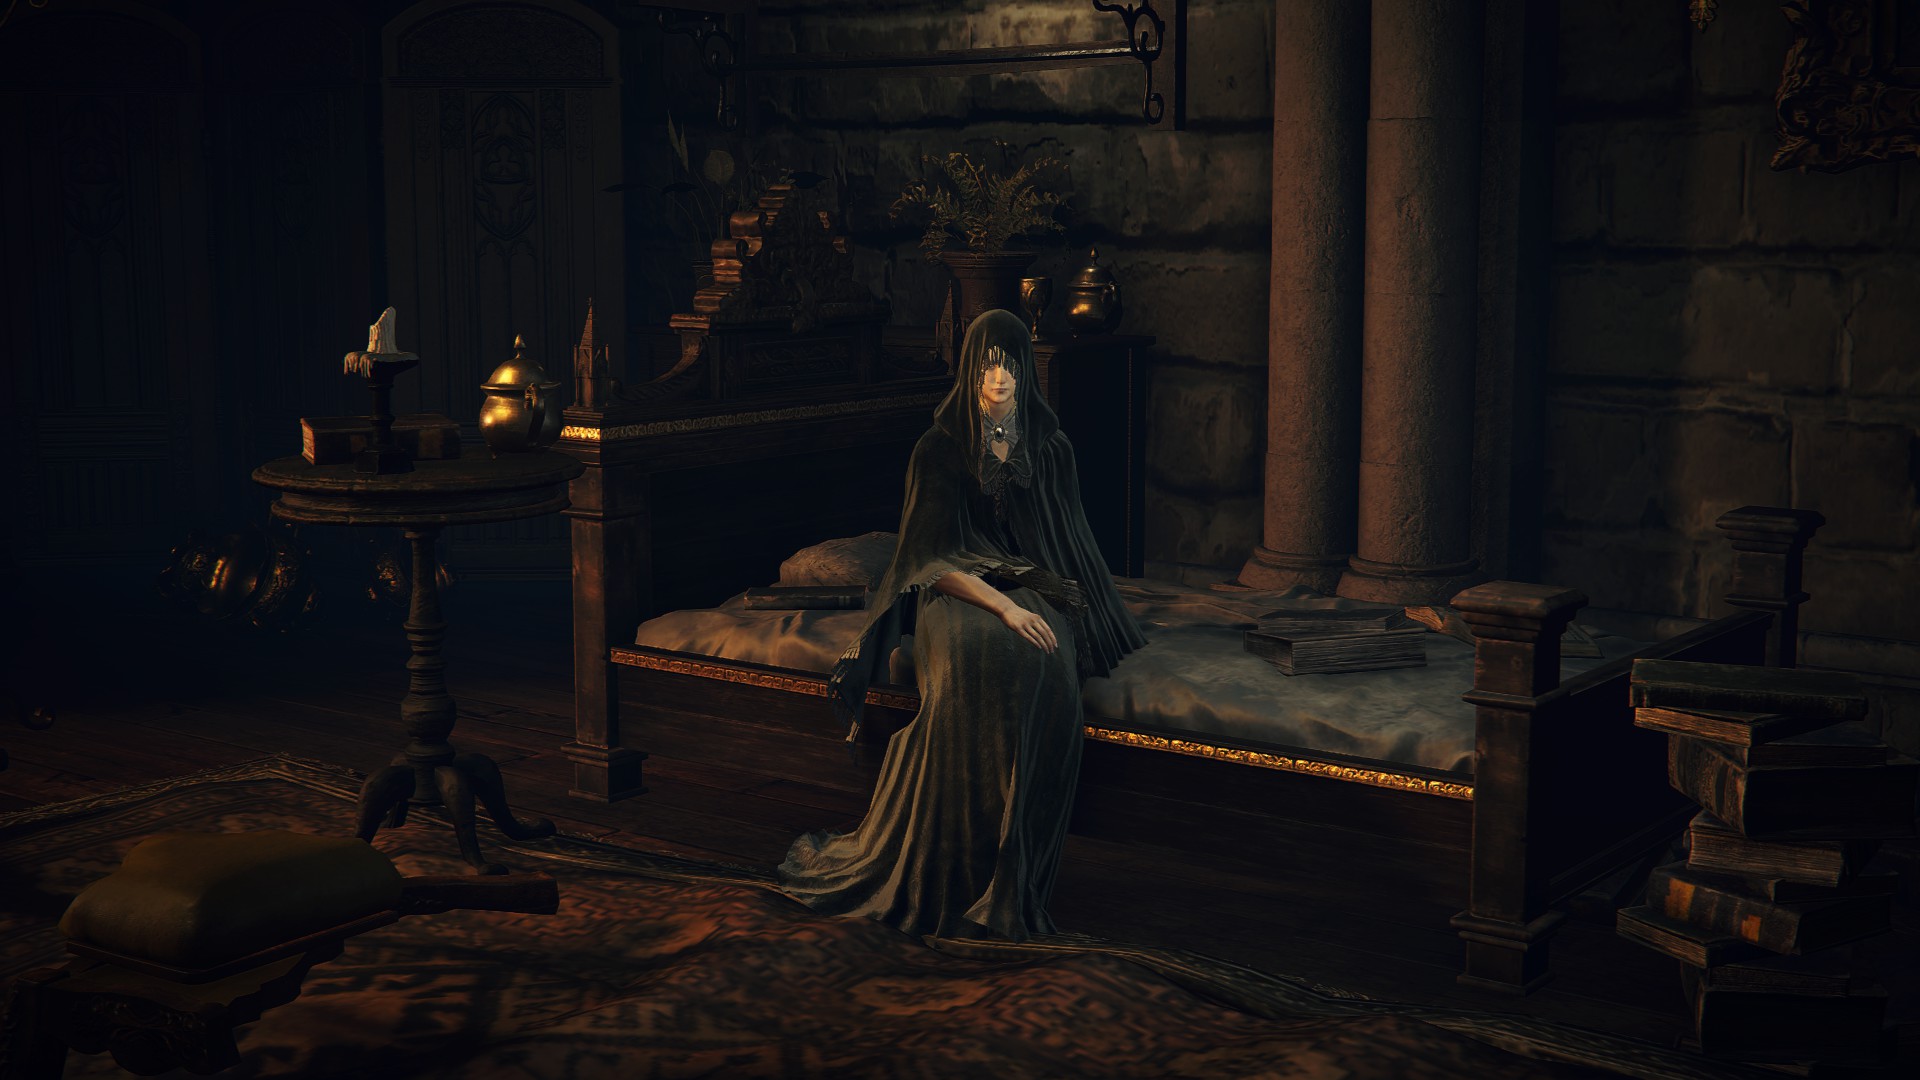
The first time you reach the Roundtable Hold, take the passage leading to Master Hewg, on the side of the room with the fireplace. A bedroom with a female figure, Fia, is through the open door nearest the Table itself.
Step 1: Let Fia Hold You
Speak to Fia, and she’ll mention that she’d like to hold you. Let her do so. You’ll receive the Baldachin’s Blessing item, which will reduce your health by 5% but, when used, vastly increases your poise for a brief period.
Step 2: Continue Letting Fia Hold You
With or without the Baldachin’s Blessing, return to Fia immediately or after some exploration. Have her hold you again and again until the option to Talk in Secret pops up. Let her tell you a bit of her story.
Step 3: Progress the Story
Fia won’t have much more to say to you until you’ve defeated at least two shardbearing demigods and reached the Altus Plateau by some means, such as with the Dectus Medallion. Return to Fia frequently to see if you can progress to Step 4.
Beware: do not give Rogier the Black Knifeprint until entering her service. Doing so stops Ranni’s and Fia’s chain entirely.
Step 4: Return to Fia and Do Her a Favor
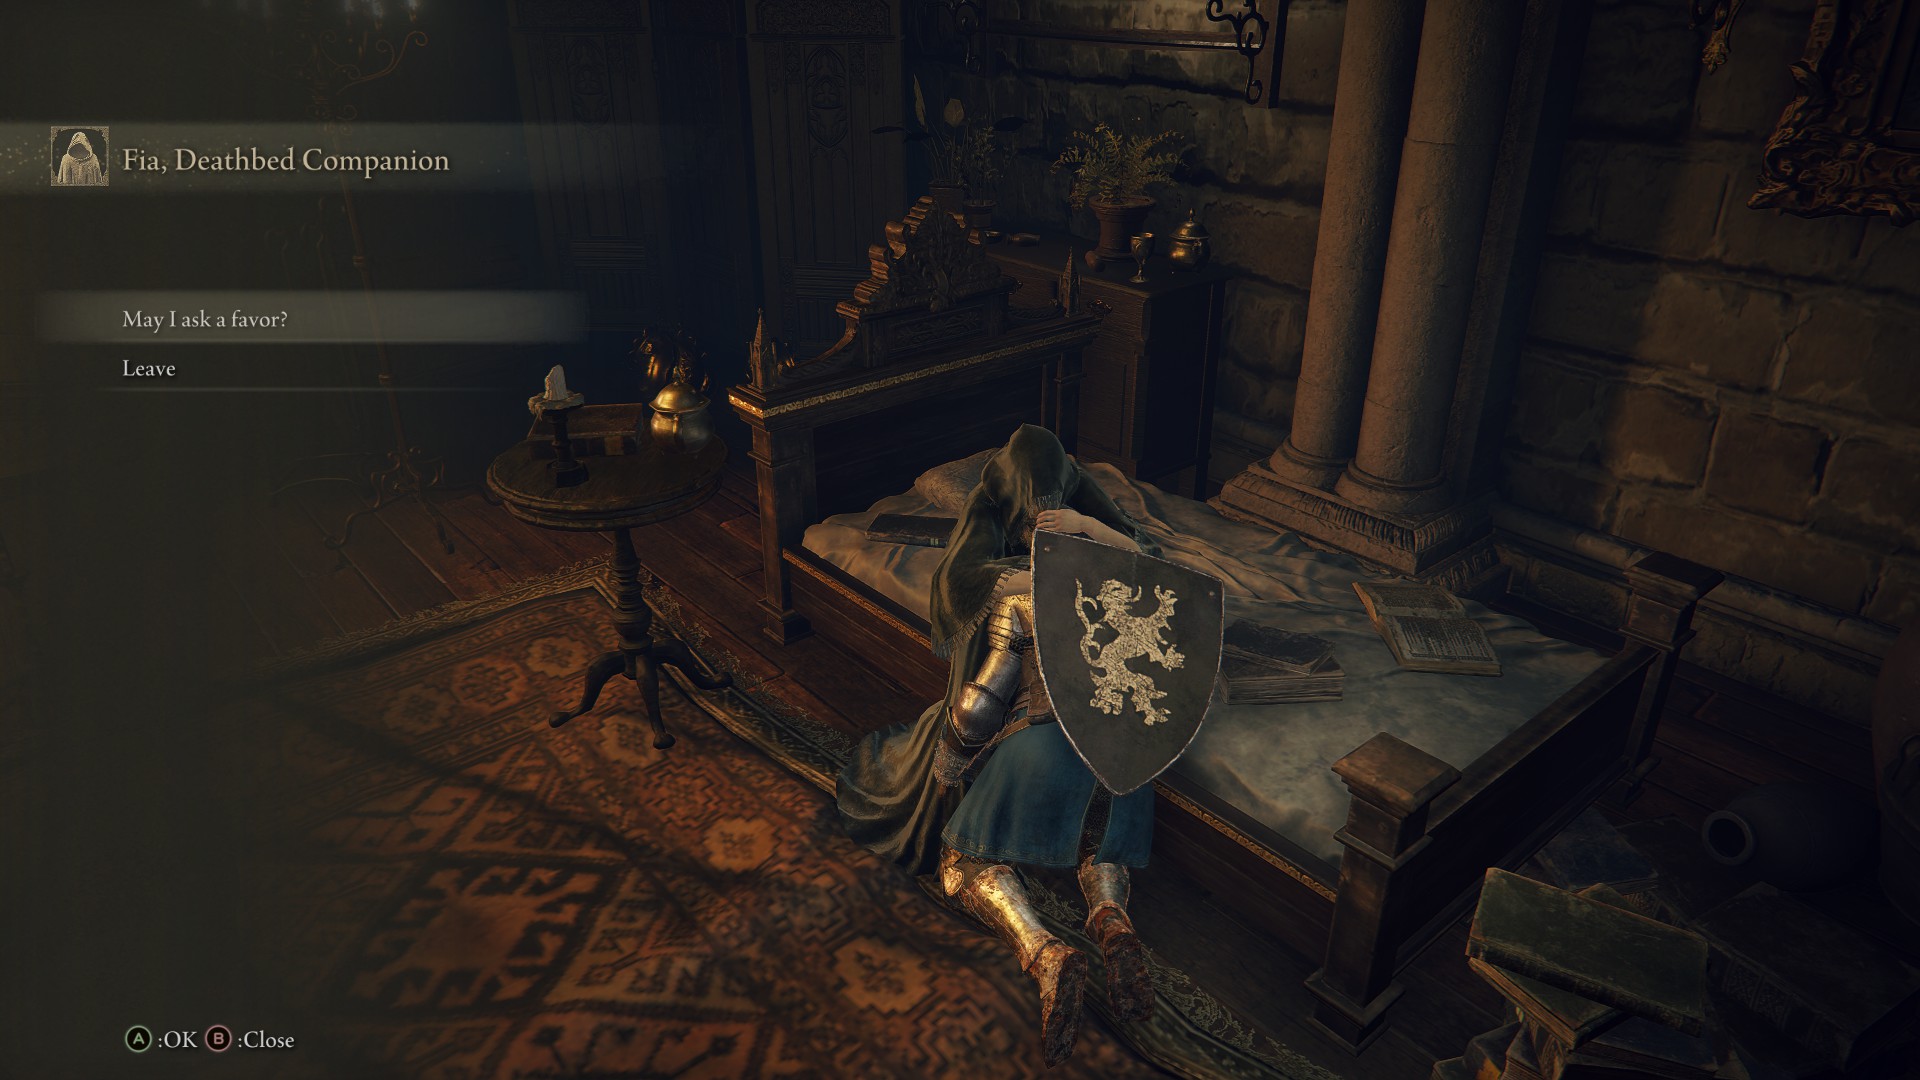
With enough story progress under your belt, return to Fia and let her hold you again. A new option will appear, asking if you can do her a favor. She’ll give you the Weathered Knife.
Step 5: Give the Weathered Knife to D at the Roundtable Table
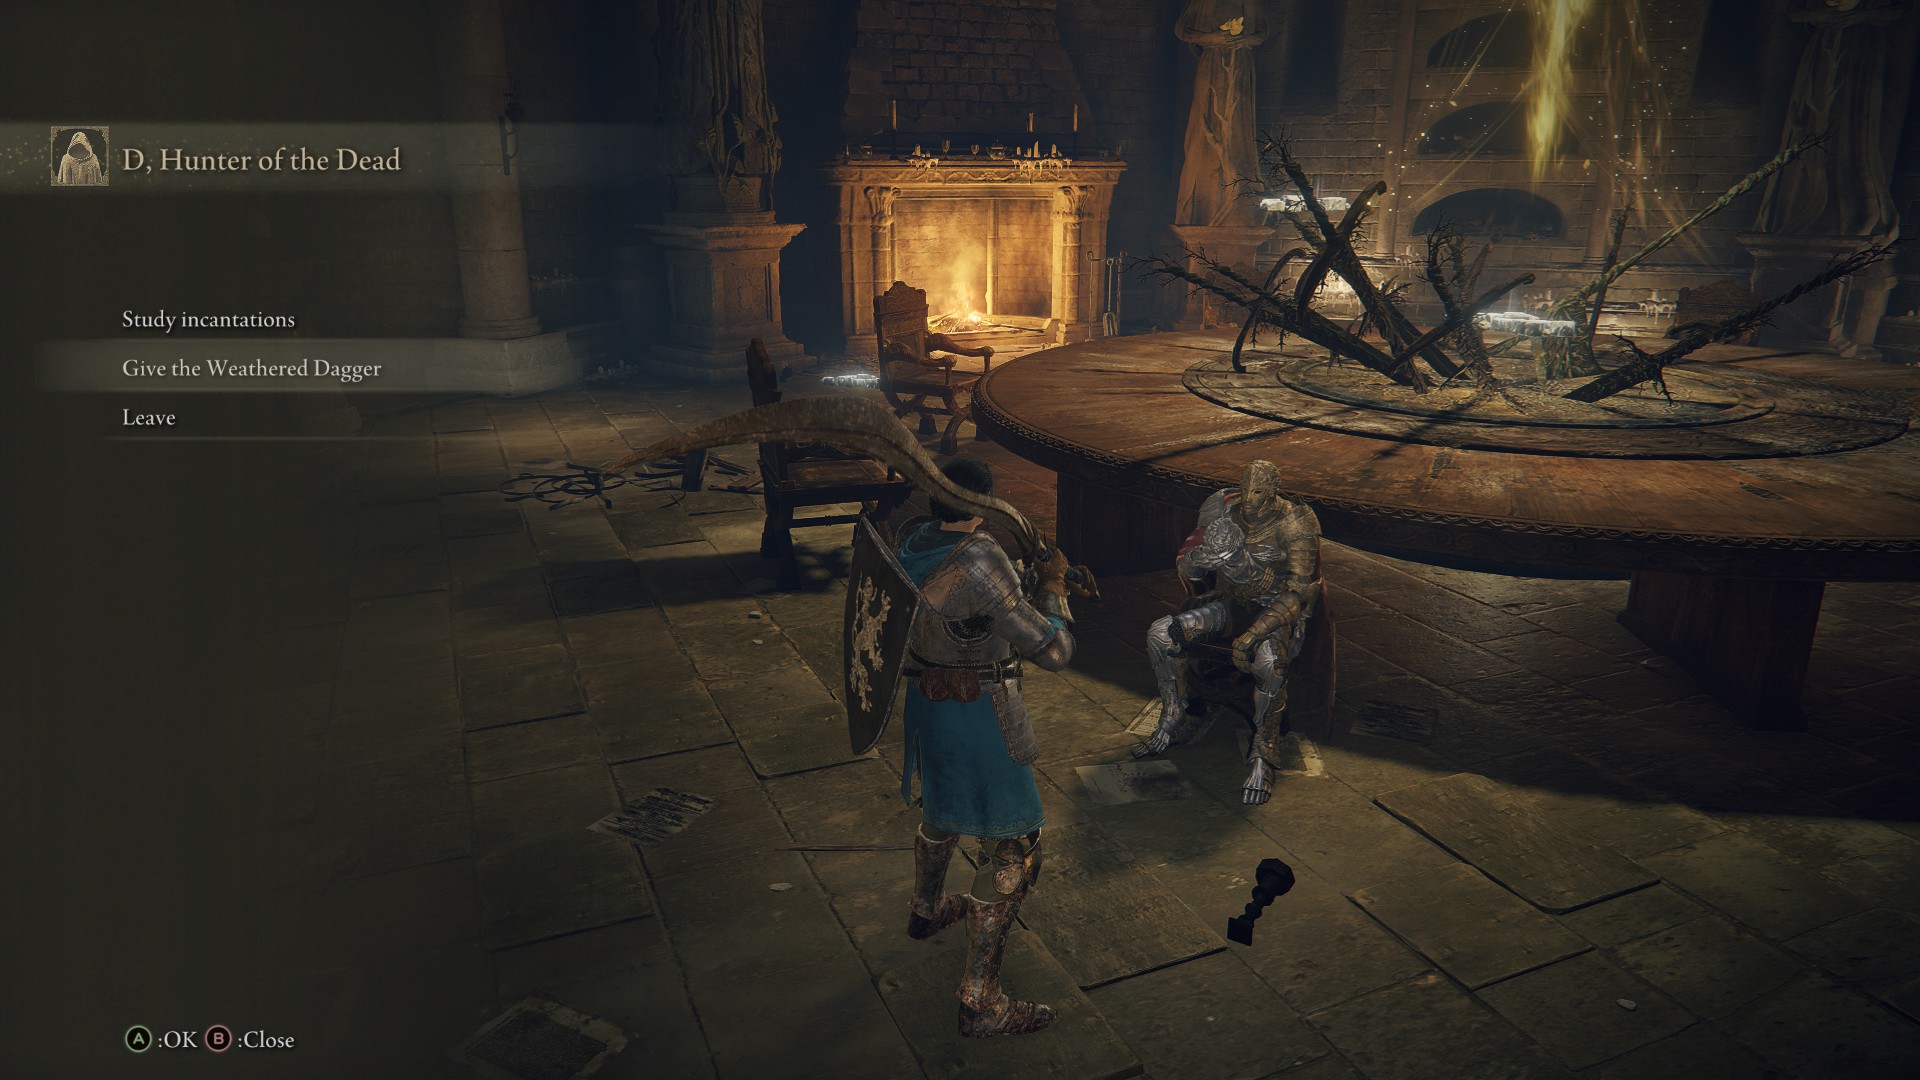
Head to the central chamber and speak to D to give him the dagger. He’ll wonder about where you got it, then send you on your way.
Step 6: Go to the Back Room near Hewg
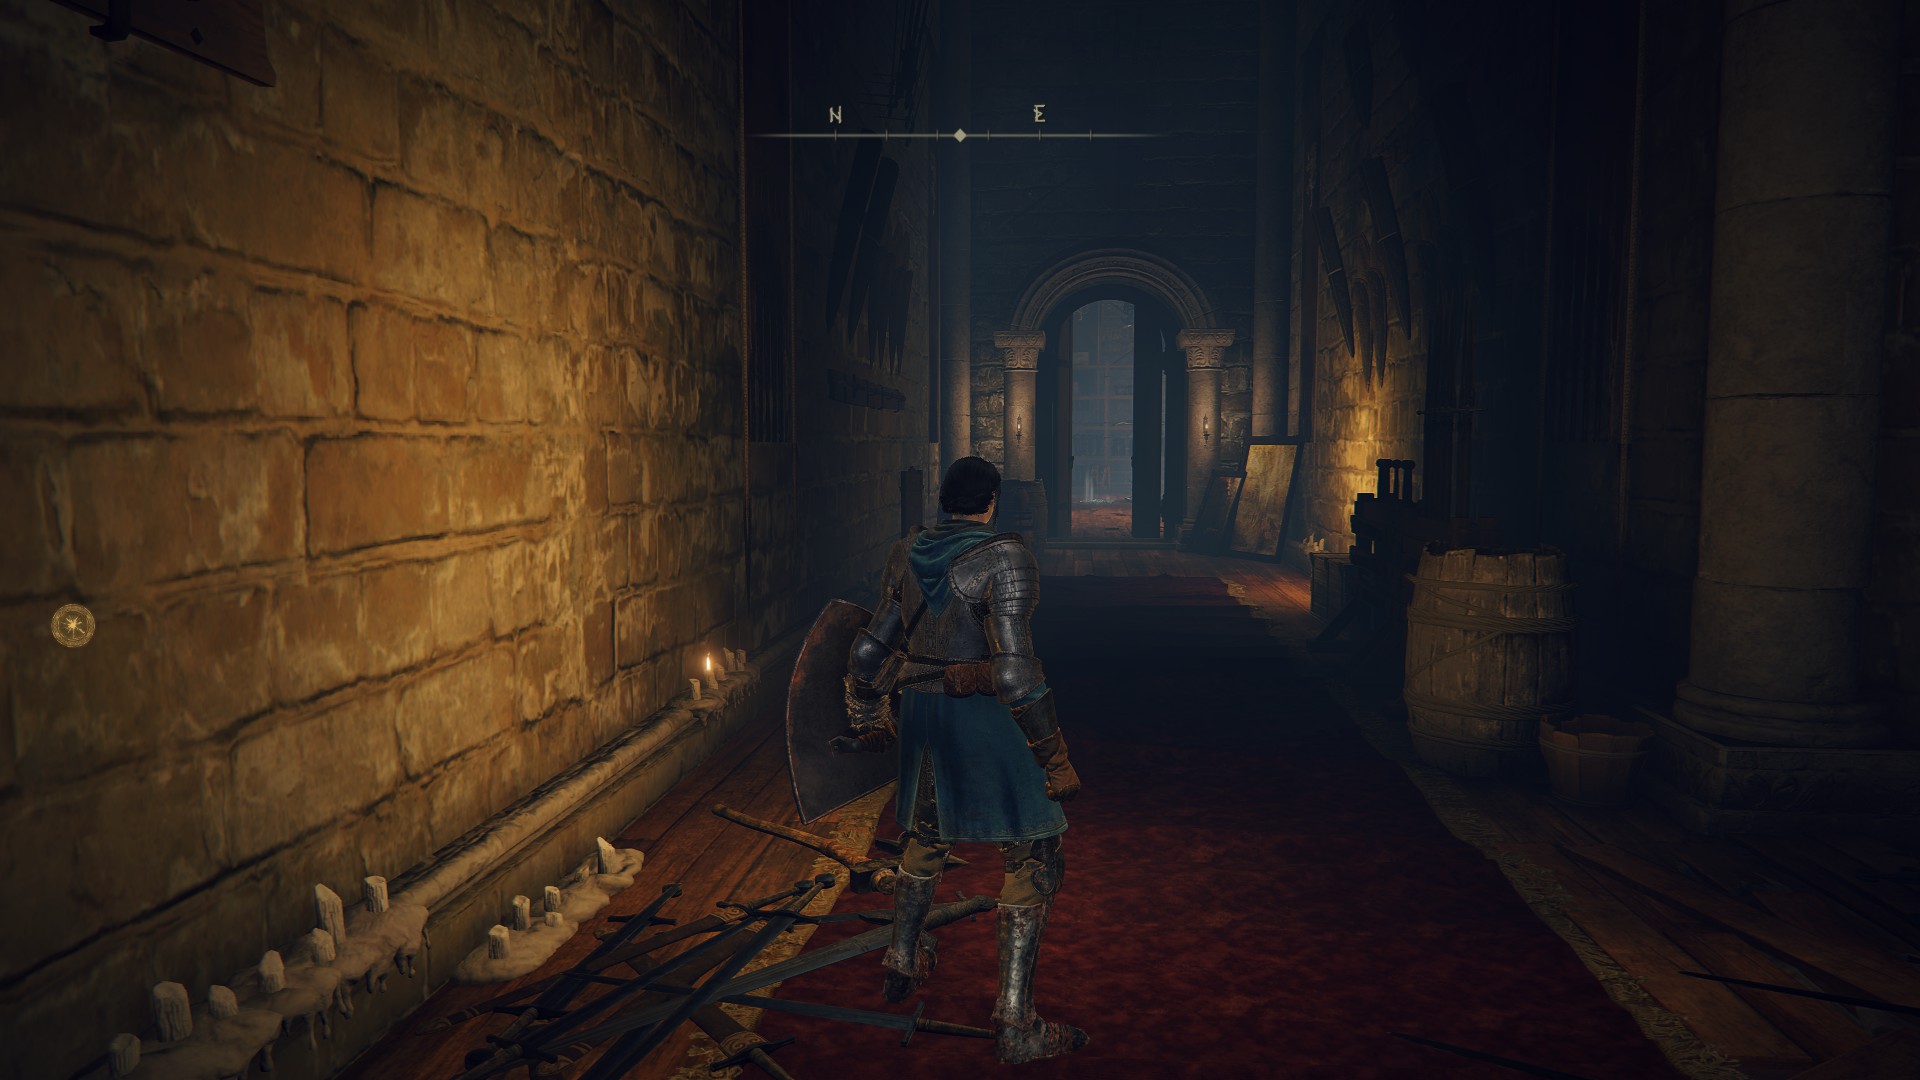
Head over to the hallway leading to Fia’s room with Hewg, the smith in it. The door at the far end of the hall will now be open. Go in to see Fia and D’s corpse.
Fia will make a declaration, then disappear. Pick up D’s Bell Bearing and armor. You’ll need his gear later.
Step 7: Progress Ranni’s Questline
Use our guide to Ranni’s quest to progress until you get the Inverted Caria Statue and gain the Cursemark of Death from the top of the Liurnia Divine Tower.
Step 8: Head to Nokron, Eternal City and Siofra Aquaduct
Defeat Starscourge Radahn with help from our guide to his boss fight to open the way to Nokron. Rather than heading into the city proper after the Mimic Tear fight, continue north past the singing enemy. You’ll see some jellyfish floating in the air if you’re going in the right direction.
Make your way into the aqueduct. Kill the Crucible Knights if you please, but continue north up the waterway, eventually taking a right onto a small catwalk. You’ll see a young man sleeping, wearing nothing but cloth.
Speak to him to get the Inner Order Gesture, then when prompted to give the man D’s armor, do so.
Step 9: Defeat the Valiant Gargoyle Duo and Ride the Coffin
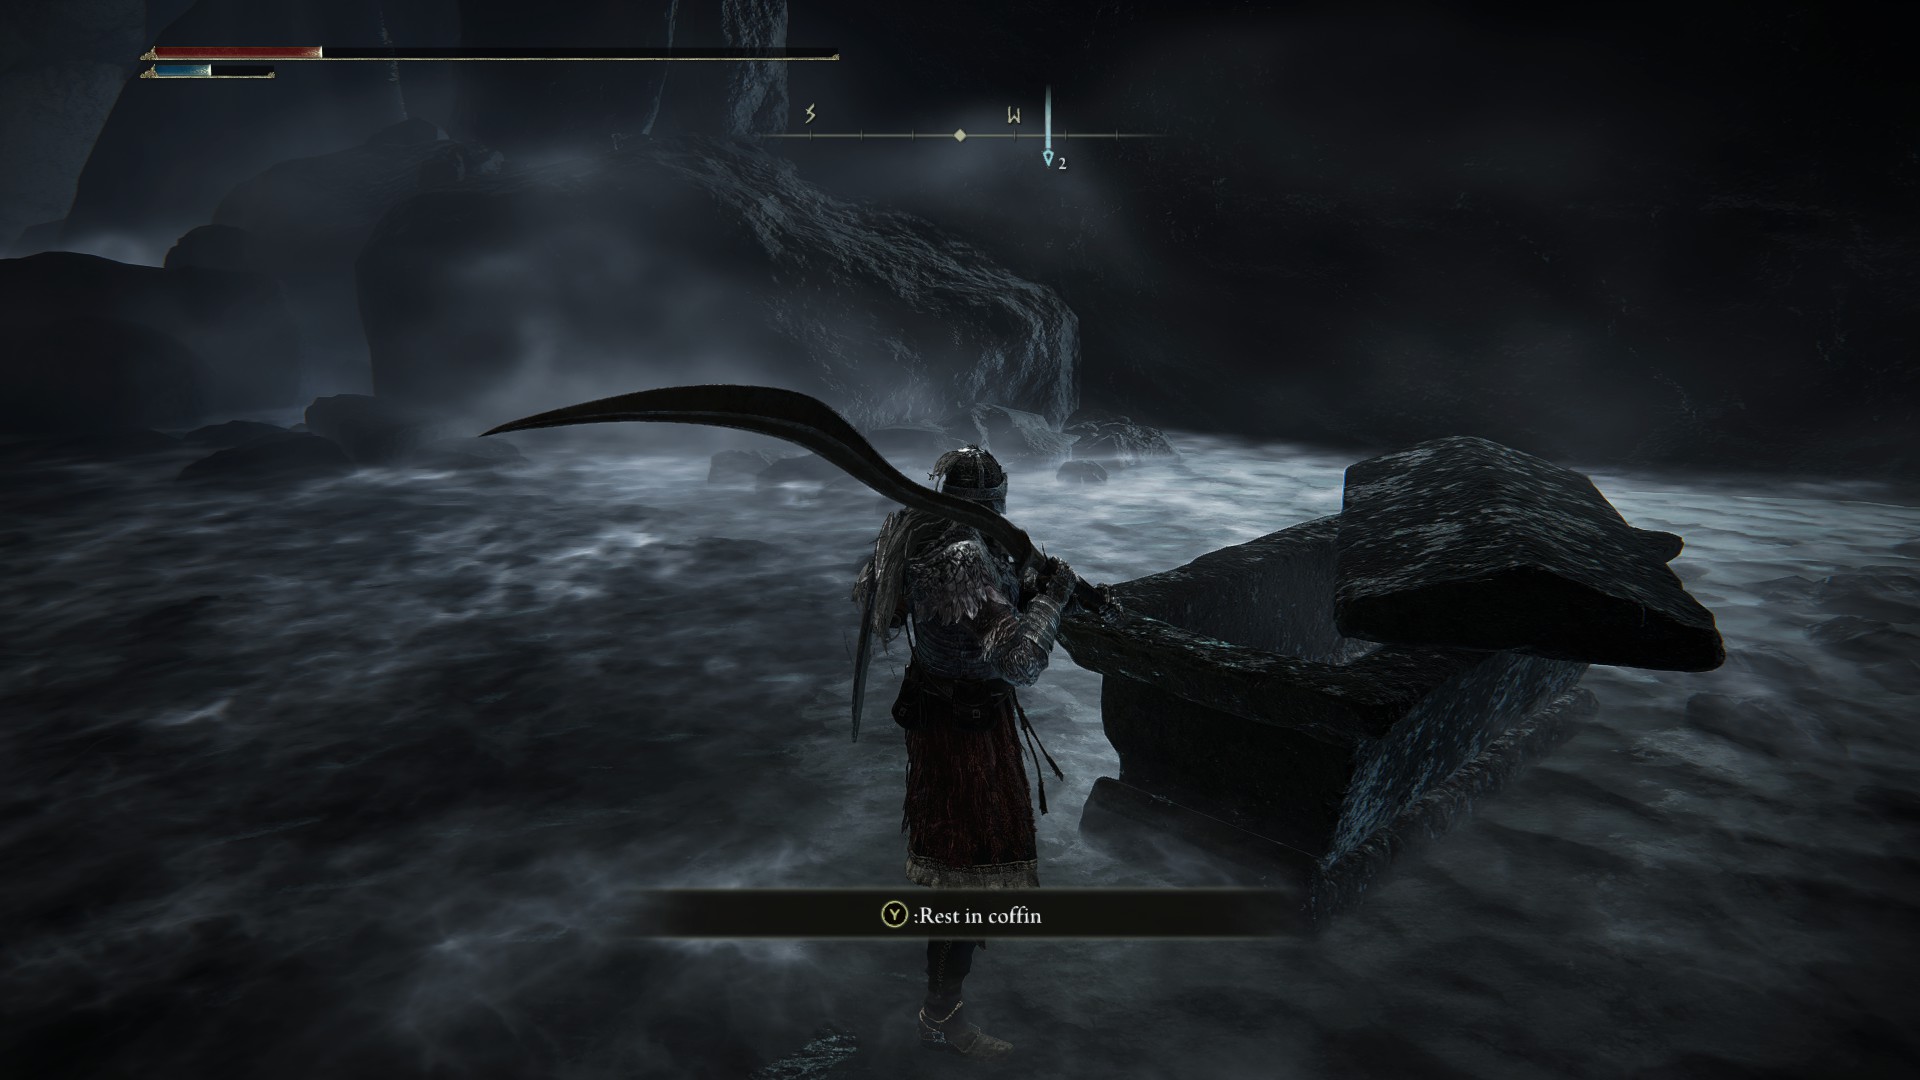
At the end of the Aqueduct is a large boss arena manned by a pair of huge gargoyle bosses. Defeat them by any means necessary, grab the Site of Grace that appears, then head to the waterfalls at the edge of the arena. There will be an opened coffin resting under the rushing waters. Get inside, and ride it up the waterfall.
Step 10: Traverse the Deeproot Depths
The coffin will lead you to a hidden area beneath the Erdtree: Deeproot Depths. Midway through, you’ll find its map fragment. Head into the sunken ruins, and on the southern end will be a large tree root leading up and away from the buildings. At its top is a Site of Grace and an opening in the roots Torrent can’t get through. Head through.
Step 11: Defeat Fia’s Champions
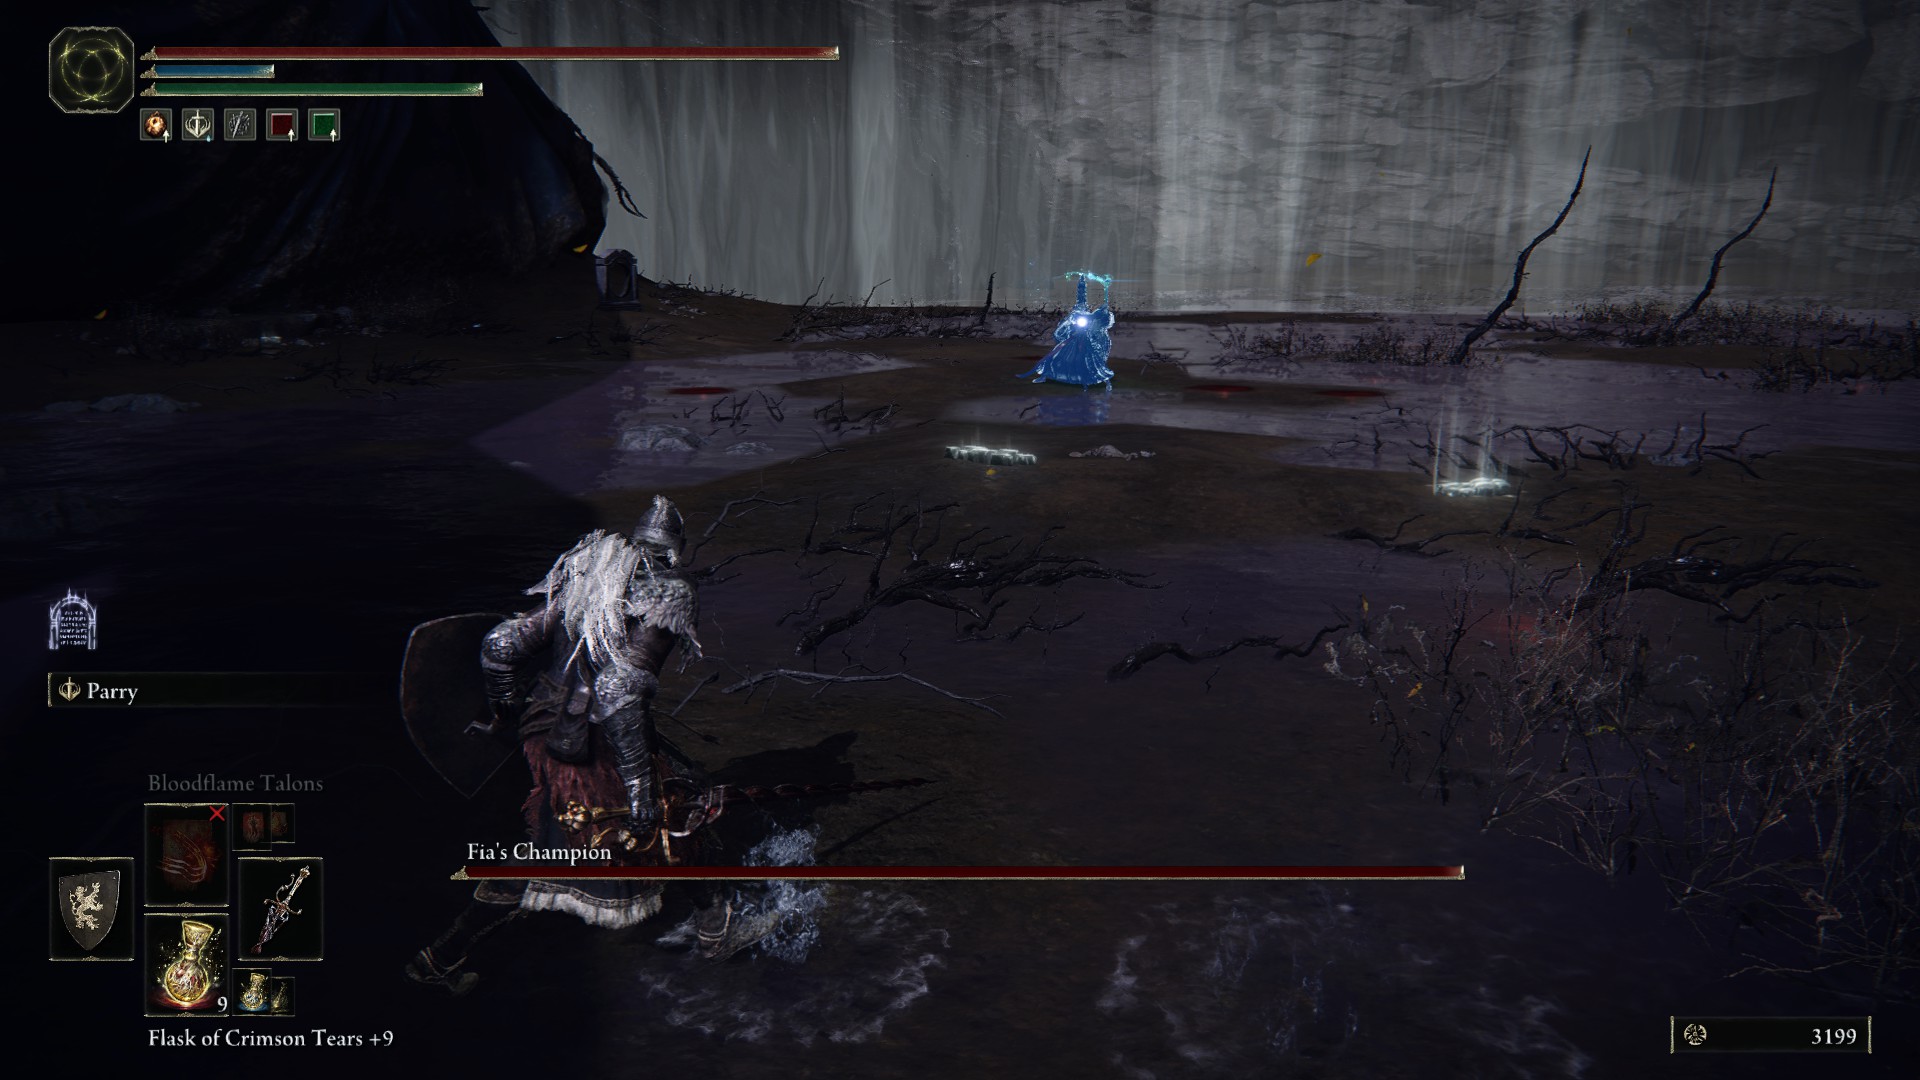
In the large arena beyond the opening in the roots is a huge boss arena. Head towards its back until spirits called Fia’s Champion begin to appear.
These enemies, including Rogier’s spirit, don’t have much health but deal immense damage. They act similarly to players, but as NPCs, they will read your inputs and react faster than any human could. The third phase of the fight pits you against three Champions, so be mindful of space and take out one at a time until all lay defeated.
Step 12: Speak to Fia
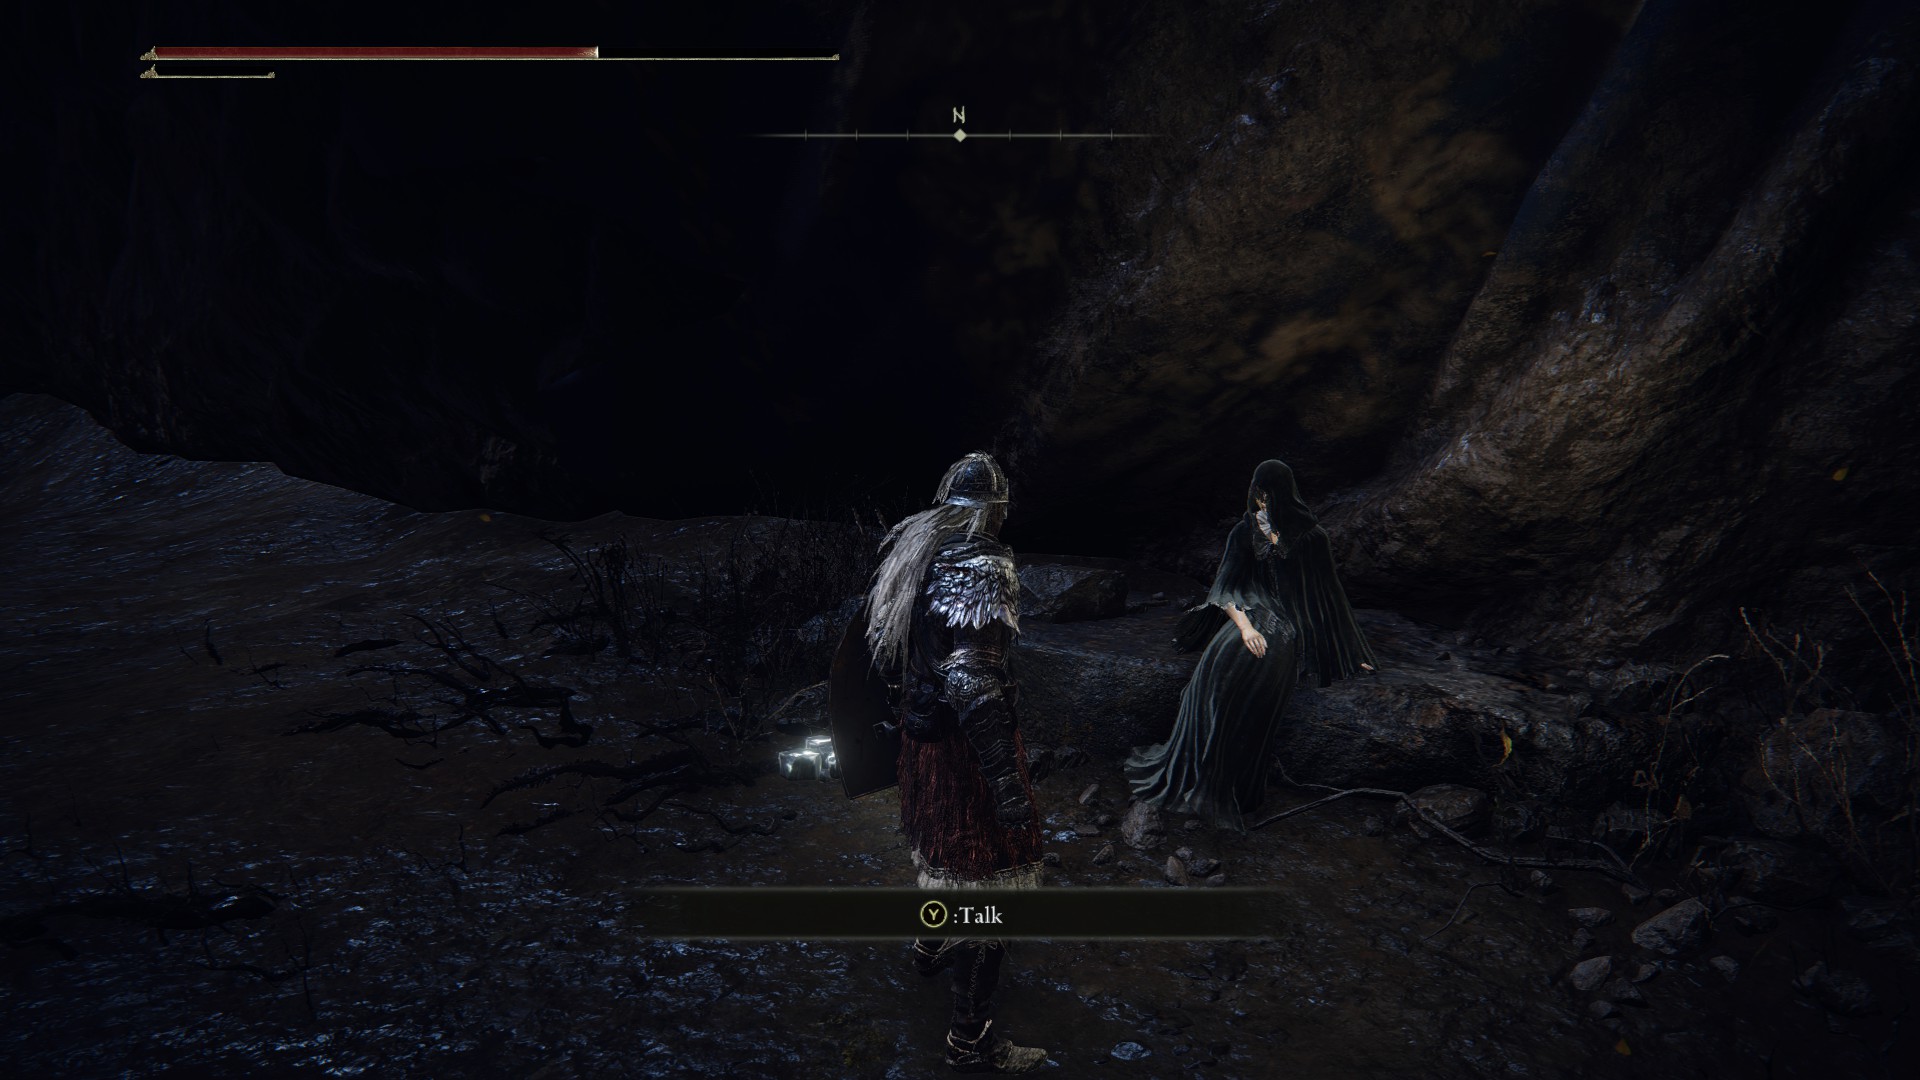
Her champions overcome, Fia materializes at the base of the tree at the back of the arena. Go up and speak to her. She’ll disparage you for a while until you have a choice either to reject her way of life or ask simply to be held.
Accept the hug into your life, even though she’s initially doubtful. Affirm that you want to be held when offered the option. Speak to her using the “Talk in Secret” option.
Step 13: Give Fia the Cursemark of Death
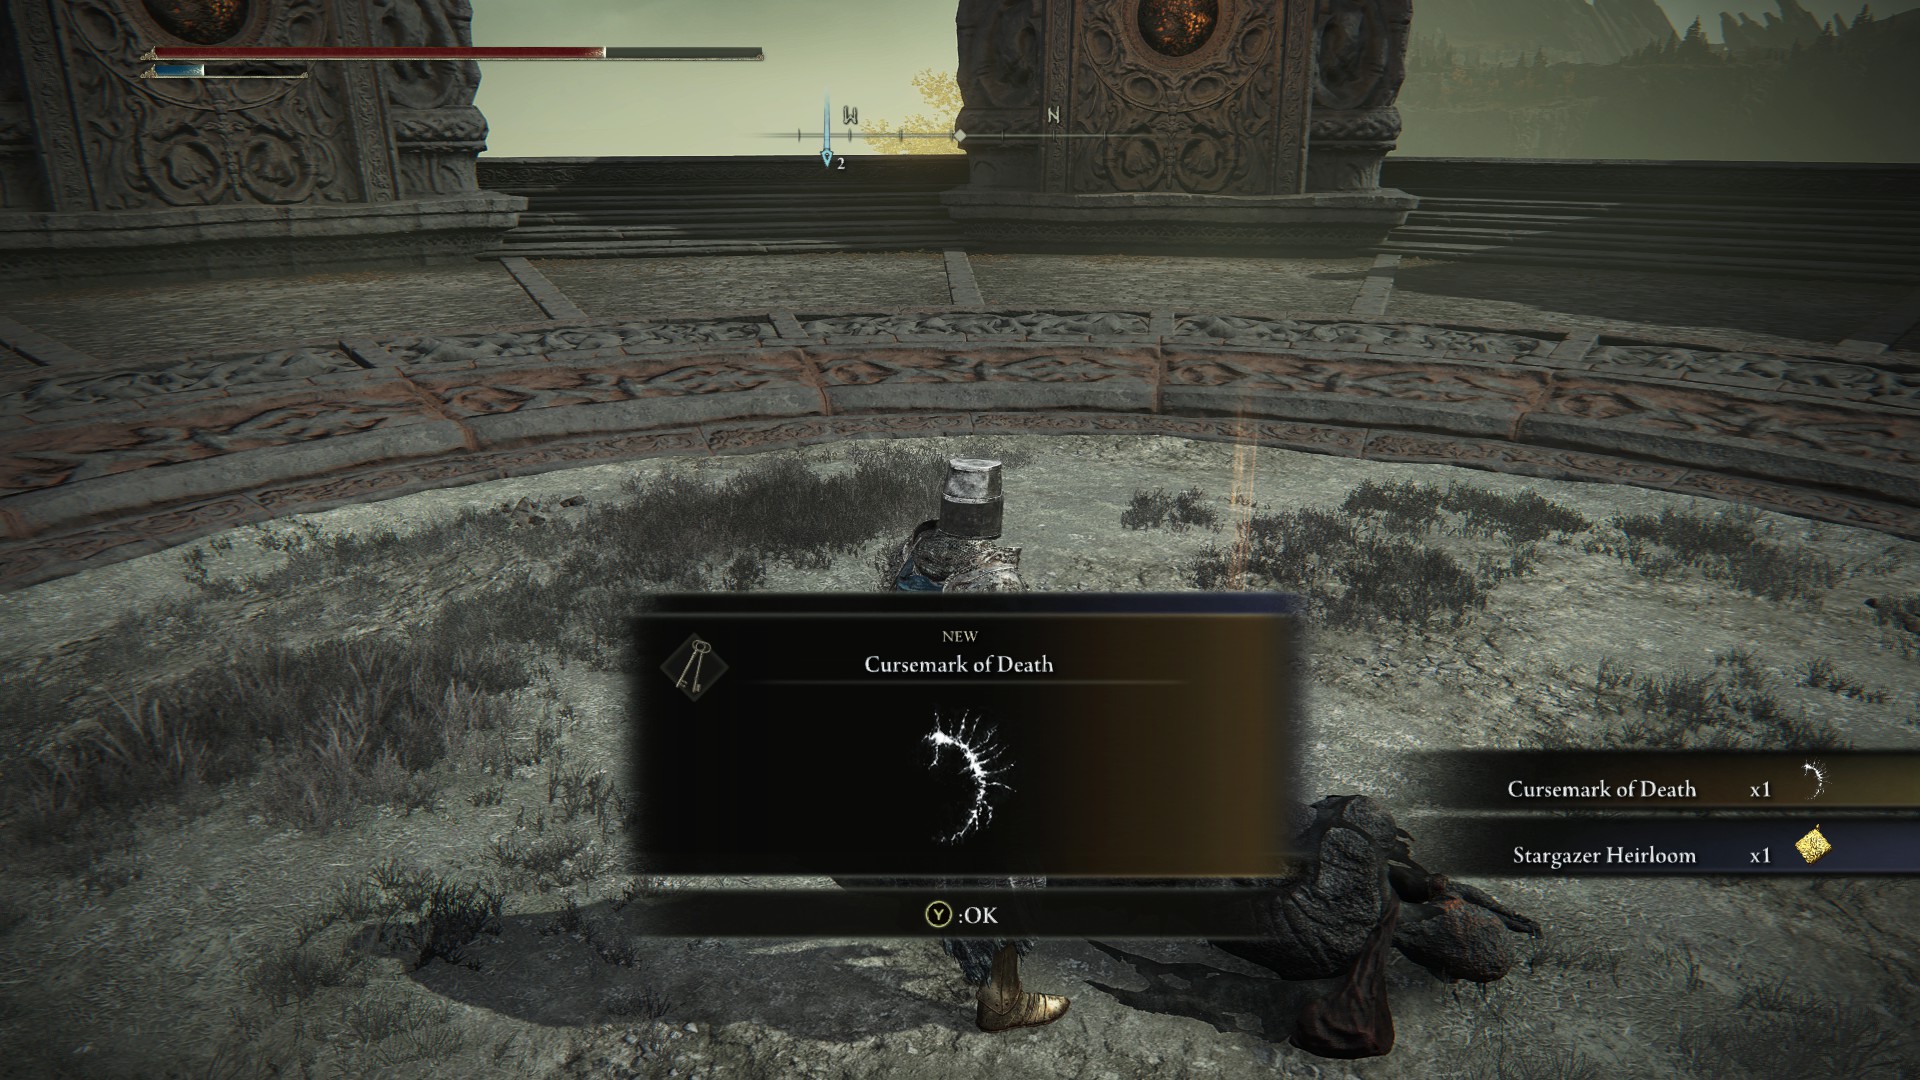
During your conversation with Fia, she’ll mention she needs another half of a hallowbrand to complete a special rune. At this point, give her the Cursemark you found at the top of the Liurnia Divine Tower (pictured above) and listen to the rest of her story. When she’s finished, allow her to let you go, then sit at the nearby Site of Grace.
Step 14: Enter the Deadbed Dream and Defeat Lichdragon Fortissax
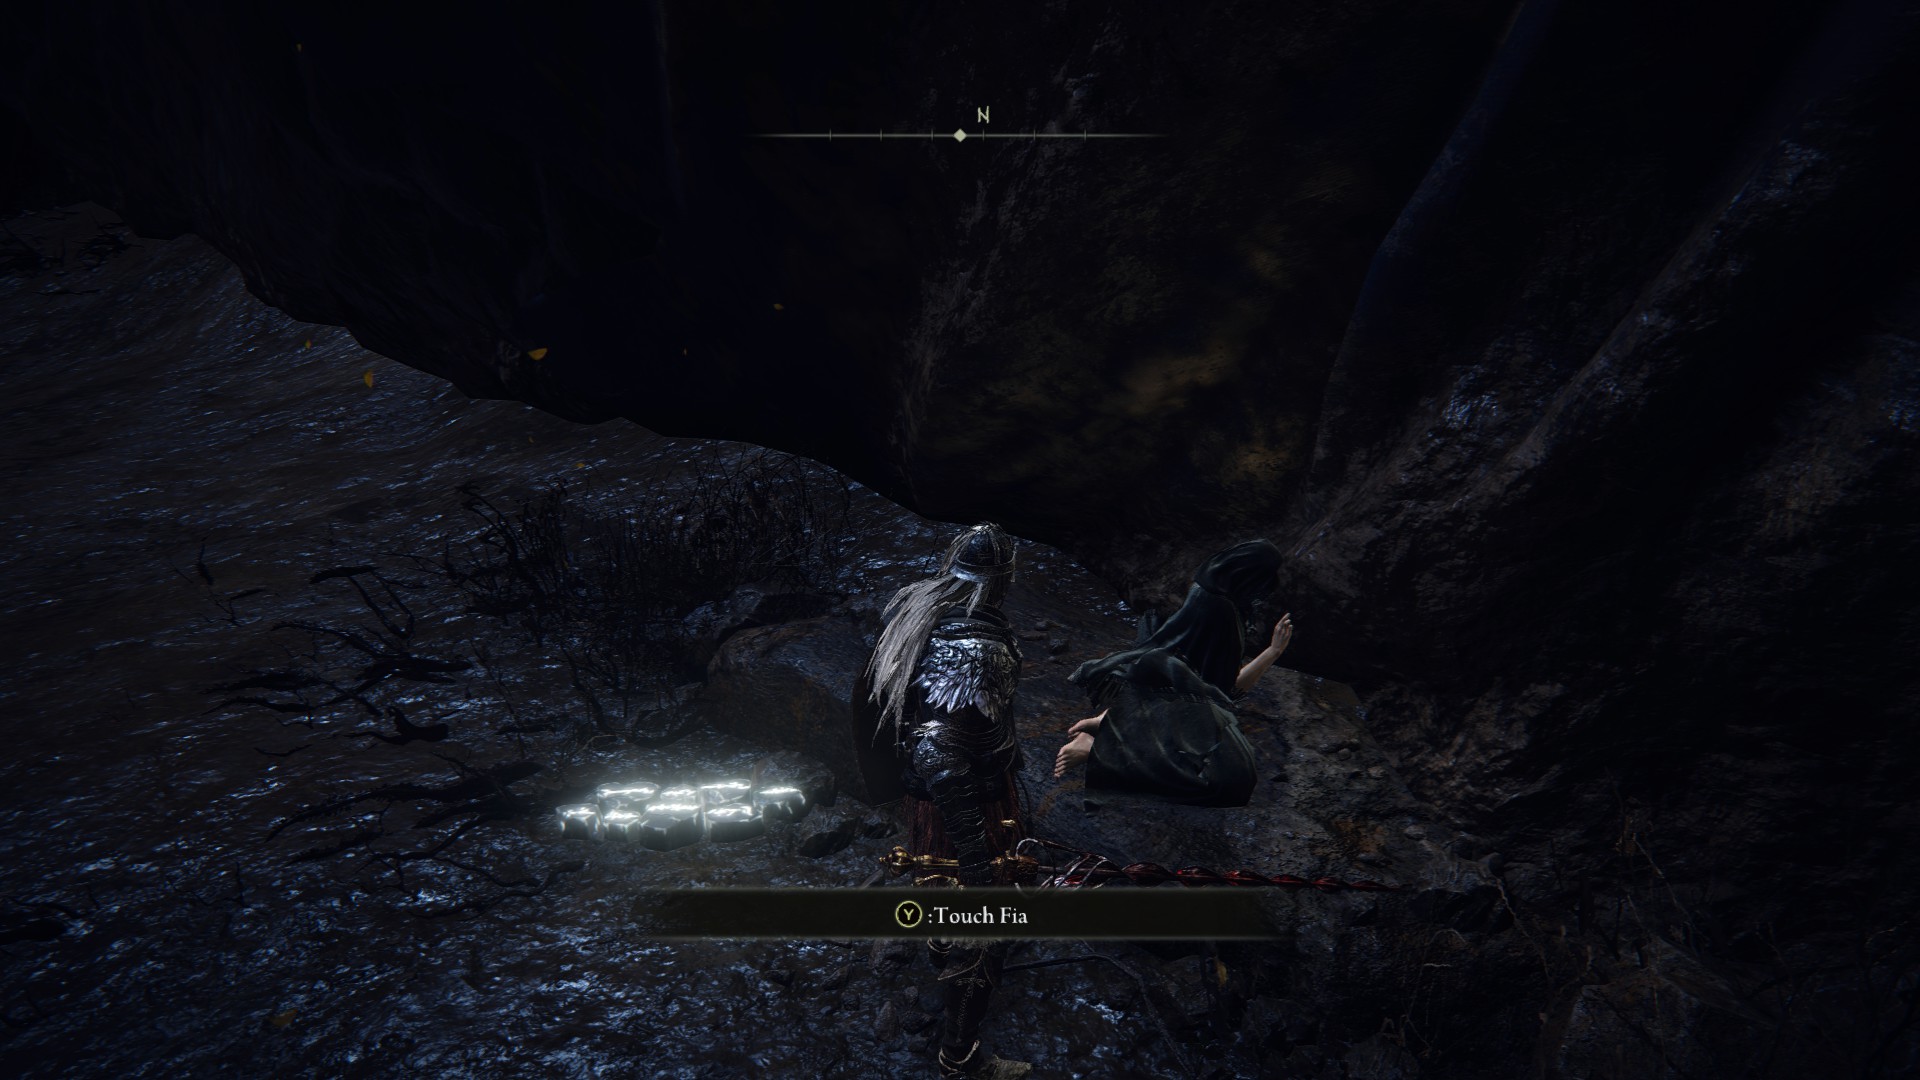
Fia will be asleep once you rest at the Grace, and interacting with her has the “Touch Fia” prompt. Doing so opens up a new option: Enter the Deathbed Dream.
Doing so takes you to a new instance of Fia’s arena, manned by the massive Lichdragon Fortissax, an undead, red lightning-wielding dragon lord. Defeat him.
Step 15: Claim the Mending Rune of the Death-Prince
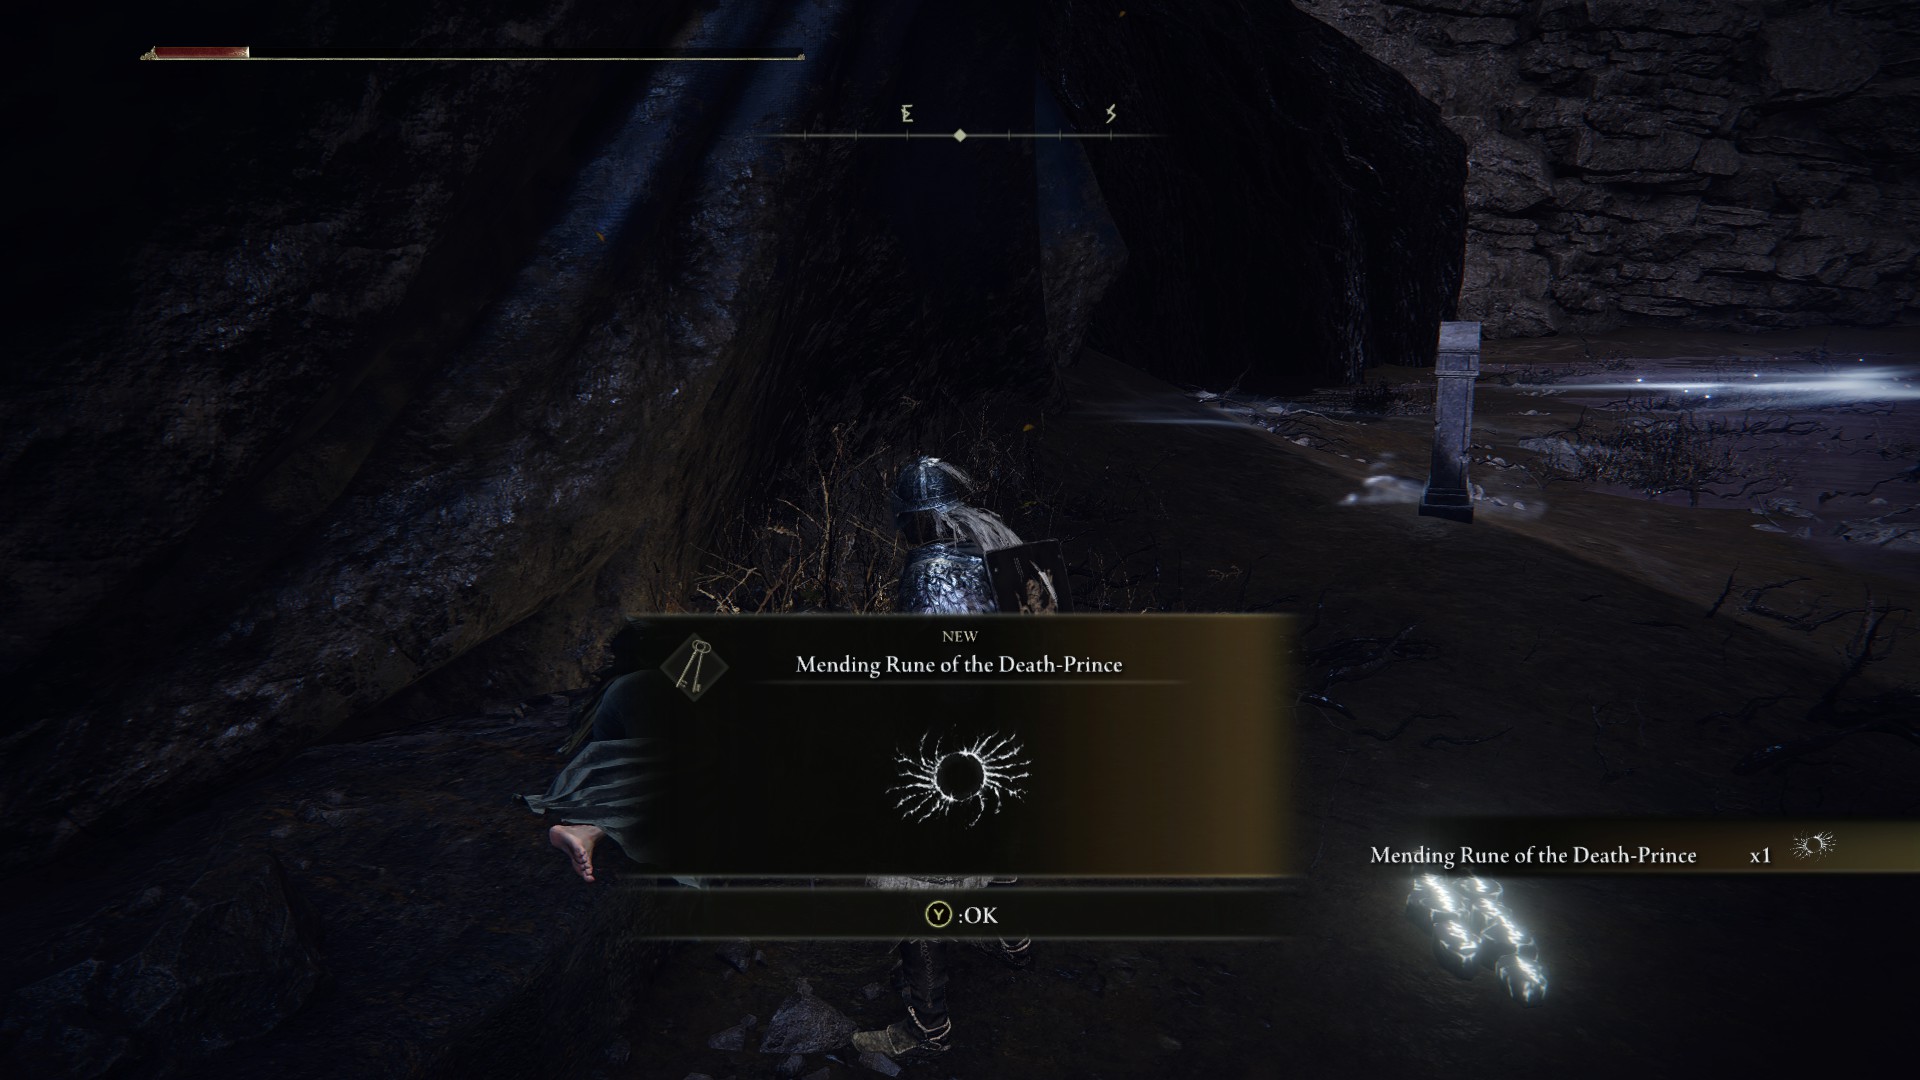
With the Lichdragon dead again, you’ll be returned to Fia, who’ll have a shiny item over her slumbering body. This is the Mending Rune of the Death-Prince, an item key to getting the hidden ending.
(Optional) Step 16: Rest at Fia’s Site of Grace One More Time

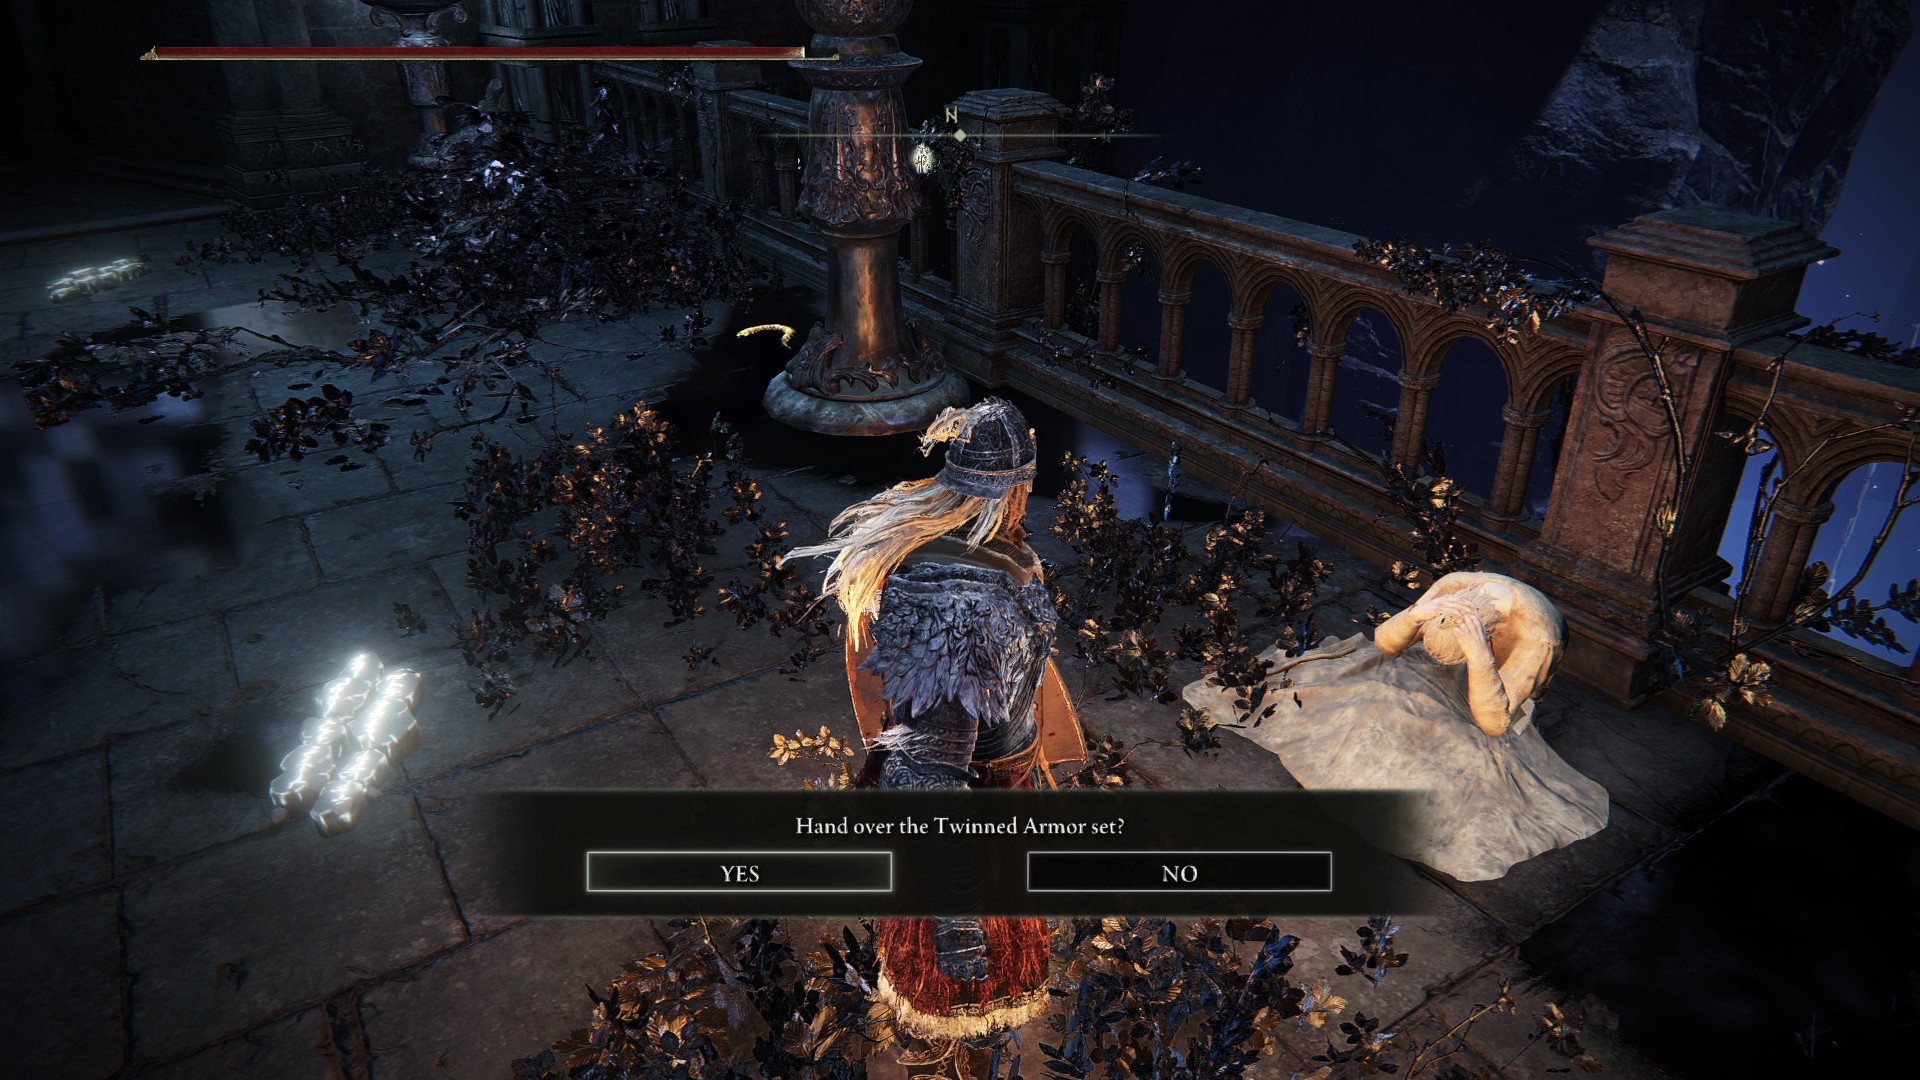
If you gave the young man in Nokron D’s Armor, then rest one more time at the Site of Grace near Fia. D will somehow appear again, bloodied sword held aloft. It turns out the young man is D’s twin brother, out to murder Fia to prevent what you’ve already made possible. He doesn’t know that, of course, so his speech is proud but in vain.
Hear him out, then rest again at Grace. Now D’s brother is also dead, and you’ll get back the armor set and the sword that killed Fia. Fia’s clothes are close by as well.
Step 17: Complete the Game and Use the Mending Rune to Mend the Elden Ring
With the Mending Rune of the Death-Prince in hand, complete the rest of Elden Ring as usual. When choosing to repair the Elden Ring, choose to do so with the Mending Rune to trigger Fia’s ending and complete her questline.
Those are all the steps you need to take to complete Fia’s questline in Elden Ring. Taking out some of the bosses on your way will probably require upgraded weapons, so make that process easy with our Bell Bearings guide. Grab the Sword of Night and Flame to help you along if you’re an INT/FAITH build. Then, add some flair to your experience with some of the best mods for Elden Ring. Our guides hub continues to expand, too. Check back often.


Published: Mar 10, 2022 09:39 pm