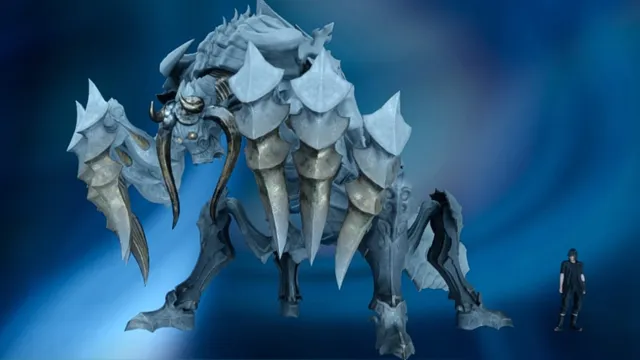
Category: Tips How to Kill Omega Weapon (Naglfar) in Final Fantasy 15 Serhii Patskan Serhii Patskan Mar 15, 2018
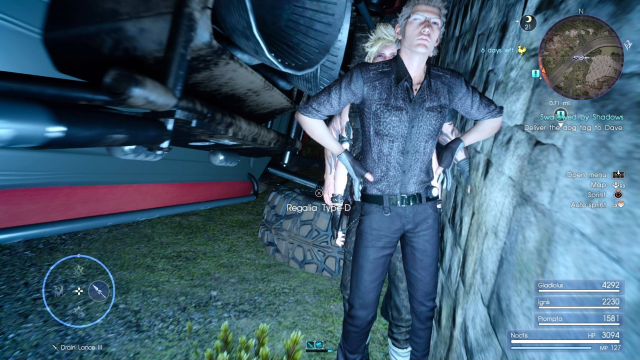
Category: Tips Final Fantasy 15: How to Manually Drive & Unlock Regalia Type D Ashley Shankle Ashley Shankle Mar 7, 2018
Category: Tips Final Fantasy 15 Television or Home Theater Guide Jonathan Moore Jonathan Moore Mar 7, 2018
Category: Tips FFXV Episode Ignis Guide: How to Access All Alternate Endings Autumn Fish Autumn Fish Dec 13, 2017
Category: Tips How to Kill Omega Weapon (Naglfar) in Final Fantasy 15 Serhii Patskan Serhii Patskan Mar 15, 2018
Category: Tips Final Fantasy 15: How to Manually Drive & Unlock Regalia Type D Ashley Shankle Ashley Shankle Mar 7, 2018
Category: Tips Final Fantasy 15 Television or Home Theater Guide Jonathan Moore Jonathan Moore Mar 7, 2018
Category: Tips FFXV Episode Ignis Guide: How to Access All Alternate Endings Autumn Fish Autumn Fish Dec 13, 2017
Category: Tips FFXV Comrades Guide: Remodeling and Upgrading Weapon Stats Autumn Fish Autumn Fish Nov 15, 2017
Category: Tips How to Complete In Search of Truth and Treasure in FFXV Selandrile Selandrile Sep 8, 2017
Category: Tips FFXV Guide : The Dread Behemoth’s Weakness and How to Beat It daisy_blonde daisy_blonde Jul 11, 2017
Category: Tips Final Fantasy 15: Full List of Trophies and Achievements Michael Llewellyn Michael Llewellyn Mar 7, 2017
Category: Tips Now What? A Guide to Final Fantasy 15’s Endgame L.A. Skywalker L.A. Skywalker Feb 14, 2017
Category: Tips Final Fantasy 15: Meat Most Magnificent side quest completion guide Ty Arthur Ty Arthur Jan 19, 2017
Final Fantasy 15: Full List of Trophies and Achievements Michael Llewellyn Michael Llewellyn Mar 7, 2017