The Zelda: Tears of the Kingdom Forward Force Tukarok Shrine will have you traversing across lava and water alike to complete. At first glance it can feel complicated, but don’t worry, we’ve got all you need to know here. This is our complete guide for solving the TotK Forward Force Tukarok Shrine puzzle.

Tukarok Shrine Forward Force Puzzle Solution in TotK
Tukarok Shrine Location
The Tukarok Shrine can be found directly southeast of Central Hyrule, and west of the Lanayru Wetlands. The map above has its location marked for your convenience, and the exact coordinates are 0195, -0250, 0034.
TotK Forward Force Puzzle Walkthrough
You’ll be transporting the orb like the precious cargo it is to complete the Shrine and receive the reward. Even though you’ll come across various materials, I learned that the shrine doesn’t require much building to complete. Here’s what you need to do:
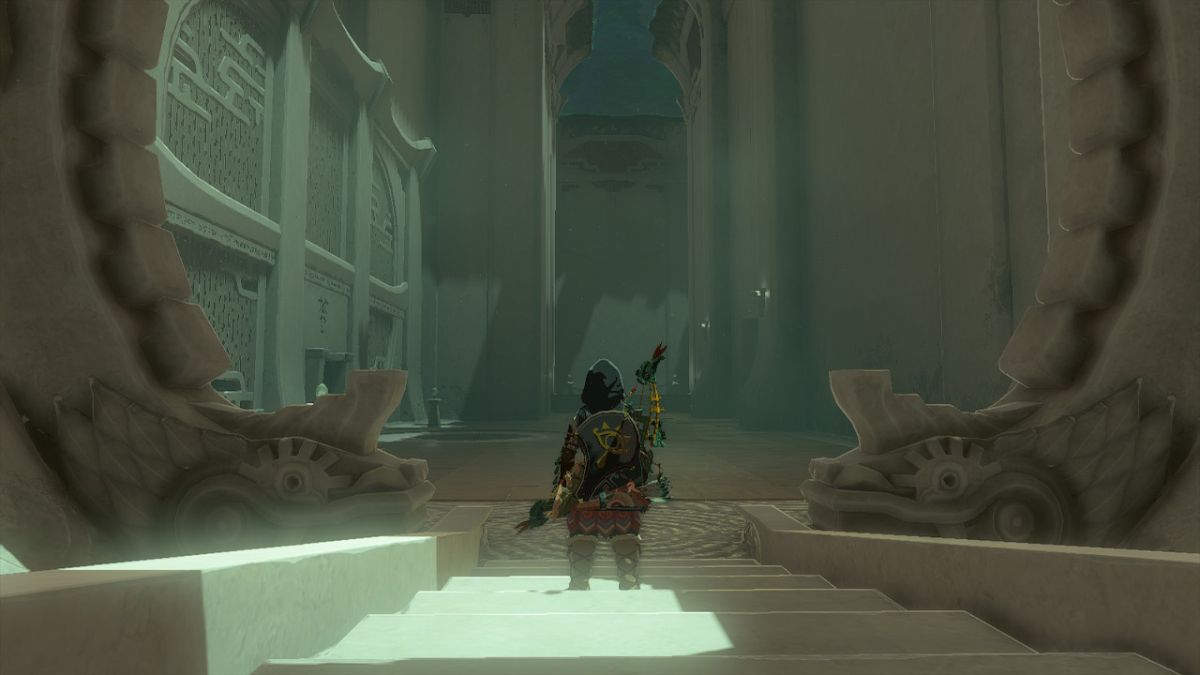
- When you enter, run past the first area and glide or climb down to the lower platform.
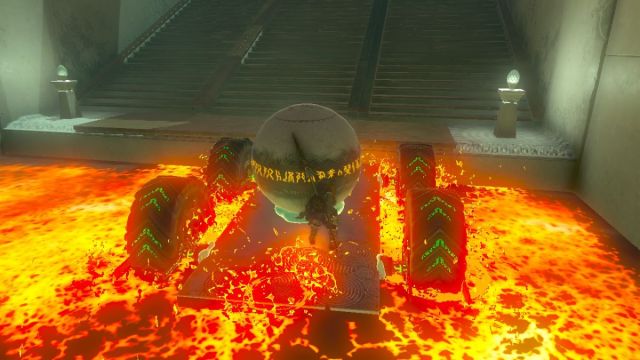
- Use your Ultrahand ability to attach the orb to the existing vehicle.
- Jump on the vehicle.
- Hit the vehicle’s tires with your primary weapon to engage the power and move it across the lava-field.
- Stay as close to the center of the raft as you can. I learned the hard way, you don’t want to get splashed with lava.
- Jump off the vehicle and detach the orb with your Ultrahand.
- Enter the next area carrying the orb with your ability.
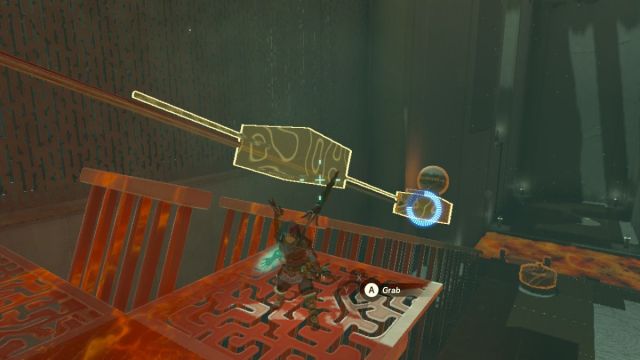
- Attach it to the metal cube on the right, it’s connected to a metal track.
- Reselect the cube and orb with your Ultrahand and move it to the top of the track, then let go.
- Climb the ladder then select your Recall ability and rewind the cube’s action.
- The cube will reappear next to you, re-equip your Ultrahand and select the orb.
- Detach the orb from the cube and carry it into the next area.

- When you enter the room you’ll notice two rafts with wheels, and various materials nearby.
- Grab a set of wheels from one raft with your Ultrahand and attach it to the other so there’s four equally spaced, it might take some rearranging.
- Attach the orb to the raft with your Ultrahand.
- Hit the wheels to engage the power, or you can shoot them with an arrow after completing the next step.
- Lift the raft on top of the furthest set of metal barriers so they ride it like a track and make sure the arrows point towards the exit, as shown above.
Related: Built to Carry Shrine Guide
How to Get the Tukarok Shrine Forward Force Treasure Chest
- You’ll see the treasure chest underneath the water where you just sent the raft.
- Activate your Ultrahand ability and pull the chest out.
- You’ll receive a Strong Zonaite Sword.
- Climb the ladder to the upper platform.
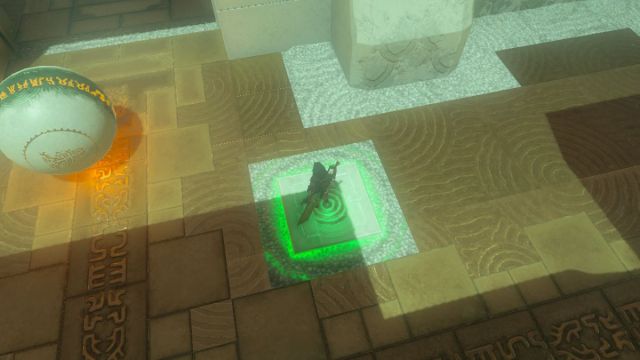
- Glide over to the orb on the other side of the room.
- Step on the square button on the floor by the gates.
- Detach the orb from the raft and carry it to the next room.
- Place it in the target, the final gates will open and you can go receive your Light of Blessing!
Well, that’s it for our guide on solving the Zelda: Tears of the Kingdom Forward Force puzzle in the Tukarok Shrine. Be sure to check out our other guides at our Zelda: TotK guides hub.


Published: May 18, 2023 01:52 pm