
Grandmaster Nightfalls are the ultimate PvE endgame experience in Destiny 2, surpassing even Master-difficulty Raids. Proving Grounds is one of the simpler GMs available during Season of Defiance. As with any GM, you need to play safe and smart, but an efficient run can take as little as twenty or so minutes with a competent fireteam and the right builds. In this guide, we’ll cover the best strategies to employ for completing Proving Grounds during Season of Defiance.
Proving Grounds Grandmaster Nightfall Builds and Considerations
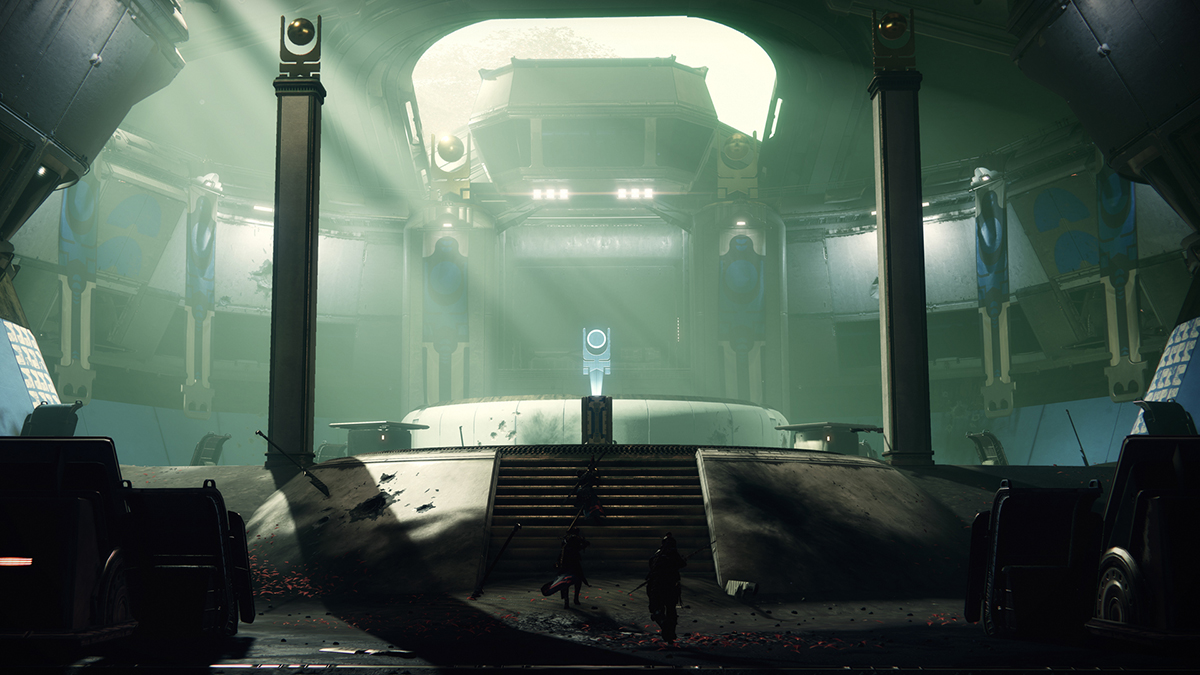
Image via Bungie
One of the first and most important things to build around is your anti-Champion loadout.
Proving Grounds comes with Barrier Colossus enemies and Unstoppable Incendiors. Ideally, you’ll have a member of your team running Strand, with the best option being a Strand Titan with the Abeyant Leap leg armor for quick and easy access to suspend. One of your teammates will need an Anti-Unstoppable Scout Rifles for harder-to-reach Champions.
Another member of your team (or the Strand user for double duty) should also have a rapid-firing Void weapon and the Volatile Flow Seasonal mod. While Barrier Champions are easy to deal with while suspended, if you need to deal with them another way, you can use this season’s easy ability to activate Volatile Rounds to pierce Barriers without much trouble.
If you have a Hunter on your team, they can also equip the Gyrfalcon’s Hauberk and a Void Machine Gun like the Commemoration or Retrofit Escapade for another great way to deal with Barrier champs.
You’ll also want at least one Well of Radiance Warlock, as they can provide both survivability and increased damage output. Currently, that Warlock will also want to be running either Starfire Protocol or Sunbracers, as these two Exotics offer the best supplementary DPS for their class right now.
As for gameplay, you cannot push into a mass of enemies, even if they seem like weak red bars in Grandmasters. You’ll always be 25 Power under every enemy in the activity, so even the smallest, least threatening ones can one or two-shot you.
Use cover wherever available, abuse any “cheesy” spots, and don’t be afraid to blow your Super if it means you survive. Your revives are limited in GMs, you cannot manually respawn. If everyone dies, you go back to orbit, so dying in the middle of danger only disadvantages your teammates and could cost you the whole thing.
How to Complete Each Encounter in the Proving Grounds Grandmaster Nightfall
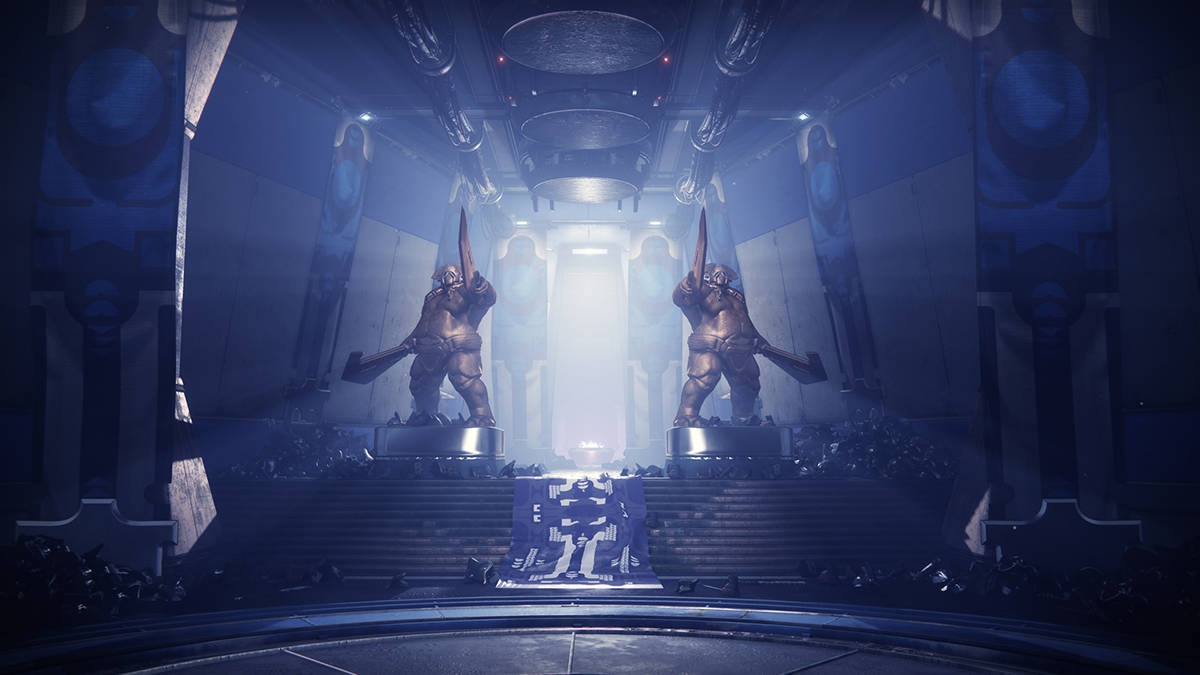
Image via Bungie
There are four main encounters in the Proving Grounds Strike:
- The intro: Where you’ll be clearing adds until a two-phase boss spawns, and you’ll need to take down his shield generator to kill him.
- The tank room: Where you’ll need to deal with bosses, Champions, and a pair of heavy Cabal tanks that appear midway through the encounter.
- Redirect power: where you have to dunk two engine cores while dealing with dozens of enemies.
- The boss room: where you fight the boss, waves of enemies, and Champions, and break the boss’s shield generator twice, all while dodging fireballs he throws at you.
Here’s how to beat each encounter in sequence.
How to Beat the Intro to the Proving Grounds Grandmaster
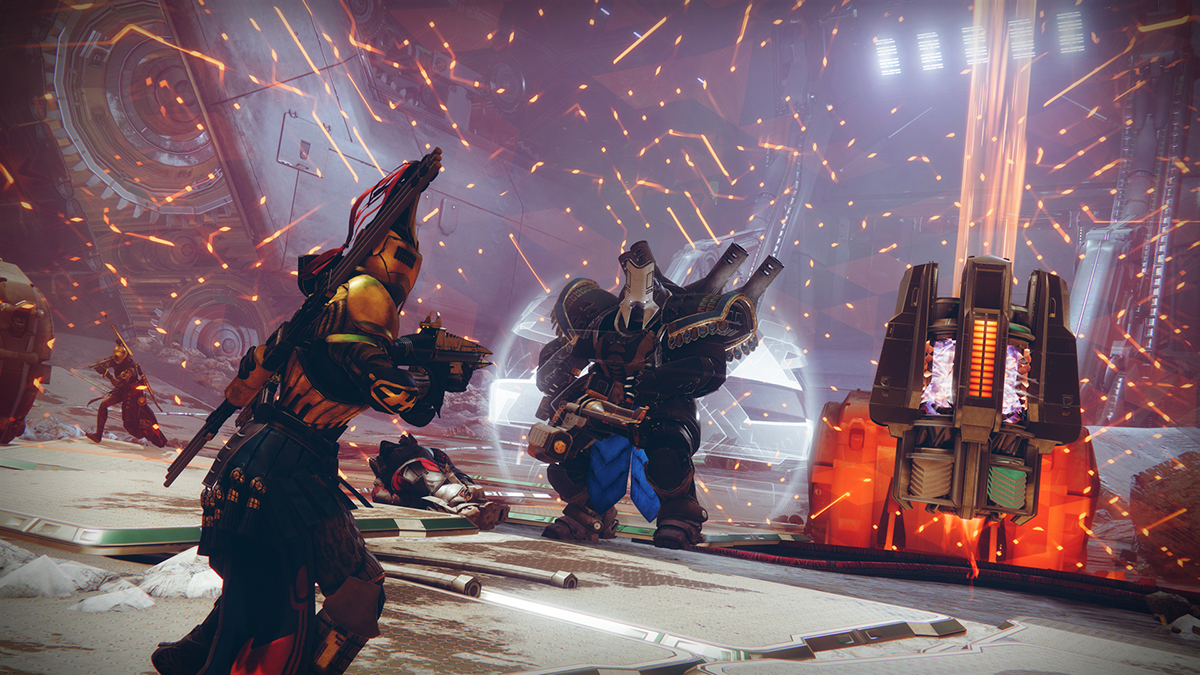
Image via Bungie
Your priority in the intro of Proving Grounds is the Scorpius Turrets on the left side. If you like, you can ignore the initial set of enemies, making your way onto the pipes to the left of the starting area. Going through the enemies for points is entirely doable as well.
There are two Champions initially: one Unstoppable on the hill and one Barrier closer to the land tank, beneath the pipes.
Clear the Unstoppable first, then focus on the Barrier. A second Unstoppable will spawn near the barricades as you push toward the tank. Take it out from a distance and clear turrets as they appear.
Once the second Unstoppable is defeated and you continue defeating enemies, the door to the tank will open, and both the boss and a third Unstoppable will appear. Hanging to the left of the barricade behind the rocks is an up-close but a safer spot for your fireteam to hold down, but you can also rotate more to the middle rocks for more distance.
With the third Champion defeated and more adds cleared, deal damage to the boss until it reaches half health, at which point it will retreat behind a large dome shield with a generator inside.
More enemies will spawn at the far left of the area, including yet another Unstoppable Champion. Your Strand Titan can negate their threat entirely with a well-timed suspend, but the Champion doesn’t immediately appear, so you’ll want to defeat some of the less threatening adds first.
The shield generator is the next tricky part. The boss can stomp if you’re nearby it, and his cannon will two-shot any Guardian that gets too close. A Titan with a full Barricade can get in with relative safety, and your team can make quick runs in and out to deal damage as one person pulls aggro. Rounds from the Skyburner’s Oath Exotic Scout Rifle also goes straight through the generator’s Barrier if you want a simple way to clear it.
With the boss’s shield down, all that remains is to melt the boss, as no further enemies will spawn.
How to Complete the Tank Room in the Proving Grounds Grandmaster
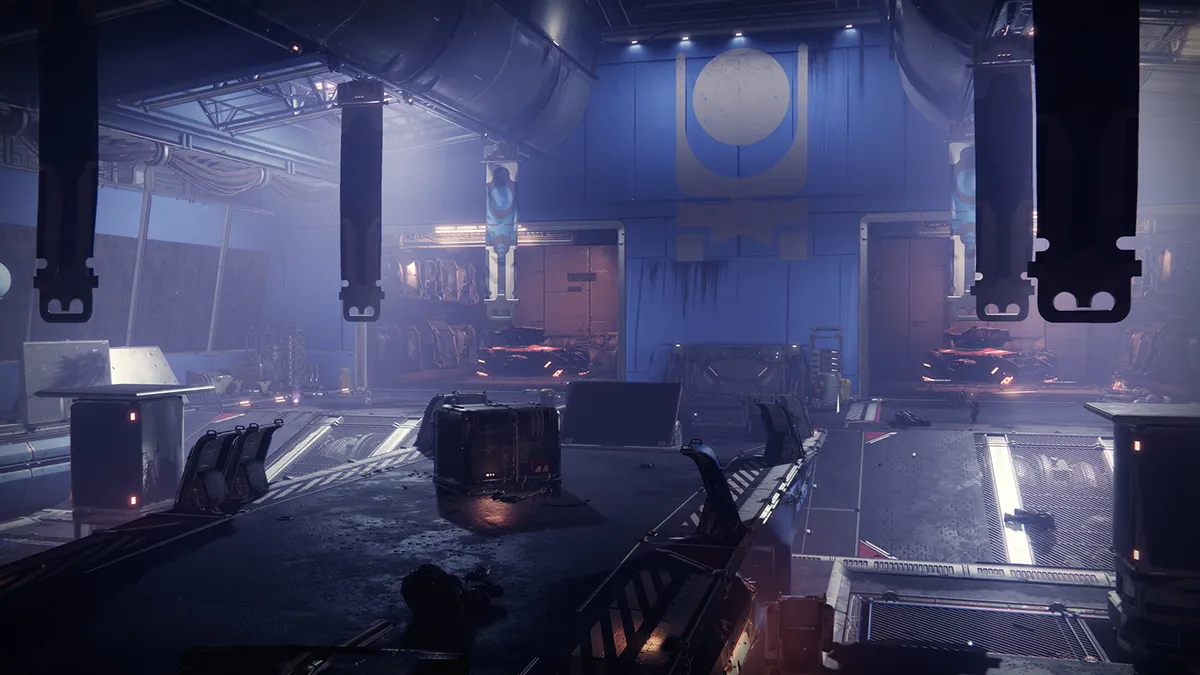
Image via Bungie
Make your way into the tank and follow the quest markers until you reach a drop-down. You can take some time to clear any close adds or drop down and take cover behind one of the blast shields at either end of the platform. You can also rotate around the shorter cover as necessary.
Take out the two Psion snipers on either side of the room, then focus on the Barrier Champions. Be aware that there is a pair of random boss spawns in this room, from a second Colossus to a Centurion to a Psion. Deal with those next. You’ll also need to be careful of the Interceptor vehicles that wander the area, as those are capable of a nasty one-shot from almost anywhere. Use your Well of Radiances liberally here, especially when the War Beasts spawn after you clear enough of the initial add wave.
With the Interceptors and accompanying enemies defeated, the doors at the back of the room will open, letting out both tanks and plenty of additional enemies. Two more sniper Psions will also spawn on the upper platforms on either side of the room.
Use everything you have to kill the tanks as quickly as possible, especially by shooting their legs, as destroying three will cause the rest of the vehicle to go up in smoke. Linear Fusion Rifles are great for this, but anything with high burst damage will do, so long as you focus the tanks as soon as they appear.
Now all the remaining enemies — trash mobs, additional bosses, and Barrier Champions — will grow more passive, and you can stay near the entrance and pick them off at will.
How to Complete Redirect Power the Proving Grounds Grandmaster
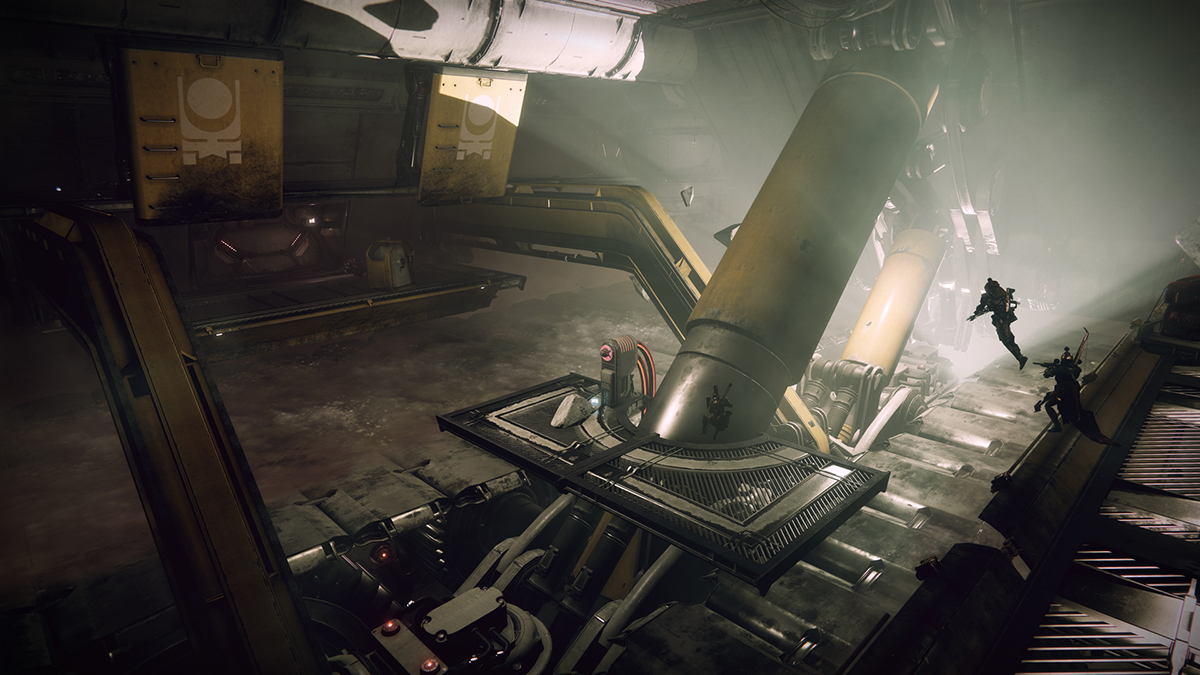
Image via Bungie
Proceed through the level until you start dropping down. The first door you come to will see you face to face with a small cluster of enemies and a single Unstoppable Champion in the middle.
With these enemies defeated, a power core will appear, and picking it up will open the door on the far side of the room. Drop it before proceeding. Be careful jumping across; sometimes larger rocks come across and kill you if they connect.
As soon as the door opens, you’ll be faced with three red bar Gladiators who will one-shot you if their cleavers hit you. Have your Strand Titan suspend them for easy cleanup. There are two Scorpius Turrets in the next room on your left, a group of orange bar Legionnaires, and a Barrier Champion on your right. Popping a well in the doorway will give you a safety net to deal with everything.
Go back for the power core, as it will despawn while you’re killing the enemies. Deposit it in the terminal. The door at the other end of the room will open, and you can stick to the main area to clear a few of the enemies before heading in. There will be a Barrier Champion on the left side of the far platform, a boss, and some sniper Psions to clear.
Defeating the Champion and bosses will cause more adds to spawn behind you, including more Gladiators and Scorpius turrets on the right and another Barrier Champion and Legionnaires on the left.
Clear these enemies and dunk the second power core to open the door to the boss room elevator. More enemies will spawn, including Gladiators, War Beasts, and a Barrier and Unstoppable Champion. Defeat them and head up the elevator.
How to Beat the Boss in the Proving Grounds Grandmaster Nightfall
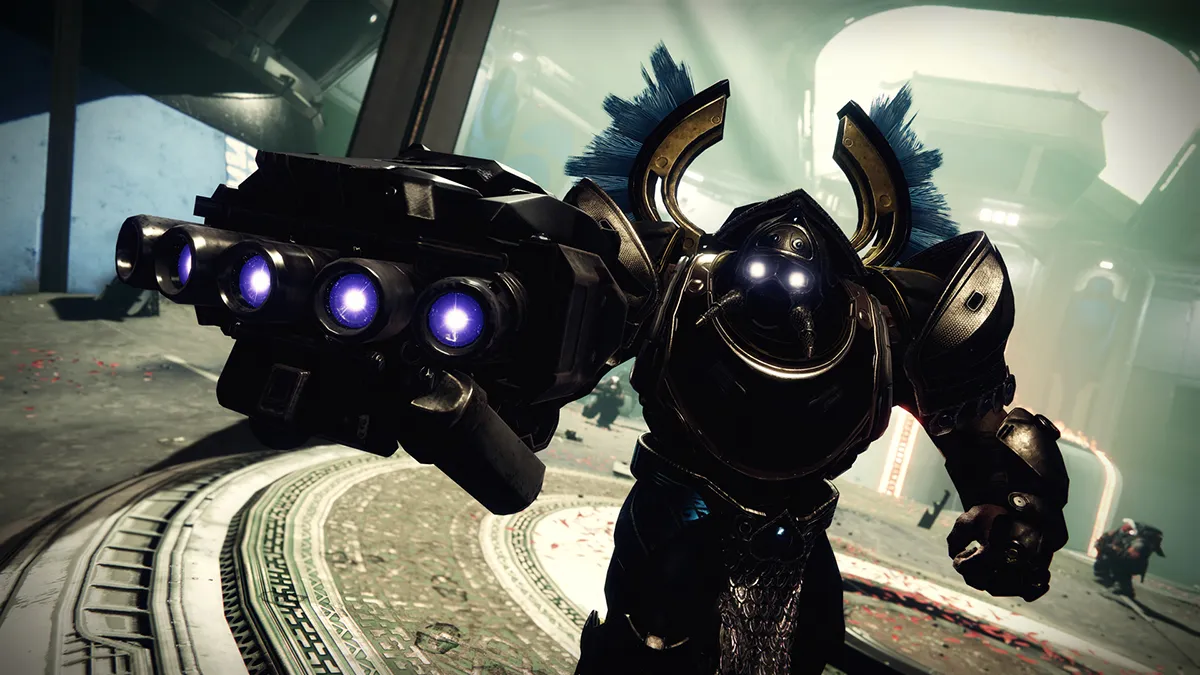
Image via Bungie
Start the boss fight, then head back to beneath the platform where he first appears. Stick to the side of the oven, and you’ll have a good way to find some quick cover or swap sides as necessary. Shortly after the initial salvo of fireballs (which you can either hide from or shoot to destroy), two Legionnaires and a Phalanx will spawn on each side of the arena — defeat them and start damaging the boss for a bit.
A pair of Unstoppable Champions will spawn when the boss reaches a third of his health, one per side. Defeat them, and you’ll shortly notice that the boss is beneath another shield. You can destroy it with Skyburner’s Oath, wait out the dozen or so fireball salvos, or you or one of your teammates can play hero and take your chances doing things the old-fashioned way.
Once the shield is down, a few more adds will spawn, and you can resume damage as usual. At one-third health, the boss will go immune again, jump onto his spawn-in platform, and pull up another shield. Two more Unstoppable Champions will spawn, and the boss will again start showering you with fireballs.
The best strategy now is to run to the arena entrance for the new safest spot. Oddly, the fireballs can’t reach you from the opposite end of the arena, but you will still need to deal with the shield protecting the boss. As before, Skyburners can shoot through the shield; you can wait out the fireballs, or the badass on your team can go in beforehand.
With the shield down again, you can start damage again. You can either stay where you’re by the entrance or head to the heated tunnel again beneath the boss’s platform. Some additional adds will spawn, but not more Champions. Do damage to the boss until it dies at the point, and try not to die yourself. Succeed, and you’ll be richly rewarded.
And that is how you complete the Proving Grounds Grandmaster Nightfall in Destiny 2. It’s a lot, and thanks for sticking with us. We’ve covered a lot of other endgame activities here, including the Vow of the Disciple Raid, Duality Dungeon, and the Pit of Heresy Dungeon, among others. Our D2 guides hub has more.
Featured image via Bungie


Published: Apr 22, 2023 02:09 am