
Hello Neighbor 2 Act 4 is the game’s penultimate chapter. During Day 4, you’ll explore the Mayor’s mansion to uncover more secrets and solve another round of head-scratching puzzles. Doing so will reveal more of the Museum’s mysteries and get you one step closer to discovering the truth behind Peterson’s nefarious activities.
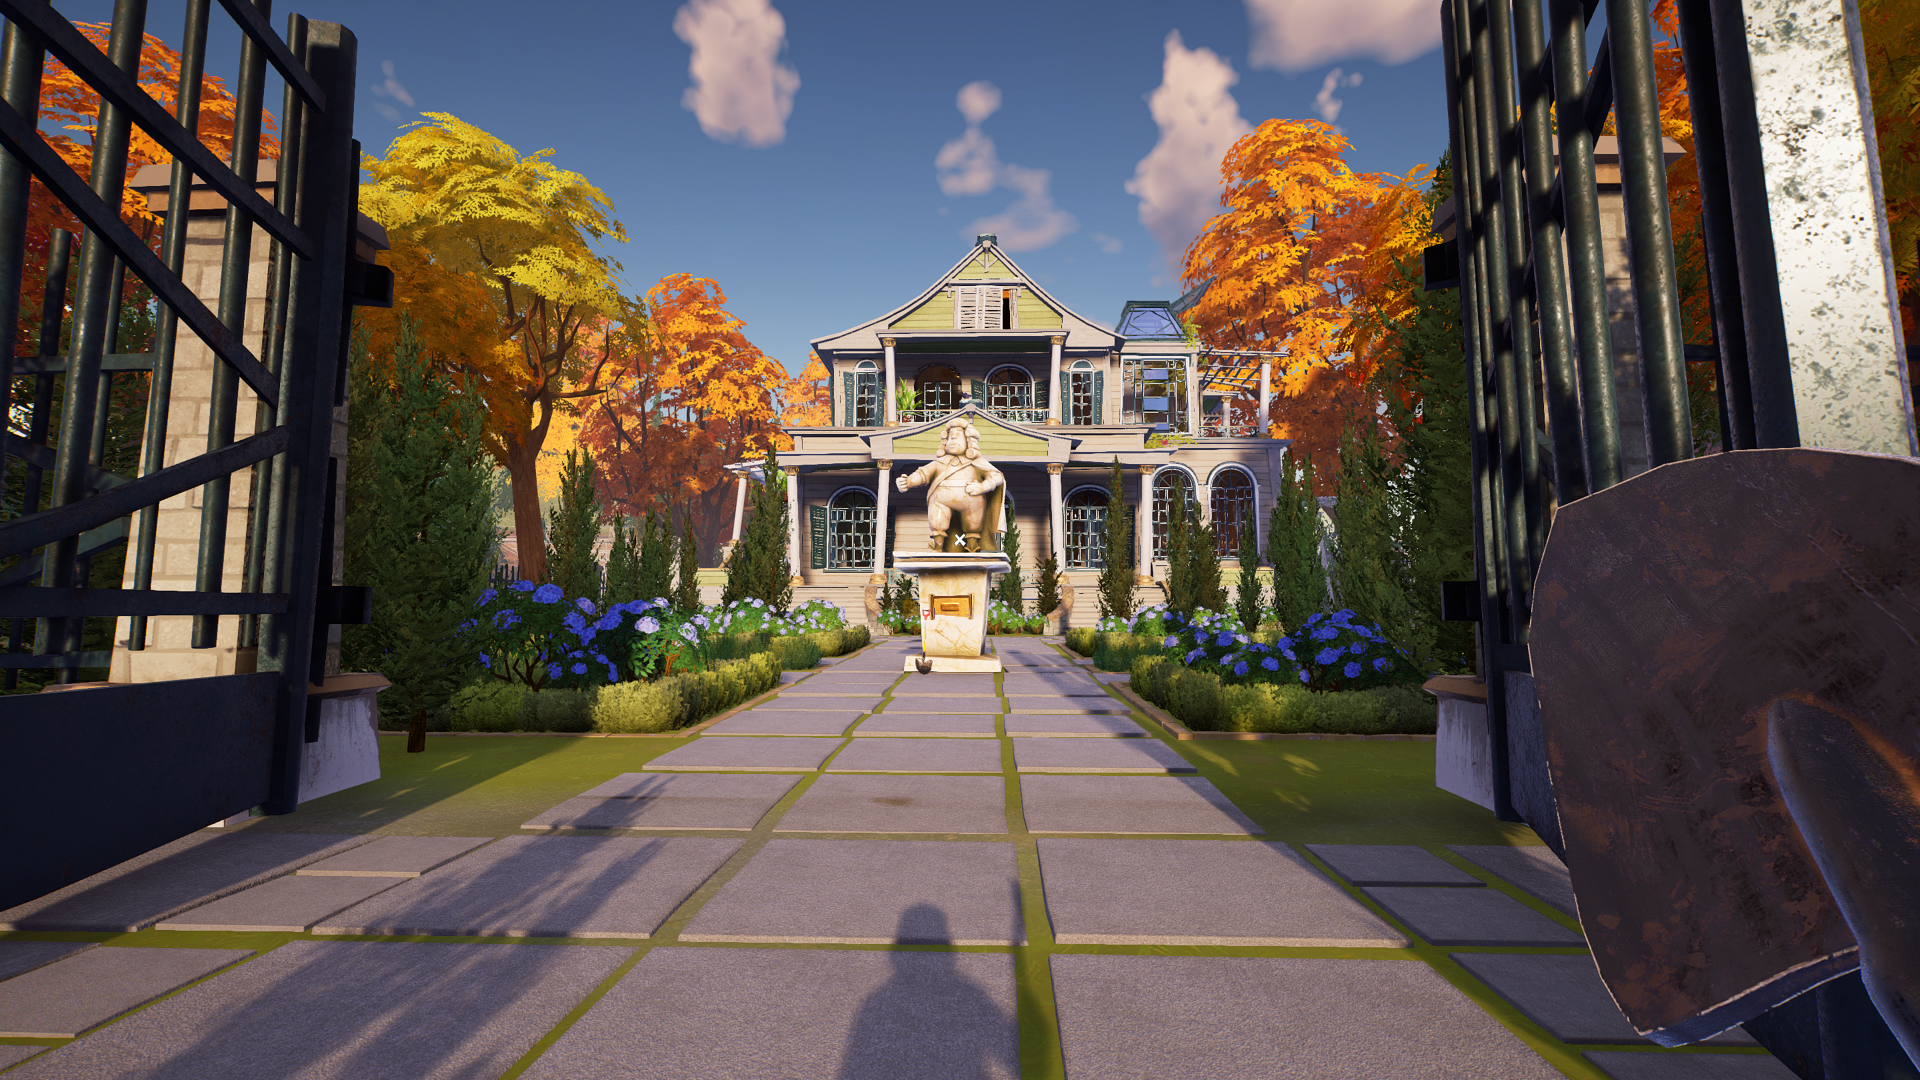
At the beginning of Hello Neighbor 2 Act 4, you’ll once again awake in your bed in the TV station. Check the nearby surveillance monitors to find out where you need to go: the lime green mansion behind the large iron fence between the TV station and the bakery.
The goal here is to find and place five trophies in the Mayor’s house to get a ship’s wheel for the final Museum key that opens the gear door on the Museum’s second floor. Like in Otto’s house in Act 3, the puzzle solutions here are spread across the house, and the walkthrough guide below will attempt to lead you through Day 4 in the most efficient way possible.
Hello Neighbor 2 Act 4 Walkthrough
The five trophies found around the Mayor’s mansion must be placed on a trophy stand in a trophy room on the second floor. To find the trophy room, take the stairs from the piano to the top, then turn right to double-back.
Follow the path through the door, and you’ll see the trophy stand with a ship wheel hanging on the wall above it. You’ll need this to open a secret compartment in the mayor’s bedroom to find the Museum key.
Let’s start outside, making our our way in and then upstairs.
How to Solve the Dog Bowl Puzzle for the Scepter and Chalice Trophy

In front of the mansion, you’ll find Skipper the bulldog roaming near a food bowl and a pile of dirt. A scepter sticks out of the dirt pile, but you can’t dig it out just yet. Like the cat puzzle in Act 2, you’ll need to put food in the bowl so the dog will eat it.
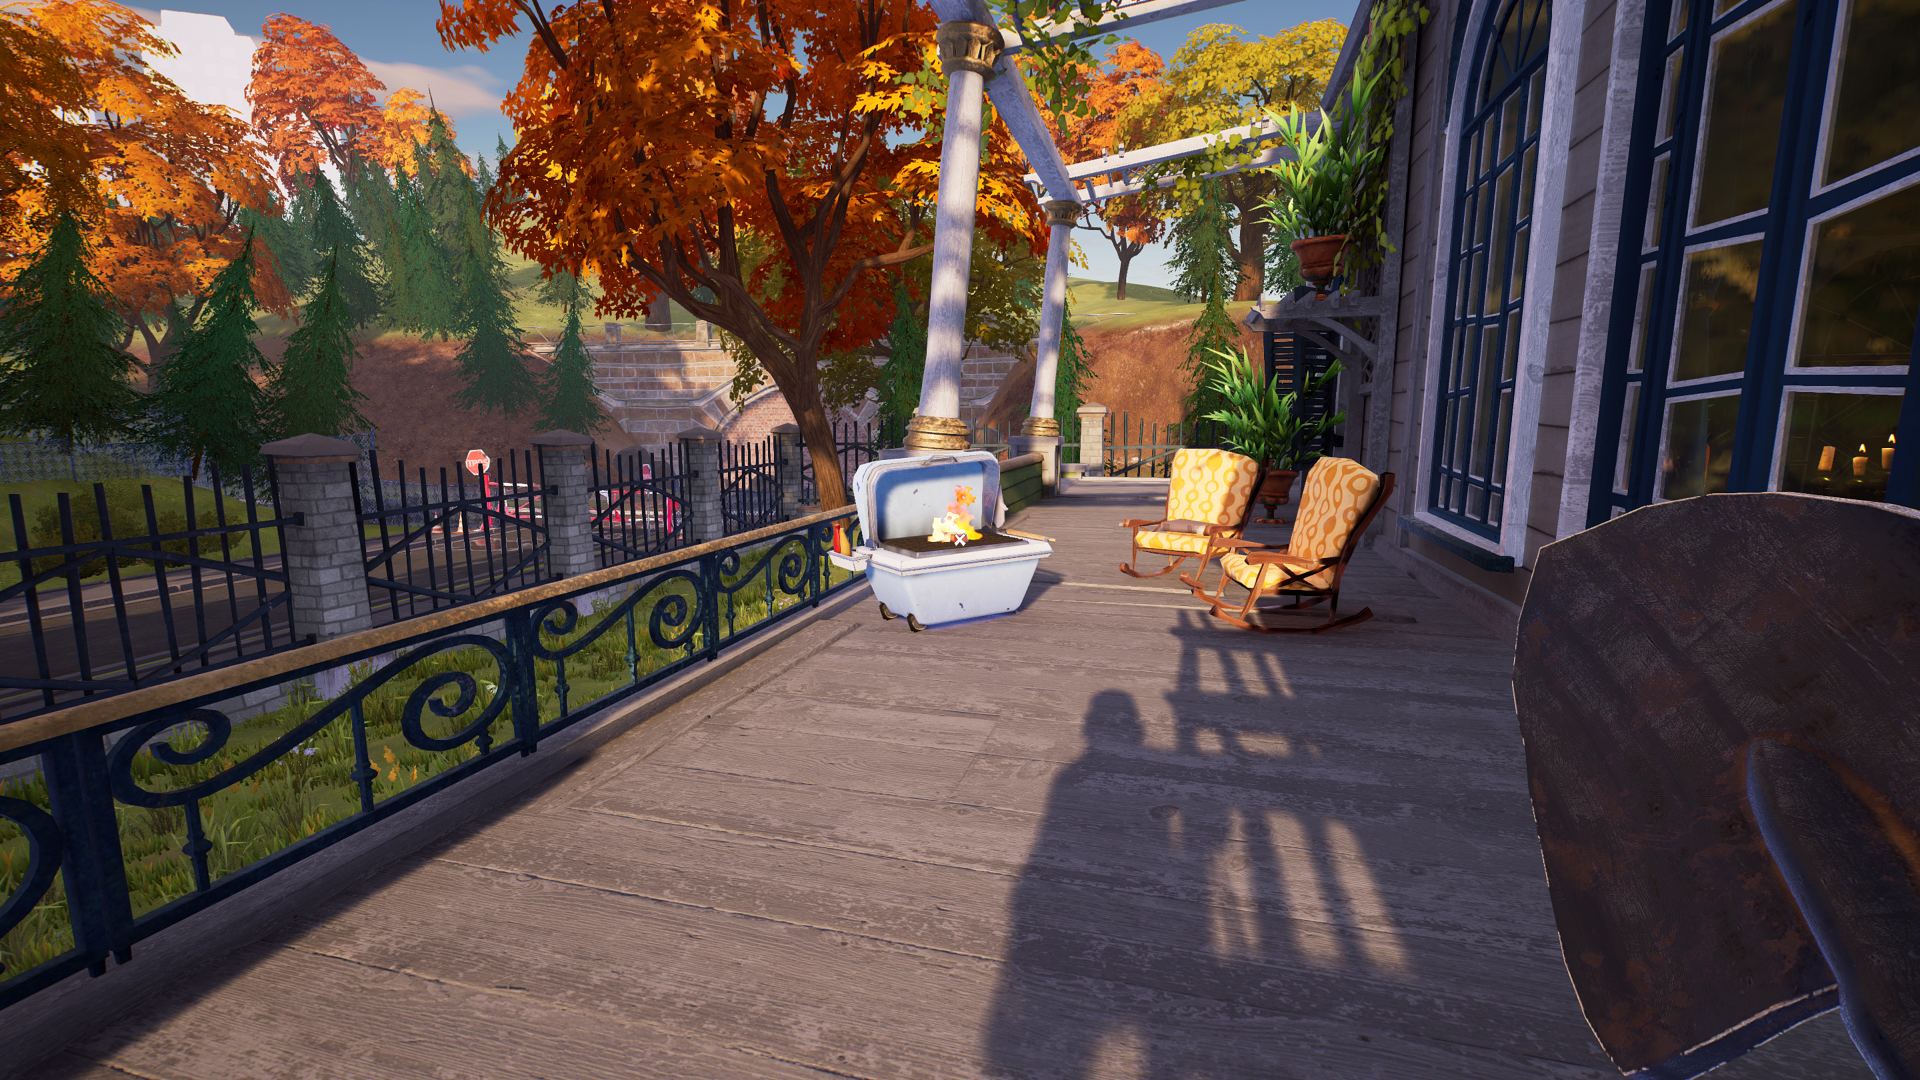
Go up the stairs on the left side of the mansion to find a steak cooking on a grill on the wraparound porch.

Go through the doors to the right, then straight across, past the piano, into the dining area. Turn left to find the kitchen, then go forward to the kitchen’s island before turning left again to find a fire extinguisher in a red case on the wall by the zebra-print couch.
Take the fire extinguisher, and return to the grill. Stand close to the grill and push forward while using the extinguisher to put out the fire. It may take a try or two, but the fire will go out eventually. Grab the steak, return to the dog, and place the steak in the bowl. With Skipper distracted, use the shovel to dig up the scepter.
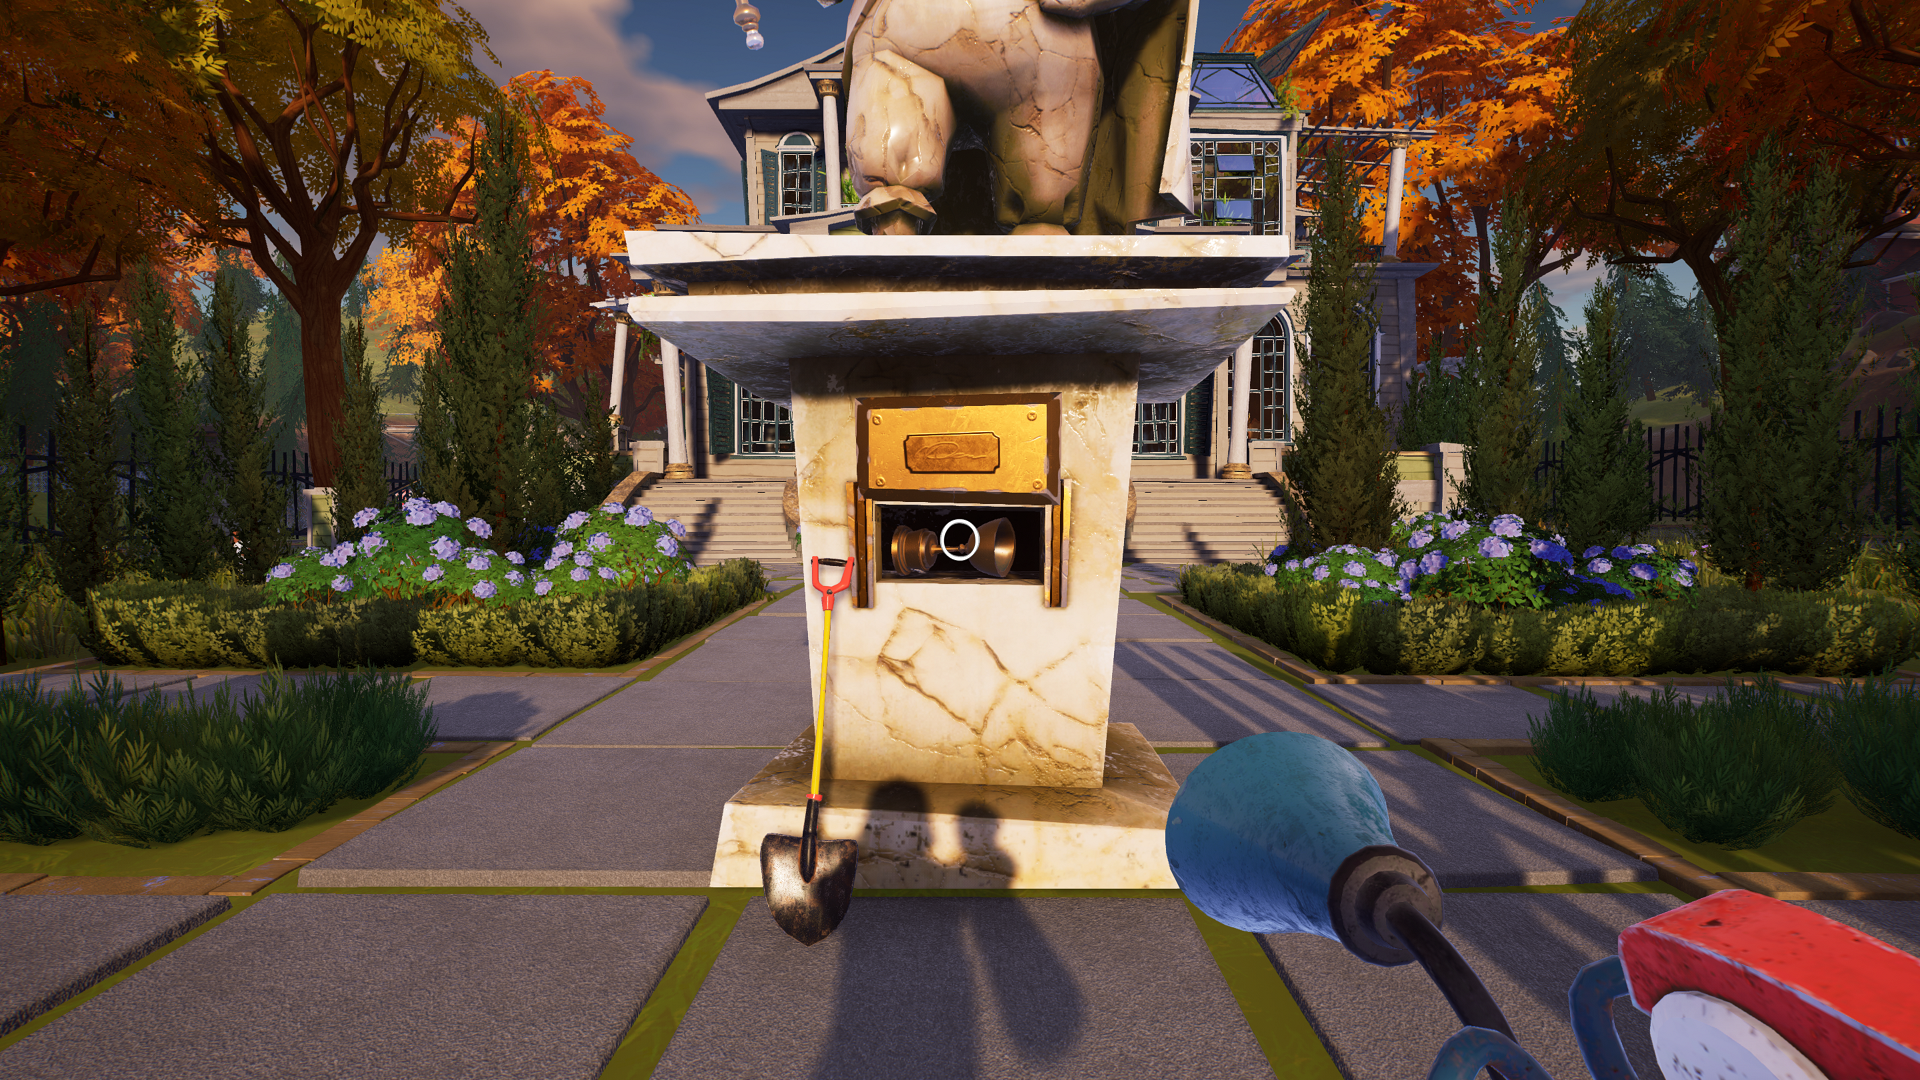
Now take the scepter and combine it with the statue along the main path, revealing a secret compartment in the statue and the chalice trophy.
How to Solve the Piano Puzzle for the Triangle Trophy
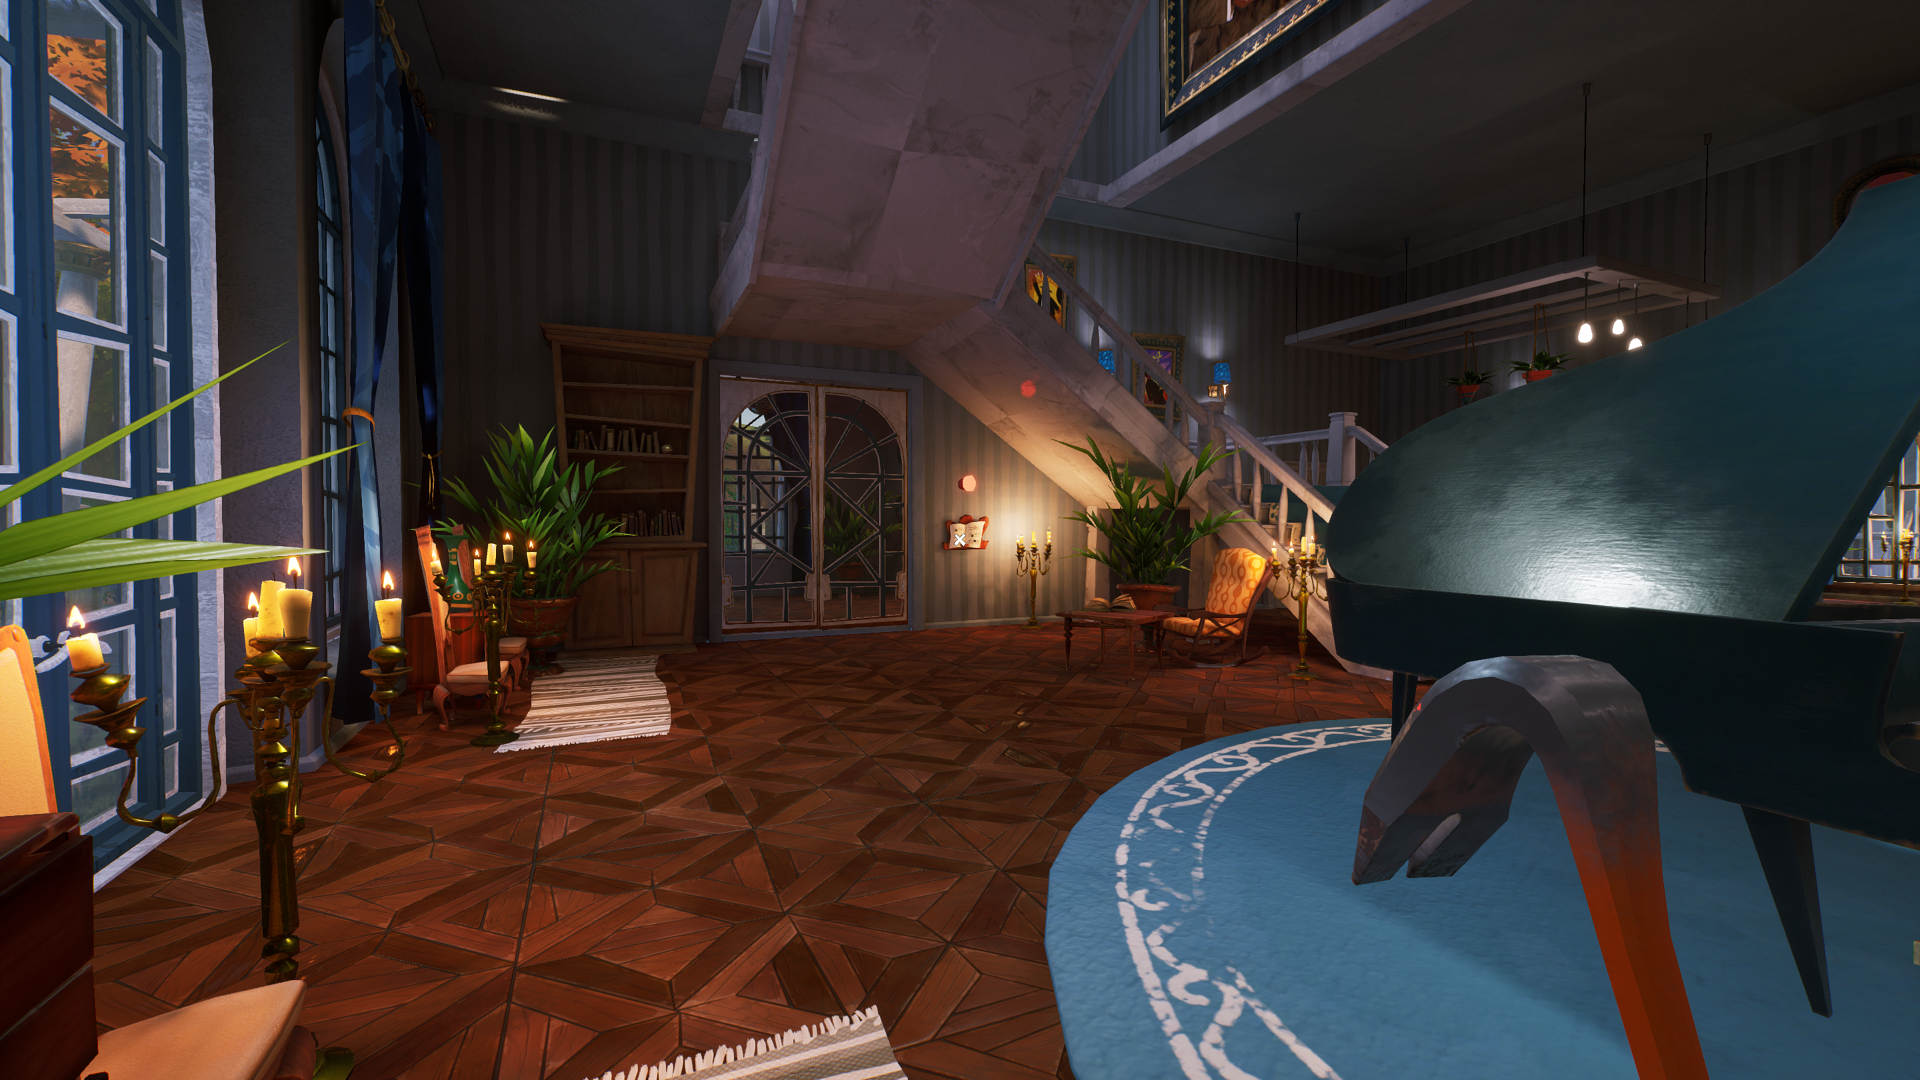
While downstairs, head over to the piano you passed by earlier. Opposite the piano is a piece of sheet music pinned to the wall underneath the stairs. To the left of the sheet is a locked room.
The sheet music may make this puzzle look complicated, but it’s actually fairly straightforward. Each of the pins in the sheet music represents a key on the piano. What makes this puzzle somewhat difficult is the game’s use of lighting: if you look close, each pin is actually colored to match a key on the piano!
Piano Puzzle Code
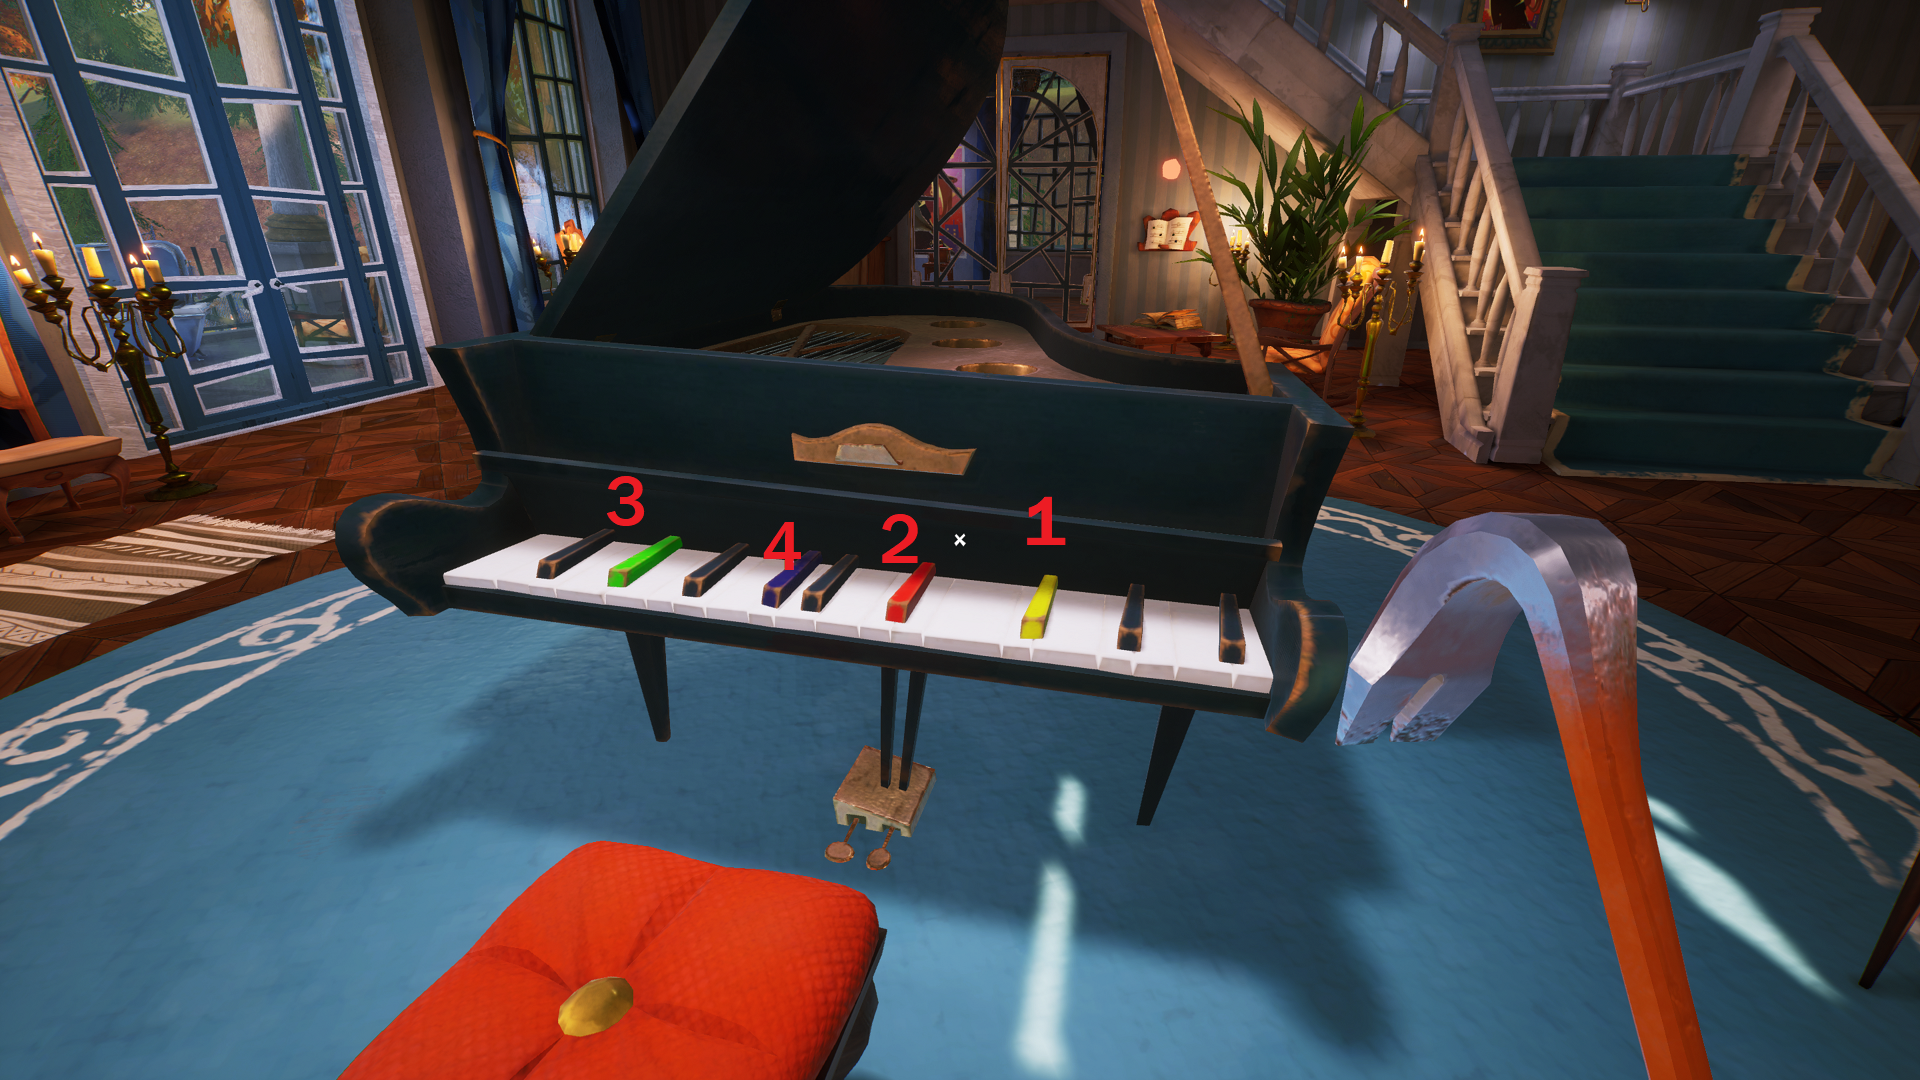
Here’s the order in which you need to press the piano keys:
- Yellow
- Red
- Green
- Blue
After playing the tune, the door to the left of the sheet music will open. Now go upstairs. You’ll see a glass display box on the wall in front of you, to the left of the door leading into the Mayor’s office. Break the glass, and steal the record. Go back to the room you just opened near the sheet music, and place the record on the record player. Then pull the red switch on the right side of the record player.
Music will fill the room, a disco ball on the ceiling will start spinning, and a compartment in the ceiling will open up. Climb the red chair near the record player quickly, before the compartment closes, and jump up into the ceiling. Pick up the triangle trophy near the yellow grate in the wall.
How to Solve the Sailboat Puzzle for the Celestial Trophy
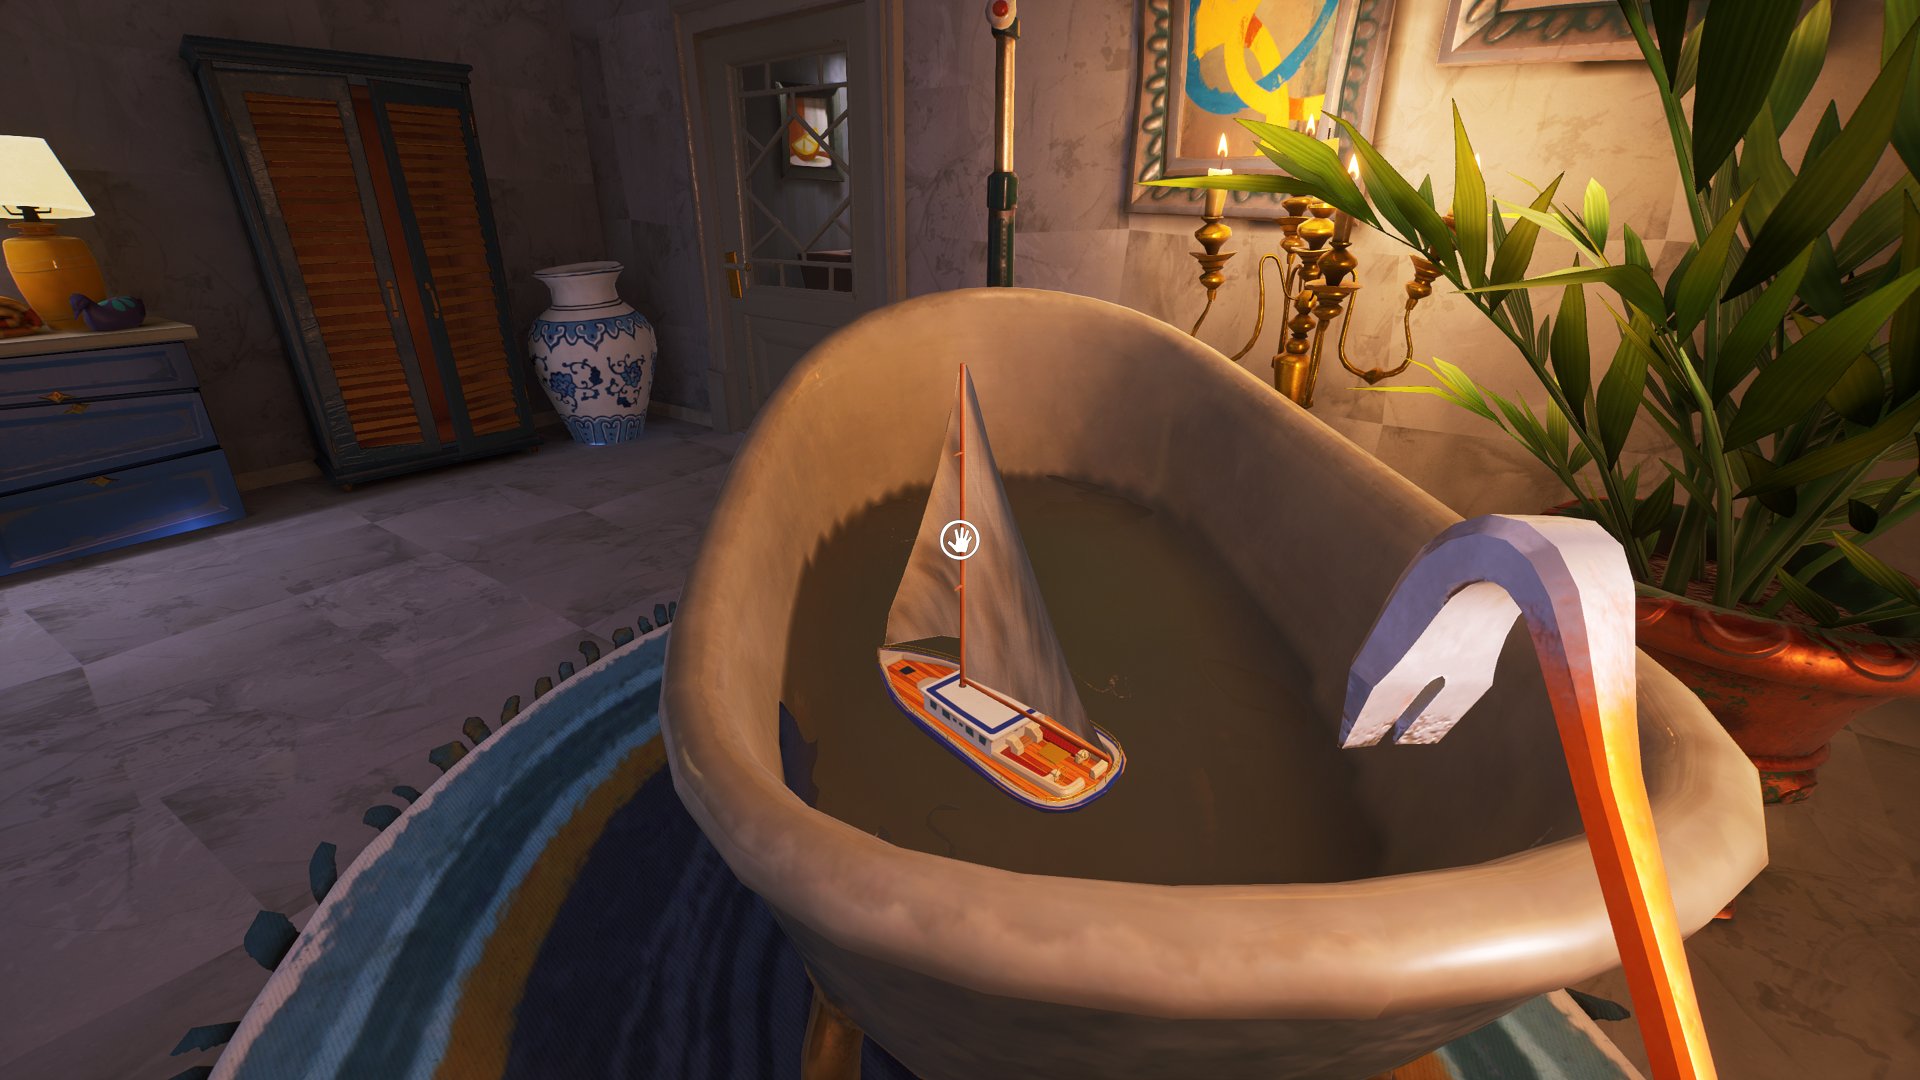
This is where we’ll begin jumping around a bit to make things as efficient as possible, grabbing three trophies in quick succession. Drop through the yellow grate from the last trophy and into the bathroom. Grab the model toy sailboat from the tub, then go to the dining room.
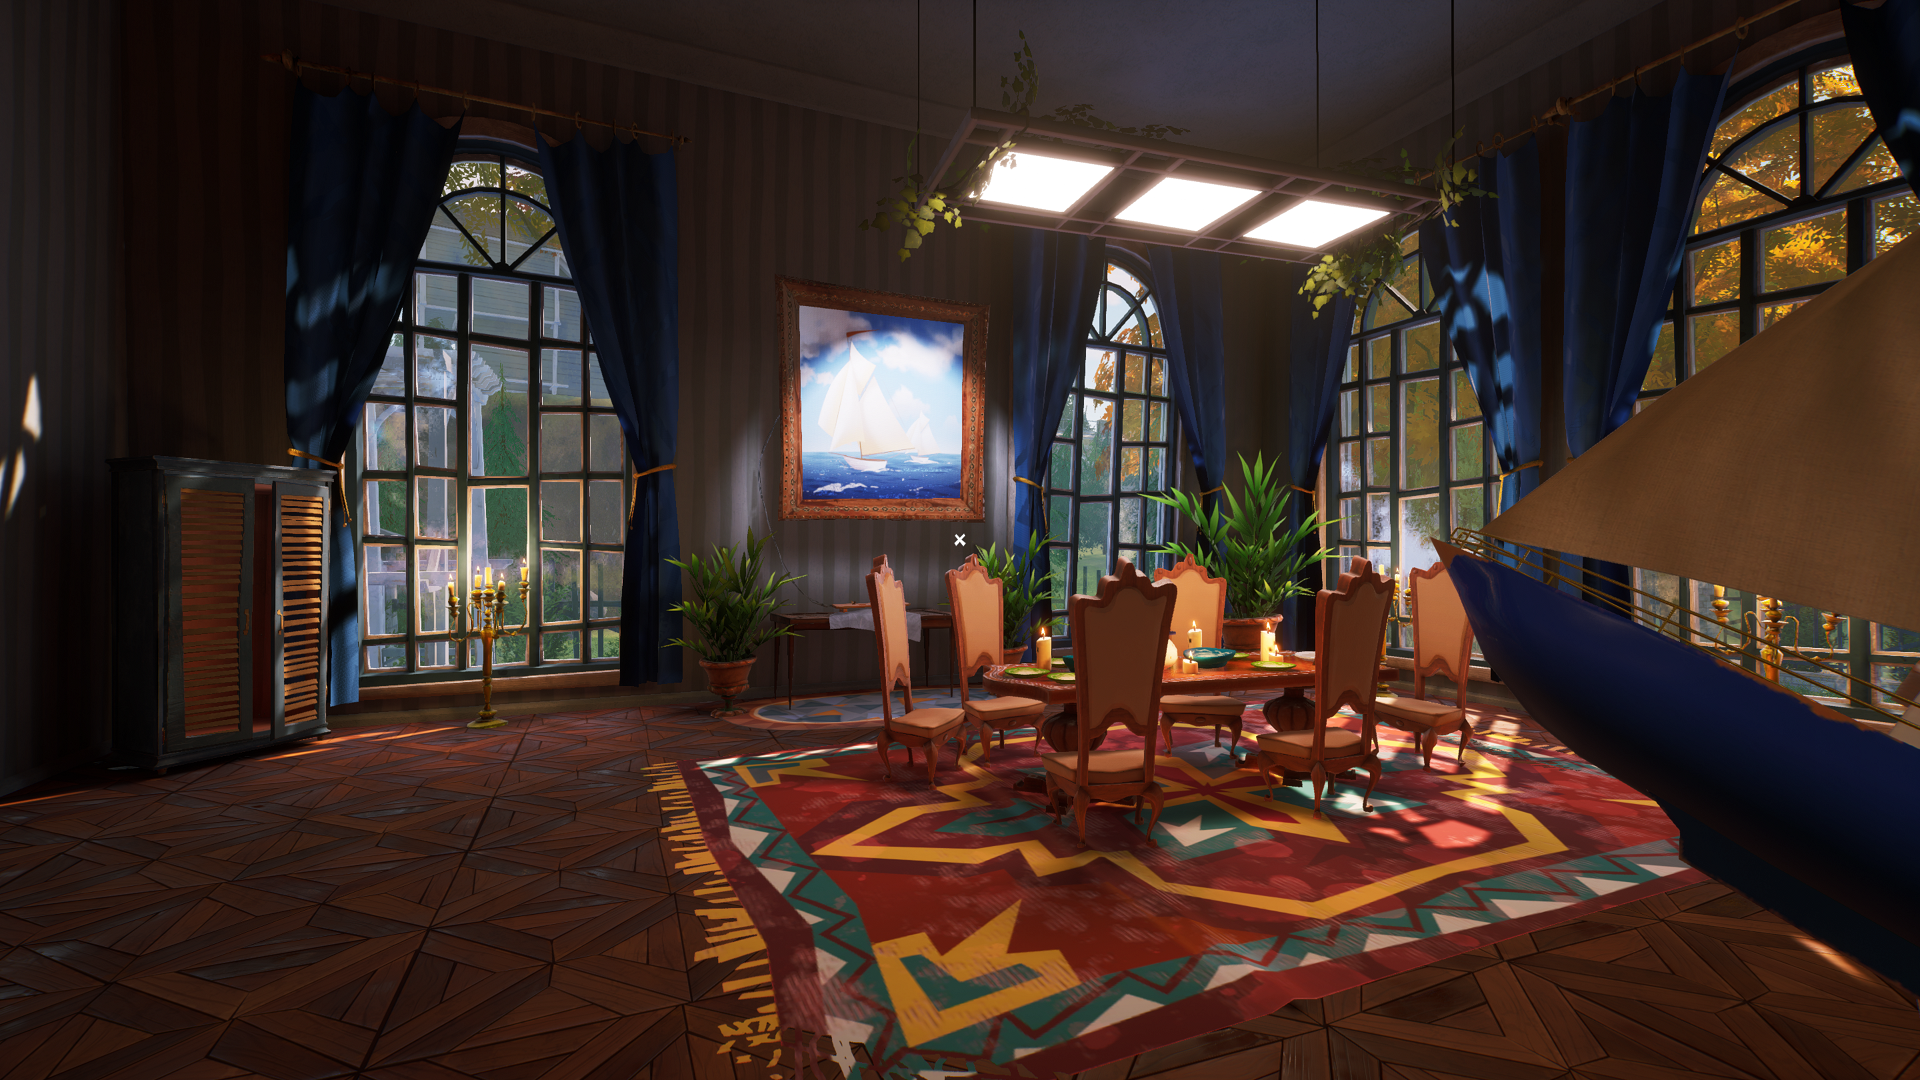
You’ll see a painting of a sailboat on the far wall, beyond the table and chairs. Place the model sailboat in the slot beneath the painting to reveal a picture of the dog and a birthday: 08/06/91.
Now head back upstairs and find the star trophy, which will give the fuse you need for celestial trophy.
How to Solve the Laser Puzzle for the Star Trophy
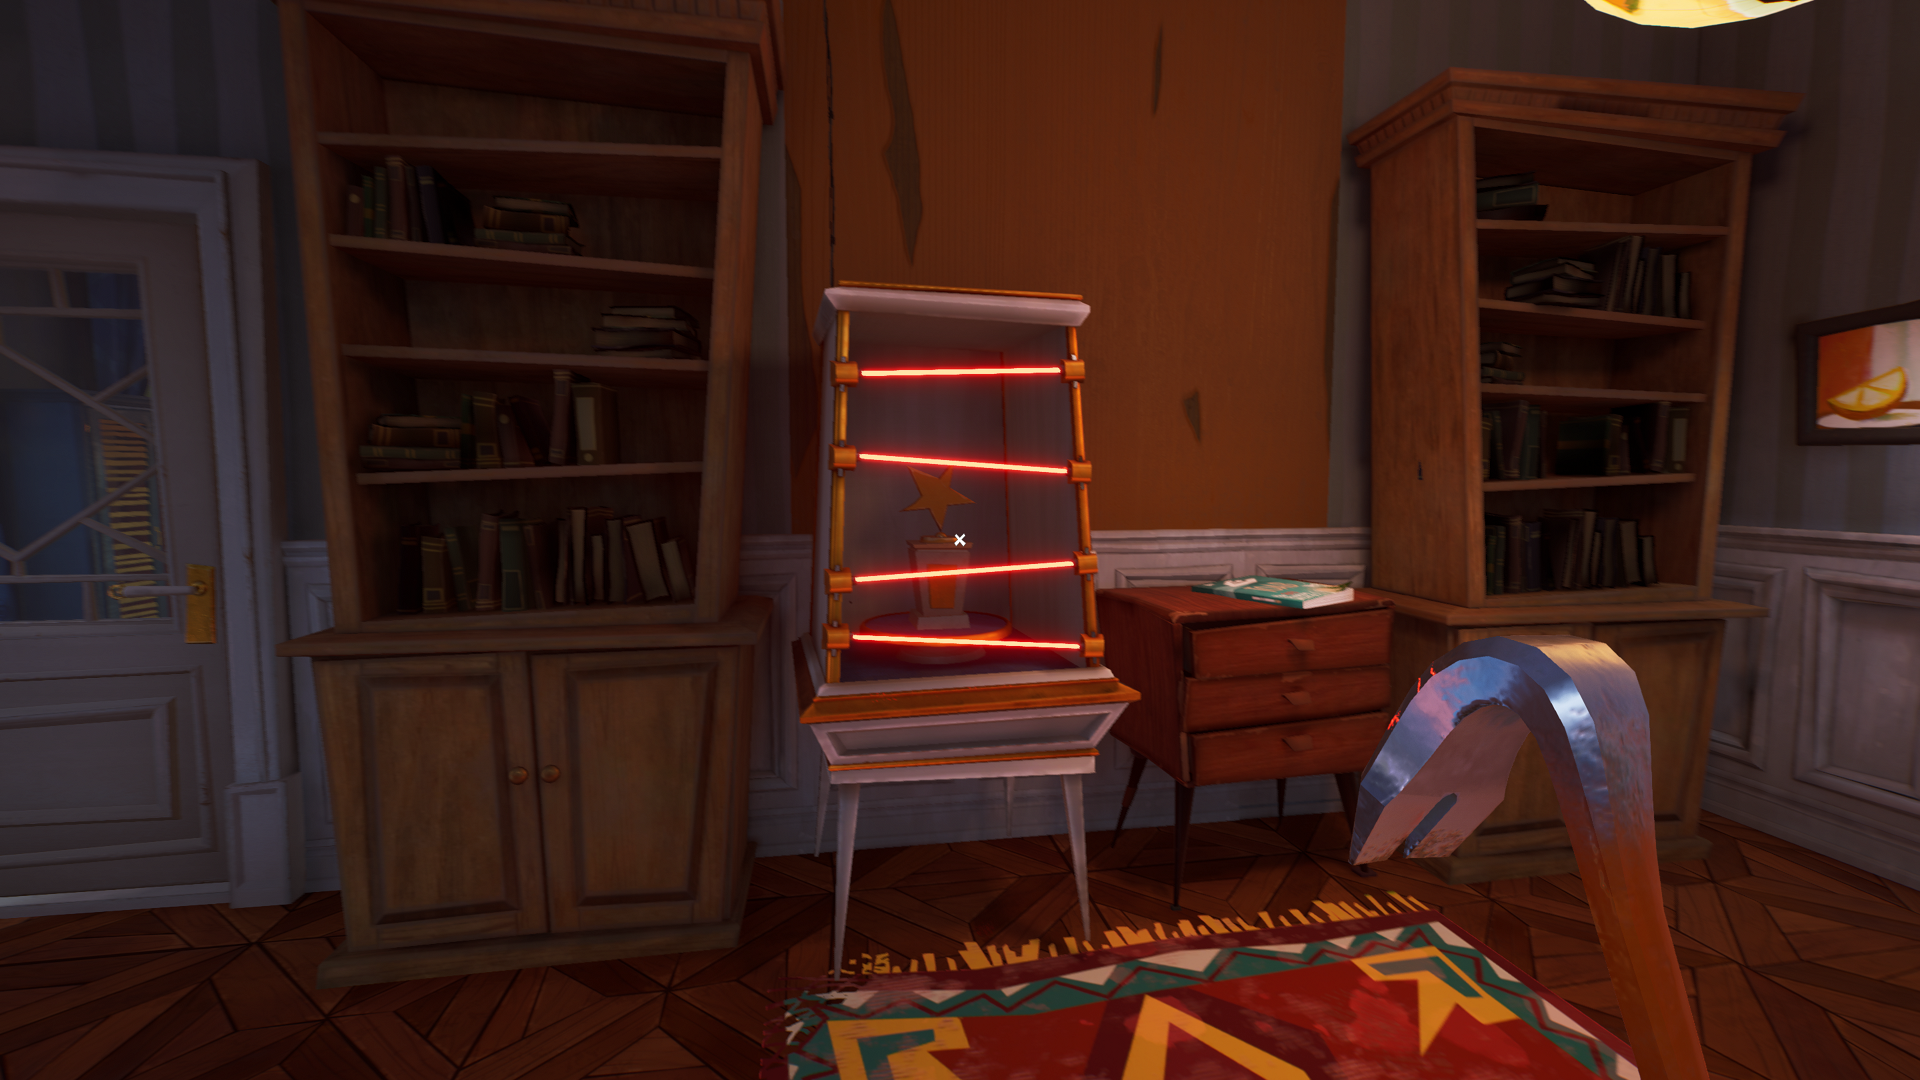
Once upstairs again, go into the Mayor’s office through the door next to the glass display case that held the record. Turn left inside, and you’ll see the star trophy in a case guarded by lasers. Go through the office, and into the nearby greenhouse.
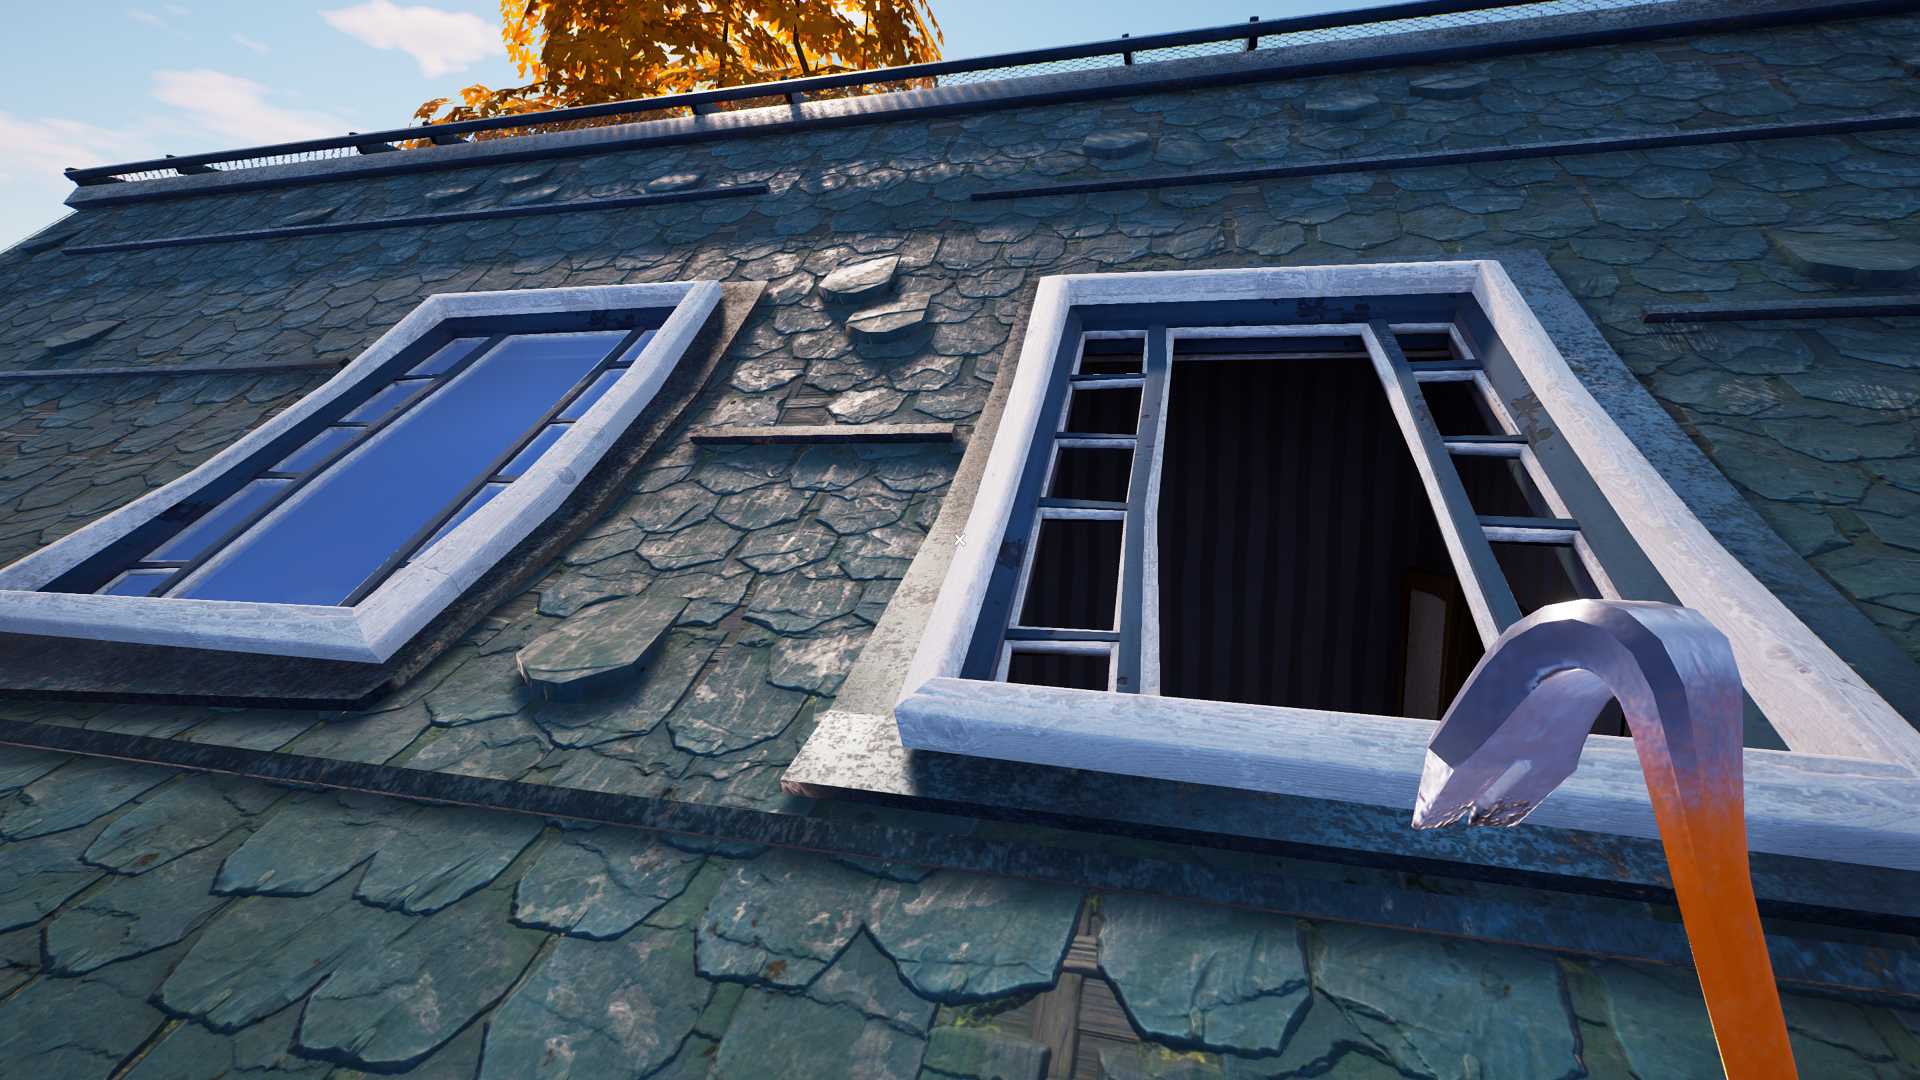
Take the ladder up in the greenhouse, turn around 180 degrees, and go up over the roof to the other side of the house. There, you’ll see two large glass skylight windows in the roof. Break through either one, and drop down onto a platform above the stairwell.
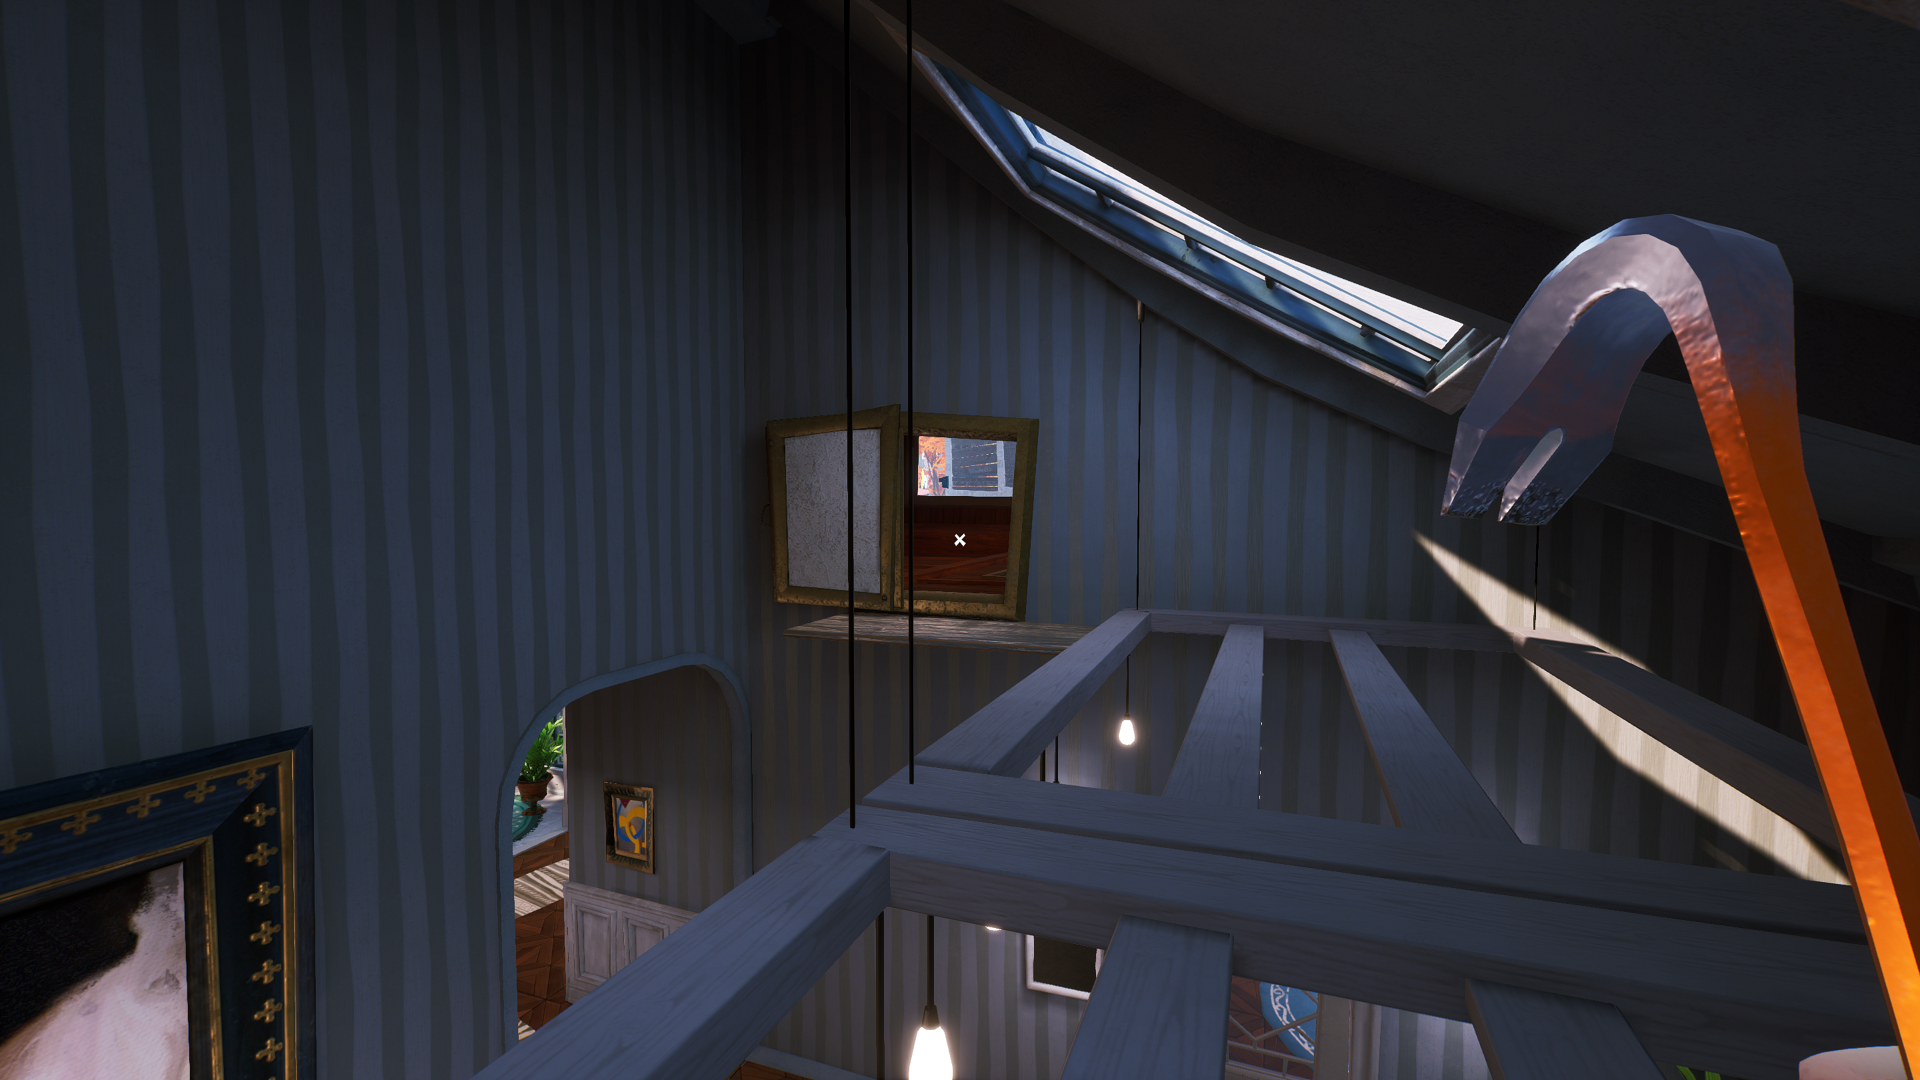
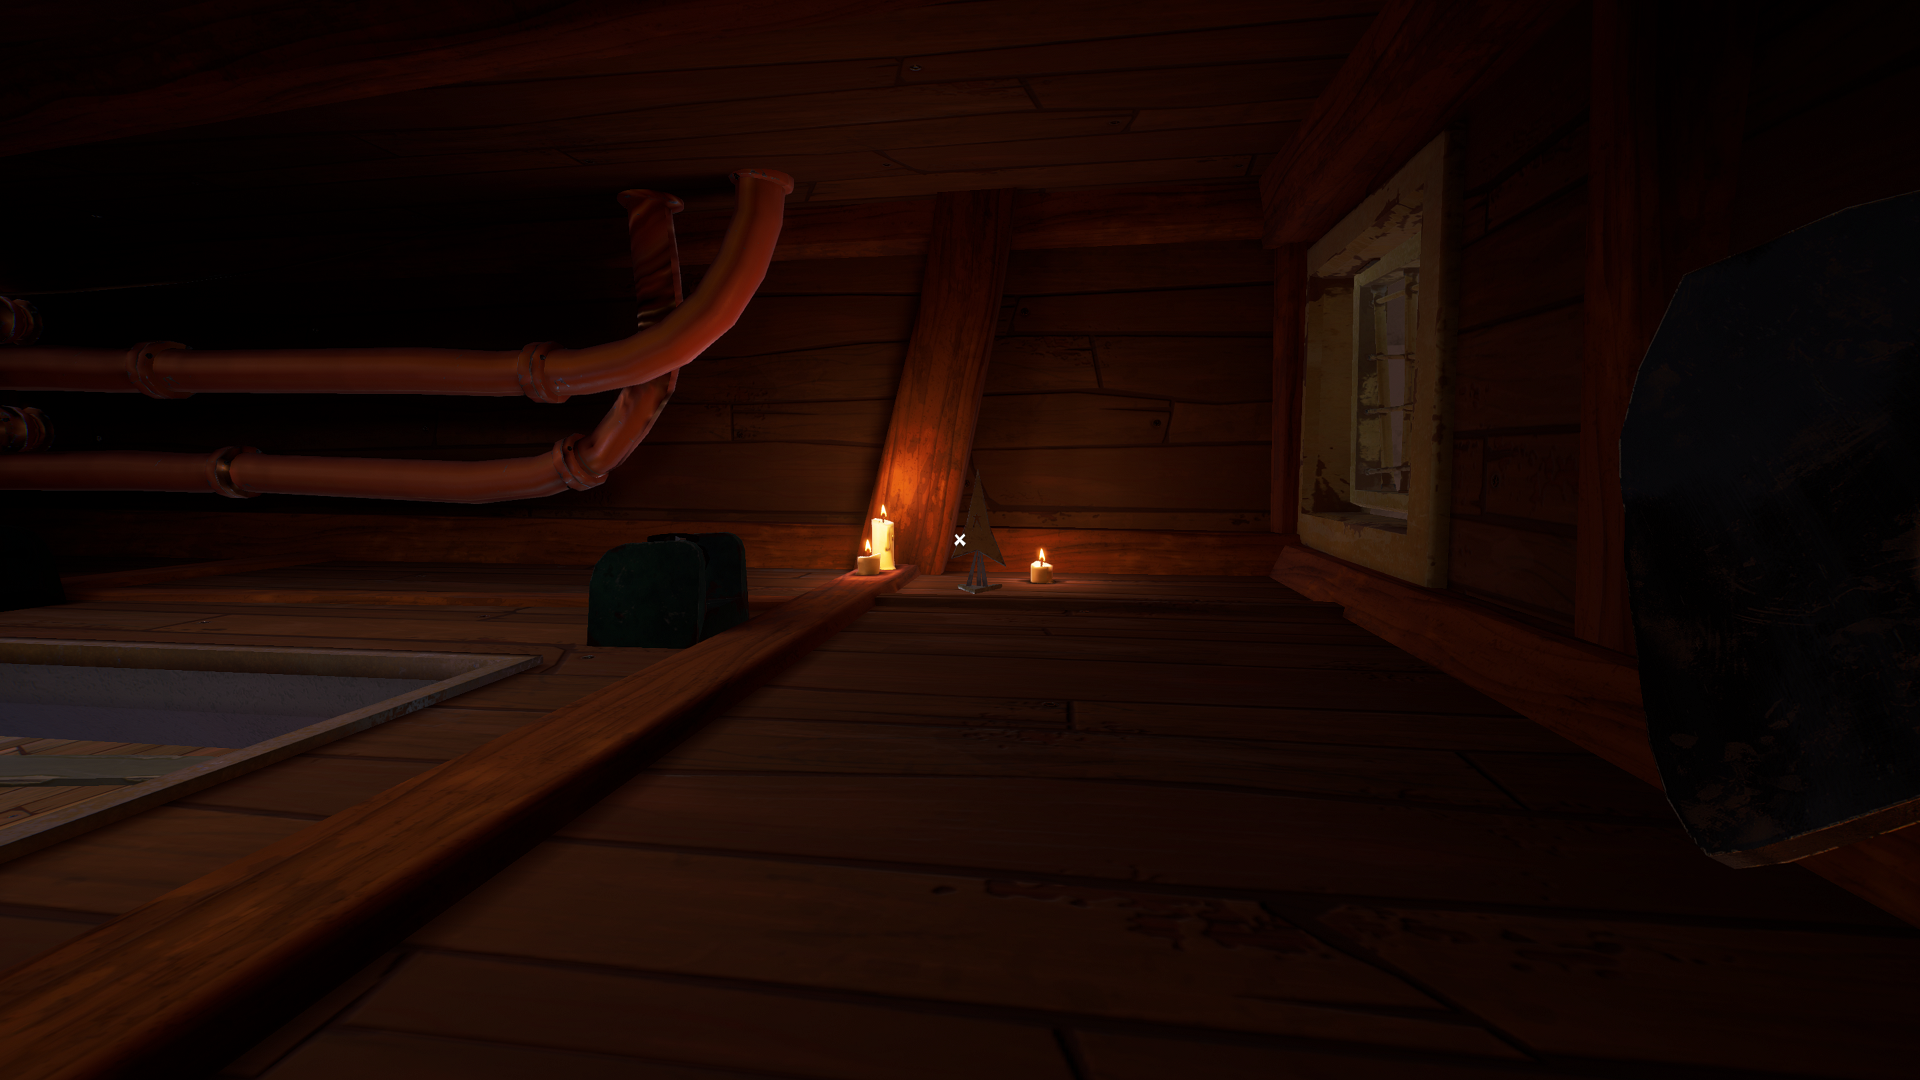
Turn left, and you’ll see an opening leading into an attic cubby above the trophy room. Go there if you need a crowbar. Turn right, and you’ll see another attic cubby above the mayor’s office. Go into that cubby, and turn right once inside. Remove the board guarding the grey circuit box on the wall by the entrance, then remove the fuse from inside the box.
Drop back down to the second floor by the stairwell, and go into the mayor’s office to retrieve the star trophy.
How to Get the Cup Trophy

With the fuse from the star trophy in hand, go to the Mayor’s bedroom by the greenhouse. Jump on the bed to reach the rafters above the television. Grab the cup trophy sitting on the rafters directly in front of you, then continue on to the fuse box on the far wall.
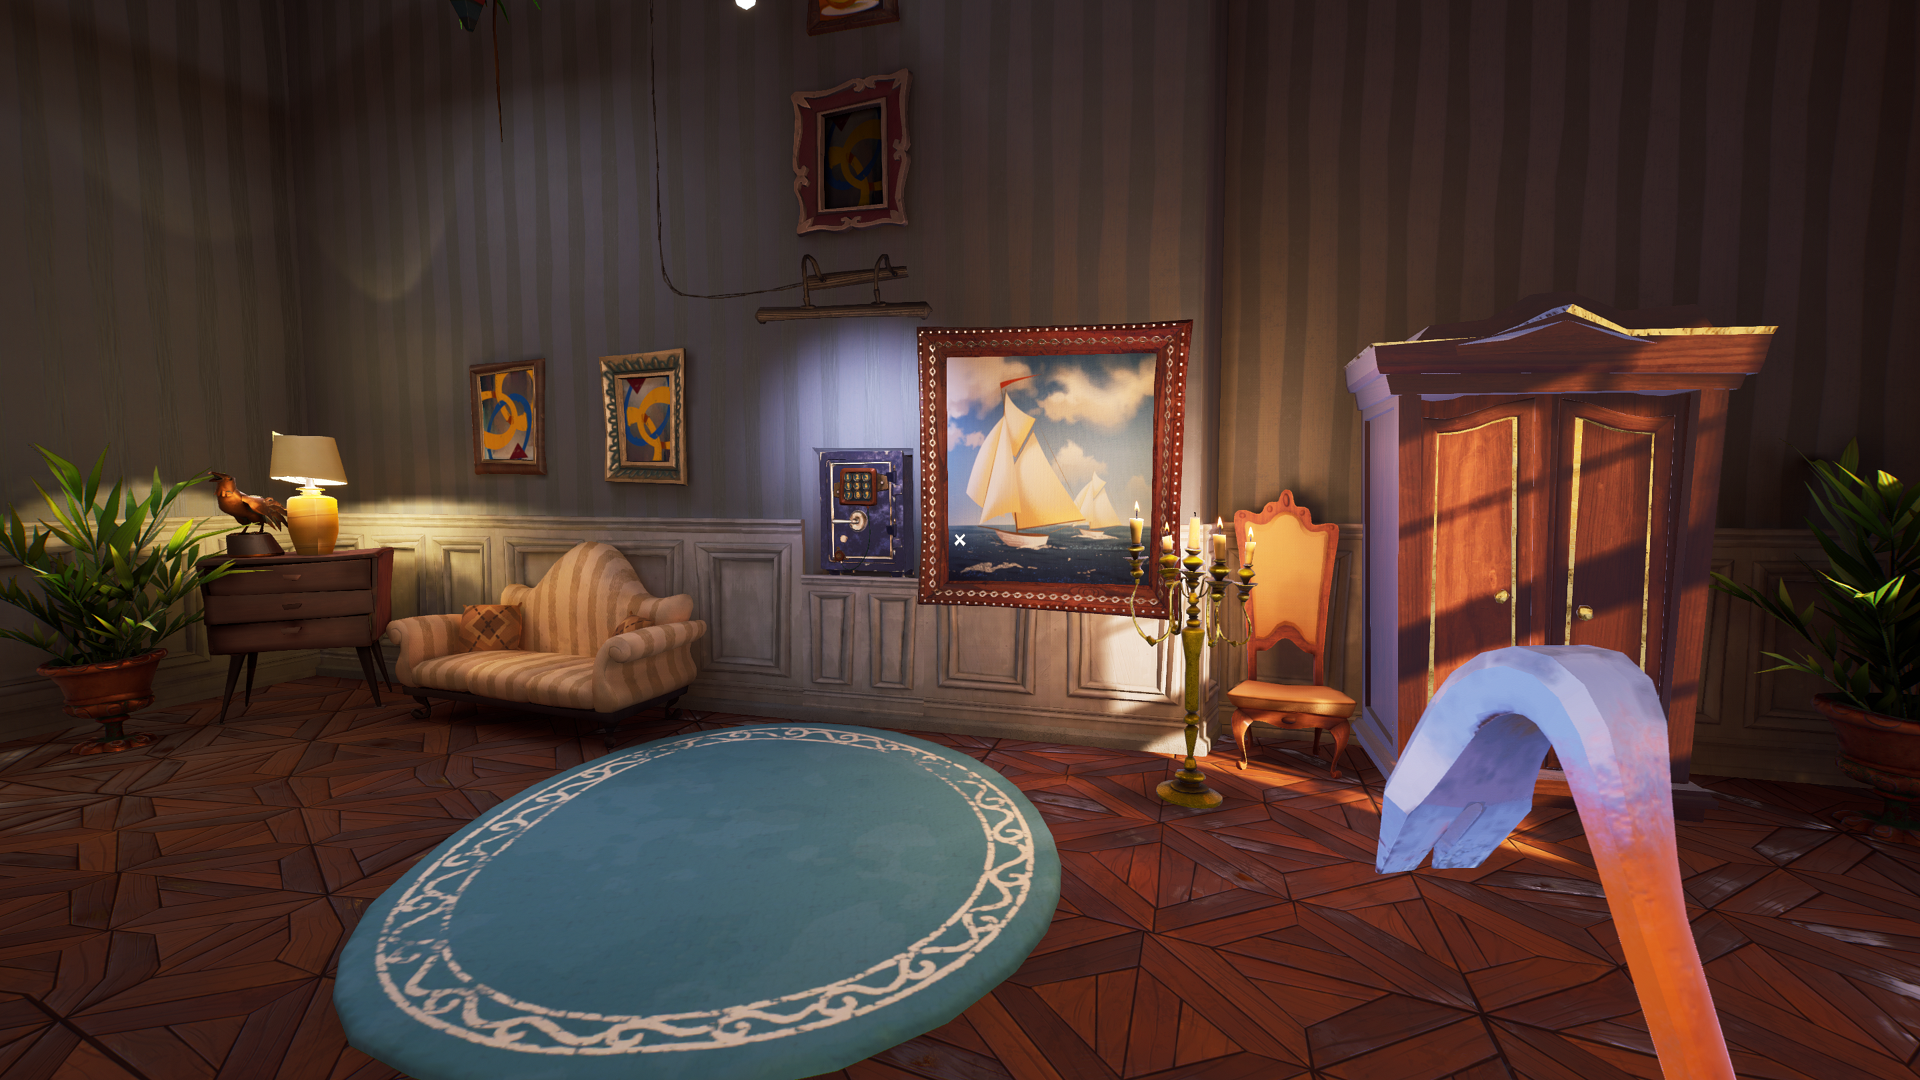
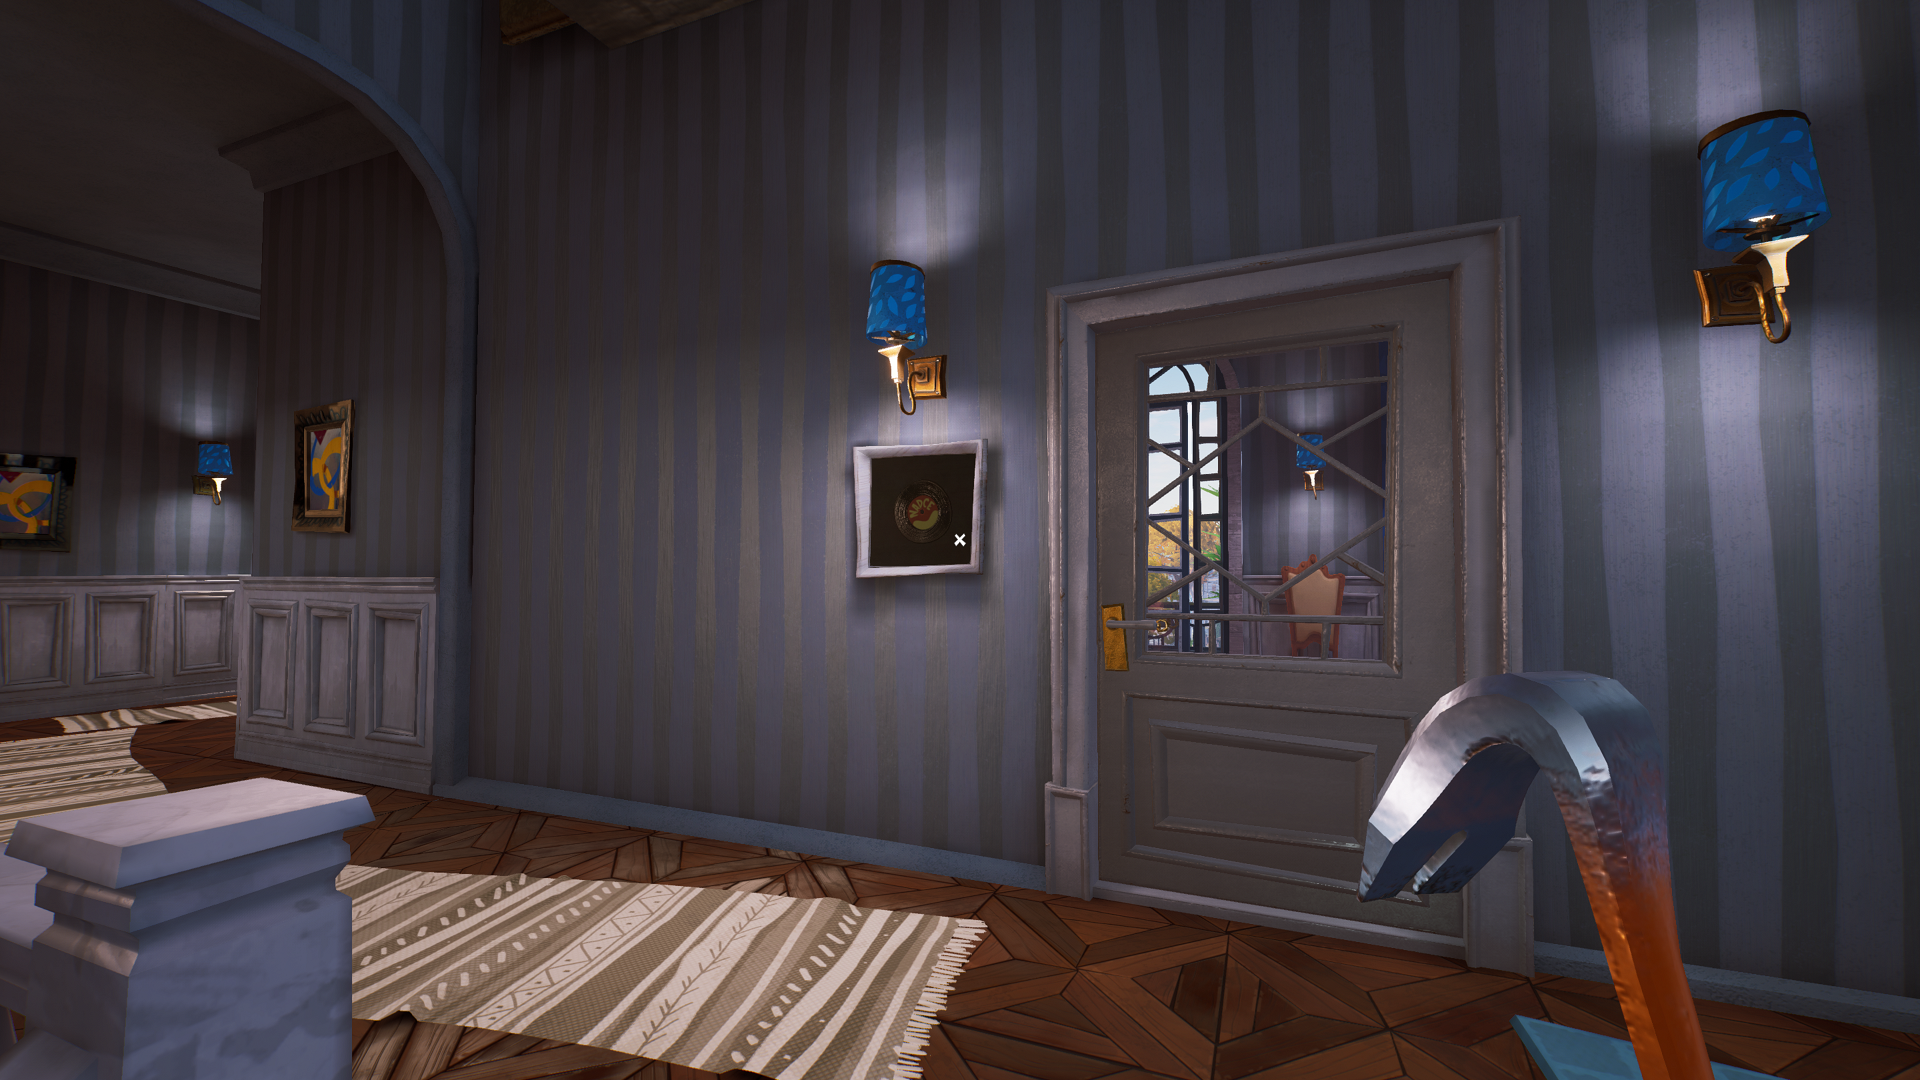
Place the fuse in the box to reveal a safe in the wall by the sailboat painting below. Drop down, and enter the safe code 8691 (the dog’s birthday) to open the safe and finally get the celestial trophy.
Mayor’s House Trophy Stand Solution
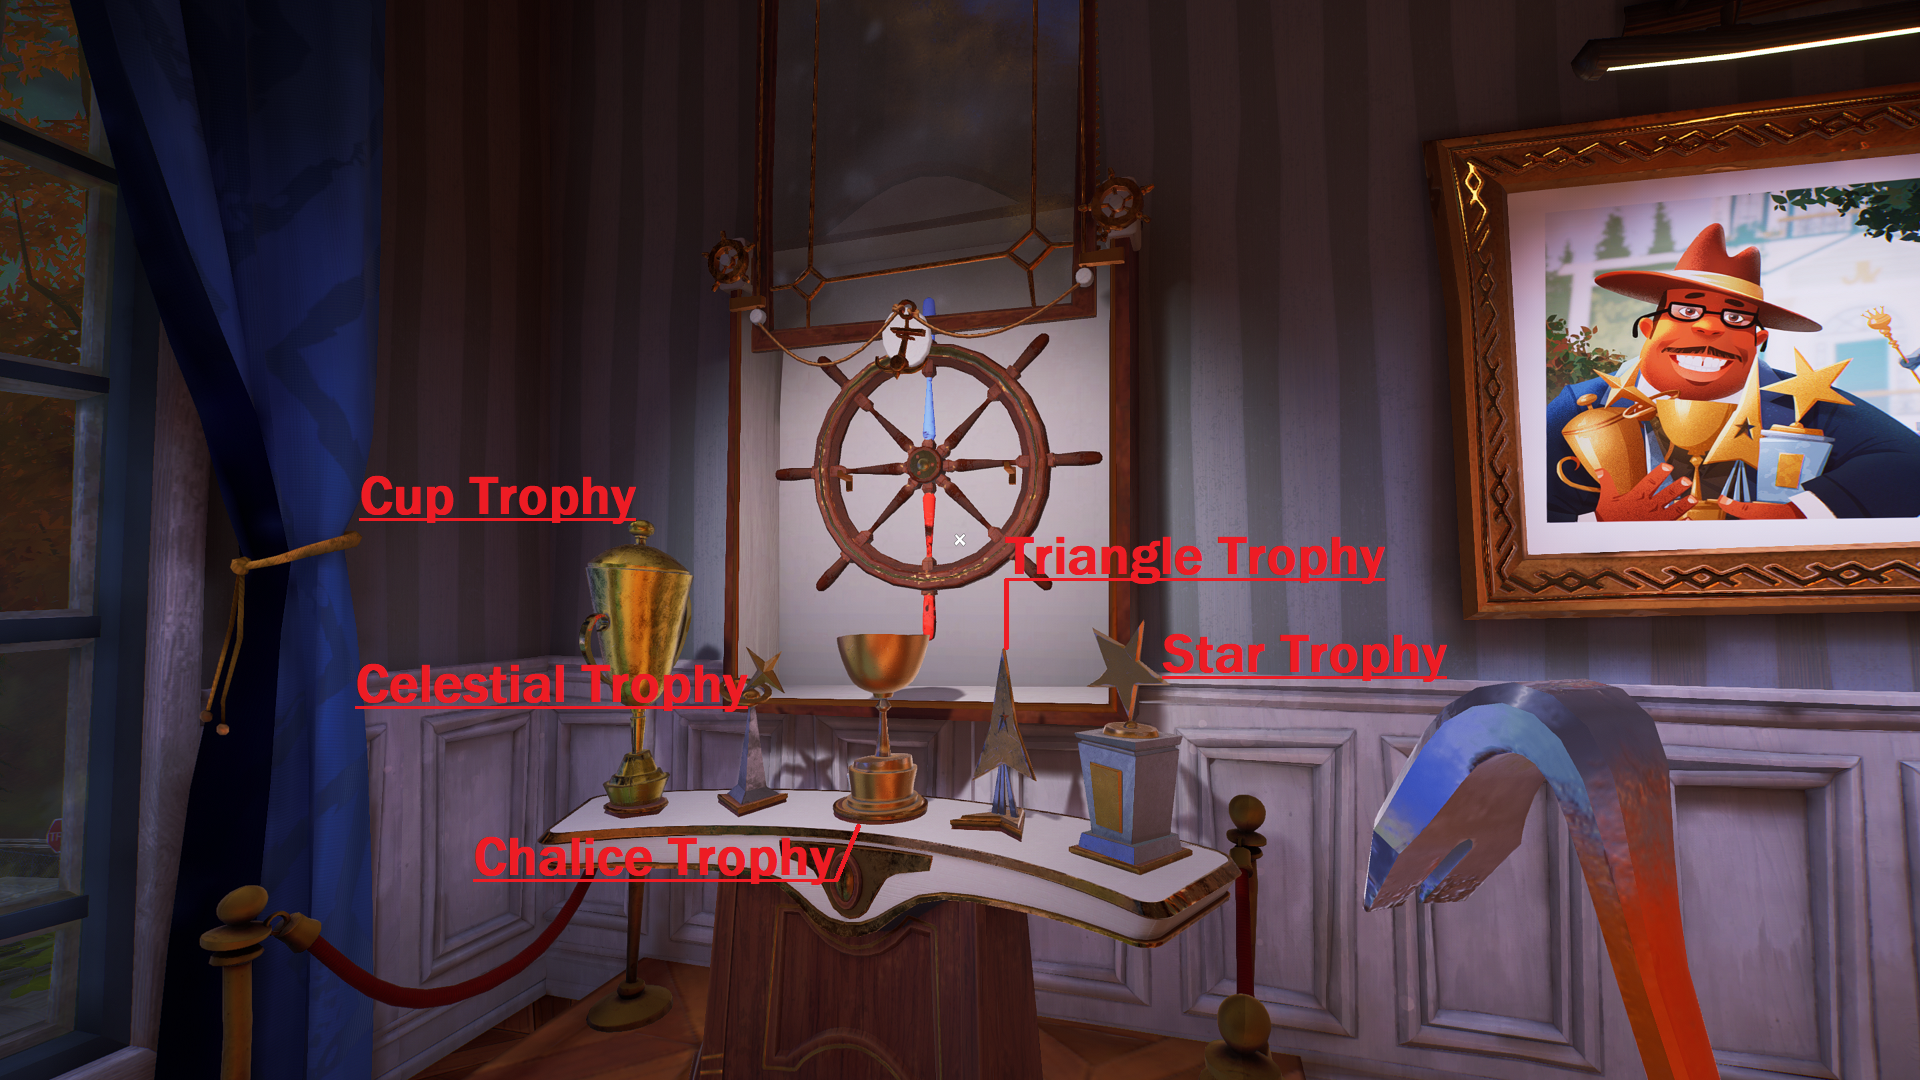
Now return to the trophy room upstairs, and place all of the trophies in the appropriate spots on the trophy stand. From left to right:
- Cup Trophy
- Celestial Trophy
- Chalice Trophy
- Triangle Trophy
- Star Trophy
How to Use the Ship Wheel

Putting all of the trophies in place unlocks the ship wheel above the trophy stand. Take the wheel, and go back to the Mayor’s bedroom. Combine the wheel with the column by the window on the far side of the bed, and interact with the wheel to spin it.
You’ll notice that both the wheel and the ornate star on the column have blue and red sections. Stop the wheel when its blue and red sections align with the star’s blue and red sections, opening a secret door in the nearby wall.
Go inside the secret room, and grab the gear key from the desk, triggering a loading screen.
Where to Find the Animal Heads in the Museum
Return to the Museum (you can do so quickly by jumping out of the nearby window to your “death”, which spawns you at the Museum). Before entering the gear door, your next order of business is to find two taxidermied animal heads on the Museum’s first floor before completing an antenna puzzle, then a bookcase puzzle, for a third on the second floor.
Fish Head Location
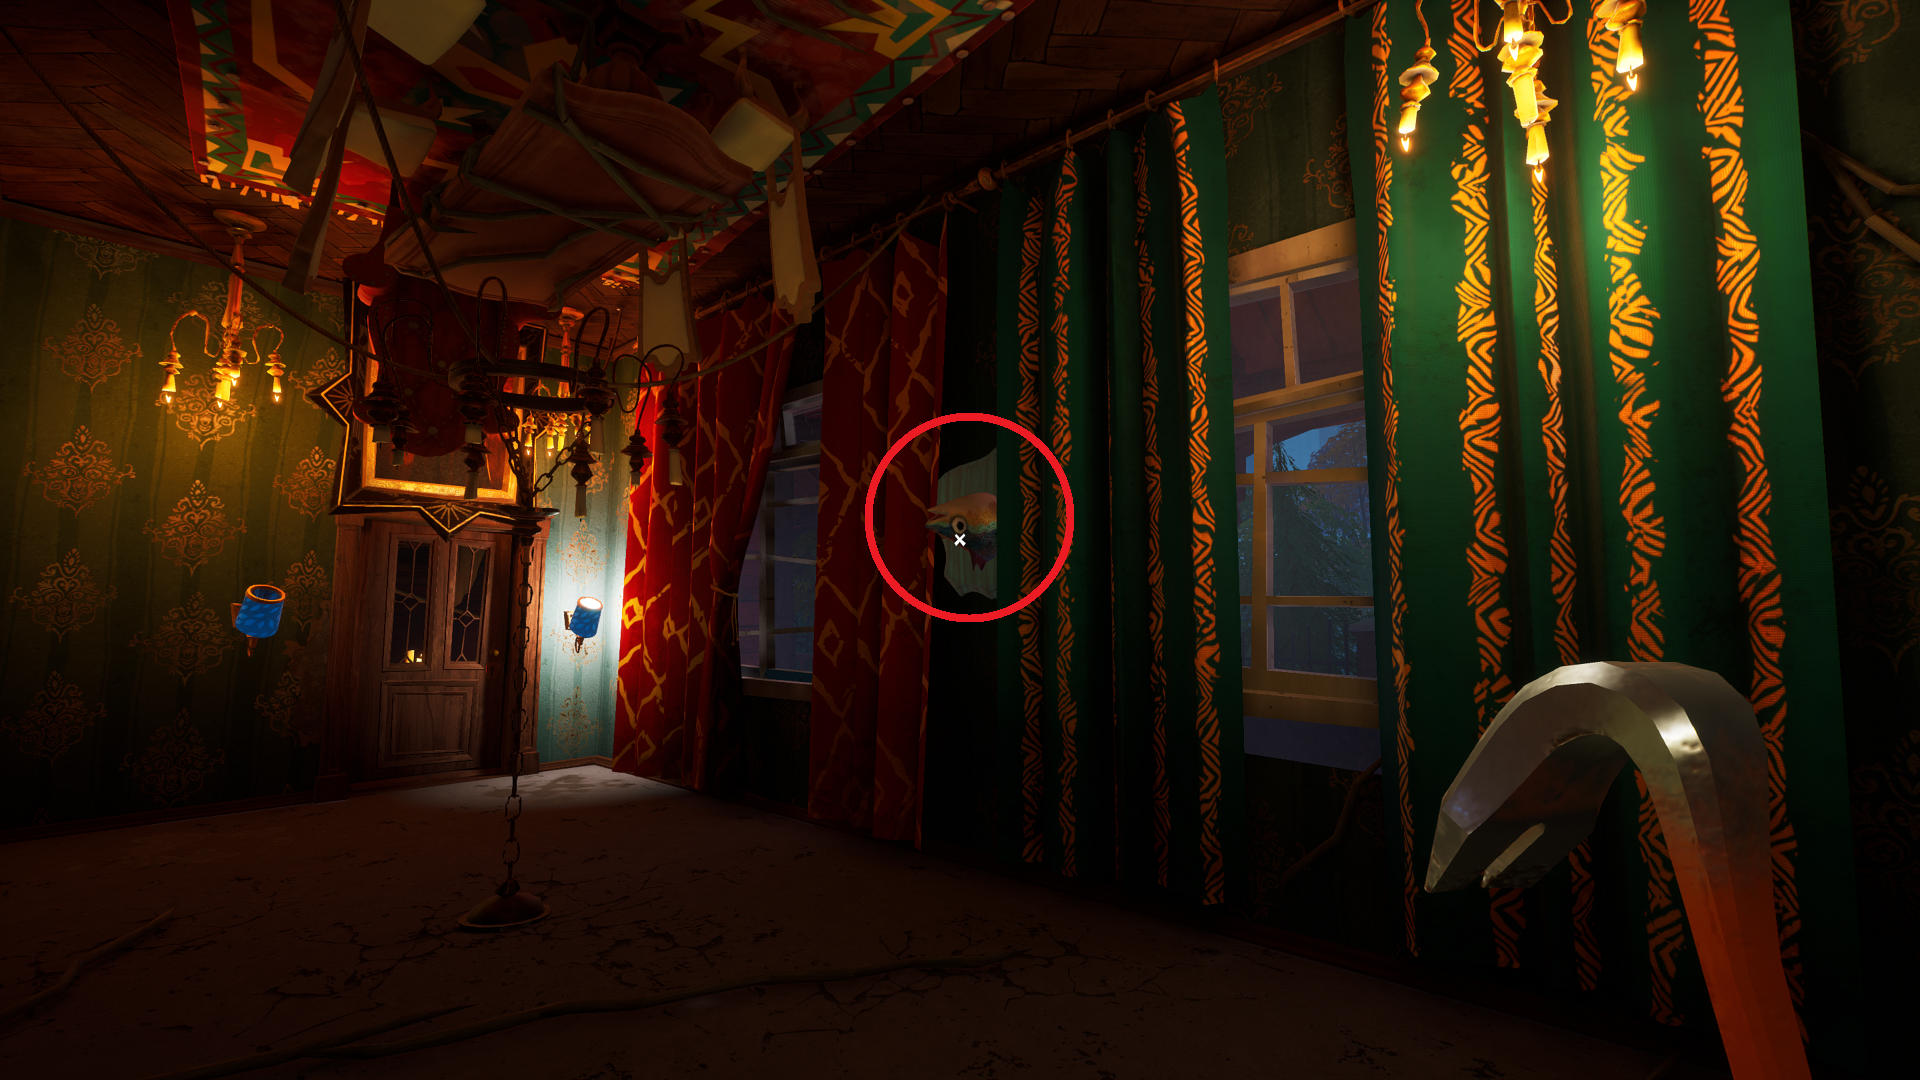
Go inside the Museum and into the inverted hallway with the plague doctor painting from Act 2. Look for the inverted fish head on the wall and take it.
Boar’s Head Location

Exit that room, and go to the garage where you found the blue gear for the Grandfather Clock puzzle in Act 3. Look in the crate under the stairs near the car for the car door handle. Combine that with the car door, and pull the red lever inside the car to open the trunk. Grab the boar’s head out of the trunk.
Bear’s Head Location
Now go upstairs to the second floor and to the far back right corner. Look for the door with the gear symbol above it near the headless taxidermied bear. Go ahead and place the fish head on the body in the middle and the boar’s head on the body on the far left. Then use the gear key from the Mayor’s house to open the gear door.
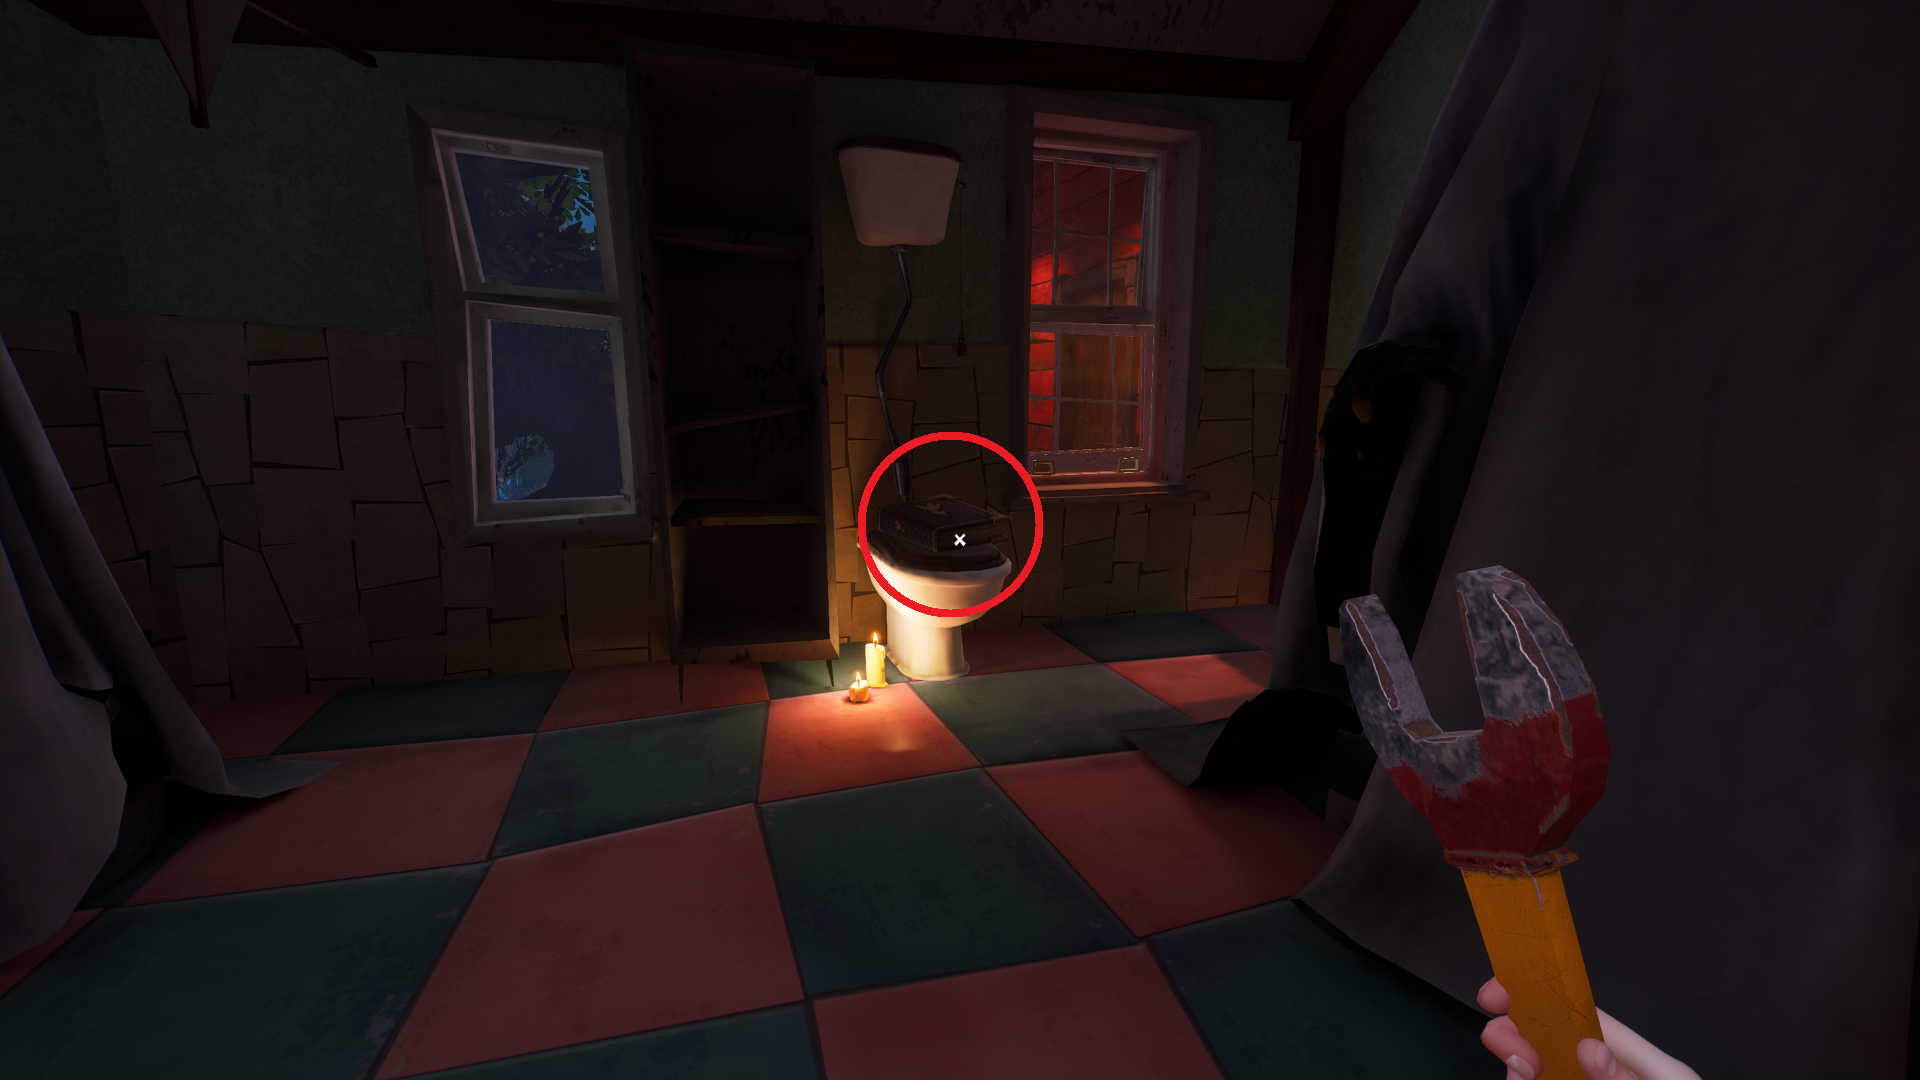
Inside, inspect the book on the table on the right side to get the wrench. Exit the room, and stay left past the headless bear to find a door locked with a nut and bolt. Use the wrench to open the door. Inside, take the book with the gold plant design off the toilet.
How to Solve the Bookcase Puzzle
You may have noticed a bookshelf in the back of the gear room when picking up the wrench. To get the bear head, you’ll need to solve the bookshelf puzzle, which requires you to place the book you’ve just picked up on the bookcase, then pulling it and two other books in the correct sequence.
Here’s how to find the bookcase code to solve the puzzle and get the bear’s taxidermied head.
Where to Find the Antenna
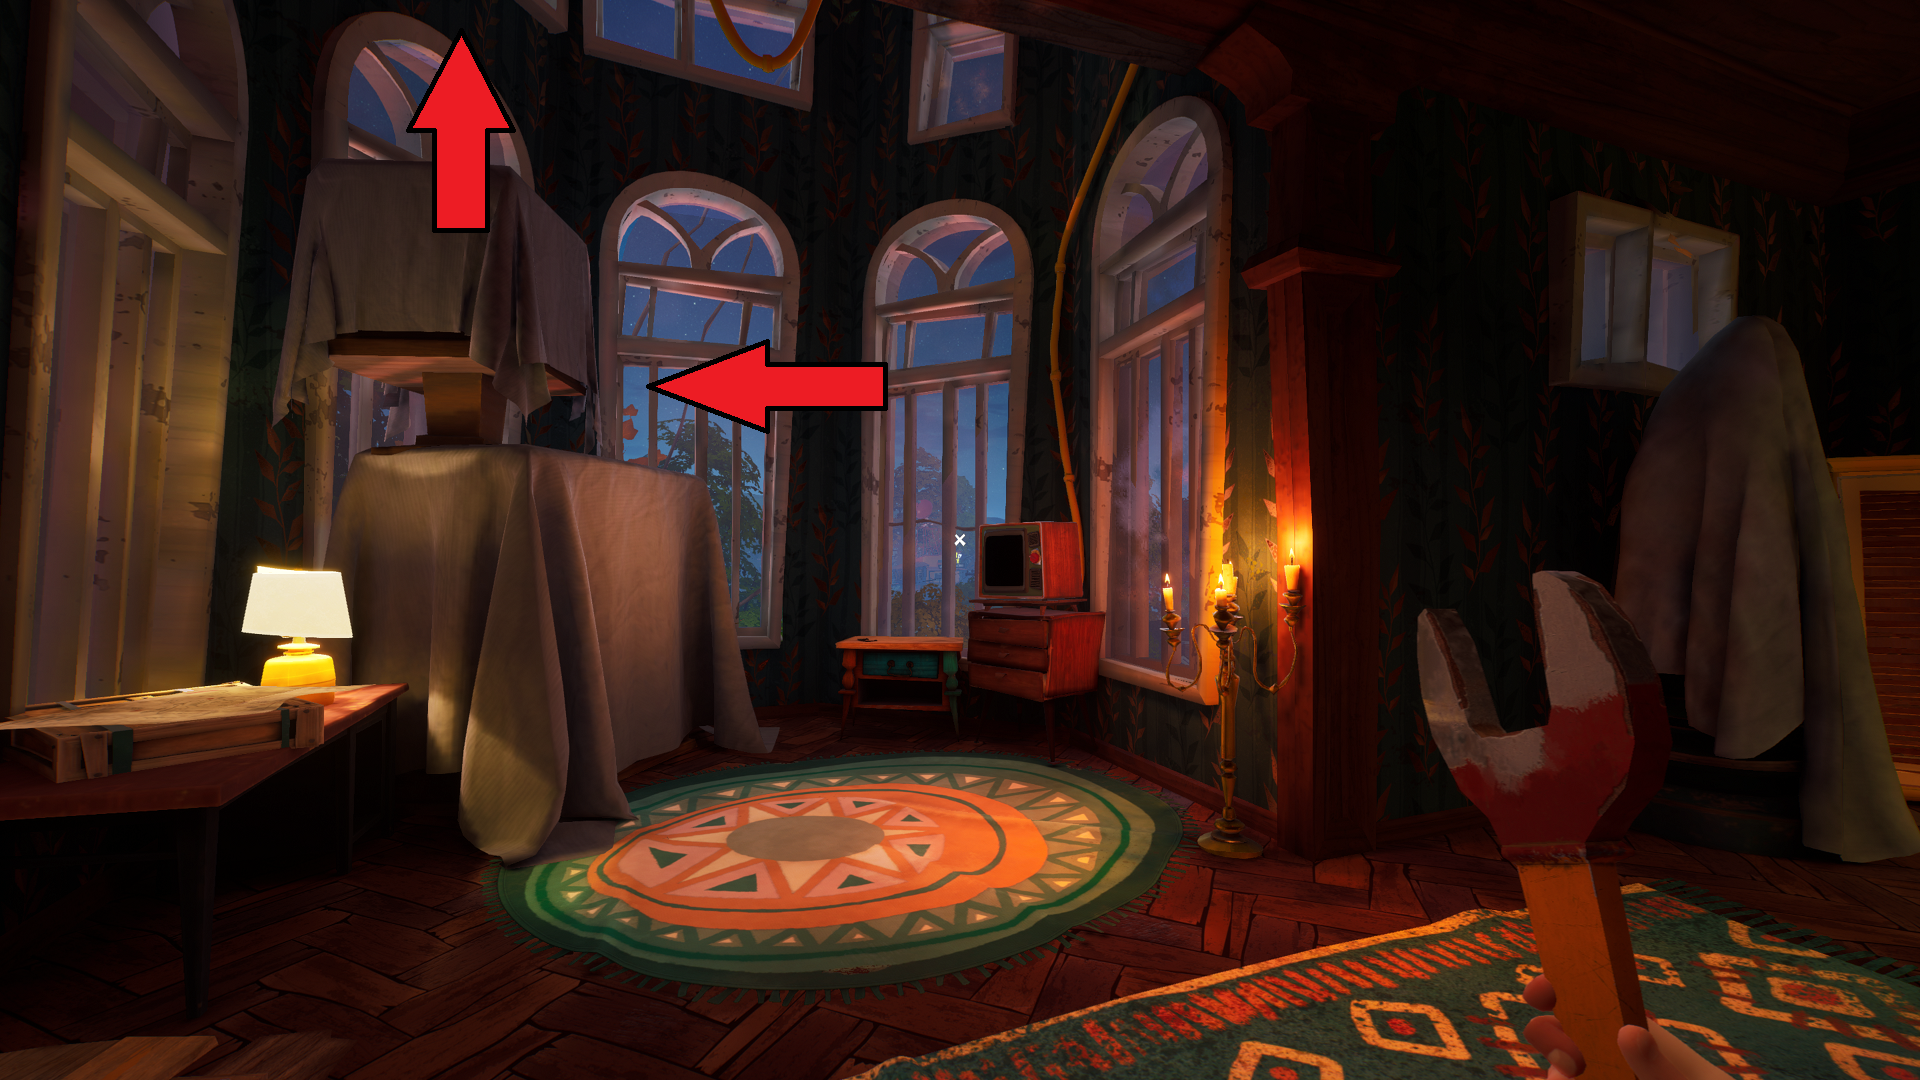
Exit the bathroom how you entered, and turn left. Go to the bay windows ahead, and you’ll see a television on the right side. Climb the furniture covered in sheets to the left, and open the crate at the top for an antenna.
Jump down, and exit the Museum through the door behind the taxidermied boar and fish (to the left of the gear door). Climb the scaffolding you find to the top of the roof.
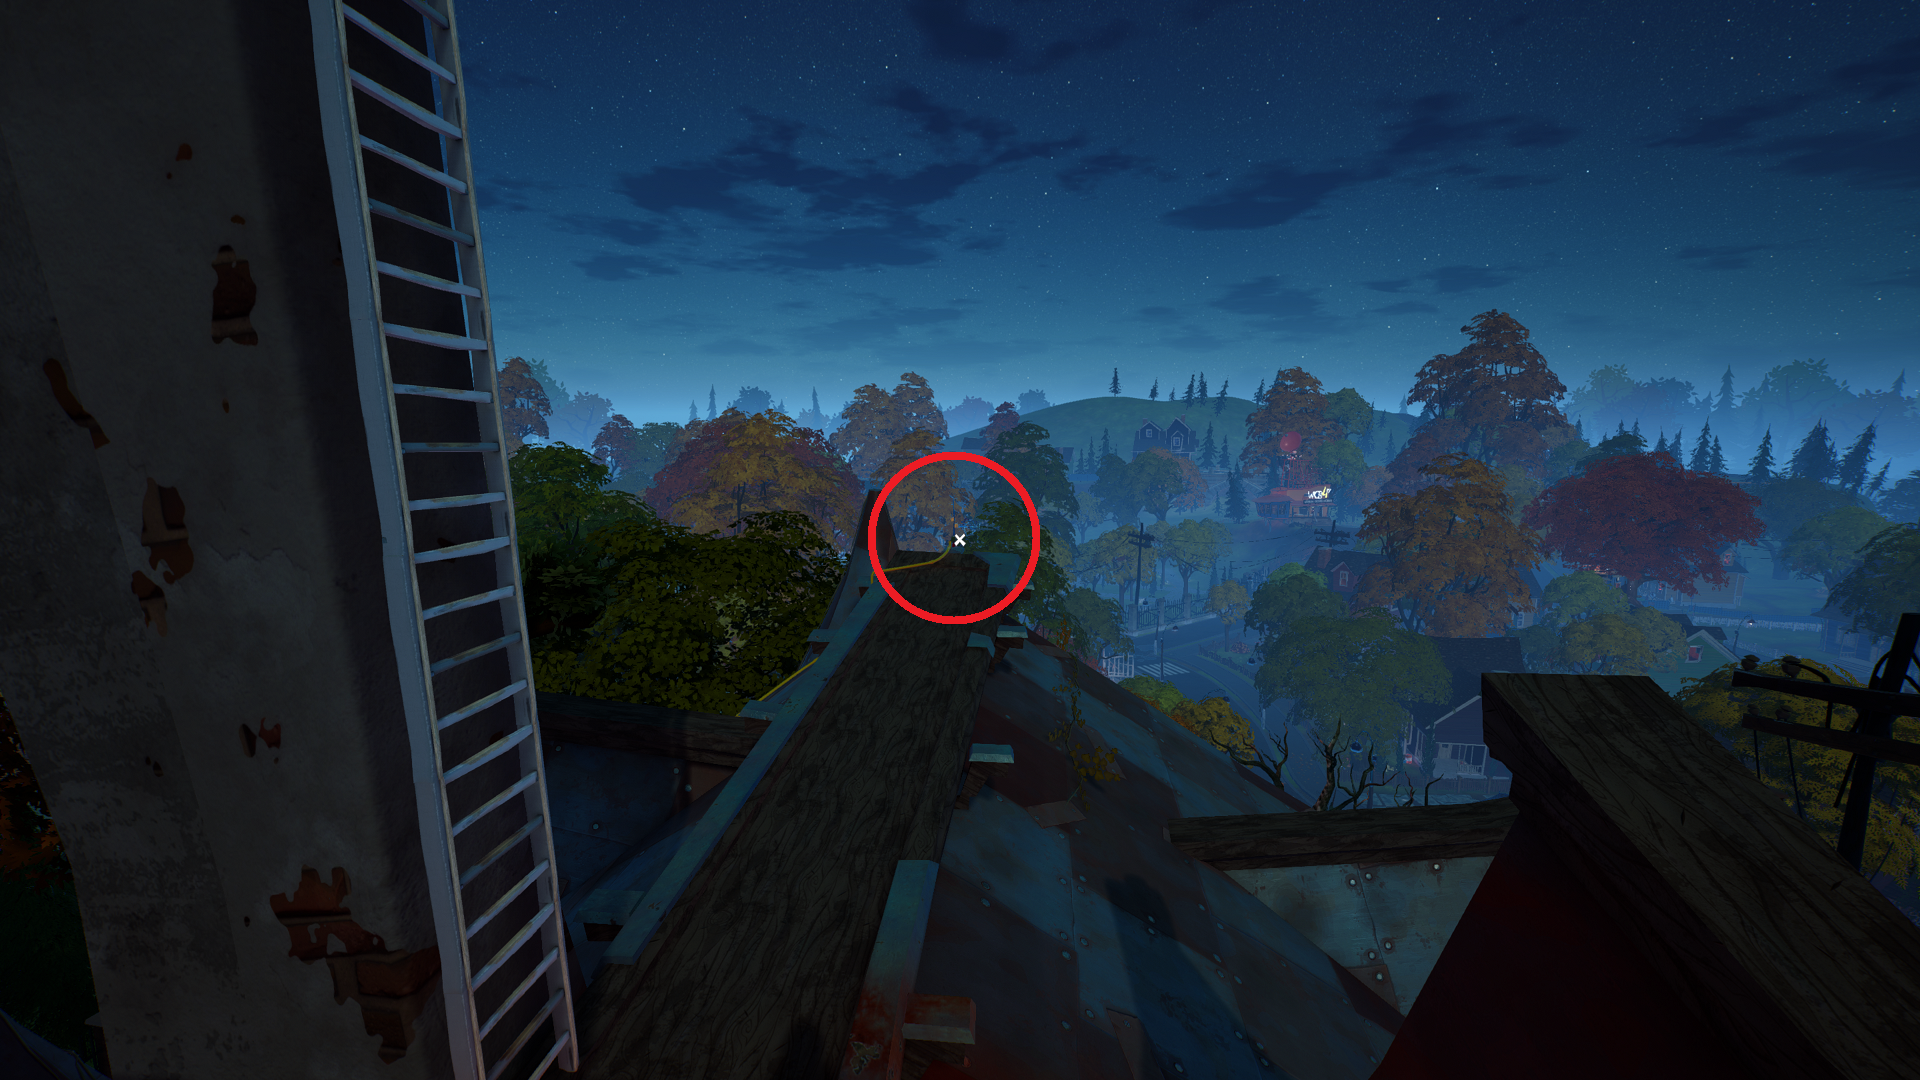
At the top, scamper across to the part of the roof overlooking the front of the Museum to find an antenna rod with half an antenna. Place the antenna piece you have, and adjust each side to the top position.
Return to the TV, and flip through the three channels, each of which shows a specific symbol. Memorize these symbols; for me, it was fire, plant, planet.
Bookcase Puzzle Solution
Return to the gear room, and place the book with the gold plant design in the bottom right slot in the bookshelf at the back of the room. Pull the books corresponding to the symbols you saw on the TV, and the bear’s head will appear at the top of the bookcase.
Place the head, and a secret compartment will open in the ceiling near the taxidermied animals. Take the stairs into the attic, grab the key off the wall on the right side, and open the door to trigger a cutscene. Now on to Act 5, the final chapter of Hello Neighbor 2.


Published: Dec 14, 2022 06:02 pm