If you want to get the most out of the Revision Zero Exotic Pulse Rifle in Destiny 2, you’ll need to complete all four parts of the Should You Choose to Accept It exotic questline. It is available after completing The Hidden Shape quest.
Each part of Should You Choose to Accept It unlocks a different Refit catalyst at Mars’ Enclave, but nothing comes for free in Destiny 2. You’ll need to be at high Power to take on the questline’s hardest step, and you’ll probably want friends, too.
Should You Choose to Accept It Exotic Quest Walkthrough
As a four-part quest chain, Should You Choose to Accept It will take you several hours to complete if you wait for all of its parts to release. Even a single step takes at least an hour or two, depending on your loadout and ability to tackle the Operation: Seraph’s Shield activity on Legend difficulty.
Should You Choose to Accept It, Part I
Each part of the larger quest follows a similar structure, so you’ll always have a good idea of what to do and how long it will take.
Step 1: Collect a Cryptographic Index from the Archimedes Annex
Head to the H.E.L.M. Director screen and select the Warmind Launch Facility node in the bottom left of the menu.
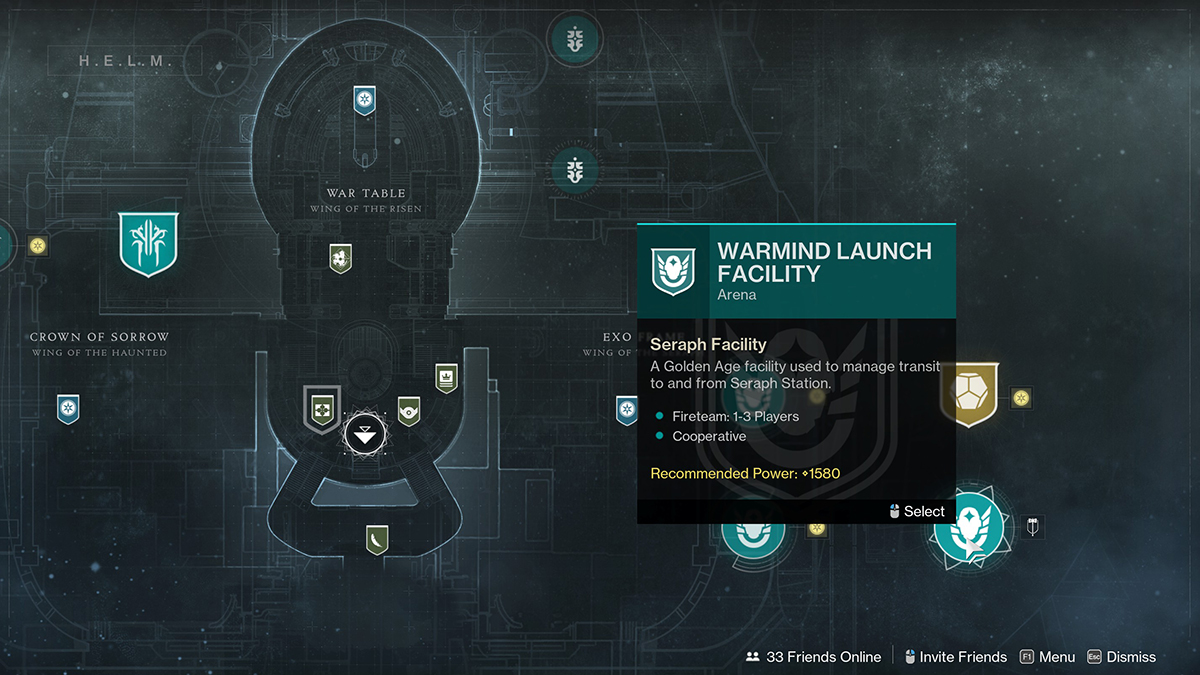
Screenshot by GameSkinny
The Archimedes Annex takes you through the Operation Archimedes activity from the first week of the Season. Defeat the Ogre boss at the end, and collect the index from the terminal.
Step 2: Travel to Europa
The simplest step in the questline is to travel to either landing zone on Europa.
Step 3: Defeat Enemies and Complete Patrols on Europa
On Europa, you’ll need to collect data points by defeating enemies and completing patrols. You need 100 points total, with almost every enemy killed giving one and every patrol awarding five. You can either wander one of the areas with enemies or head into a few Lost Sectors.
Step 4: Find the Dead Drop in the Perdition Lost Sector
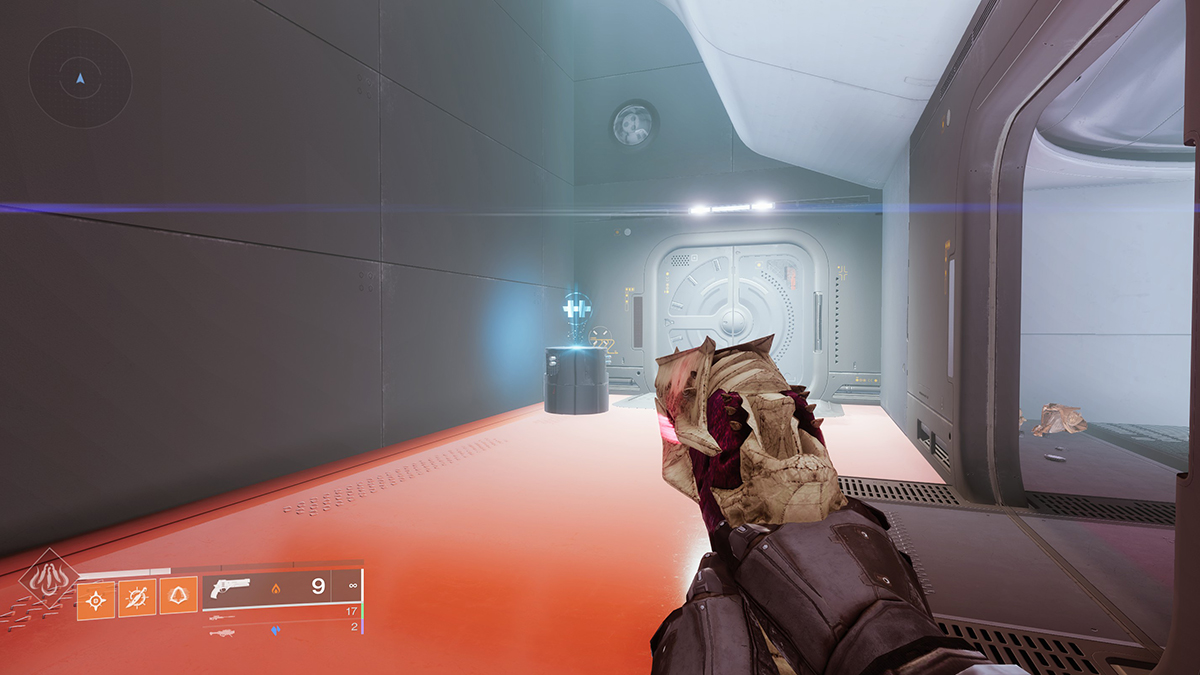
Screenshot by GameSkinny
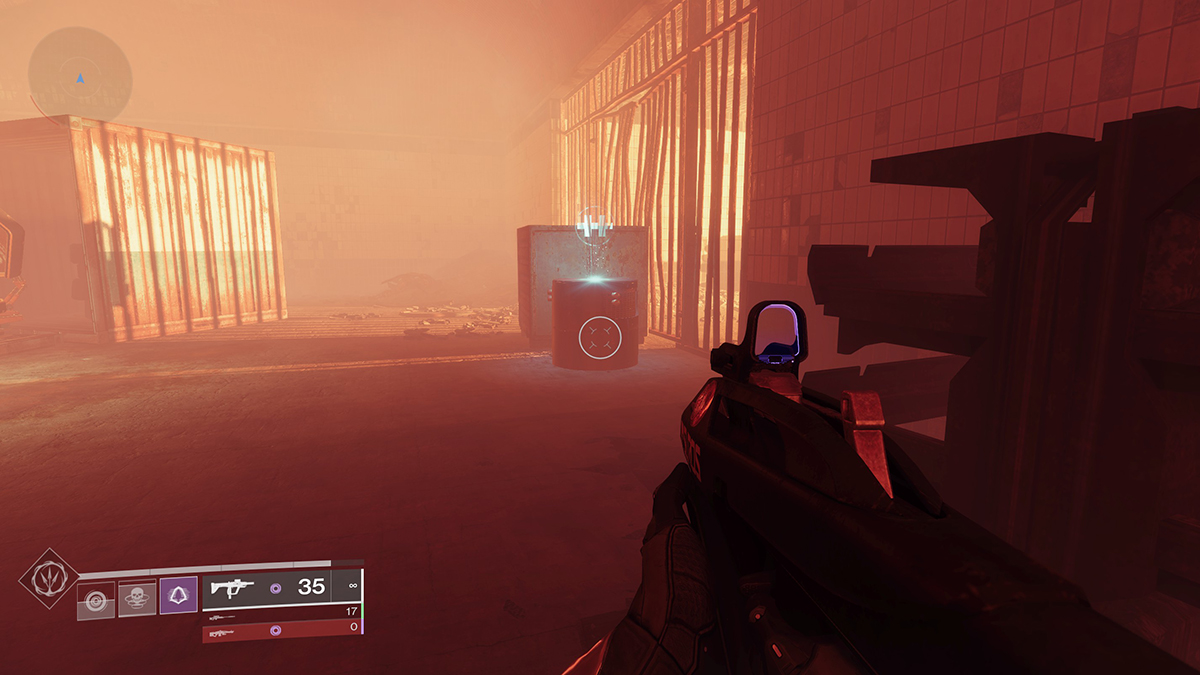
Go to Cadmus Ridge and the Perdition Lost Sector. The Dead Drop you’re looking for is at the area’s end, forcing you to complete the whole thing.
You don’t need to defeat the boss, but doing so and clearing the enemies makes activating the drop easier. Activating it once progresses to the next step. Beware that it explodes a few seconds after you use it.
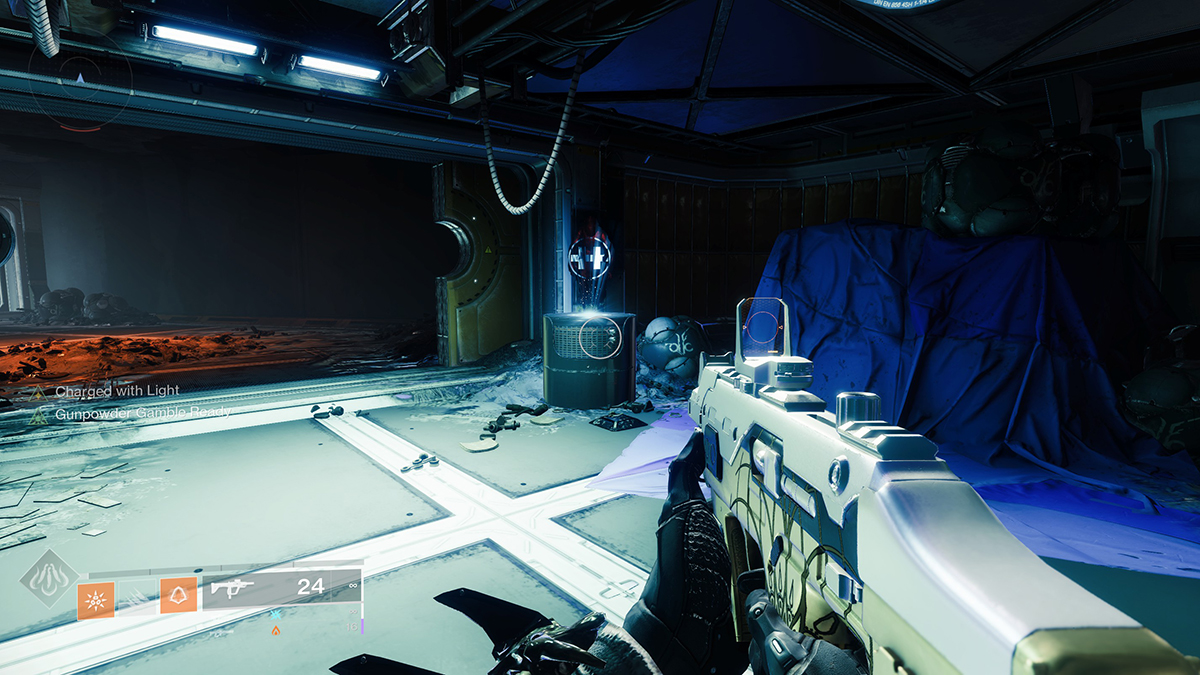
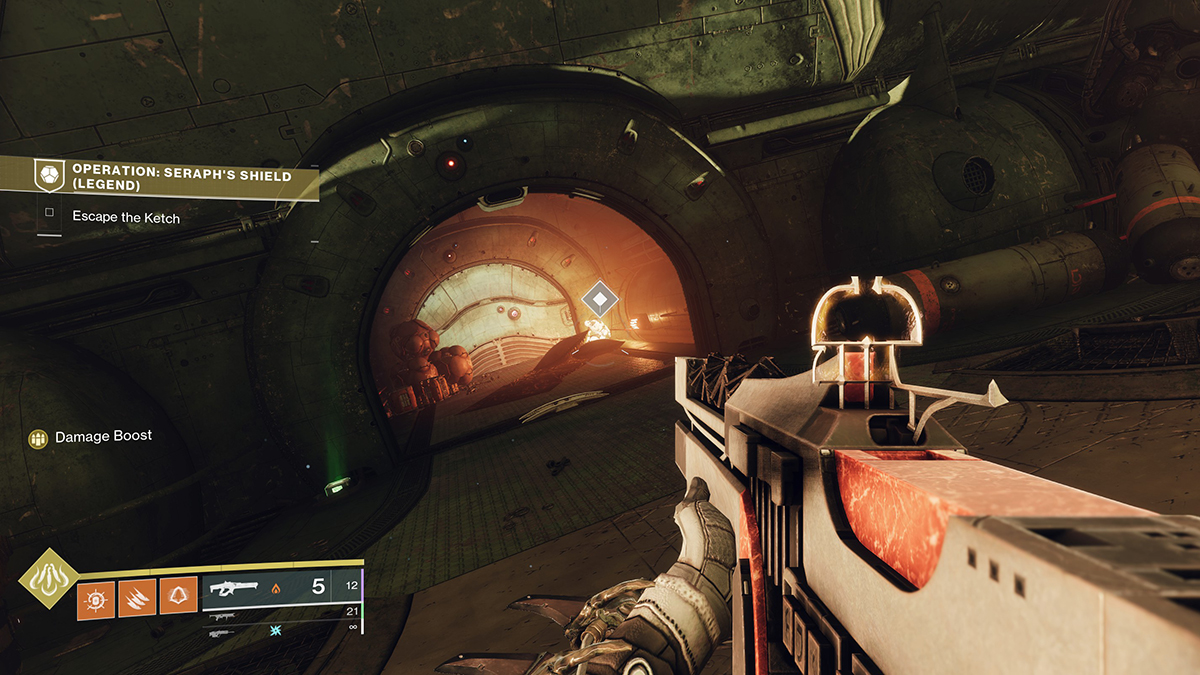
Step 5: Collect the Weapon Schematic in Operation: Seraph’s Shield on Legend difficulty
Operation: Seraph’s Shield on Legend difficulty is capped at 1580 Power, so it’s never any easier if your level is passed that. There are three other modifiers to contend with.
- Legendary: Heavily shielded and highly aggressive combatants appear in greater numbers.
- Chaff: Radar is disabled.
- Galvanized: Combatants have more health and are more difficult to stun.
You must also find a dead Exo and interact with it to collect the schematic. The dead Exo in Part I is in the Decontamination Chamber. Complete that section to survive the floor, then interact with the Exo body. After that, you can safely complete the mission. Open the final chest to proceed to the last step.
Step 6: Complete Operation: Seraph’s Shield on Legend difficulty
Nothing more to it. Simply complete the mission to finish this step of the questline.
How to Complete the Should You Choose to Accept It, Part II
Part II of Should You Choose to Accept It is very similar to Part I, with several important differences.
Step 1: Return to the Diocles Annex and download a Cryptographic Index
Go to the H.E.L.M. Director menu to find the Warmind Launch Facility node in the bottom left. The mission now follows the Week 2 activity with the pair of Hive Wizard bosses at the end. Once you defeat them and clear the remaining enemies, you can collect the index from the computer.
Step 2: Travel to the Moon
Landing at either fast travel point on the Moon progresses the quest.
Step 3: Defeat Enemies and Complete Patrols on the Moon
Farm another 100 points, with each enemy counting for one and patrols counting for five.
Step 4: Locate the Dead Drop in the K1 Logistics Lost Sector
 Screenshot by GameSkinny
The leftmost area on the Moon holds the K1 Logistics Lost Sector at its northern point. Unlike Perdition, the dead drop here is locked behind the door at the Sector’s end, so you’ll need to defeat the Servitor boss to open it.
Step 5: Find the Weapon Schematic in Operation: Seraph’s Shield on Legend Difficulty
Back to the Seraph Station you go. This time, you’ll find the dead Exo with the weapon schematic in the first Operator buff section. Defeat the Shriekers and Knights that spawn and head into the vents. Shoot the panel beyond the blockage, turn around and go into the alcove on your right to find the dead Exo.
Step 6: Complete Operation: Seraph Shield on Legend Difficulty
Defeat Praksis again and unlock the final chest for Hunter’s Trace III, which gives you access to another Refit at the Enclave on Mars.
How to Complete the Should You Choose to Accept It, Part III
Part III of Should You Choose to Accept It follows a similar pattern as the previous weeks.
Step 1: Return to the Diocles Annex and download a Cryptographic Index
Go to the H.E.L.M. Director menu to find the Warmind Launch Facility node in the bottom left. The mission now follows the Week 2 activity with the pair of Hive Wizard bosses at the end. Once you defeat them and clear the remaining enemies, you can collect the index from the computer.
Step 2: Travel to the EDZ
Land at Trostland in the bottom right, specifically for step 4 below.
Step 3: Defeat Enemies and Complete Patrols in the EDZ
Another task of collecting 100 points by either defeating enemies or completing patrols. A single mob counts for one, patrols count for five.
Step 4: Locate the Dead Drop in the Terminus East Lost Sector
 Screenshot by GameSkinny
The Terminus East Lost Sector is the easternmost section of Trostland in the EDZ. You’ll need to dash under a stuck door to reach it.
 Screenshot by GameSkinny
Defeat the boss and all the enemies so you can freely activate the dead drop.
Step 5: Find the Weapon Schematic in Operation: Seraph’s Shield on Legend Difficulty
 Screenshot by GameSkinny
Yet another dead Exo frame to find. This time it lies in a side room off the arena where you first encounter Harkotha, Scourge of the Helium Drinkers. From the entrance to the arena take an immediate right where you’ll see a short hallway.
 Screenshot by GameSkinny
Walk up to the dead Exo frame to progress to step 6.
Step 6: Complete Operation: Seraph Shield on Legend Difficulty
Beat up Praksis again and unlock the final chest for Hunter’s Trace IV, which gives you access to the Outlaw Refit and the final set of Traits at the Enclave on Mars.
How to Complete Should You Choose to Accept It Part IV
Part IV of Should You Choose to Accept It is basically identical to the previous parts.
Step 1: Return to the Diocles Annex and download a Cryptographic Index
Yep, same place as Part III, the Diocles Annex via the H.E.L.M. Director node, in the bottom left. Defeat the pair of Wizard bosses again and download the Index.
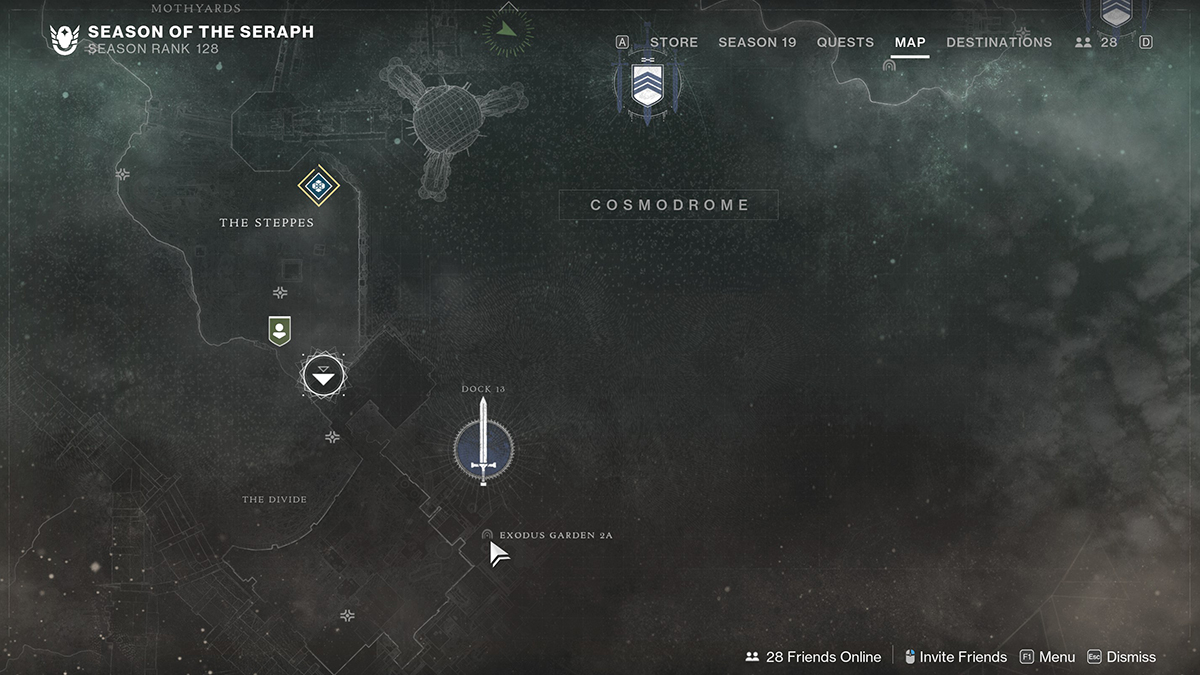
Step 2: Travel to the Cosmodrome
Land at The Steppes near Shaw Han in the bottom left of the area.
Step 3: Defeat Enemies and Complete Patrols in the Cosmodrome
Once again, defeating enemies and completing enough Patrols to reach 100% on the bar, which is 100 points long, will advance the quest. A single mob counts for one point, patrols count for five.
Step 4: Locate the Dead Drop in the Exodus Garden 2A Lost Sector
 Screenshot by GameSkinny
From Shaw Han, turn around and go through the ruined buildings to the Mothyards. Find the Lost Sector at the back of the area, leading down into more ruins from the top of a large grain silo.
 Screenshot by GameSkinny
Defeat the Servitor boss at the end to find the dead drop behind the door at the back of its arena.
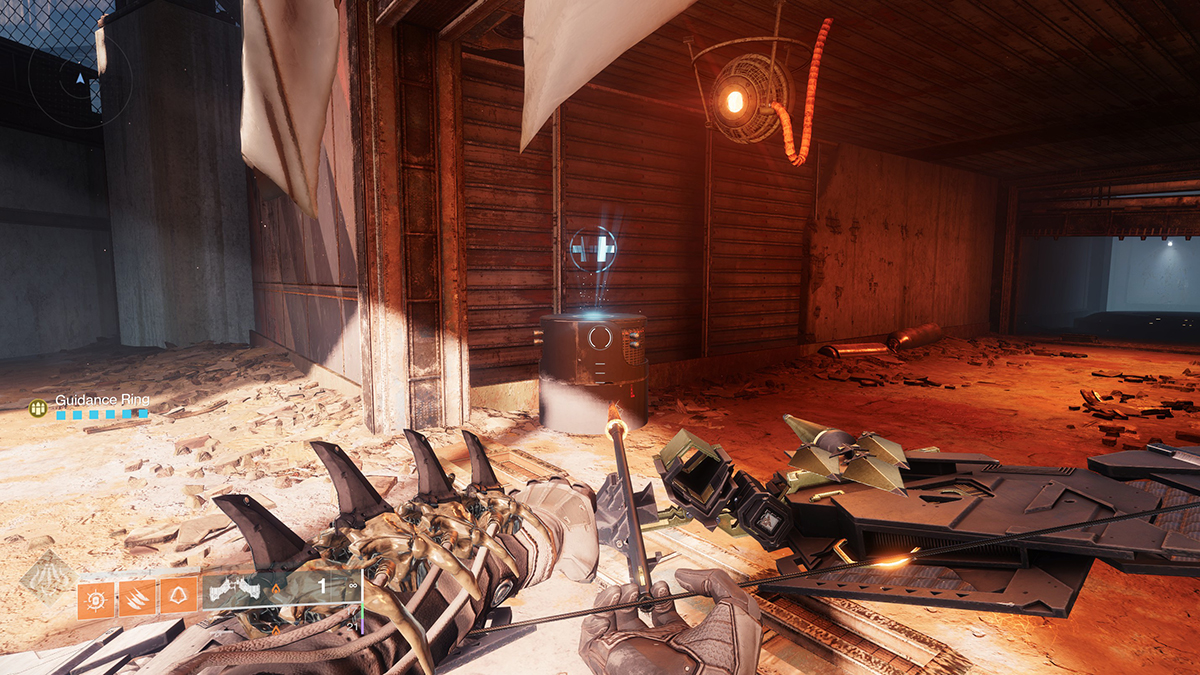
Step 5: Find the Weapon Schematic in Operation: Seraph’s Shield on Legend Difficulty
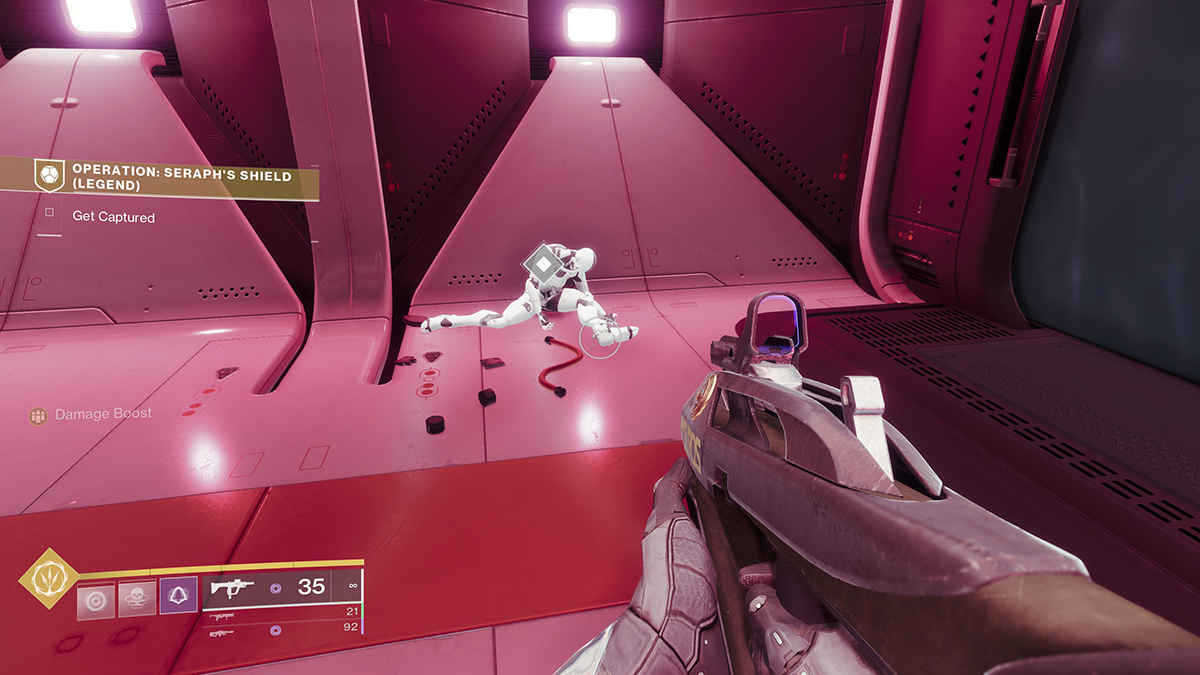
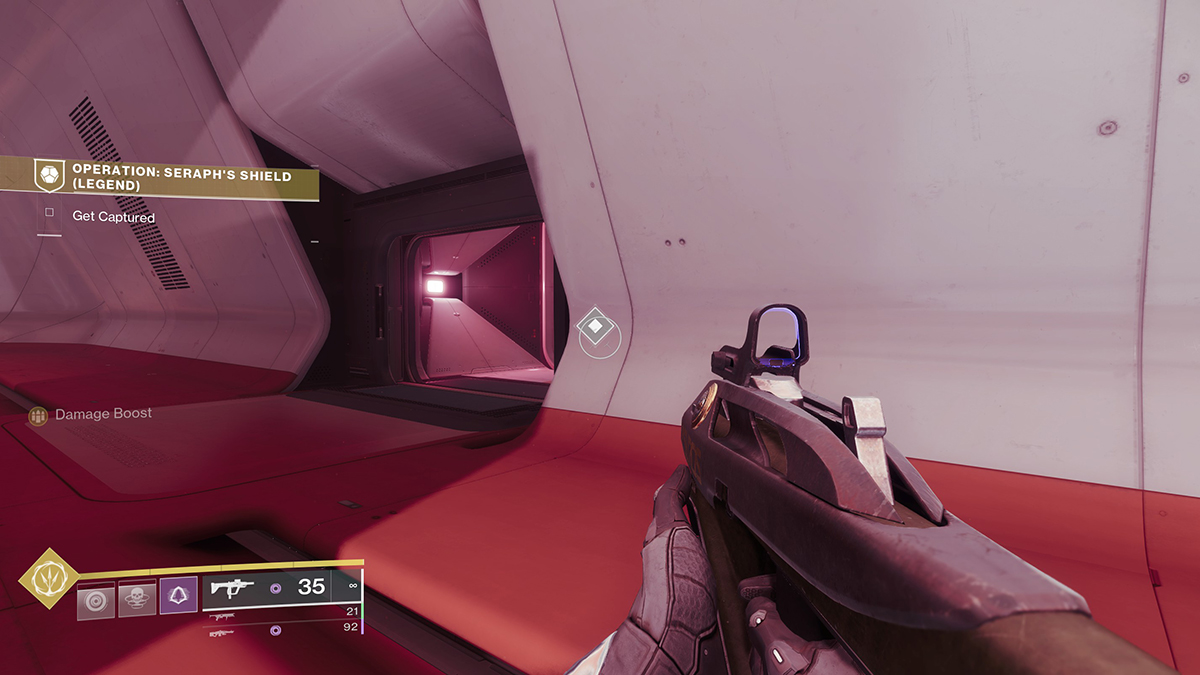
You’ll find the final dead Exo in one of the cells after you get “captured” by the Fallen. Leave the cell, activate the holographic button on your left in the larger room with all the enemies, then go to the second cell on the right. You’ll see the dead Exo lying against the back wall. Don’t forget to interact with it.
 Screenshot by GameSkinny
Step 6: Complete Operation: Seraph Shield on Legend Difficulty
Make Praksis not alive one more time, then unlock the final chest for the Fourth Times Refit, then head to the Tower.
Step 7: See a weapons expert about the catalyst
Speak to Banshee-44 at the Tower and the first message you should see is a brief dialog from him that, once closed, completes the Should You Choose to Accept It quest in its entirety.
That’s everything you need to know about completing the Should You Choose to Accept It questline in Destiny 2 Season of the Seraph through Week 2. We’ve covered plenty of other topics about the Season and the game more generally in our guides hub.
Featured image via Bungie.


Published: Jan 5, 2023 02:13 pm