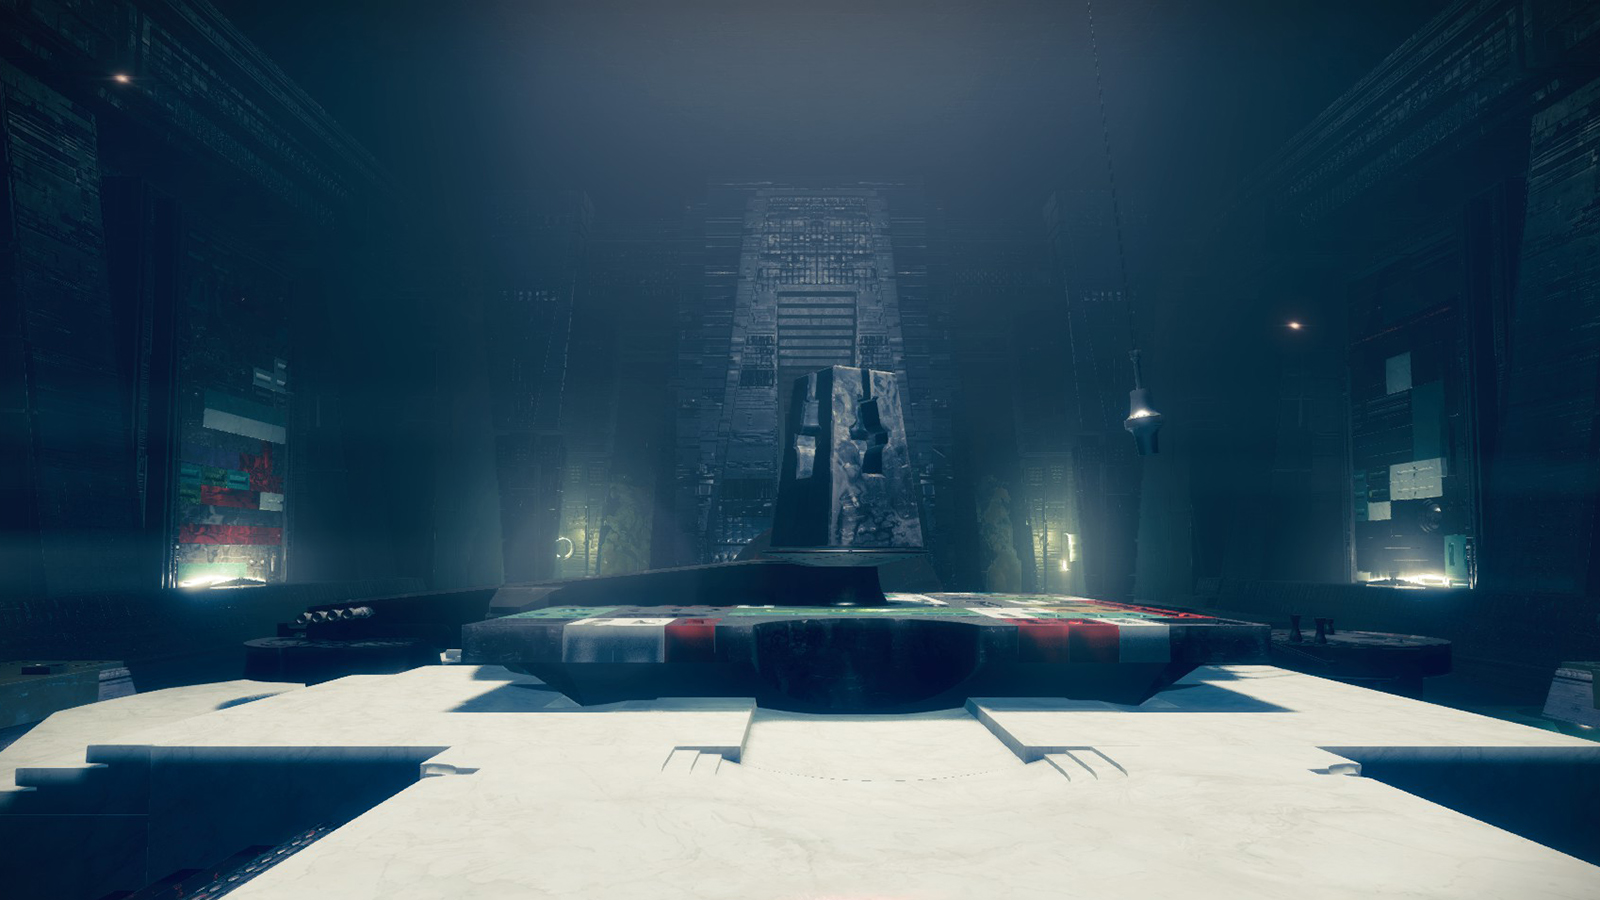
If you’re new to Destiny 2 with the Witch Queen expansion or are a Guardian returning after a long hiatus, one of the systems you might not be familiar with is crafting. Available at the Relic on Mars, itself accessible via the Throne World Destination on the Director, you can use the system to create a perfectly-rolled version of any weapon you’ve unlocked.
Usually, getting the Weapon Patterns you need takes time, effort, and a lot of grinding, but with the Season of Plunder, there’s a new quest available that teaches you the basics and gives you a great reward to boot. In this guide, we’ll cover all the steps of the Foundry Resonance crafting tutorial quest and its follow-up quest, Foundry Shaping.
Foundry Resonance Quest Walkthrough
Foundry Resonance and Foundry Shaping arent difficult quests to complete, and while they work, the reward is worth it. They’re also an abbreviated introduction to how the weapon crafting system works.
Step 1: Take the Deepsight Resonant Ammit AR2 at the Relic
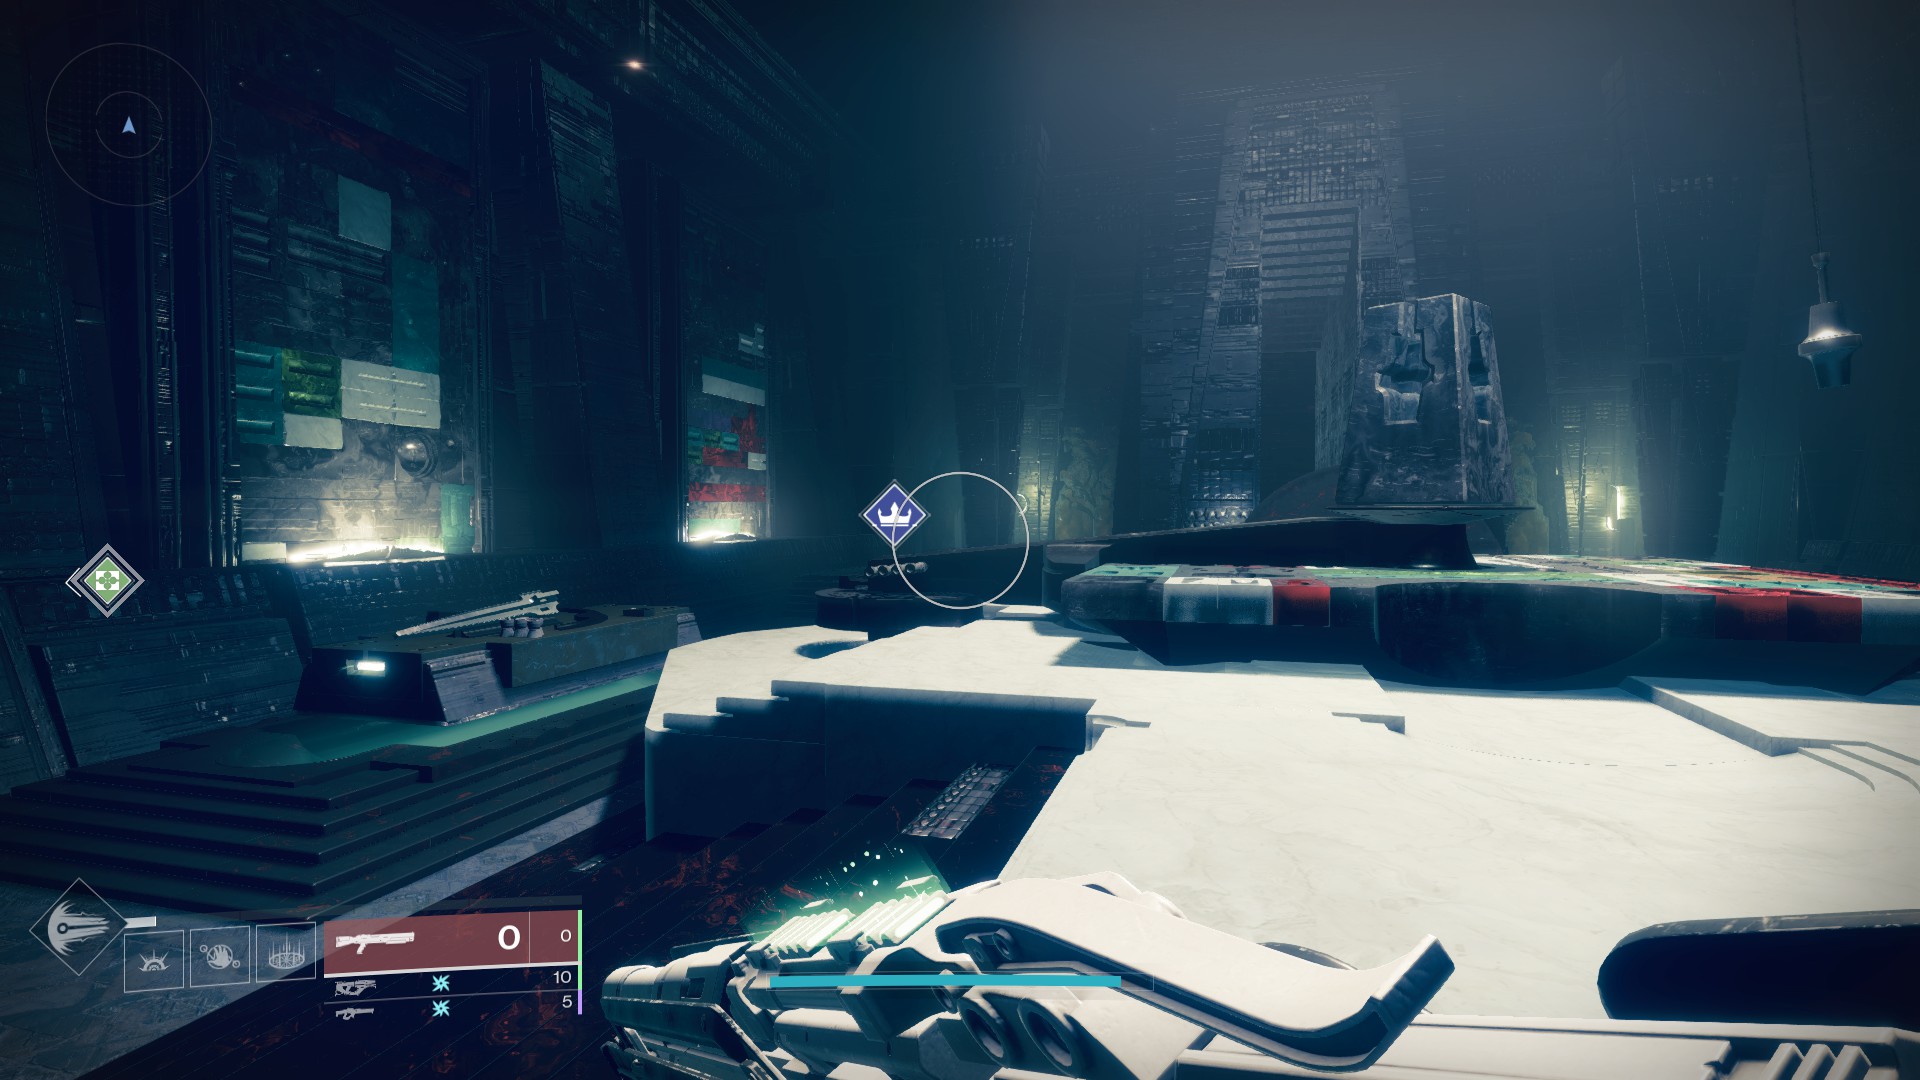
To start Foundry Resonance, head to Mars in the Throne World Directory and make your way to the Relic in the black stone Pyramid chamber. Then go to the blue crown quest marker on the left side of the Relic itself. Press the Use button to open the menu, then take the red-bordered (Deepsight Resonant) Ammit AR2 Assault Rifle.
Step 2: Complete Playlists with a Deepsight Resonance Weapon Equipped
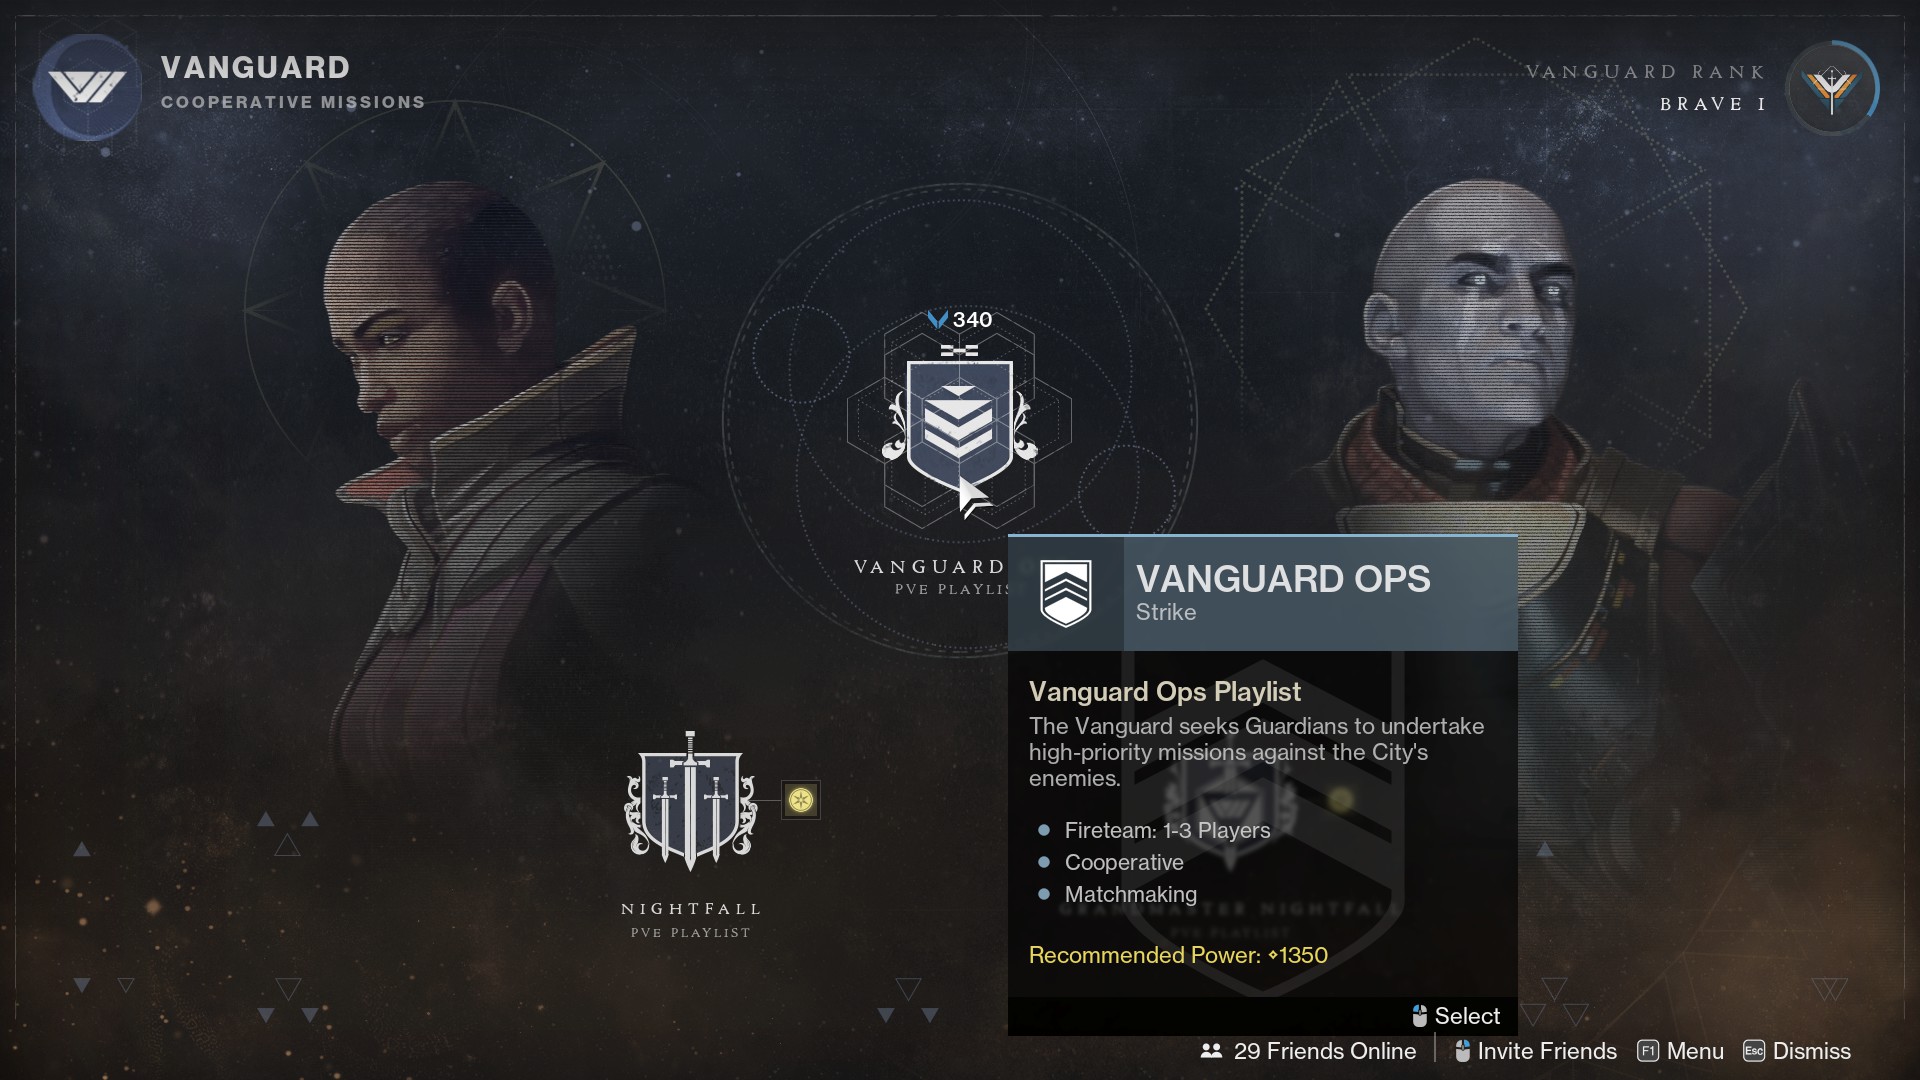
This step seems much more complicated than it is. Just play a single instance of Vanguard Ops or a match of Gambit or Crucible, and defeat enemies while completing activities with a Deepsight Resonance weapon equipped. The weapon doesn’t have to be the Ammit AR2 you got from this quest. If you found another red-bordered weapon while playing, advancing that advances this step as well.
Either way, you’ll receive another Deepsight weapon at the end of this step.
Step 3: Complete a Deepsight Resonance Objective; Extract Resonant Elements
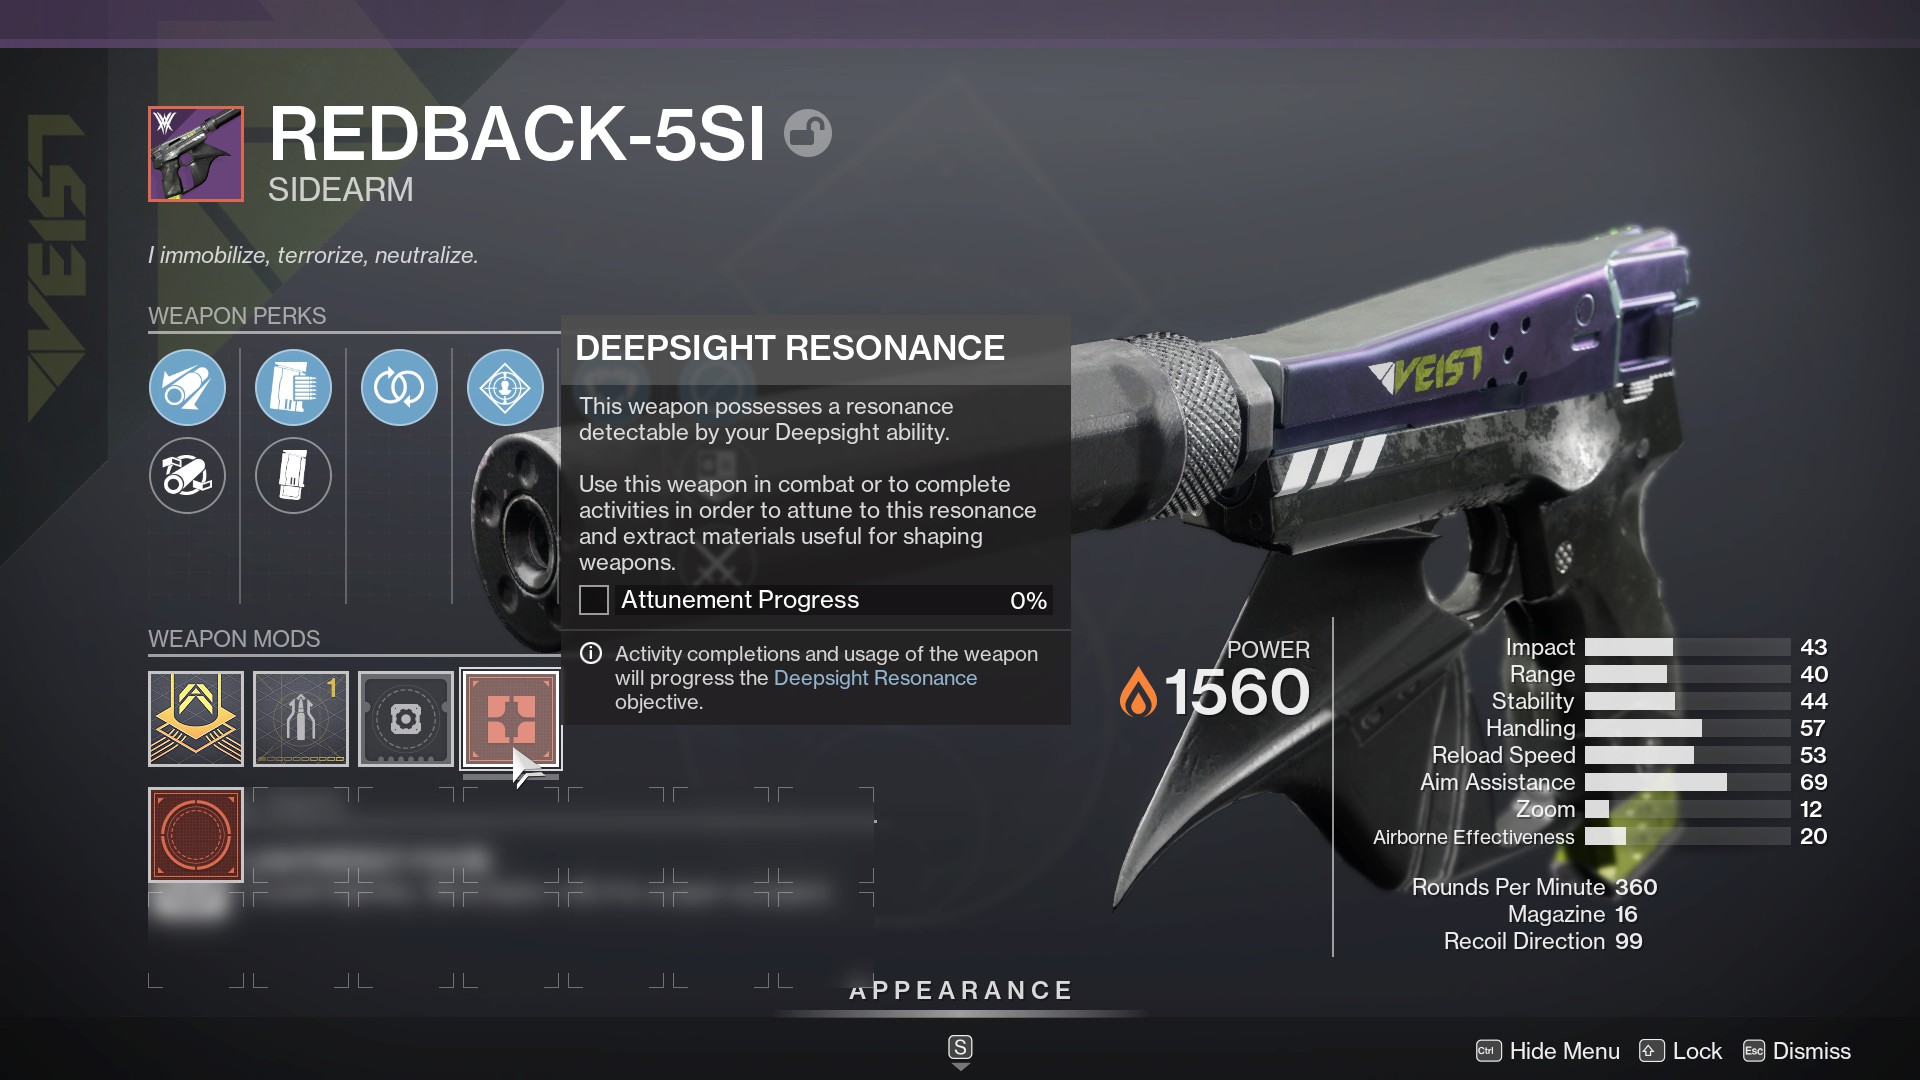
Advance your new weapon’s Deepsight objective again. As before, completing Deepsight Resonance on a weapon is a matter of getting kills with it and completing activities with it equipped. Your best bet is to take the red bar Ammit AR2 into your playlist activity and use it until you complete the objective.
Once complete, enter the weapon’s menu and select the Resonance icon to the right of the Masterwork and Mod slot, then choose to extract the Resonant Elements.
Step 4: Return to the Relic on Mars
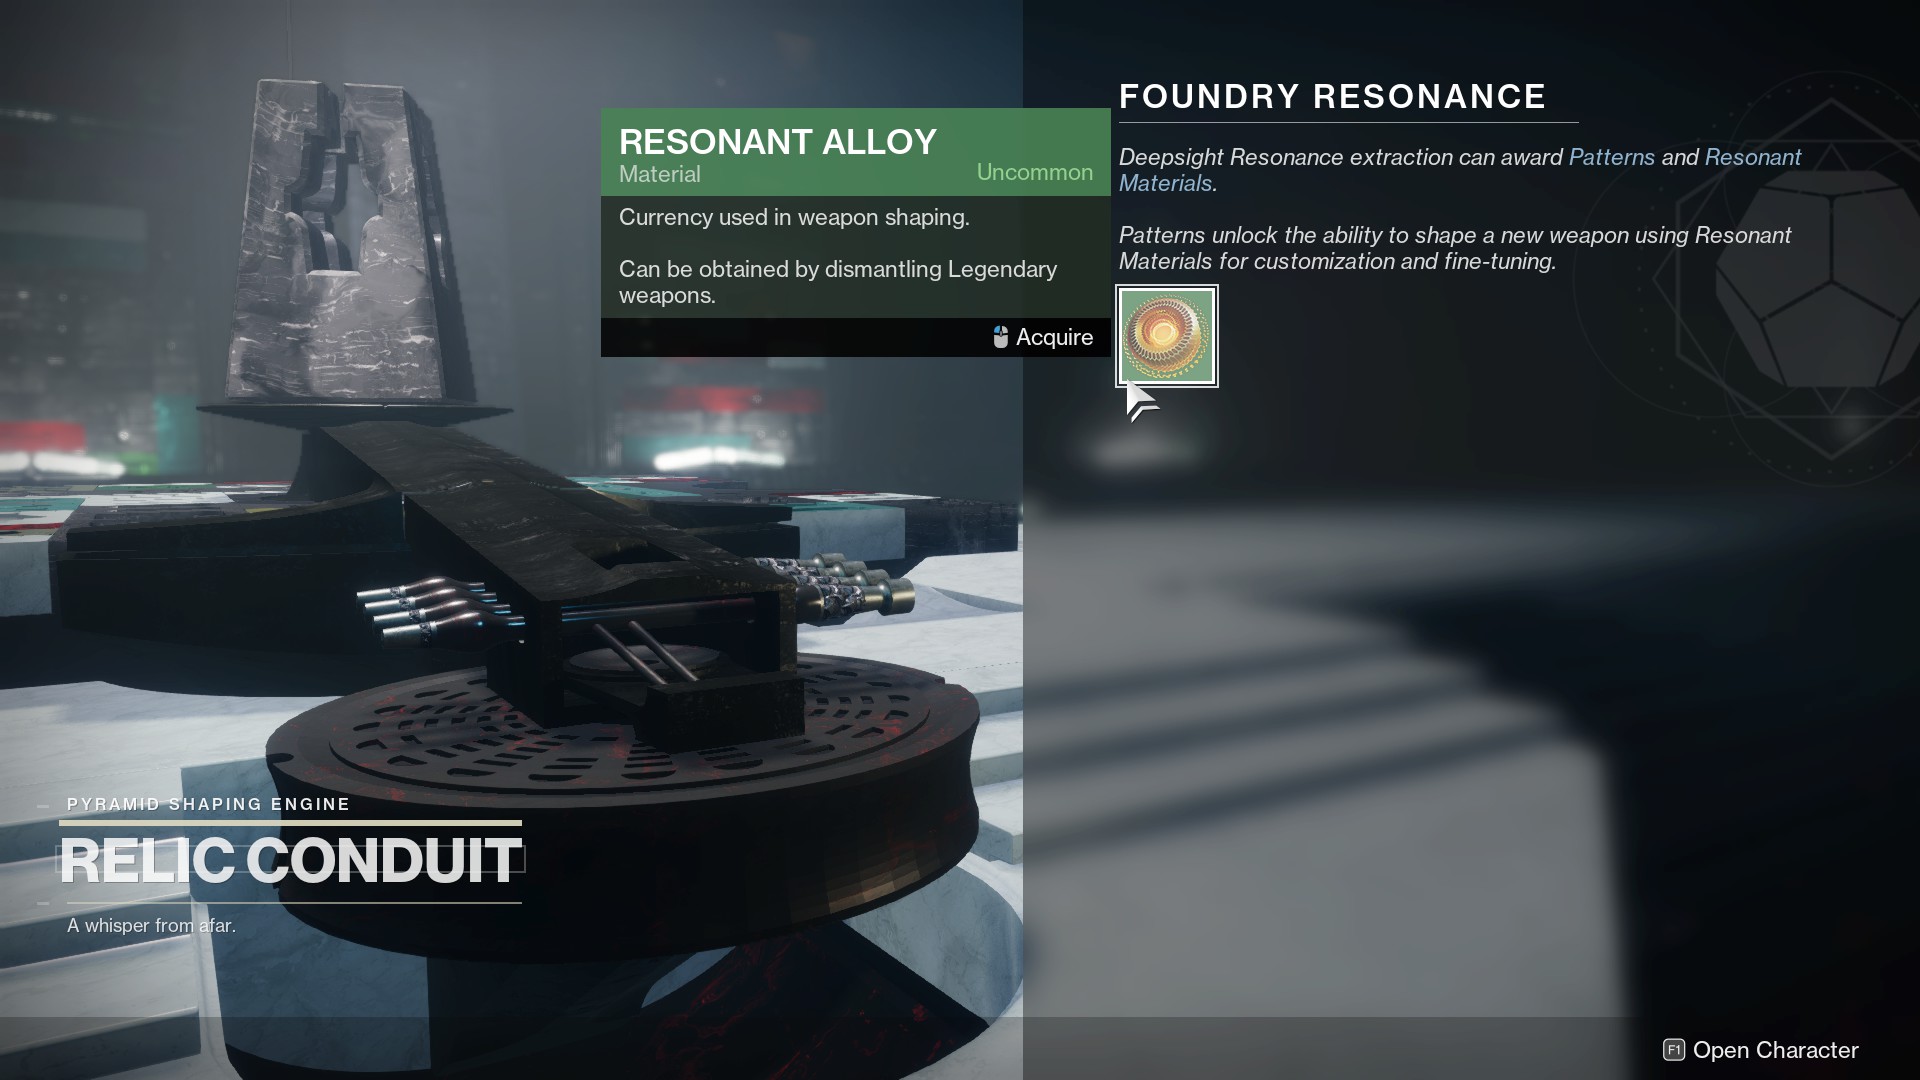
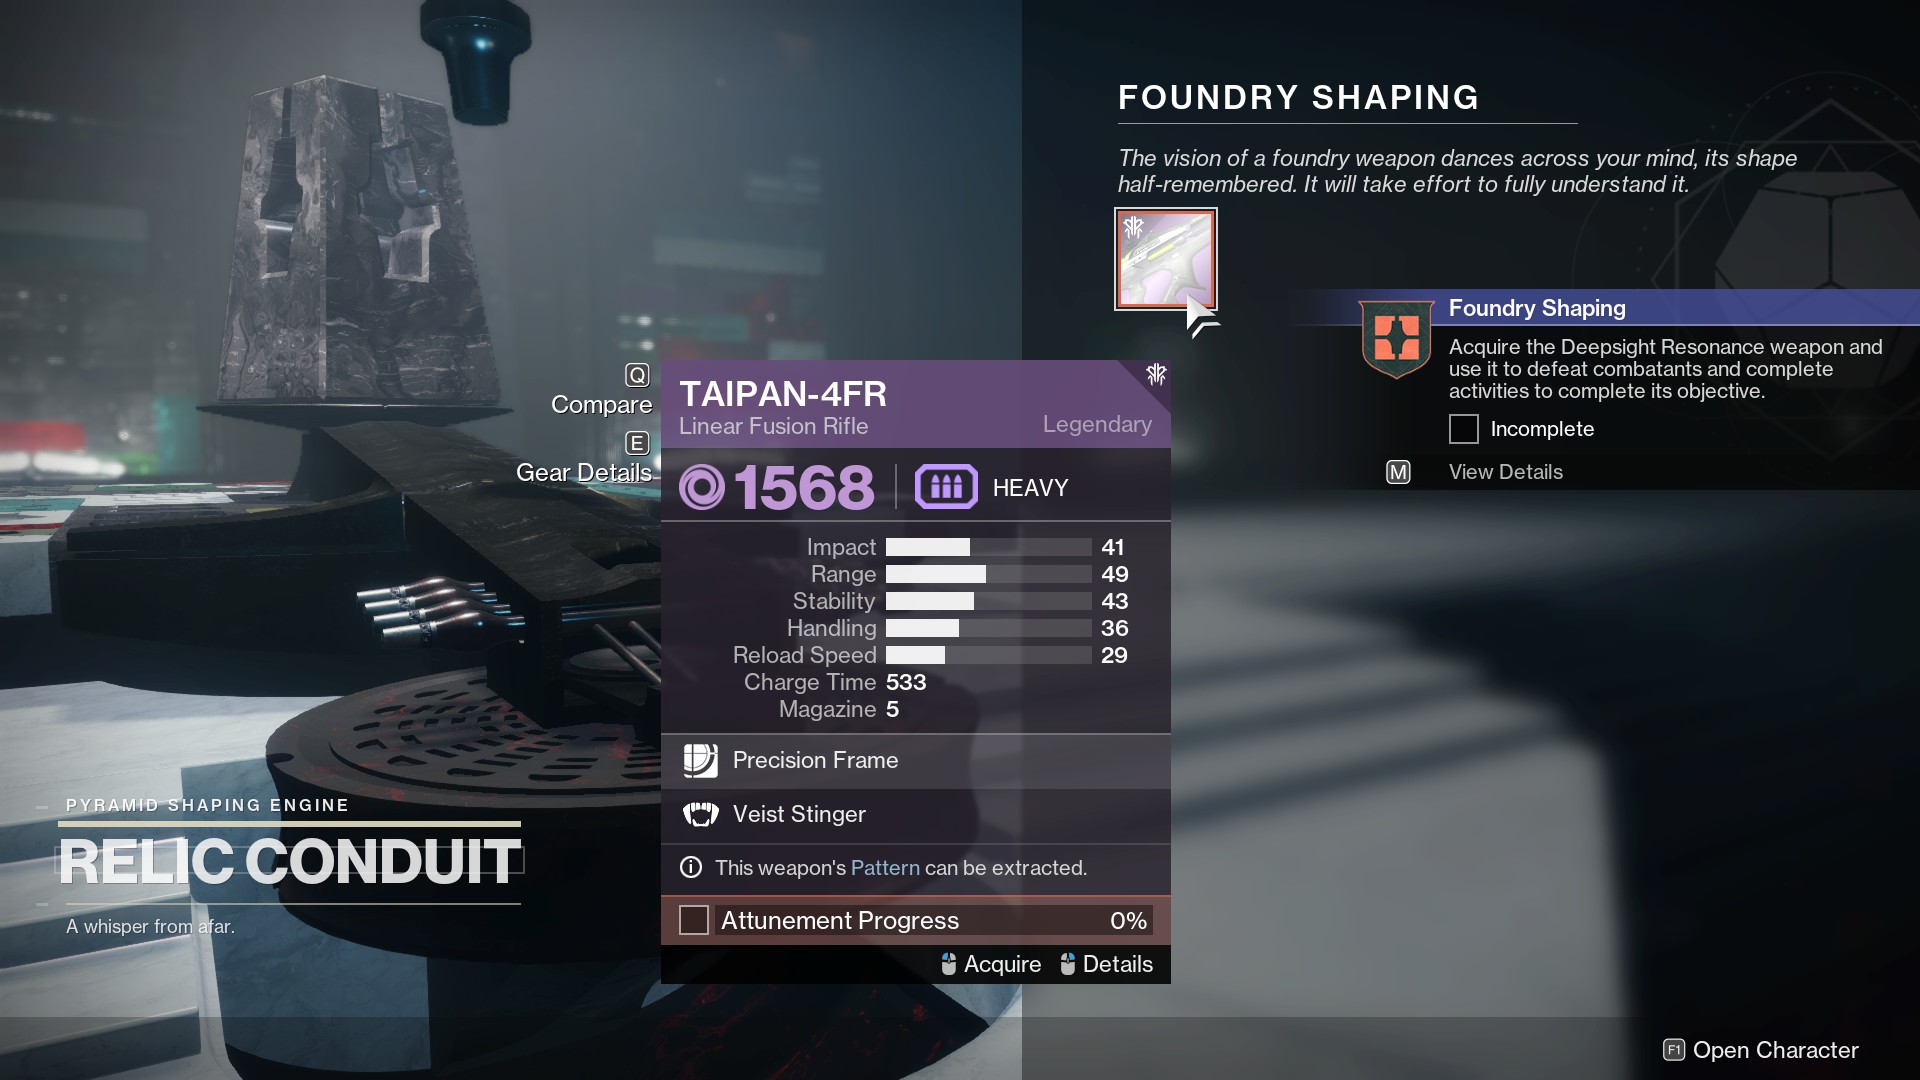
Go back to the Relic and collect the Resonant Alloy. You’ll then be able to collect a red bar Taipan-4fr Linear Fusion Rifle. Adding it to your inventory starts the Foundry Shaping Quest.
Foundry Shaping Weapon Crafting Tutorial Walkthrough
Foundry Shaping is the advanced version of Foundry Resonance and teaches how Deepsight Weapons work and how to craft them. Most of the steps are the same.
Step 1: Claim the Deepsight Resonance Taipan-4fr; Defeat Enemies in Activities
As with the first quest, have the red-bar weapon equipped and use it to defeat enemies, then have it equipped when you complete activities.
Step 2: Complete Dares of Eternity or Wellspring with Deepsight Equipped
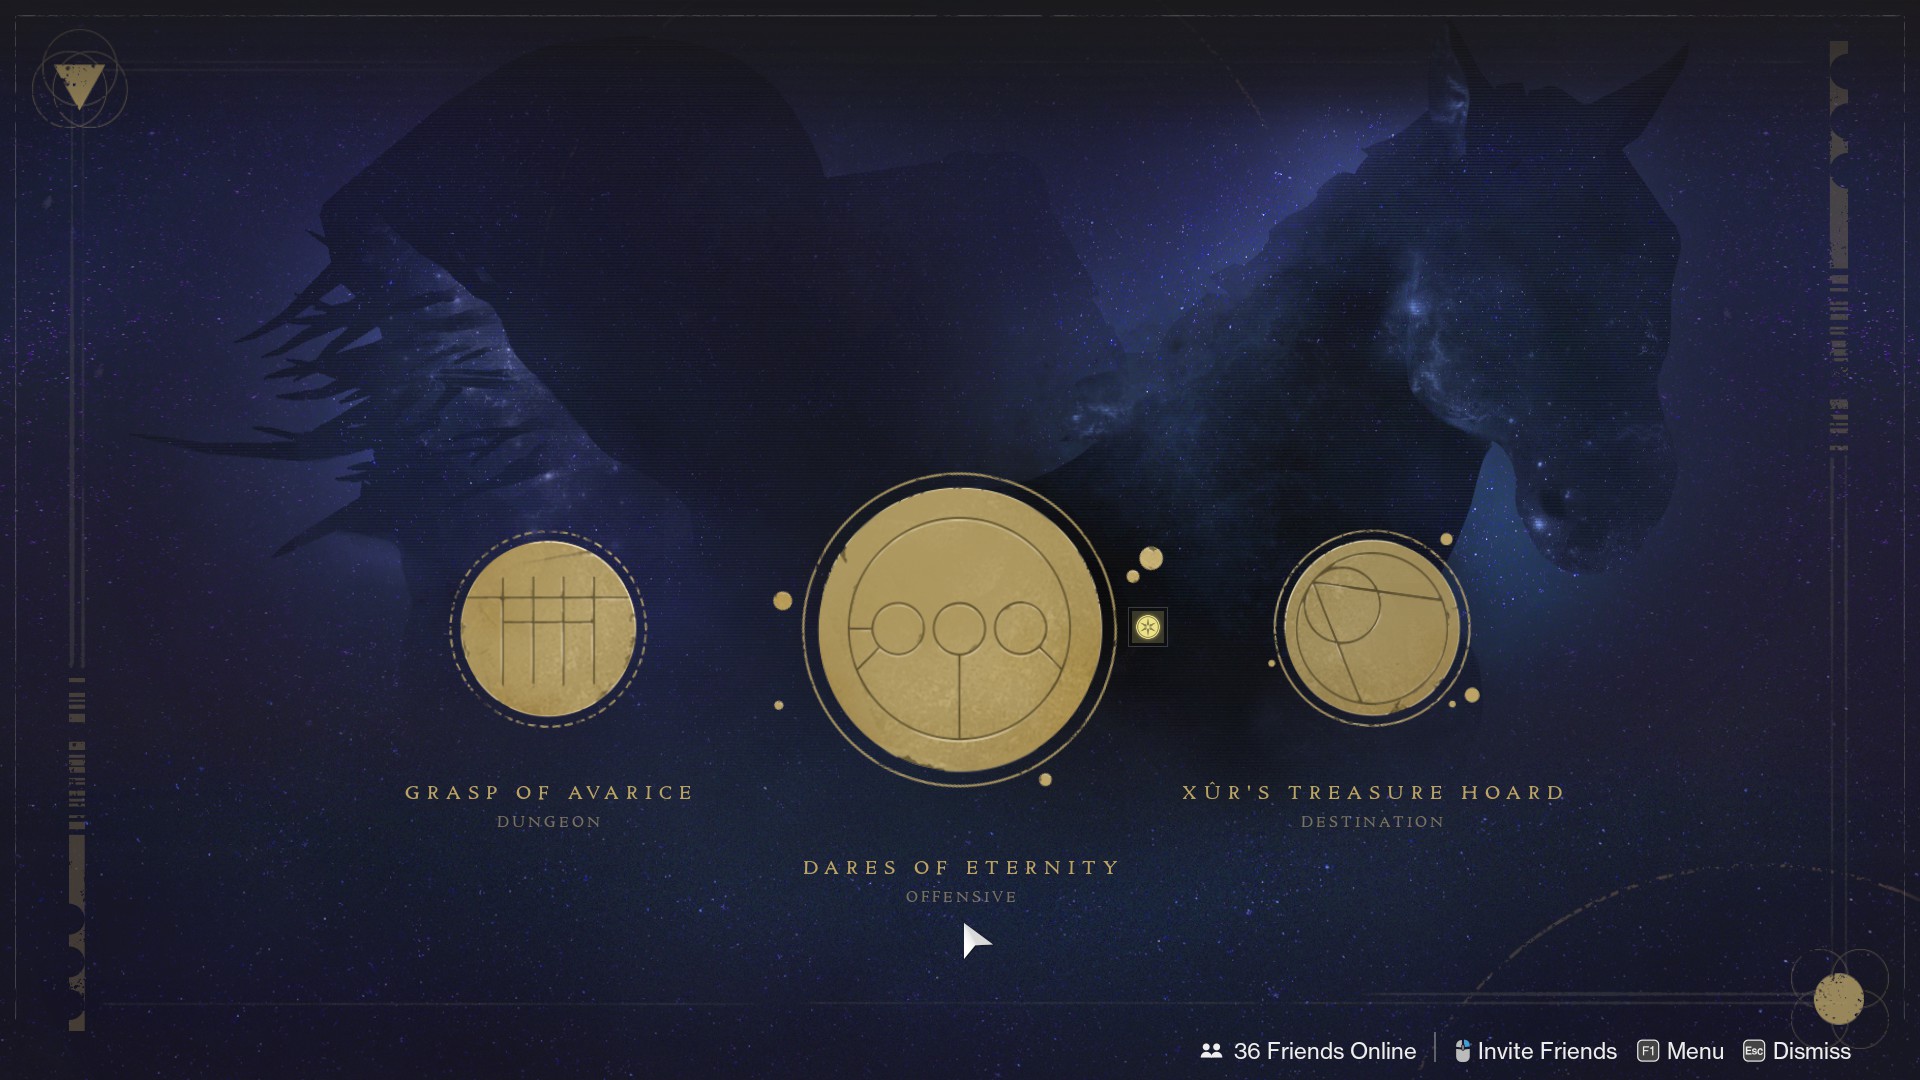
The activity you choose to complete in this step depends on whether you purchased the Witch Queen expansion or not. If you did not, go to the Eternity node in the Director and take part in Dares of Eternity. If you own the expansion, we recommend Wellspring, as there’s a chance you can get a red bar Throne World weapon.
Step 3: Complete a Deepsight Resonance Objective; Extract Resonant Elements
As with Foundry Resonance, defeat enemies and complete activities, then extract the Resonant Energy once the objective completes.
Step 4: Return to the Relic; Claim the Weapon Pattern
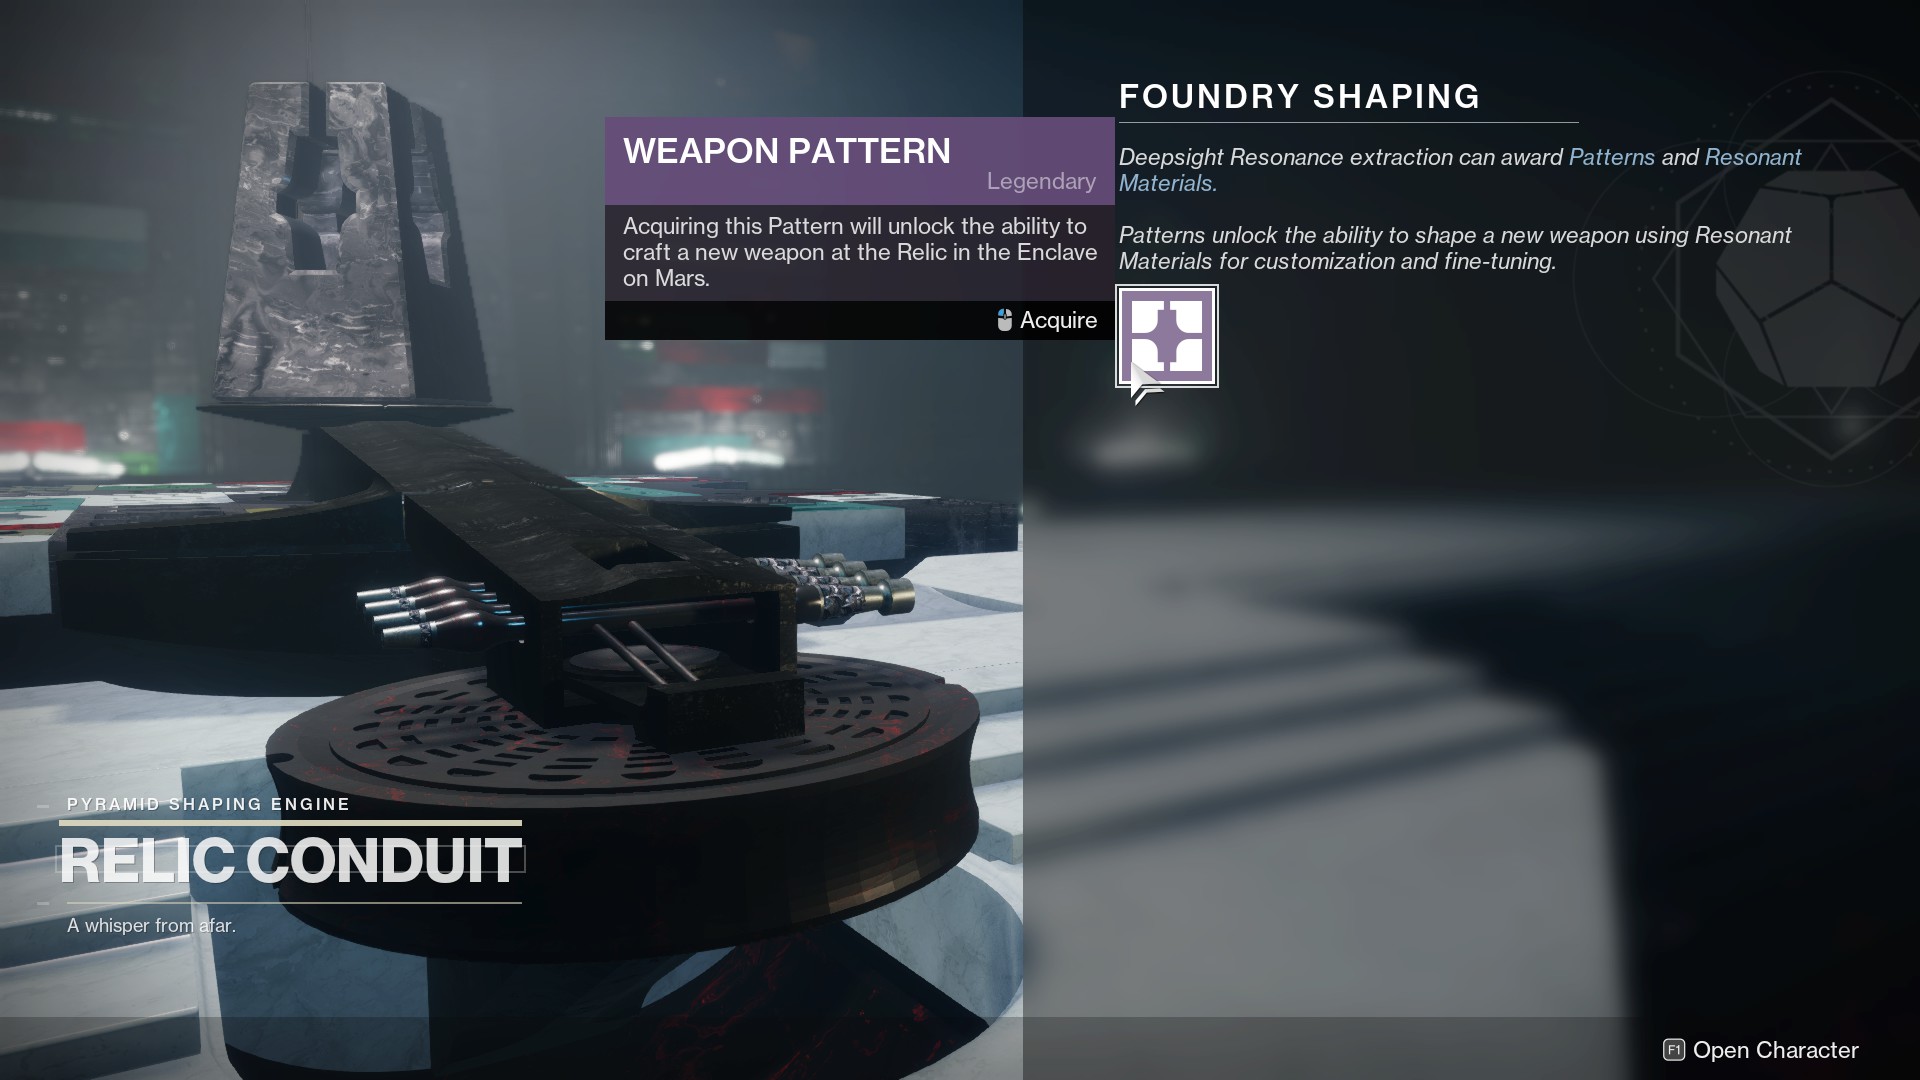
Back at the Relic, you’ll claim a Weapon Pattern, allowing you to craft the weapon in earnest. Once you have the pattern, go to the main Relic node directly across from the door and open the Shaping menu.
Step 5: Shape the Weapon of Your Choice
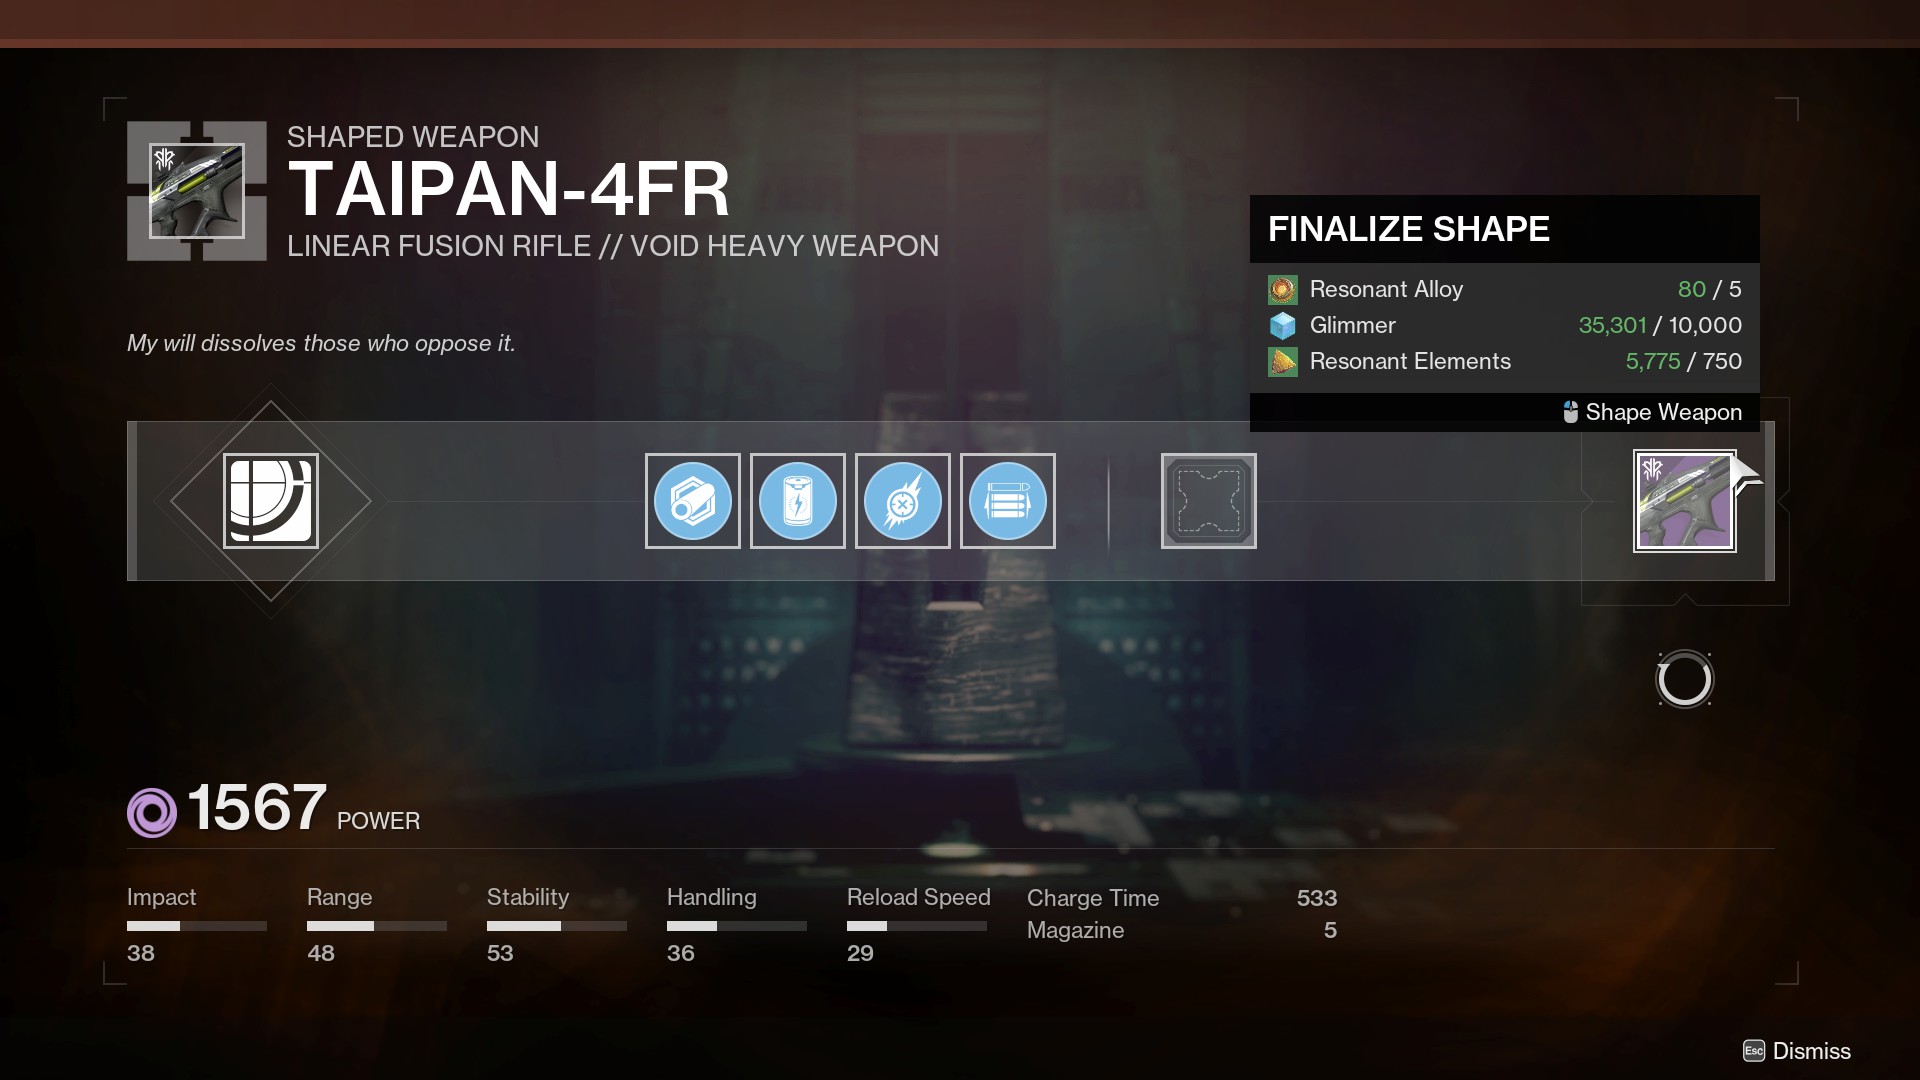
In the Shaping menu, go to Shape Weapon on the left, and navigate to the Taipan-4fr Linear Fusion Rifle in the Heavy column. You can also shape the Ammit AR2 for progress, but getting the Linear going first is preferable, as it’s usable in endgame activities.
You’ll only have access to a small number of perks when you shape a weapon, but you’ll unlock more as you level the weapon up by defeating enemies and completing activities.
You’ll also need 750 Resonant elements, 5 Resonant Alloy (from dismantling Legendary weapons), and 10,000 Glimmer to finish the shaping.
Step 6: Level Up the Shaped Weapon
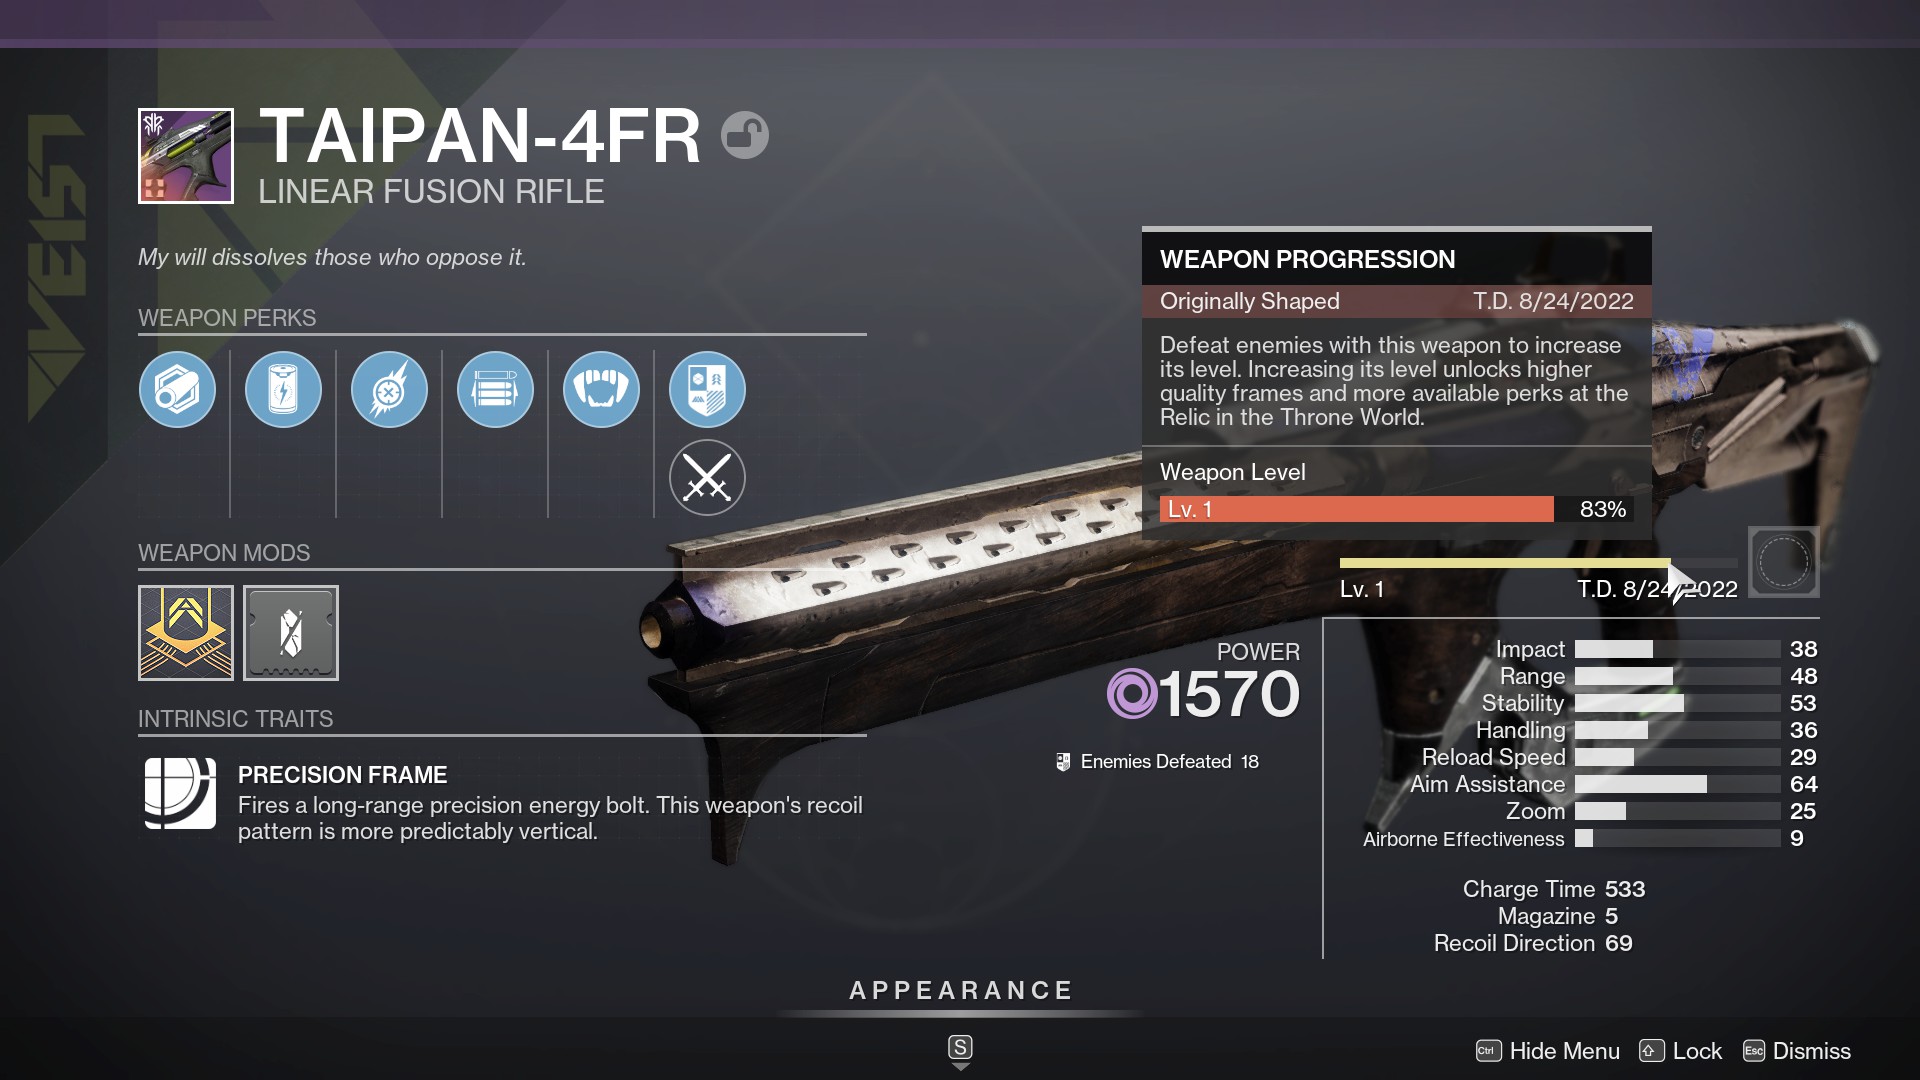
After you defeat enough enemies and do enough activities, you’ll level up the weapon and earn access to additional perks. This step of the Foundry Shaping quest asks you to level up the weapon once, which takes more than a hundred enemies killed or several dozen and three or four activity completions.
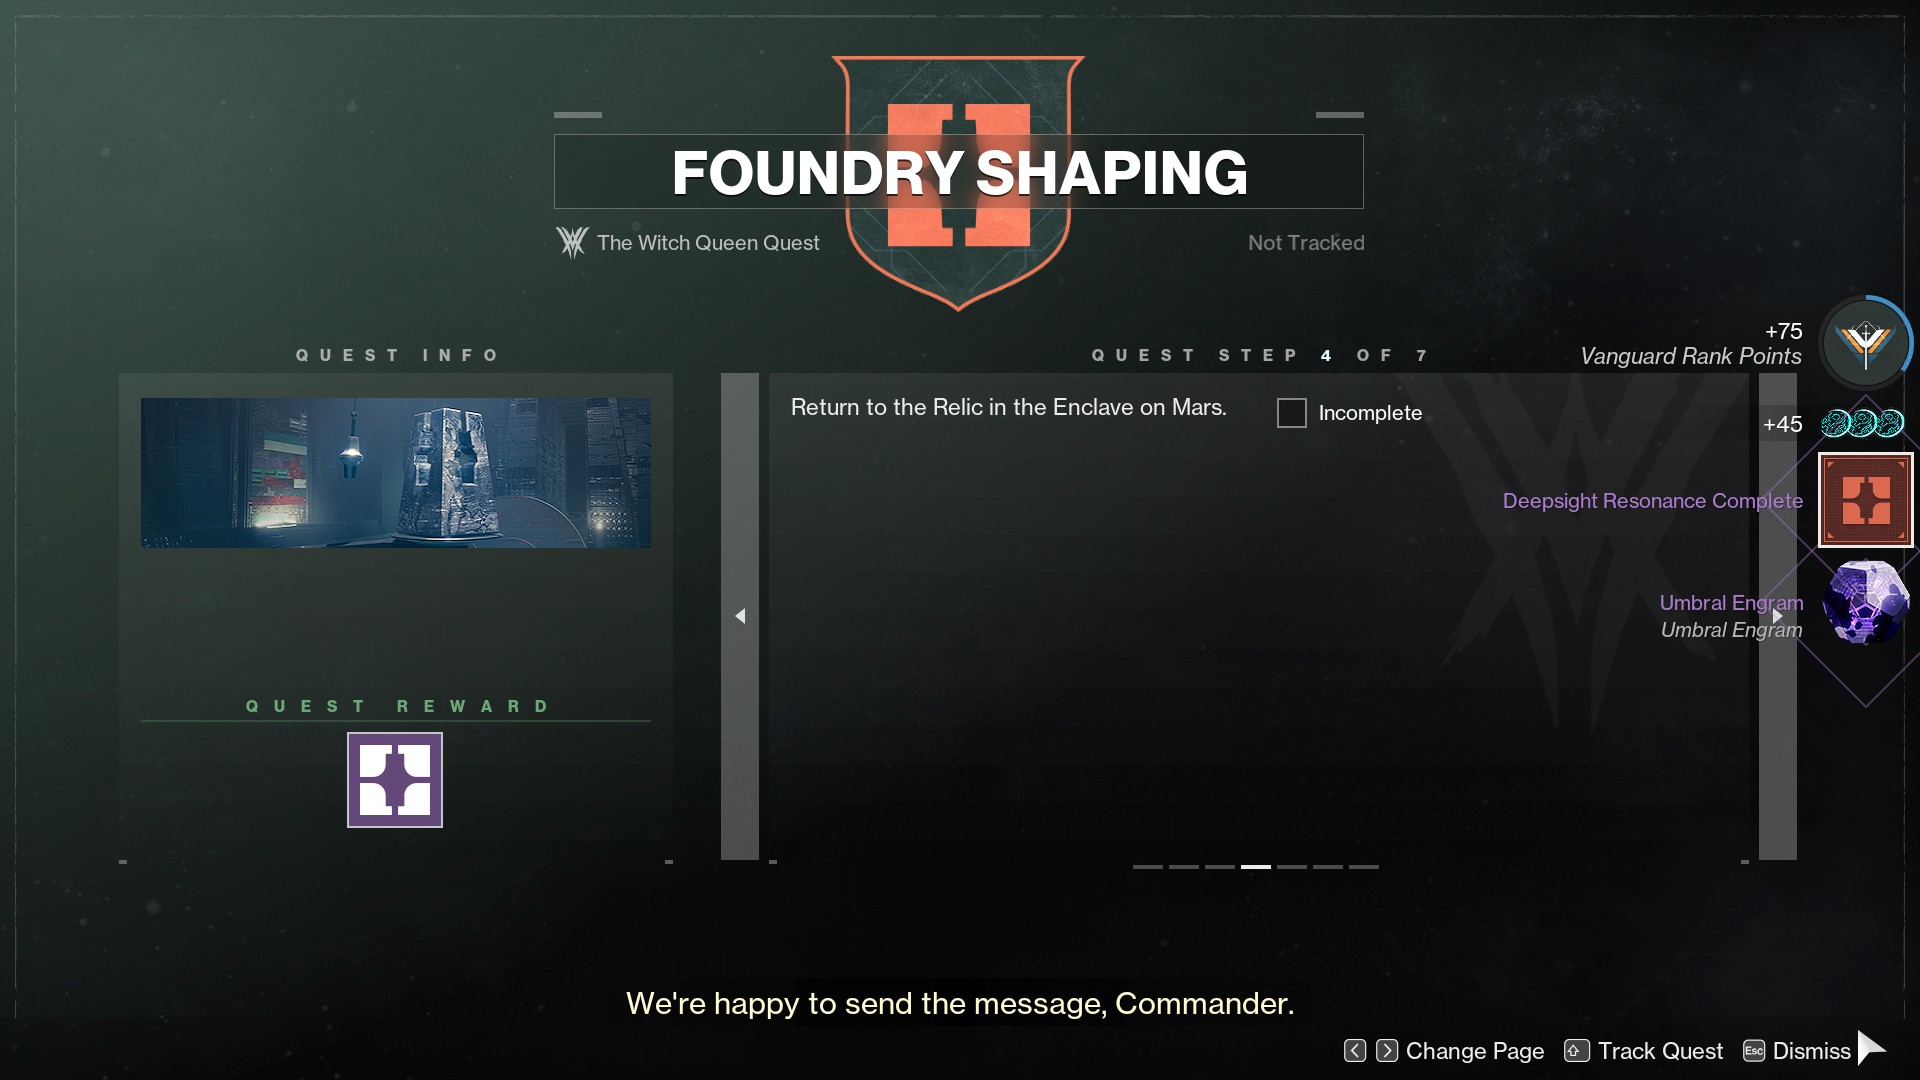
Step 7: Return to the Enclave on Mars
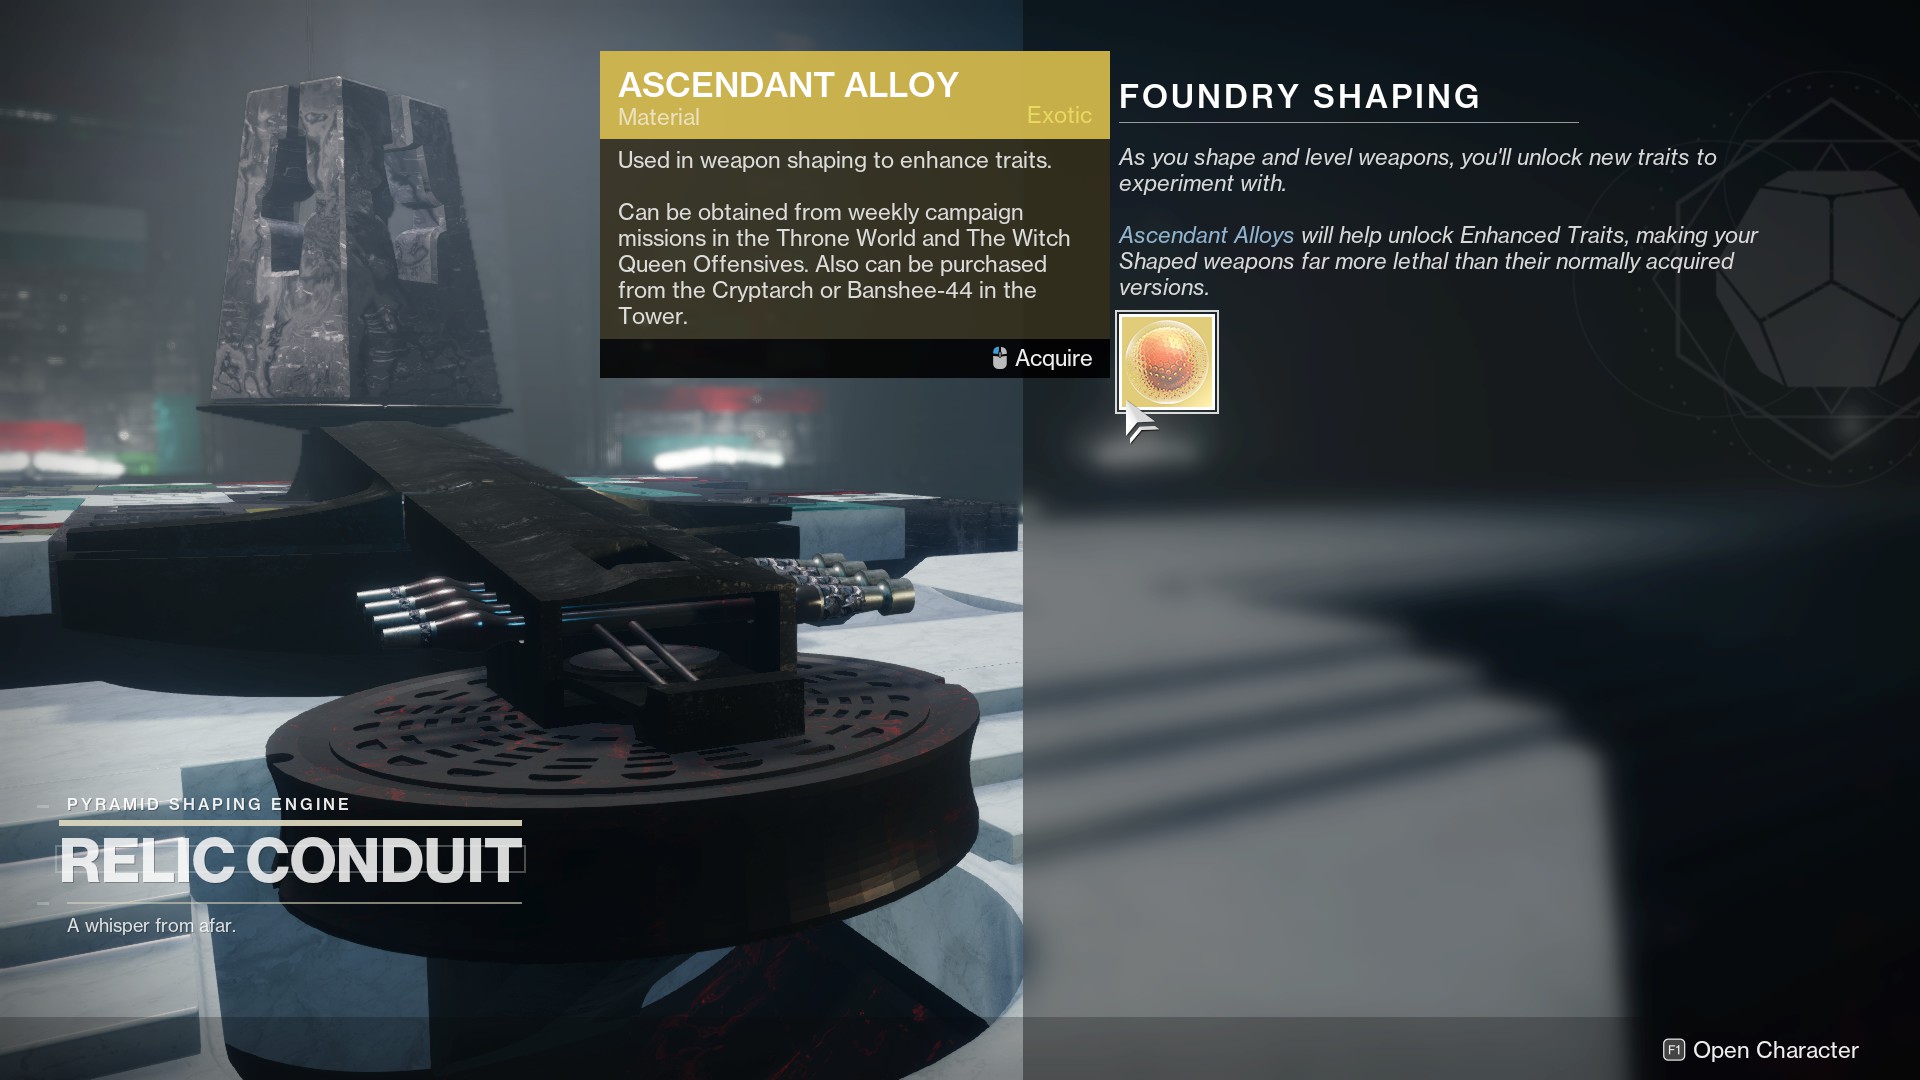
Once you’ve earned a single level for the weapon you shaped, return to the Relic and claim your second Ascendant Alloy.
With the second Alloy in your inventory, you’ve completed both Foundry Resonance and Foundry Shaping. You have a basic idea about advancing Weapon Patterns and an introduction to upgrading your weapons. The systems get a little more complicated out in the wild, but you know how all the core mechanics work now.
For more on Destiny 2 Season of Plunder and content from Seasons and expansions past, check our Destiny 2 guides hub, where we’ve provided a full walkthrough of both the Duality and Grasp of Avarice Dungeons, God Rolls for the Eyasluna, and how to get the Gjallarhorn, among many others.


Published: Aug 27, 2022 11:03 pm