The culmination of a long set of previous missions, Strider is the Exotic quest in Destiny 2 Lightfall that rewards the Winterbite Stasis Exotic Heavy Glaive, and it’s neither particularly difficult nor convenient to complete. Strider has only seven steps, and only three involve anything approaching a challenge. Despite that, we’ll cover all the steps you need to take in this guide.
How to Complete the Strider Winterbite Exotic Quest in Destiny 2
Time is the biggest hurdle you’ll need to clear in the Strider mission. The second step requires three activities across three consecutive days, and if you miss a day, you’ll have to wait until the activity cycle comes ‘round again.
Here are all the steps for Strider.
Strider Step 1: Visit the Archivist
Once you complete Bluejay, Quinn Laghari, the Neomuna City Archivist, will allow you to start Strider. Simply pick up the quest from her to complete this step.
Strider Step 2: Spend Terminal Overload Keys in all three areas of Neomuna
This is the most laborious part of the Strider quest. Every day, the Terminal Overload activity will be in a different area of Neomuna. As the instructions mention, you need to complete the activity and spend a Terminal Overload Key at the second chest to progress.
Terminal Overload rotates areas daily, so if you miss a day, you’ll need to wait for three more for that area to be the activity location again. There’s nothing complicated here; just time-consuming, especially if you can’t log in to Destiny for whatever reason.
Strider Step 3: Defeat Shadow Legion on Neomuna and complete the Ahimsa Park Lost Sector
Shadow Legion Cabal are everywhere, so simply wander Neomuna, and you’ll run into them. They won’t drop Location Data on every kill, but if you want to gamble on getting both portions of this step done at once, the Ahimsa Park Lost Sector, called the Gilded Precept, is filled with them.
You only need 20 units of Data, and there are enough enemies in the Lost Sector that you can probably get away with doing these portions simultaneously.
Strider Step 4: Visit the archivist
Head back to Quinn in the Hall of Heroes to discuss your findings.
Strider Step 5: Repair Strider’s Memorial
The only memorial still in pieces, belonging to the first ever Cloud Strider (known only as Strider), needs repair. Head over to it and put it back together.
Strider Step 6: Defeat the Hydras near Maya’s Retreat
From Liming Park, head east toward Maya’s Retreat. When you reach the set of platforms over a bottomless pit, you’ll see the first of three Hydras you’ll need to defeat.
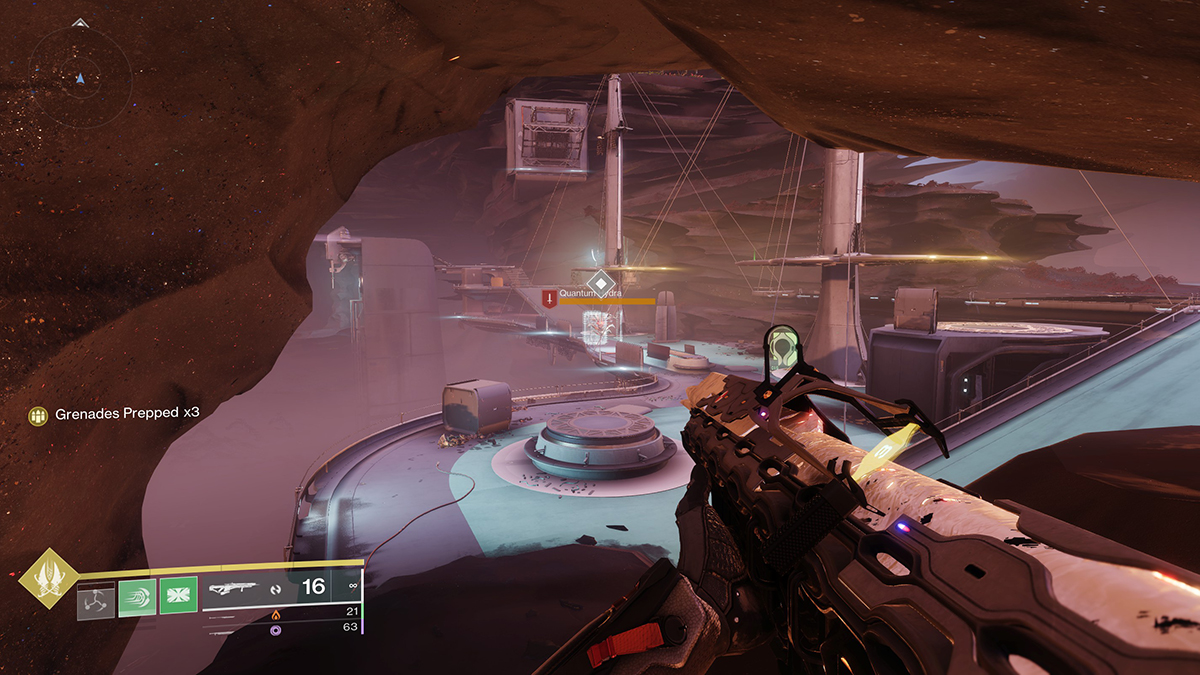
Screenshot by GameSkinny
Each Hydra will be deeper into the area, with the final being boss-level and surrounded by trash mobs. The Conflux you need to disable is near the last one.
Strider Step 7: Return to the archivist
Head back to the Hall of Heroes and speak to Quinn. She’ll give you some congratulatory dialog and a bit of lore, and you’ll be able to claim Winterspite for your own as a reward.
And that’s how you complete the Strider quest in Destiny 2 Lightfall. Pretty straightforward, if annoyingly time-consuming. The same can’t be said for other Exotic catalysts, like Vex Mythoclast or Gjallarhorn. For more Lightfall-specific content, we have guides on beating Tormentors, the Unfinished Business Exotic quest, and the NODE OVRD AVALON Exotic quest. Our D2 guides hub has much more.
Featured image via Bungie


Published: Mar 8, 2023 11:33 pm