
You will find three different ranged weapons throughout Trek to Yomi‘s seven chapters. The armory includes a traditional samurai Bo Shuriken, a bow and arrow, and a heavy Japanese rifle called an Ozutsu. Each weapon is more powerful than the last, but with the tradeoff of speed. The shurikens are lightning quick but only stagger most stronger enemies. The Ozutsu, on the other hand, can kill any opponent in one shot.
It is well worth tracking down all of the ammo capacity upgrades to ensure you always have the tools to get out of a sticky combat situation. Here is where to find all the upgrades for each weapon in Trek to Yomi.
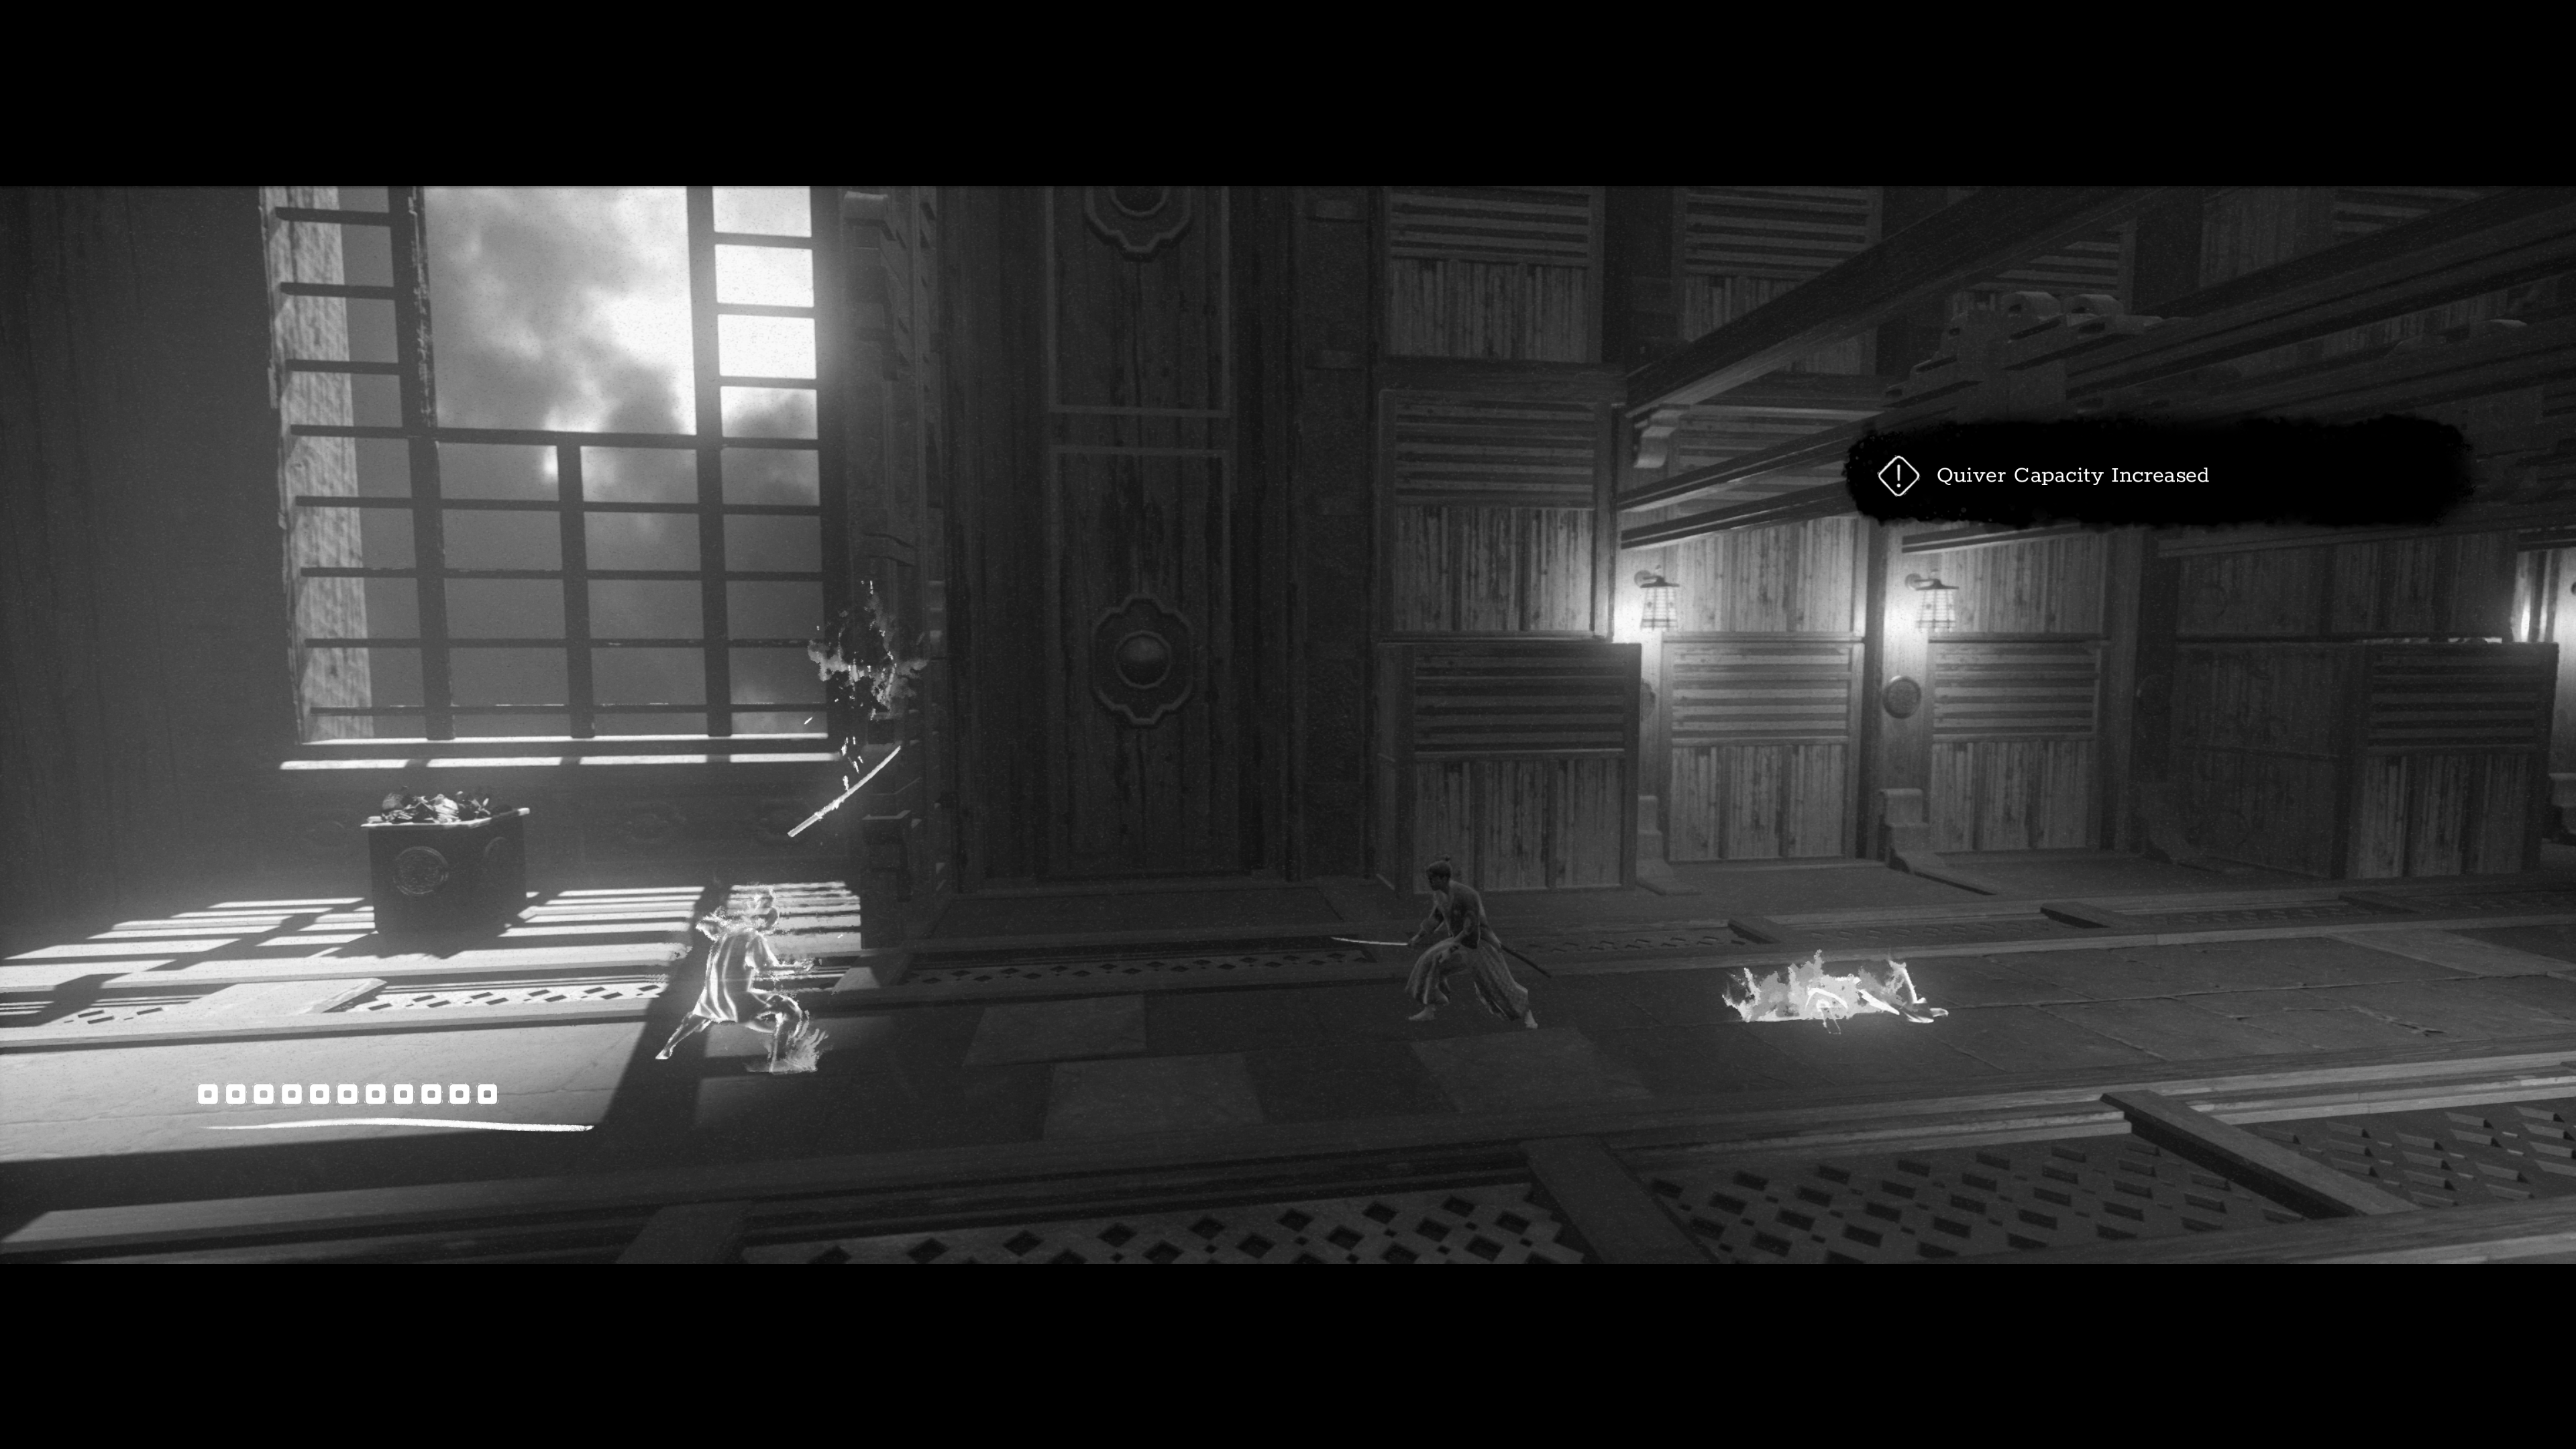
All Ammo Upgrade Locations in Trek to Yomi
Bo Shuriken Ammo Upgrades

Bo Shuriken Capacity Upgrade 1 — In Chapter 1, you will enter a house that will give you a tooltip about Secrets. From here, go up the stairs in the background, rest at the Shrine before continuing to the left to find a hidden room. You will fight a bandit terrorizing a woman. Kill him, and the woman will give you the first Bo Shuiuken capacity upgrade as a reward.
Bo Shuriken Capacity Upgrade 2 — You don’t have to do anything special for this one. After you complete the first encounter of the second stage, your Bo Shuriken capacity will automatically be upped by one.
Bo Shuriken Capacity Upgrade 3 — At the very end of Chapter 2, before you cross the bridge in front of a waterfall, there is an easy-to-miss crevice that Hiroki can slide through. If you walk close enough to it, the camera angle will change, giving you a better view of light shining through the crevice. Go in, and you’ll be forced into a slow walk animation before coming out the other side. Here you will find a health upgrade and a weapon capacity upgrade for your Bo Shuriken.
Bo Shuriken Capacity Upgrade 4 — After you acquire the Ozutsu in Chapter 4, you will fight your way through a swampy area. Beyond, you will find a section elevated above the water. From here, there is a hidden path on the left side of the screen. Follow the path you find all the way to the end and around the caged Blighted to find both a Stamina upgrade and another increase to your Bo Shuriken capacity.

Bo Shuriken Capacity Upgrade 5 — The second Bo Shuriken upgrade in Chapter 4 can be found at the top of the tower you climb. Eventually, you will hit a Shrine and you can continue to the right to progress. Instead of doing this, climb yet another ladder that takes you all the way to the top, where you will find a giant bowl-shaped lantern you can light. Next to it, you will find the capacity upgrade for your Shuriken.
Bo Shuriken Capacity Upgrade 6 — Later in the Chapter 5 temple, you will come to a room with a Shrine and two doorways. The one to the north has some kind of small box in front of it. Move past it and go to the next screen by moving North. The Shuriken upgrade will be on a pedestal in front of the window in this room.
Arrow Quiver Ammo Upgrades
Arrow Quiver Capacity Upgrade 1 — Late in Chapter 3, you will encounter a dying samurai who can speak with at the bottom of a set of stairs. Move to the right, and the camera will pan to show an injured woman. Near her is the first Arrow Quiver capacity upgrade.
Arrow Quiver Capacity Upgrade 2 — You will automatically get this Arrow capacity upgrade after you fight the first Blighted enemy in Chapter 4. Your Quiver capacity will automatically go up by one once you defeat this enemy, who is also the first one you encounter in this level.
Arrow Quiver Capacity Upgrade 3 — Later in the same area, where you get the Bo Shuriken capacity upgrade, you will come to a Shrine near a ladder. You can cross the bridge to your right, but instead, take the ladder up and enter the shack up top. There will be a Collectible to pick up and another useful upgrade to your Arrow Quiver.
Arrow Quiver Capacity Upgrade 4 — About halfway through Chapter 5, you will enter a huge temple with wide halls. The walls in the temple shift, forcing you to seek alternate paths. You will acquire this upgrade after the first fight in the temple area.
Arrow Quiver Capacity Upgrade 5 — You can find this upgrade after the third puzzle sequence of Chapter 5. Once you complete the puzzle and cross the previously uncrossable gap, you will go down some stairs and a Shrine will be waiting for you. The level continues to the right, but quickly dip left to discover a hidden screen where you will find another Arrow Quiver upgrade.
Ozutsu Ammo Upgrades
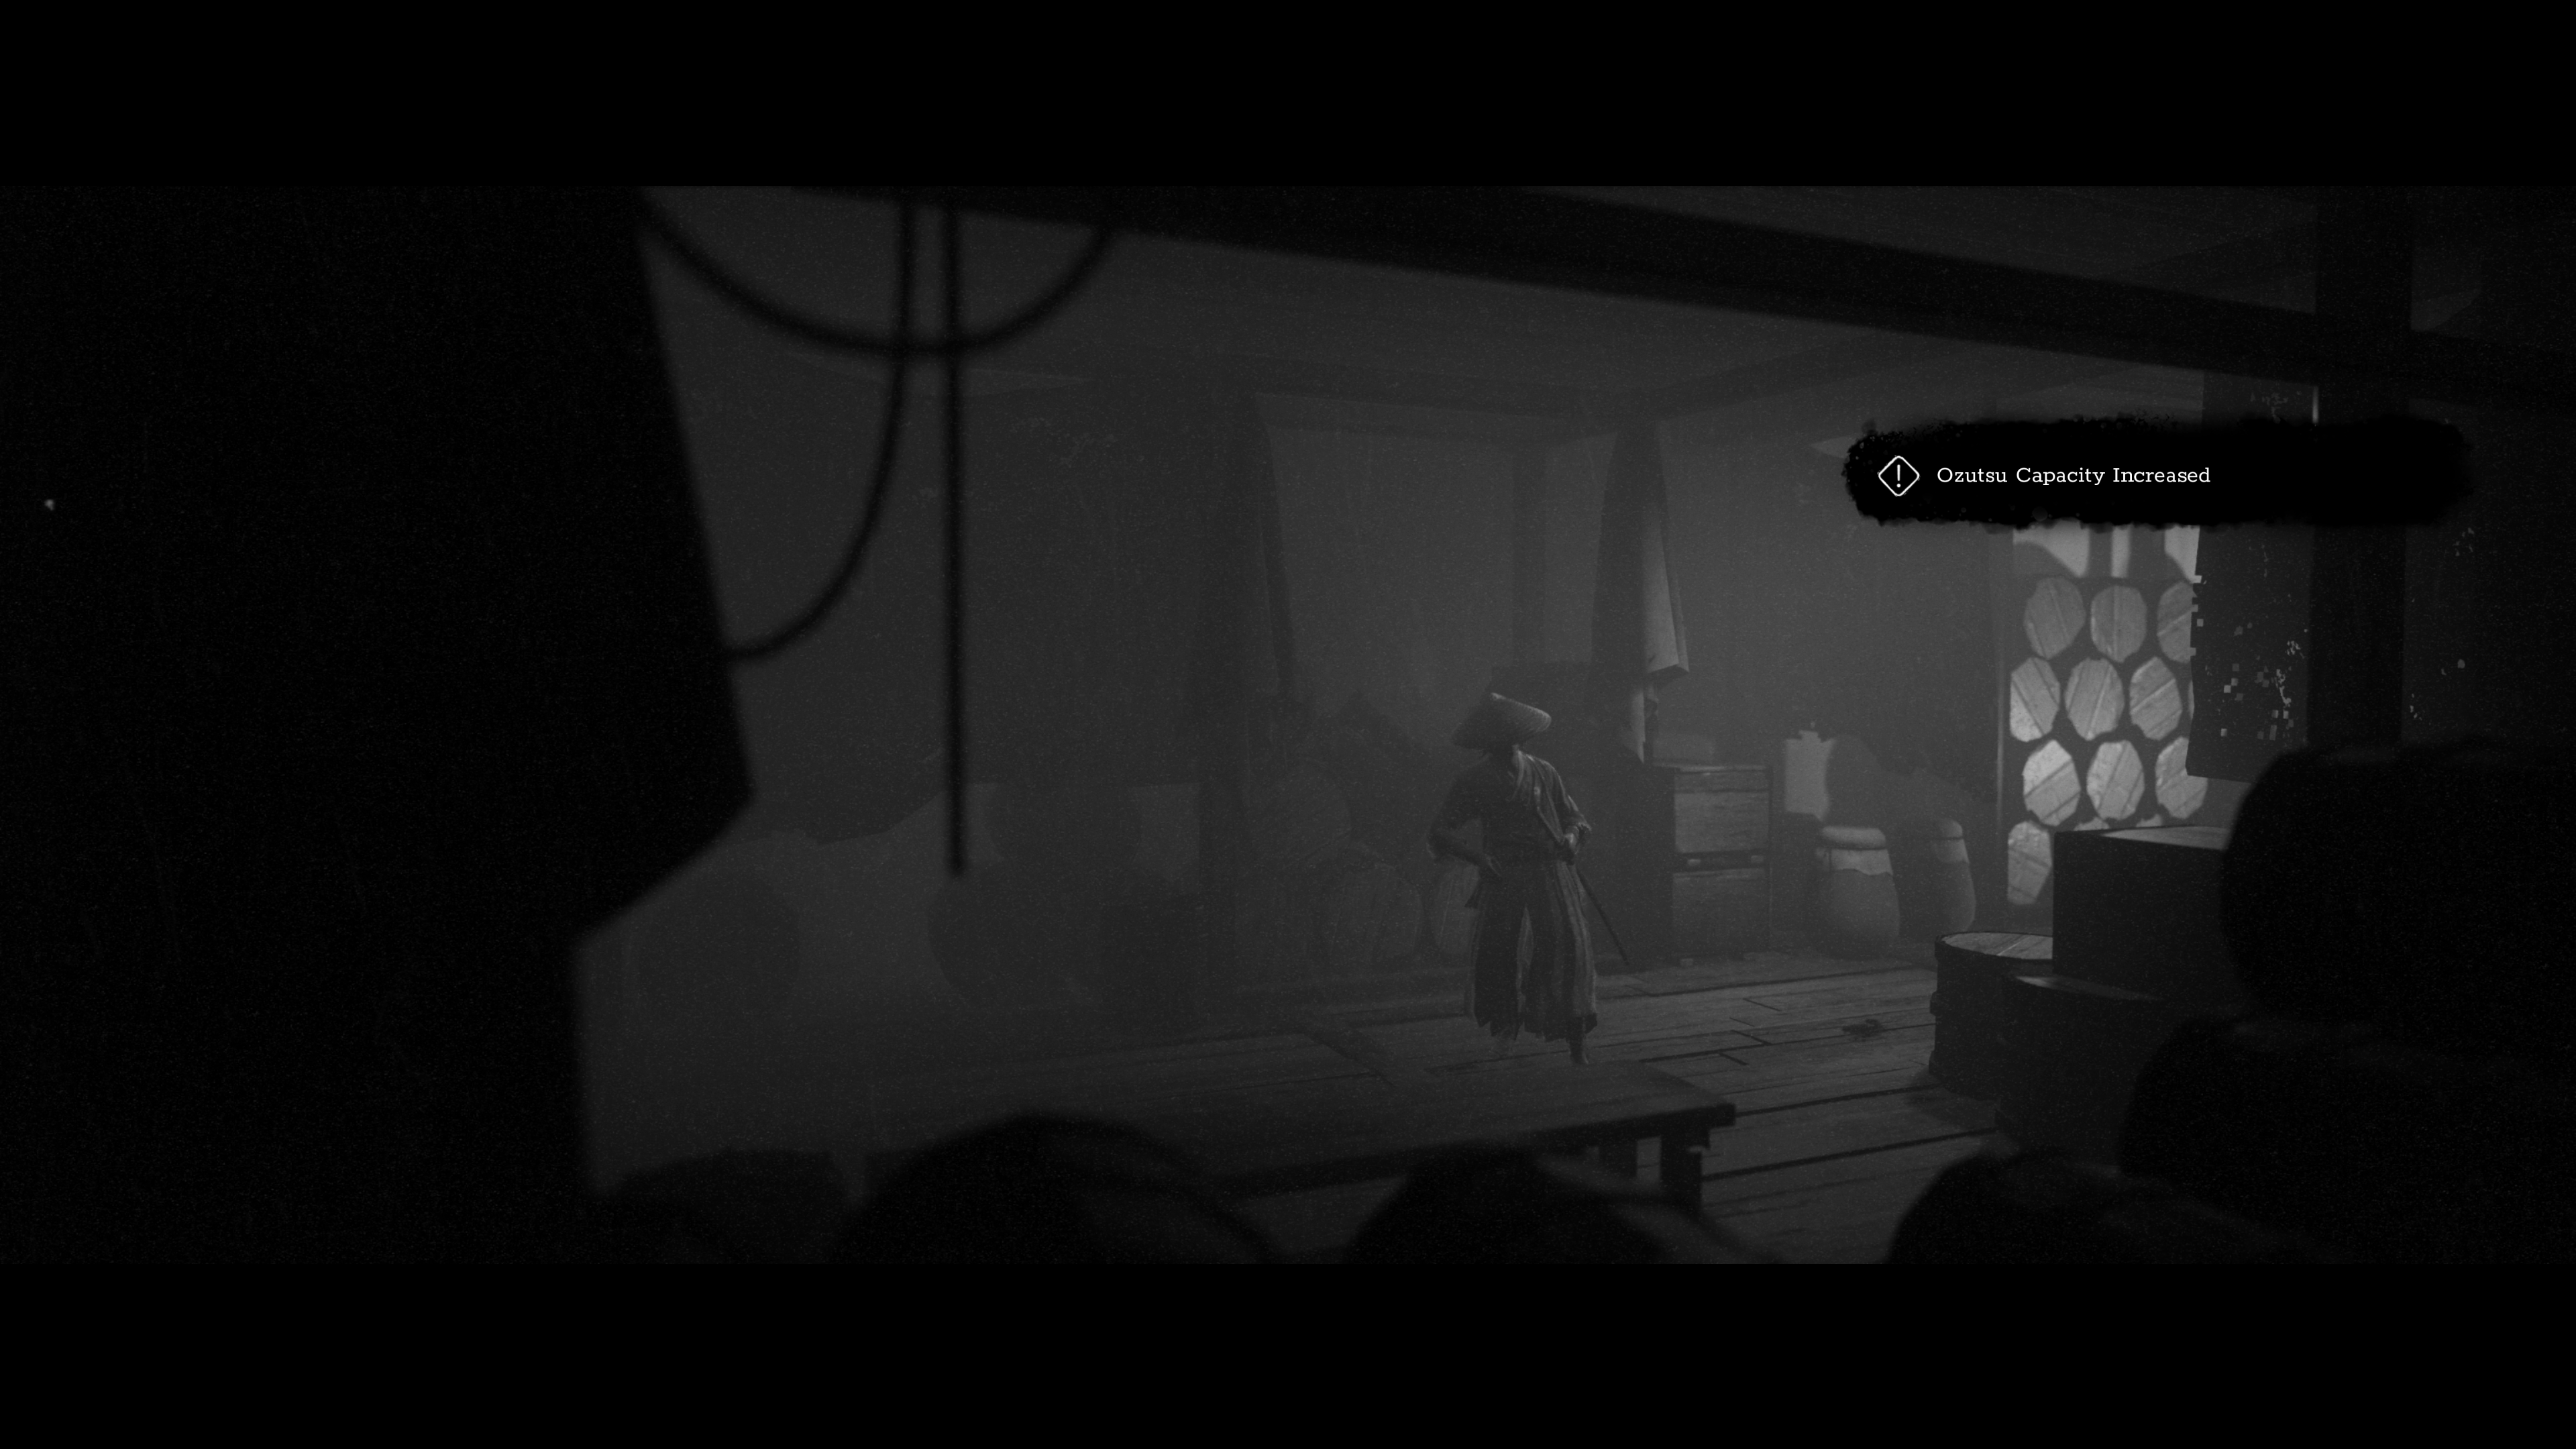
Ozutsu Capacity Upgrade 1 — You’ll find the first ammo capacity upgrade for the Ozutsu gun in Chapter 5. The underworld shatters around you as you sprint from encounter to encounter. The first time the stage slows down, you enter a house with high ceilings. Once inside, instead of going to the right, move to the background. The camera will shift allowing you to see the rest of the room where the Ozutsu upgrade is located.
Ozutsu Capacity Upgrade 2 — The second Ozutsu ammo upgrade is not far from the first in Chapter 5. After fighting through a village, you will enter another building with a forked path. Move to your right to find a strong enemy in the next area. Defeat him, and move right to the next area where you will find a Shrine and the second Ozutsu ammo capacity increase.
Ozutsu Capacity Upgrade 3 — This is one of the only upgrades found in Chapter 7, when you return to the physical realm to avenge your death. About halfway through the level, you will come to a fork in the path after a Shrine. Take the stairs up from the Shrine and go inside the left house. Fight the enemies here, then go to the furthest room back, where you will find an upgrade to your Ozutsu ammo capacity.
Those are all of the ammo capacity upgrade locations for the shuriken, bow, and ozutsu in Trek to Yomi. For more on Trek to Yomi, check out our review or our comprehensive lore collectibles and artifacts guide.


Published: May 6, 2022 10:51 am