
7 Days to Die is an unusual game, famous for its strong enemy AI and a unique set of rules for survival. It uncovers the murky world full of zombies, and you may find it hard to make your way through it in the very beginning.
This beginner’s guide will give you all the necessary information on how to survive at the initial stages of 7 Days to Die. You will learn how to defend yourself, how to build and reinforce various structures, and how to level up your character.
How to Find and Craft Weapons in 7 Days to Die
Melee weapons
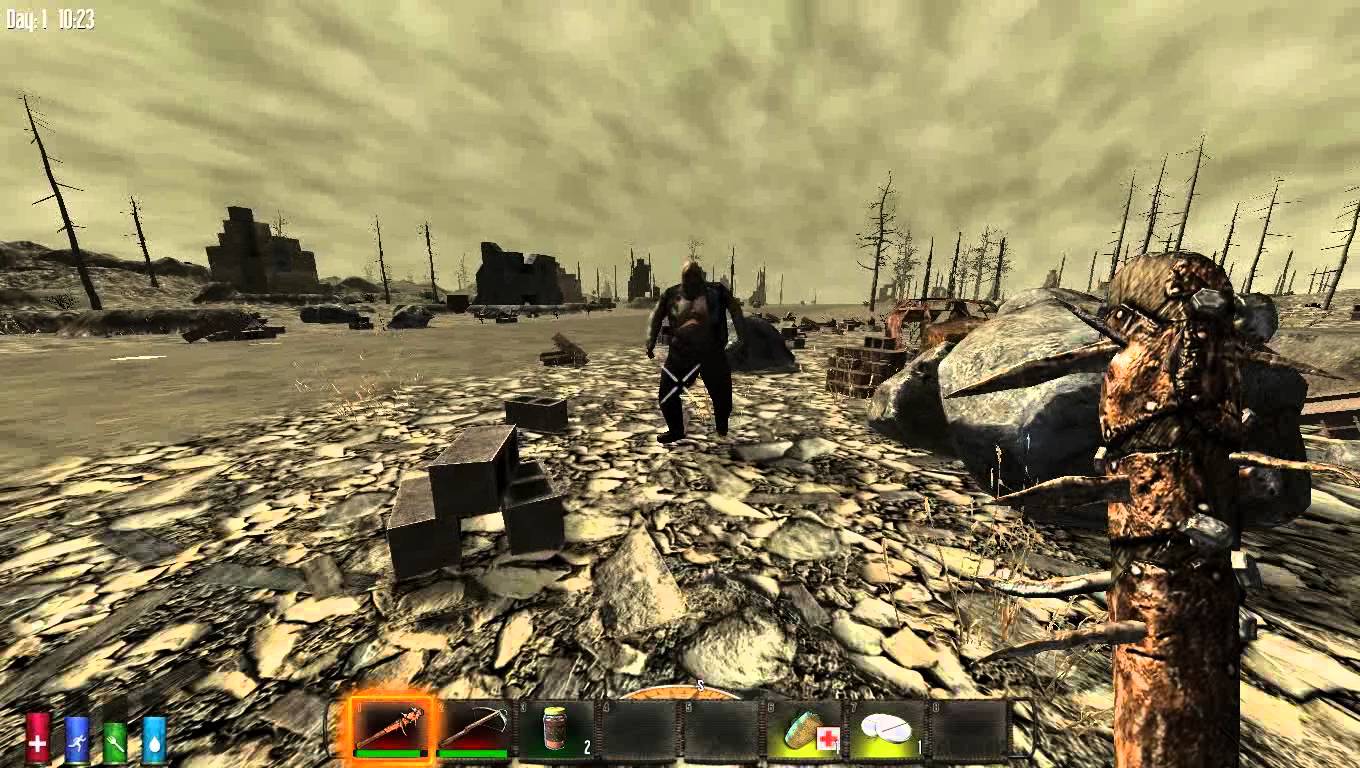
On your first day of survival you will be able to find your first melee weapon — a Spiked Club. It’s really easy to upgrade with the simplest of materials, such as wood and stone, and will serve you well for a few days.
Later you will be able to find or craft a Sledgehammer — a much better melee weapon although a bit heavier. It can be found in crates inside the Working Stiffs Hardware Stores that are usually located in towns and cities. Crafting a Sledgehammer is a bit trickier, since it requires a forged iron.
In the latter part of the game try to find a Machete — it’s fast and strong, and it chops zombies like salad. You will not be able to craft it, so don’t bother with the materials.
Guns
The other type of weapon you can’t craft in 7 Days to Die is guns. However, you will be able to find gun parts and special knowledge books. As soon as you have all the parts and the book, let’s say for an AK47, you will be able to assemble the actual AK47.
You can also just find guns in special gun safes that are usually located inside houses behind the iron bars.
How to Use Tools to Reinforce Your Base
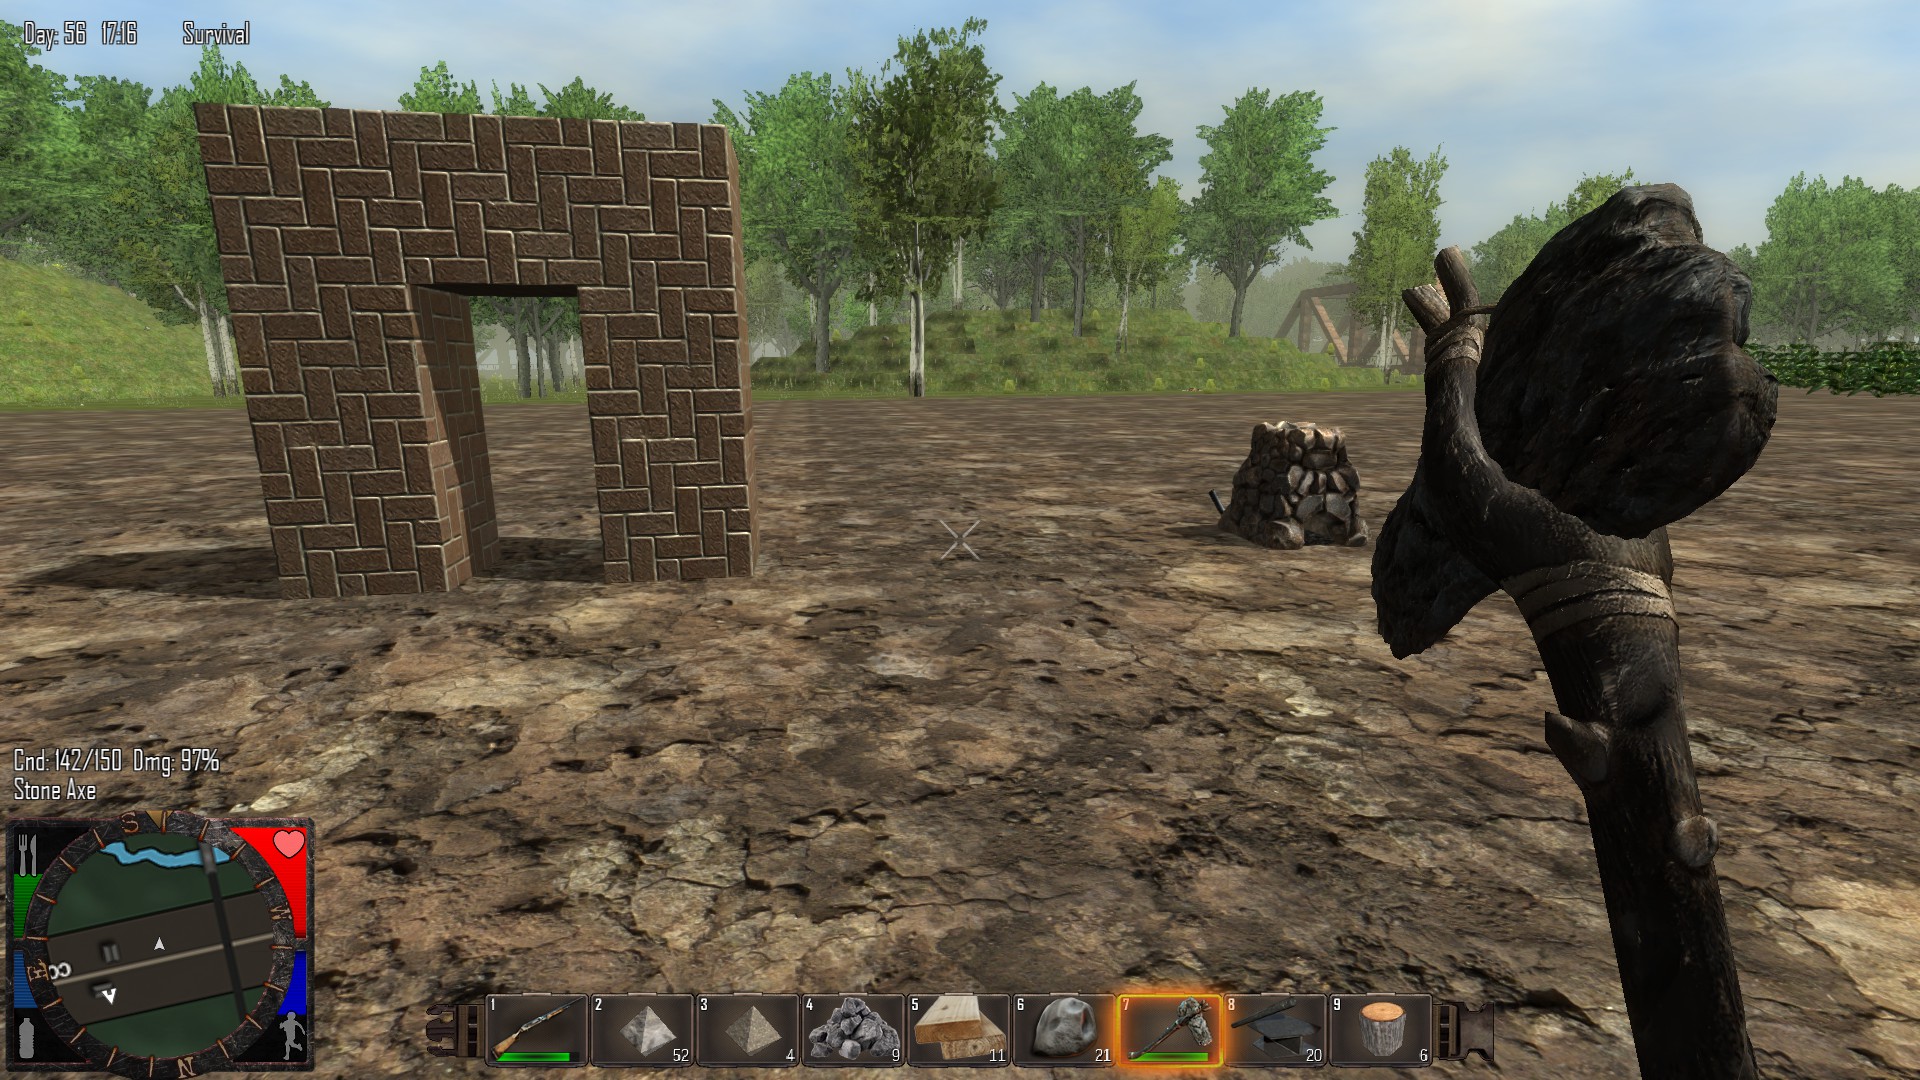
Besides weapons you need to craft tools that will help you build and reinforce your structures. One of your first tools will be a simple Stone Axe. It’s not very strong, but it will serve you well in the initial parts of the game.
Later on you will be able to upgrade it to a Fireaxe and eventually a Steel Fireaxe. They are all essential tools for gathering wood, stone and metal that will be used to build spikes, wood log spikes and barbed wire fence.
As you find a building you will need to reinforce it with the help of your tools. First, destroy all the stairs and build ladders instead — this will prevent zombies from getting inside your house. After that, build spikes all around the house, and then put wood log spikes on the perimeter.
Finally, destroy all the doors in the building and build new ones with metal reinforcement; also, do the same with windows.
How to Stay Hydrated and Preserve Your Food
Finding and purifying water
Water and food are essential for survival in 7 Days to Die. You can find water in any natural water source, such as river. However, this water may be dirty, and although you could drink it as it is, you should be aware of the dangers of dysentery.
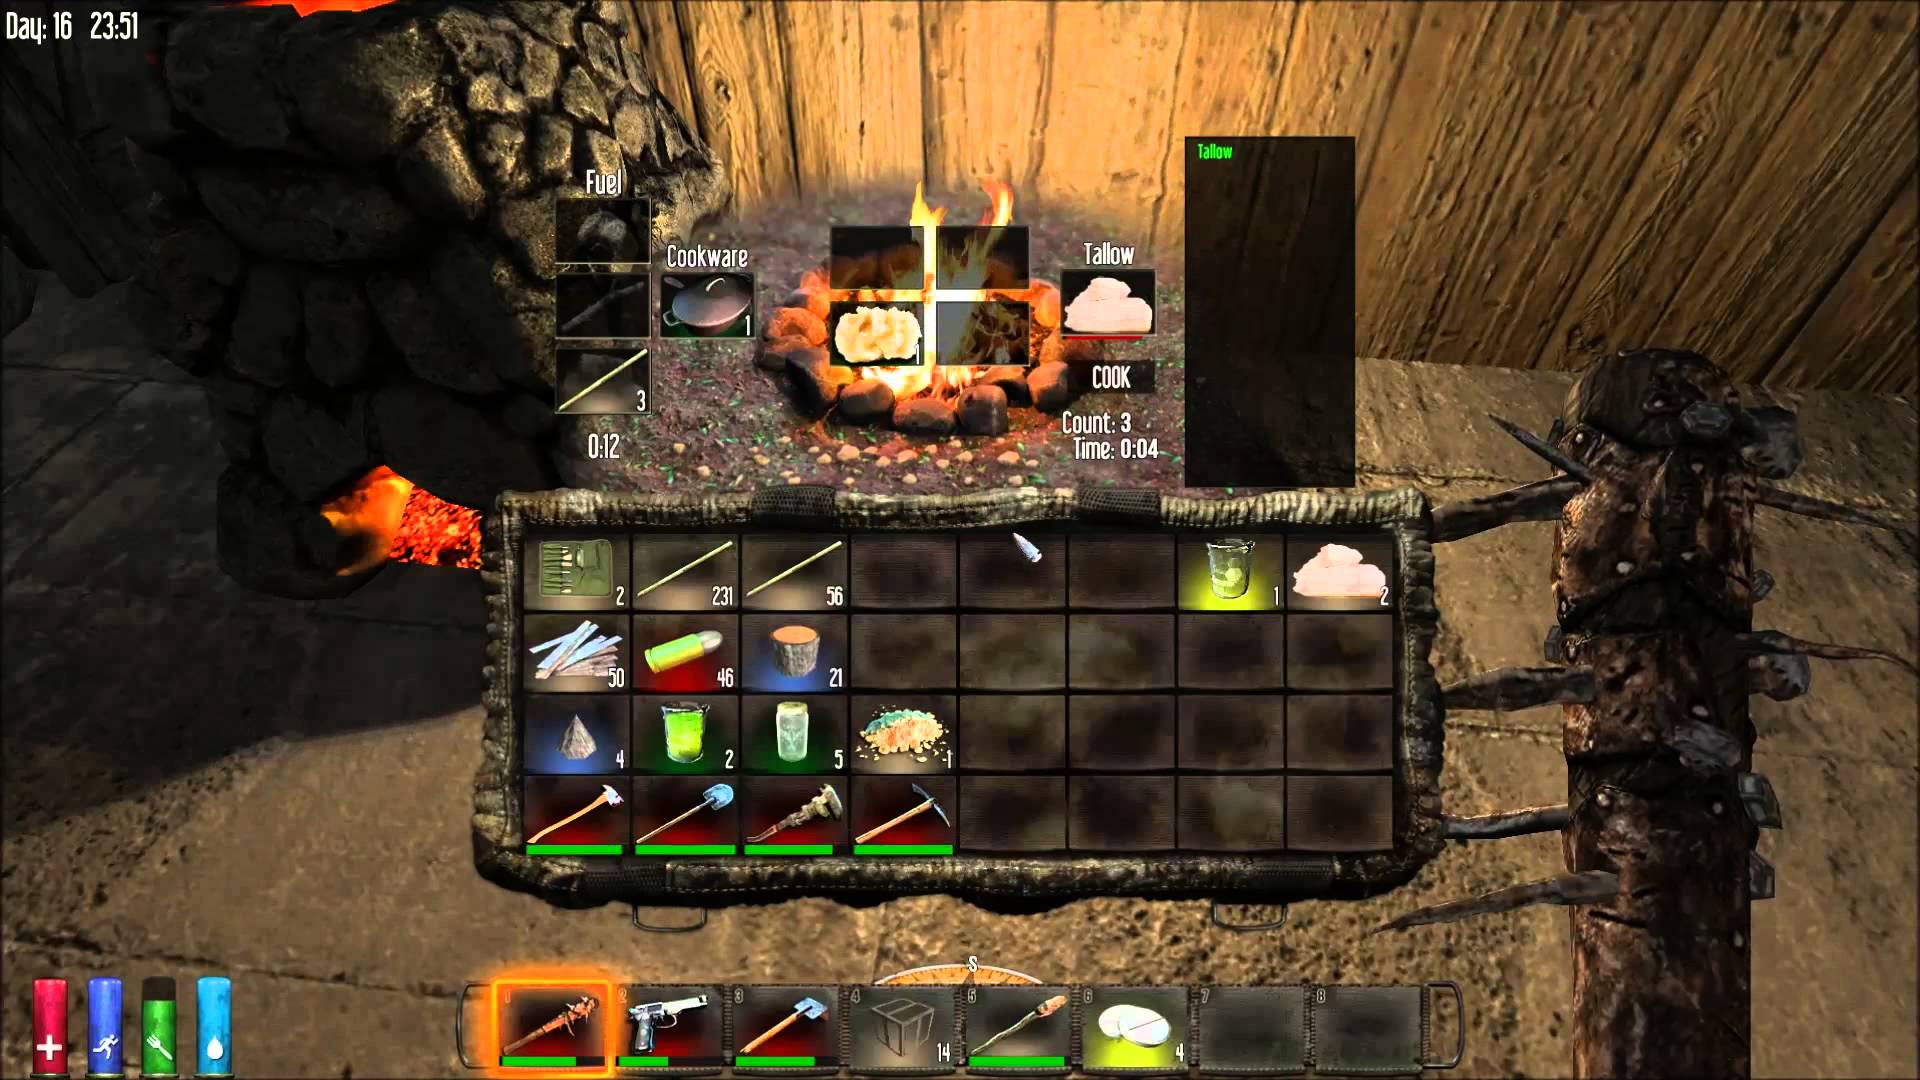
The best would be to purify the water by boiling it on a campfire using a simple cooking pot. You can also stay hydrated by eating some canned and fresh foods, such as mushrooms.
Farming and cooking food
There are several ways you can get food in 7 Days to Die. First, you can kill wild animals and cook meat on a campfire. But you should not eat rotten flesh; otherwise you will get food poisoning.
Another way to have some extra food is to farm it. You will need a farming hoe and seeds, which you will be able to find while traveling around, such as coffee, corn, potatoes and blueberries.
Use the gardening hoe to till the dirt and then plant the seeds into the fertile soil. The seeds will soon turn into consumables which you can harvest, though corn takes twice as long to ripe as the rest of the foods in the game.
Howto Upgrade Your Character and Progress through 7 Days to Die

Leveling up in 7 Days to Die is quite easy to do because every action gives you experience points. For example, if you repair or upgrade something, your Construction Tools skill will level up automatically; if you kill zombies with your club, then you will get experience in the Blunt Weapons section; etc.
Best perks
You can also invest your experience points into perks. The best perk for early game is Quality Joe — it will allow you to find tools and weapons of higher quality, meaning that they will last longer and require less repairing.
Another great perk to start with is Quicker Crafting — which allows you to craft items much faster. Here are a few other perks you should consider upgrading: Concrete Mixing, Steel Smithing, and Workbench.
Wellness
One of the most important attributes of your character is Wellness. This attribute significantly impacts your progress in the game, so the higher your Wellness is the better chance of surviving you have.
You mostly gain Wellness points by eating good food, so it is important to know what types of foods give you the highest amount of Wellness points. Here is the complete breakdown of all available foods in the game.
Also, every time you die you will lose 10 points of Wellness, so remember to refill them after each death.
You should also keep in mind that when you die, the game will automatically respawn you in a random place on the map — so it would be wise to either craft or find a Bedroll that serves as a checkpoint. This will allow you to respawn at the exact spot where you’ve left your Bedroll on the map.
Early Game Essential Items:
- Building materials: Wood Frames, Log Cabin Wood, Stone.
- Tools: Stone Axe, Wooden Club, Stone Shovel, Wooden Bow.
- Consumables: Bottled Water, Canned Food.
- Resources: Food, Bottled Water, Medicine, Scrap Iron.
- Items: Ammo, Bandages, Bottled Water, Arrows.
This should be enough for you to survive the first few days in 7 Days to Die. Later you will be able to find other players and join them on one of many multiplayer survival servers.
—
Be sure to let us know if these 7 Days to Die Beginner’s Tips and Tricks were helpful in the comments below, and come back soon for more 7 Days to Die guides at GameSkinny!


Published: Jul 6, 2016 09:37 am