The primary endgame activity introduced in Outriders: Worldslayer is the Trial of Tarya Gratar, a static dungeon of moderate length. As you make your way through, you’ll take on three or four substantial boss fights, slaughter thousands of beasts and Feral Pax, and fight plenty of mini-boss enemies.
This guide will detail every location in Tarya Gratar, what you can expect in each area, and how to conquer every boss fight. This information expands on what we covered in our Tarya Gratar explained article.
How to Complete the Trial of Tarya Gratar Endgame
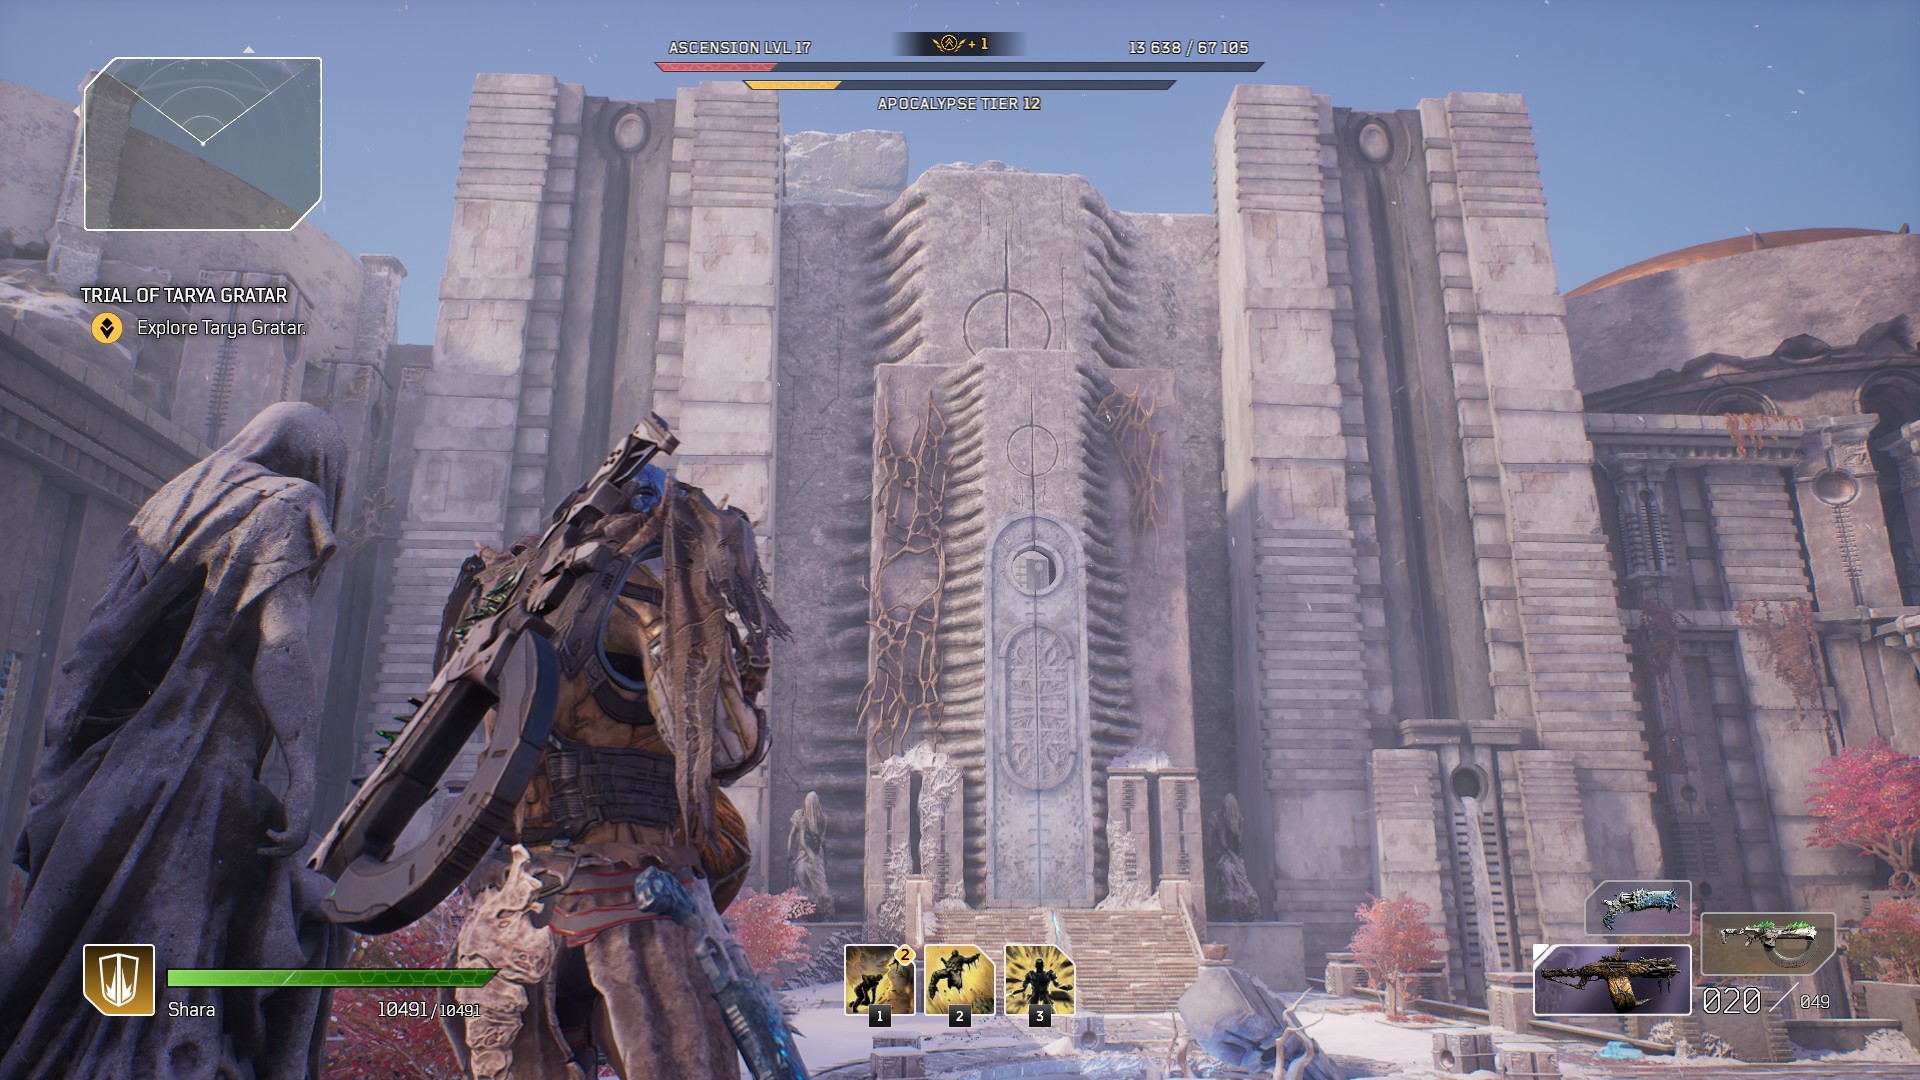
You gain access to the Trial of Tarya Gratar following the completion of the Worldslayer campaign, which should only take a few hours. Your Apocalypse Tier will likely be in the early-to-mid teens unless you do additional Expedition grinding prior or were already deep into the endgame post-expansion.
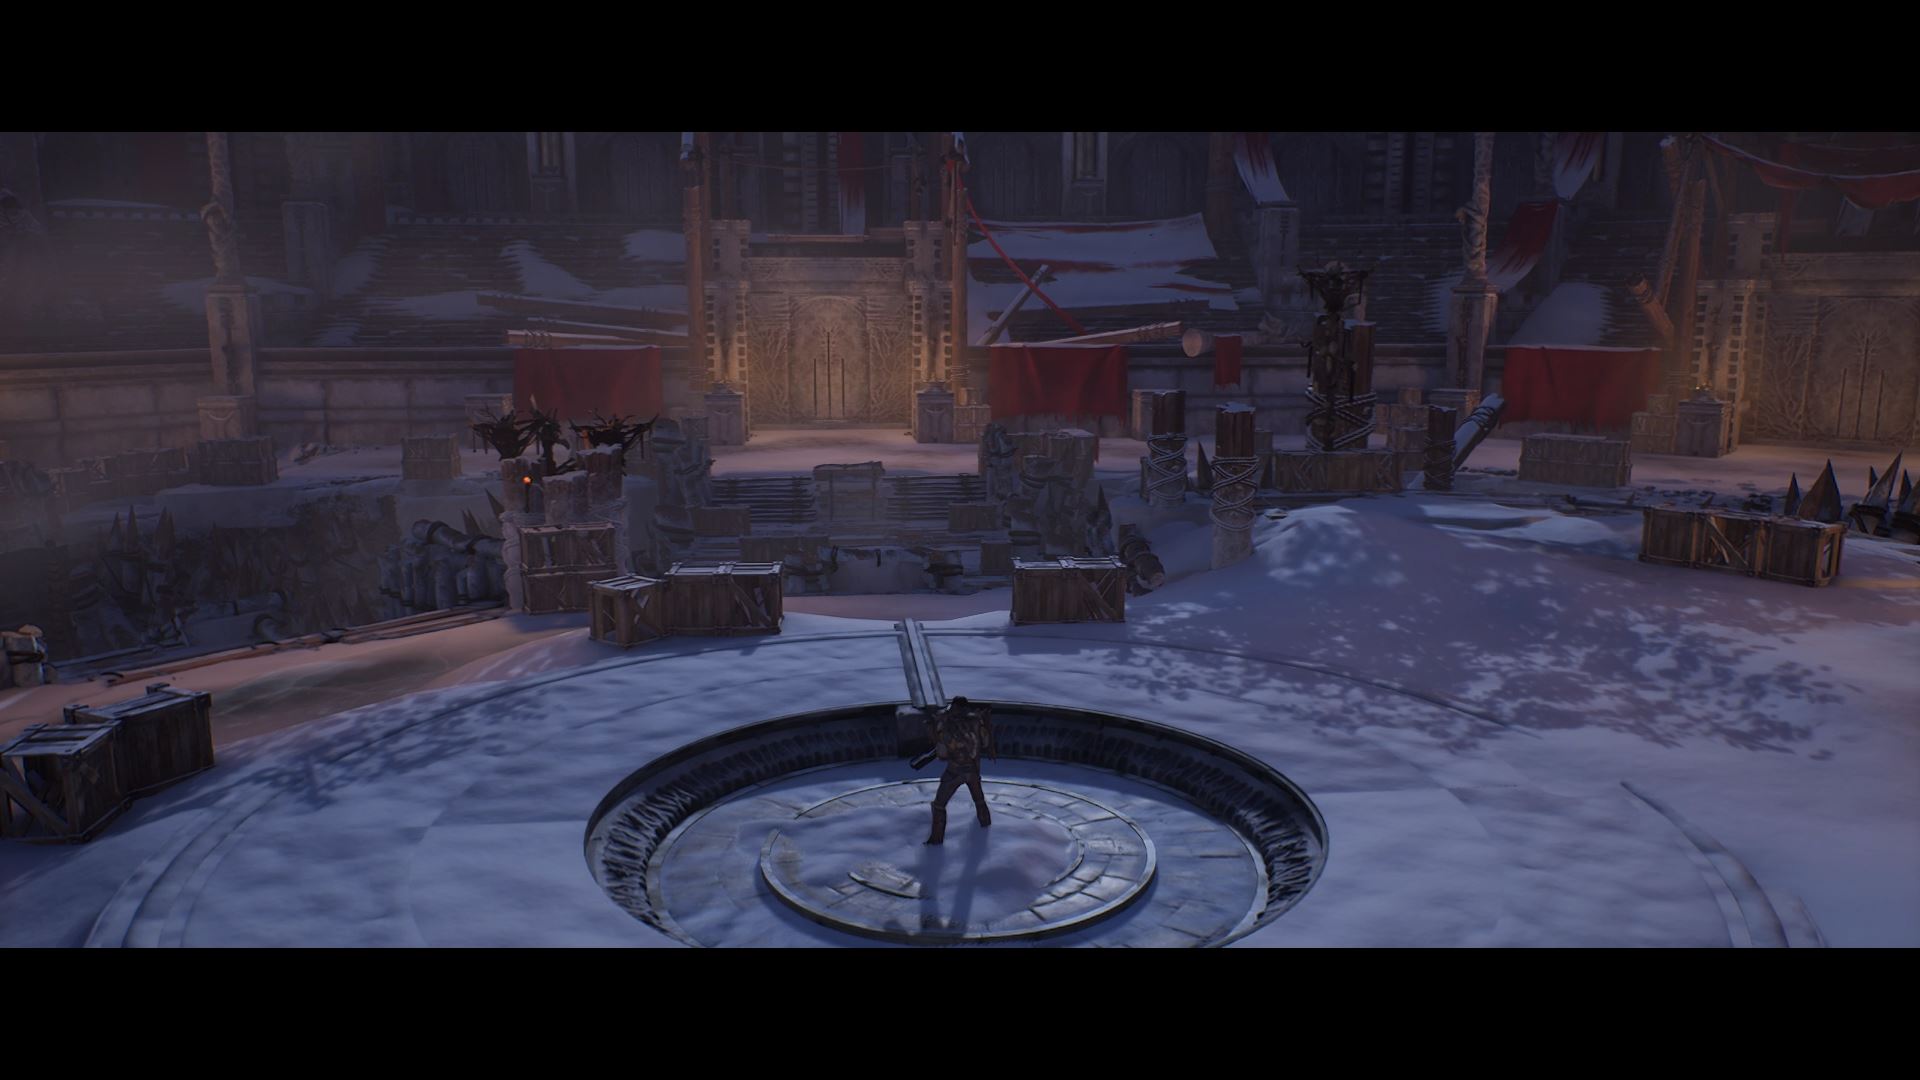
Start the activity by placing your hand on the pedestal to enter the first Crossroads, a location called the Warlords Concourse. There are three possible exits, two to your left and one to your right. The right exit takes you to the first available Trove, the Proving Grounds. The close-left exit takes you to a Skirmish zone called Temple of the Anomaly, and the far-right leads to another Skirmish zone called the Mausoleum.
Before moving any further, it’s worth noting that Tarya Gratar consists of three room types:
- Crossroads: Safe rooms without enemies or challenges connecting combat arenas. The last of these will have a Crafting table but no additional amenities besides ammo restock.
- Skirmishes: Combat arenas with various enemy types in one or multiple waves. There will be a minor loot chest at the end.
- Troves: Larger-scale combat arenas with additional enemies and bosses. There will be a larger loot chest at the end with a higher likelihood of specific loot types.
Further, builds should be exceptional at add clear for all skirmishes. This is especially true if you’re taking on Tarya Gratar solo. There are hundreds of enemies across the various waves, increasing in number and difficulty as you progress.
The Proving Grounds Skirmish
The Proving Grounds are a circular arena with five doors surrounding the central point and arena entrance. When you start the endgame activity, the door directly in front of you opens, releasing hordes of beasts. Complete the three waves to activate the two nearest doors on either side, which release additional beasts and minibosses. The final two doors, to the far right and far left of the spawn area, release two boss-level beasts and additional hordes.
Completing this encounter unlocks a golden chest with a good chance of rewarding Boots, but like all the loot sources in the dungeon, you aren’t guaranteed Boots.
The Temple of the Anomaly
There are dozens of Feral enemies in this Skirmish, all of which use guns. Most are trash mobs: standard riflemen and snipers or rushing melee goons. A few dozen are tankier enemies that either deploy shields or use heavier weapons.
The remaining 10 enemies are minibosses, whether slow-moving machine gunners or ability-spamming captains using various energy abilities. There are also several mini-bosses that can teleport by transforming into a conspiracy of ravens. They also have powerful sniper rifles and can use the ravens for a line-based attack.
The Mausoleum
This Skirmish area pits you against the same kinds of beasts you fight in the Proving Grounds but does not contain the enormous boss-level monsters from that location. There are two waves made up primarily of lower-level beasts with a few minibosses scattered about.
The Courtyard
The second Crossroads you’ll come to in the Trial of Tarya Gratar only has two exits. One leads to the first boss of the dungeon, the other to another Trove, the Arboretum.
The Arboretum
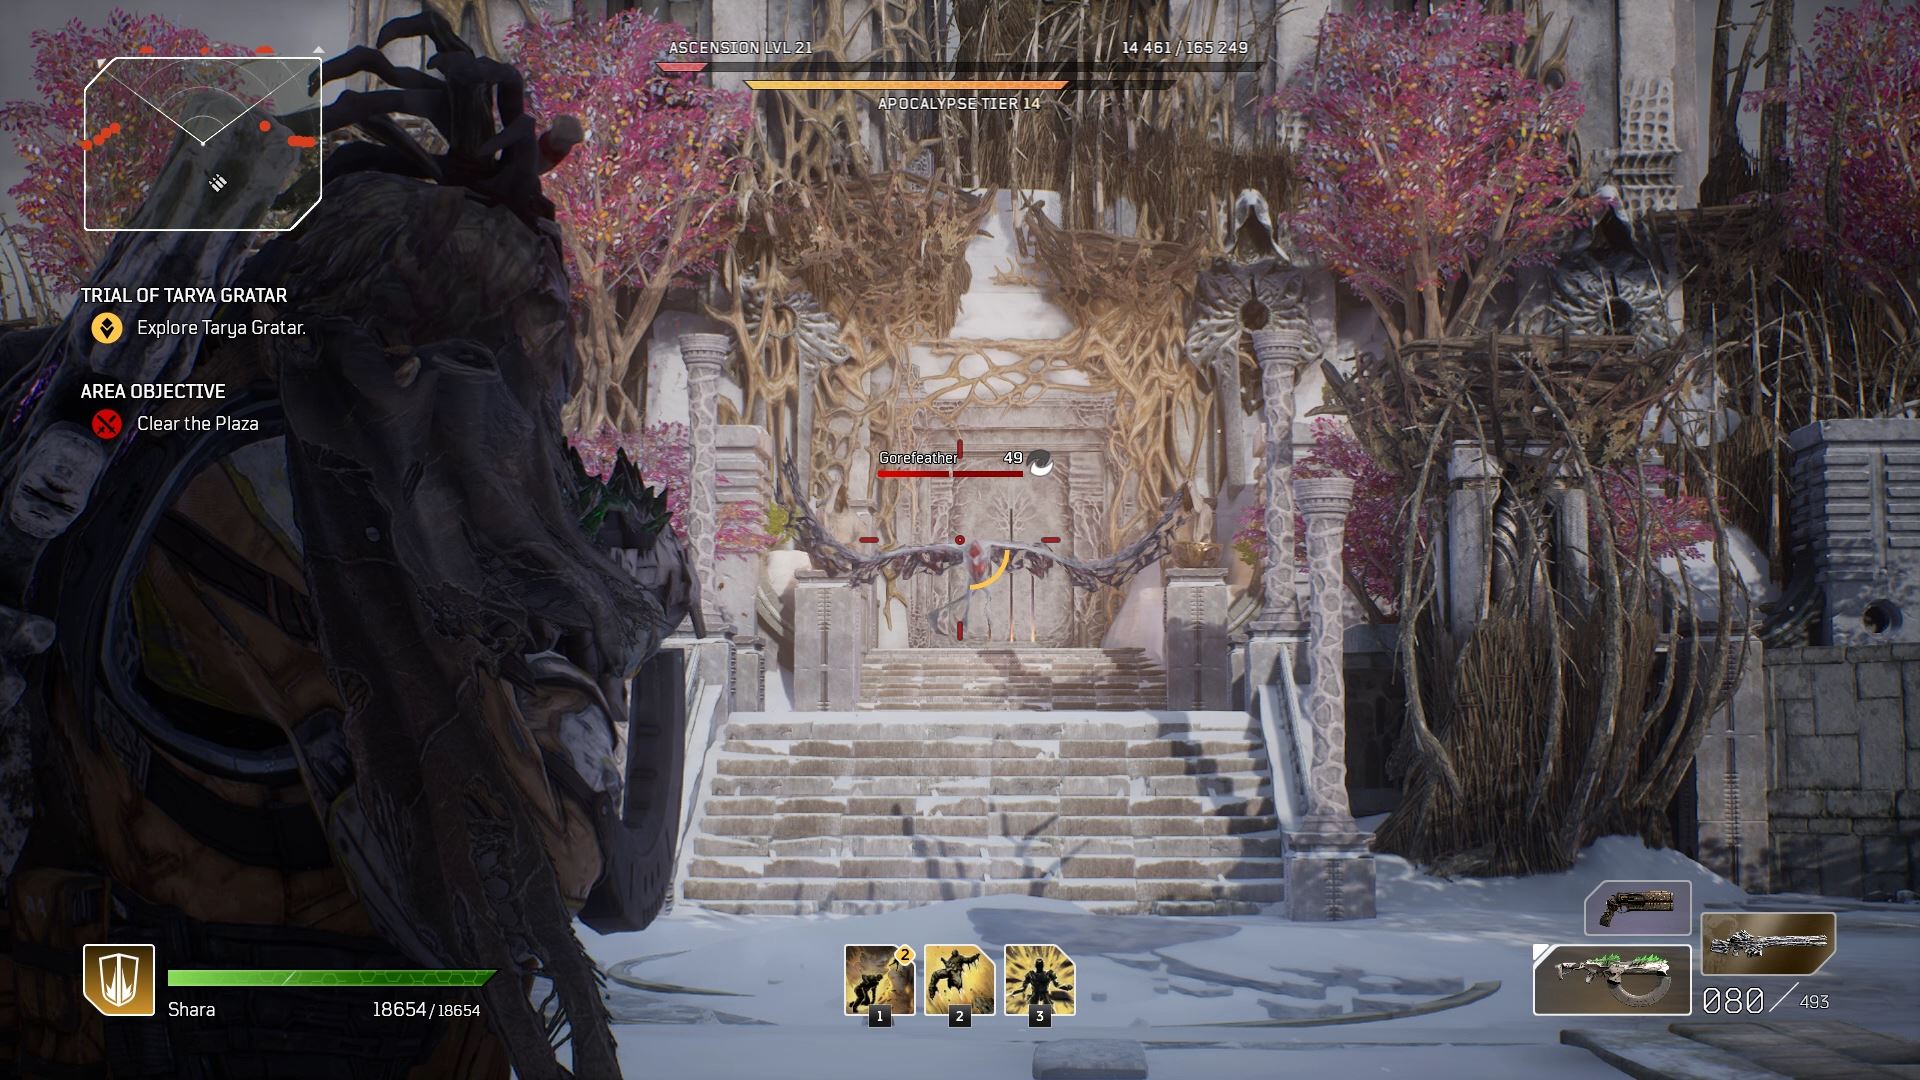
A two-area Trove, the Arboretum starts with a fight against hordes of Feral enemies, with four boss-level mobs spawning once you engage. None are particularly threatening to even mid-game builds. The real threat comes in the second area, where you’ll fight against a Gorefeather sub-boss.
A larger, more powerful version of the other bird enemies you’ve faced will call some of its fellows to the field and dozens of lower-level beasts and mini-boss creatures when it reaches 50% health. Don’t be caught in bird AoE attacks — these can one-shot, and they tend to overlap if you don’t clear the birds fast enough.
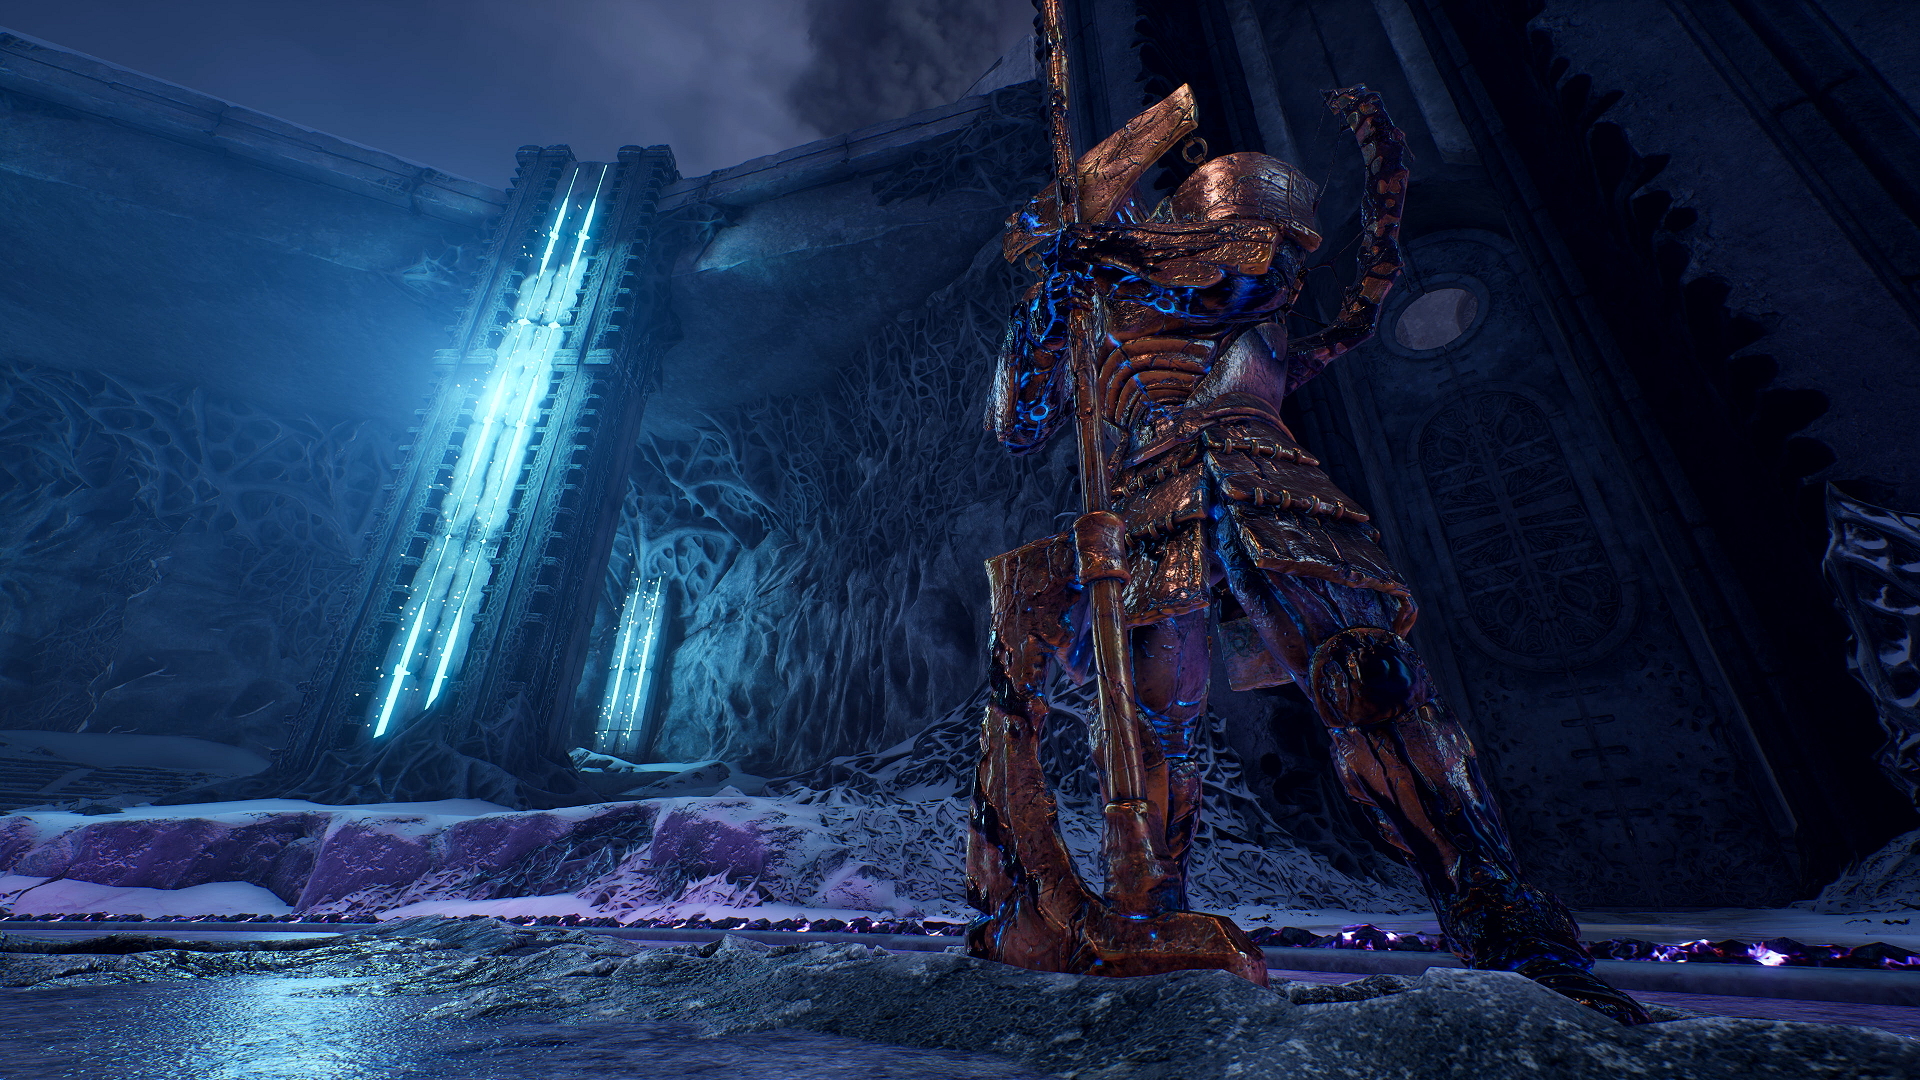
Plaza of the Worthy Arbiter Boss Fight
The first boss encounter against the Arbiter of the Worthy takes place here, and be prepared for a long fight. The Arbiter is designed to be a significant DPS and survival check.
How to Defeat the Arbiter in Trial of Tarya Gratar
- Jumping and standing slashes: The Arbiter swings his ax wildly in front of him, either standing or immediately following a jump. The hitbox extends a little farther than you might expect, and the attack triggers a knockdown, so stay away from the boss to avoid it.
- Judgment: The Arbiter charges the attack, then sends out a wave of blue energy that locks your abilities and disables your attack. It then pulls you toward itself and slashes you with its ax. The attack deals about half health against my unoptimized Devastator build, so use whatever you have to fill your health before the energy wave comes out.
- Summon Tribute enemies: Three of these shadow Tribute mobs spawn, wandering the area around the boss, dropping ooze pools that slow you and your abilities.
- Summon shadow clones: The Arbiter summons three smaller black ooze clones of itself that swing wildly at you.
Jumping slam: The Arbiter jumps toward you and slams its ax down, creating a shockwave. This might make a black ooze puddle that will inflict Slow. - Dark Armaments: The Arbiter returns to the center of the arena and summons countless shadowy weapons. The floor will be filled with AoE markers, with a thin one near the boss. You can either tank most of the attacks and continue dealing damage or run along the thin path to avoid most of the attacks altogether.
Spend as much time as possible dealing damage to the boss, stopping only to refill ammo, avoid Dark Armaments, or focus on the Tribute mobs. Use everything at your build’s disposal, and expect to spend 10 minutes or more fighting unless you’re deep into the endgame. Defeating the Arbiter of the Worthy rewards about 20 Epic or Legendary items.
The Vestibule
Another Crossroads. To the left of the Vestibule is the Daughter’s Sanctuary; to the right is the Trove at the Docks. Progressing deeper into the dungeon by going left leads to the Throne Room Skirmish.
The Docks
The Docks is a two-area Trove encounter that focuses on Helmets. It starts against a horde of Feral enemies, with almost 10 mini-boss enemies. There are giant enemies that will charge and dropkick you and Captain enemies that spawn fire tornadoes and use energy beams. Don’t get knocked into the air by the larger mobs and dropped into the beams because they’ll melt your health in seconds.
The second area in the Docks is a fight against an enormous beast from the campaign, along with the bird enemies you fought in the Arboretum. Focus on the big monster first, then the birds, taking care not to be overwhelmed by the trash mobs.
The Daughter’s Sanctuary Wavecleaver Urka Boss Fight
Home of the second named boss in the Trial of Tarya Gratar that focuses on Pants, the Daughter’s Sanctuary starts with a fight against several dozen beast enemies while you stand in a zone around an obelisk. Once you complete the zone control portion, the boss, Wavecleaver Urka, will spawn.
How to Beat Wavecleaver Urka in Outriders: Worldslayer
Not as complicated as the other bosses in the Trial of Tarya Gratar, Wavecleaver Urka is still a threat.
- Spear lunge: Urka lunges at you with his spear.
- Spear slam: Urka jumps into the air and slams his spear into the water, causing an AoE.
- Summon wave: An AoE marker appears in the middle of the water. About a second later, a large wave crosses the arena.
- Summon help: Urka summons a pair of watery shades for continuous AoE attacks and additional waves. Focus on these quickly.
Throne Room
Another horde of Feral Enemies spawns in the first area. The second area sees more Feral mobs and several minibosses.
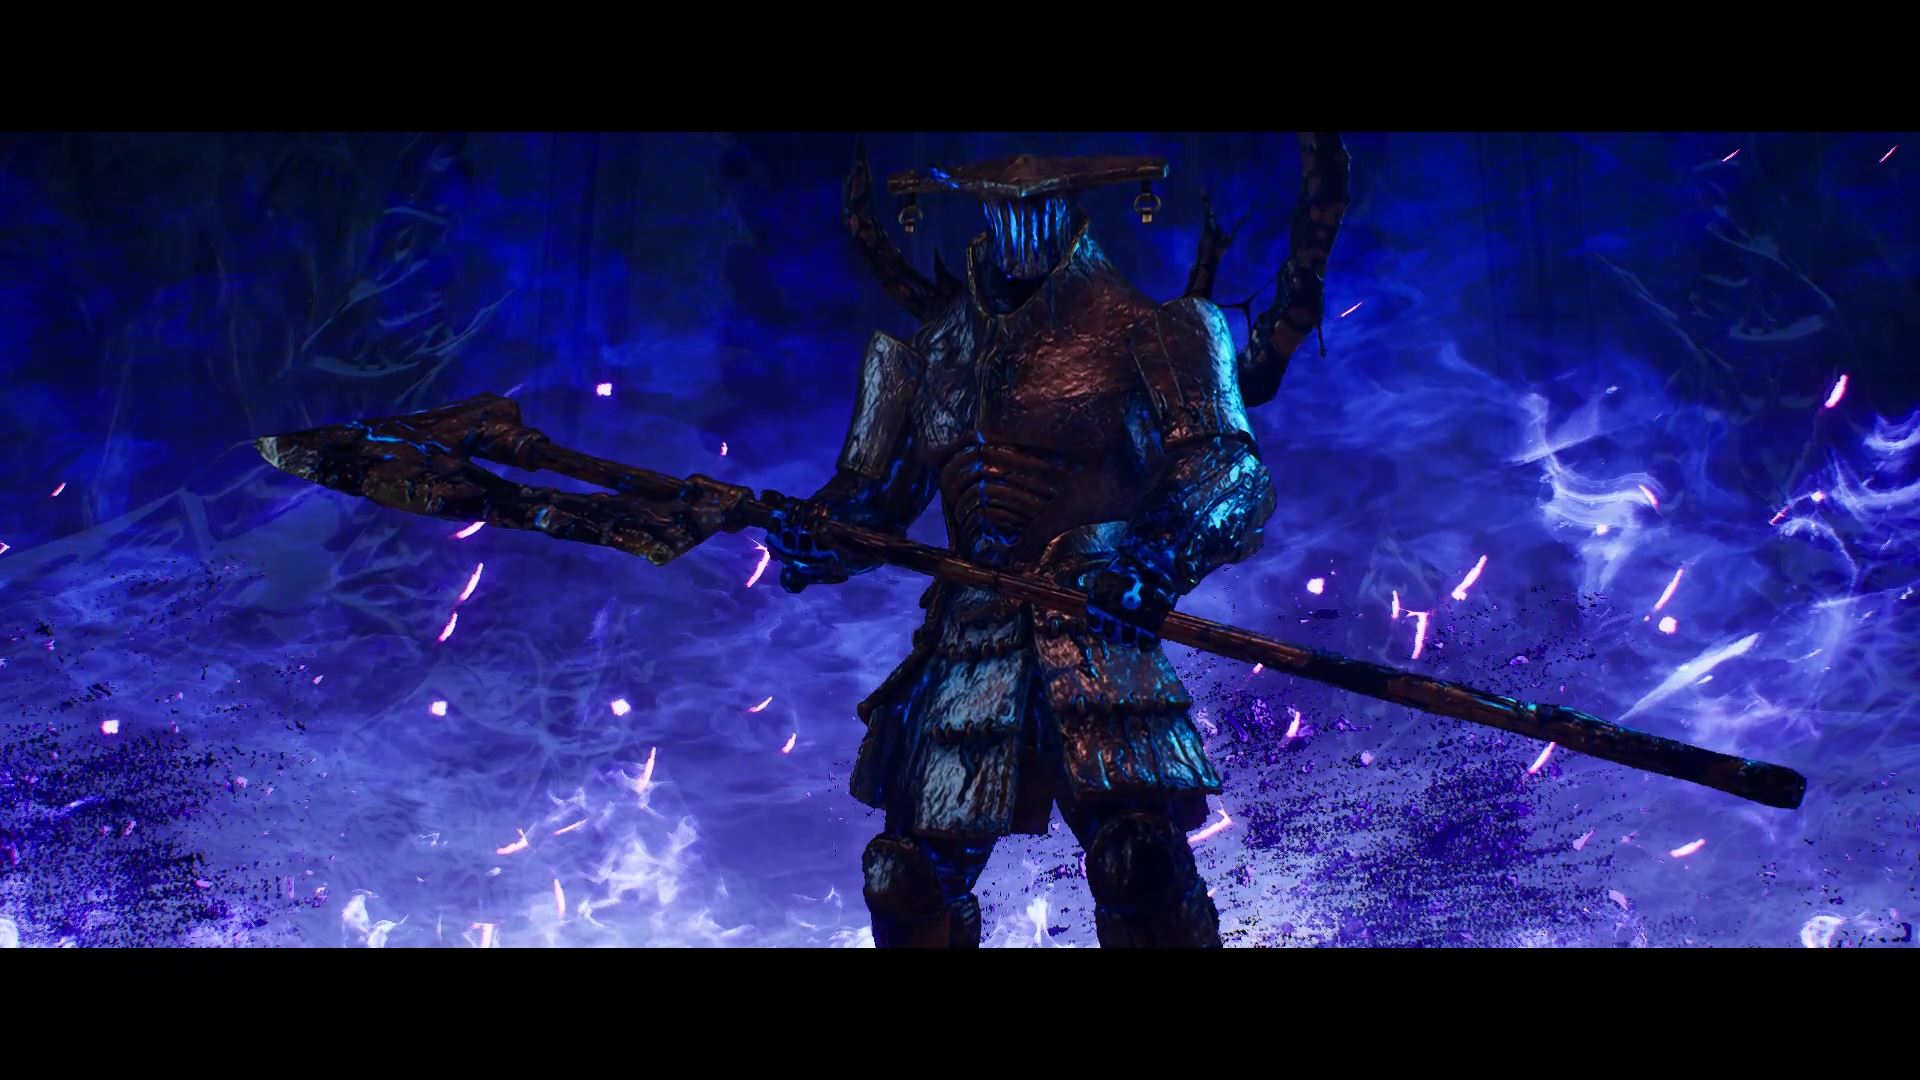
Altar of Okriel Boss Fight
The next boss encounter is against Okriel the Traitor and is more a fight against mobs than it is a fight against a boss.
How to Beat Okriel the Traitor in Trial of Tarya Gratar
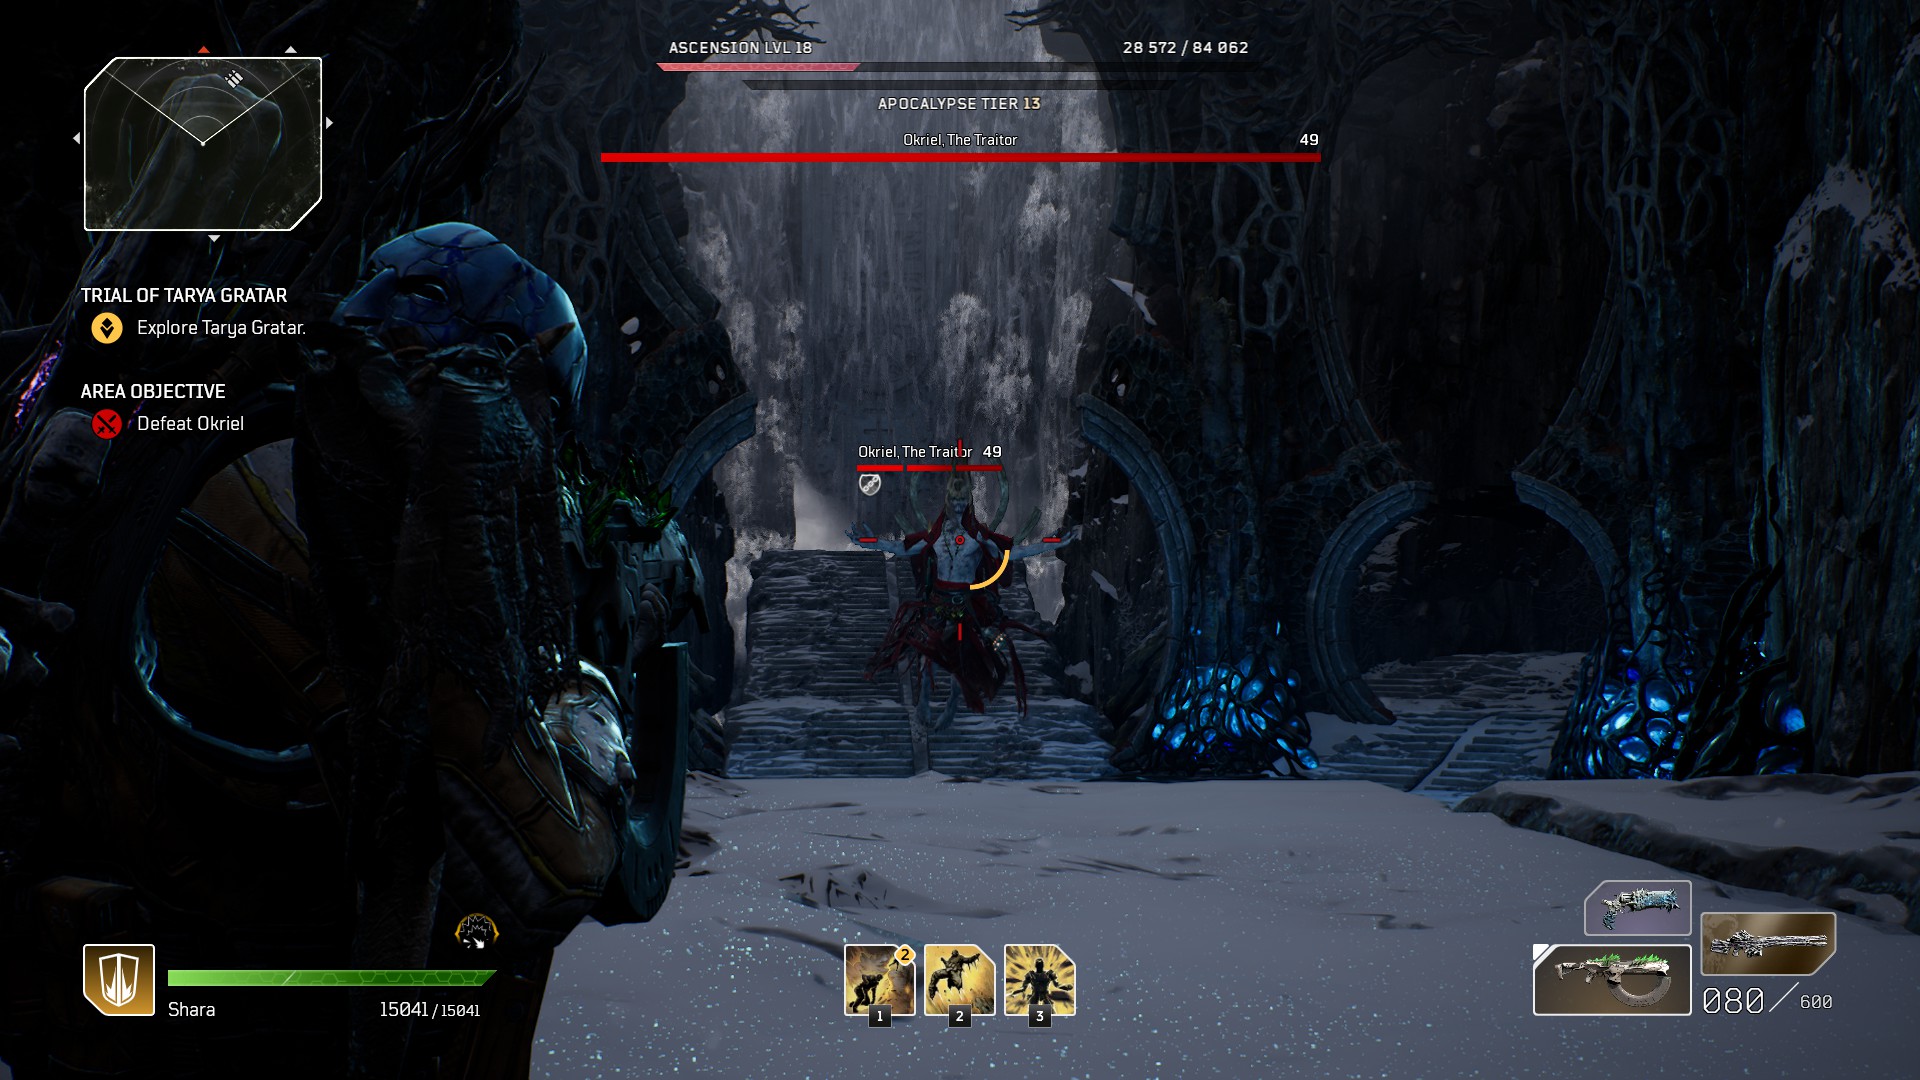
Okriel goes to the center of the arena when he initially appears and stays there the whole fight. Deal some damage to force him into immune, and immediately book it to one of the rooms at the edge of the arena.
Okriel will lob balls of Anomaly energy in groups of three that can down you if all three hit, so don’t get too close. There are two kinds: large and trio. The large ball will deal heavy damage and fills almost the entire obelisk room. The trio land where you’re standing, so you can somewhat control their area of effect.
One of the arena’s-edge rooms will have a glowing obelisk connected to Okriel by a beam of energy. Stand in the zone to lower the obelisk, and enemies will begin to spawn when you enter the zone. Orkiel will count down an Obliteration timer. Should you fail to kill him before this mechanic bar drains completely, you’ll take an ever-increasing damage-over-time effect until you wipe.
Once you’ve cleared one obelisk, Okriel will be vulnerable to damage, allowing you to drain about a third of his health before he goes immune again. When the immune phase resumes, clear two obelisk zones, deal damage, then clear another set. Complete the obelisk clearing cycle three times, and you should be able to do enough damage to defeat him.
Great Well’s Edge
Another Crossroads, this time with two exits. The left side leads into the Cliffside Path. The right side leads further down into the Hall of Sculptures.
Cliffside Path
Home to tons of winged, flightless beasts and mini-boss Shadowbeasts, this two-area encounter is best tackled near the entrance, where there’s more space to fight. Most of the little mobs in these rooms cause bleed, slowly draining health and armor. Beware of the little mobs not activating properly; if you see a bunch of red dots on the radar not doing anything, look up and shoot the enemy hanging there.

Shooting them should start the fight. Once you clear the first two rooms, five bosses will spawn and rush you.
The Hall of Sculptures
More blood beasts and a miniboss named Tribe Elder Vorka inhabit this Skirmish room. Vorka spawns after the first wave of trash mobs and is a tougher version of the raven-using enemies from earlier. Shadowbeast miniboss companions accompany him. Fight Vorka like you did the earlier raven enemies, but beware of the Shadowbeast line attacks, as there are enough creatures to fill your dodgeable area. Unless you have significant healing/armor regeneration, they can quickly down you.
Antecahmber
The final Crossroads before the last boss, the Antechamber has a crafting station in case you received any new gear.
The Father’s Sanctum
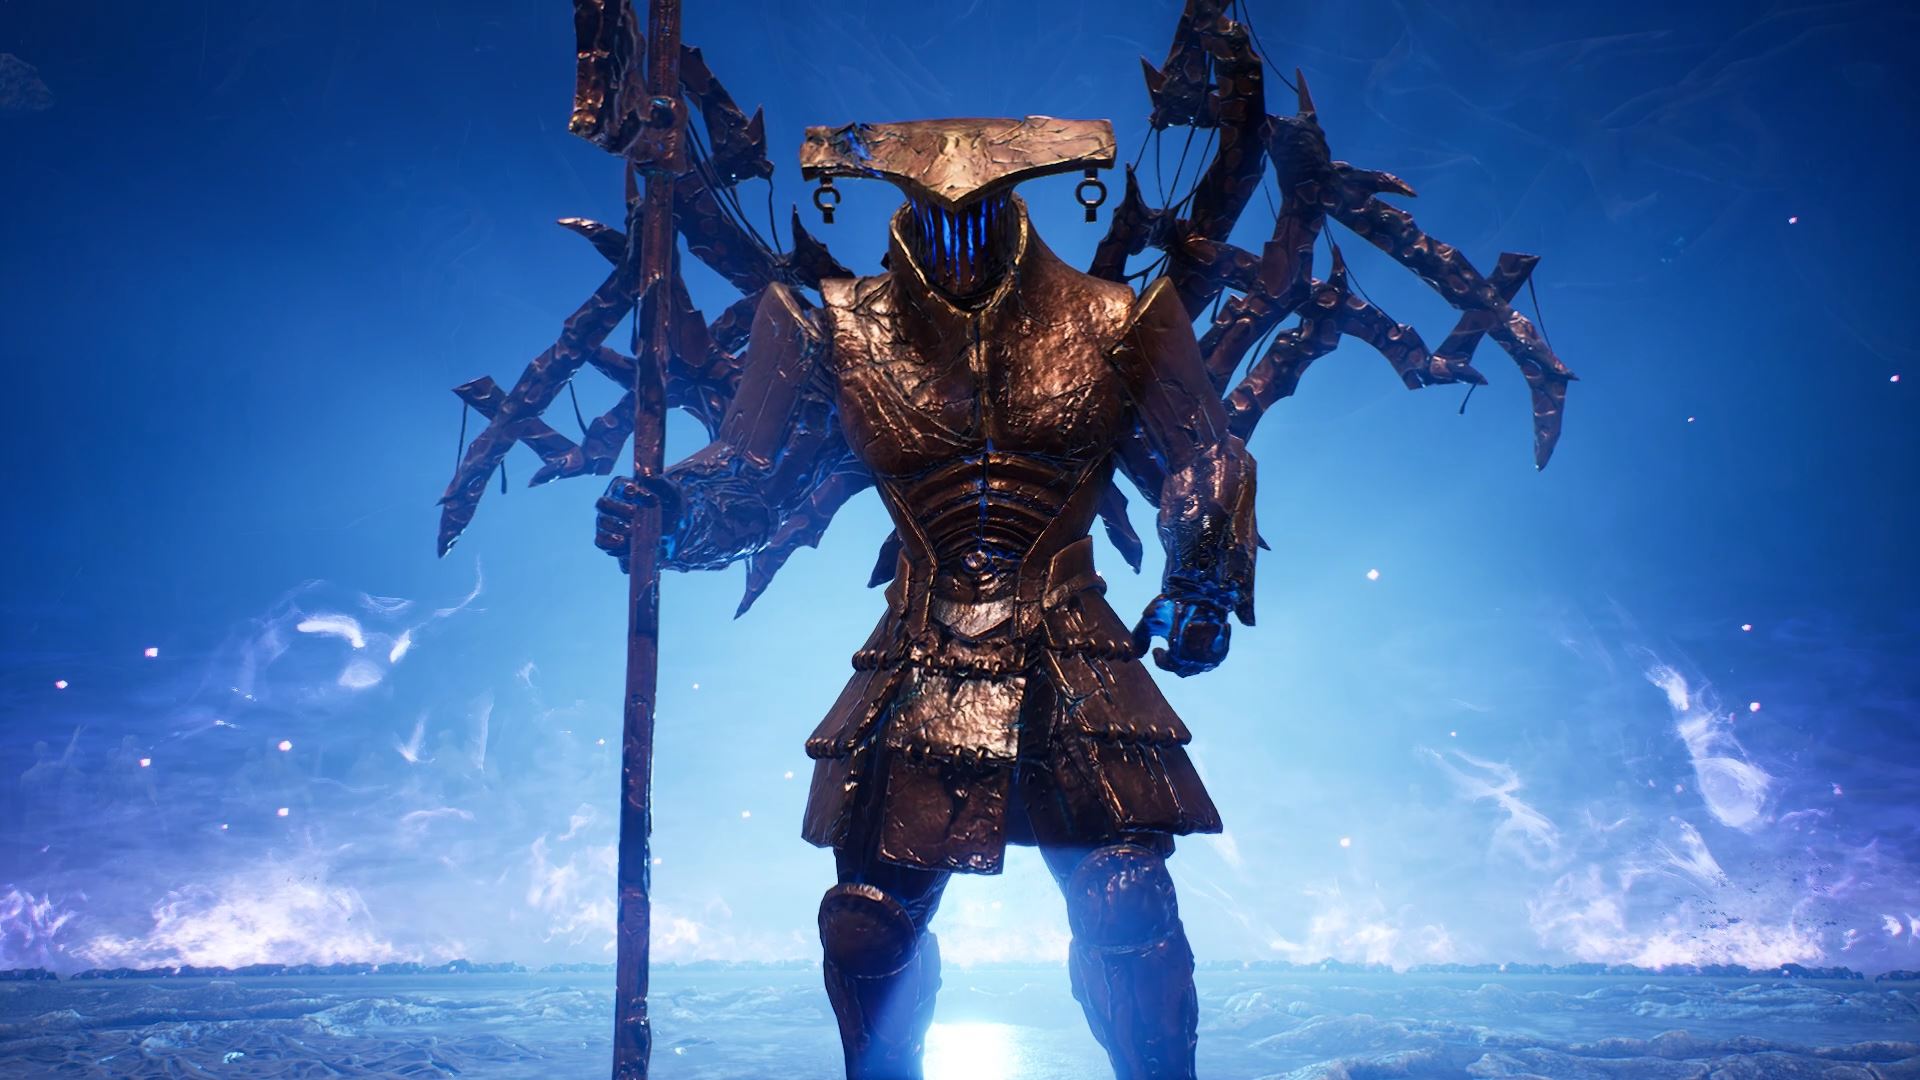
In the Father’s Sanctum, you’ll face another Arbiter, this time the Arbiter of Descent. It uses all of the attacks as the first Arbiter of the worthy, with one notable addition: it spawns new Tribute enemies in its likeness that move to crystalline objects at the edges of the arena. If they reach the objects, they’ll spawn Dark Hives, which fill the floor with lines of black ooze. These will do damage, slow, and stagger you if they hit you.
The Arbiter of Descent is also tankier than the Arbiter of the Worthy and is three levels above your current maximum. Don’t try to heal or ability through Dark Armaments and the Hive ooze. Unless you’re spec’d for damage resistance and survivability, you’re liable to be two or three-shot.
Those are all the encounter areas and bosses throughout your first run of Trials of Traya Gratar. There’s one secret area called the Catacombs that unlocks when you start a new run after finishing all the way through, and it adds a much harder mob room and a third Artiber: arbiter of Dusk. He’s much the same as the other two in the dungeon, with the addition of an attack that rains down boulders on you from every direction.


Published: Jul 10, 2022 11:46 pm