Completing all of the Hidden Missions in Kirby and the Forgotten Land can be a great way to see the most creative parts of each level while also collecting essential Waddle Dees. However, some Hidden Missions can be trickier to discover (or to achieve) than others, especially as you push on to the second half of the game.
Winter Horns is the fourth icy world of The Forgotten Land. Here is how to complete every Hidden Mission in Winter Horns.
Use the links below to jump to each level:
- Northeast Frost Street
- Metro on Ice
- Windy, Freezing Seas
- The Battle of Blizzard Bridge
- An Unexpected Beast King
All Hidden Missions in Winter Horns’ Northeast Frost Street

There are three Hidden Missions in the Northeast Frost Street level.
Northeast Frost Street Hidden Mission 1: Destroy 4 Animal Snow Sculptures
- The first snow sculpture is immediately after the level starts, on the right side near a pair of benches.
- The second doggy sculpture is found right before the star that takes you to the second part of the stage. It is popping out from behind a tree in the upper right-hand corner of the screen.
- In between the first and second set of see-saw buildings, you’ll be on a platform with stairs leading down. Follow the stairs and go around an unseen corner to find the third sculpture.
- The final sculpture is to the right of the third and final staircase you inhale in the last section of the level.
Northeast Frost Street Hidden Mission 2: Find the Side Alley
The alley in question comes after the first snow animal sculpture. To the left of a purple penguin atop a set of stairs are some ruins with a tree. To the left of the tree is a gap in the wall leading to a secret alley.
Aside from completing this Hidden Mission, a pile of 50 Star Coins and a sleeping Awoofy is the reward you’ll get for this discovery.
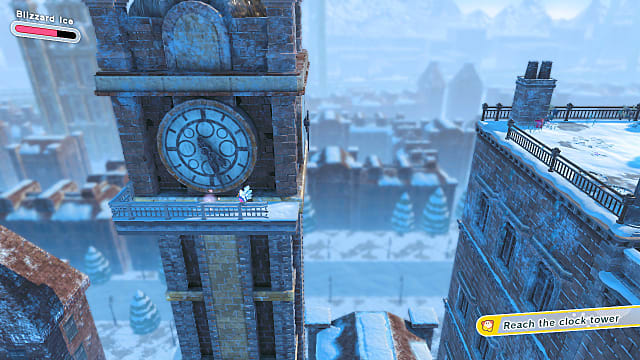
Northeast Frost Street Hidden Mission 3: Reach the Clocktower
When you’re approaching the end of the stage where the final three caged Waddle Dees await, you’ll see a clocktower in the background.
From this final platform jump and float to your left, and you’ll discover a secret path that leads up the tower.
All Hidden Missions in Winter Horns’ Metro on Ice
There are three Hidden Missions in the Metro on Ice stage of Winter Horns.
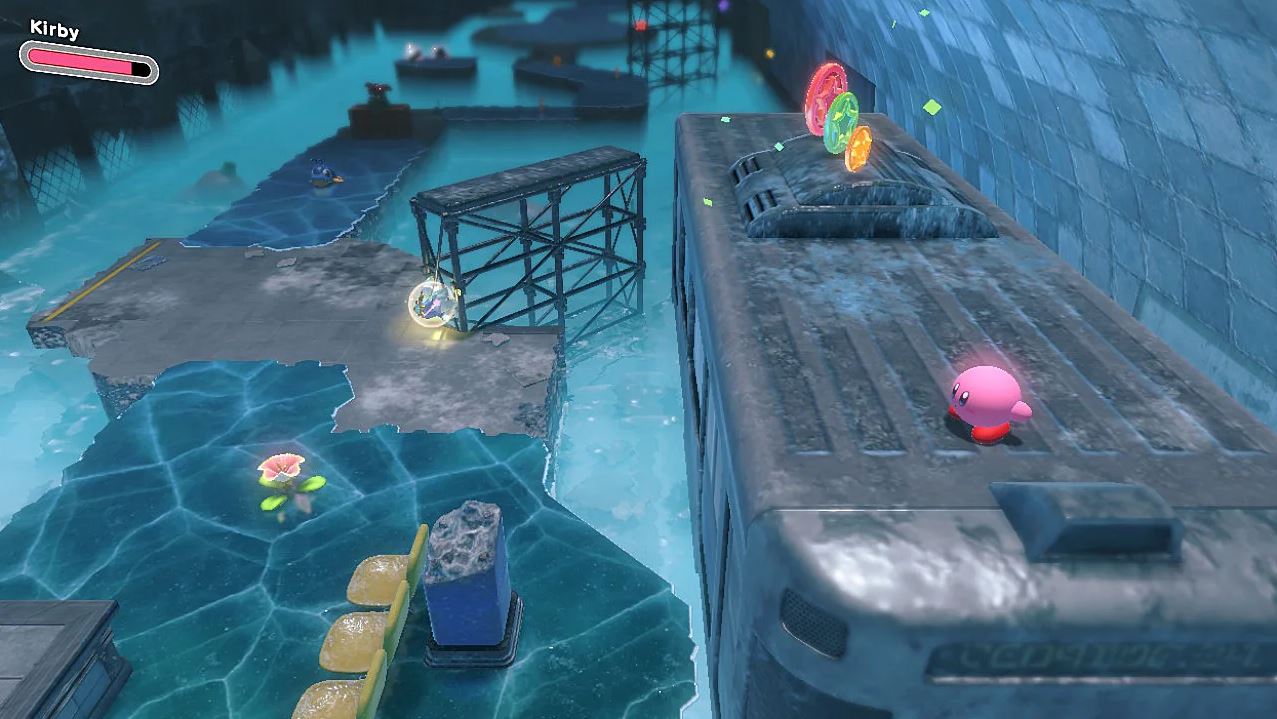
Metro on Ice Hidden Mission 1: Stand on Top of 2 Trains
Both of the trains for this Hidden Mission come super early in the level, so be sure not to miss your stops.
- The first train for the Hidden Mission will appear first on your right. Up ahead of some seats will be a broken column you can jump on in order to get enough height to reach the top of the train car.
- The second train is right after the arena fight in this part of the level. Look for a platform on the left-hand side to jump to. Once you do you’ll see a path up to the top of a new train that was previously concealed.
Metro on Ice Hidden Mission 2: Find 2 Secret Passages
- To spot the first passage, look for a row of yellow seats near a Bouncy and Mookie monkey enemy. Whack all three near Star Nails using the Hammer to reveal a hidden escalator that will take you down the first passage.
- The second passage for this Hidden Mission comes shortly after. On the same screen actually, but in the bottom right corner. Here you’ll find a barricade in front of a passageway that leads off-screen.
Metro on Ice Hidden Mission 3: Check Inside the Shipping Container
From the location of the final Hidden Waddle Dee in the level, simply cross the narrow walkway to your right to find stairs up a short stack of boxes. Destroy them to find the shipping container for this Hidden Mission.
All Hidden Missions in Winter Horns’ Windy, Freezing Seas
There are three Hidden Missions in Windy, Freezing Seas.
Windy, Freezing Seas Hidden Mission 1: Find a Cave Safe from the Wind
You’ll need the Spike ability to get this Hidden Mission completed.
After you get the first Hidden Waddle Dee of the stage, look left for a thin walkway above the water. The wind is blowing extra hard here, but you can deploy your spikes to get traction and make it into the doorway that is hidden at the end without getting blown away. The cave is just beyond this passage holding some goodies.
Windy, Freezing Seas Hidden Mission 2: Enjoy 3 Meals at Sea
All three of these food items can be found in the area where you use Ring Mouth Kirby to steer the boat.
- The first is just to the left of the dock where you find the boat, right before a cracked ice walkway you must bust open.
- The second is behind a formidable Balloon-Meister in the upper right section of this area.
- You’ll need to lower a spike wall in the water to enjoy the final meal. Depart on the landmass near the Balloon-Meister and blast some air into the yellow fan. This lowers the wall that lets you access the area where the third meal is floating before you.
Windy, Freezing Seas Hidden Mission 3: Jump Into the Secret Underground Room
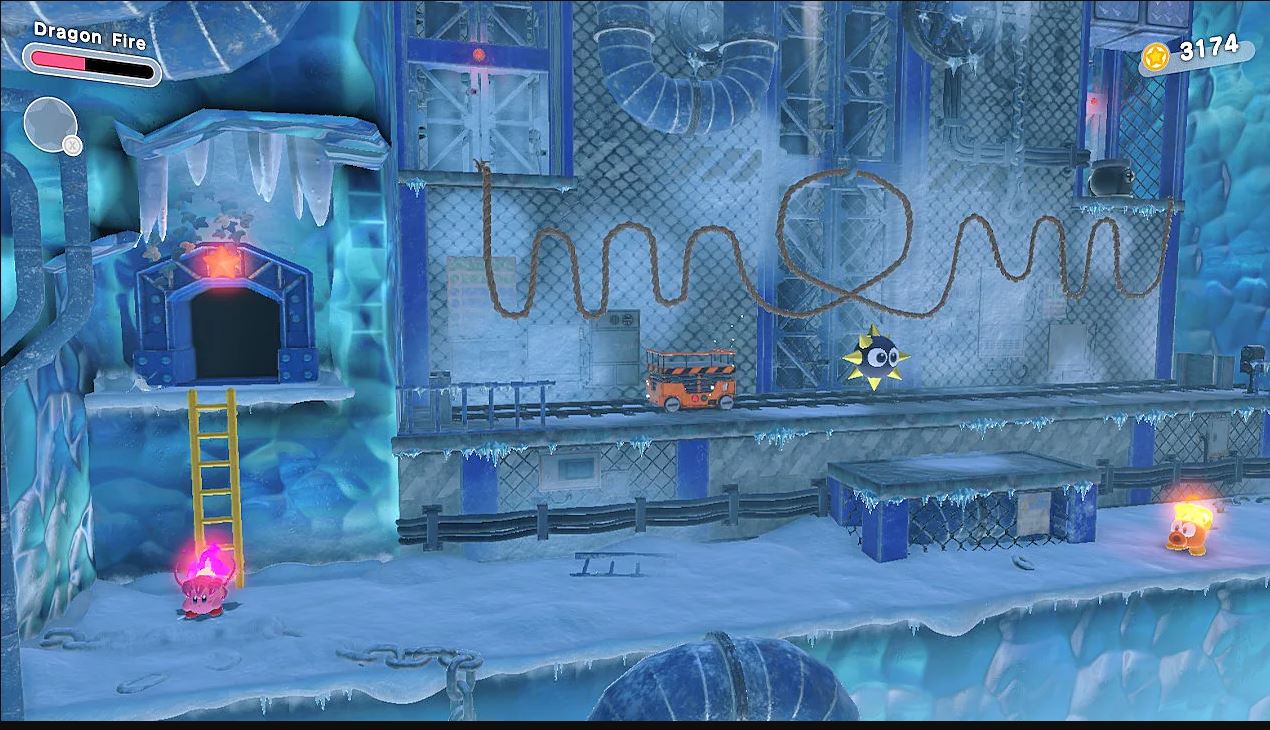
In the section with the canons and hurricane winds, you’ll need the Fire copy ability on hand. Near the end of this section, you’ll encounter a Big Kabu. By lighting the lantern before it to spawn a coin path, or just by exploration, you’ll find a downward path to a secret underground room.
There’s a puzzle down there, but for this Hidden Mission, that’s as far as you need to go.
All Hidden Missions in Winter Horns’ The Battle of Blizzard Bridge
There are three Hidden Missions in The Battle of Blizzard Bridge.
Each section of this level has a boss encounter followed by a secret area you can only access using the weapon the boss dropped. This contains a Hidden Waddle Dee and usually a wanted poster.
Battle of Blizzard Bride Hidden Mission 1: Remove 4 Wanted Posters
- The first is to the left of where you find Waddle Dee 1 in the Sword Secret room.
- The second poster is above the exit of the Tornado Secret room, but you’ll not be able to climb up there until after solving the puzzle in the room. After doing so, a set of stairs leading to the poster will appear.
- In the Hammer Secret room, it is near the entrance on the right side, near the hammer tossing monkey.
- The final wanted poster is in the Ice Secret room. Use the Pipe Mouthful to smash through the stage. When you exit glide up to where you can now see the poster above and exhale to remove it.
Battle of Blizzard Bride Hidden Mission 2: Beat Twin Wild Frosty without Getting Hit
Near the end of the level, you’ll have to fight two Frosty mini-boss enemies at once. It’s not an easy fight by Kirby and the Forgotten Lands standards and doing it without getting hit is no easy feat.
We recommend using the Homing Bomb or Volcano Fire, the latter especially has great distance and the fire does damage over time to the Twin Wild Frosties.
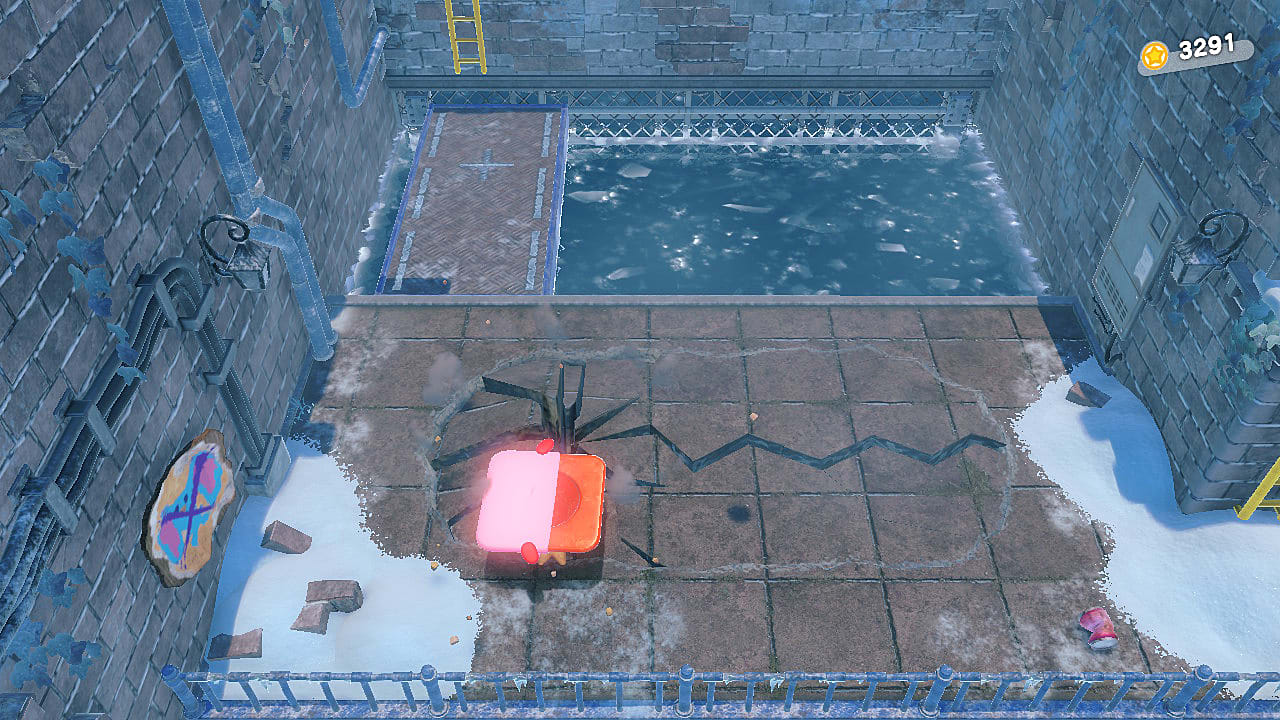
Battle of Blizzard Bride Hidden Mission 3: Take a detour and Find a Maxim Tomato
At the very start of the stage, look for a regular-looking pile of rubble on the left side of the bridge. Poking around will lead you to a passage that takes you to a small alcove holding a Maxim Tomato for this Hidden Mission.
All Hidden Missions in Winter Horns’ An Unexpected Beast King
There are four Hidden Missions in this boss level of Winter Horns. This face-off against King Dedede is where you’ll be able to complete each one of these objectives.
- Swallow King Dedede’s Hammer
- Clear Without Guarding
- Clear Within 1:30
- Clear Without Taking Damage
After the first phase of the fight, roughly half of Dedede’s health bar, the King will drop his hammer. Use this opportunity to quickly eject the ability you are using and swallow his hammer to get this first mission checked off.
Using the guard button on the right bumper (R1) is a great way to mitigate the damage you take. It also enables you to dash and dodge. In order to complete the second Hidden Mission in this boss fight, you aren’t able to use this helpful technique at all.
This is not an easy fight to do quickly or without taking damage. We recommend coming back when you have the most powerful versions of your Copy Abilities, especially Bombs, Fire, and Ranger.
That’s how you find and complete the Hidden Missions in Winter Horns. If you need to find the Hidden Missions in other worlds like Wondaria Remains, look no further than our Kirby and the Forgotten Land guides.


Published: Apr 6, 2022 05:35 pm