
As the Khvarena’s Light Shows is a quest in Genshin Impact. In it, you’ll enter an ancient ruin to power up the facility from within. Be prepared to spend at least a couple of hours here — this one can be a doozy. There are plenty of puzzles to solve and Great Songs to acquire. This walkthrough provides you the solutions for each puzzle in the quest.
How to Complete As the Khvarena’s Light Shows Puzzles in Genshin Impact
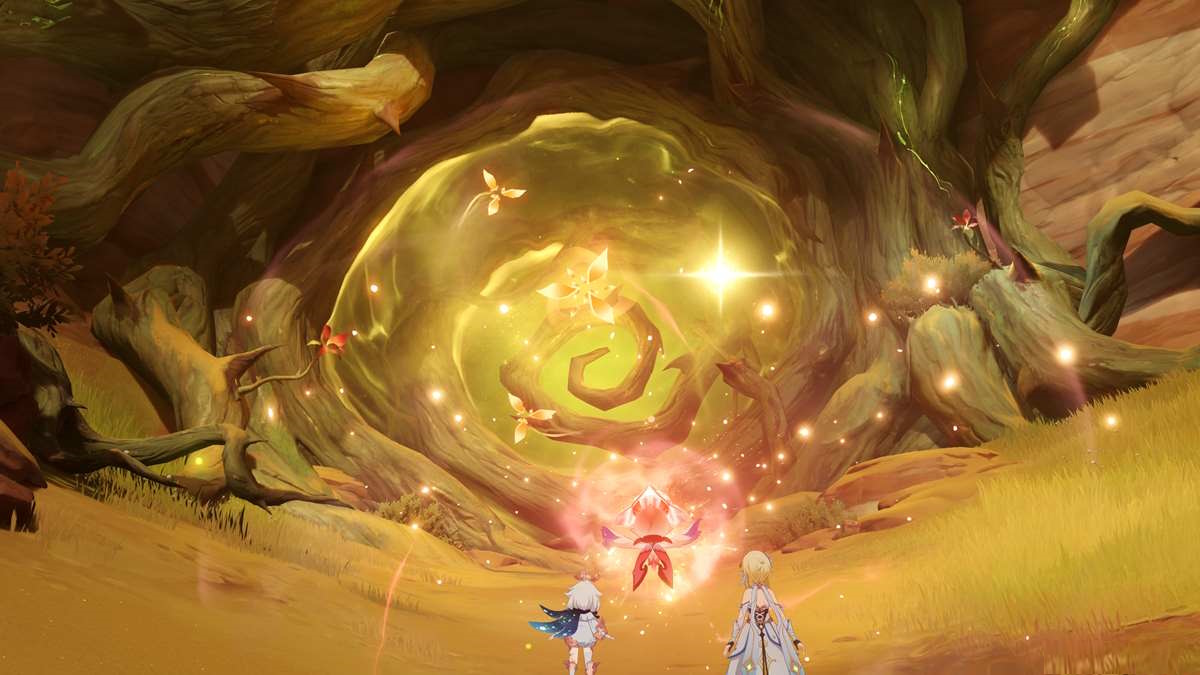
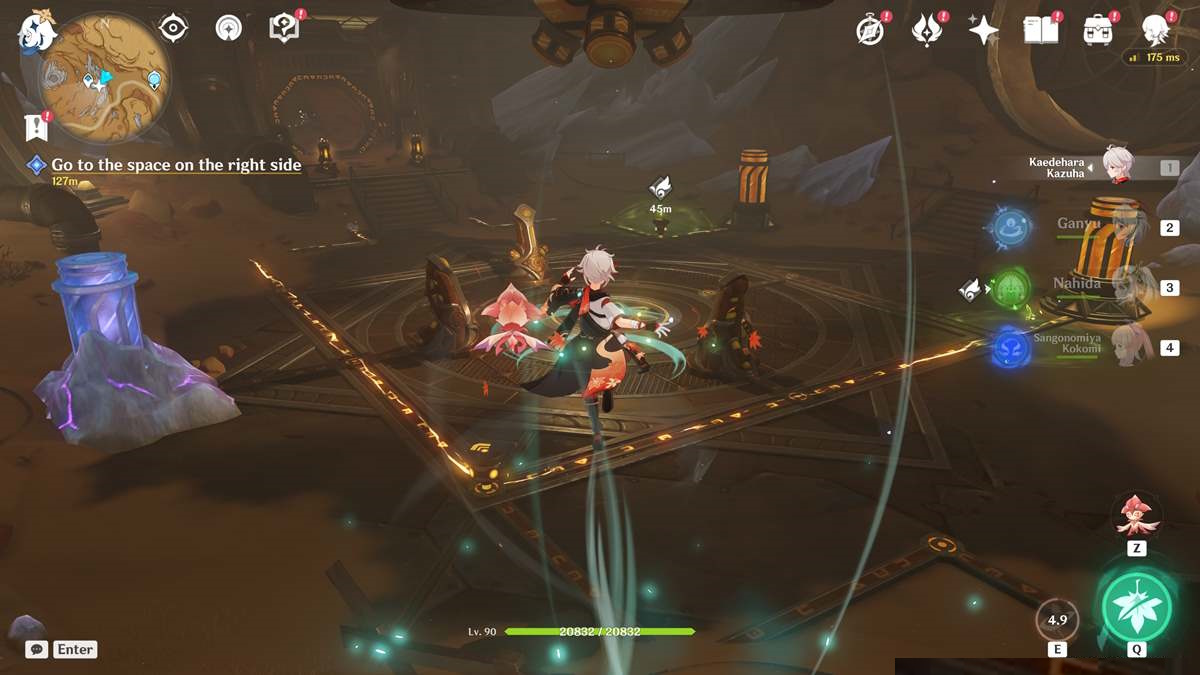
As the Khvarena’s Light Shows becomes available once you’re done with Asipattravana Itihasa and Awakening’s Real Sound. Your main task is to find the Great Songs of Khvarena.
You can get the first Great Song after talking to Zurvan and heading to the marked location. From there, additional objectives will appear in your quest log, so make sure you track them, too.
 Screenshot by GameSkinny
Samudaya and Dukkha Puzzle
These two Great Songs of Khvarena are easy enough to obtain. Track their respective quests and go to the locations (the same places you visited as part of the Kory Drums Trials).
You’ll notice that Sorush now has a new power, allowing her to remove the Amrita Seals (golden barriers). Switch to Sorush, and use the interact button so your character can pass. Then, interact with the Great Song to receive it.
 Screenshot by GameSkinny
Nirodha Puzzle — The Energy Block
Next up, you’ll need to complete the Nirodha objective and puzzle. Head to the marked location, and the NPC researcher will reveal a way to the ruins.
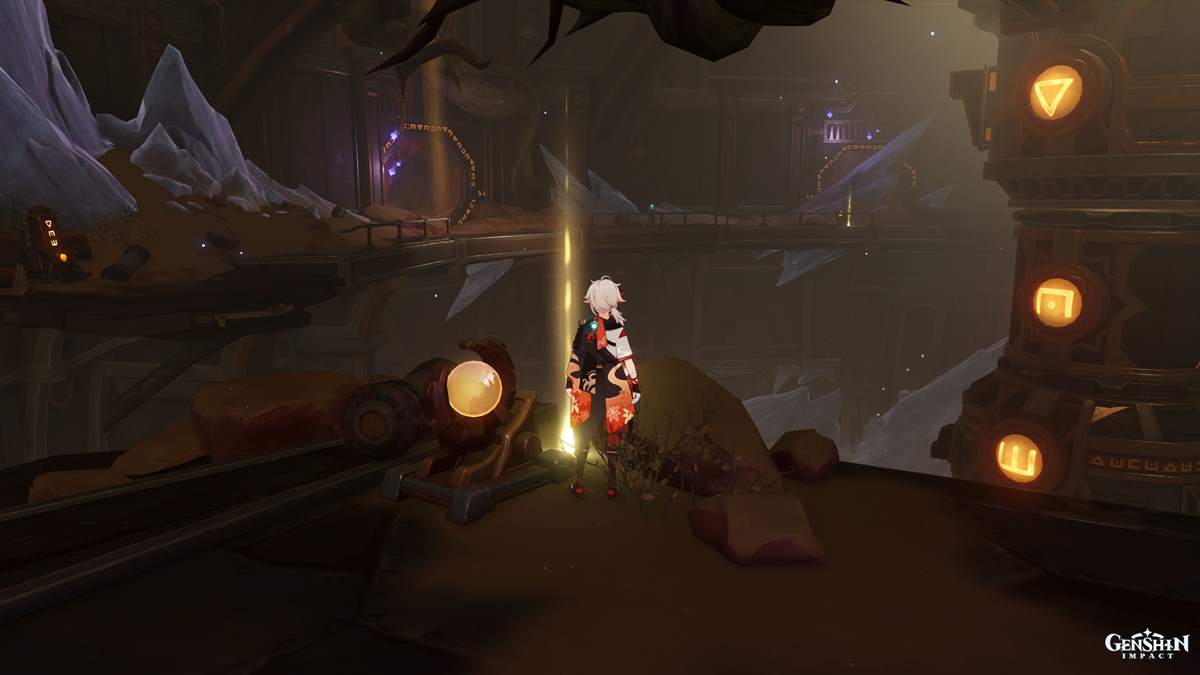
To open the door, rotate the totem symbols until they follow the correct sequence from top to bottom: W -> Square -> Triangle.
 Screenshot by GameSkinny
Inside, you’re told that there’s no power yet, so you have to find the Energy Block. Check the side passageway down the corridor, which leads to the next chamber.
The door here can be unlocked via this sequence: Square -> W -> Square.
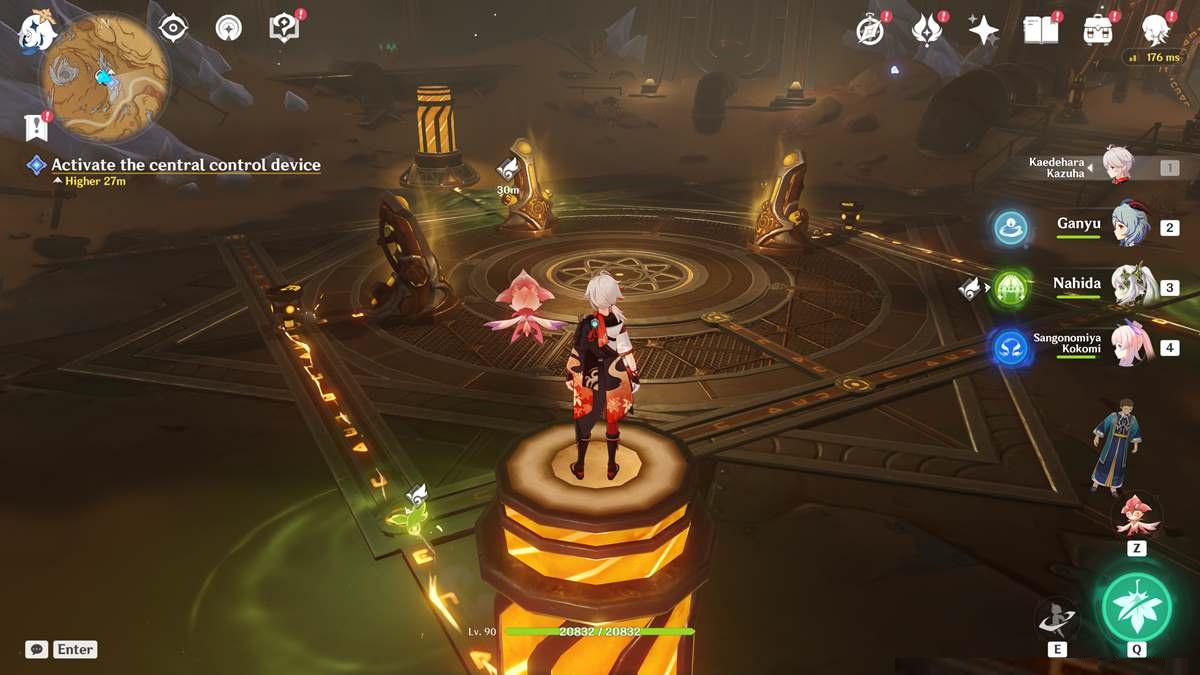
As you make your way to the central control room, you’ll notice a large room with a bunch of circuits. Ignore this for now and just place the Energy Block inside the device. You’ll see that electricity is coursing through the circuits on the ground. Now, you can return to the previous area.
 Screenshot by GameSkinny
Nirodha Puzzle — Connect the Circuits
Here’s how to solve this involved puzzle:
- Some of the devices are encased in crystals, and you’ll need to bring Farrwicks to remove the effect. Grab a Farrwick, then place it in the middle of at least two devices.
- The first green snitch is in the large room itself. The other is at the top. You can get there by climbing the ladder and following the seelie.
- With two Farrwicks, you can remove the crystals from all four devices by placing them in the middle of at least several devices.
- Then rotate the valves. The arrows denote where the electricity will course through the circuits.
 Screenshot by GameSkinny
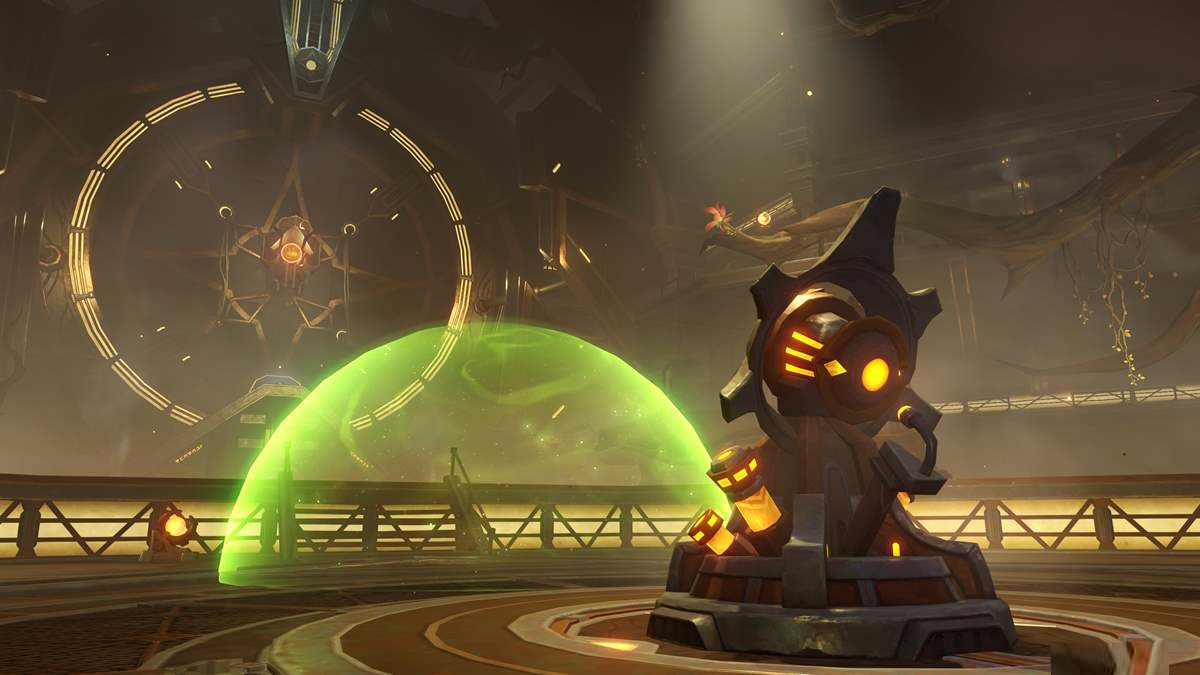
The Ruin Cannon Puzzle
Once connected the circuits in this portion of As the Khvarena’s Light Shows, it’s time to go to the Proving Grounds. There, you can interact with the Ruin Cannon, which will require some time to fully charge.
While it’s charging, you’ll be shot by turrets on the walls. You can hide inside the force fields that Sorush creates to negate damage.
Once the defense turrets are down, interact with the Ruin Cannon, and shoot the target in the center. After a few hits, it’ll spawn a shield matrix. Shoot the three small pips at the edge to destroy it.
Do this when it moves to another spot on the wall, and you’ll be done with this puzzle. In the next hallway, you’ll find a Luxurious Chest waiting for you, as well as a Great Song of Khvarena.
 Screenshot by GameSkinny
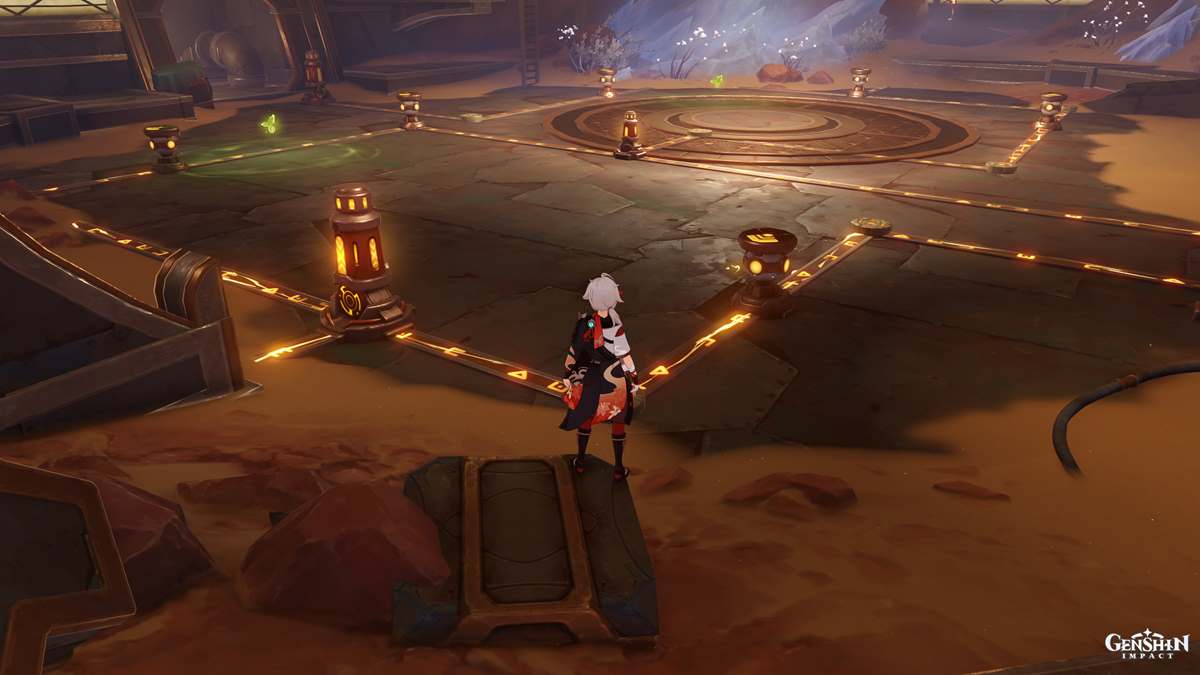
Generators and Farrwicks Puzzle — Connect the Circuits (Again)
You’re far from finished with puzzles in As the Khvarena’s Light Shows. This time around, you’ll have to visit another location, where you’ll find three generators encased in crystal. Again, there’s not enough power.
First Generator and Farrwick
Begin this puzzle by placing the first Farrwick next to the generator that’s closest to the marked door. Then, move the mixer to the opposite side and rotate the arrow so the power courses to the door.
 Screenshot by GameSkinny
Second Generator and Farrwick
Head down the corridor and take out the enemy mobs. This leads you to a partially submerged area where you can pick up the second Farrwick. Here’s what you need to do:
- Place this Farrwick near the generator closest to the second marked door.
- Rotate the first mixer’s arrow so it faces the opposite direction (toward the next door).
- Move the second mixer to the right side, then have the arrow point toward the next door.
 Screenshot by GameSkinny
Third Generator and Farrwick
Check the newly unlocked section and follow the seelie as it leads you through the furnace. Do the following once you’ve returned to the central area:
- Place the third Farrwick near the last generator.
- Move the two mixers to the center of their respective rows.
- Rotate their arrows so they point directly at the devices in the middle.
 Screenshot by GameSkinny
Elevator Puzzle and Encounters
Now, you need to power up the elevator. Use Anemo on the totem and ride the wind current to the walkway. You should be able to interact with the rotating symbol puzzles here:
- One requires: Triangle -> Desk -> W.
- The other requires: Triangle -> Stairs -> W.
 Screenshot by GameSkinny
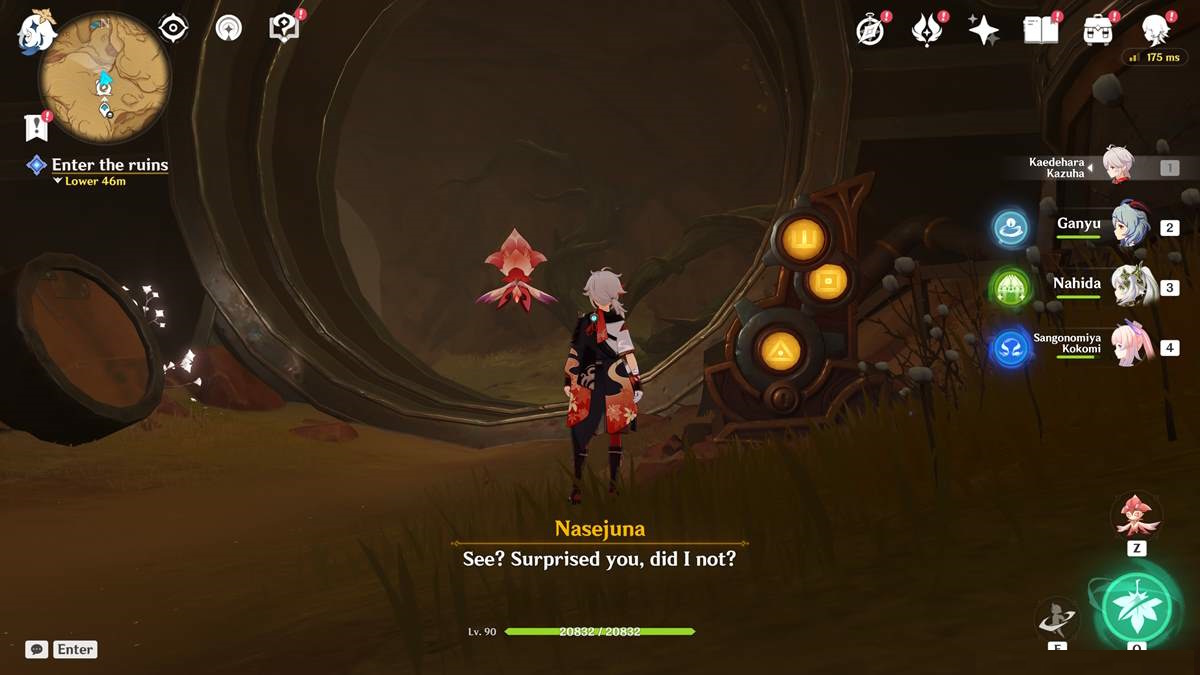
You may now ride the elevator as it goes down. On each floor, you’ll battle enemies, including Ruin Sentinels, Ruin Guards, and Ruin Graders.
After defeating your opponents, your researcher pal, Nasejuna, is revealed to be in cahoots with the Abyss Order. You’ll have to take him out, as well as a Hydro Abyss Lector. At the bottom of this shaft, you’ll find the last Great Song of Khvarena.
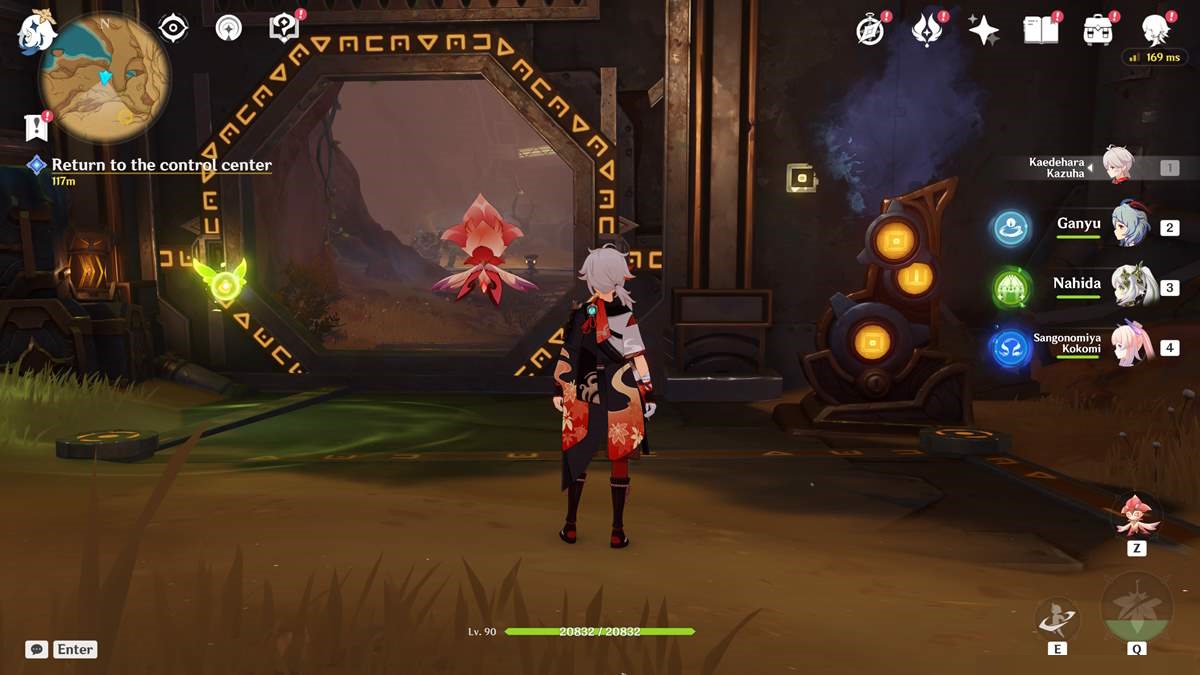
After you’re done with all of these steps, you’ll finally complete the As the Khvarena’s Light Shows quest in Genshin Impact. All that’s left is the conclusion when you tackle the Hymn of Tir Yazad objectives.
Featured image by GameSkinny.


Published: Apr 12, 2023 07:55 am