
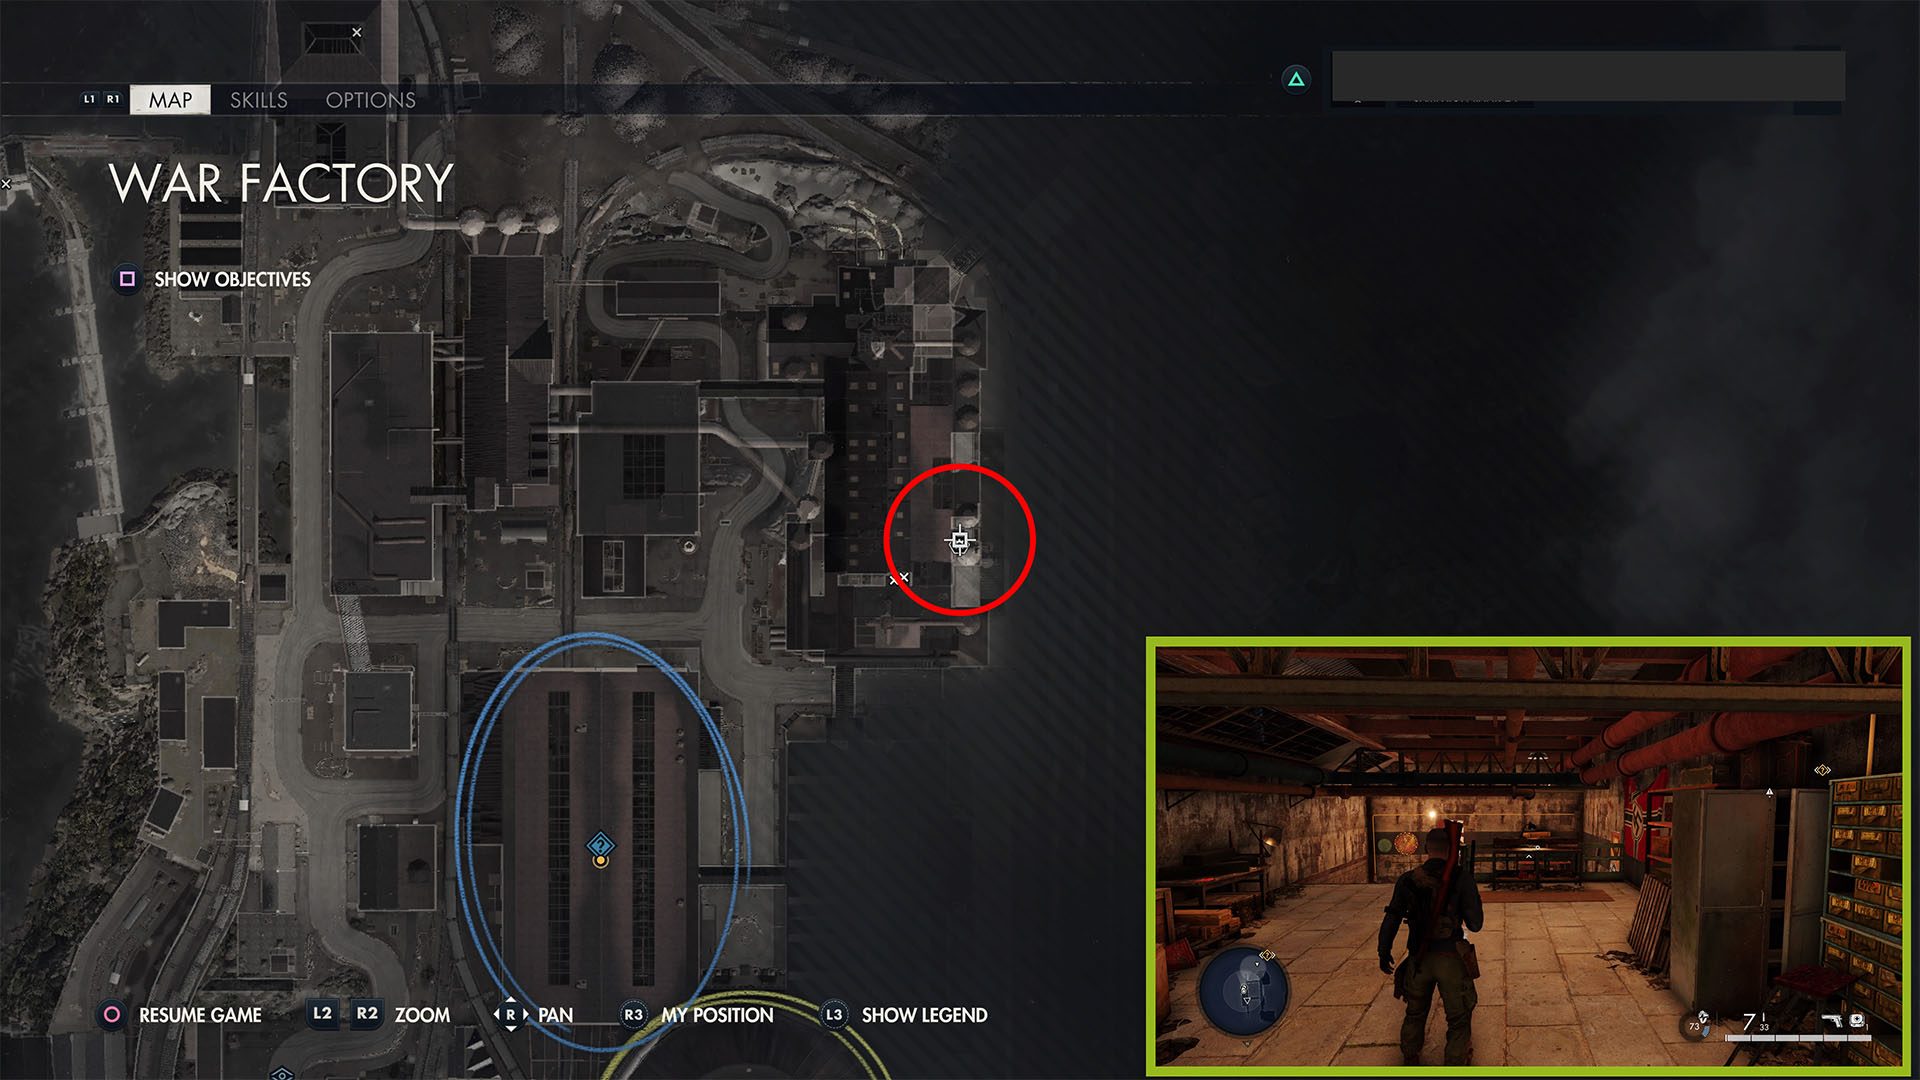
Thankfully, War Factory is a bit easier to navigate than the Spy Academy and returns to a less chaotic level structure for Sniper Elite 5. As with all of the previous maps, there are 19 collectibles to find in Mission 4, including stone eagles, letters, documents, hidden items, and workbenches. There are two additional starting locations to find, as well.
For this guide, we’ll be going clockwise instead of counterclockwise as we have for Mission 2 and Mission 3. The map is designed slightly differently, and the initial starting location, the Resistance Safehouse, is in the northwestern portion of the map instead of the south in the previous three missions.
War Factory Collectibles and Starting Locations

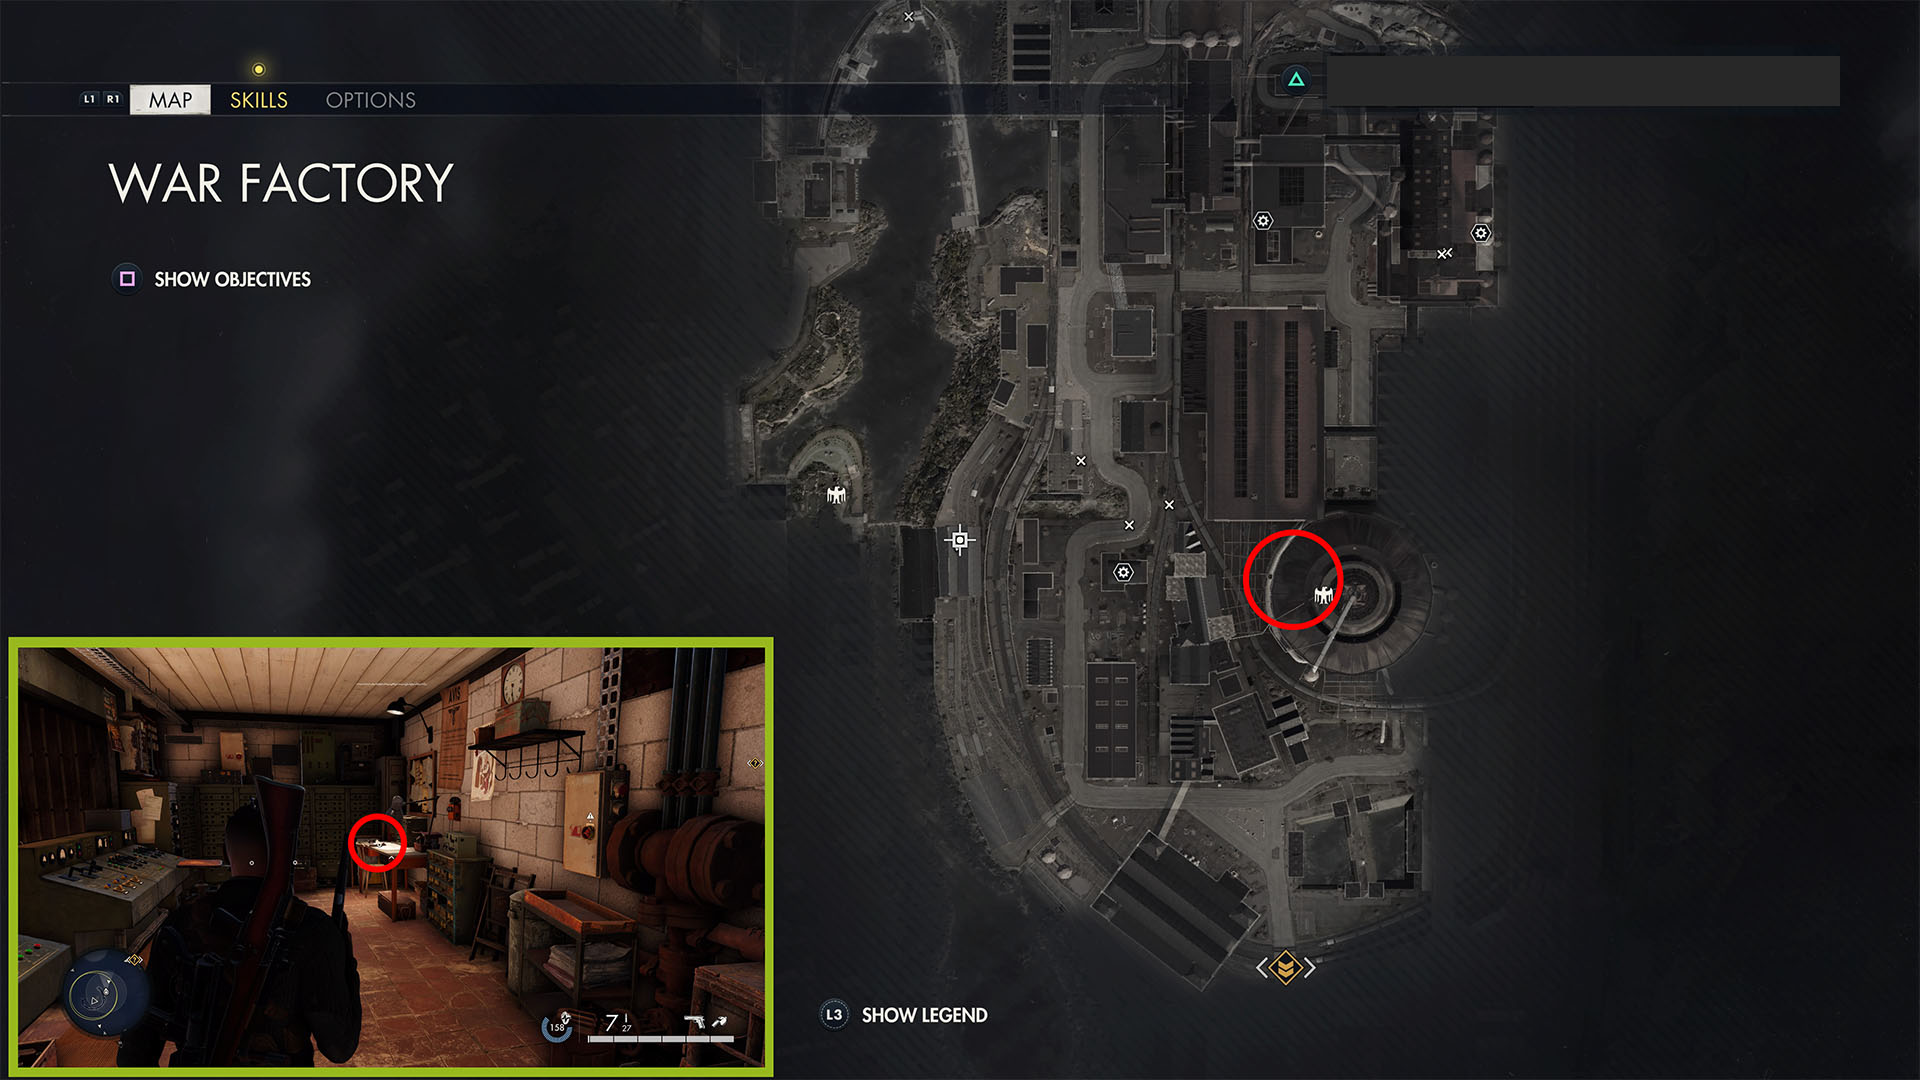
Klaus! You Idiot! (Personal Letter 1)
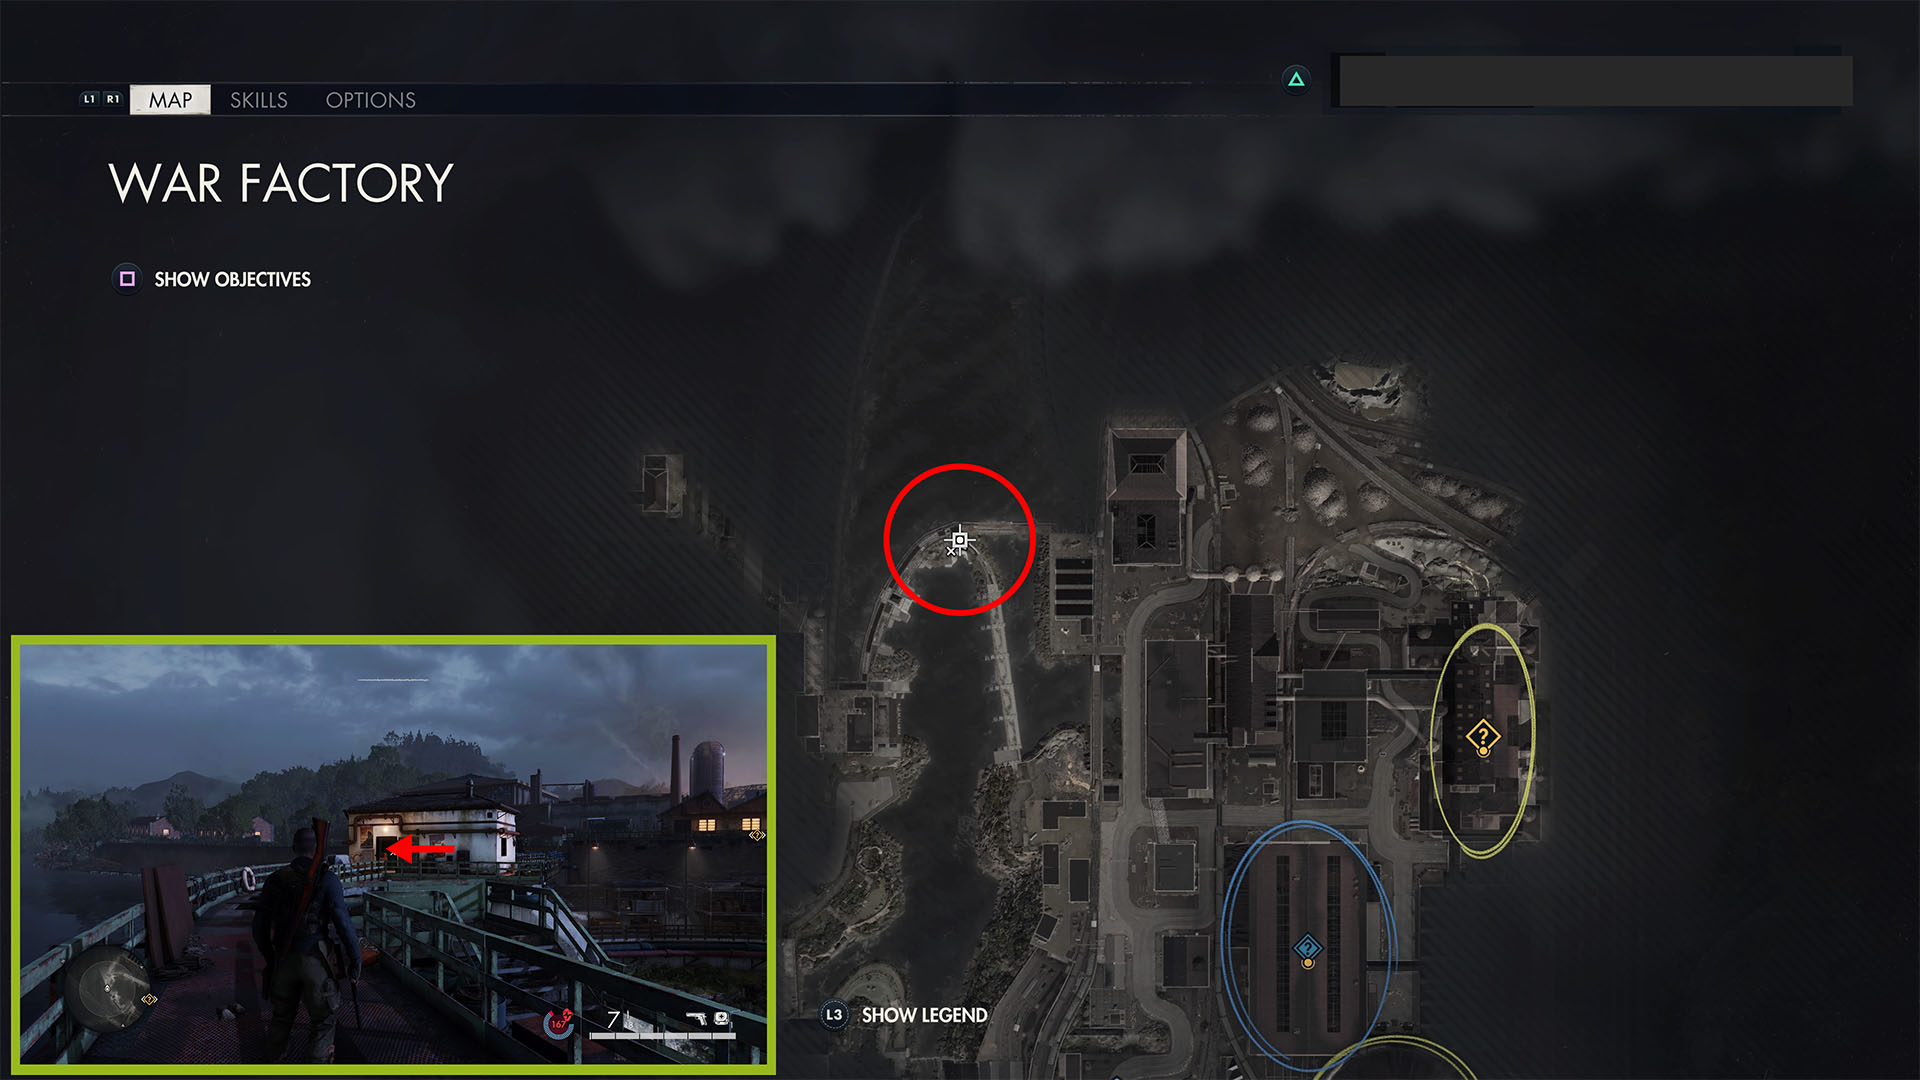
Zipline down from the Resistance Safehouse, then go left across the top of the dam. Go inside the second building, then into the first room on the right. Find this personal letter on the desk on the left side of the room.
The Suspense (Personal Letter 2)

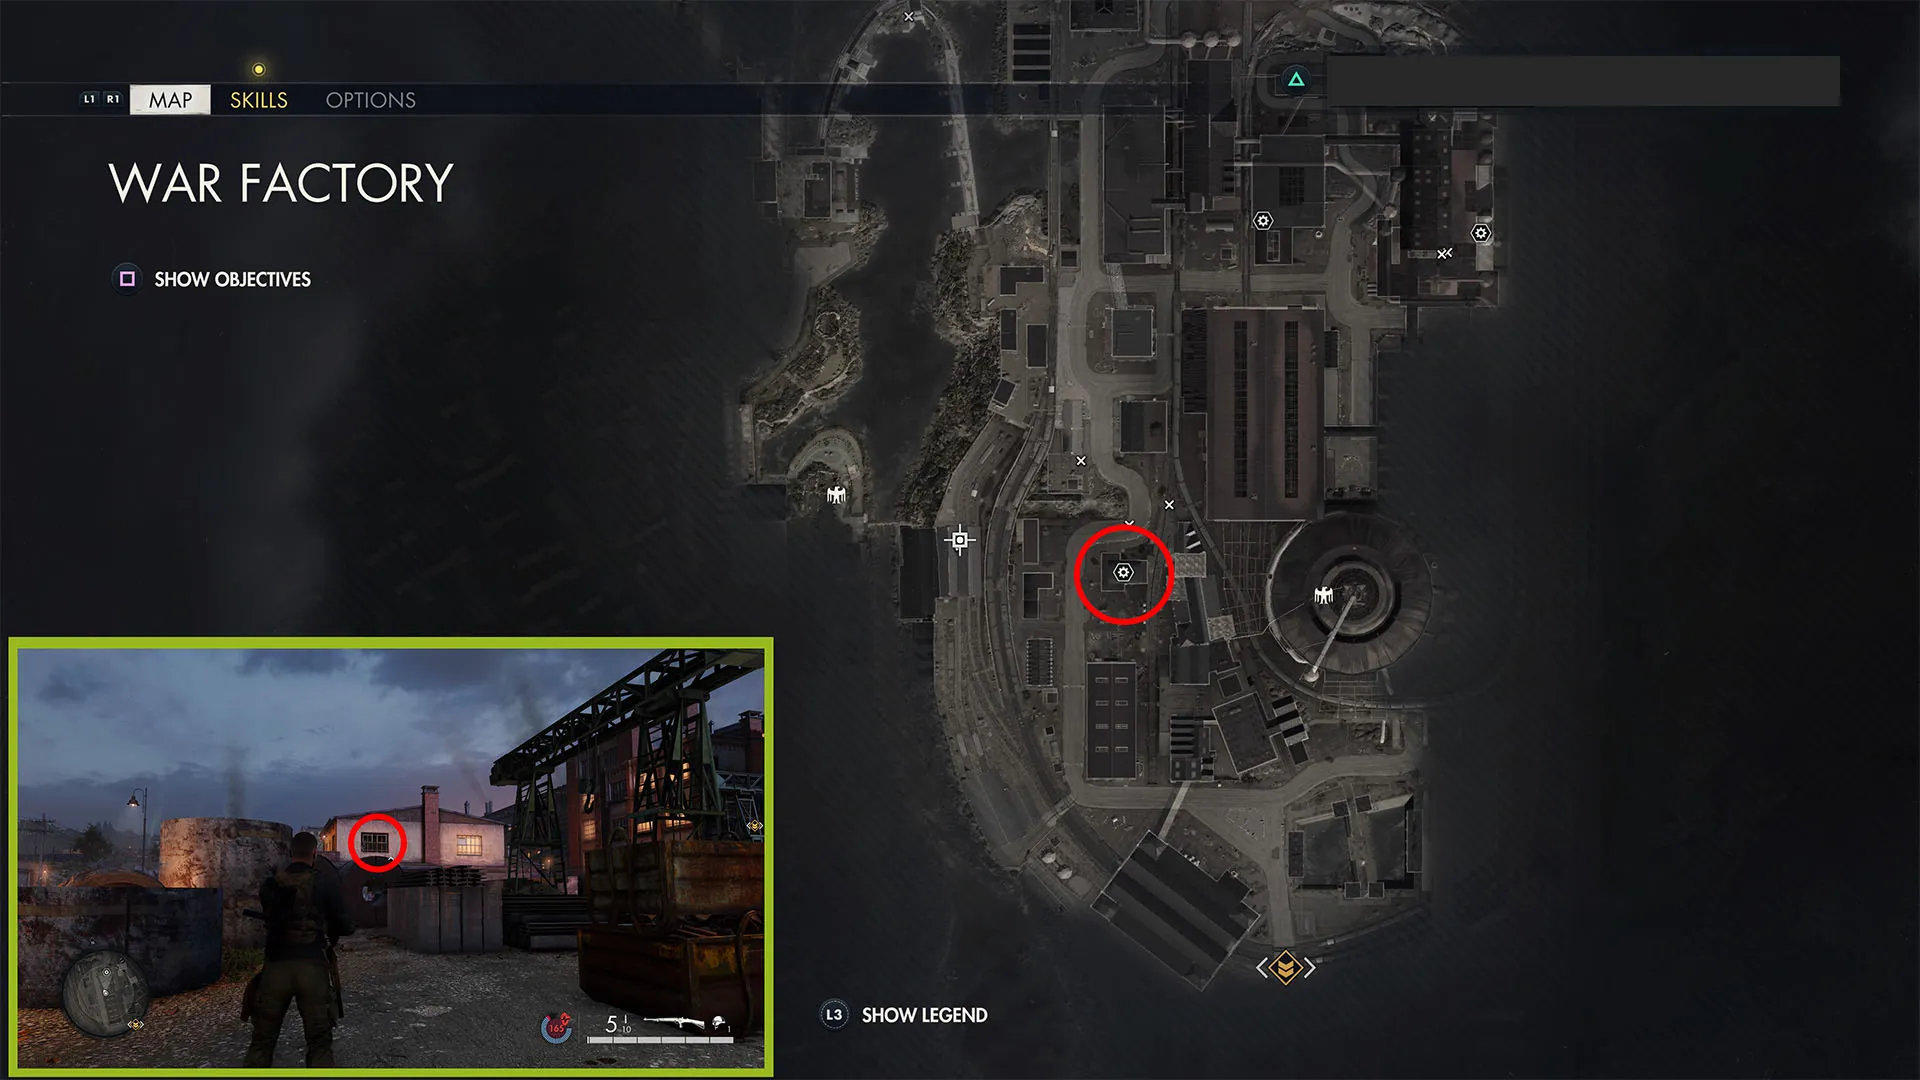
Exit that building and continue along the top of the dam. Go up a set of stairs, then past the small train in the next area. The building just on the other side of the tracks is the pump/generator building. Go inside, then across the top floor into the pump control room on the northern side. This letter is in the back left corner of the room on a radio by a desk.
No More Games (Classified Document 1)
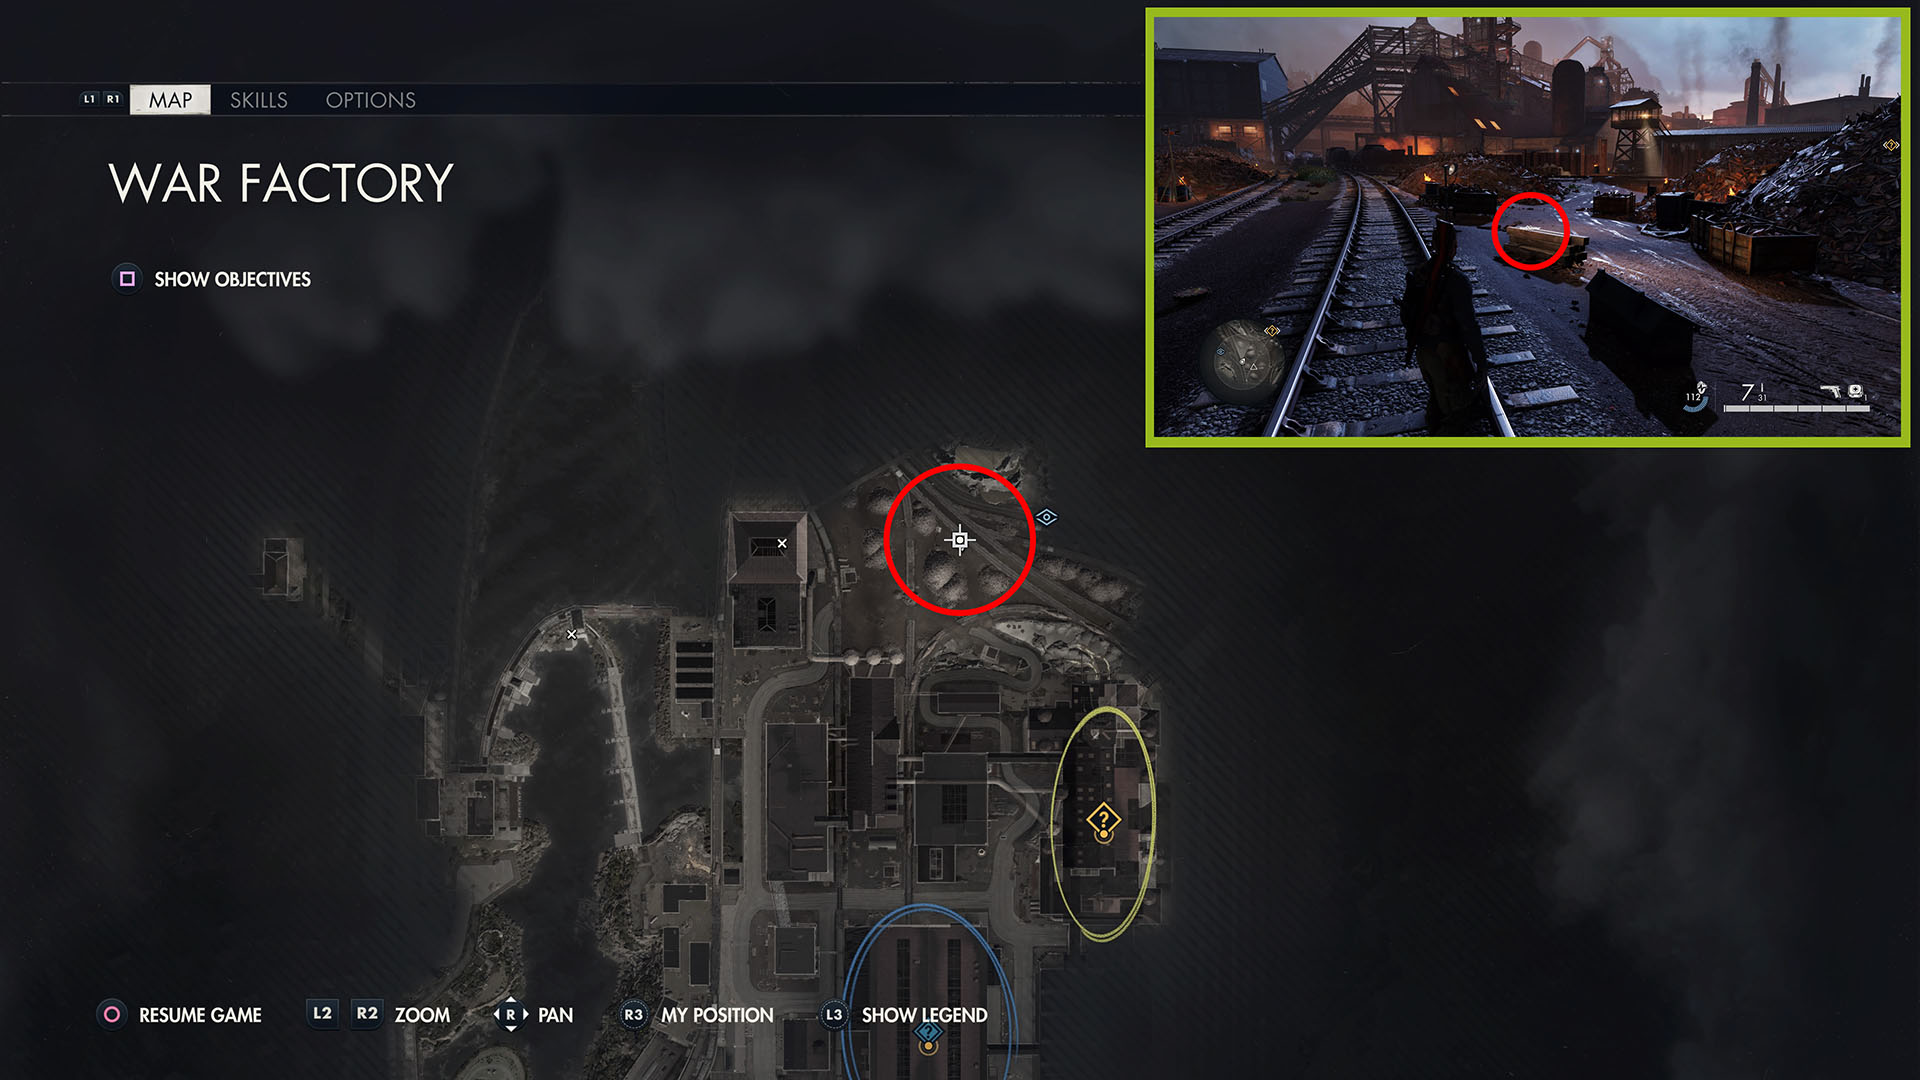
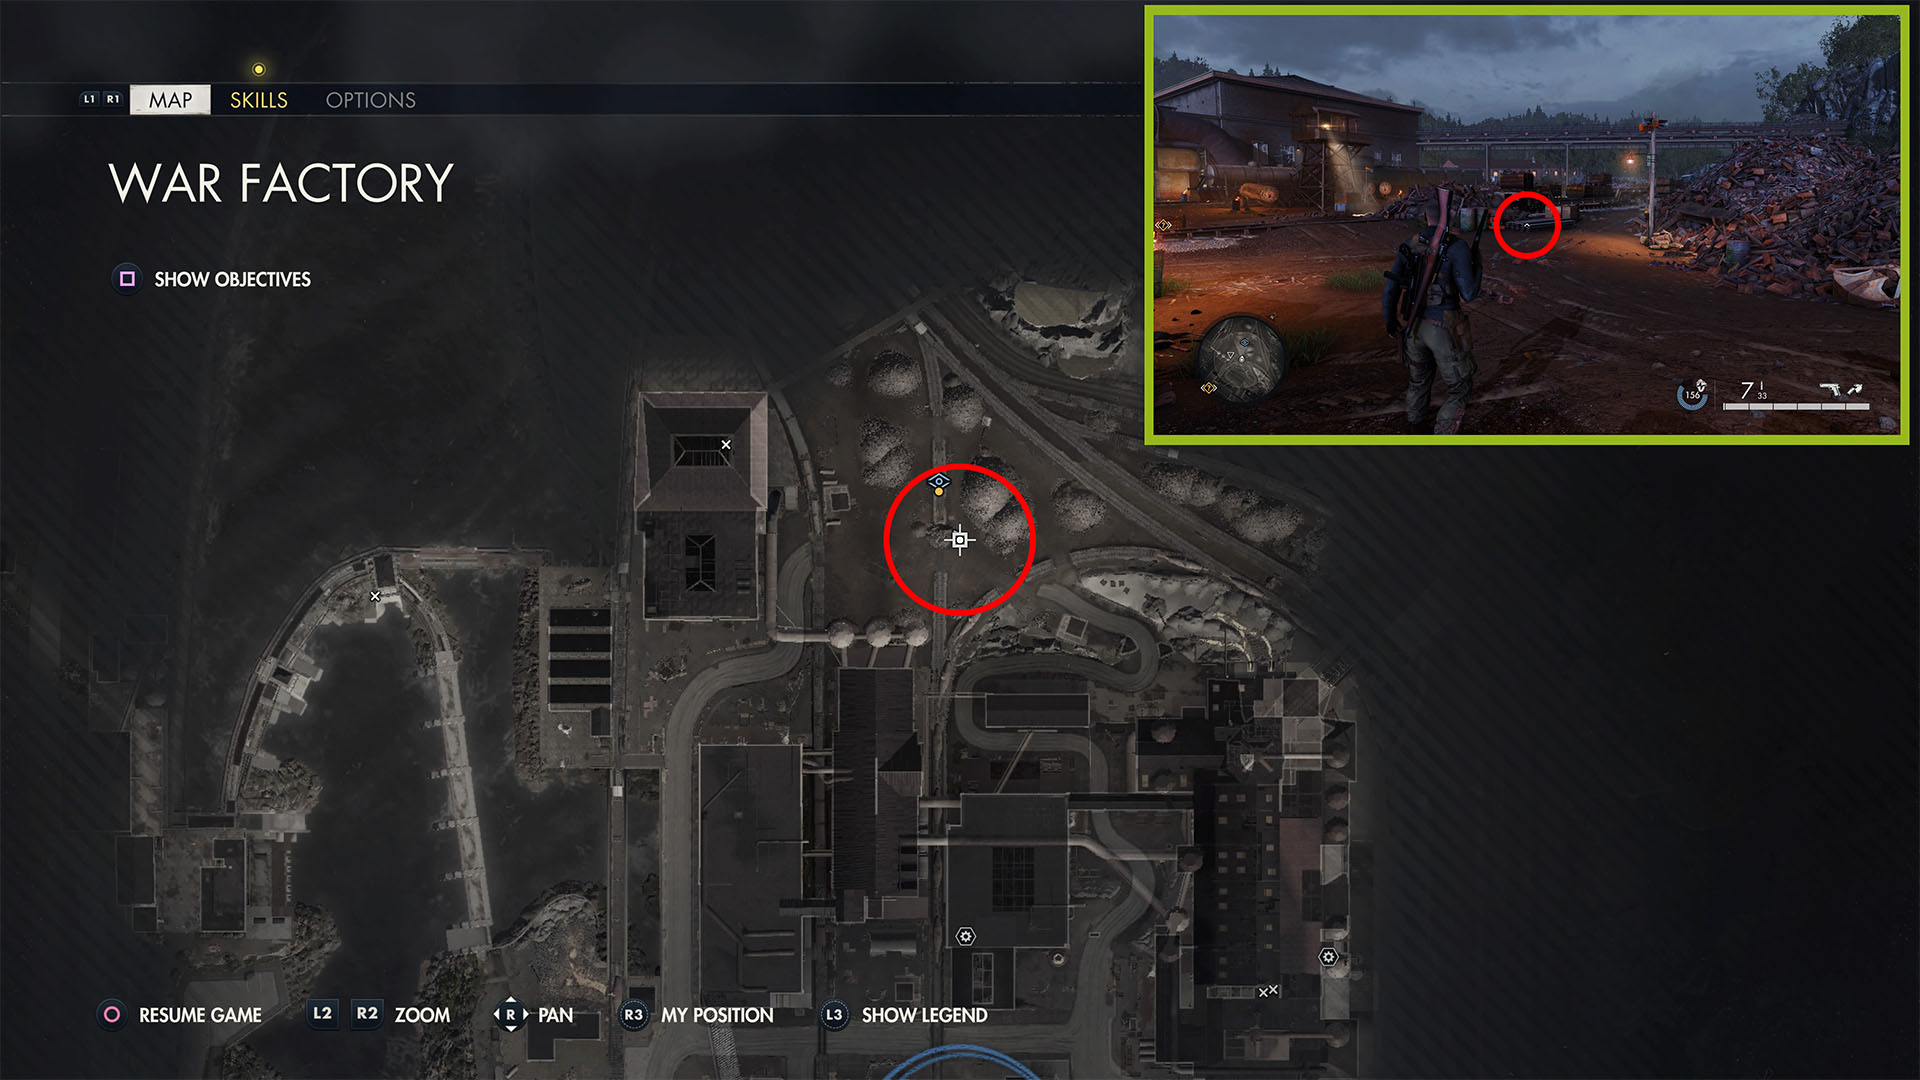
Leave the pump/generator building and go east into the Scrapyard. Go past the guard tower and angle left (northeast). Mantle over the back end of the rail car, and you’ll see a small stack of wooden beams with a floodlight behind it, just beyond a backhoe. This intel is on the stack of beams.
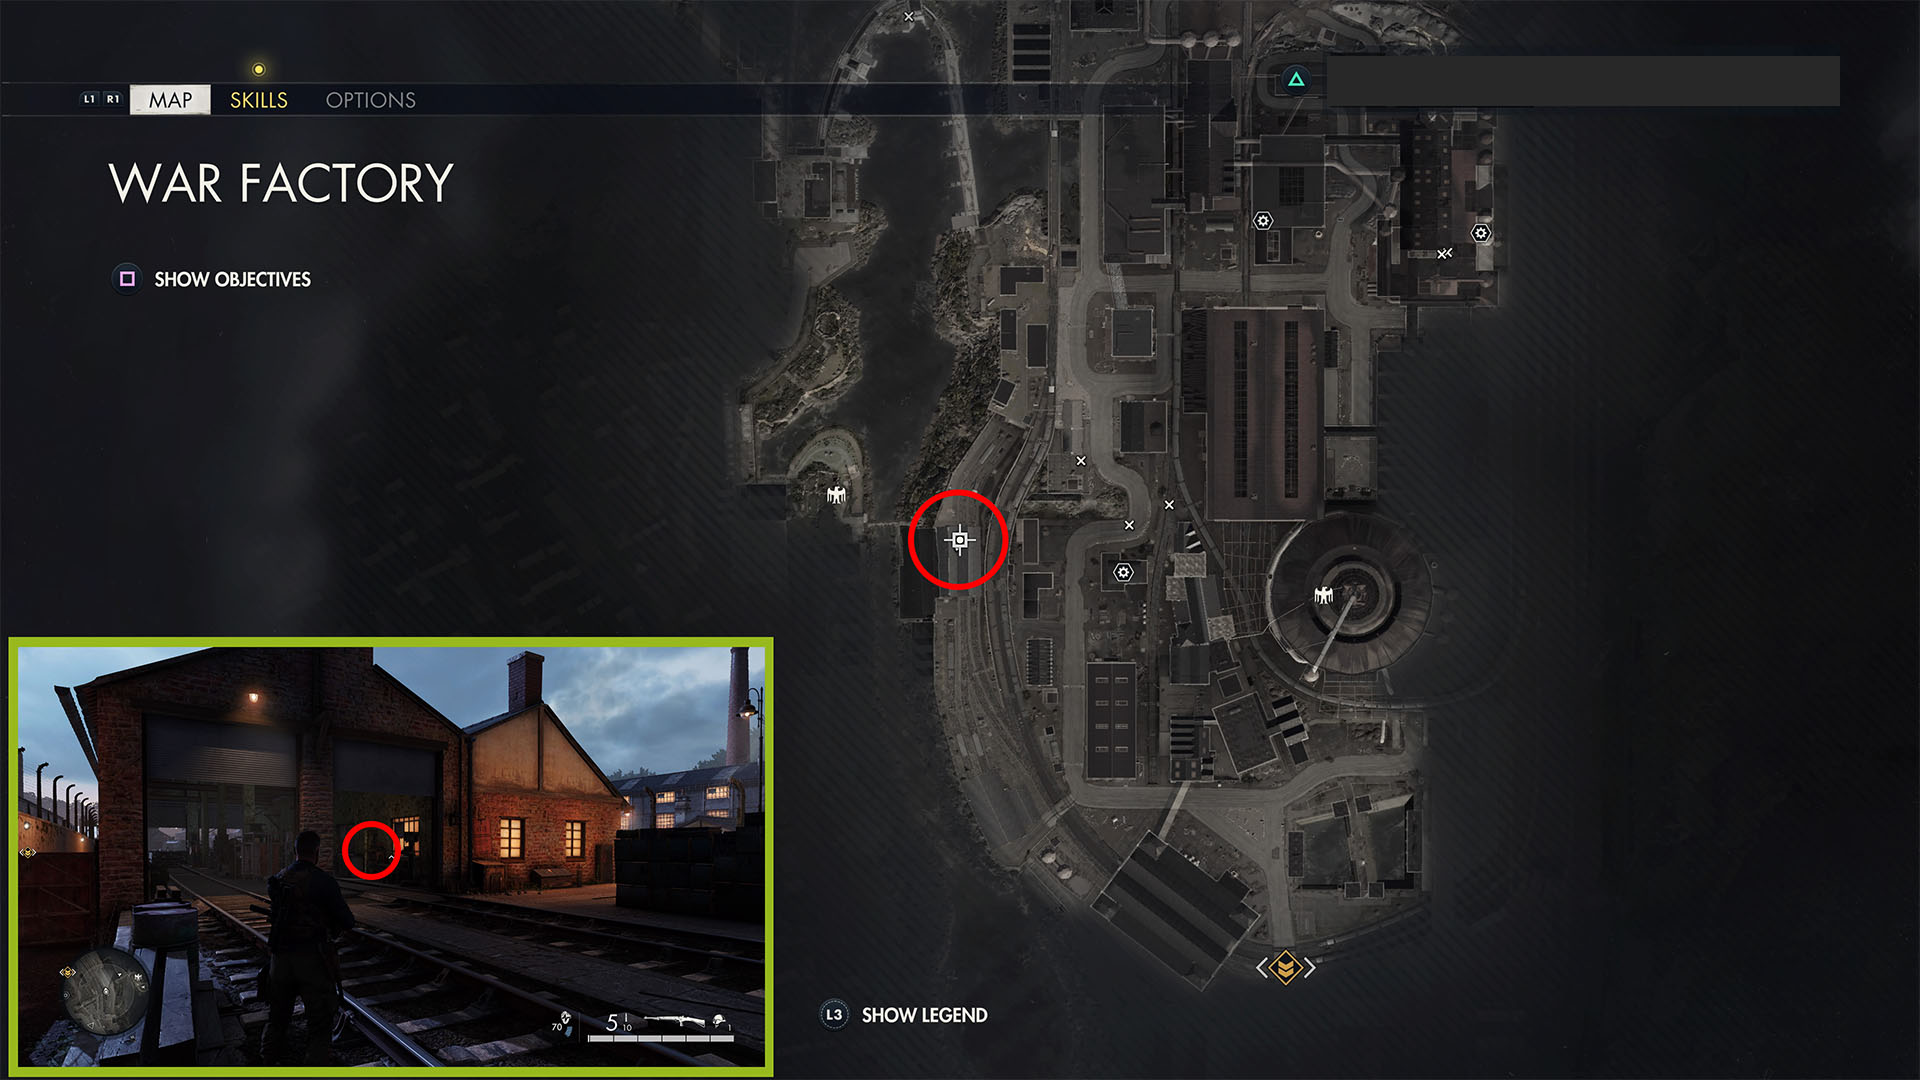
Scrapyard Overlook Starting Location
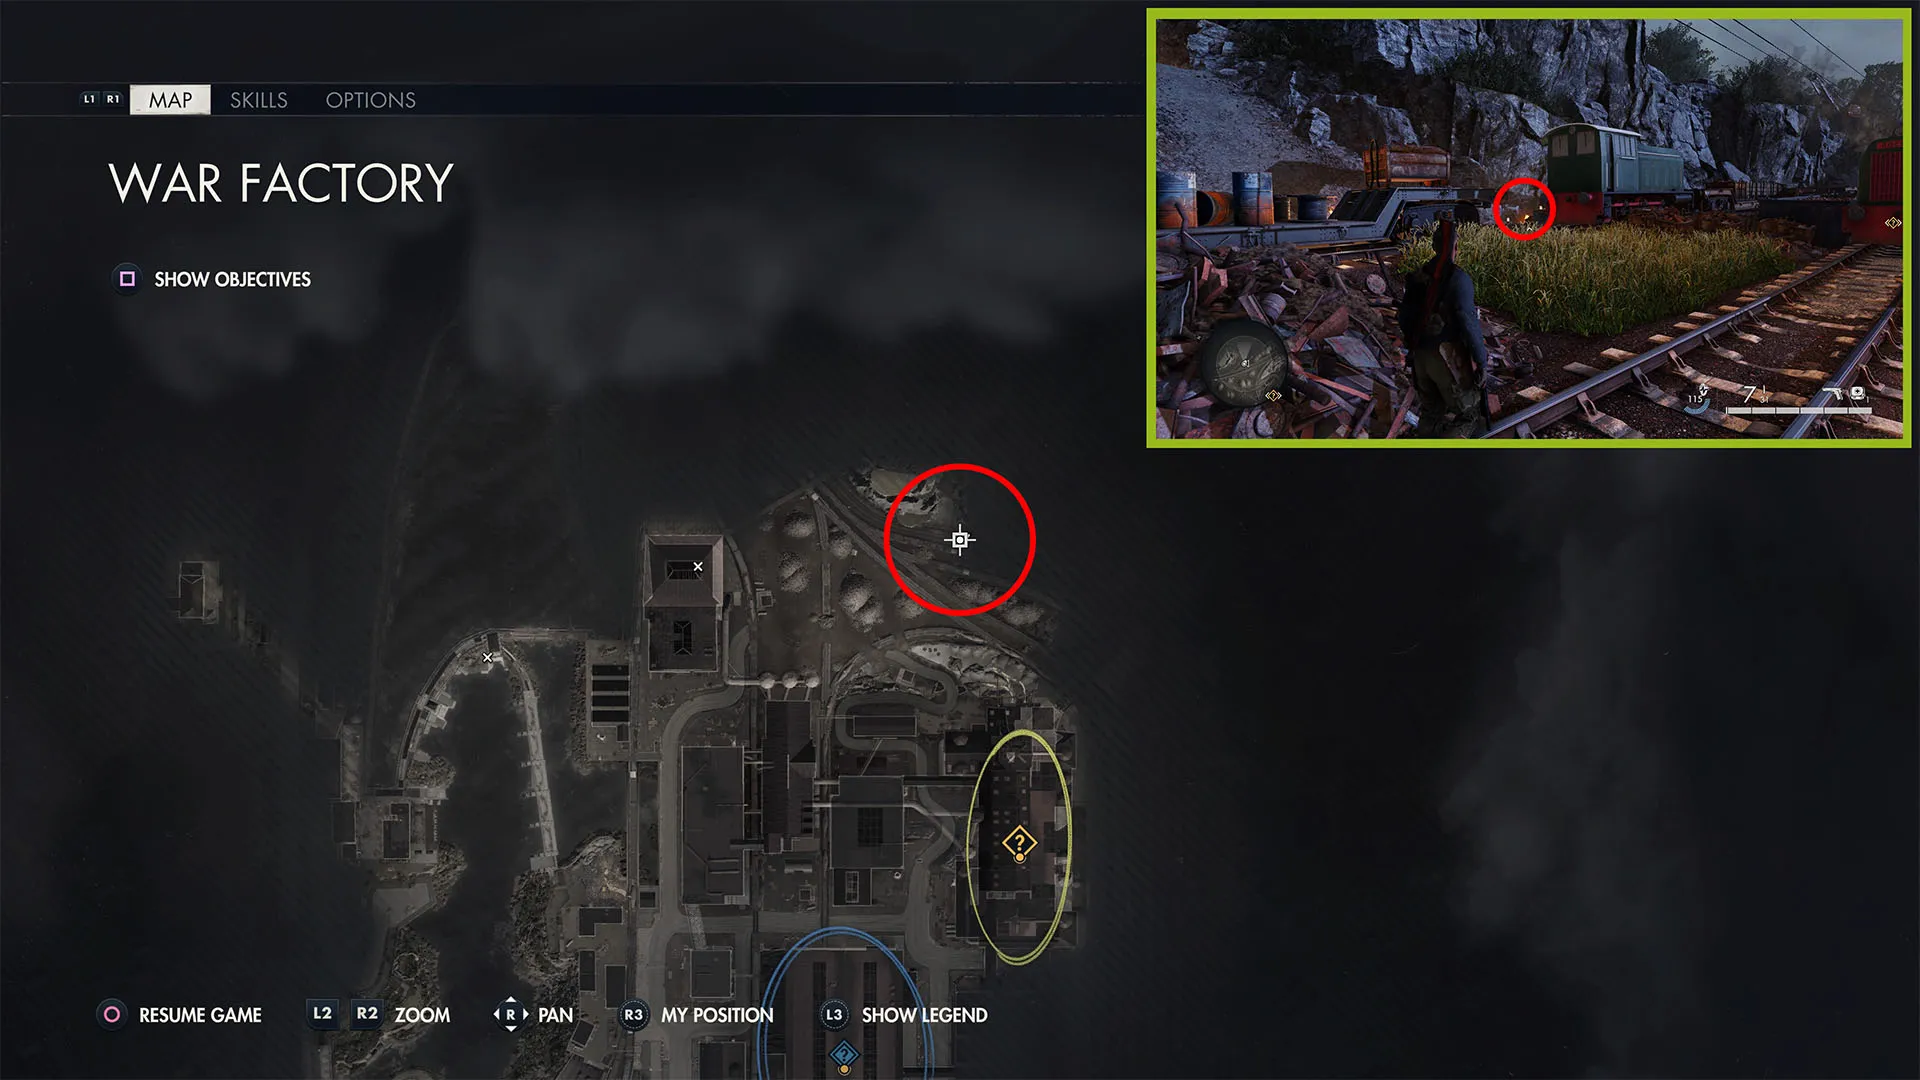
From the classified document, continue northeast, crossing over the railroad tracks. You’ll see two green and red locomotives. Interact with the bonfire between the left locomotive and the cliff.
Increase Security! (Classified Document 2)
From there, continue into the Refinery just southeast. Go through the roll-up door and up the ramp. Turn left at the top to double back, then right at the top of the stairs. Go left to get to the other side.
Follow the path right and down a set of stairs, then pick the lock to the first door on the left. Go right through the control room to the next room. This document is on a desk on the far side of the room.
Pistol Workbench
Leave the Refinery control room and go two doors down on the left to the armory. The key can be found on the soldier with the camouflage helmet nearby. The workbench is inside.
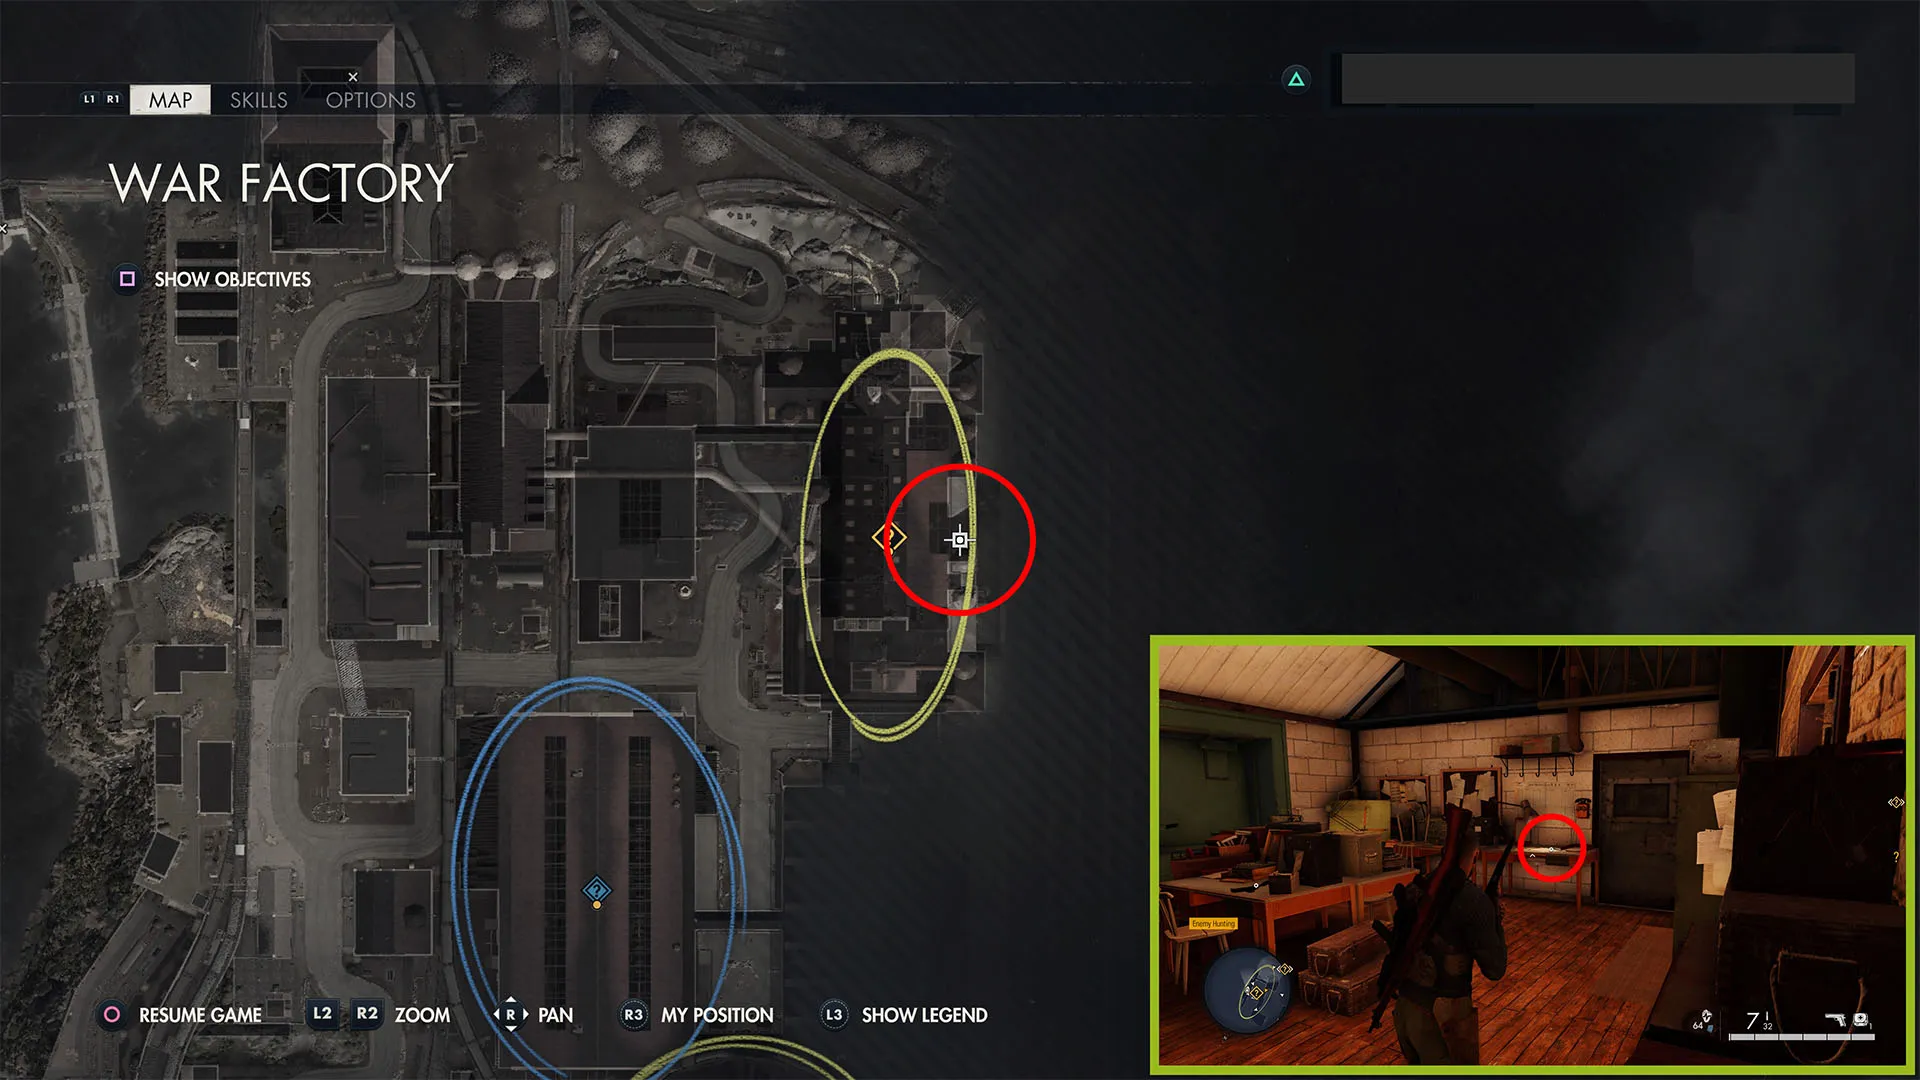
Your Orders Await (Personal Letter 3)

Go into the building directly west of the Refinery. In the southwest back corner, you’ll see a ladder going up. Behind it, you’ll see a door with a two-barred white cross on the wall next to it. This letter is on a crate in front of the door.
Rifle Workbench
Go up the ladder by the letter, then pick the lock on the door at the top. Enter the room and go to the right side, where you’ll find a ladder leading down to a secret armory with this workbench.
Losing Time (Personal Letter 4)
Leave this building and go to the Steelworks, the building directly south. When you enter, turn left (east) and you’ll see the Kontrollraum (Control Room) with a ladder to the right of the door. Climb the ladder to find this personal letter in the second-story room on a desk in the middle.
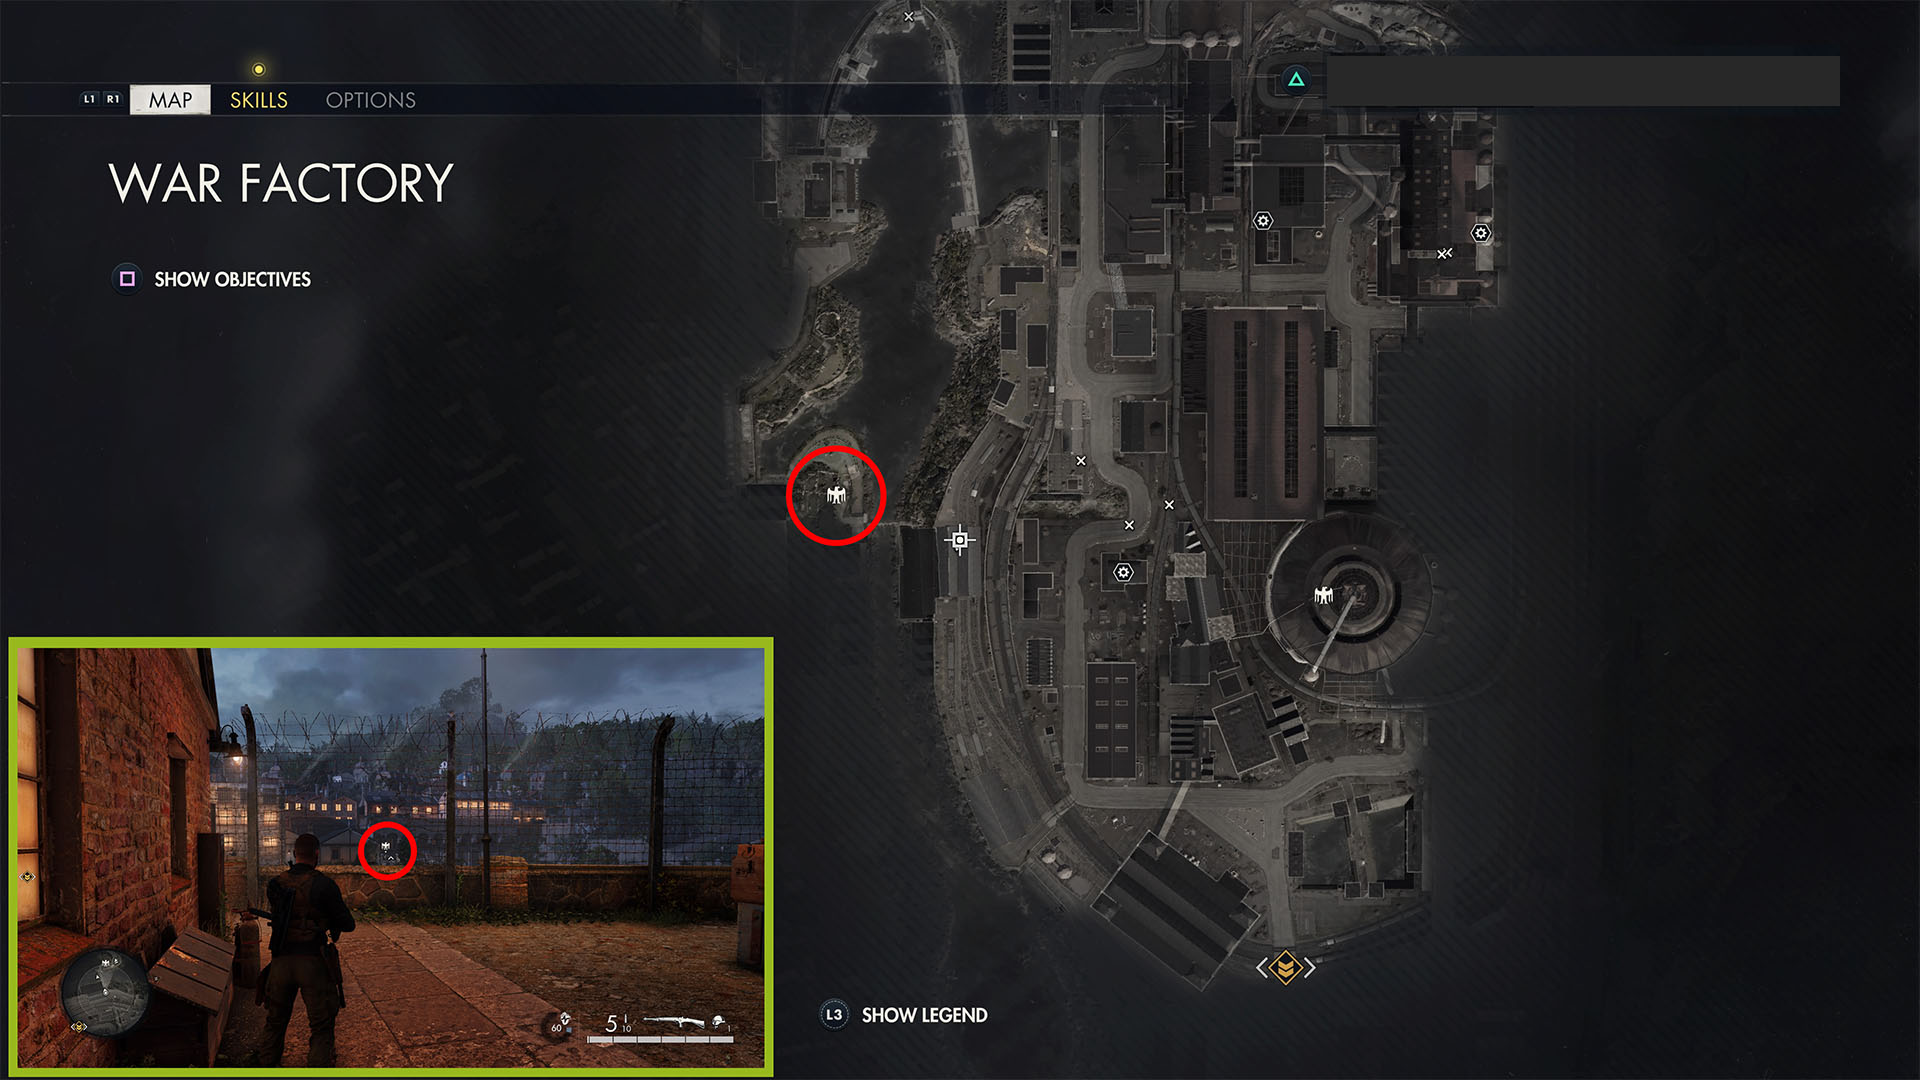
Gold Pocket Watch (Hidden Item 1)
Losing Time reveals that an officer has lost a pocket watch in the Scrapyard. The item doesn’t seem to appear until you pick up this piece of intel. A marker appears on your map back in the Scrapyard, but the watch isn’t directly at the marker.
Instead, it’s on a stack of steel near the area’s alarm and a generator; both are just east of the watchtower closest to the pump/generator building.
Sheer’s Notebook (Personal Letter 5)
Go into the Furnace’s control room on the third floor, western side. This letter is on the radio table in the back right corner.
Stone Eagle 1
Exit via the south side of the furnace. Before you take the stairs down to the road, look straight across to the far side of the complex; you’ll see a building to the right of the two smokestacks on the left. The eagle is on a column on the left side.
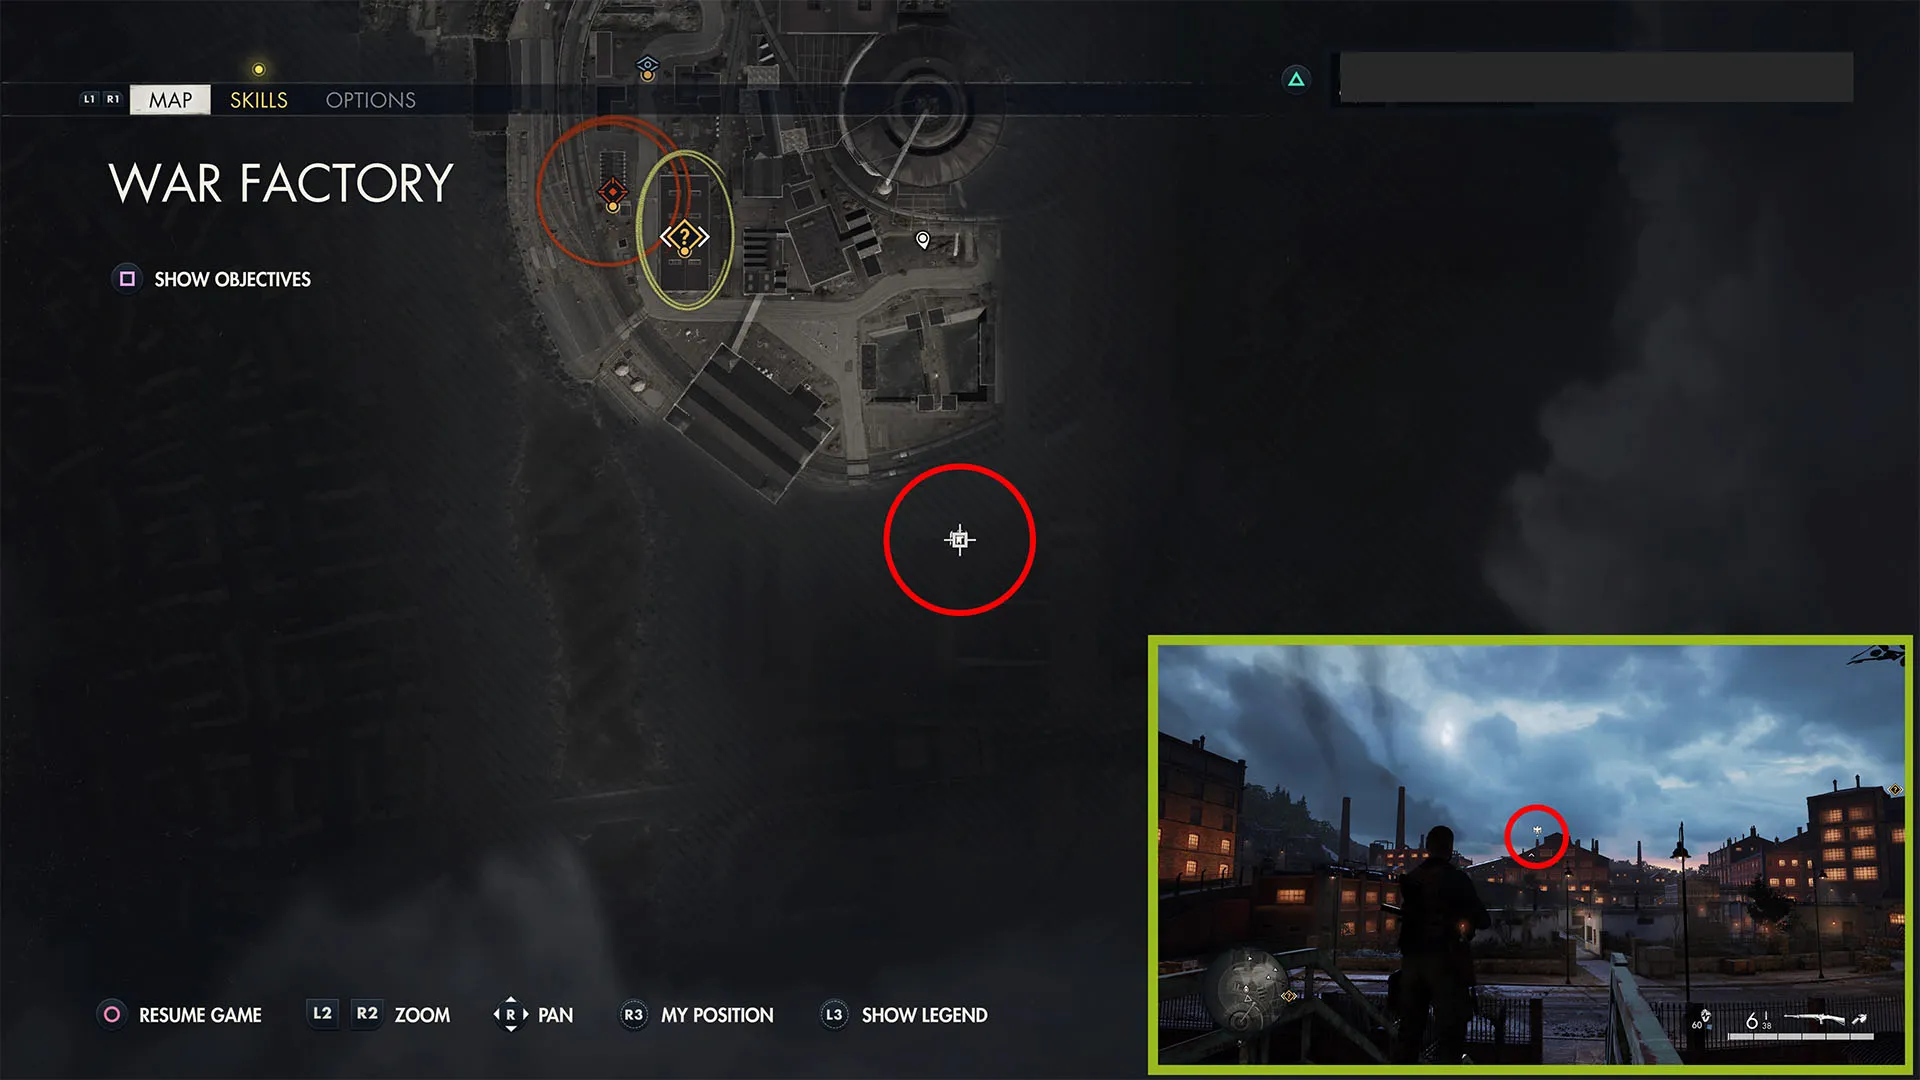
P.1000 Ratte Plans (Hidden Item 2)
Now go southwest to the large rectangular building on the edge of the map in the Reservoir. Take the stairs in the southwestern corner of the building and follow the platform at the top to the far end. You’ll find this on a cart in front of an orange double door. You could also pick this up just before exfiltrating.
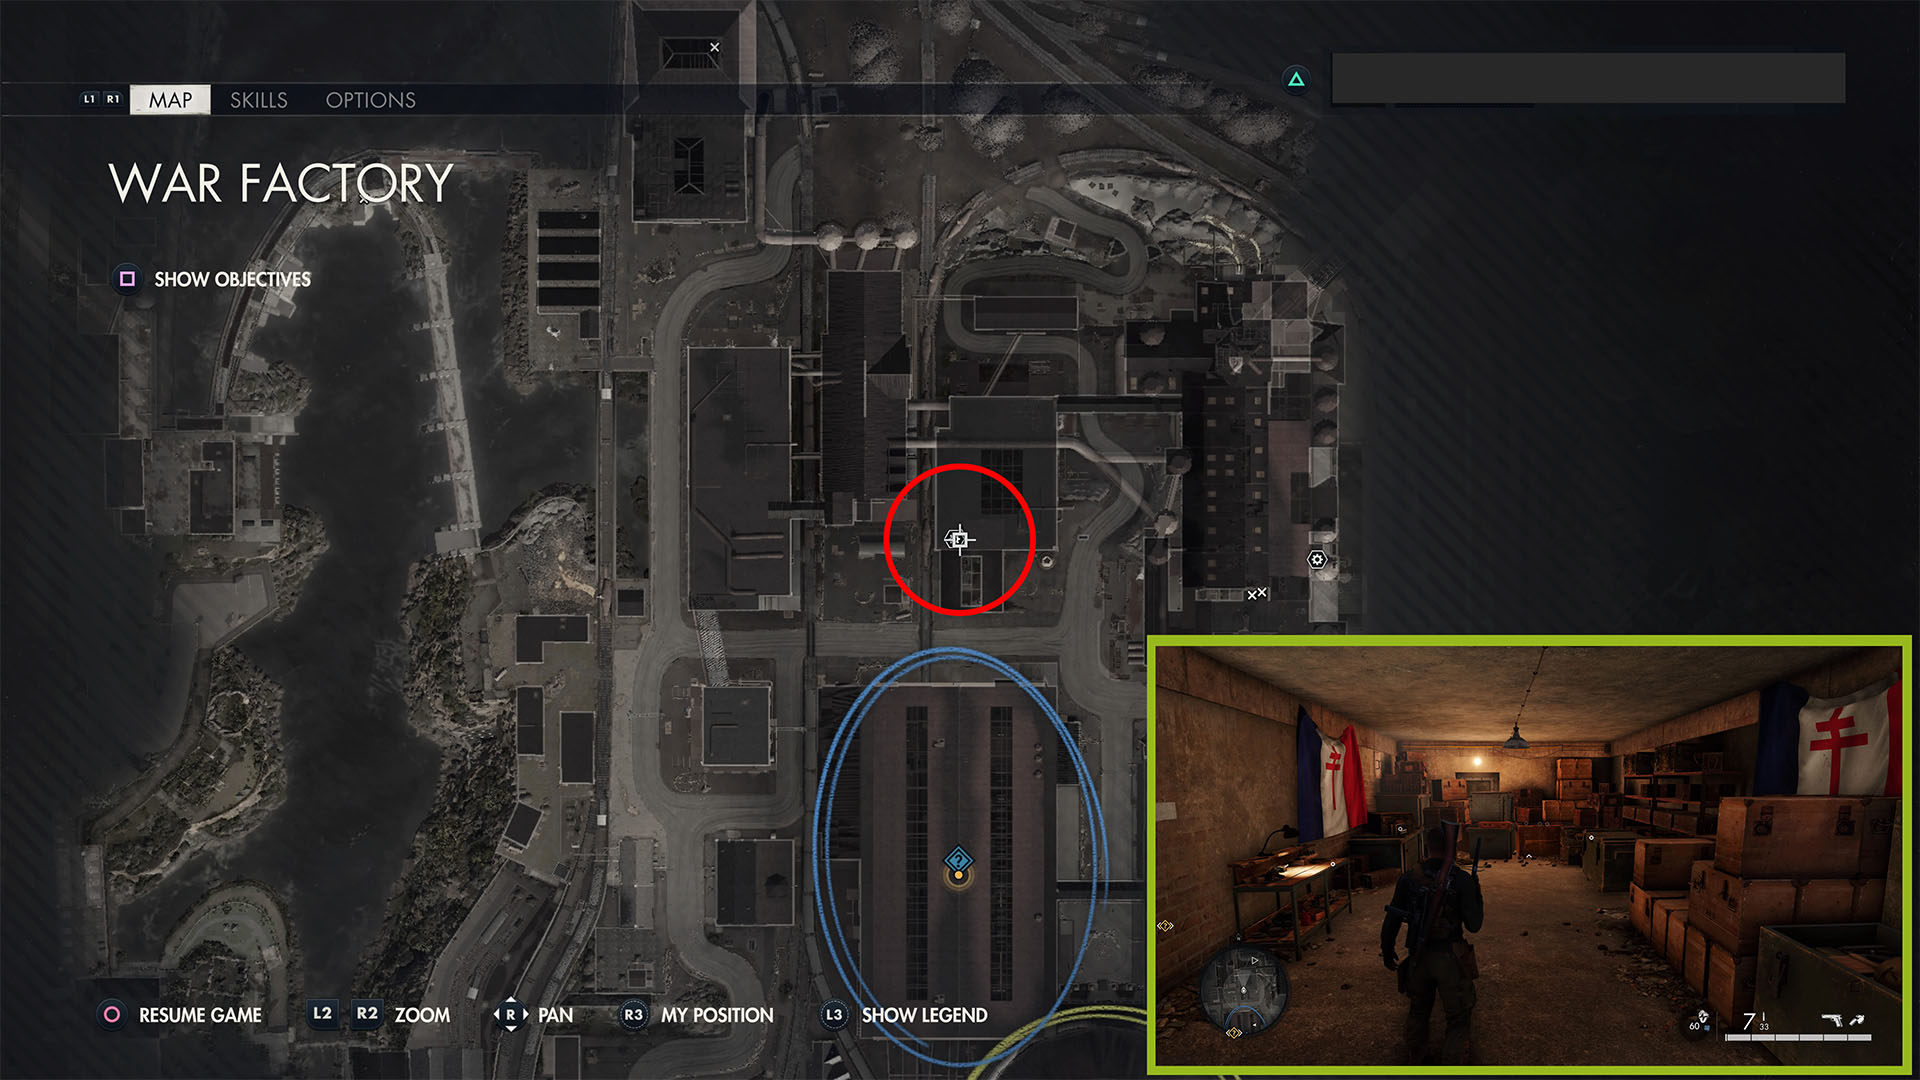
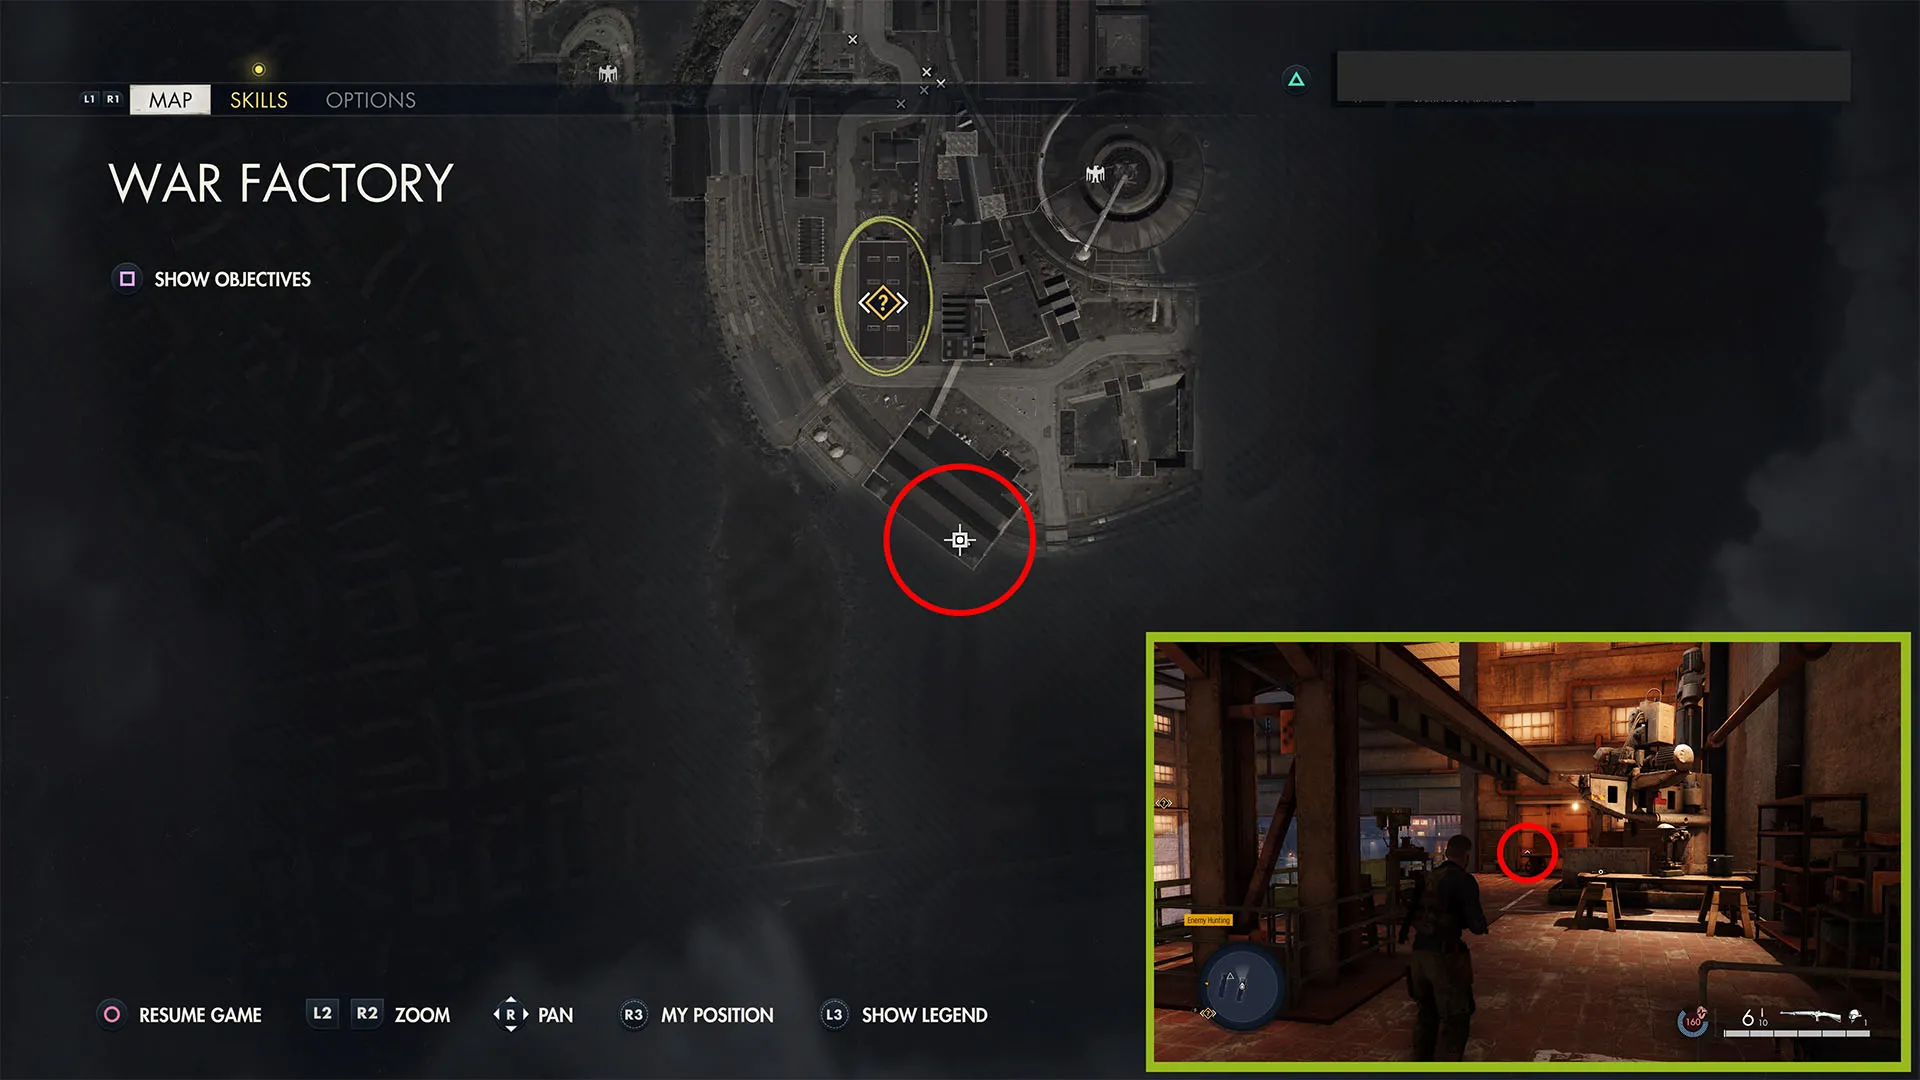
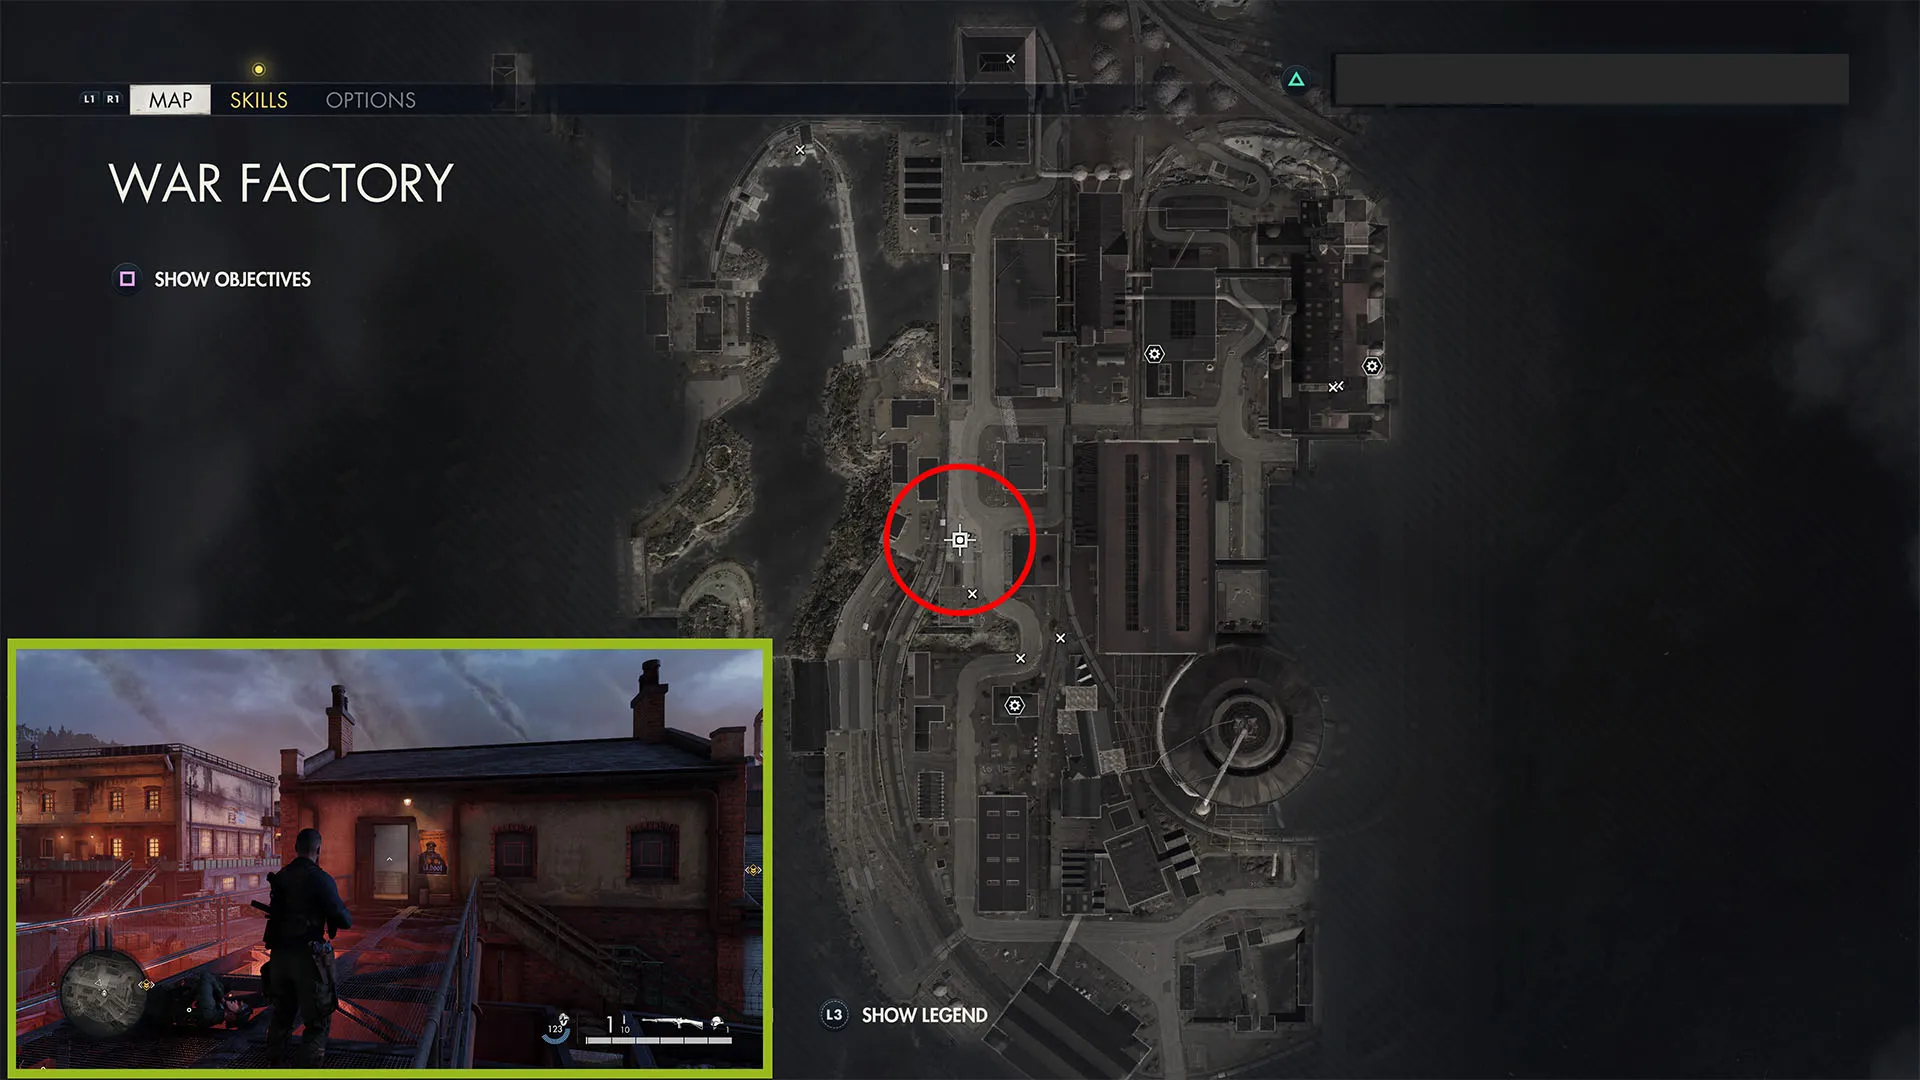
Shipping Orders (Classified Document 3)

This classified document is part of the critical path and an objective in the shipping warehouse. You can find it in the safe on the second story of the warehouse, south side.
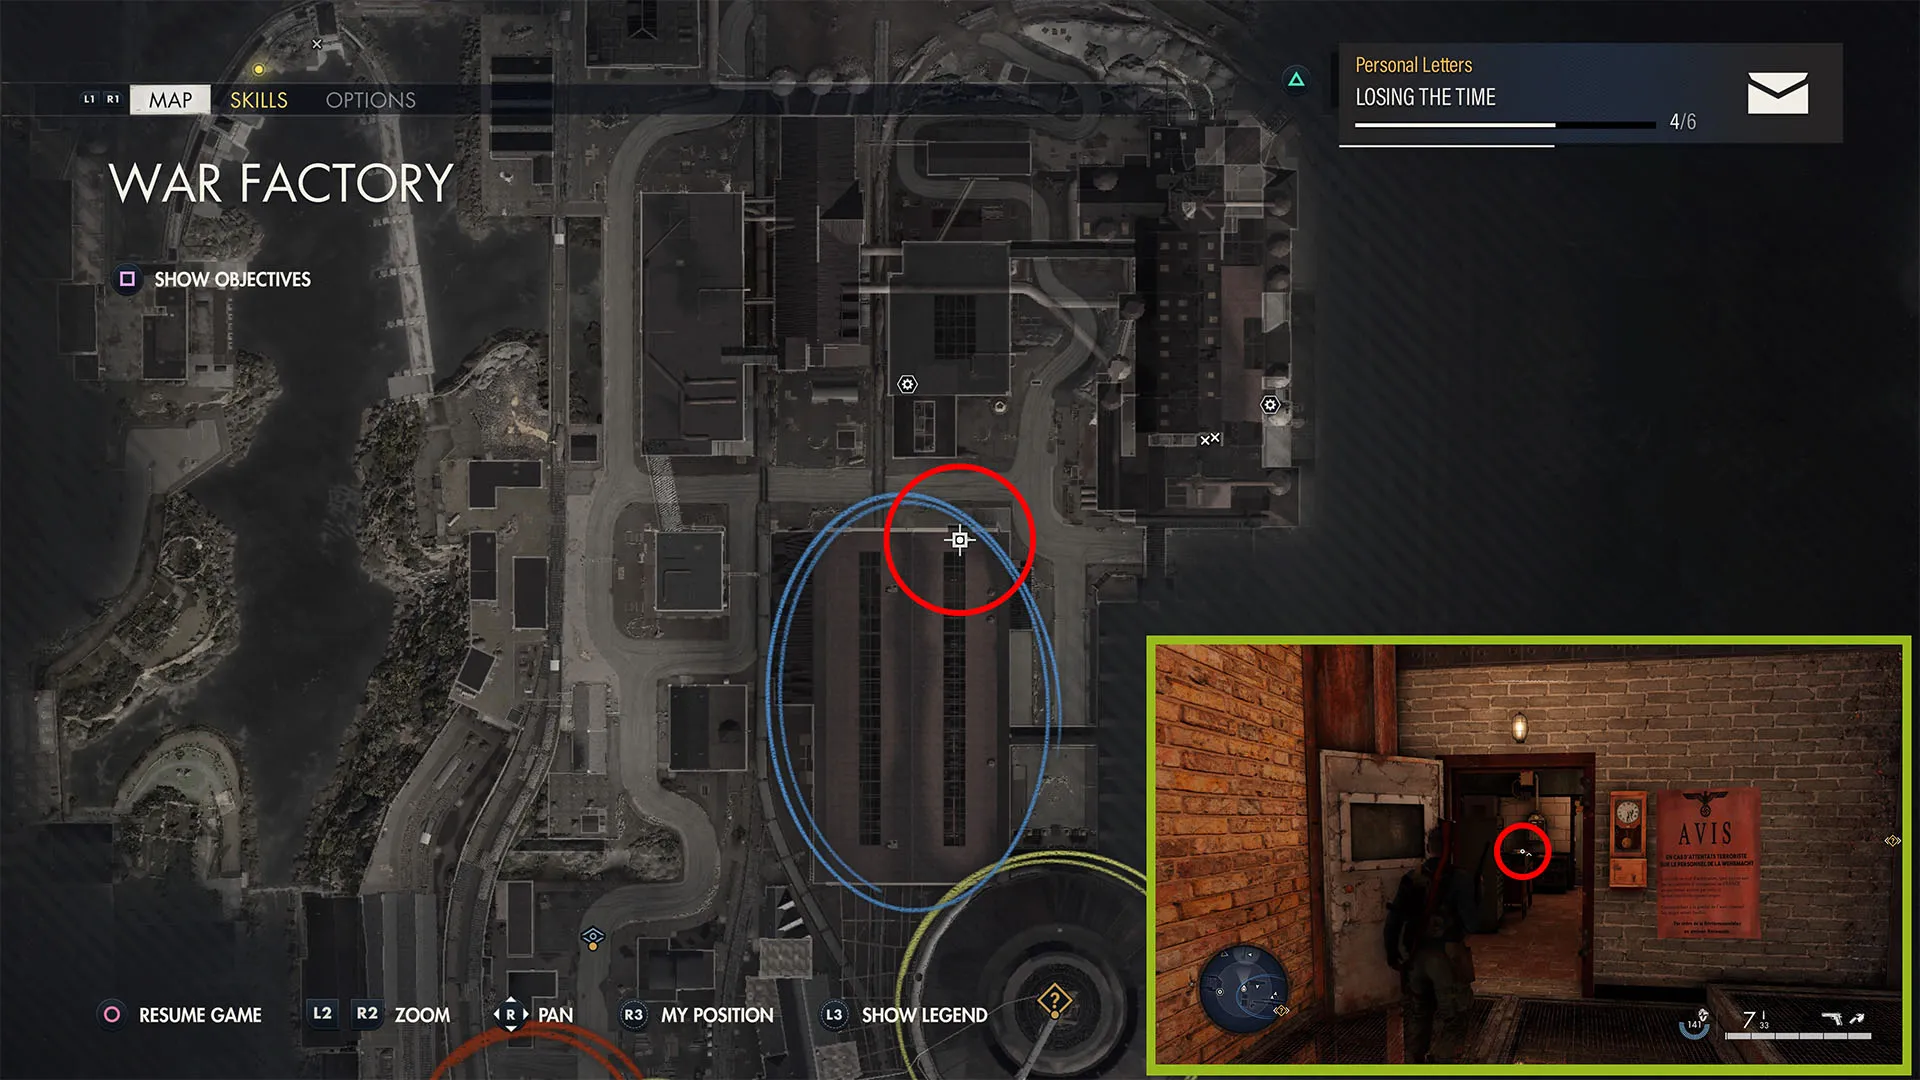
Stealth Plating (Hidden Item 3)
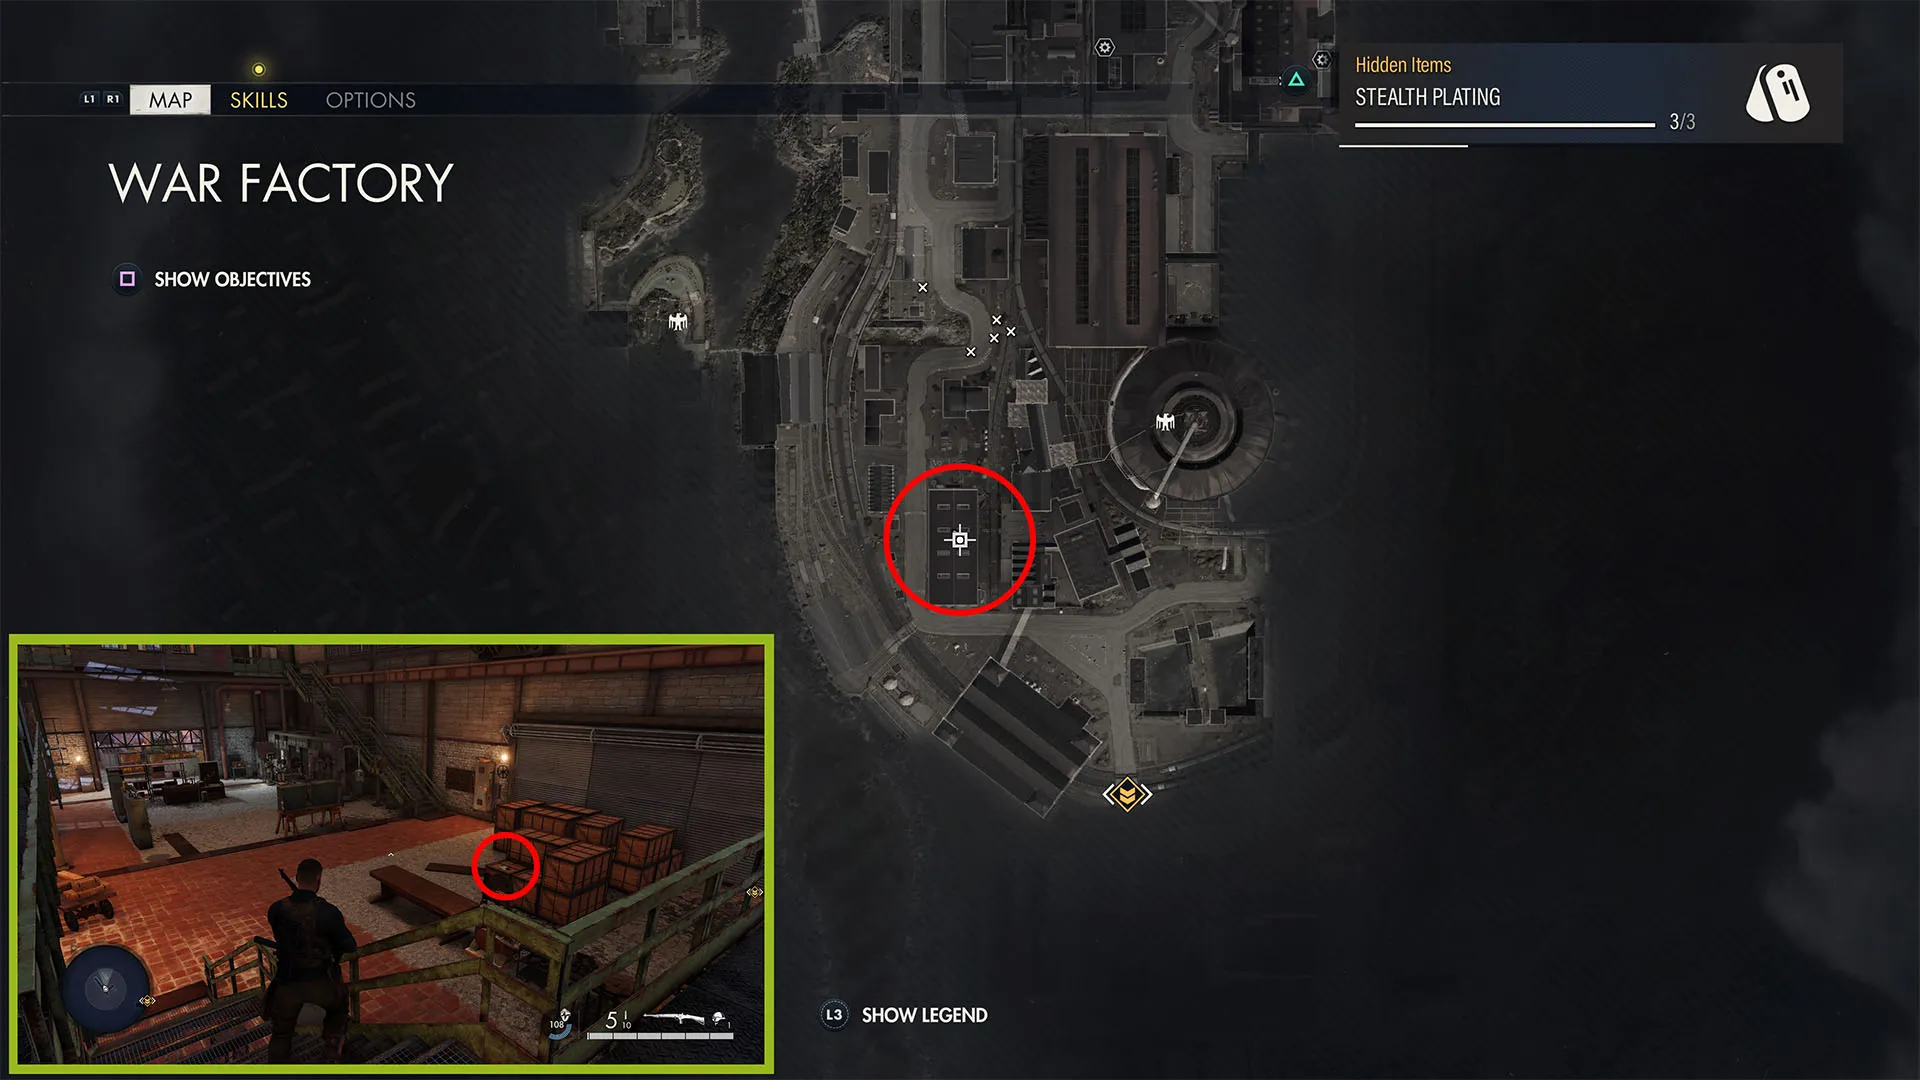
This personal time is on the bottom floor of the shipping warehouse, in the middle on a stack of brown and black crates.
SMG Workbench
Exit the shipping warehouse heading north. Go across the yard with the crane and construction materials to the white and brick house by the artillery. Climb the ladder on the north side and open the door to access the room on the second story.
Trainyard Office Starting Location and Ehrlich’s Done For (Personal Letter 6)
Exit the building with the workbench and head due west. Go through the alleyway by the garage with the APC out front, and cross the railroad tracks to the Trainyard Office. Open the door on the right side station to get the starting location, and get the letter off of a desk inside, on the right.
Stone Eagle 2
Exit the Trainyard Office, and turn left when you leave the building. Look through the hole in the wire on the wall. You’ll see an old castle tower across from you, with the second stone eagle on the left side.
Stone Eagle 3

Turn around and move slightly left so you can see the roof of the furnace building in the distance. Look just right and down from the middle for the third stone eagle.
Bureaucratic Oaf! (Classified Document 4)
Go north up the tracks, then up the stairs you find at the end. Turn right at the top and go up the ladder by the small, red-brick pumphouse. Go through the door ahead (with the yellow U.boot sign to the right of it), and grab this classified document off of the desk inside to the left.
Those are all of the collectibles and their locations in War Factory, the fourth mission in Sniper Elite 5. For more guides, including more walkthroughs for The Atlantic Wall and Occupied Residence, as well as how to complete each of the kill challenges, consider heading over to our SE5 tips page.


Published: May 25, 2022 12:27 pm