There are many build options available in Bloodstained: Ritual of the Night. Whether you stack pure physical damage and resistance for a tank/DPS combo focus on speedy attacks augmented with mobility abilities and protective magic, your biggest hurdle is your imagination.
For my money, however, being a battlemage is the real way to win. A battlemage build feels like it outdoes almost everything else for speed, efficiency, and relative consistency.
Your spells buff both your offensive and defensive capabilities, make quick work of trash mobs, and do respectable damage to bosses. If you’re trying to 100% the game and you want a reliable means of taking down every demon in Gebel’s castle, read on to discover what I think is the best way to do just that.
Finally, before we get into the meat of things, remember that this build guide is structured around the early game and is not necessarily optimized for endgame content or enemies.
Your mileage may vary.

The Best Offense is a Good Sword
When it comes to dealing damage, you want to maximize your uptime as much as possible. If all you’re using is a sword, you have to be in the enemy’s face the whole time and your risk both your own life and being unable to capitalize on your potential DPS.
On the other side of the coin, if your focus purely on spells, you’re liable to run out of MP at exactly the wrong time, leaving yourself defenseless in the face of some big hairy beast.
Battlemages — especially in the early game — don’t have to worry about either problem nearly as much. You can cast spells to soften your foes up then go in for the kill with your weapon of choice.
Speaking of which, I think the sword weapon type is the overall best weapon type in the game. There are a few reasons why:
Swords Have Good Range
While not matching the whip, greatsword, or spear weapon types, they still offer respectable reach and damage to match. You still need to be fairly close to your enemies for the best results, but you’ll be landing hits from within easy dodging distance since the hitbox lingers for a little bit and reaches farther than you might expect.
Swords Have Fast Attack Speed
Swords might not match daggers or boots, but sword attacks are some of the quickest and easiest to consistently land.
You’ll want to upgrade your sword whenever possible, of course, and if you can get your hands on an Ulfbehrt Sword, hang onto it even after it’s no longer your best option. You’ll be able to upgrade it to the Harpe sword once you’ve found the Steel weapons upgrade book.
Of all the early game swords I’ve used, the Harpe is by far the best. It’s also relatively easy to come by and deals respectable damage to almost everything Bloodstained can throw at you.
The Power of Sword Mastery
A passive shard that increases your sword’s damage, plain and simple. The more you upgrade it, the better it becomes, and therefore the harder your sword will hit.
Sword Mastery drops from Sabnock demons, the big lion-headed armored demons with big swords. They’re relatively slow and easy to hit if you know how to deal with them, so farm up a little bit for maximum DPS.
A Better Offense Comes with Spells
Once you’ve maxed out the power of your sword arm, it’s time to add in that extra touch: fire-and-forget Summoning spells. Spells like these — Summon Plume Parma, Summon Shovel Armor, etc. — give you the ability to deal damage through both your magic and through your primary weapon for one specific reason. Stop me if you know what I’m about to say.
These spells, once cast, do damage without needing your direction. They happen, and any additional damage you do is gravy. I find that I can two-shot most mobs in the game with a single casting of both equipped summoning spells, no matter the type. Any foe that doesn’t fall is weak enough that I can care less about my safety and run in and kill them.
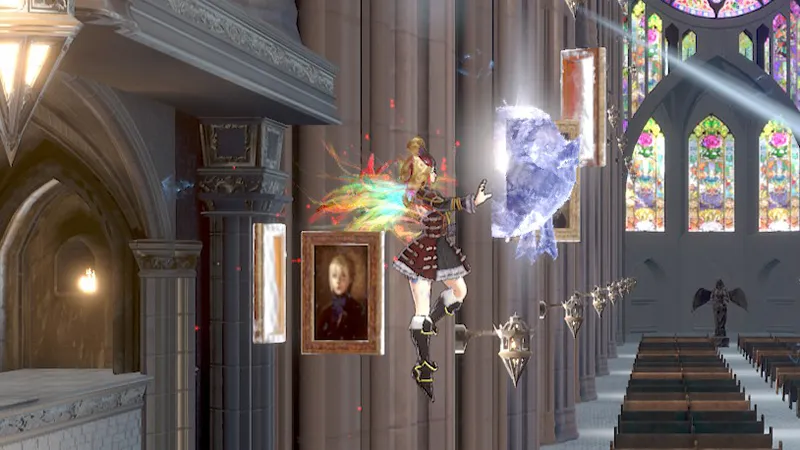
Take some time to invest in the Welcome Company spell. You’ll get a powerful shield that’s low-cost, hits more times in a second than you can, and hits like a truck (for being made of paintings). Again, any way you can stack damage is essential.
Spells trivialize boss fights, too. Many of bosses are fairly mobile yet possess larger hitboxes than most mobs.
All I had to do in most of my fights was to summon my minions and then take pot shots whenever the opportunity presented itself. The combination of magic and physical attack damage made what could have been a multiple-attempt fight into a single fight scenario.
Gear Up to Take ‘em Down
Magic and swords are all well and good, but they can be even more effective if you pair them with the right gear.
As with any battlemage build, your goal with gear isn’t to optimize for any one trait but to empower everything equally.
That means you want workable defense, good strength, and to provide your magic with all the oomph you can muster without stealing your sword’s thunder.
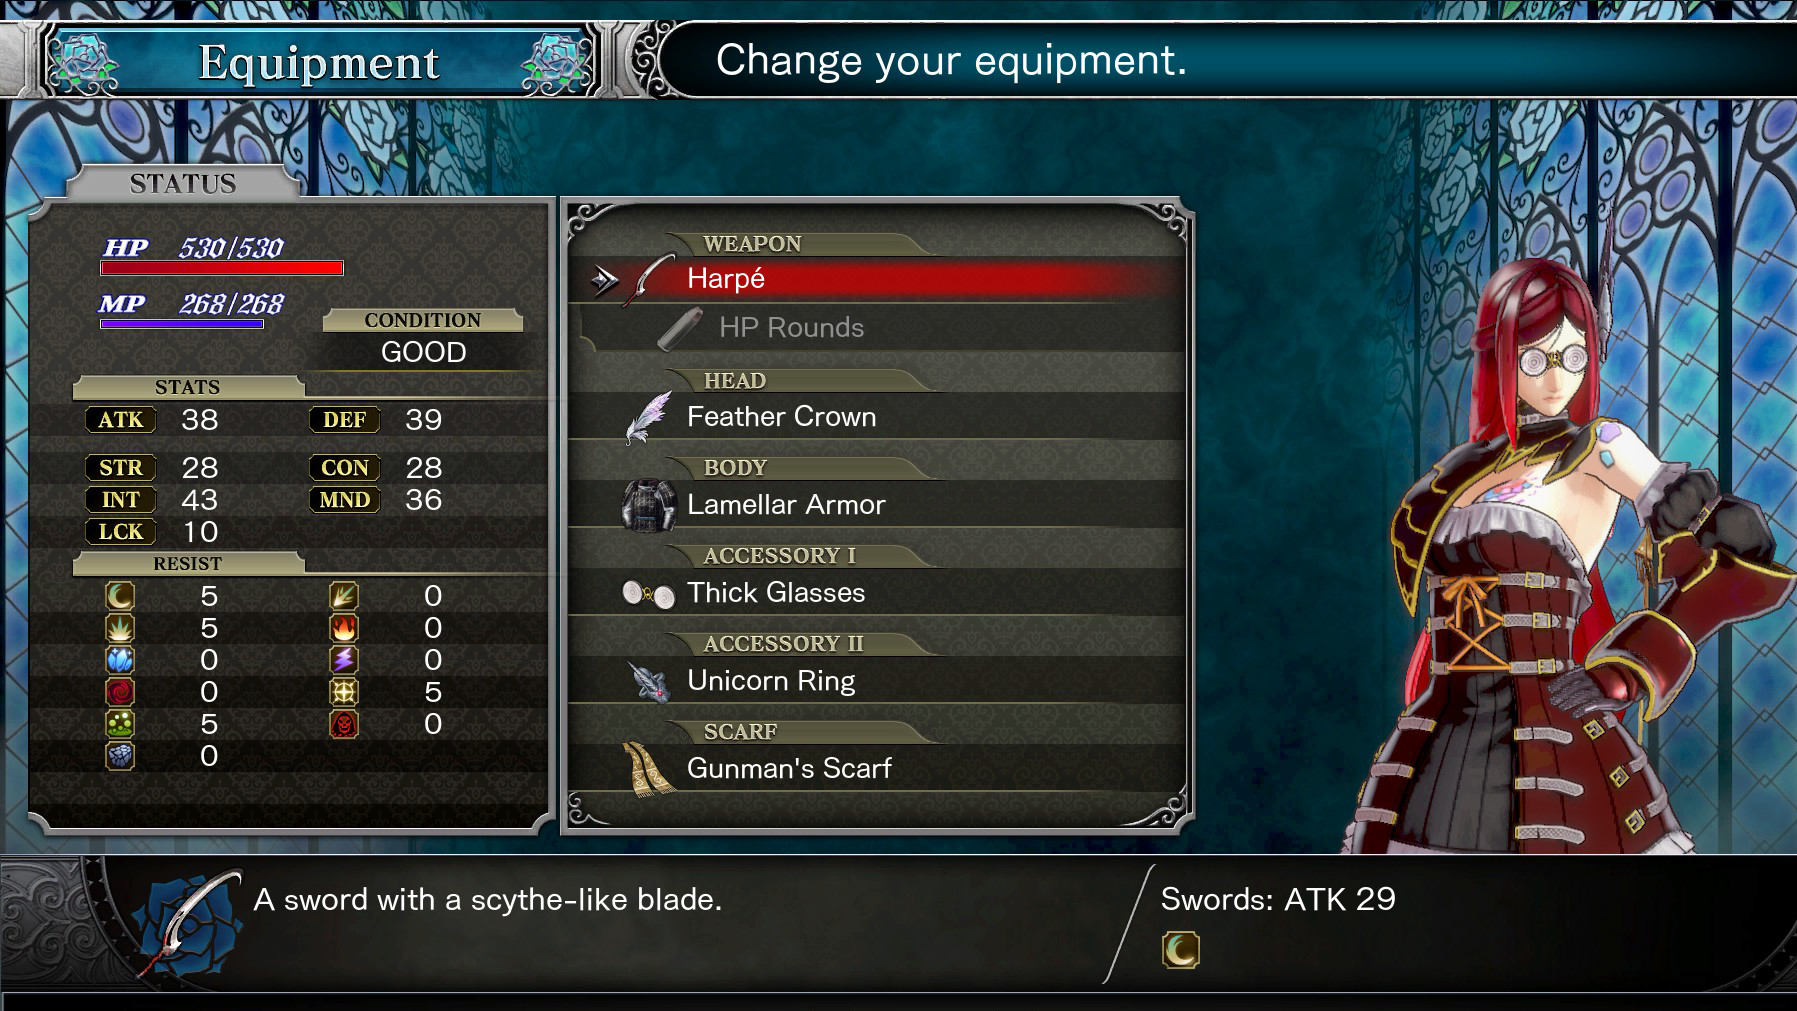
For my early game, I settled on the following loadout. While I don’t much care for the fashion, I couldn’t fault its effectiveness:
- Harpe (for reasons noted above)
- Feather Crown for the Mind (and therefore Magic damage)
- Riding Habit for its Defense boost
- Unicorn Ring for the Mind increase and overall survivability
- Thick Glasses for their general stat increases
- Gunman’s Scarf for some more health and defense
Not an ideal setup, I know.
For only a few hours in, though, I felt like I was taking advantage of my enemies whenever I fought them. Nothing stood a chance, bosses or otherwise.
Note, however, that I use the Unicorn Ring not just for the small stat boosts, but because it’s of its improved healing qualities.
Remember to always have a stock of potions handy. This game has some pretty brutal difficulty spikes depending on where you go when, and being unprepared for a boss is an easy trip back to the save room. Potions won’t win you a fight, but they’ll give you a little time to think before reengaging.
A battlemage is in many ways a student of many things but a master of none. You won’t be one-shotting bosses with a single spell or attack, nor will you always be on the move to maximize survivability. You will, however, have a large set of tools to dig into and experiment with.
I’ve always considered a battlemage build to be a great first playthrough setup because of those tools. Specialization is next to impossible without all the game’s systems at your disposal, so choosing instead to dabble in many things rather than focus on just one seems apropos.
As I and players around the world dig into Bloodstained: Ritual of the Night, we’re bound to find both optimal damage — and optimally fun — setups that crack the game wide open. For right now, though, go battlemage.
You won’t regret it.
Check out our other Bloodstained: Ritual of the Night guides, filled with a bunch of great info and plenty of informative guides like these.
- How to Unlock All Difficulties in Bloodstained Ritual of the Night
- How To Upgrade Shards (Abilities) In Bloodstained: Ritual of the Night
- How to Beat Zangetsu in Bloodstained: Ritual of the Night
- How to Get Bovine Plume in Bloodstained: Ritual of the Night


Published: Jun 21, 2019 11:20 pm