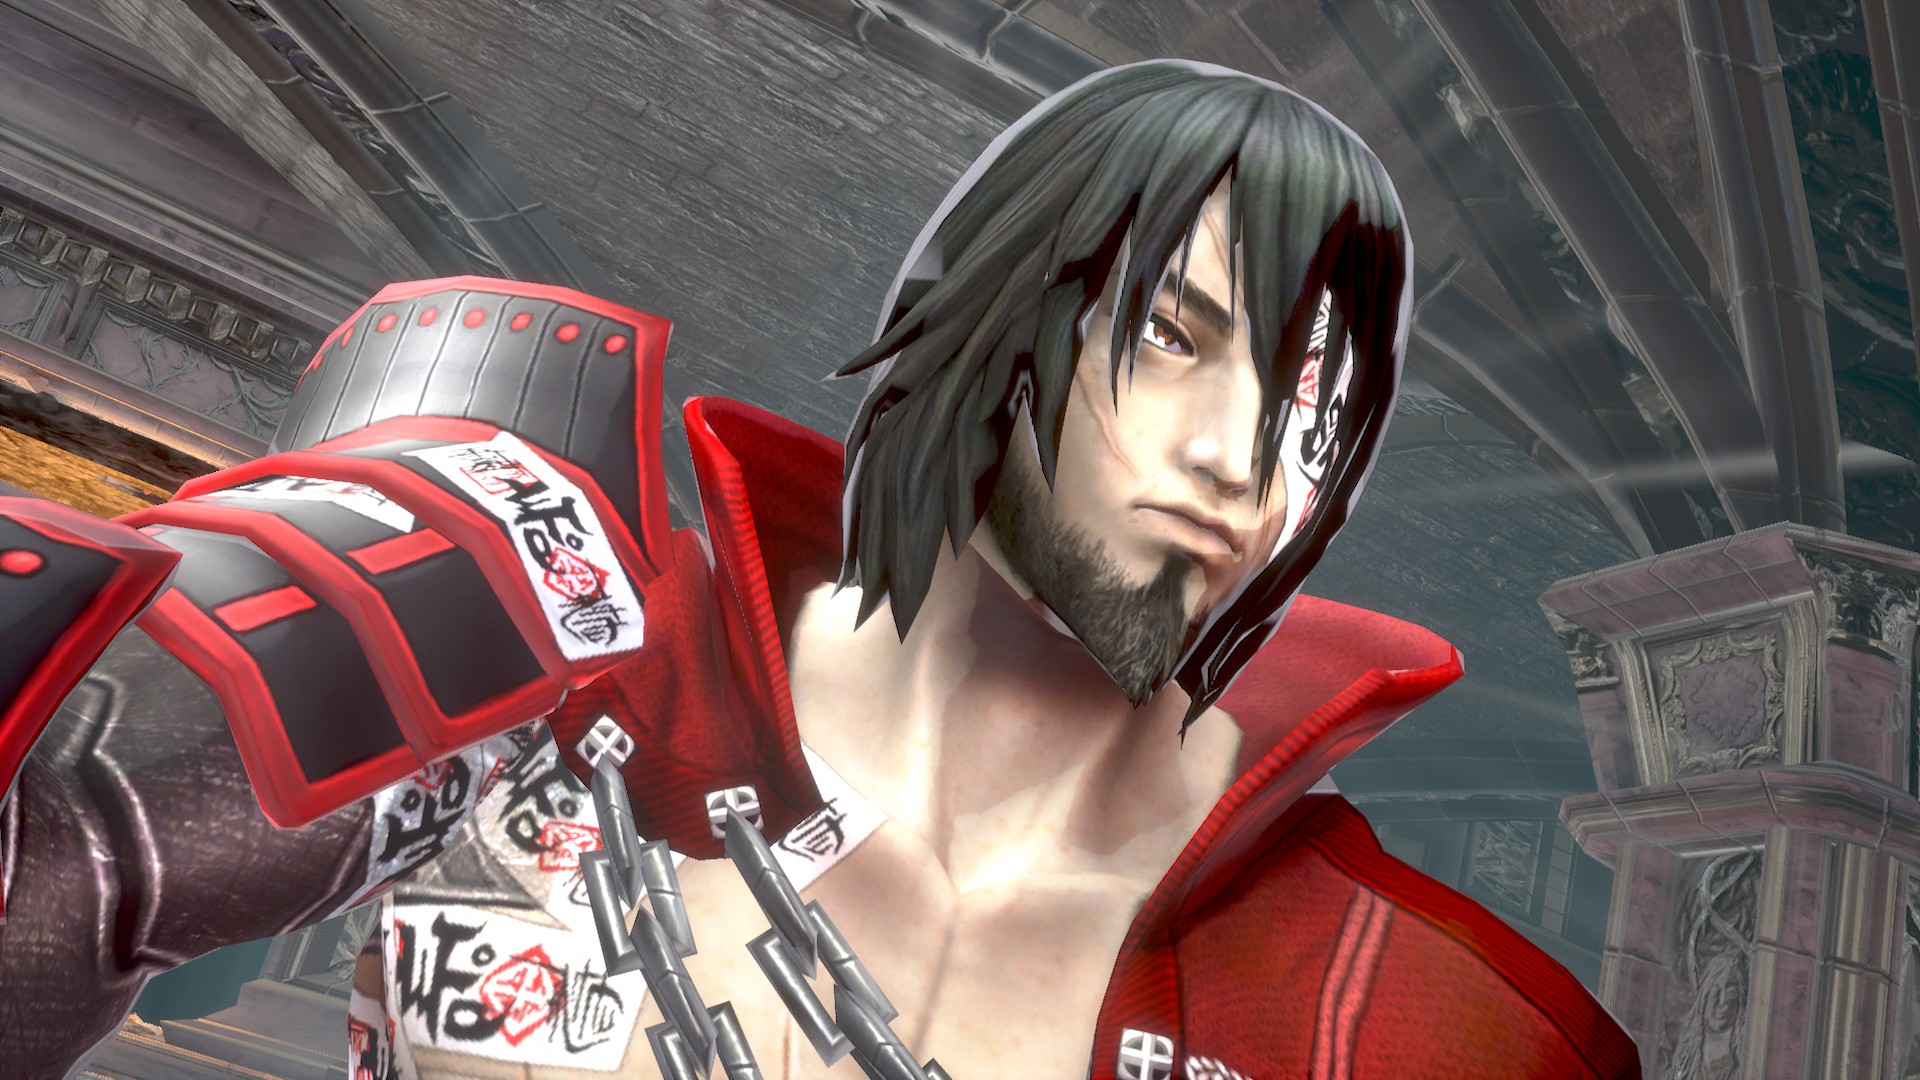
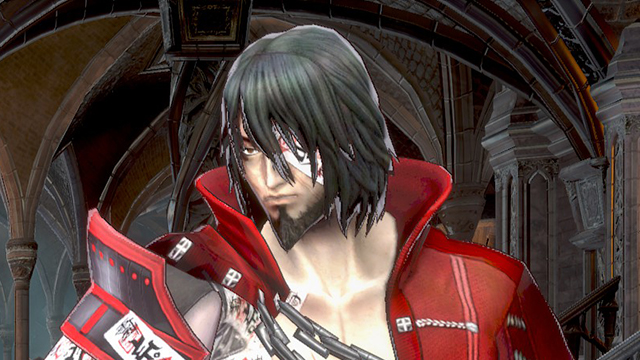
Bloodstained: Ritual of the Night is, by all rights, a Castlevania game. It just lacks the name. Boss fights are tough, relatively lengthy, and require a certain level of precision to overcome. This is especially true of your first fight against Zangetsu.
Your battle with him is one of the earlier gateway fights: either you beat him, or you don’t progress. This issue isn’t helped by the difficulty spike you’ll feel fighting him.
In this guide, we’ll cover every one of his moves, both of his phases, and a few strategies to counter each. While this article isn’t about builds, there will be some advice at the beginning on what I found most effective.
How to Beat Zangetsu Part 1: Be Fast and Cautious
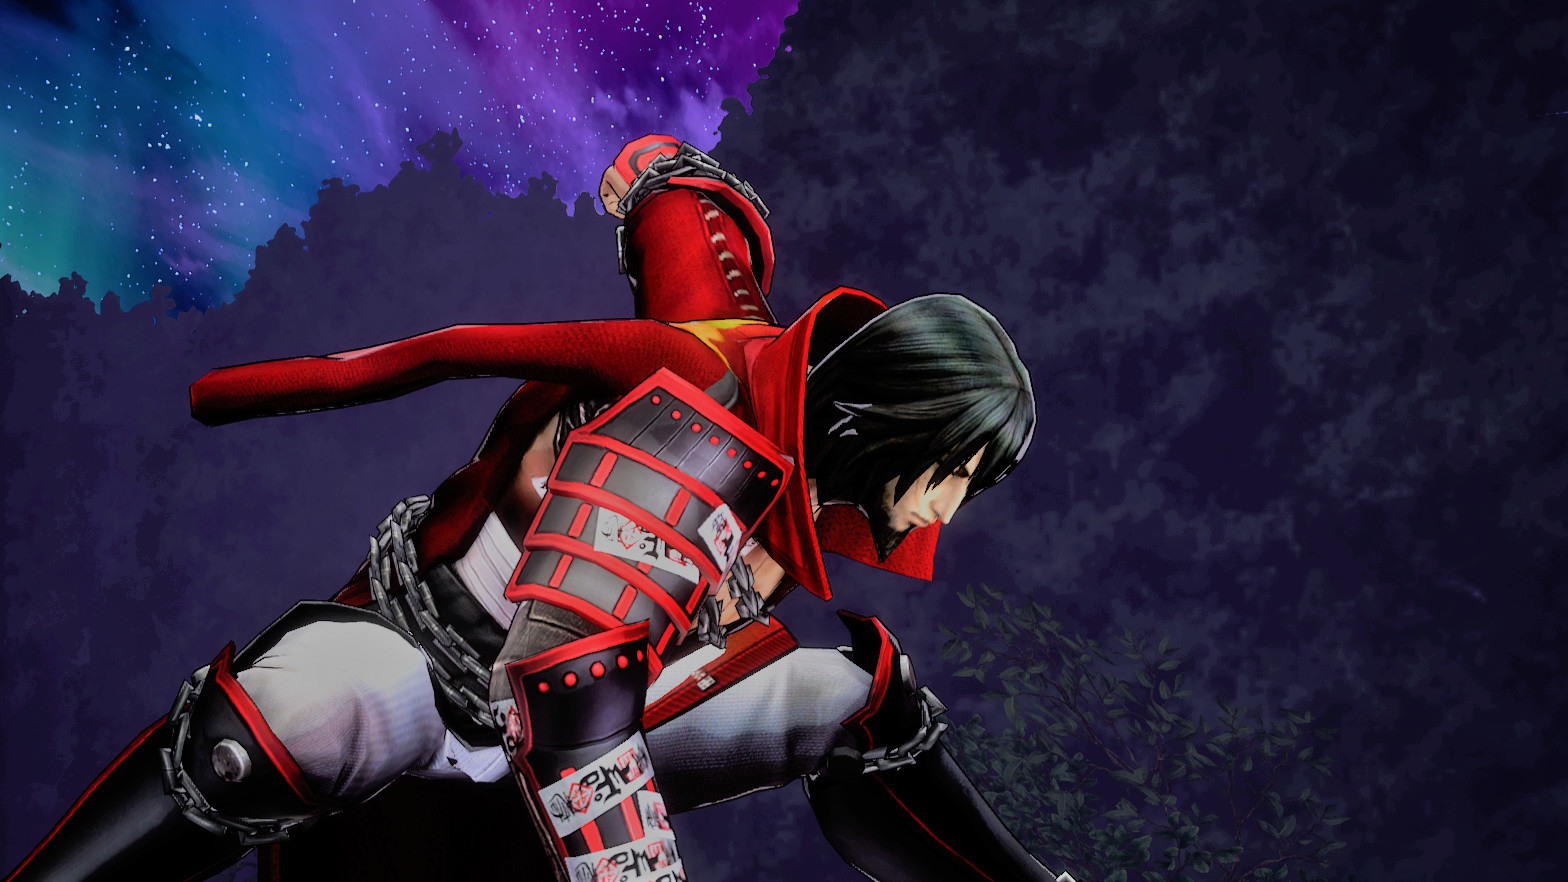
Zangetsu is a much more mobile combatant than Miriam, and he makes full use of his boss arena as you fight him.
For me, the best tactic was staying behind and above Zangetsu whenever possible. He has a couple of jumping attacks, but those were slow and easy to see coming (with a few exceptions, noted below).
Your first order of business, even before you enter the fight, is learning how to animation cancel your attacks so you can land two hits for the price of one.
In short, you’ll want to hit the attack button a moment before you hit the ground, then hit it again once you’ve landed. The landing will cancel the animation of the air attack and immediately cause the grounded attack to come out, netting you “free” damage with little risk.
Second, you’ll want to be in Zangestu’s face as much as possible — or more accurately, at his back.
In the first phase, and somewhat in the second, it takes Zangetsu a few extra frames to turn around if he’s grounded. Be aware that with slower weapons, you might only be able to get one or two ground attacks off before Zangetsu counters, so don’t overstay your welcome or you will regret it.
When Zangetsu’s airborne, your best bet is to try and run underneath him, landing behind him and getting a few quick hits in. If your strategy is primarily jump-centric, be aware that his sword’s hitbox is deceptively large. Never assume that his attacks won’t hit you, because you’ll be sent straight back to the save point if you do.
Lastly, use your magic sparingly unless you have a surplus of Ethers. You’ll discover why when we discuss his attack patterns…right now.
How to Beat Zangetsu Part 2: First Phase Attacks
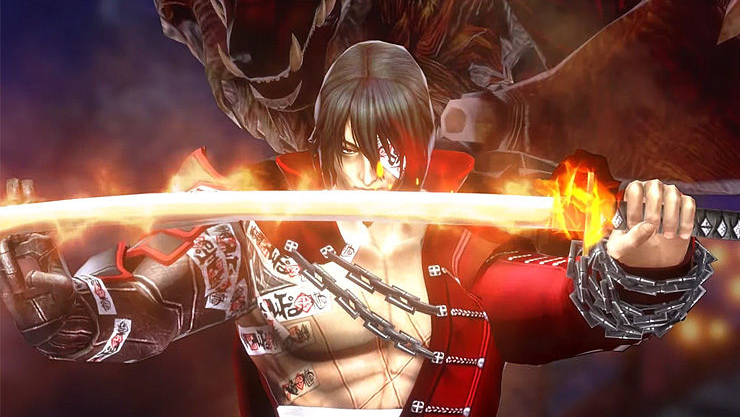
Zangetsu doesn’t have the largest number of attacks, but what he does have are power and speed. Below we’ll look into each move, what it does, and how to either avoid or punish it.
Basic Slash
Usually reserved for when you’re standing right in front of him, Zangetsu’s basic slash isn’t hard to dodge if you know it’s coming, but it is fast. He only uses it consistently if you stay in front of him for too long. If you can predict the slash, a quick hope over his head will give you an opening for one or two hits.
Exploding Kunai
Stay too far from Zangetsu, and he’ll wind up to fire an exploding kunai that travels a moderate distance before detonating. This attack has long starting and recovery periods, so jump over the projectile and get some easy damage in. You’ll know this attack is coming when Zangetsu reaches into his coat, so when you see that, start making your way toward him.
Short-distance Warp
When Zangetsu speaks for a moment and stands very straight, he’s about to do a short-distance Akuma-style warp. The attack makes him invincible, covers about a quarter of the arena, and sometimes ends with a reverse slash to punish players trying to get behind him.
Your best bet is to use this attack as a chance to get over him, but time your jump such that you’ll land after the reverse slash, as this attack is almost immediate once Zangetsu stops warping.
Long-distance Warp
This one is harder to predict, but Zangetsu will speak again, then go into a classic sword-draw stance, followed by a full-screen warp that ends either at the arena wall or with his sword in your face. Of all the attacks in his first phase, this one deals some of the biggest damage, so once you know it’s coming, get up and out of the way.
Guard into Counter
When Zangetsu puts his sword up in front of him and steadies it with his other hand, he’s gone into an auto-counter state. Any physical attack against him will deal no damage, stun you, and leave you wide open for a heavy counter-attack.
The best counter to the counter is magic or ranged attacks. Most projectiles break his guard state and stun him for about a quarter second — just enough time for a second attack.
Grapple into Slam
One of the easiest attacks to punish, when Zangetsu shoots his grappling hook into the ceiling, you’ll want to run underneath him and wait for him to land.
The tricky part is the timing. Move too fast and he’ll turn around at the apex of his grapple. Move too slow and you’ll take a hit. You want him to be at the very peak of his grapple when you’re underneath him to ensure he doesn’t turn around, giving you plenty of time for damage.
Uppercut
This one is liable to catch you at least once because it comes out quickly and without much warning. It’s a basic uppercut that leaves Zangetsu hanging in the air for a few seconds; your best strategy against this attack is to stay a moderate distance away from Zangetsu so that when he does use it, it’s not an issue.
Uppercut into Slam
Another one liable to catch you, this attack takes the attack we just talked about and adds a forward moving slam attack that deals some of the harshest damage in the fight. See it coming, though, and it’s a prime opportunity to run underneath Zangetsu and take a few swings at his back before he recovers.
Taunt
Not an attack so much as it is an emote, Zangetsu will periodically taunt you and leave himself wide open to a few attacks. Don’t waste these opportunities.
How to Beat Zangetsu Part 3: Phase 2
Phase 2 of the Zangetsu boss fight is almost a mirror image of Phase 1, except that Zangetsu’s attacks deal Fire element damage, and his slam attacks cause large explosions that increase their damage radius.
The attacks you want to watch out for in this phase are:
Short Distance Warp
In phase 2, every time Zangetsu warps a short distance, he ends the warp with a reverse slash. That leaves him open, so try to be in the air just as the warp is about to end for maximum safety and damage potential.
Any Slam Attack
In phase 2, anytime Zangetsu slams into the ground, he creates a large explosion. This explosion is by far his most damaging attack, and like his sword attacks, it has a deceptively-sized hitbox.
You won’t be able to just run beneath him to avoid these attacks. Instead, you want to be in the air behind Zangetsu to both avoid the shockwave. In other words, be directly below the boss as he jumps, then jump away from him as he starts to descend. You’ll avoid both his sword and the blast.
—
And that’s it. As far as Zangetsu’s health is concerned, I estimate each phase has between 250 and 400 HP, so the fight takes a bit if you aren’t dealing consistent damage. Remember that there’s a save point just across the room before the boss arena, so don’t forget to save.
You’re liable to need it.
Check out our other Bloodstained: Ritual of the Night guides for all kinds of cool content and guides.
- All Shard Locations
- How to Upgrade Abilities
- How to Get the Bovine Plume
- How to Find the Millionaire Key
- How to Find the Warhorse Key
- How to Find Silver Bromide
- How to Unlock All Difficulties
- Bloodstained Swimming Guide
- Early-Game Battlemage Build Guide


Published: Jun 19, 2019 08:33 pm